

The day has come!! The great Ugly April Makeover Reveal! I’m so excited to show you all how this poor ugly stool turned into something lovely! I think it turned out great! So first of all, the before…

Ugly, ugly, ugly!
So without further ado…Tada!!

Lovely!
What do you think? I actually came up with the idea at about 10:00 pm, while laying in bed trying to go to sleep. This is usually my best thinking time! Go figure!

Neutral tones
Now for the process! We started out by taking off the top of the stool and the wheels.
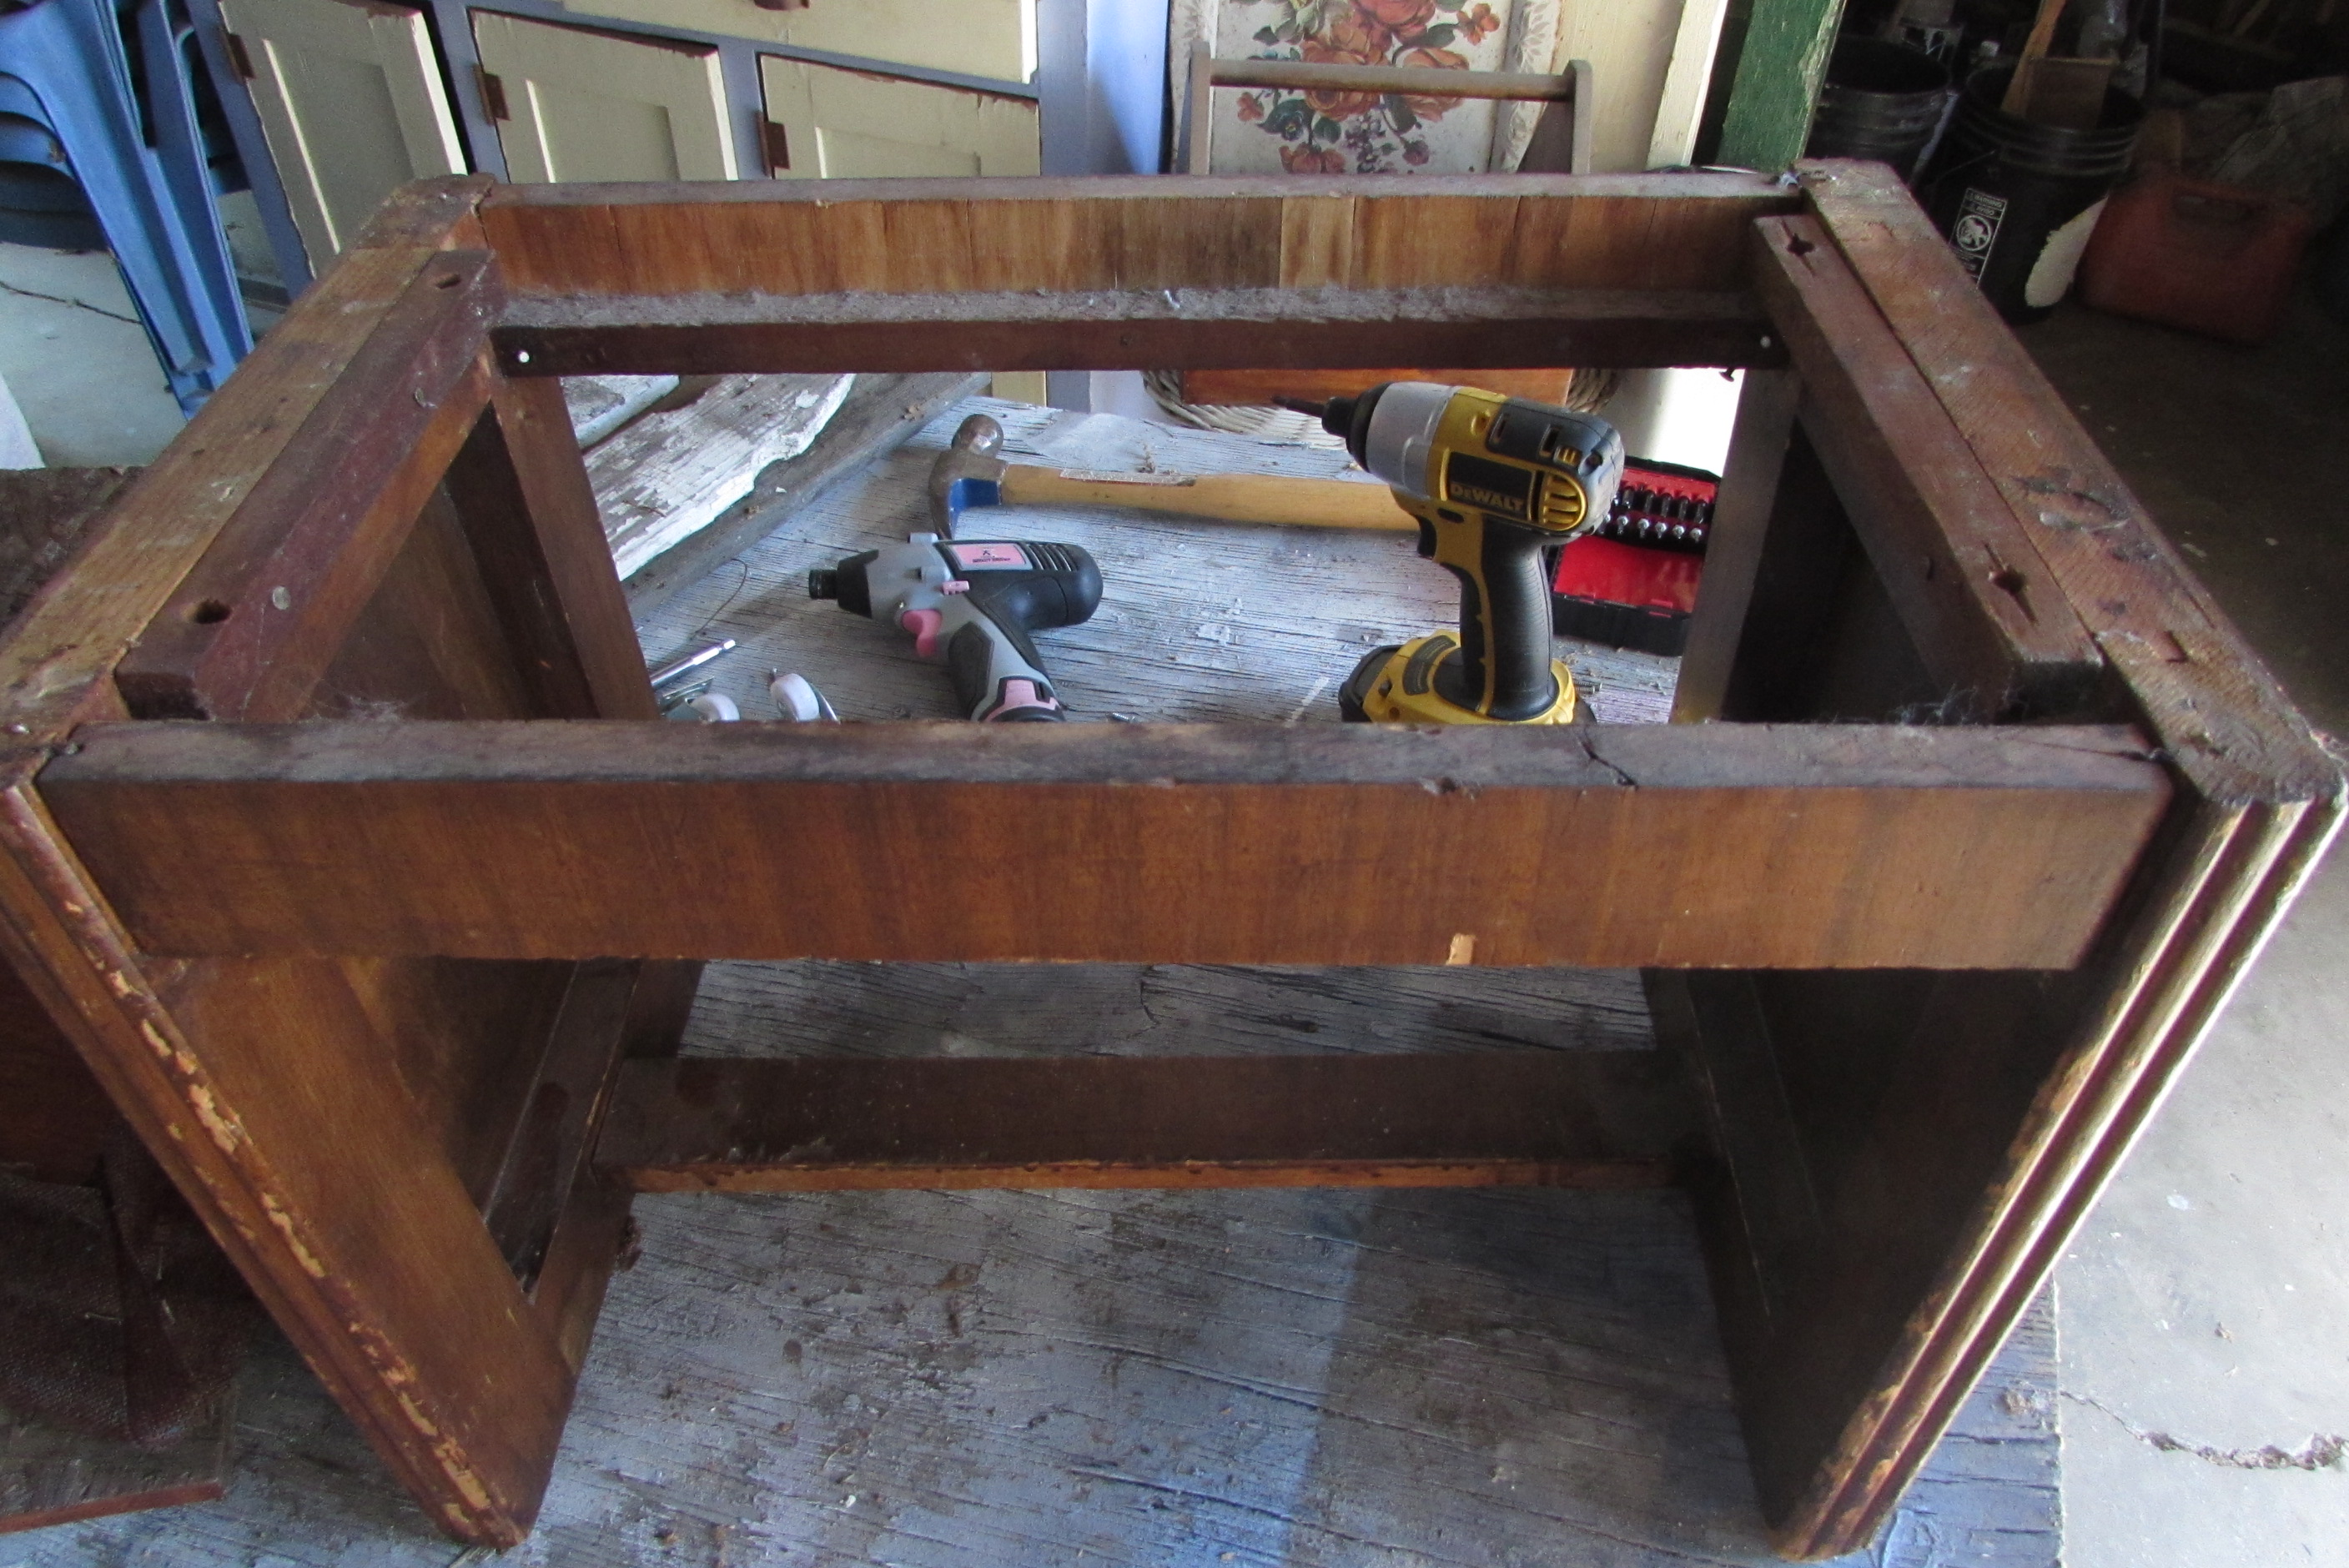
Topless! 🙂
We wanted to take the ugly fabric off the top, but as Lauren was taking out the staples, she realized there was another layer of faux leather, then another fabric after that! Lots of staples to remove!

Staples galore!

More layers!!
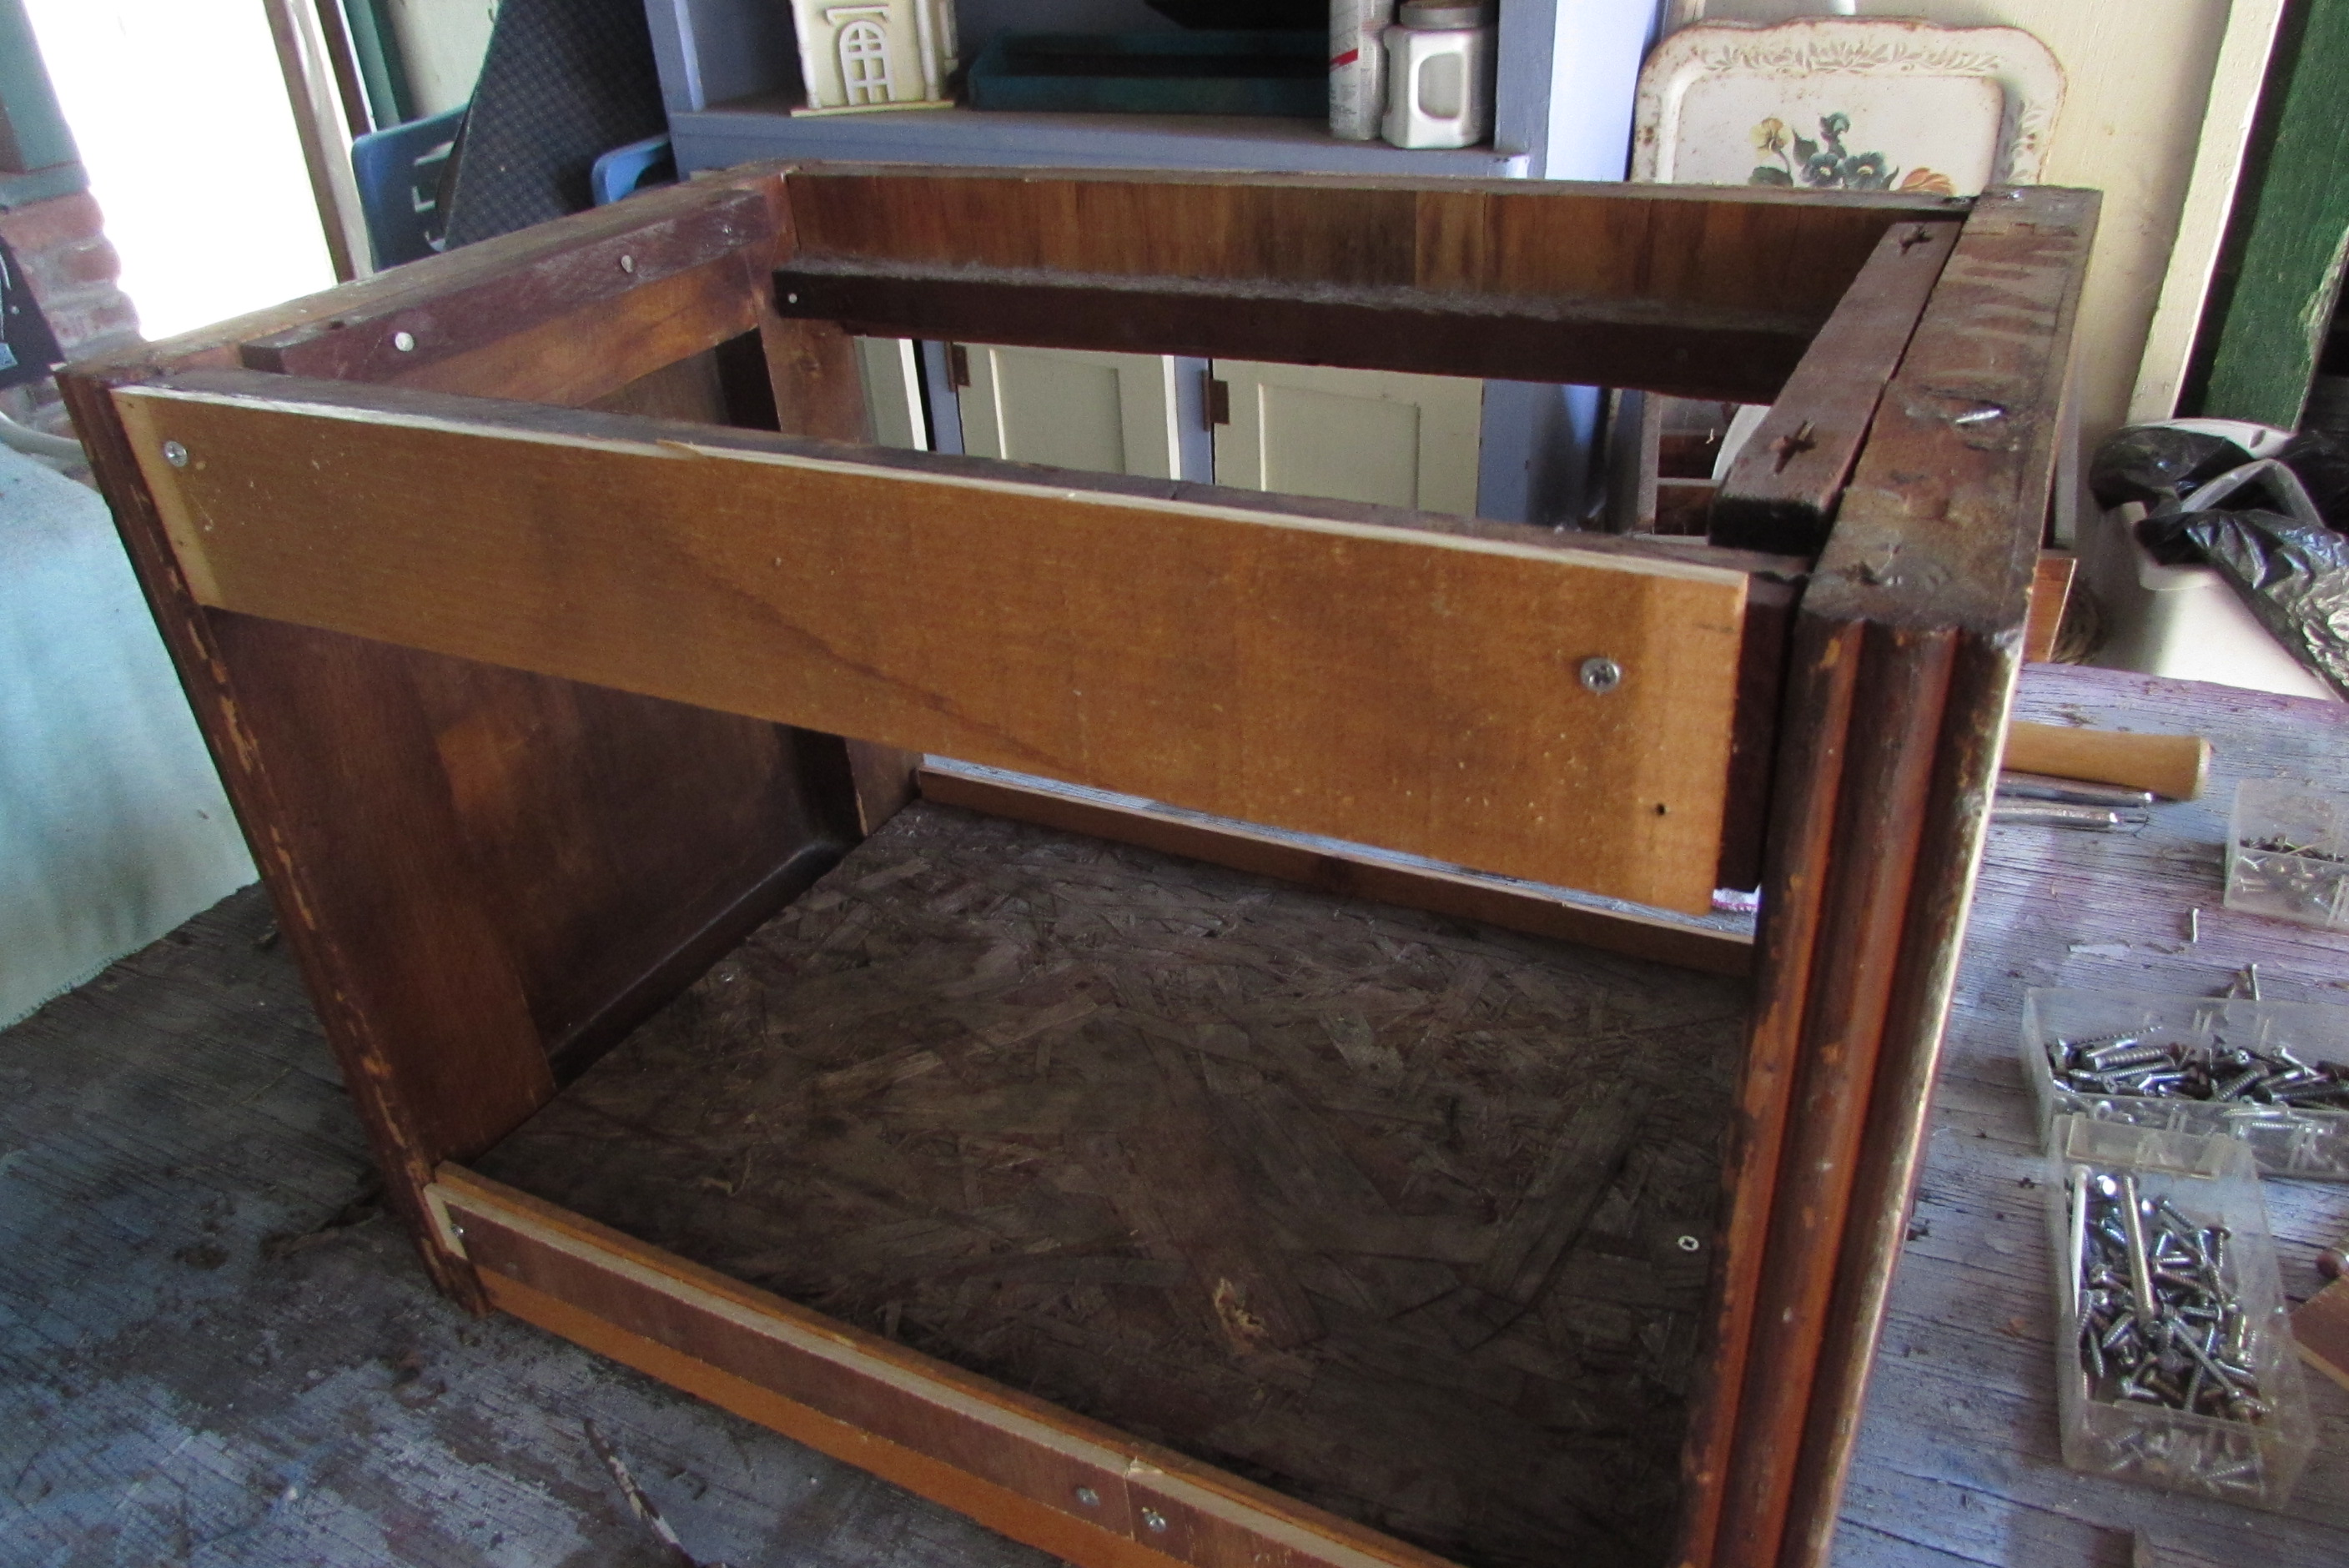
We added a piece of wood to the bottom and a little extra on the side to make the recessed part even with the existing sides.
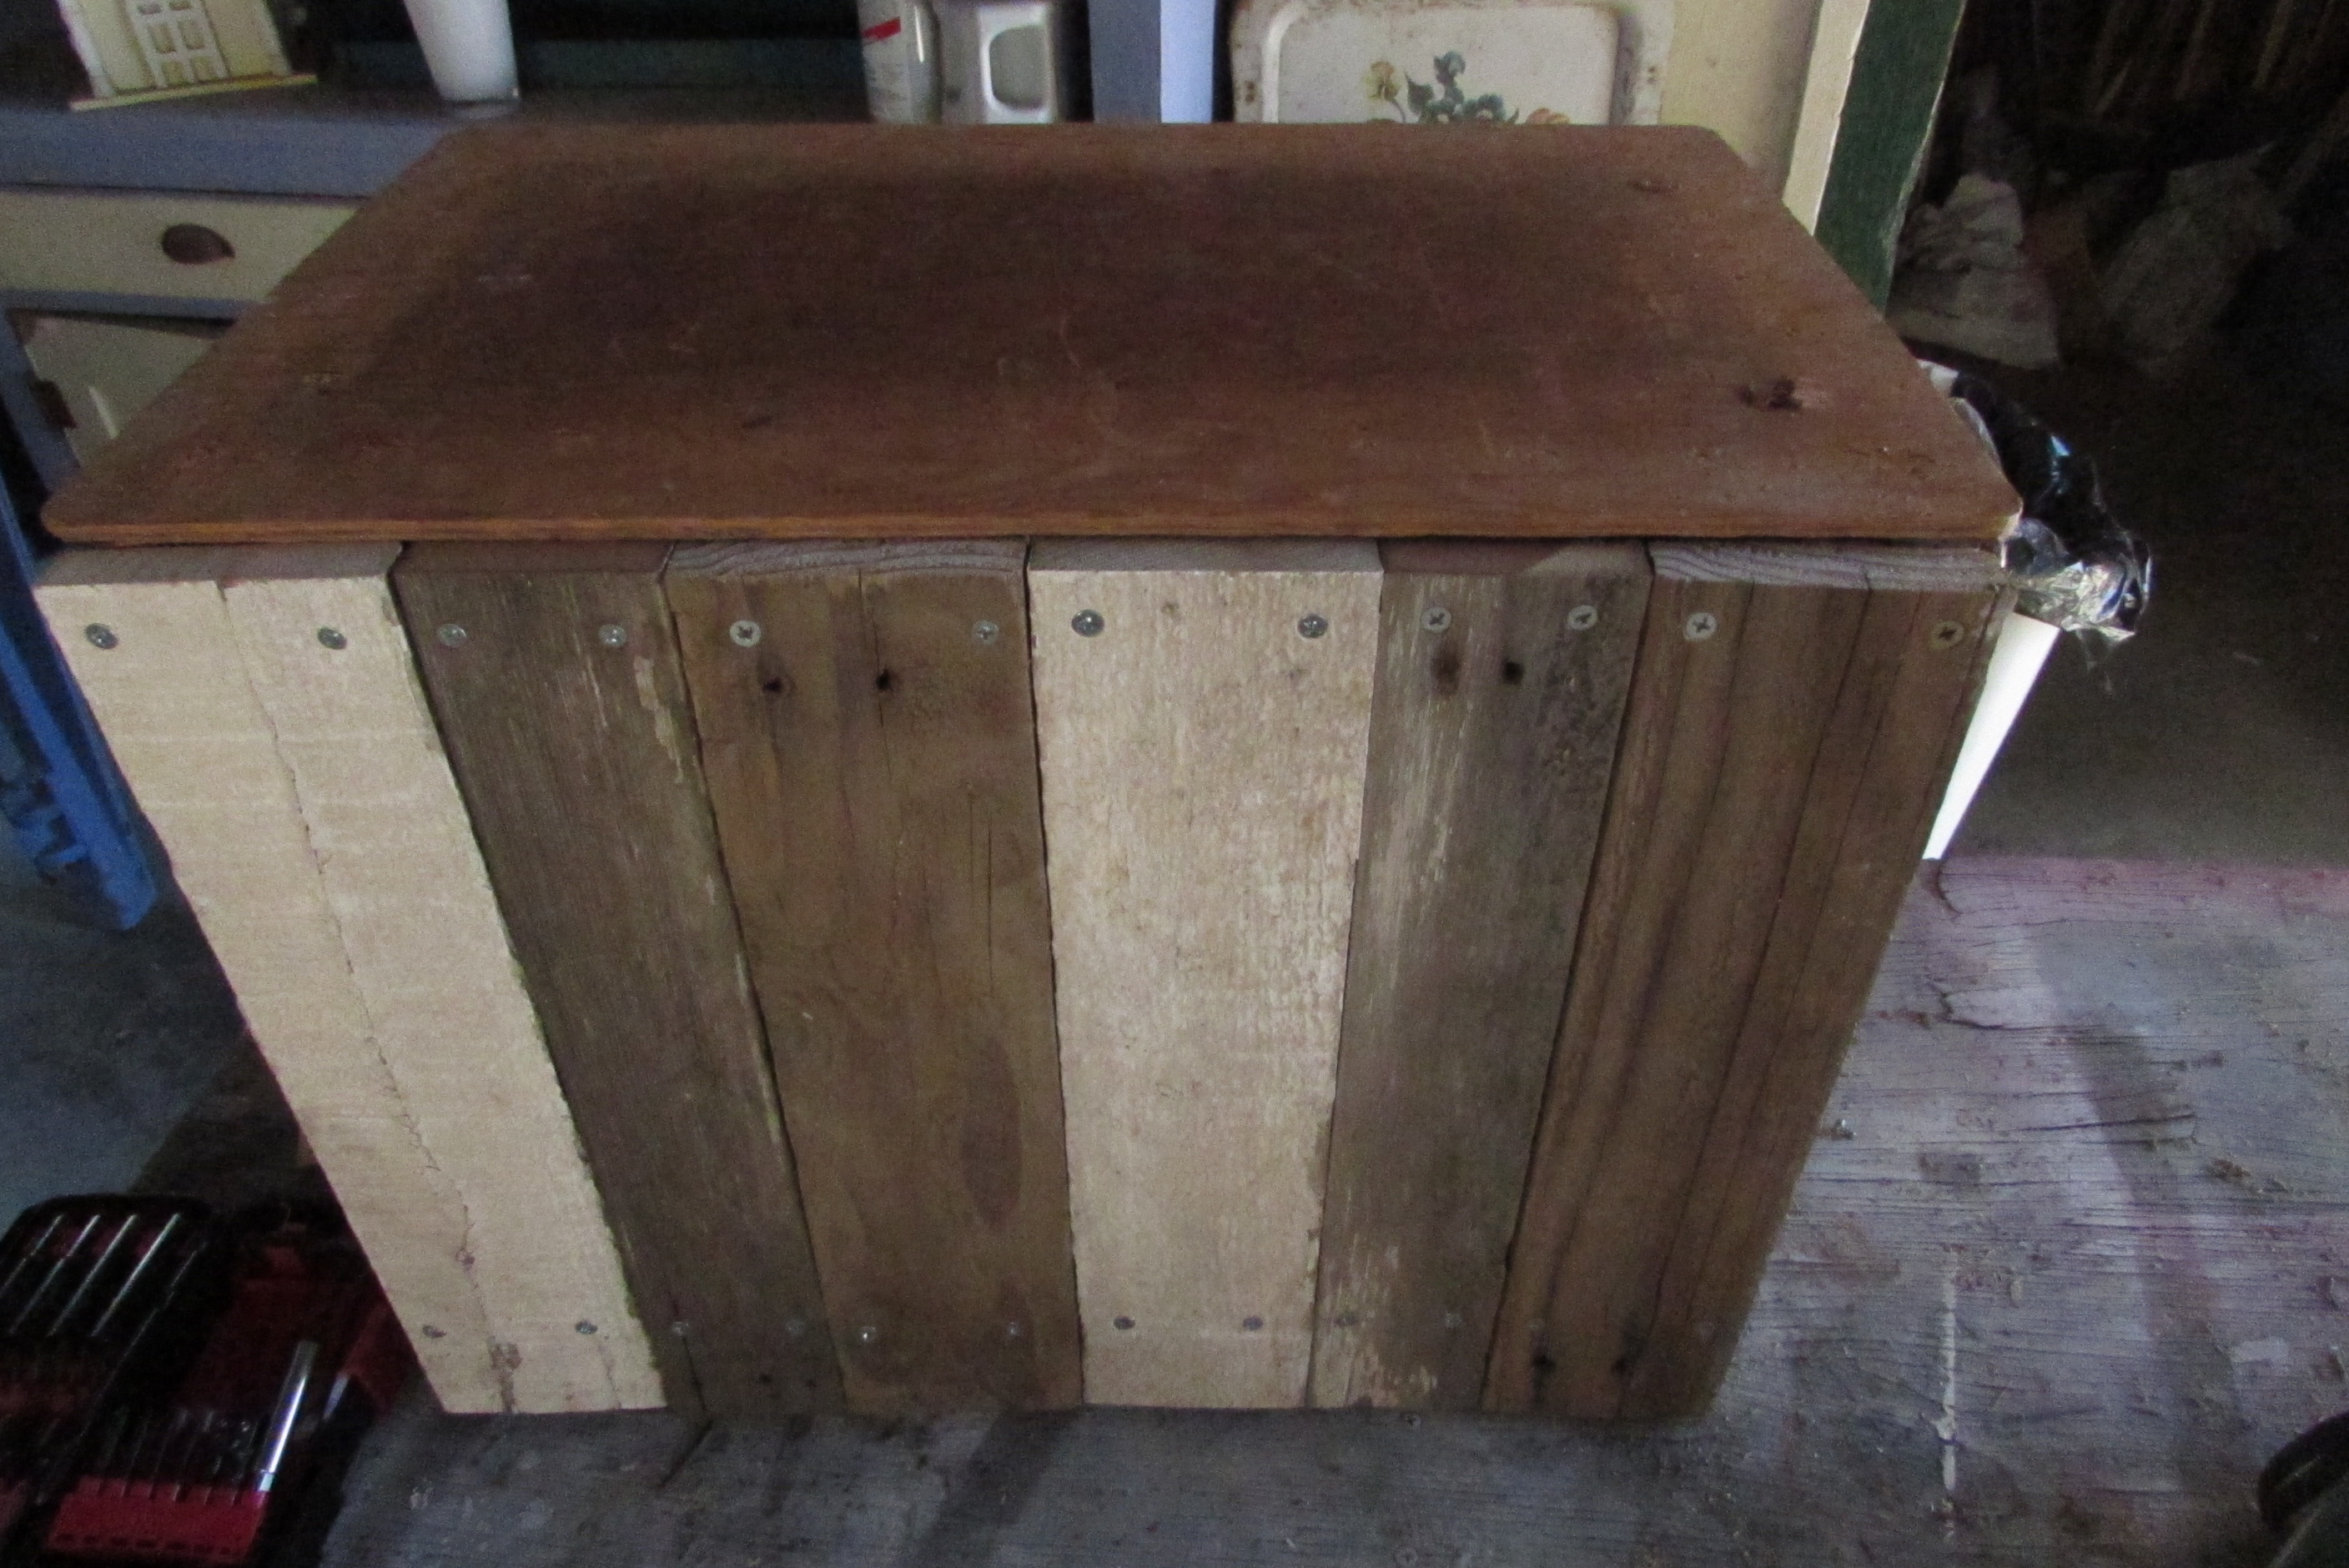
We scrounged through our stockpile of wood and found a couple of white pickets, brown pickets and some pallet wood. We measured how tall they needed to be for the sides and cut 4 pieces of each kind of wood.

Cutting the side pieces.
Okay, this next part got a bit tricky and we had to redo a couple of times. We measured them all and used a straight edge to attach them to the stool, but after we got them all on, they were at a slant. Bummer! We called in our reinforcements…Honey!! Dad!! He was kind enough to redo it for us and make it all nice and pretty!

Closed up the front and back.
Now all we have to do is some painting and find just the right fabric for the top.
Next is paint and fabric.
For the paint, I used what I had sitting around. I freshened up the white pickets by using some of the Simply White paint I had from Lauren’s room. The green is Fernwood Green, from painting our living room about 10 years ago and the turquoise was a mistake batch I picked up awhile ago from OSH for cheap. I dry brushed each of these on to add a little bit of my favorite beach colors. I also added the white to the sides.

Beach colors-my favorite!
Haley and I found the fabric at JoAnne’s on sale and thought the colors were a perfect match!
Pretty!
I almost forgot-we added rope handles to the sides! I love the look of the rope. I also added the little bit of trim on the bottom to help cover up the peeling veneer.

Rope handles
Now our ugly little stool is a cute little storage box! I used the leftover fabric to line the bottom of the box, just to add a little prettiness.

Inside
I can hardly believe this is the same piece of furniture! I spent about a total of $9.00 for the whole thing-$2.00 for the stool, $5.00 for the fabric and $2.00 for the rope. Everything else we already had on hand.
So what do you think? Did we rescue this poor little stool from a miserable life? I absolutely loved how it turned out! It’s not perfect, but I still like it! This really was a fun challenge!


You looked like you were having way too much fun, haha. It turned out great, a real turn around. I need you to come jazz up some of my furniture, lol. Thanks for linking up to Snickerdoodle Sunday!
LikeLike
Yes, we had a lot of fun redoing this stool. Thanks for stopping by!
LikeLike
What a smart idea to turn it into a storage box, I think it turned out great!
LikeLike
Thank you so much! We love how it turned out as well. Thanks for stopping by.
LikeLike
Wow, that was REALLY ugly before. I like how it doesn’t look “perfect” afterwards. I feel like it shouldn’t, you know? It gives it character.
Visiting from Snickerdoodle Sunday. New Instagram follower 🙂 (2dogsandahedgehog)
LikeLike
Thanks you so much! Yes, we love to look at the before and realize it was truly ugly. Thanks for stopping by.
LikeLike
Definitely an improvement!! I’m jealous of your sawing skills there! Thanks for linking up this pin at Our Favorite Things Pinterest Party!
Gina @ Gina’s Craft Corner
LikeLike
We saw a great improvement as well! I’m glad that you like the finished product just as much as we do! Thanks for stopping by.
LikeLike
Pretty and functional. You can’t beat that. I love those colors!
LikeLike
Great idea, looks fab. Cute and handy! Love the material you have used 🙂
Over from Idea Box
LikeLike
Thank you so much! We love how it turned out.
LikeLike
Love it! Great job!!
LikeLike
Thank you so much!
LikeLike
Ok can I say that this is simply AMAZING! I love it. Your so talented girl. Thank you for inspiring me today I was happy to find this post at Wake Up Weds!
LikeLike
Thank you u so much. I am glad that we gave you some inspiration! Have a great week!
LikeLike
You definitely saved it! I love it! I really love the rope handles too!
LikeLike
Yes, I think that it now has a new life as a cute stool! Thanks for stopping by!
LikeLike
My cats would claim this in an instant! That soft cushy lid, or even better if the lid wasn’t on. How gorgeous it turned out. I’d love you to drop by and and your pin to Our Favourite Things Pinterest Party. http://bitly.com/1HhK9mn Then link up at #2UsesTuesday http://bit.ly/1G1X08f because this project is just perfect or TUT!
LikeLike
We would love to join your party! Thank you for letting us know. And, if I’m not mistaken, our cats may have claimed this seat for themselves already. Thanks for stopping by!
LikeLike
Oh yes! My cat has already explored it all! Thanks for stopping by! I will be 2UsesTuesday for sure! Thanks for the invite!
LikeLike
It looks great, much better! LOL! Love the rustic touches with the barn wood. You did a great job, I would have yielded at the power tools. You go!
LikeLike
Thanks for visiting and taking a look! I really like how it turned out too!
LikeLike
Really cute!
LikeLike
Thank you so much!
LikeLike
Thanks! It was really fun to try and figure out what to do with it. I really like the beach look!
LikeLike