

Good morning everyone. I am bring back and old blog post for a Flashback Friday. This was one of my favorite posts to write and one of my favorite projects to work on. Even though it is about a year old, I still enjoy reading the post to see what I did.
So, here you go!
I wanted to make something for my coworker Kelli, who is a major Disney fanatic. Without her, I wouldn’t be in the position that I am in and I wouldn’t enjoy going to work as much as I do. So because of this, I wanted to make something for her as a thank you.
Do you remember the pillow that mom bought from Disneyland? If you don’t, you can click here to see the post. Well, I like the design of it, so I decided to put it on a sign for Kelli.
The first thing that I did was I found some scrap wood that dad had left over from building some cat huts for our friends shelter. They were all about the same length, so I placed 8 pieces next to each other for the width of the sign. I then took a 9th piece and cut it to fit on the back of the sign. I then took the two pieces for the back and nailed all the pieces together.

Next came the fun part, painting! Yeah!

I knew that I wanted the sign to be white and have black writing on it. So, I painted the wood white…and of course the spray paint just soaked in. Urgh! So, I had to spray a few coats on the sign and then it was ready to be drawn on.

Once the paint had dried, I brought the sign inside and was ready to start the fun part. I found a picture of the pillow online and with some maneuvering in Microsoft word, I was able to take the picture and make it fit on my sign. I covered the back of the paper with pencil so that I could draw on the front to have my design come out on the wood.


This was harder than I thought it would be for a few reasons. 1: I had to put the pencil on really thick so that I could see it on the wood. 2: some pieces of the wood was rough and I could hardly see the pencil marks. 3: some of the pieces of wood were so rough that I had to free hand that part.
But with all of this bad, I was able to get a design that I absolutely fell in love with on the sign. I used a sharpie to draw on the sign and used a fine point sharpie to add detail. The final things to add were varnish and picture hangers. I added two on the back because I wasn’t sure how heavy it would be.
And here it is! The finished product is beautiful!
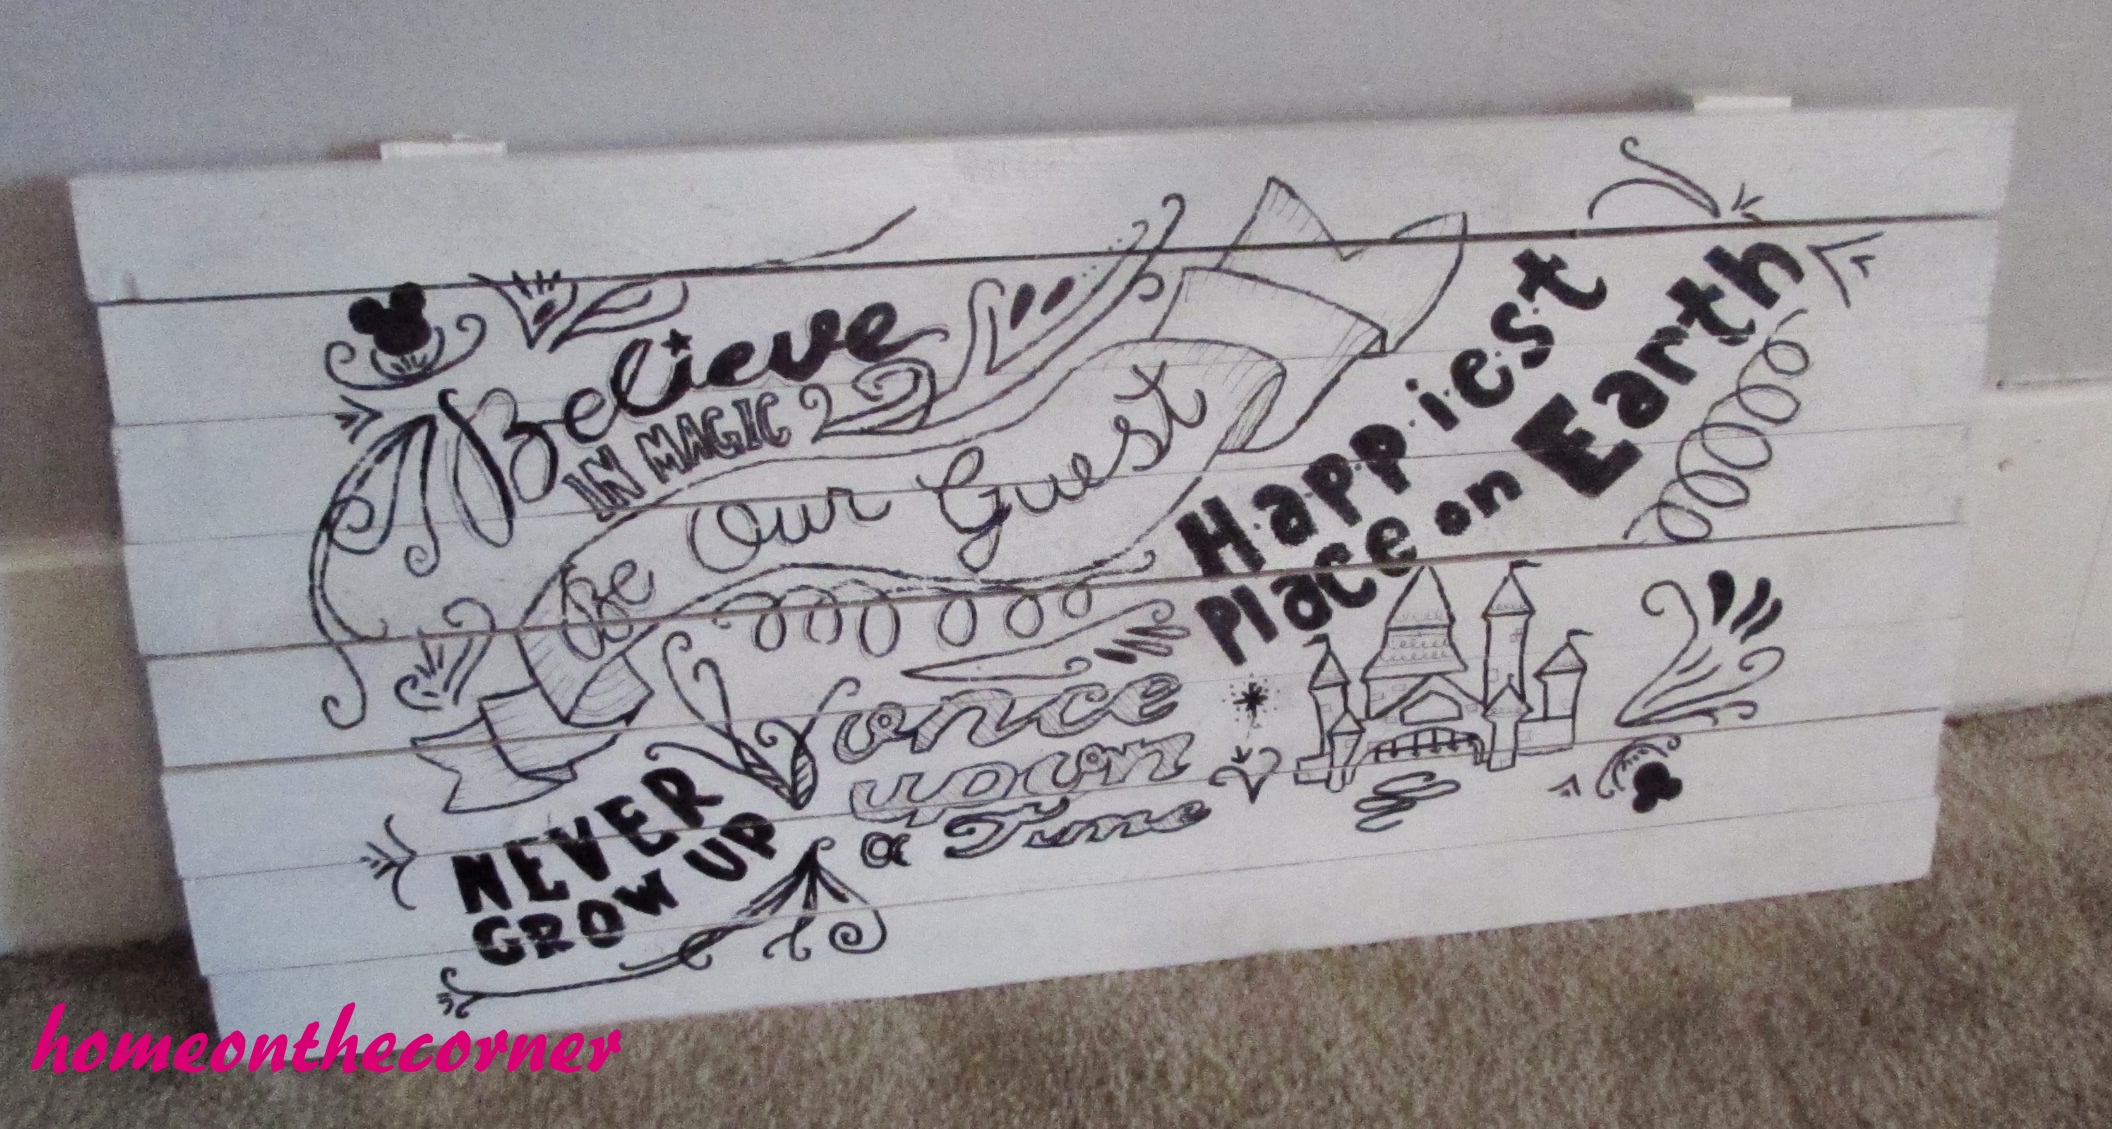


I love how it turned out and it didn’t take that long to make. I hope that Kelli loves it as much as I do. And hopefully, I can make more because they turned out amazing!
Final note: Kelli absolutely loved the sign and it currently hangs in her office at work. So, I get to see it everyday when I go into work. Plus, it helped me to make a little extra cash because then my coworkers wanted signs!
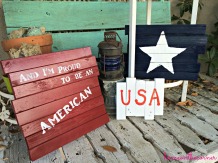
Check out some of the other wooden signs I have made!


Wow!! This Disney sign is so cool! You did a great job and I can see why it’s one of your favorite projects!! Seriously cool!
LikeLike
Thank you so much! Have a great weekend!
LikeLike
Very cute and fun design! Thanks for sharing on the Talk of the Town link party!
LikeLike
Thank you! Have a great rest of your week!
LikeLike
Thanks for joining us over at the Family Joy Linkup Party. I recently did a similar sign project for my dad. I hadn’t know about the tip of using pencil on the back of your paper to get the design on. Thanks for sharing!
LikeLike
I love making these signs! That’s cool you did one for your dad too! Have a great week!
LikeLike
Nice work!! It looks fabulous – thanks for sharing on the DIY party!
LikeLike
You are a sweet friend! It turned out great.
LikeLike
Thank you! Hope you have a wonderful week!
LikeLike