Did you ever do this when you were younger? Pull the tab off of a soda can for no good reason. Honestly, the only reason these tabs exist is because they open the soda cans. Well…maybe they exist for other reasons as well. If you drink soda or energy drinks or really anything that comes in a can, you know that they have a tab that helps to open the drink. If you drink Monster energy drinks, and take the tabs off, you can send them in and get Monster gear in return. But for me, I like to craft things! Some of you may have seen celebrities wearing these bracelets or maybe even seen these in stores like Michaels. And I tried making them…and had issues. My biggest issue was the elastic used to hook the tabs together. I couldn’t get it to stay tied or the hot glue wouldn’t stick. So…I tried something new. I bought paracord to use on the bracelets. Because it is stronger than the elastic, I thought that would be better for the bracelets. The only problem with this was the the paracord stretched out, causing the bracelets to be stretched and not look good. So…I thought that I would try something else. That’s when I bought 5 millimeter buckles to put on the ends. And, now I am going to tell you how to make these bracelets.  1. Measure your wrist and determine how much cord you will need. I have an eight inch wrist and I cut my string 24 inches. I laid the cord out to twelve inches then doubled it, so that I have some extra cord to work with.
  2. Make a slip knot on one end of the buckle. It doesn’t really matter which end of the buckle, you just need to have one end secured.
  3. Next, you take the first tab and put one string in the top hole and one in the bottom. So the strings will be going down from the top of the tab. See the picture to understand.
  4. Take another tab and put the back of the tabs together. You will now take the string and put it through the holes of both tabs. This will keep the tabs attached and not fall apart. You will repeat this process until you make a bracelet long enough to fit your wrist.
 5. When your bracelet is long enough, you will be able to attach the other end of the buckle. All I do is thread the string through the buckle and tie a knot under the buckle. If you want to hot glue the knot to make sure that it doesn’t come undone, feel free to. And then the bracelet ends up like this!
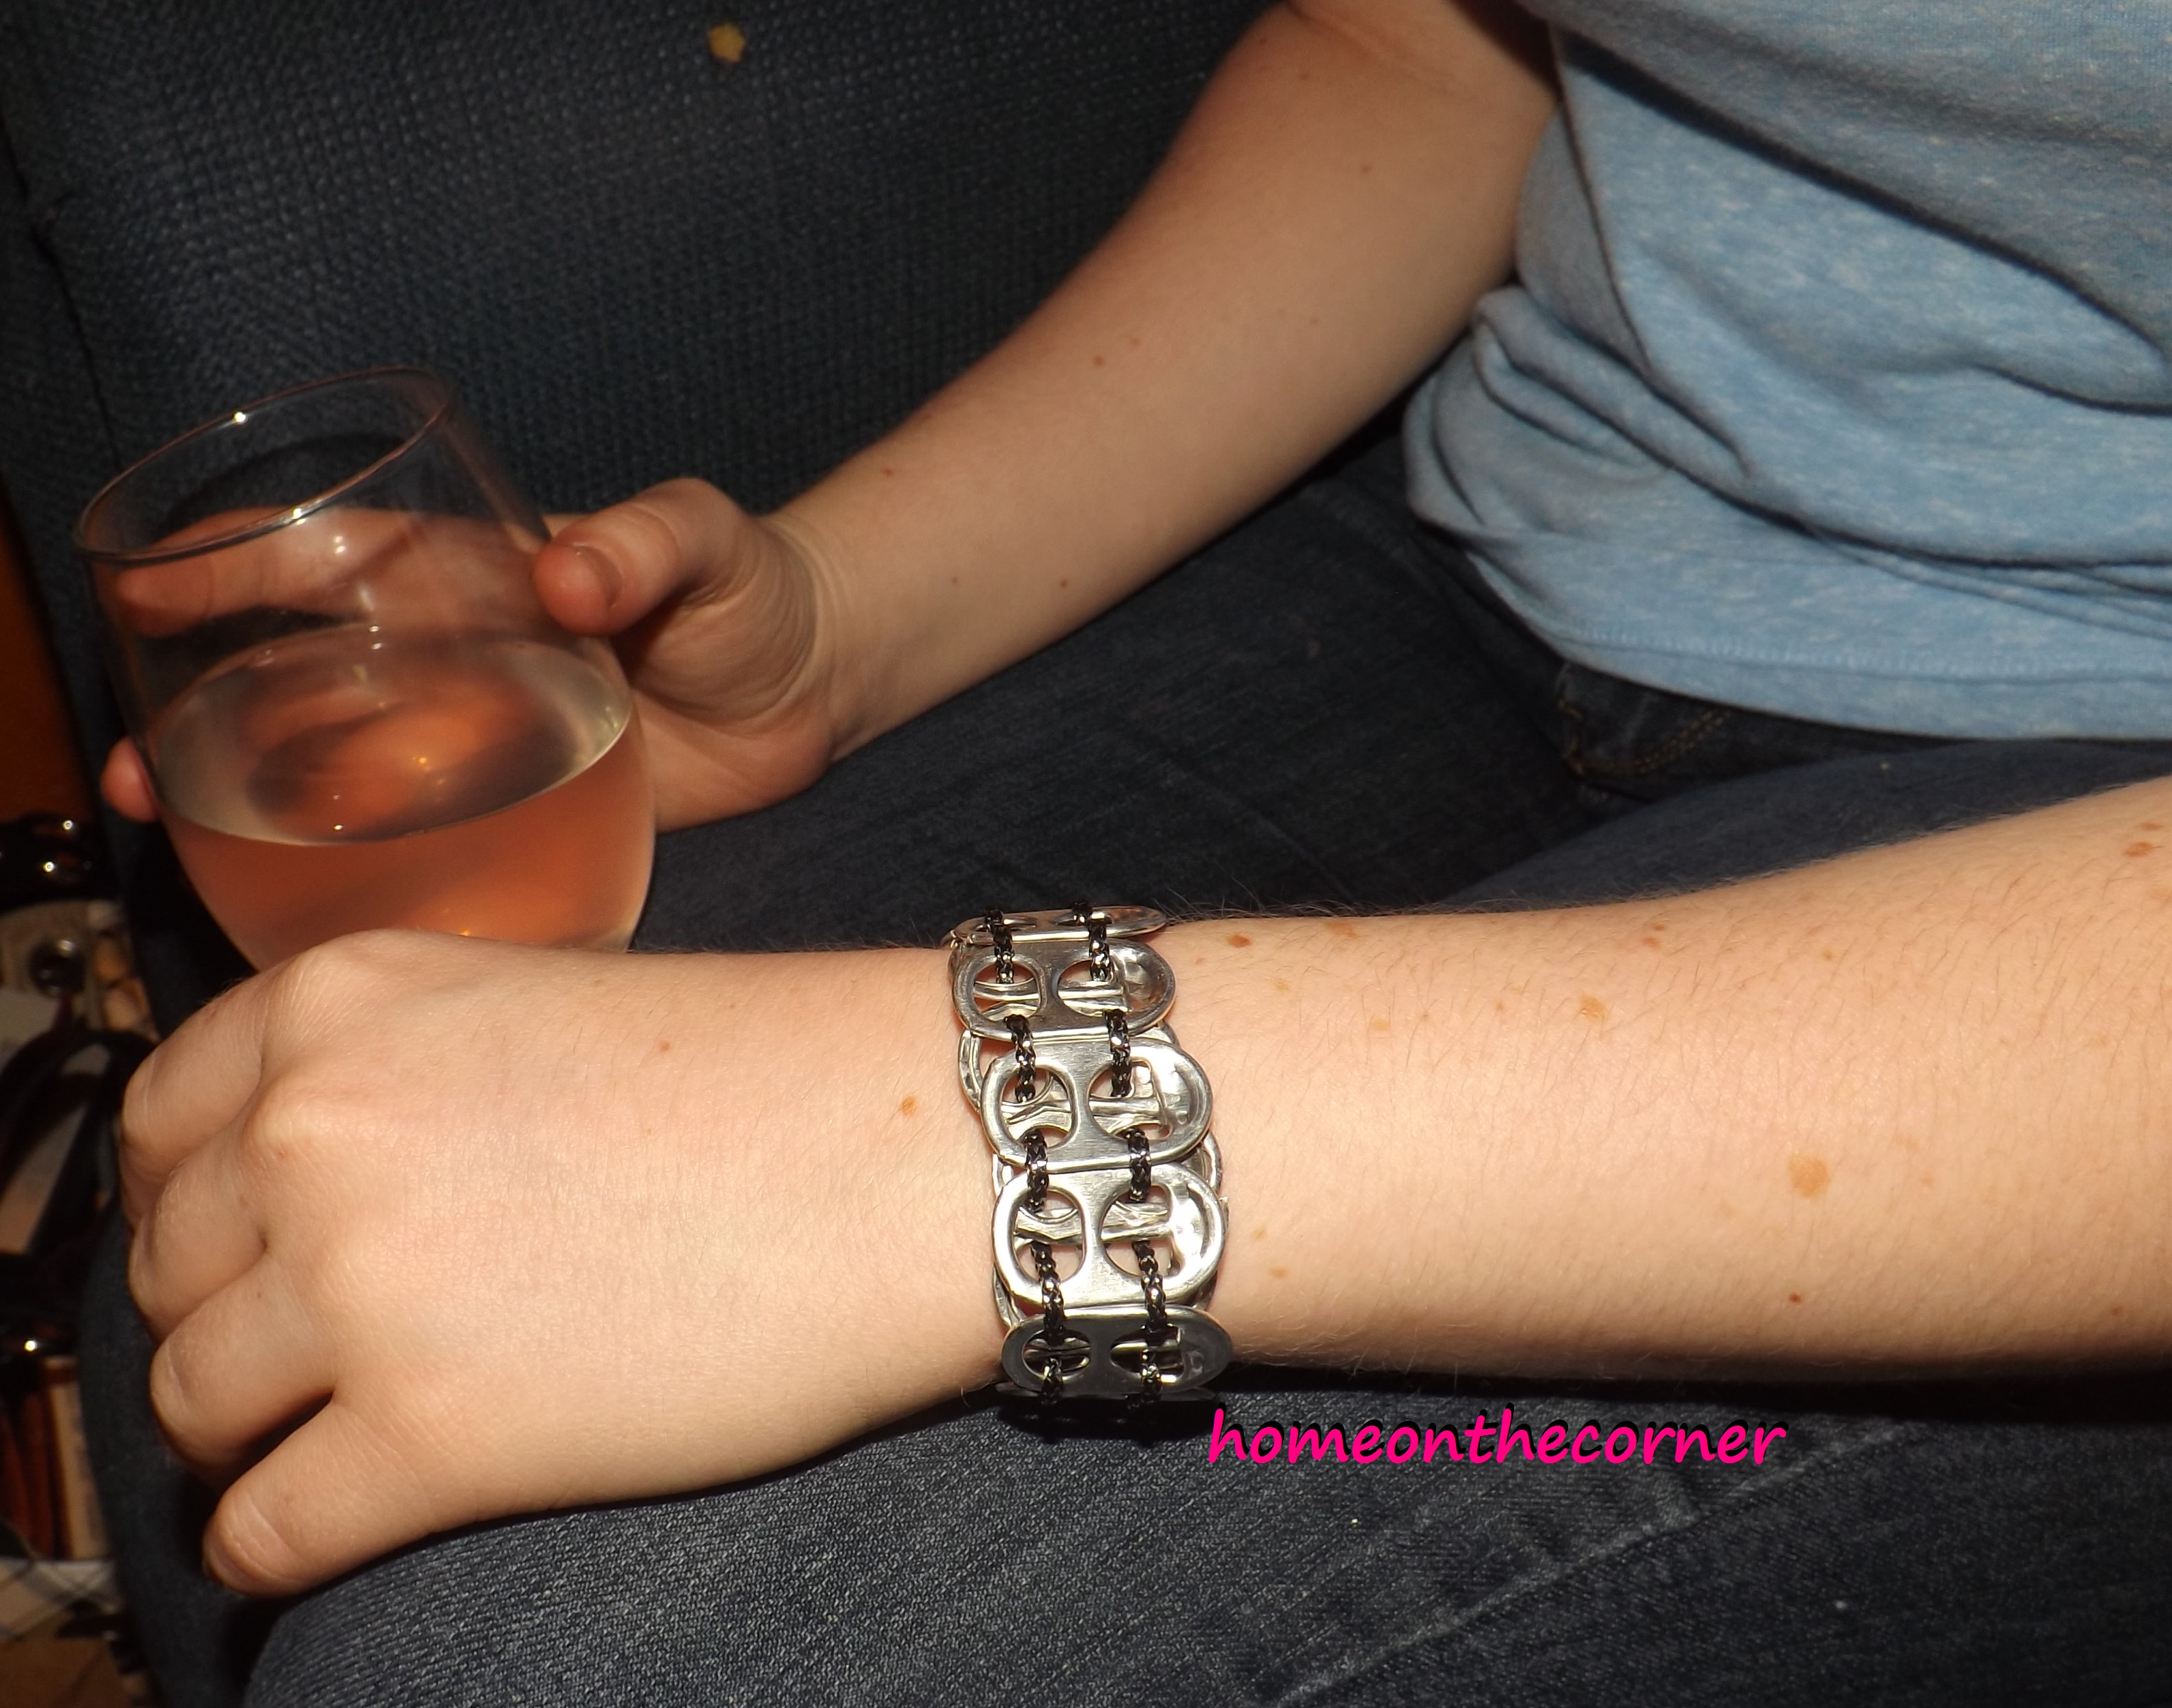
Thanks to my roommate Hannah for being my hand/arm model.
Now, I have also made bracelets with energy drink tabs. These are a little harder because there is only one hole in these tabs. So here are the steps for this bracelet. 1. Repeat steps 1 and 2.  2. Instead of starting like the original bracelet, have the tab upside down and thread the string up.
 3. Take your energy drink pull tab, I’m using Monster, and put the back of it to the back of the tab. Put both strings through the single hole on the tab and then back through the two holes in the soda tab. This will secure the tabs together. 4. Repeat the final steps and have yourself a bracelet!

Thanks again Hannah for being my model!
These are cute bracelet that are easy to make. And now, you have something to use your old soda tabs on that you have been collecting. Now if only I could find something for bottle caps…