Good morning! I’m so excited about this post today! If you are on Pinterest at all, you have probably seen a RV makeover. So many of them are amazing! I have always wanted to do one, but have a couple of reasons for holding back.
- The only time I really have the time to do all the work in a full RV makeover is summer. Our summer has averaged between 95-108 degrees. Too hot to be out in a trailer!!
- I don’t have a good place to work on the trailer. My trailer is parked in my driveway, right next to my neighbors yard. I wouldn’t have been able to pull stuff out of the trailer without constantly being in their yard. I don’t think they would appreciate it and I wouldn’t do that to them.
- Did I mention it’s hot?!
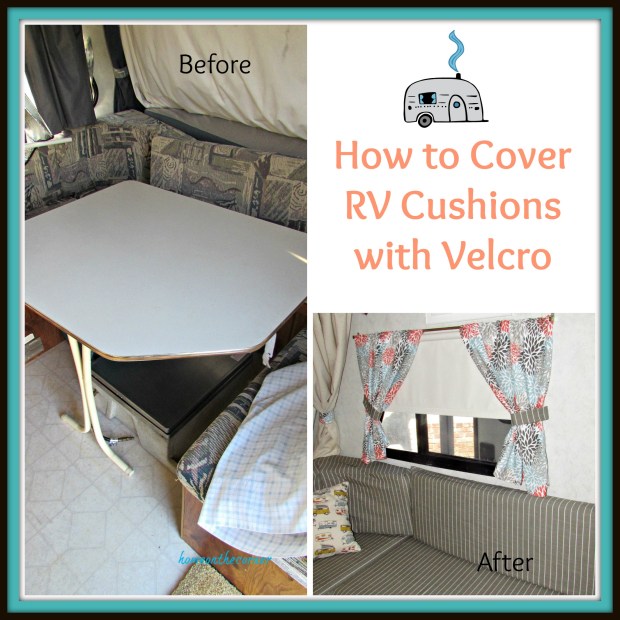
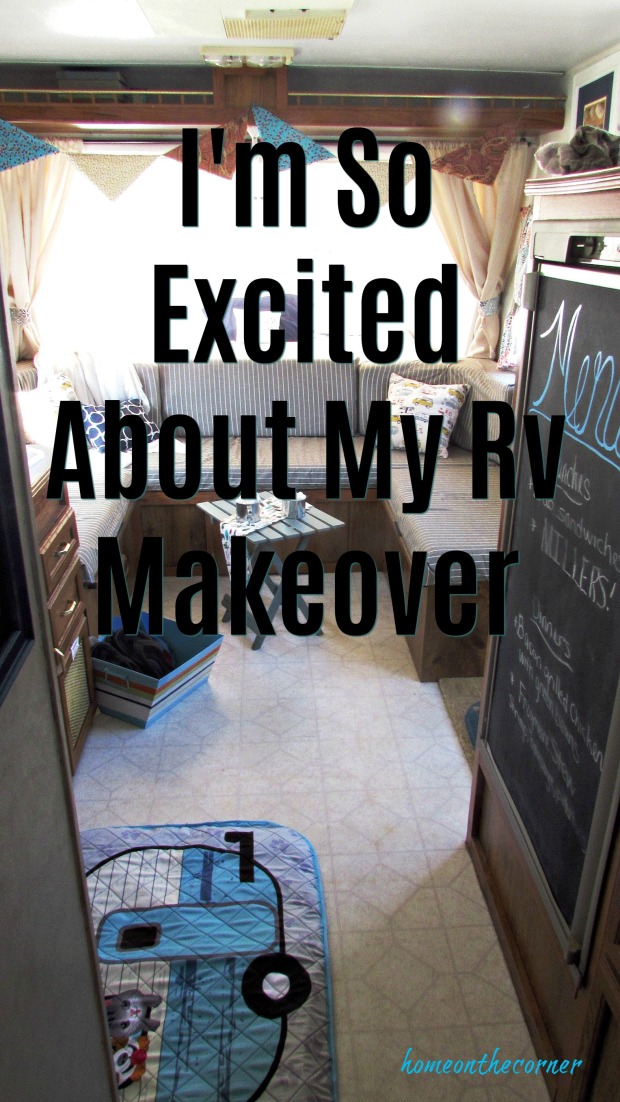
Anyways, I had kind of put it out of my mind. Sort of. But then I realized, I could do a partial makeover. Duh! I could make some changes, but not go all out. My trailer is a 1999 Rockwood, 21 feet long, with the beds folding out of the ends. I knew I wanted to change out the fabric on the cushions and the curtains, which were very 1990’s. Of course, then my mind just kept spinning and I came up with more changes. Anyways, here are some of the before pictures.
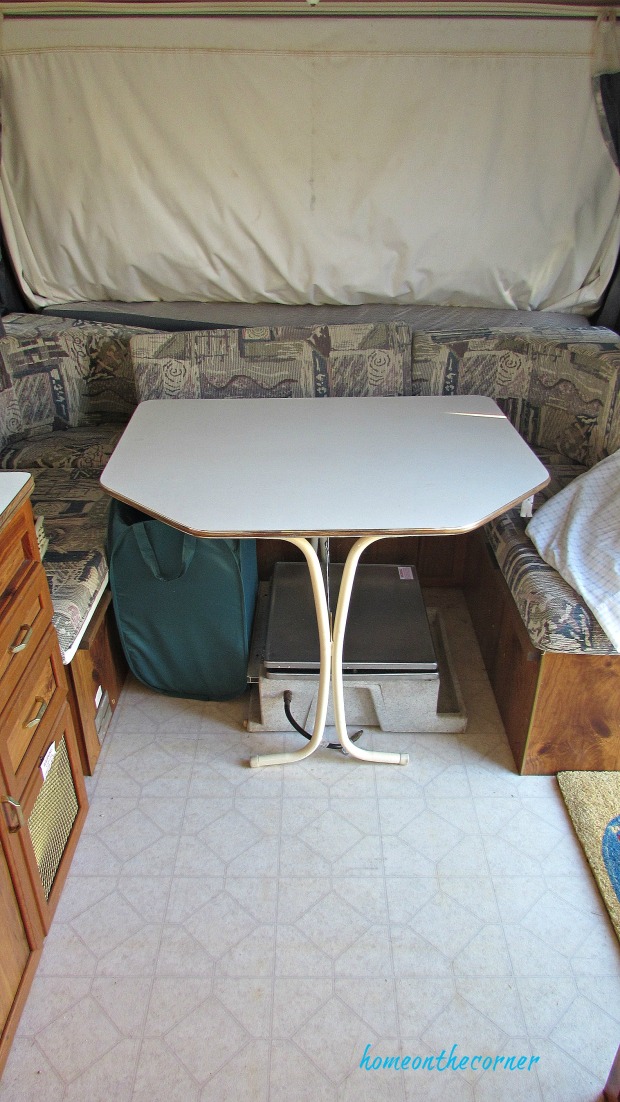
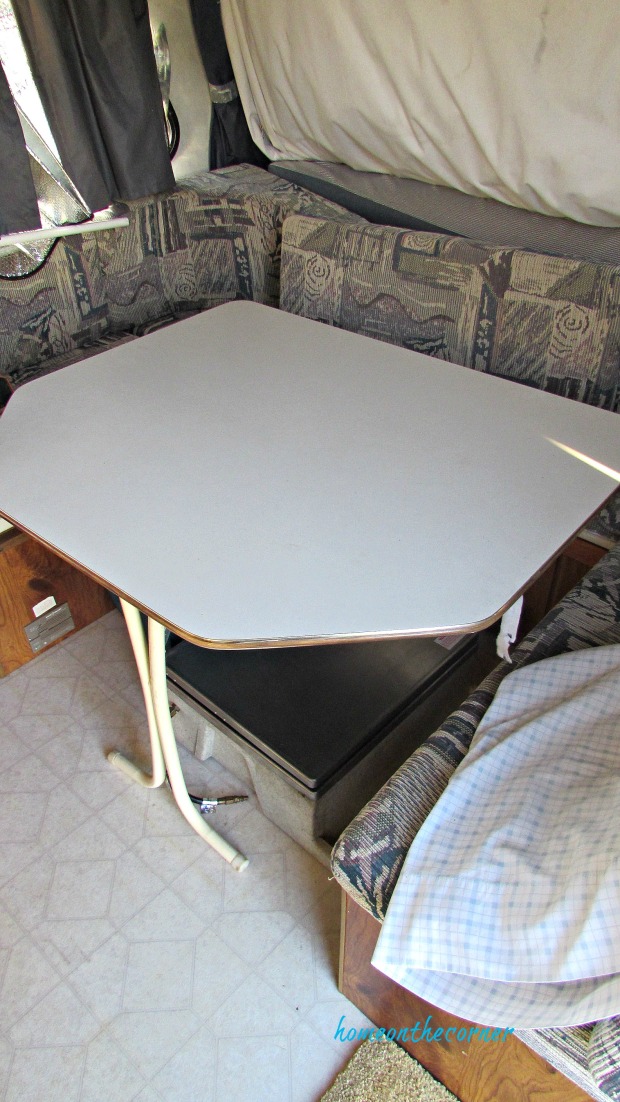
Dining area and bed, table also makes into a bed
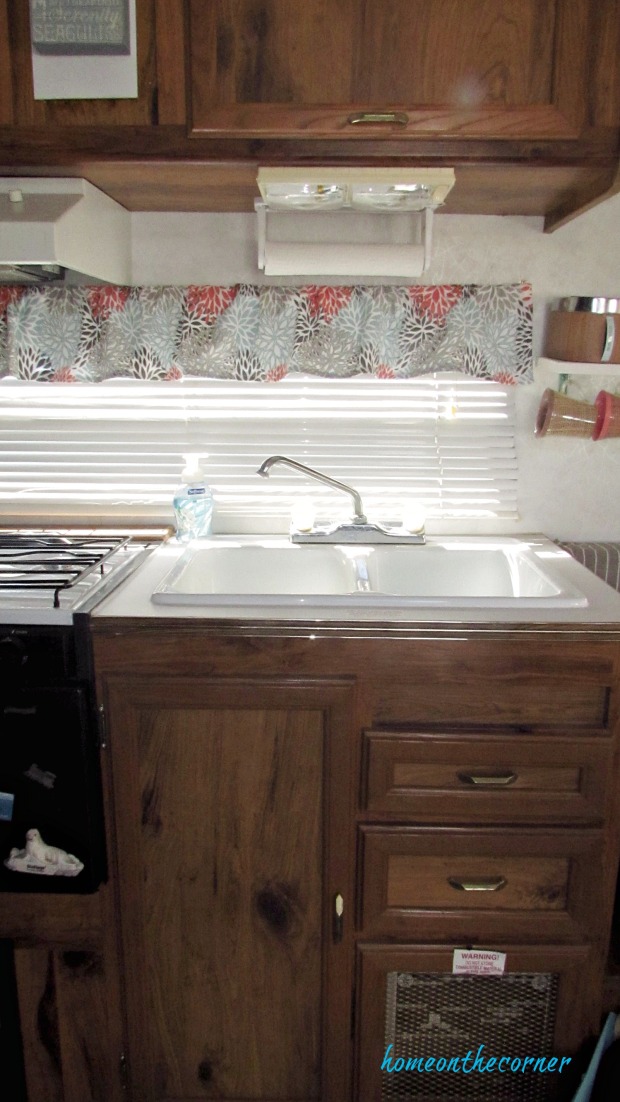
Kitchen

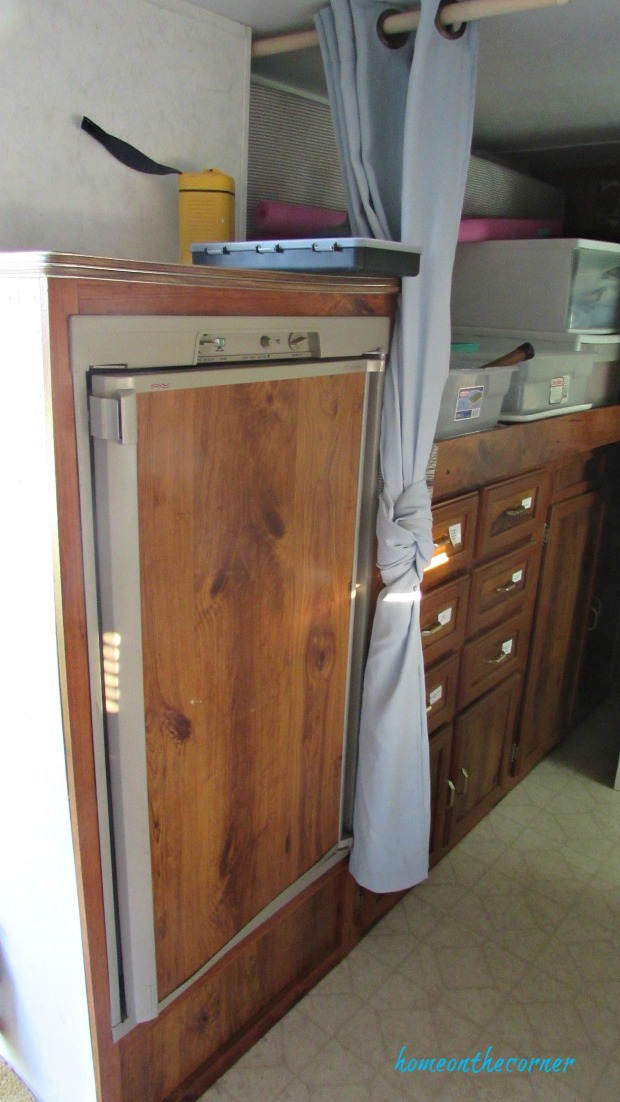
Refrigerator
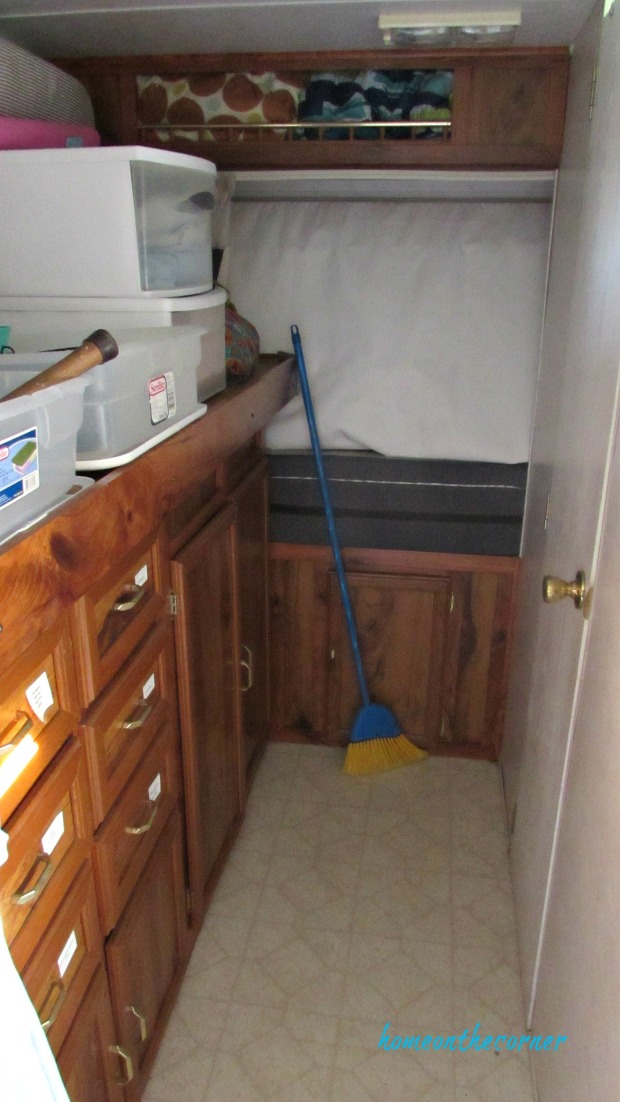
Storage area and another bed in the back, bathroom on the right
That’s it in all it’s glory. In my makeover, I didn’t do any painting or major changes. The linoleum flooring really needs changing, but that will have to wait for another time. I am not much of a seamstress, but I managed to get the cushions covered with a slight short cut. I will show you a little here, but I will do another post next week to show you what I did. Here it is! I love it!!
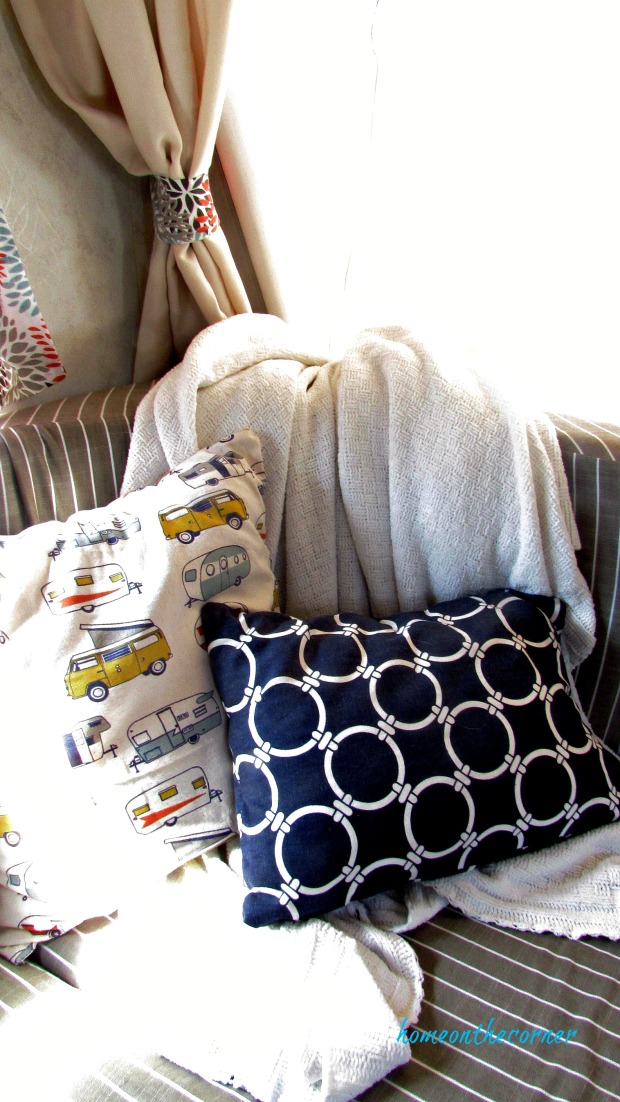
The door is just on the other side of the refrigerator and you walk straight into the kitchen area. In the front is the seating area and then one of the beds that pulls down. You saw the table in the before pictures, but it is so big, it’s hard to get in and out of the seats, so we only use it when we actually have to use it for a bed.
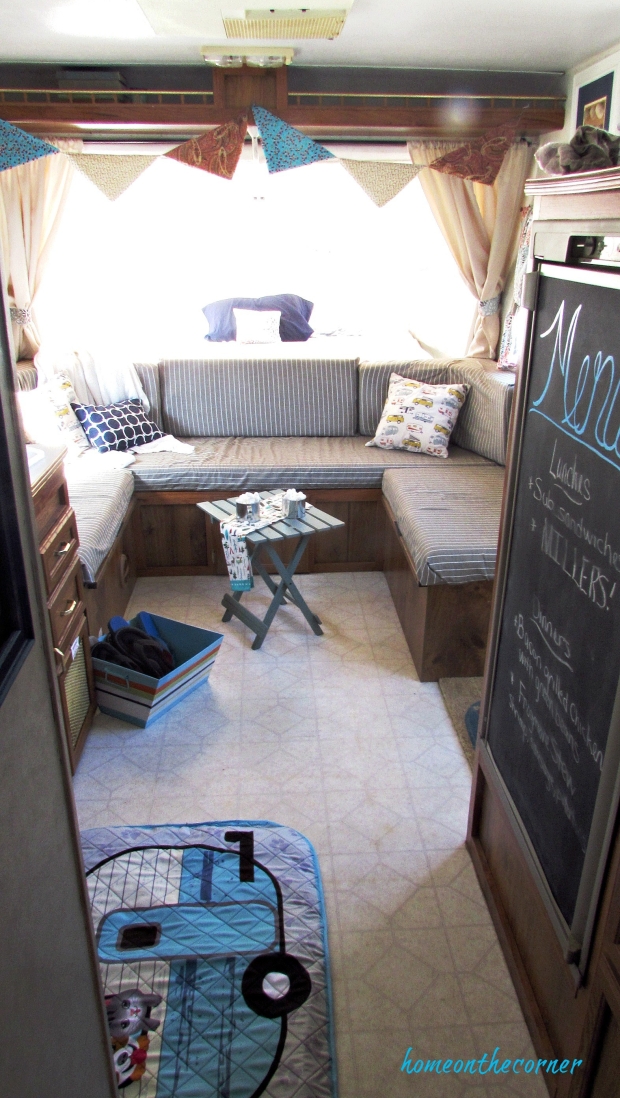
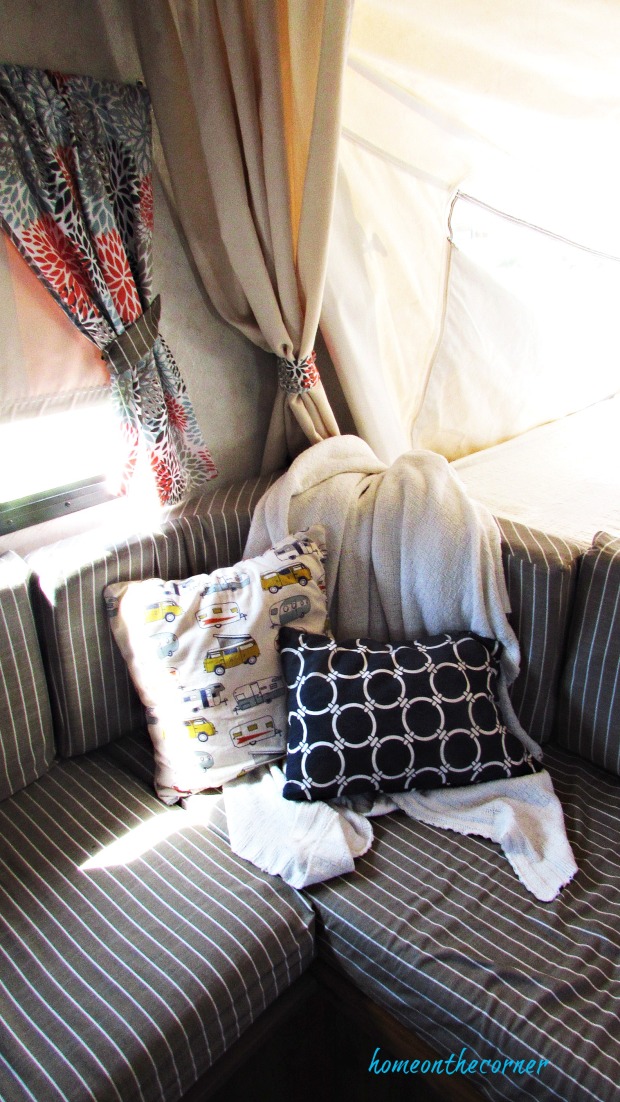
I found the olive/grey striped fabric on clearance at Hobby Lobby for only $4.00 a yard. That was how I decided what colors to use! Lauren and I also found the cute trailer and camper fabric that I had to have! It makes the cutest pillows. The last fabric was the curtains, and these had the perfect colors so they all coordinated together.
Grey and White Fabric * Camper Fabric * Floral Fabric

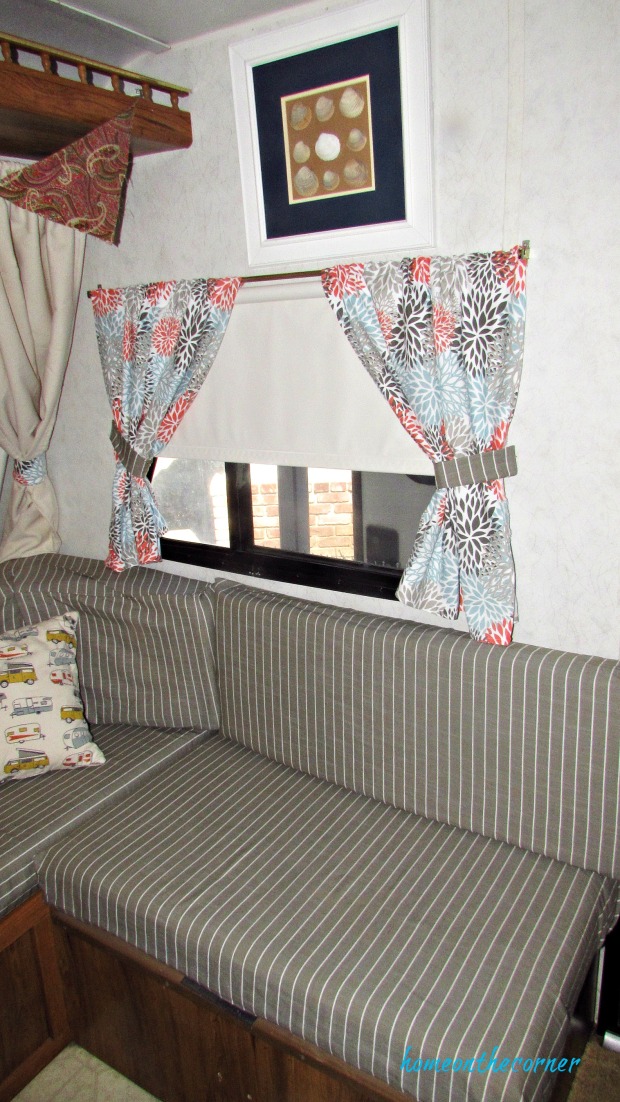
I also used the fabric to make curtain tiebacks. I wasn’t going to make curtains to separate the beds from the rest of the trailer, but after making the the other new curtains, I couldn’t leave the old ones up! They looked terrible! All the curtains were faded, dirty and torn. I used some old curtains I already had on hand and put them up on curtain rods.

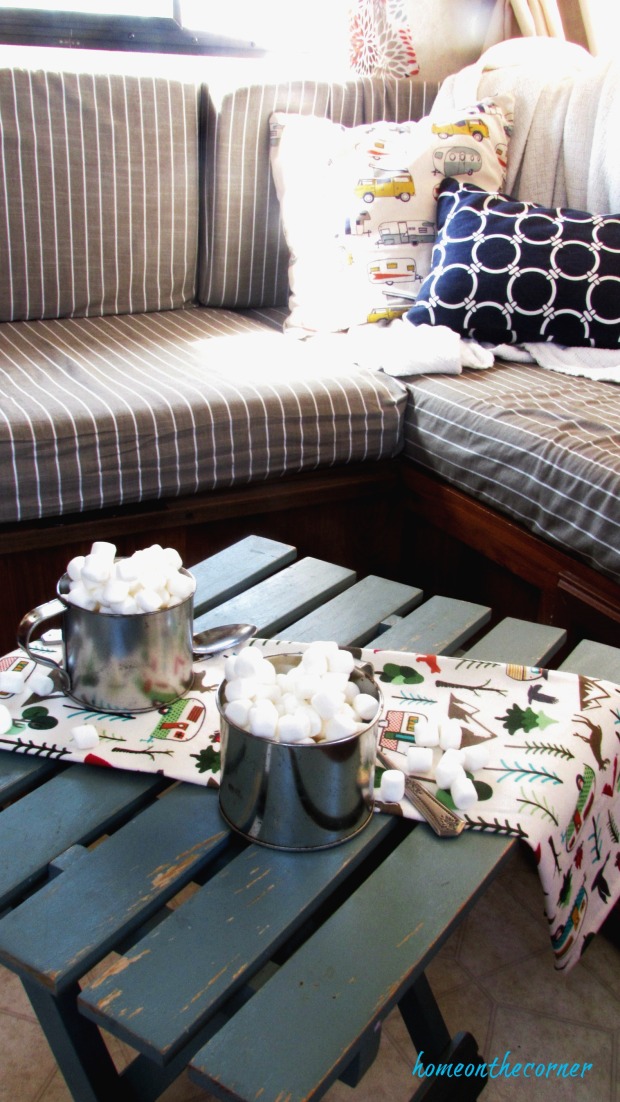
Instead of the large table, I used this little folding table in the middle. It looks so much cuter! I just found this towel and a coordinating one at the lake this past weekend. It is the perfect match to the colors I had used. And of course, hot cocoa is a must when camping!
Camping Life Towels * Tin Cup * Mocha Table * White Table

I also added a valance above the kitchen sink and the stove. There hadn’t been one at all before. This made it look much softer and ties in with everything else.
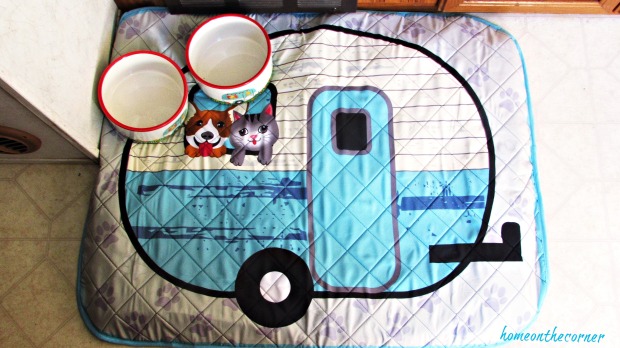
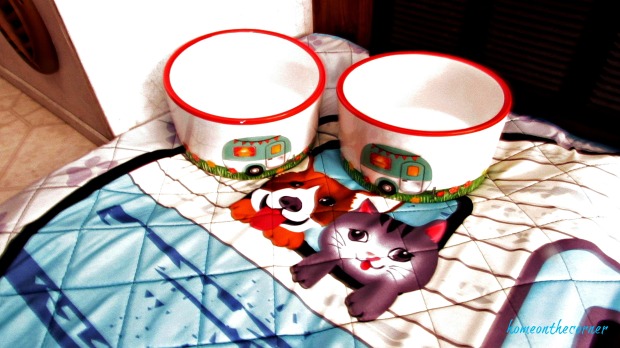
And this new pet bed! Isn’t it adorable! The bowls even match! We always take our dogs camping when we go, so I just had to have this! Of course, the turquoise is perfect! They came from Lakeside Collection, but I found similar ones on Amazon.
Camping Pet Dishes * Camping Pet Bed
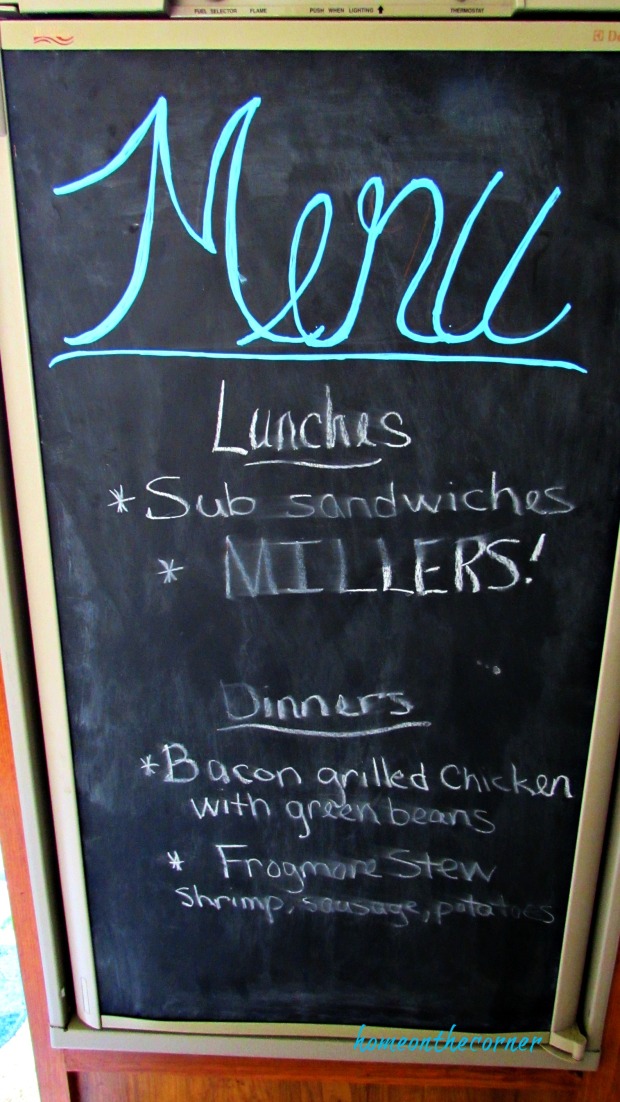
I also painted the front of the refrigerator with chalkboard paint. The faux wood piece in the front just slid out so I was able to paint it outside the trailer. Now I can write down the menu for the weekend.
Bristro Chalk Marker * Chalkboard Spray Paint
Haley had given my these lights awhile ago, and I thought they would look cute in here. I hung them above the refrigerator along with the divided basket. I used some white foam tape on the bottom of the basket so it doesn’t move and fall off when we travel. This is the perfect place for a box of Kleenex and holding items such as keys, change and sunglasses.
Rattan String Lights * Divided Basket * White Foam Tape Squares

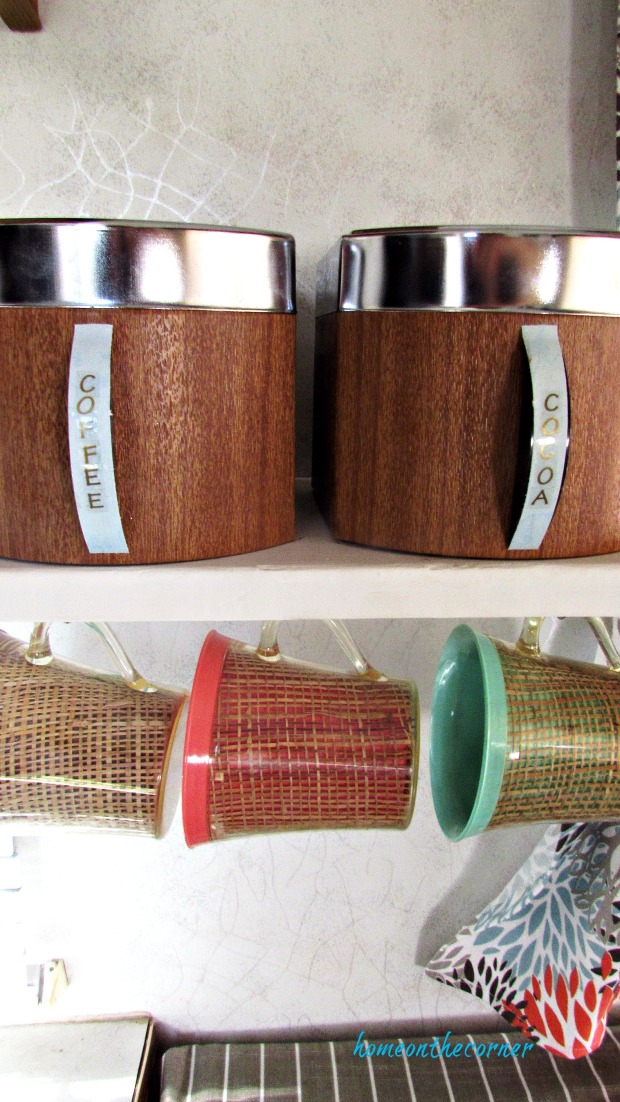
I love these canisters! My aunt and uncle were getting rid of these and I snatched them up! They are so retro! The lettering was for coffee and tea and I changed it with some scrapbook paper and stickers to coffee and cocoa. When we used to have a cabin at the lake, we had cups like these. Several years ago, I found these at a yard sale. I can’t believe how perfect they go with with all the other decor.
Black Canisters * Galvanized Canisters * Happy Camper Mug

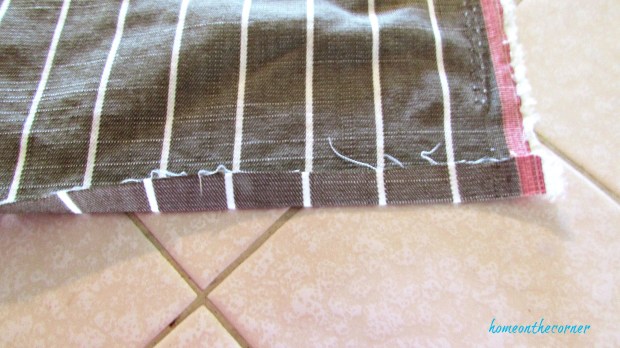
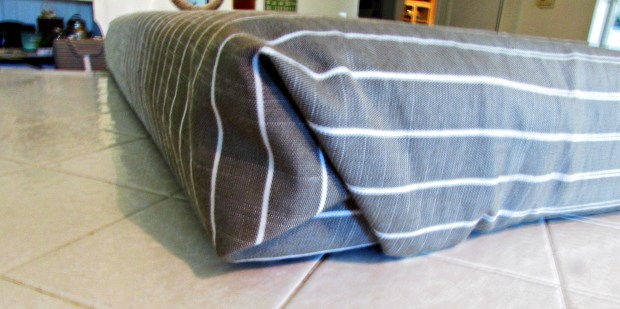
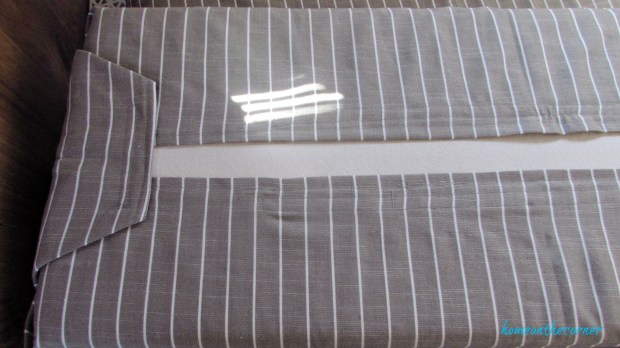
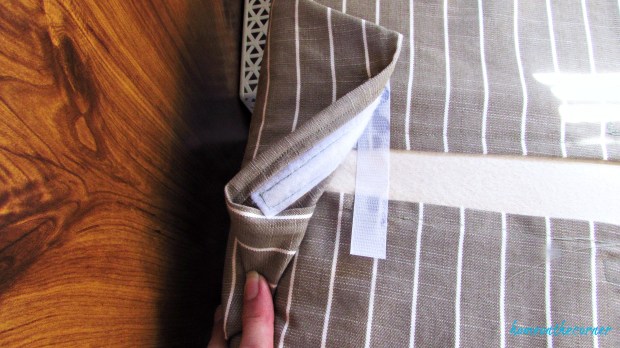
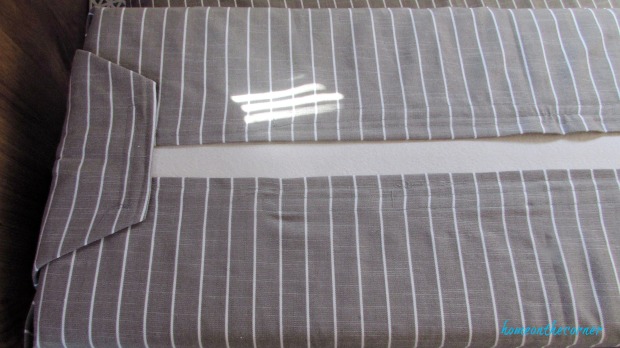
Here’s a little sneak peek at how I covered the cushions.

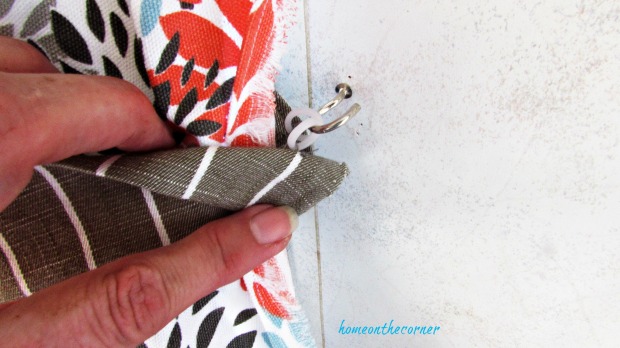
I sewed the curtain tiebacks and added small plastic rings to the ends. Then I screwed a cup hook into the wall and can place the rings on the hook.
Cup Hooks * White Plastic Rings * Sew-on Velcro * Stick-on Velcro
I used the seashell specimen art I made a couple of years ago, to hang on the wall. Another blogger used Scotch Extreme Mounting Tape. It’s amazing! Even over all the terrible roads, none of the pictures or other items I hung up with this tape have fallen when we traveled.
Scotch Extreme Mounting Tape
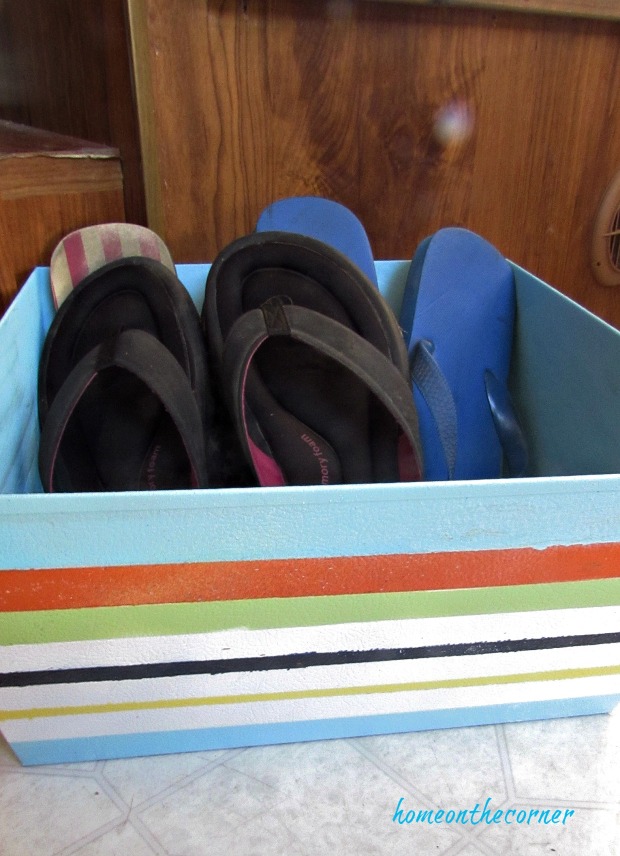
I also painted this metal box to use as a shoe holder when we camp. It’s so much easier to have flip flops right by the door, so you can slip them on quickly to go in and out of the trailer. I painted the stripes with spray paint to match the ones on the shower curtain in the bathroom.
Galvanized Bin * Rustoleum Spray Paint
The hooks are a great place to hang our dogs’ leashes when not in use. Perfect! Isn’t this little lantern the cutest thing! It was an Avon aftershave bottle. I just poured out the aftershave and washed it out really well. 🙂
Command Key Rail * Tiny Coleman Lantern

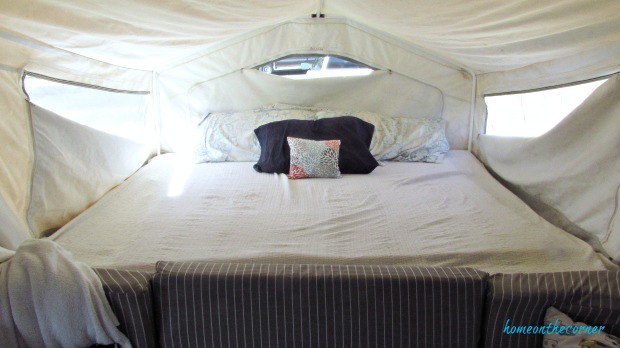
I placed some old books and a candle up above the table. I used the same white foam tape to keep them from sliding around. I made the fabric banner a few years ago and hung it up across the front of the bed. It’s made from fabric squares and twine.

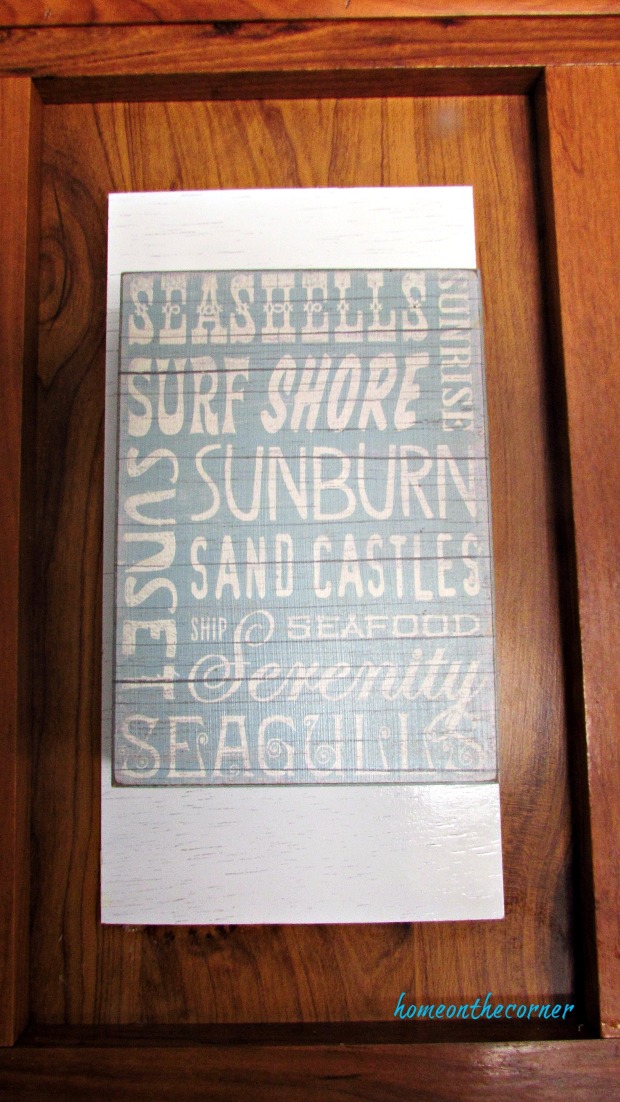
There was a hole here in the cupboard panel where we removed an old speaker. I painted a small piece of wood white, glued it to the panel and then hung the beach sign on it.
Beach Sign
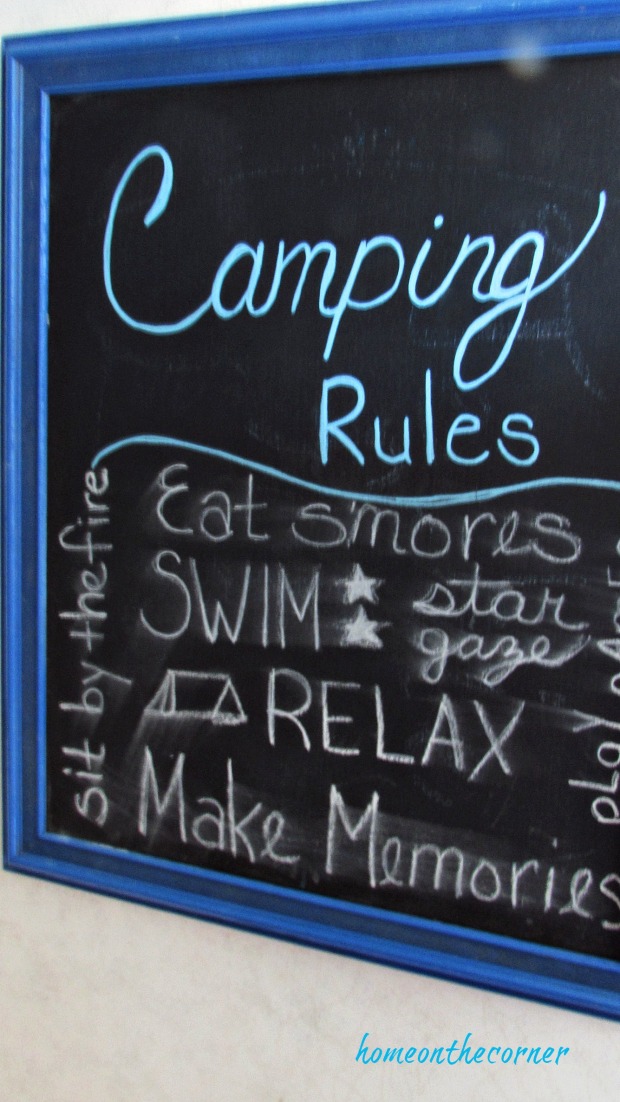
The last thing I added was a Camping Rules chalkboard. This was an old sign I had and so I added some of the ‘rules’ and hung it next to the bathroom. It got rubbed against a few times during this weekend. 🙂 I need to get a new white chalk pen!
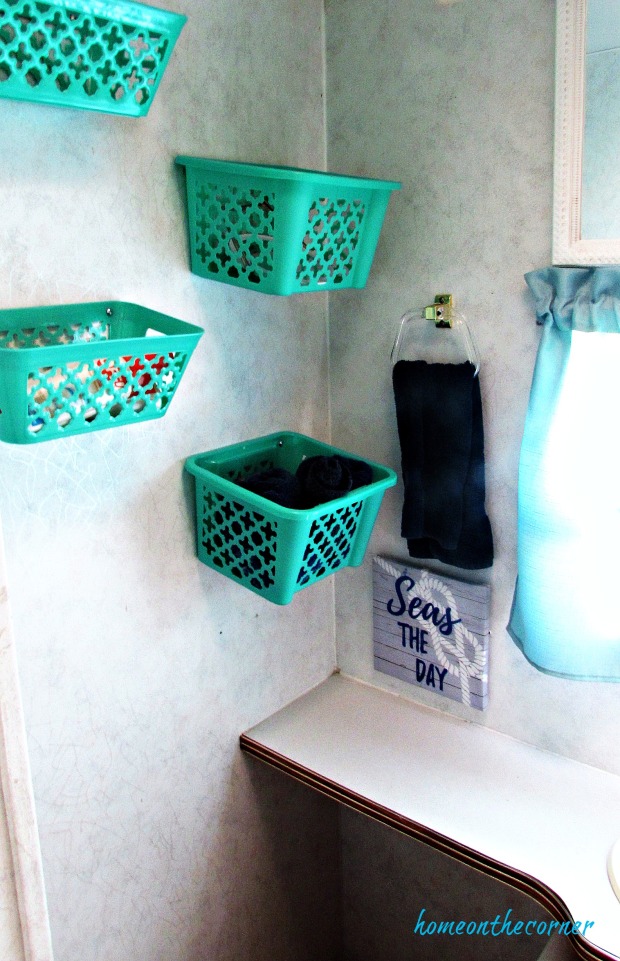
I don’t have a before of the bathroom because I changed this room before I decided to do the rest of the trailer. This wall used to have a medicine cabinet on it. I took it down and added these baskets to store all our personal items in. I added a little picture on the wall below the towel mostly to cover up some holes in the wall. The mirror on the right is the mirror from the medicine cabinet. We removed the mirror from the cabinet and hung it above the window.
Grey Plastic Bins * Seas the Day Plaque * Striped Shower Curtain
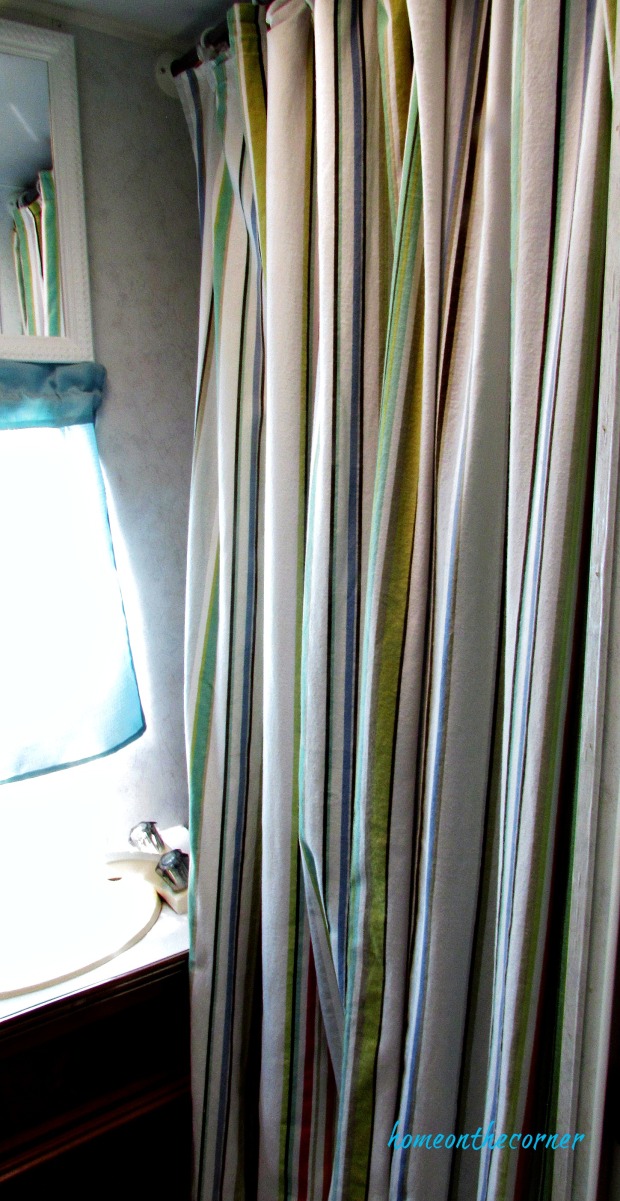
I hung up this striped curtain over the shower. It used to have just a plastic curtain, but this is so much cuter!
I bought this towel along with the other one on the little table because ‘This is how we roll!’ I also collect magnets from the different places we visit and place them on the oven door. I love the memories it brings back!

So what do you think? I love it! As I was sitting in the trailer this weekend, I looked around, and just love how it all looks together! I’m so happy I took the time to do this makeover! I would love to hear your comments! Thank you so much for coming by!