Happy 4th of July week! It’s so great to see all the red, white and blue all over town and the blogosphere! It really puts you in the mood for fireworks, bbq and fun times! I did a very simple tablescape for the holiday. I don’t really use red in my decorating, so I kept it very light. But I DO use lots of blue and turquoise!! So that’s what I went with!
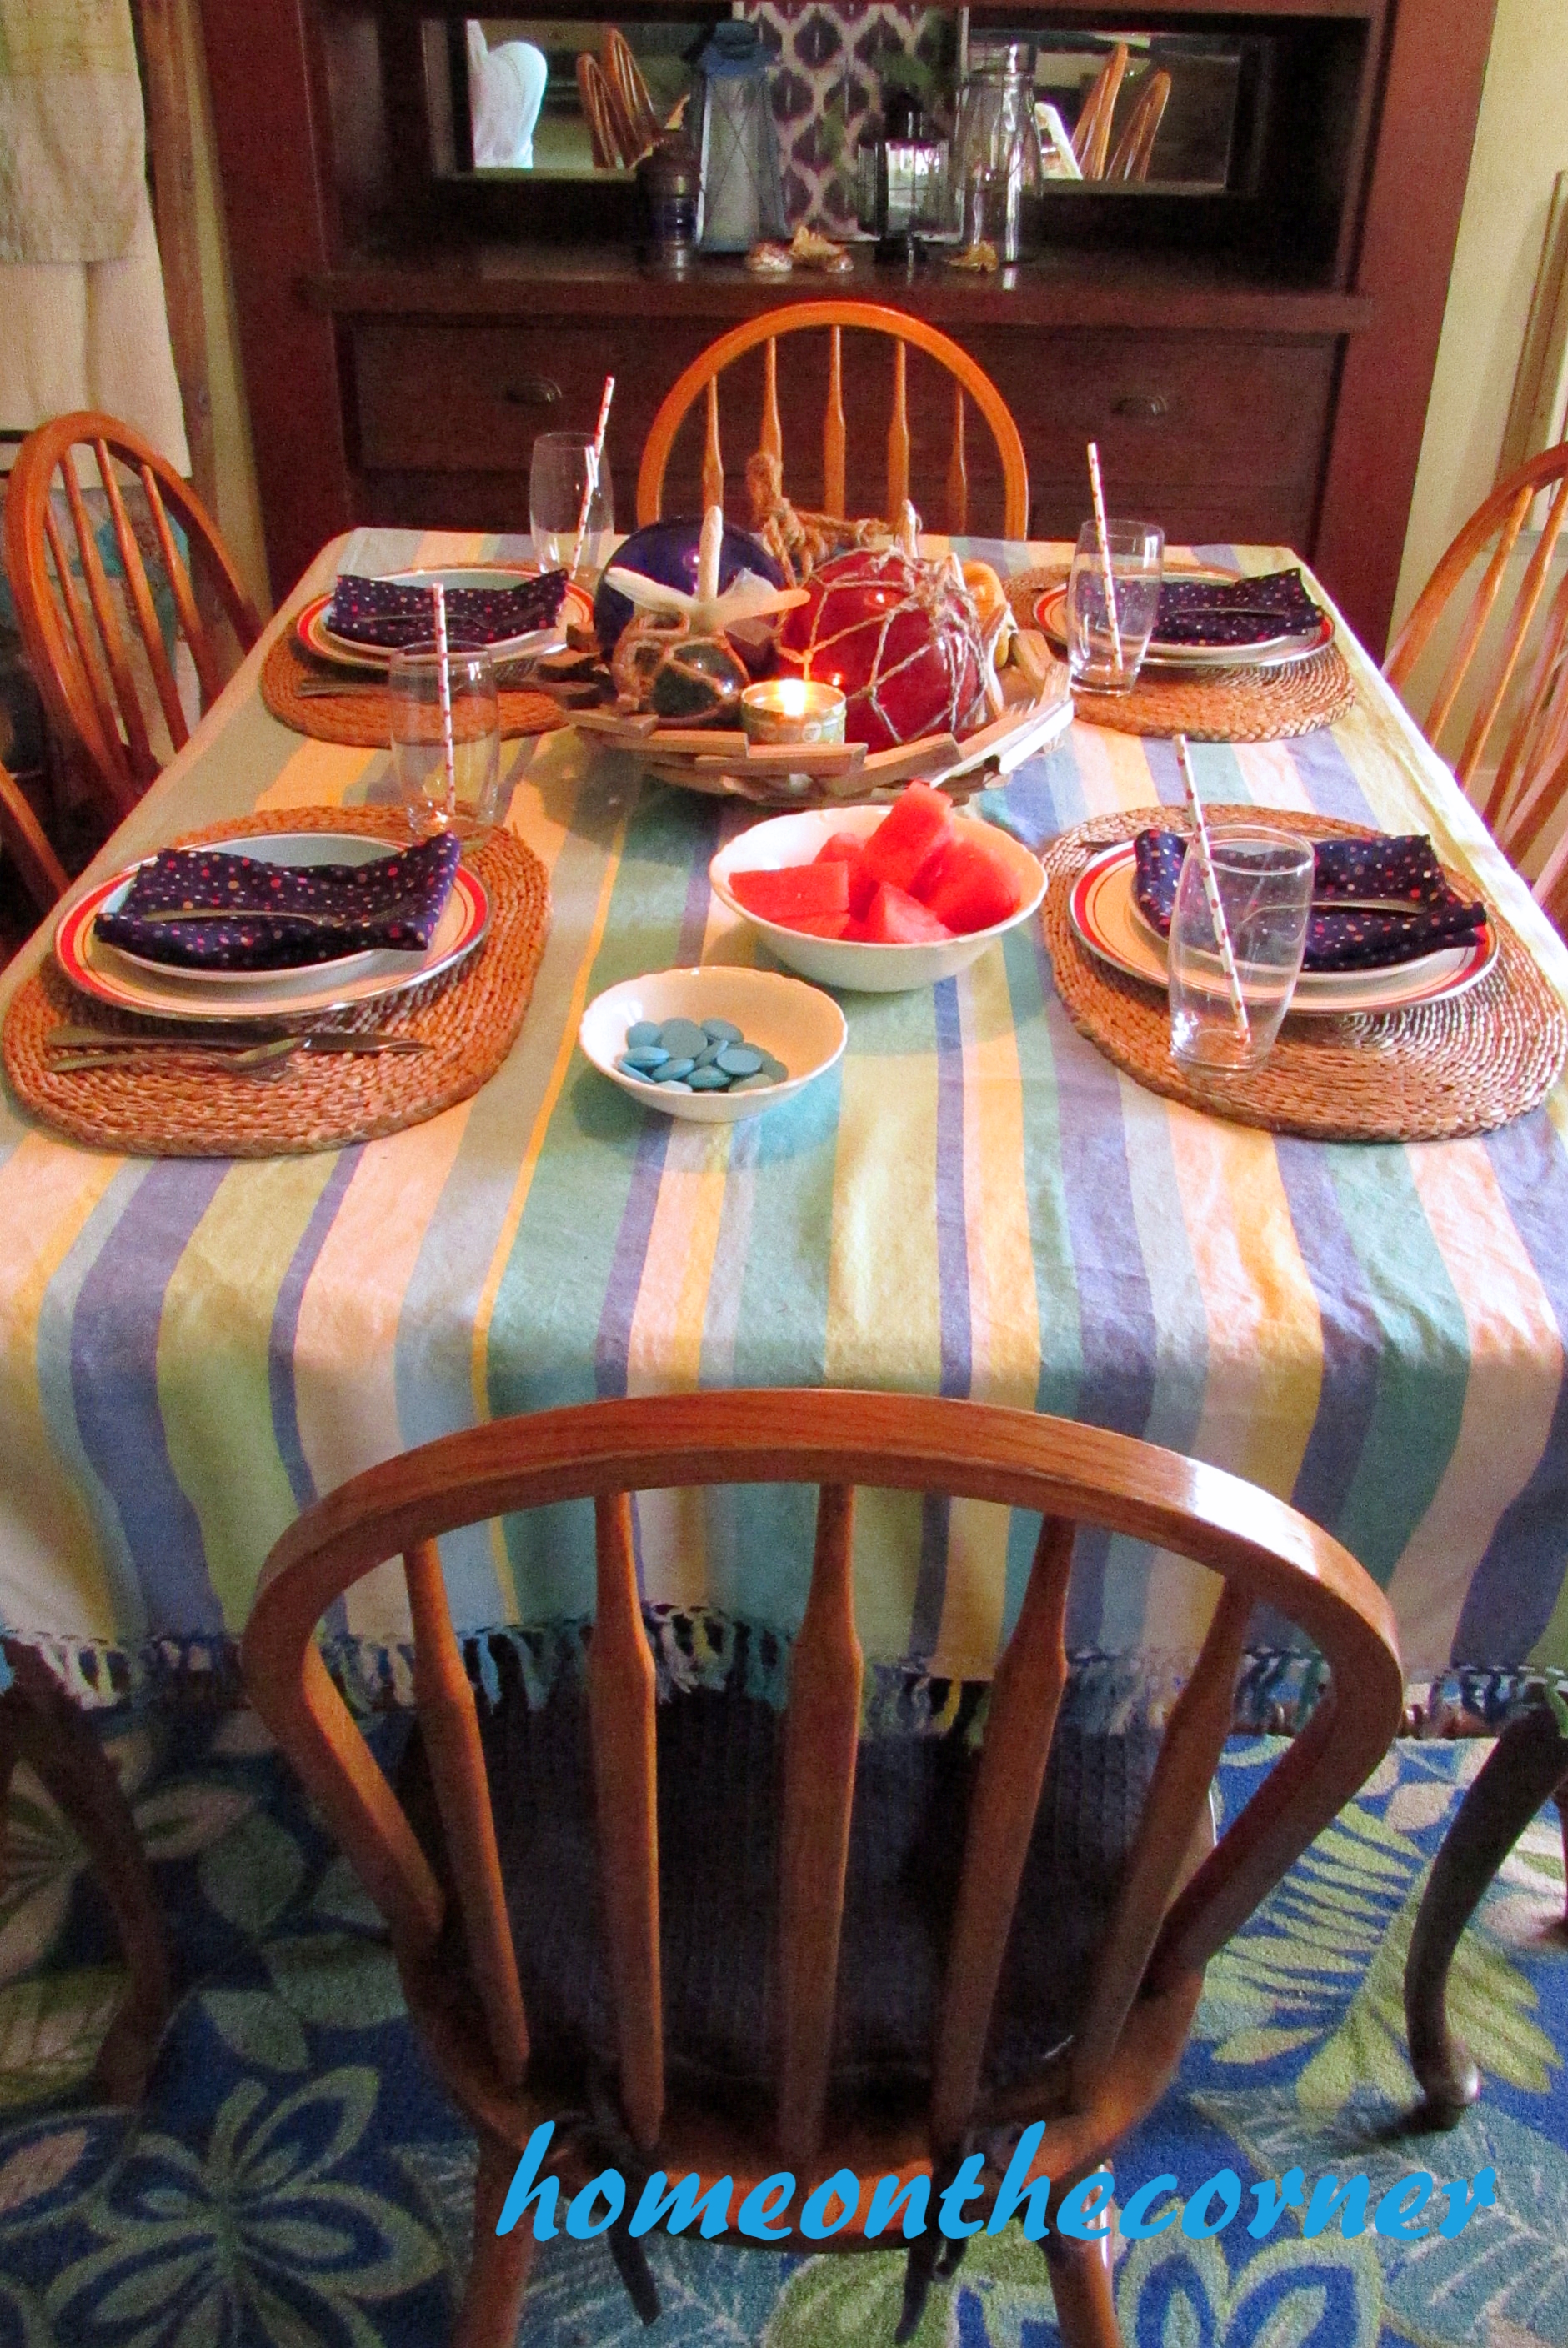
Blue, turquoise with just a touch of red
I still kept it coastal and beachy too with the driftwood bowl and glass floats and seashells. 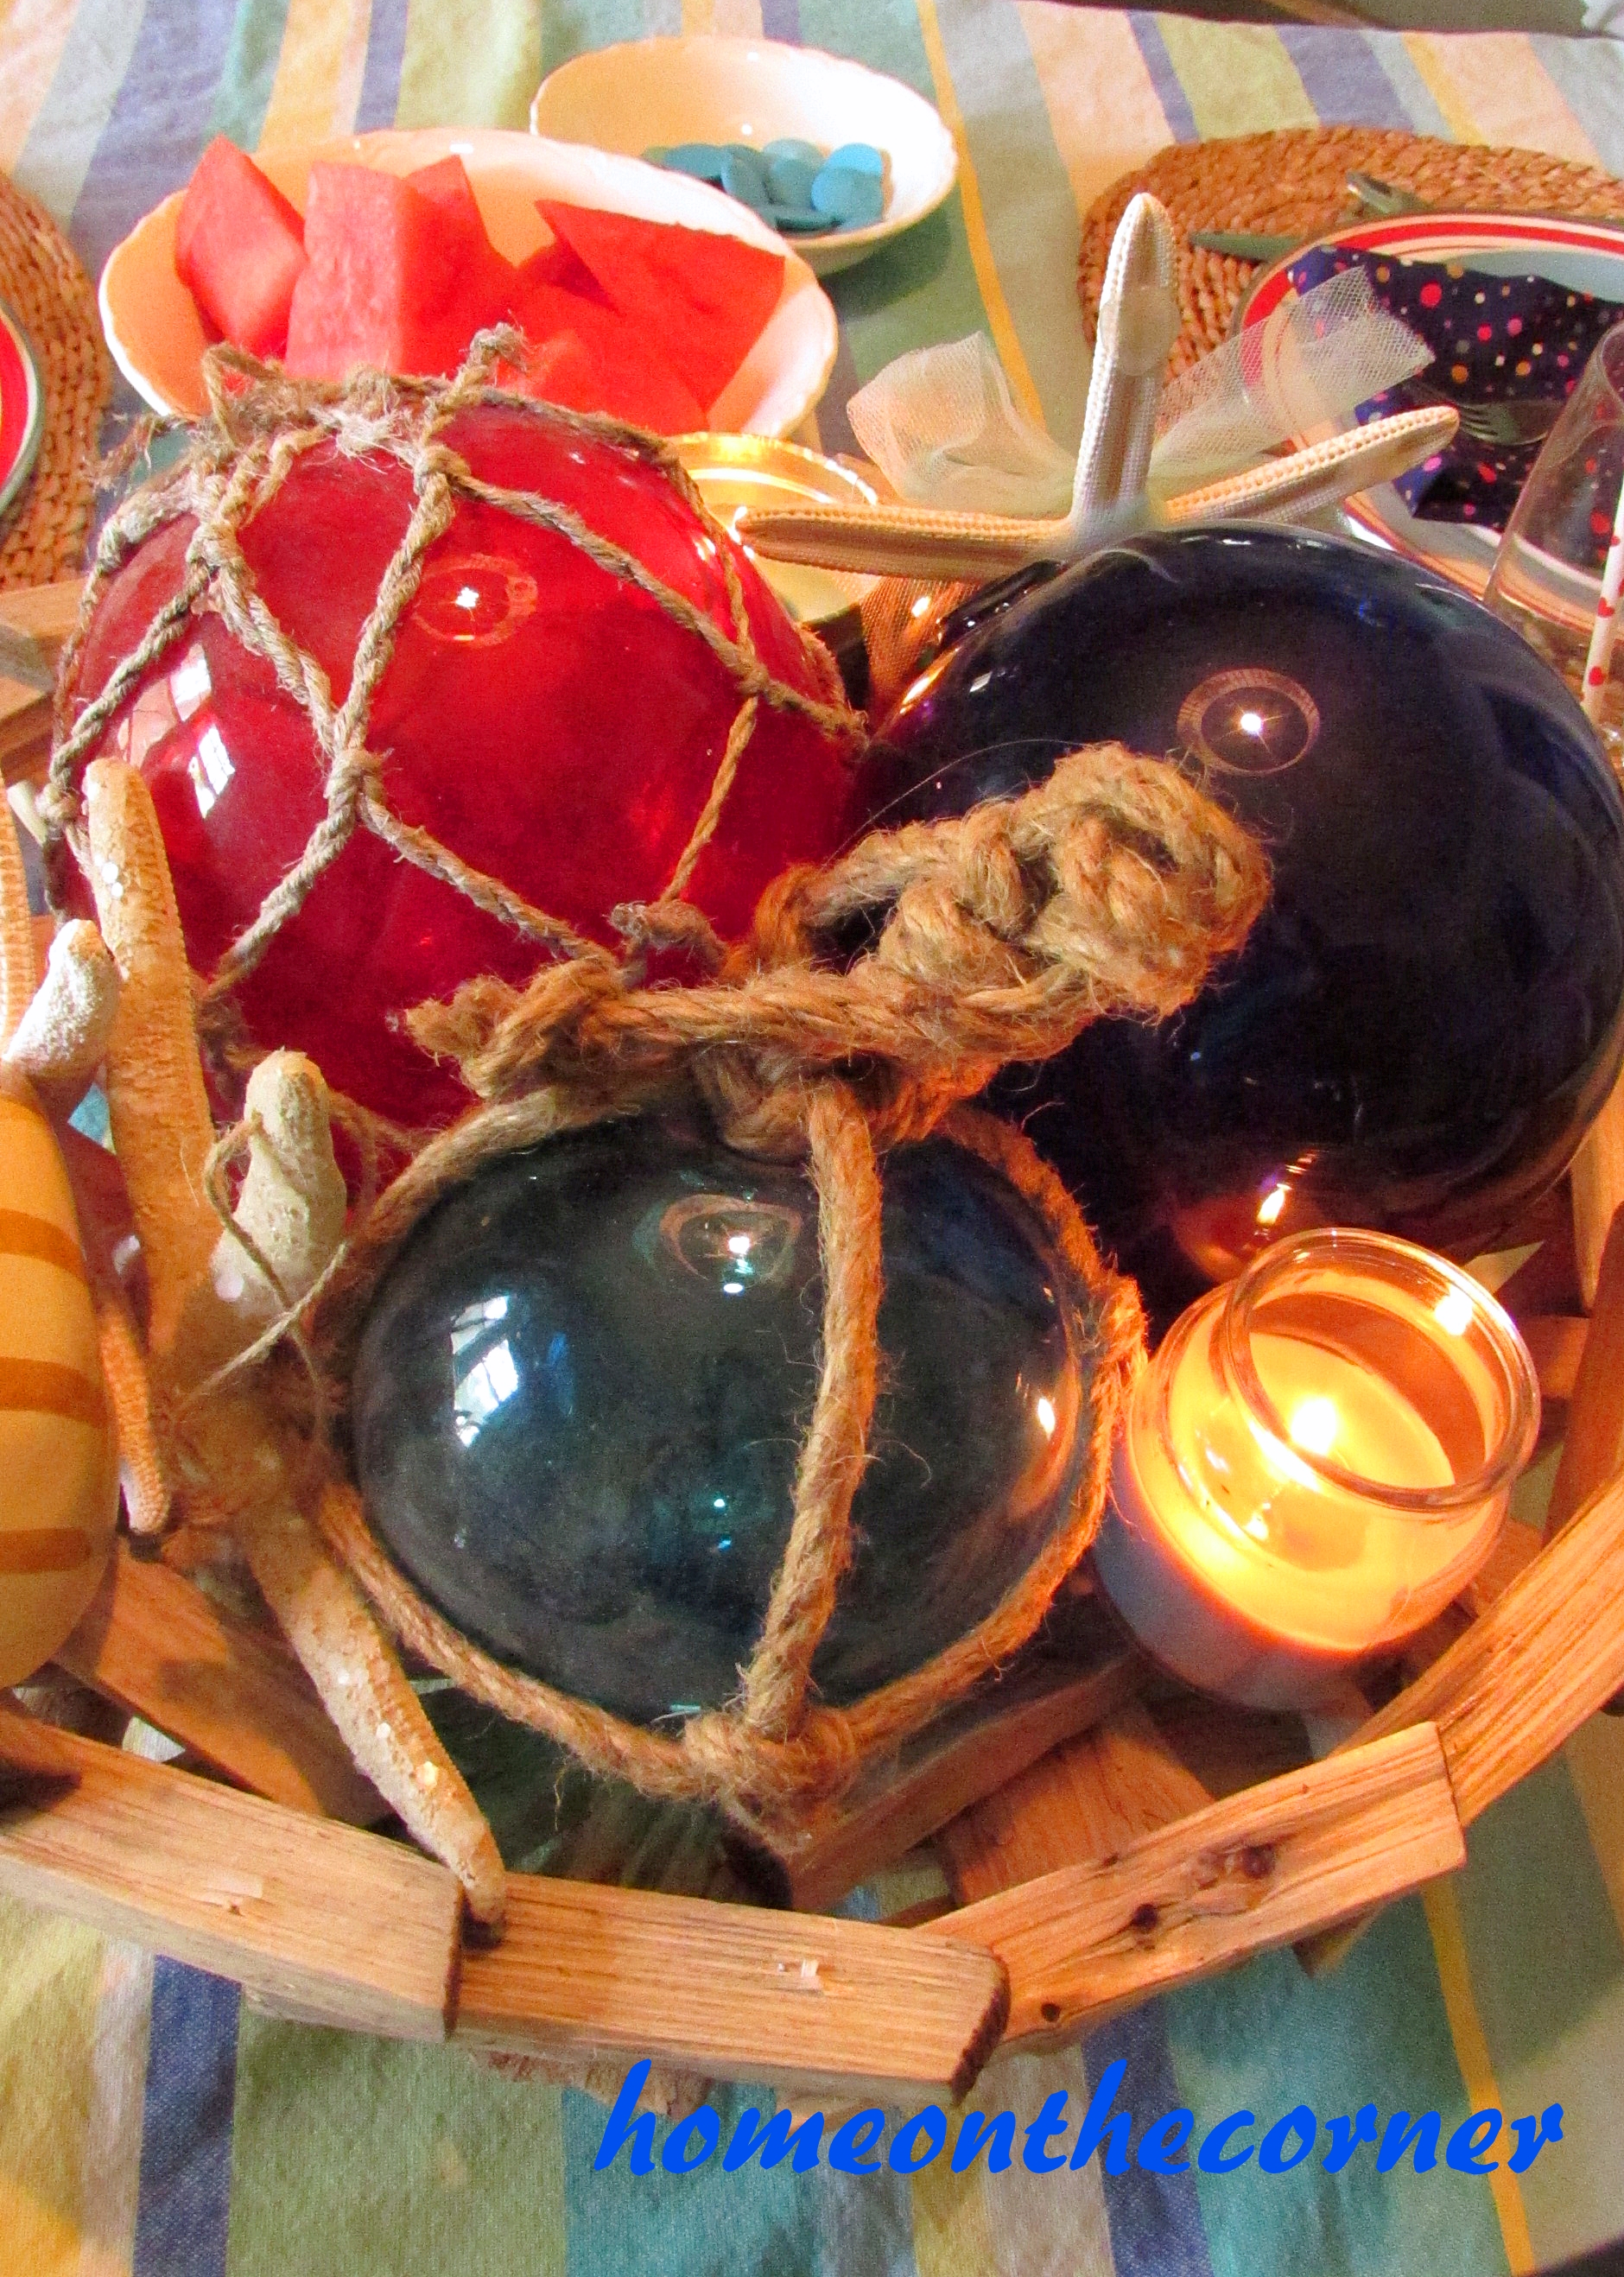 A few candles add to the atmosphere.
  I picked up these white and red metal plates several years ago at a thrift store and the small turquoise ones are from the 99 Cent Store. The woven place mats I just picked up at Goodwill last week. I was so excited to find them! They are so perfect for the beach theme!
 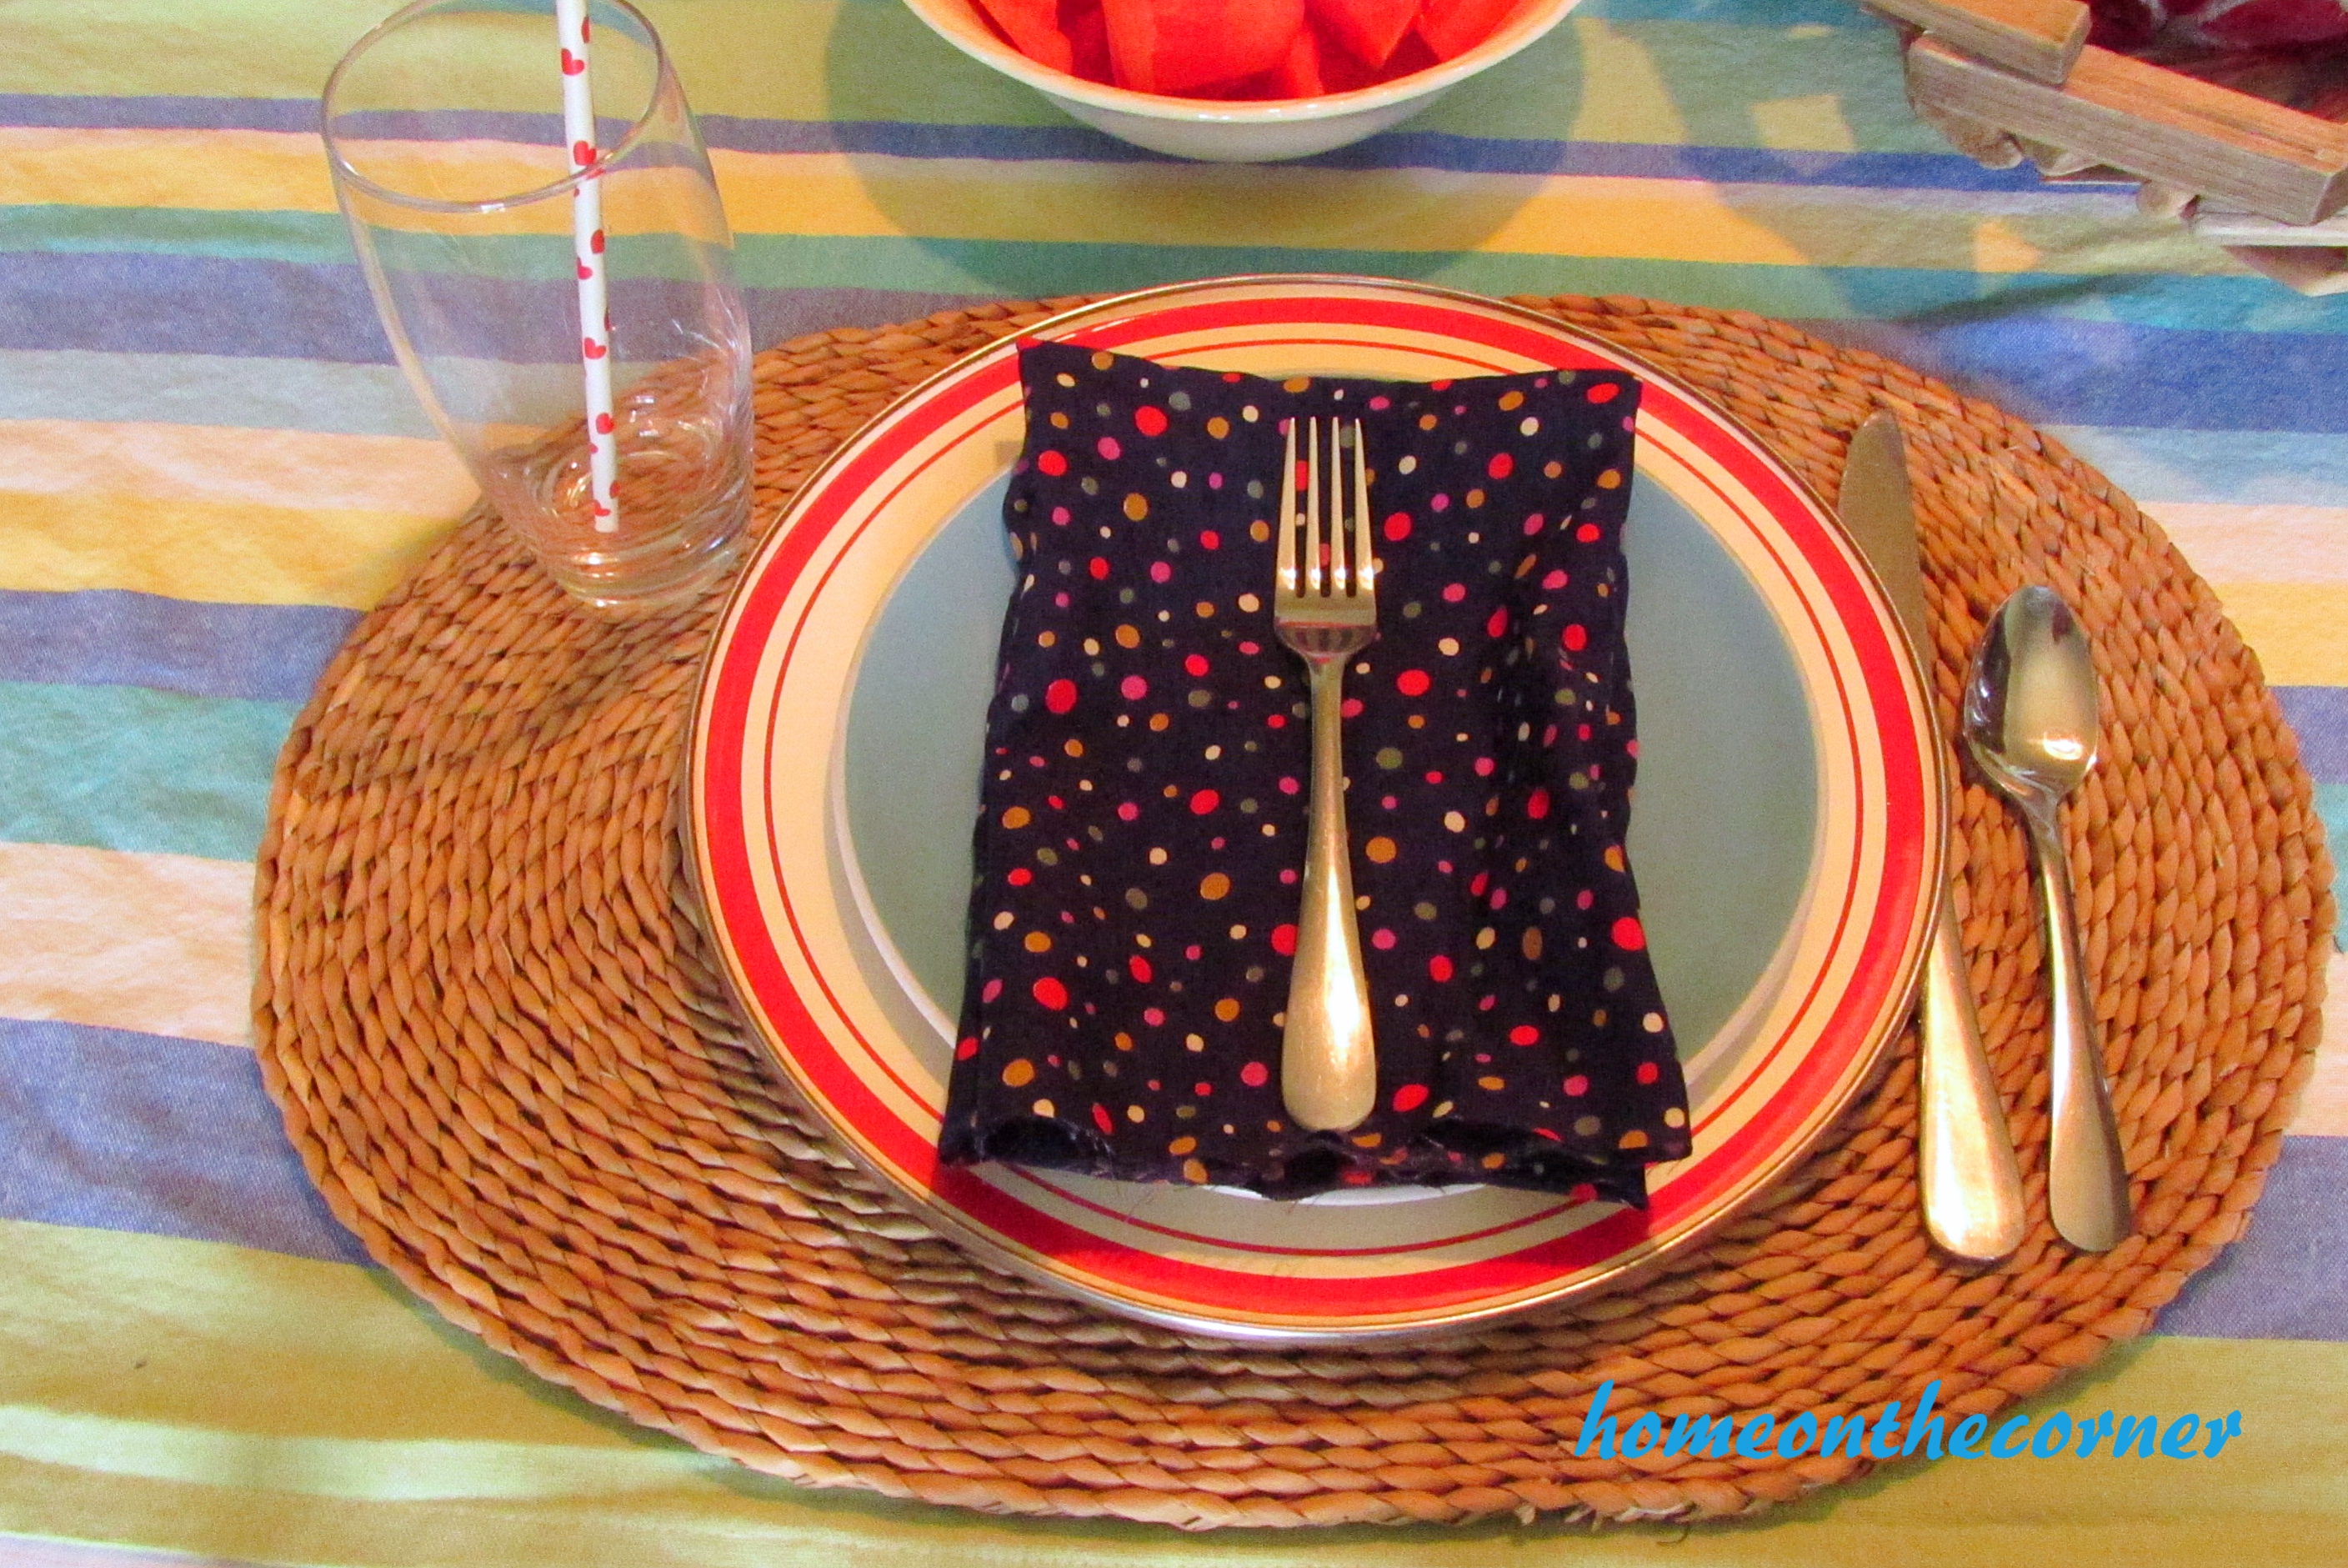 The napkins are just pieces of material I ‘borrowed’ from Lauren’s fabric stash.
  I love adding the red and white straws to the glasses!
  The red watermelon was the perfect accent! Do you find, that once you cut up some fruit, it gets eaten much quicker? My watermelon was completely eaten by that evening!
  I hope you all have a wonderful 4th of July! Please stay safe and enjoy time with family and friends!