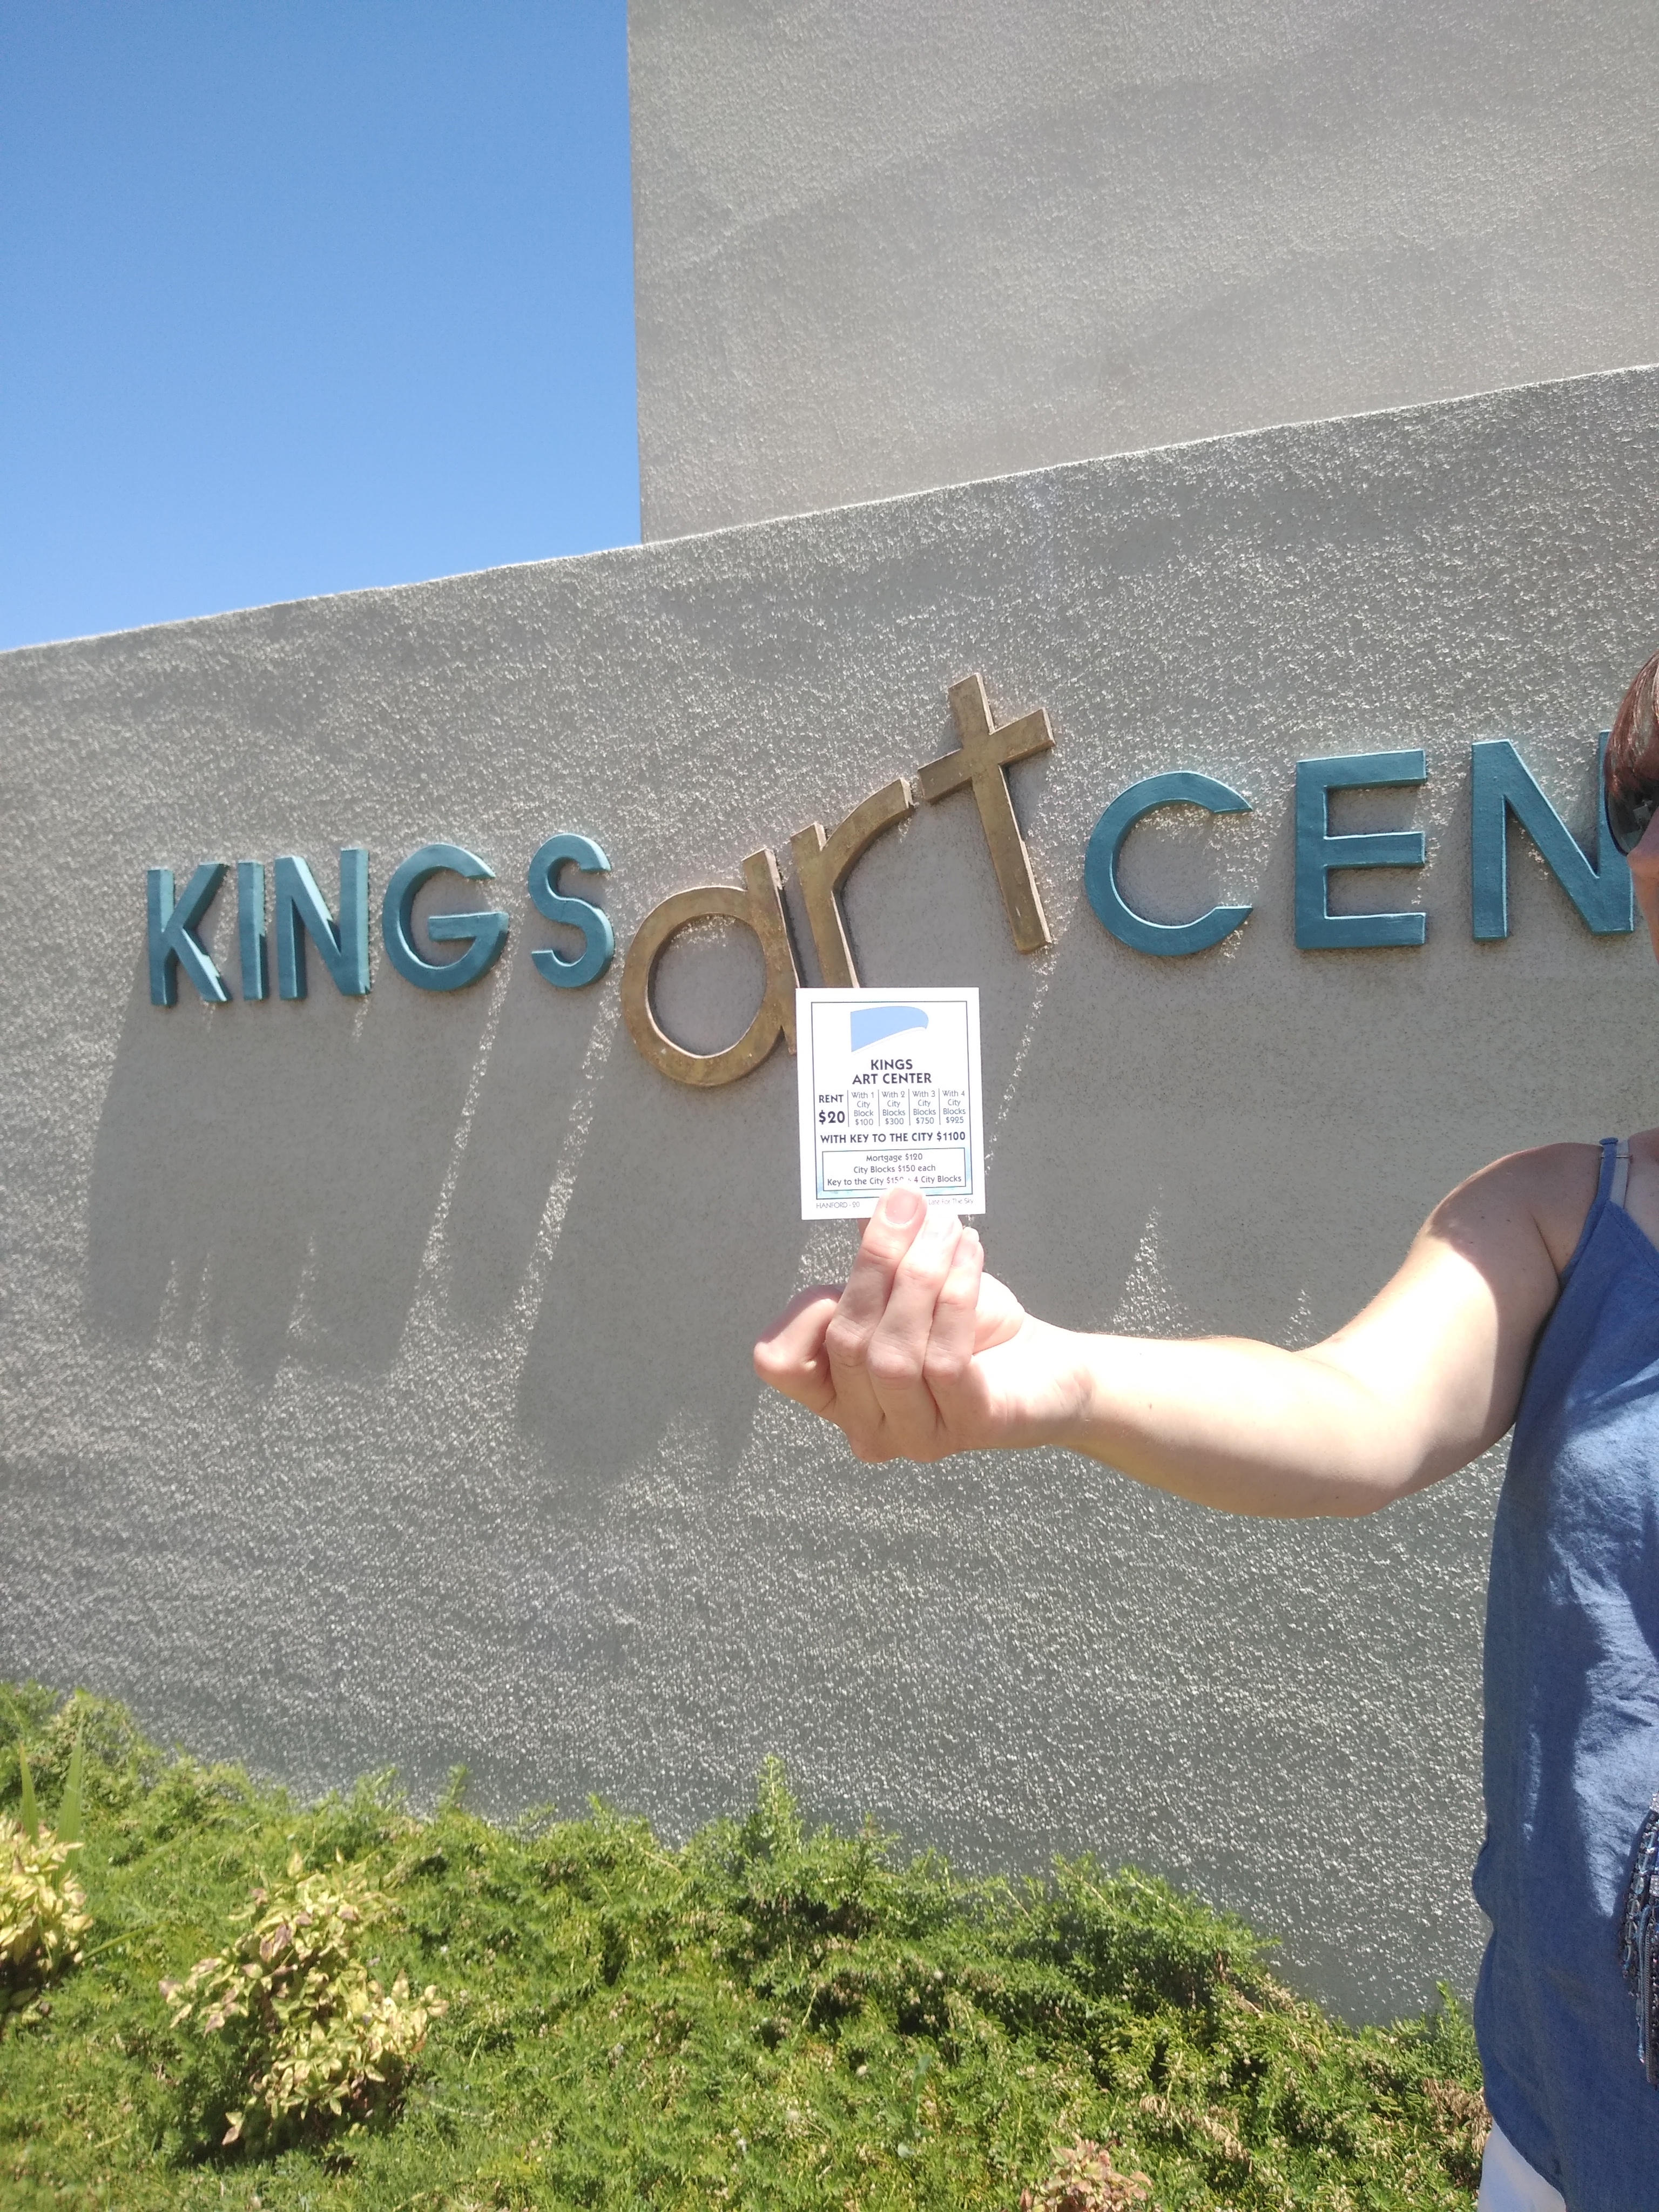
Last year, I found that Walmart was selling the game Hanfordopoly. It’s like Monopoly, but for my town. Well, I had to buy it! Then Lauren and I went around town and took pictures of each of the places on the game board. It was so much fun! I can’t wait to introduce you to our sweet little town and some of its history.
If you haven’t read the other My Town posts, you can read them here:
Part 4 – Civic Auditorium and Civic Park
This fall my husband and I went to the Renaissance Faire. I don’t think I had been for 20 something years. My husband says we took the kids when they were younger, but I don’t remember. 🙄 My memories of it from my youth aren’t very good, but now going back, it wasn’t so bad.
“Return to the English Renaissance with Henry VIII and his court, at the Hanford Civic Center Auditorium. Arts, Crafts, Comedy, Music, Dance Shows, Interact with Costume Performers, Food, Drinks, and much more; FUN FOR THE WHOLE FAMILY!” This was the 44th year of the Faire. That’s a lot of Faire’s!
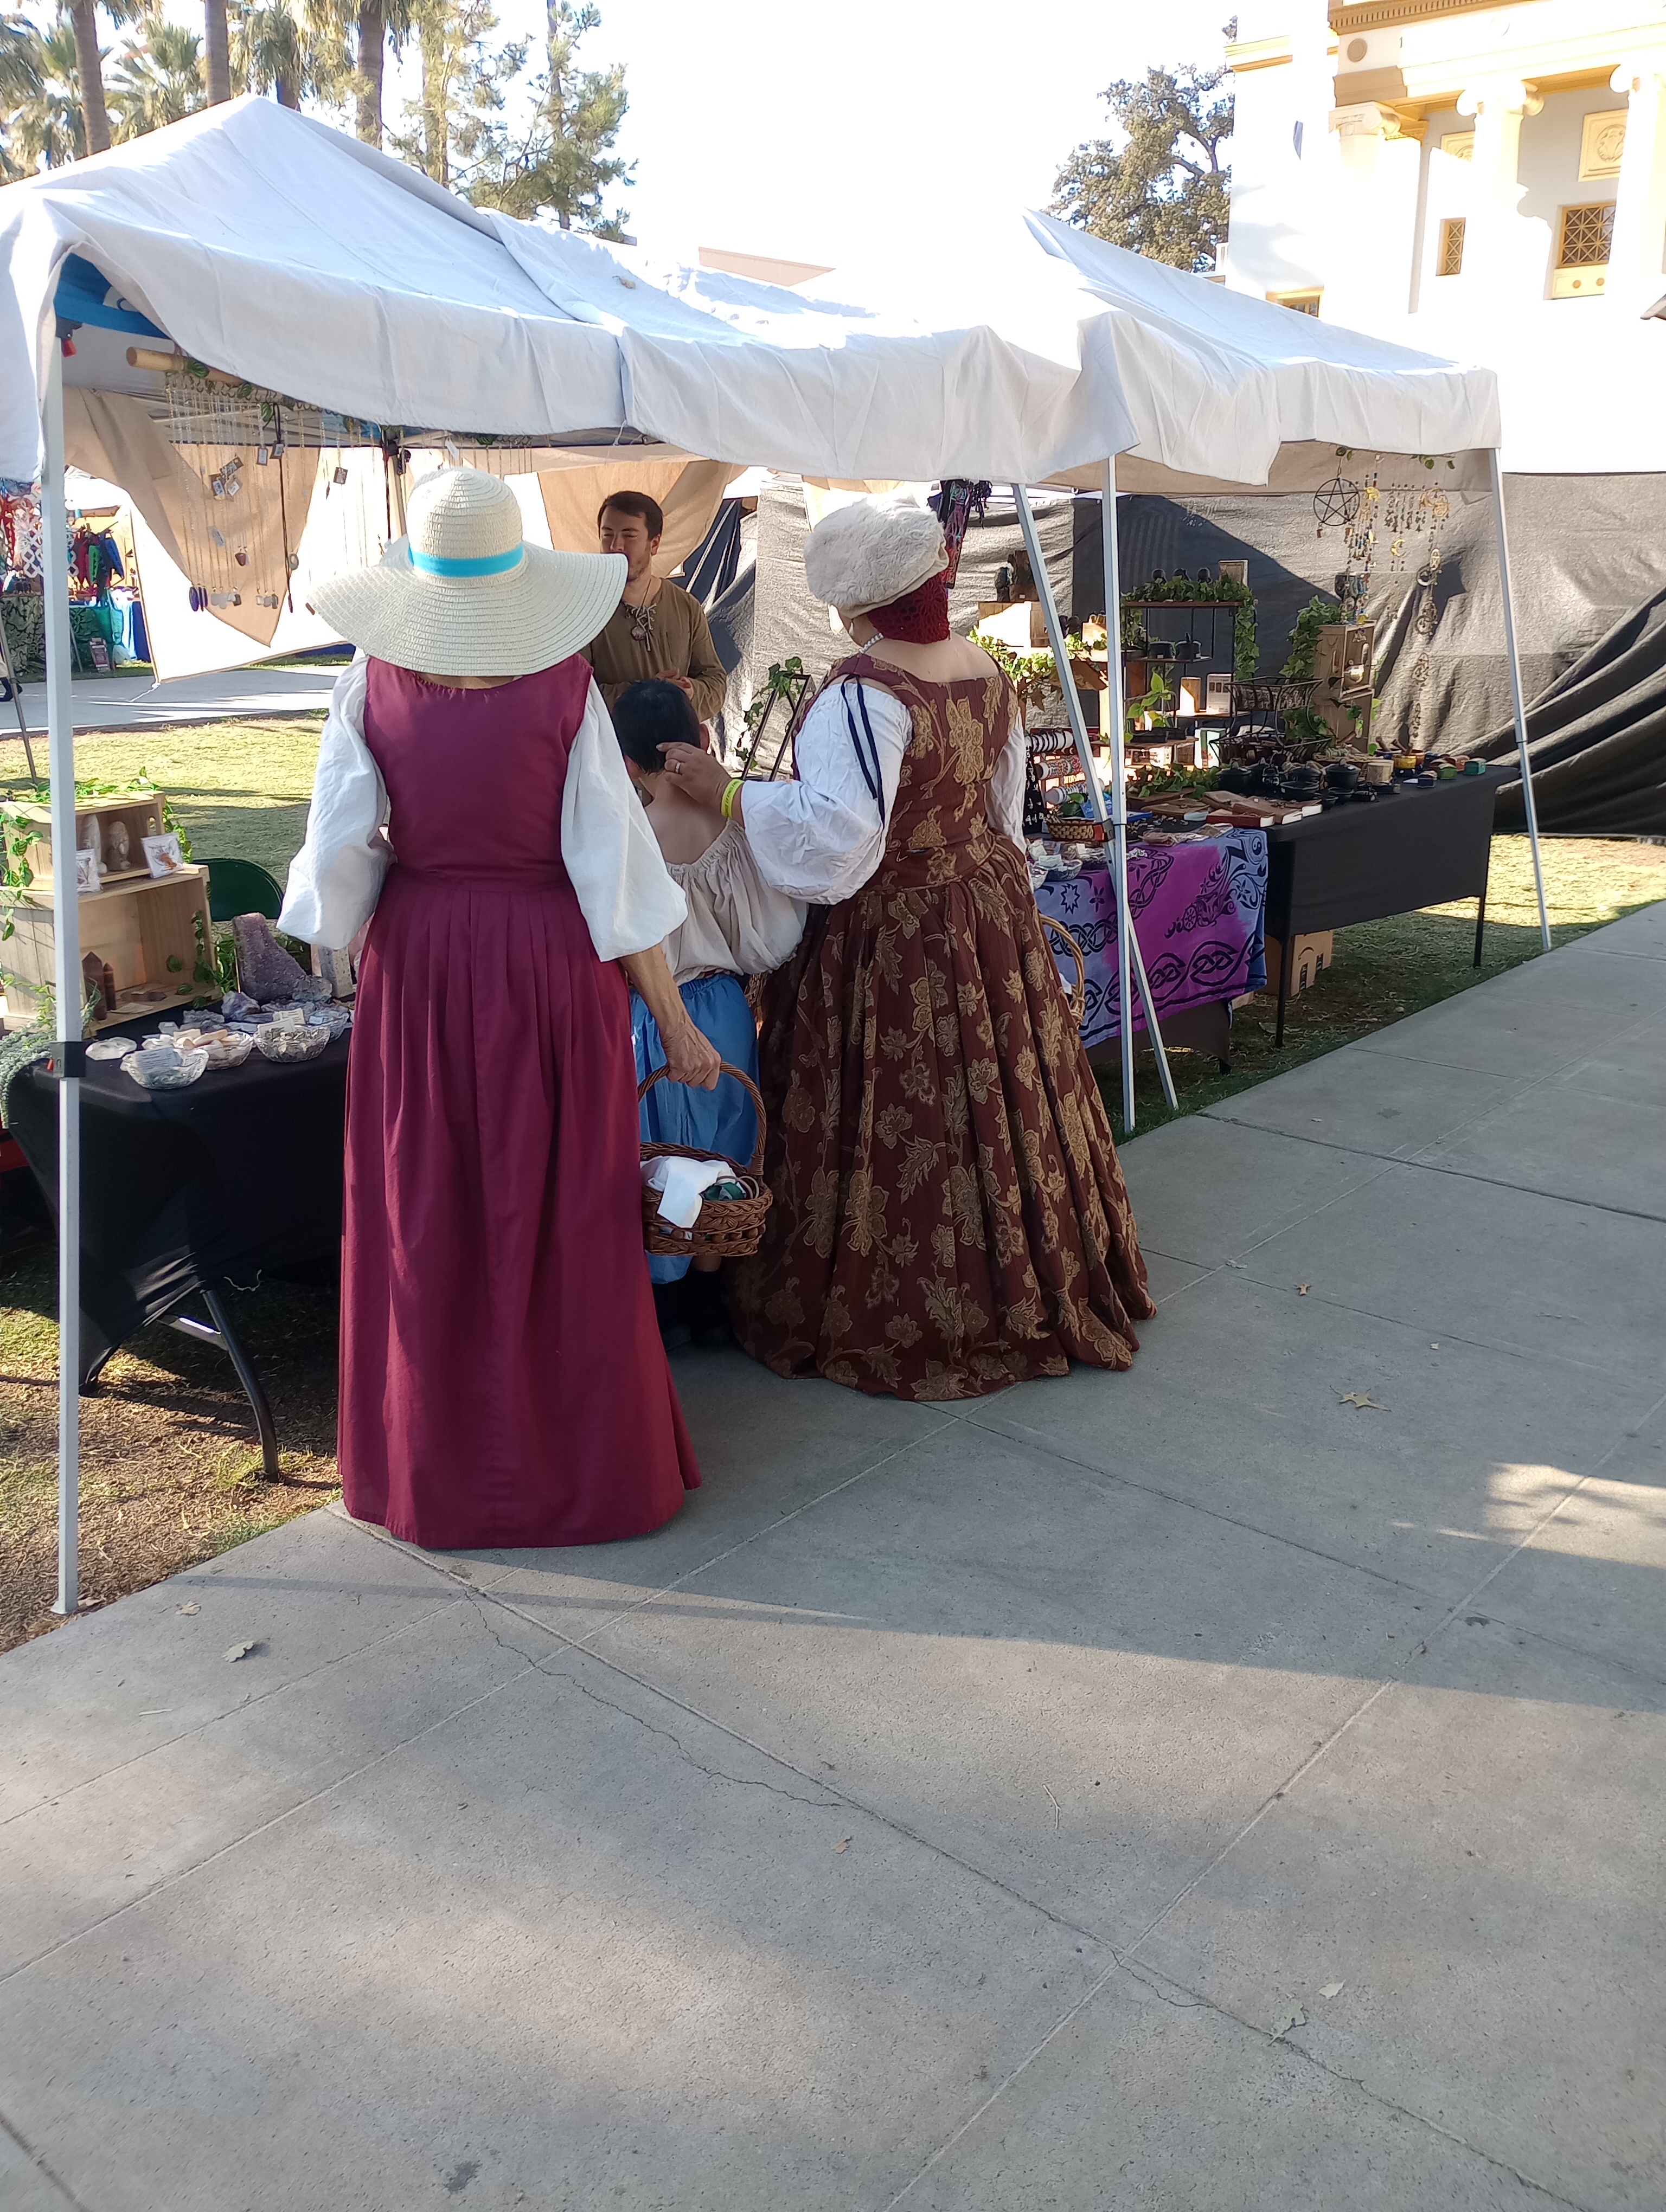
You see many people in costumes, both vendors and guests! It was a very warm day, so I don’t know how they survived in all those layers!!
There are tents set up all over Civic Park. There are a lot of different events that happen throughout the couple of days. Come on by to watch some belly dancing!


Of course, most of the park is filled with vendors selling all sorts of Renaissance products. These tankards were so cool, but I can’t see spending that much on a mug. They were all wrapped with leather with those fabulous designs.


So many beautiful rocks! My great uncle was a ‘rock hound’, and these booths always remind me of him. I wish I had learned more about rocks and gemstones. My mom still has some of the rocks from him and a couple pieces of jewelry made from opals he found. A lot of his rocks were also donated to our Christian school for a rock garden.

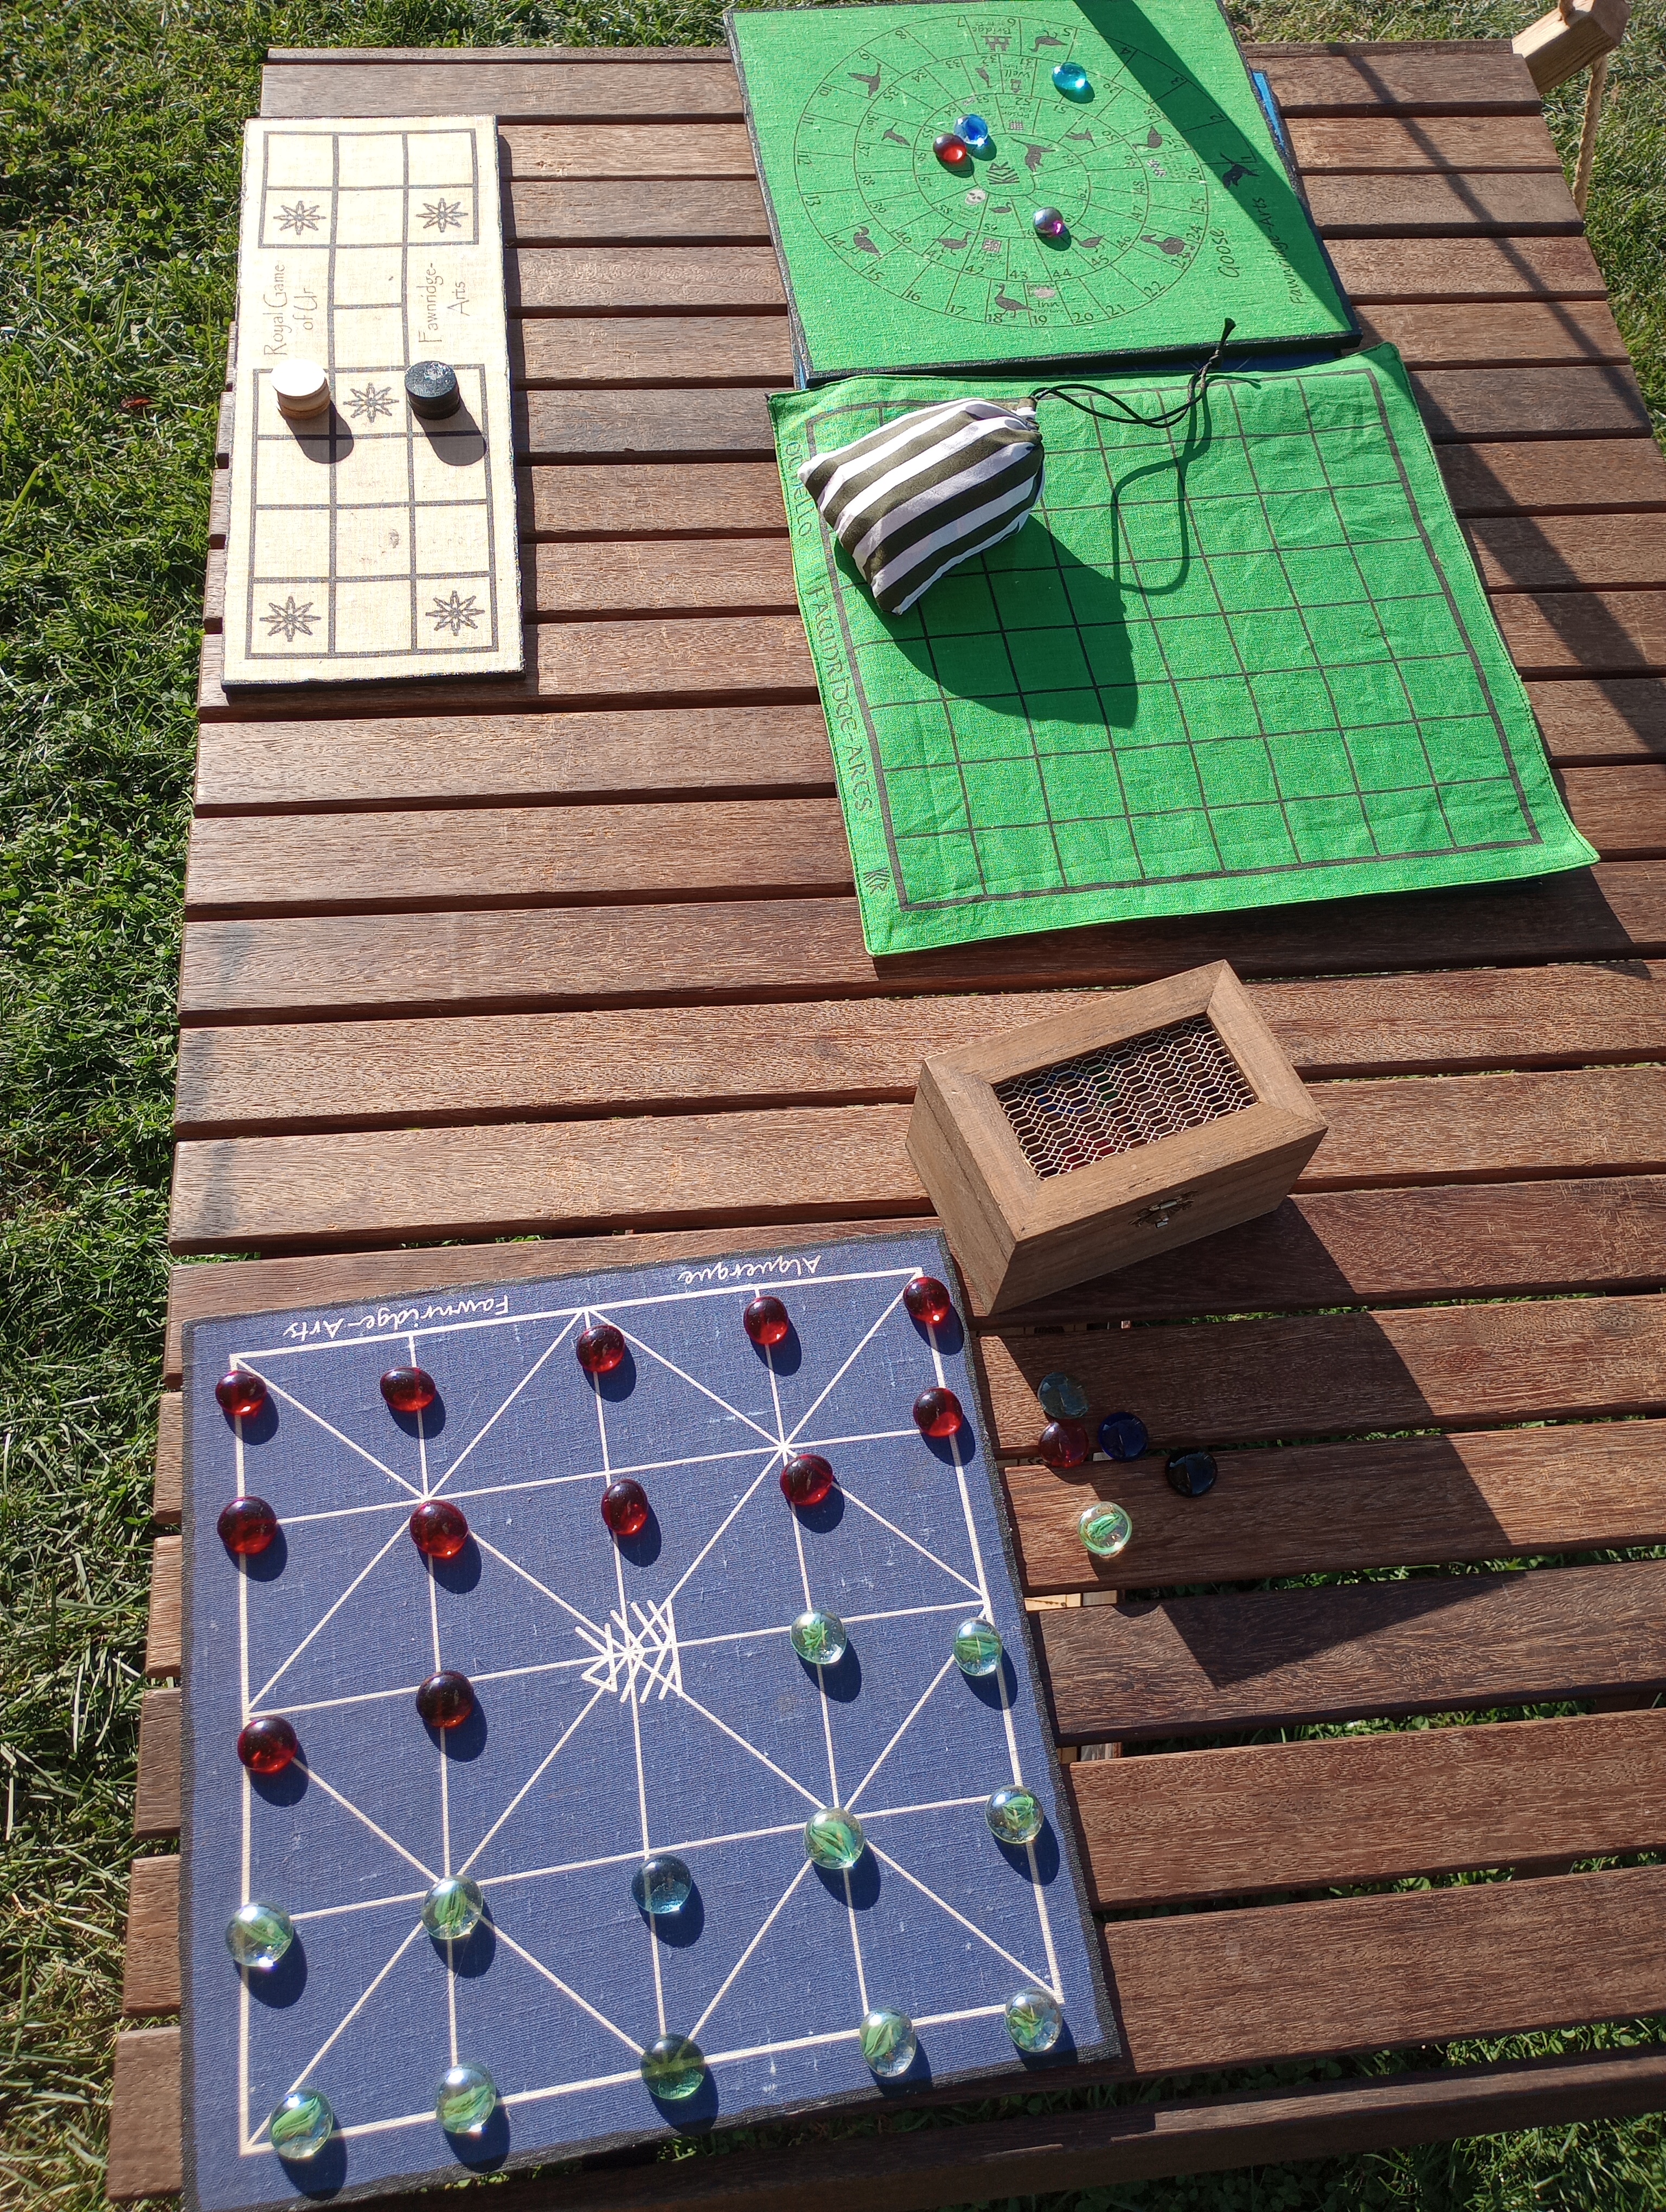
These are some old types of games that were played during the Renaissance time. I didn’t get all the instructions on how to play so I can’t tell you anything about them.
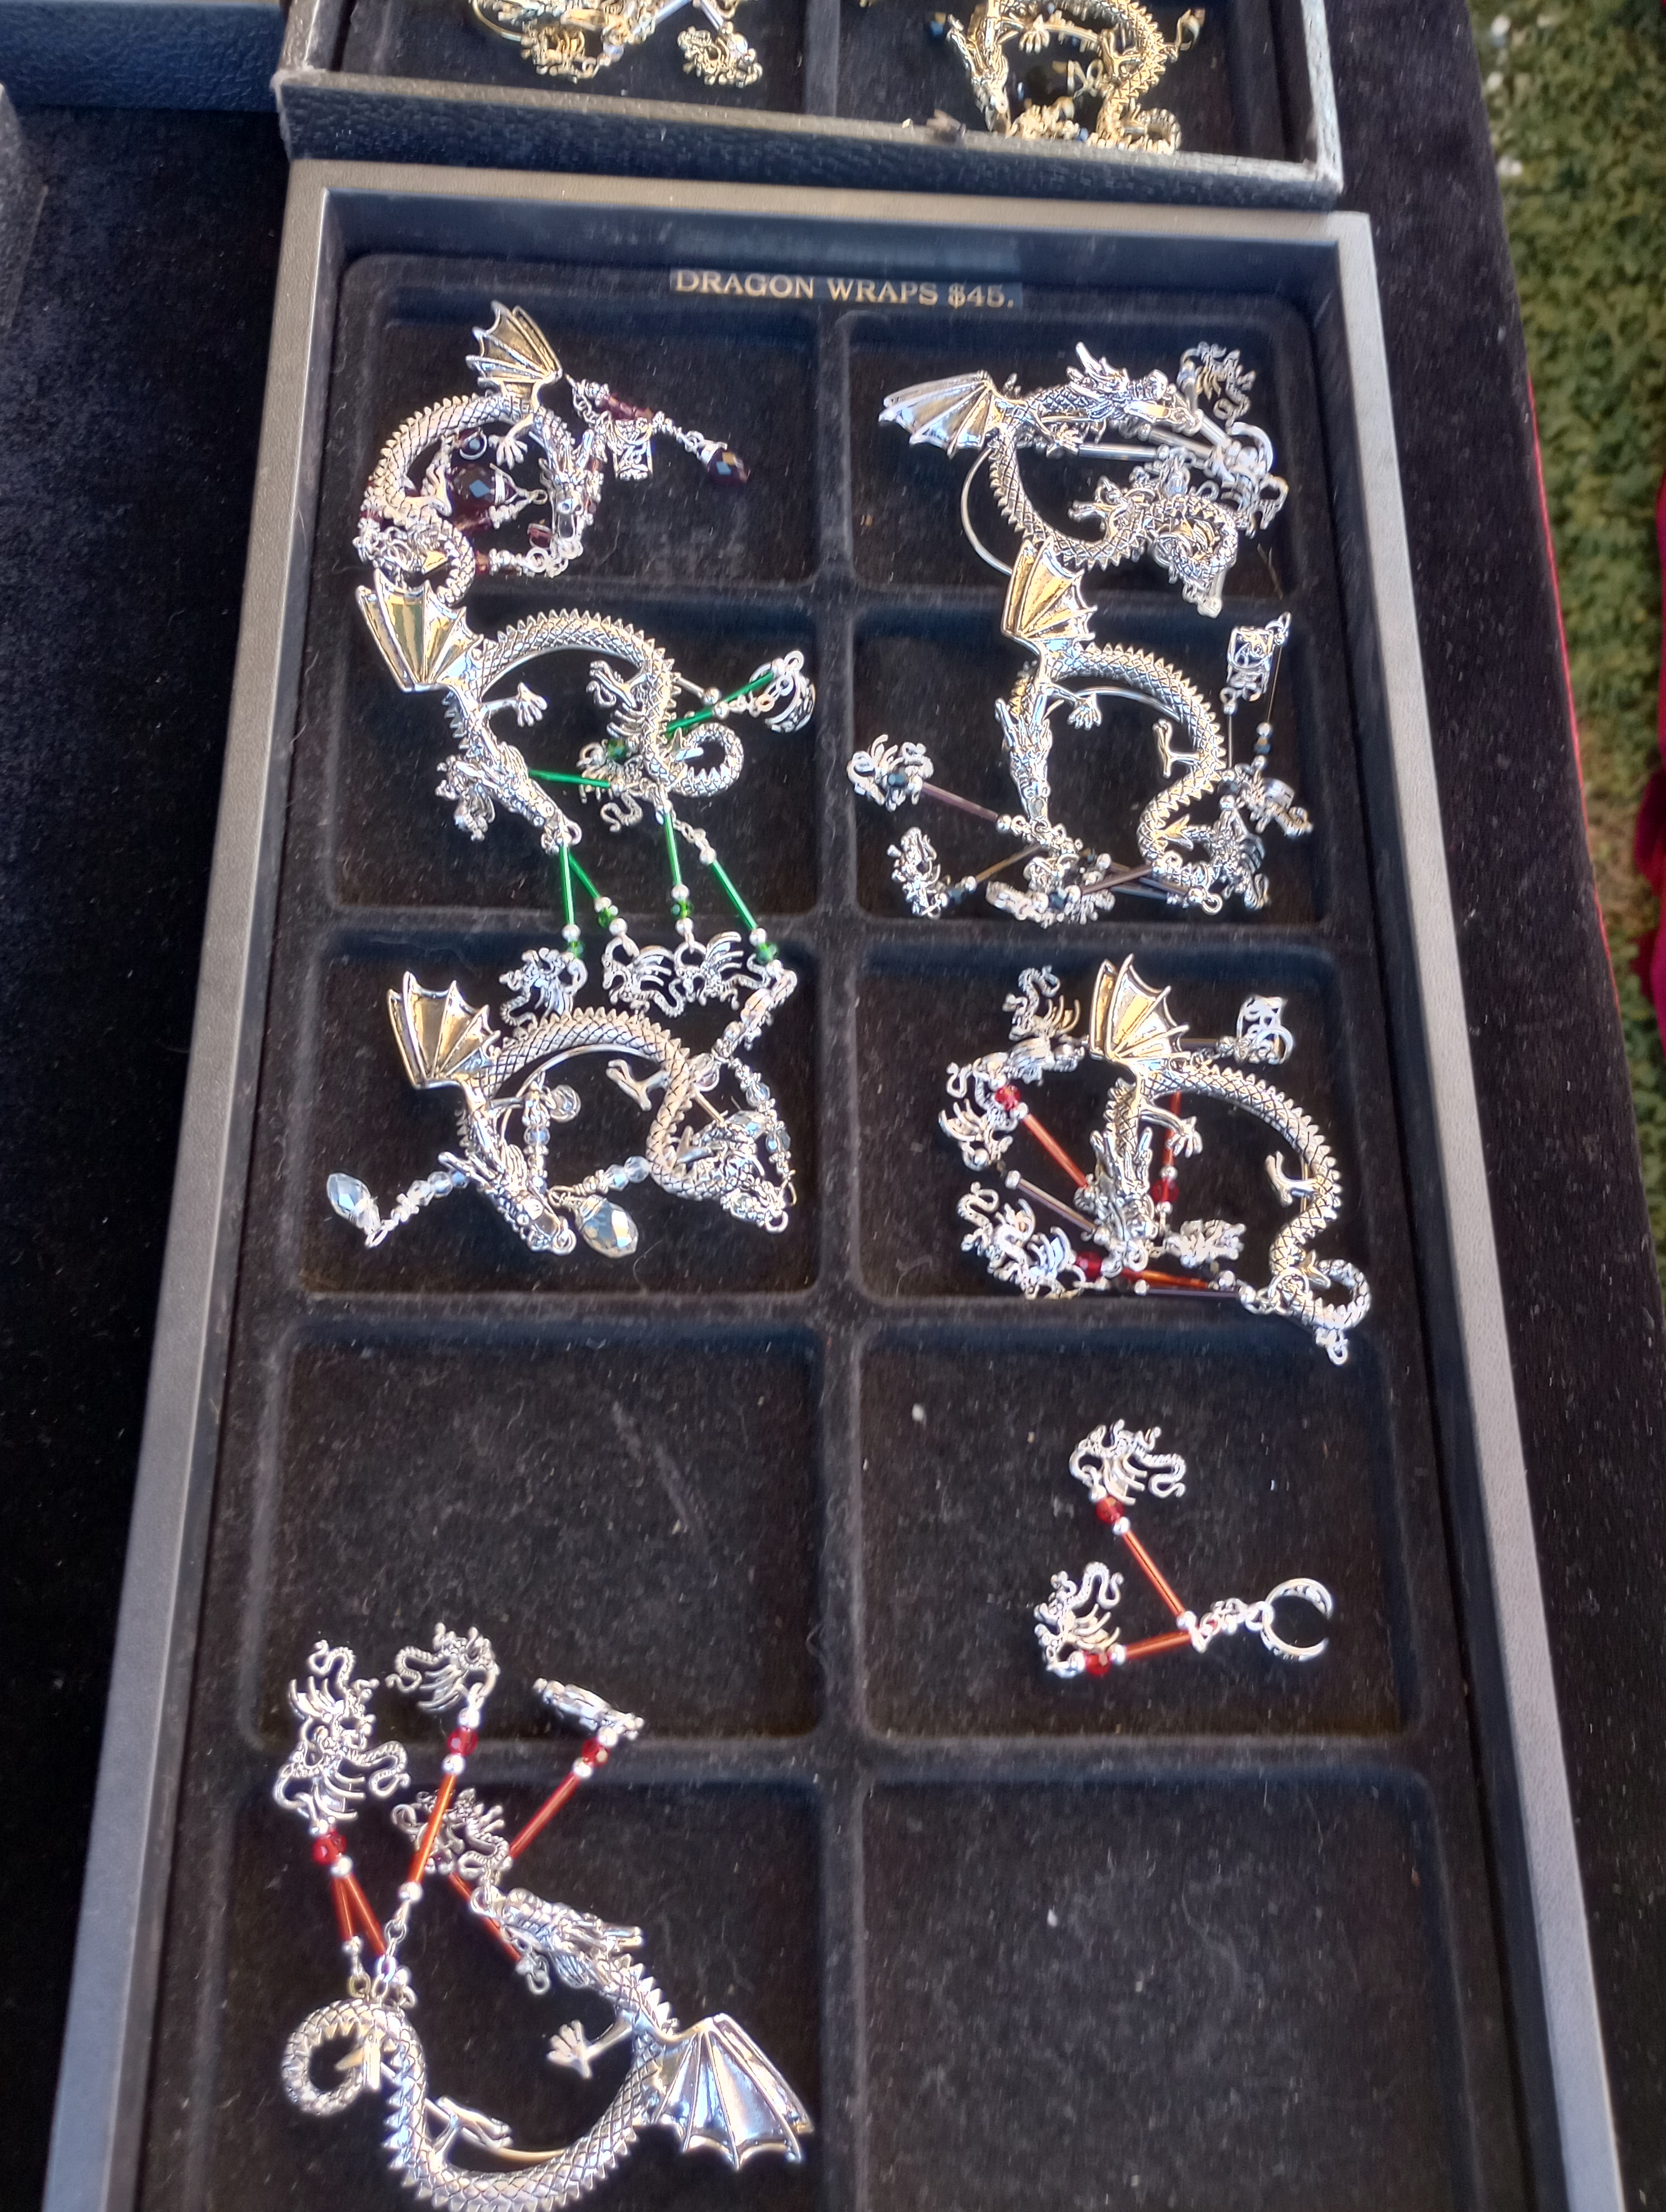
There were many places selling beautiful jewelry and other ornamental items.
Maybe a weapon? These were just plastic ones, but there were plenty of places selling the real thing too. These would be great for Halloween too!

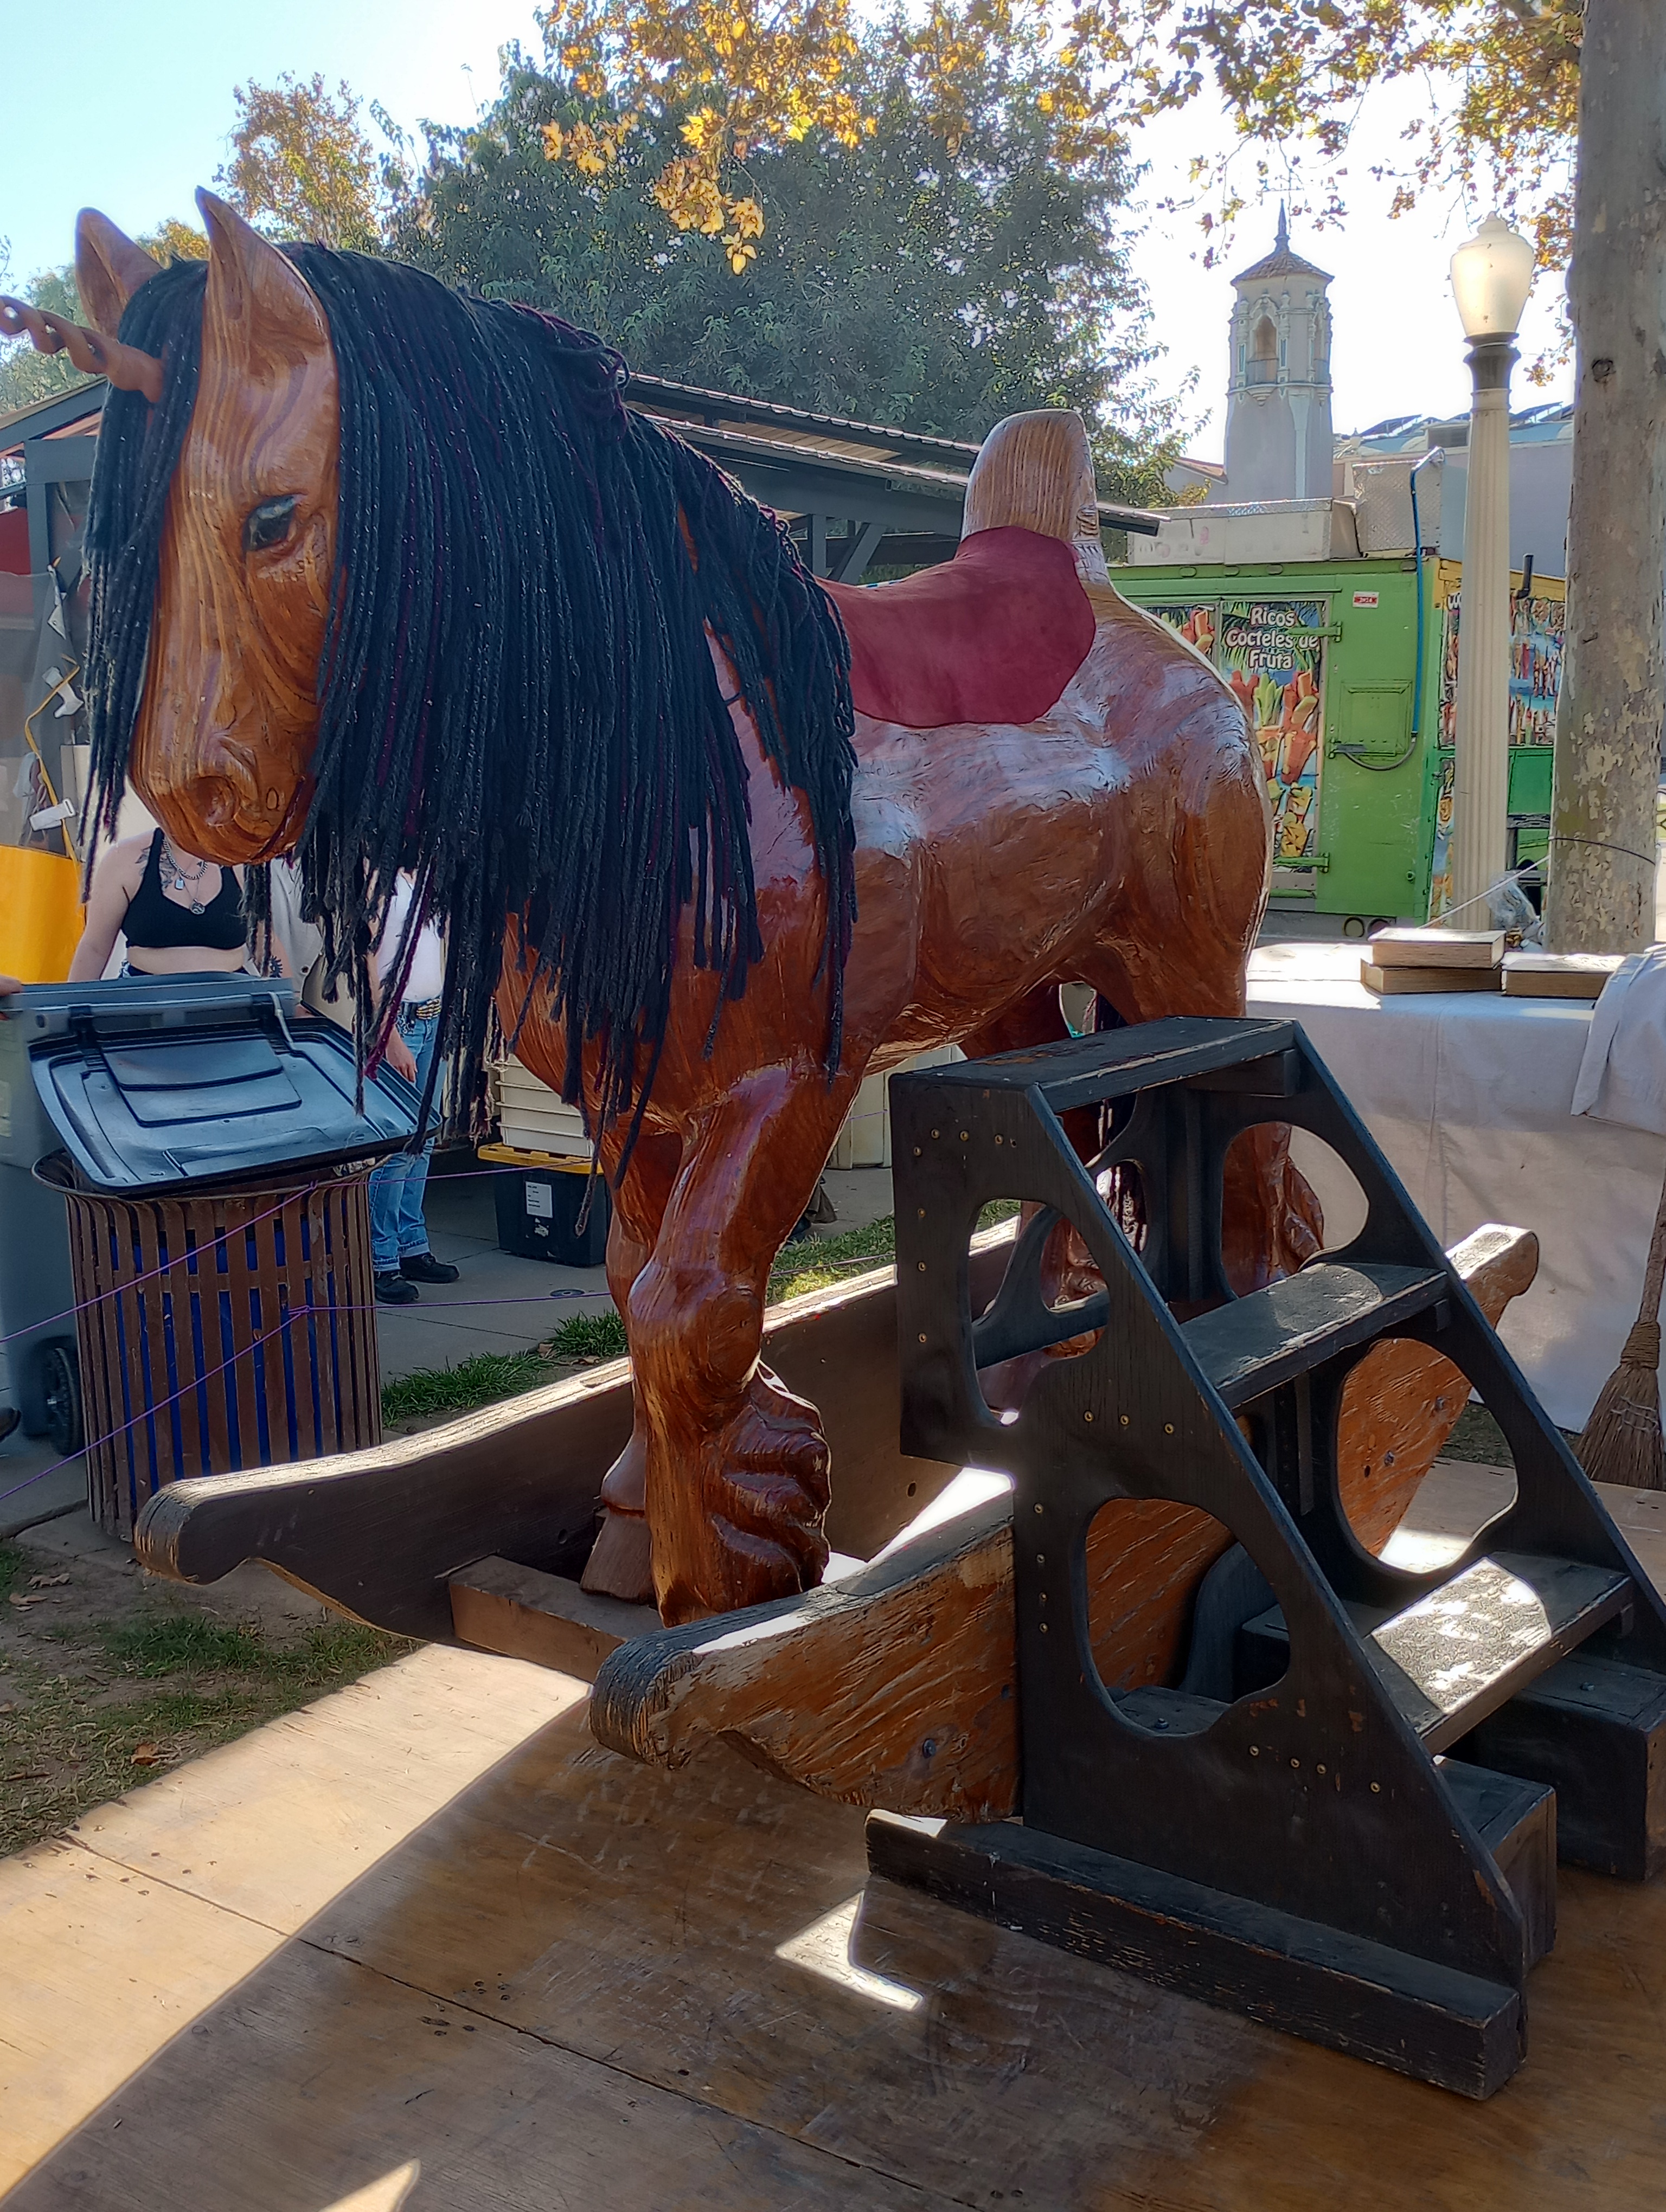
These wooden rocking horses/unicorns were amazing! They were huge! You could pay a fee to sit on them and have your pictures taken. They actually rocked back and forth too. I can’t imagine how long these took to carve!
I was watching these fancy royals as they were looking at some bling. I was kind of laughing because the one gentleman had on a Burger King crown. The taller man was trying on rings. He turned to me and said “It’s so great to be king and be able to wear all this bling!” So, I met the king!

I’m really glad we took the time to go to the Faire this year! It was nice to see how much it has evolved since the last time I had been there. Do you have faire’s like this in your town too?