I was looking for something different to do for this Memorial Weekend, but it seemed like I was just going to do some mundane chores around the house. My husband was going to be working at the softball park, Lauren wasn’t coming home and Haley just wanted to watch her videos. Boring!!! Then as my husband was watching a local baseball game on tv, there was an advertisement for ‘Junk Days’ in a nearby town. Bingo! Something fun and different to do! Lauren was game, Haley was undecided, and I texted one of my friends from work to see if she wanted to go. She hasn’t been able to drive for awhile, so she is pretty much stuck at home. She was more than ready for a day out!
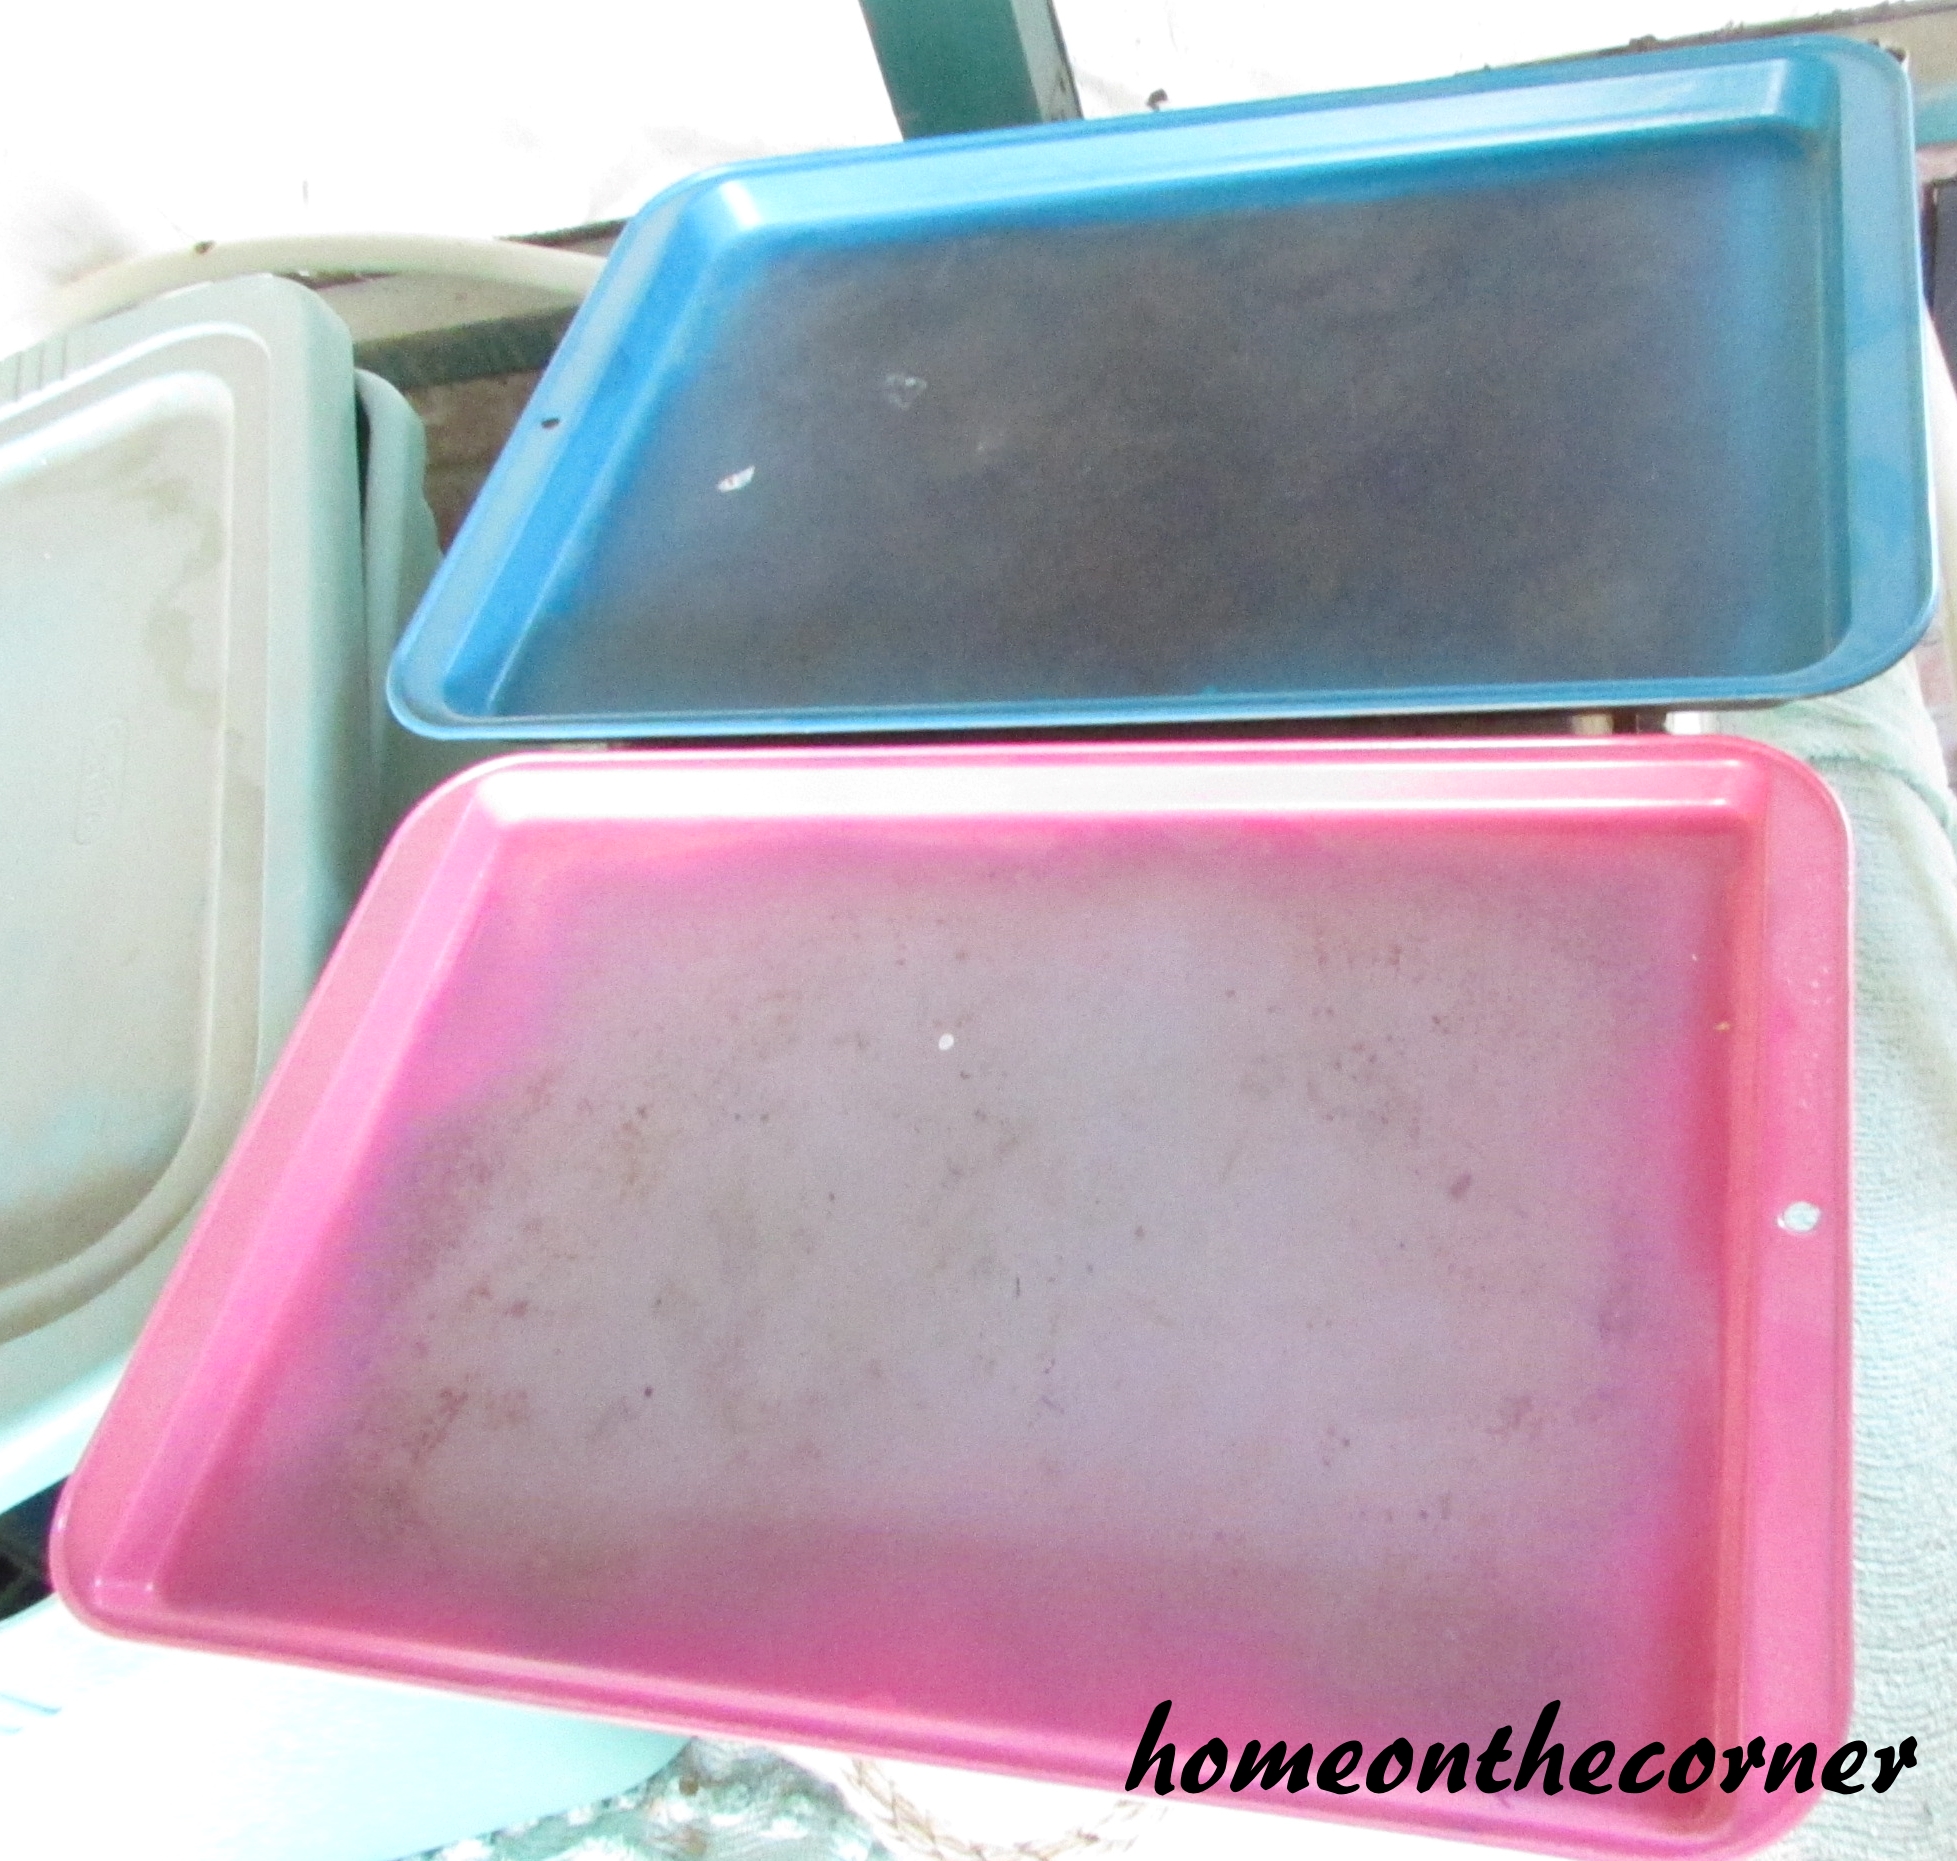
After church, we headed out. After a short stop at Starbucks, we picked up Lauren and drove over to the ‘Junk Days.’ This was one of Lauren’s first finds of the day. We didn’t purchase it, but it sure is fun to dream and get ideas!
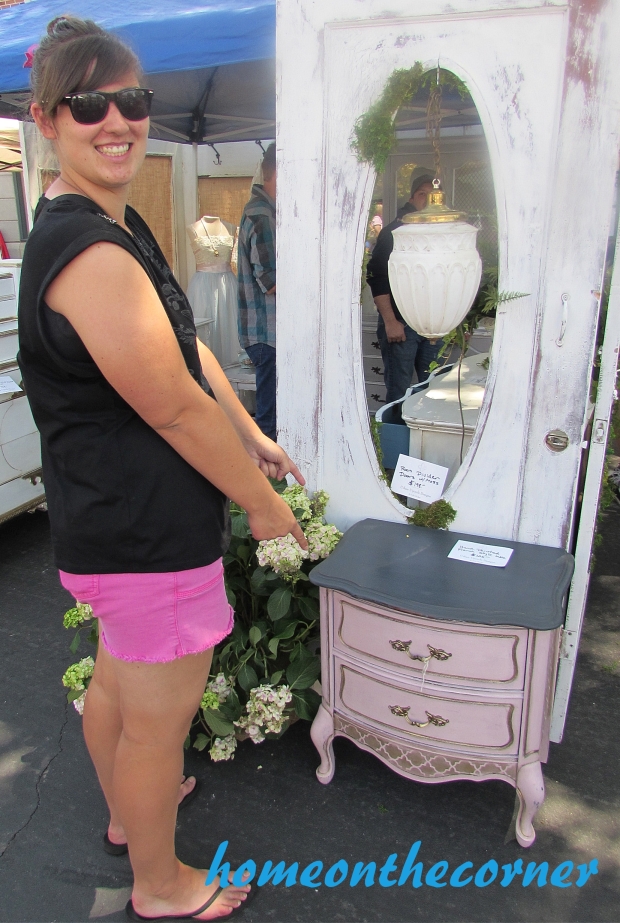
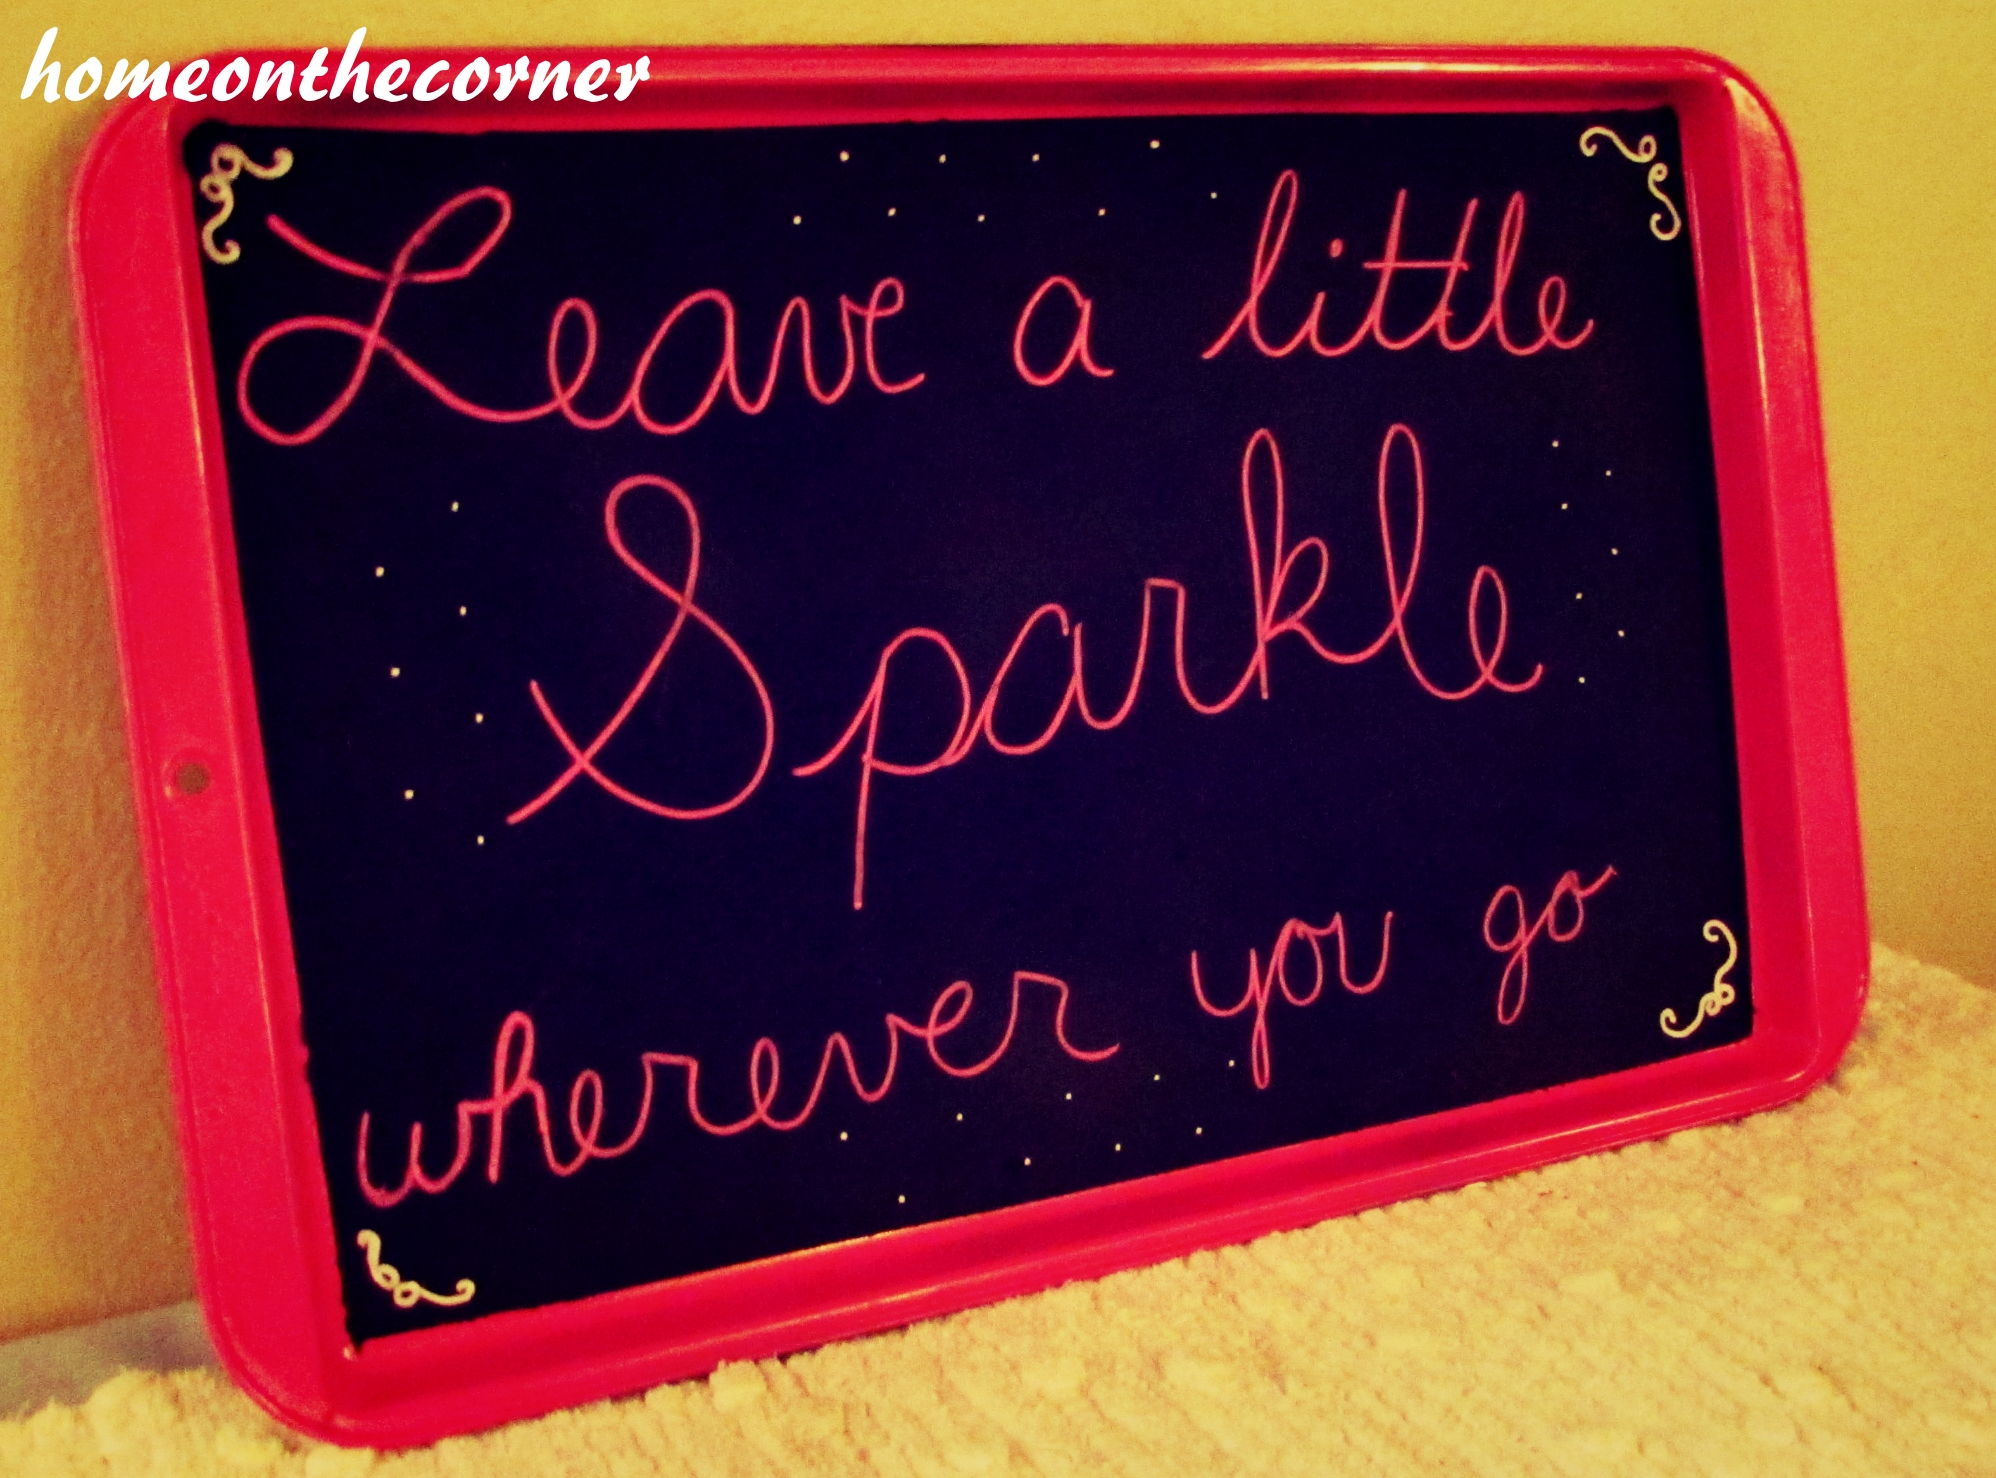
Lovin’ the pink!
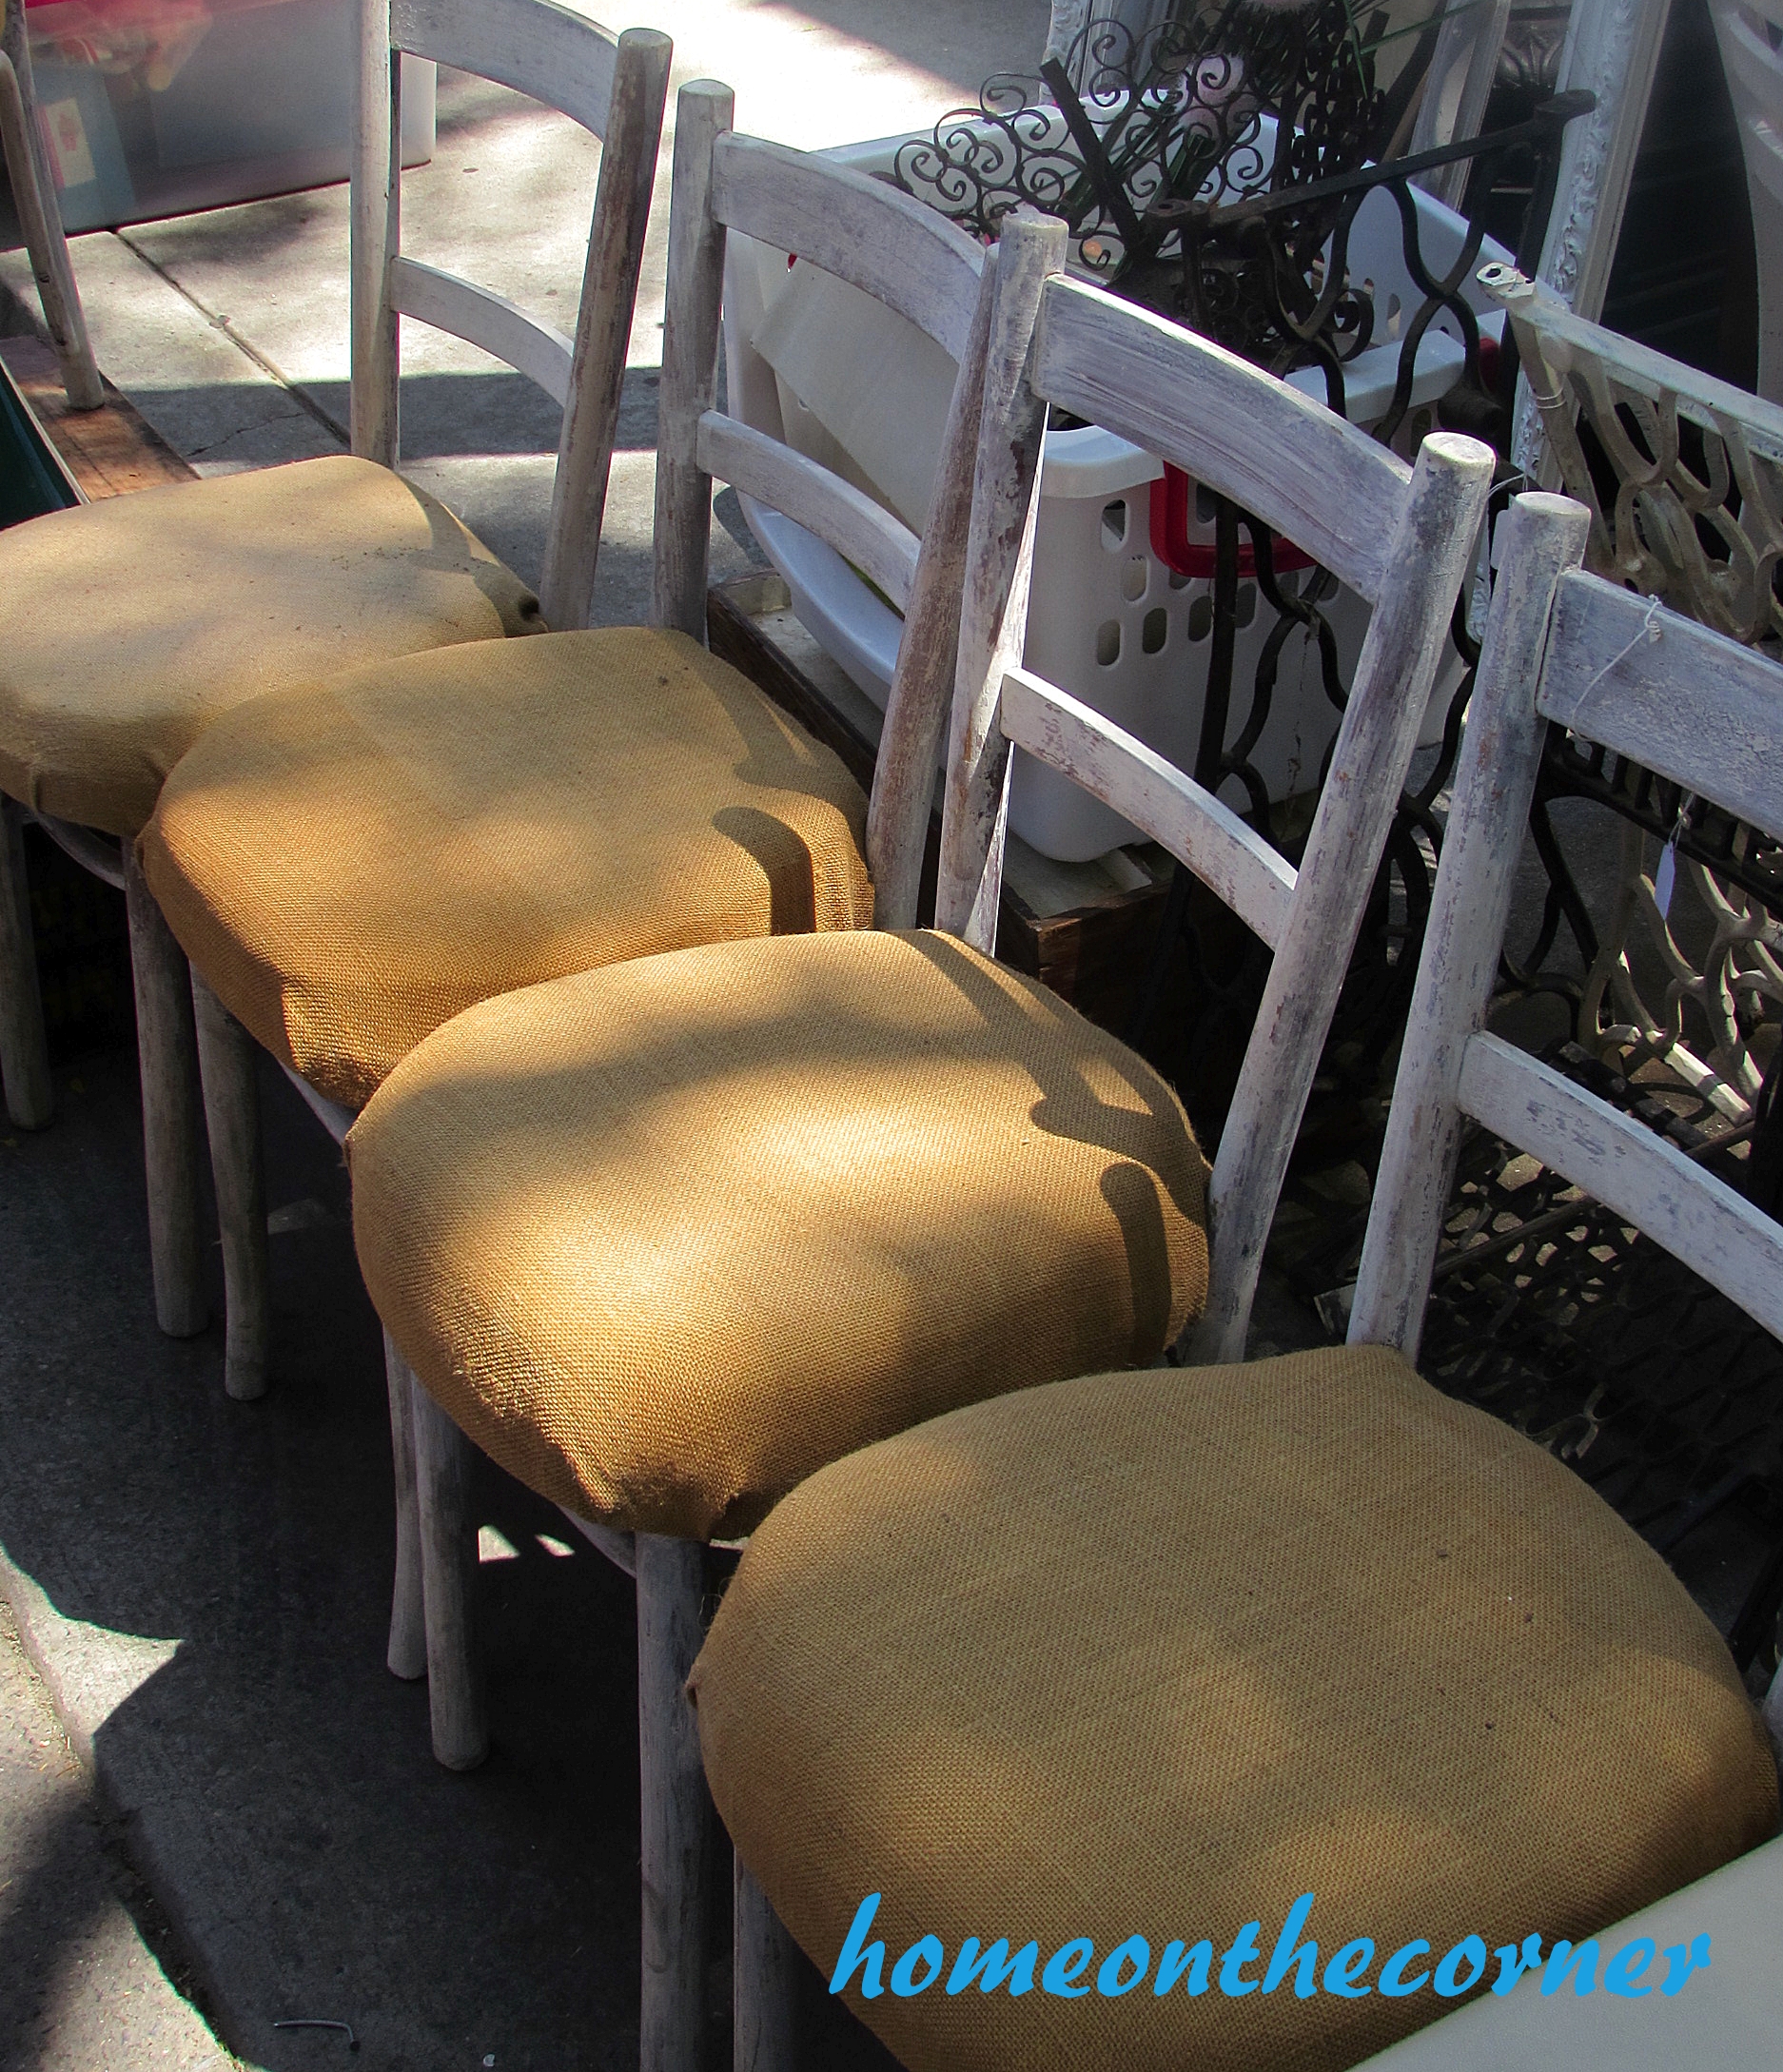
I have been wanting a rectangle shape table, preferably a trestle table, for my back patio. Just the other night I was thinking it would be cute to get some different wooden chairs, paint them the same color and put around the table. Well, I found the chairs! Aren’t they adorable! I scored five for $20!!
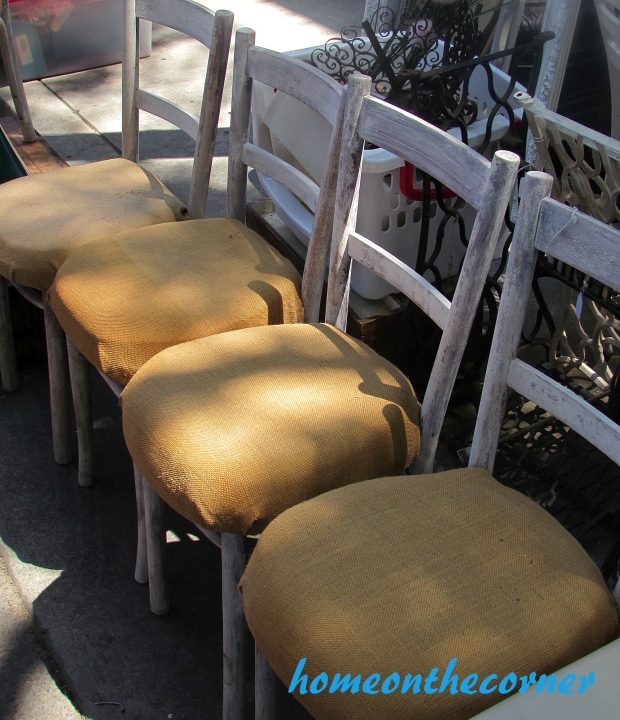
Wooden chairs for my patio.
I will change out the burlap, not because I don’t like burlap, but it would be a little itchy when wearing shorts!
There was also a booth advertising all the benefits of chalk paint. Look at the truck!! It is completely painted with chalk paint! It is so awesome!!

I want this!!!
We also stopped in the store that carried the chalk paint. They hold classes and sell everything you would need to paint. It was so cool! They had this map hanging in there. I love maps! They also had an upholstered chair painted with chalk paint. Amazing!
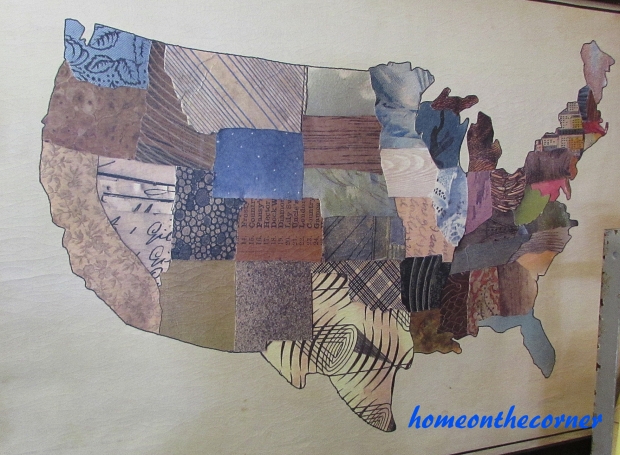
Chalk paint map
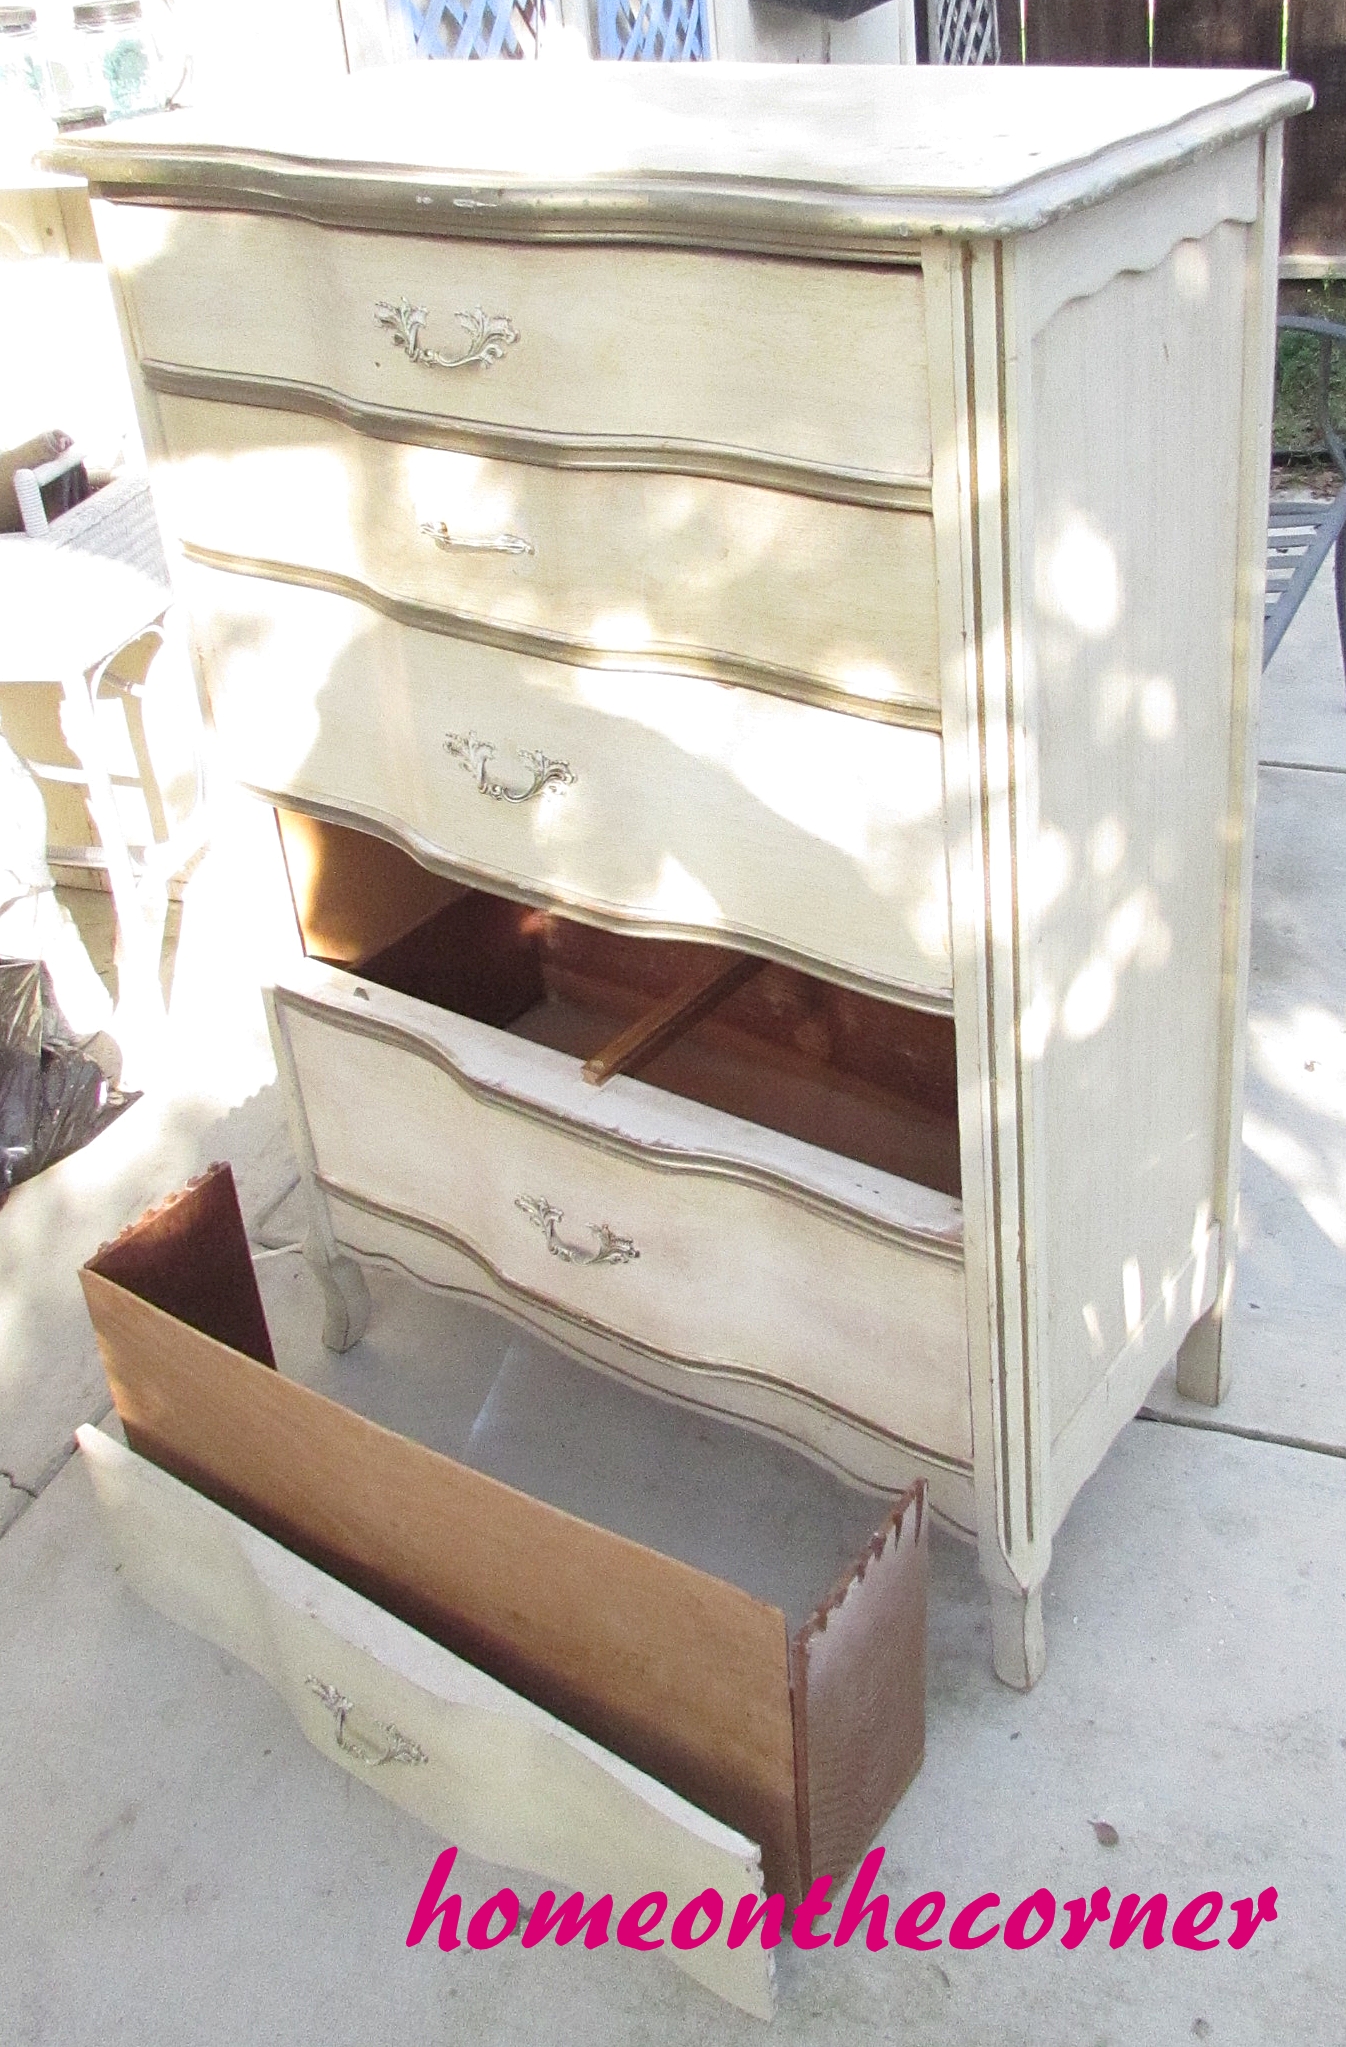
The last really cool thing we found, because the place was full of cool stuff, was this dresser. The drawers were painted to look like suitcases, complete with hardware!
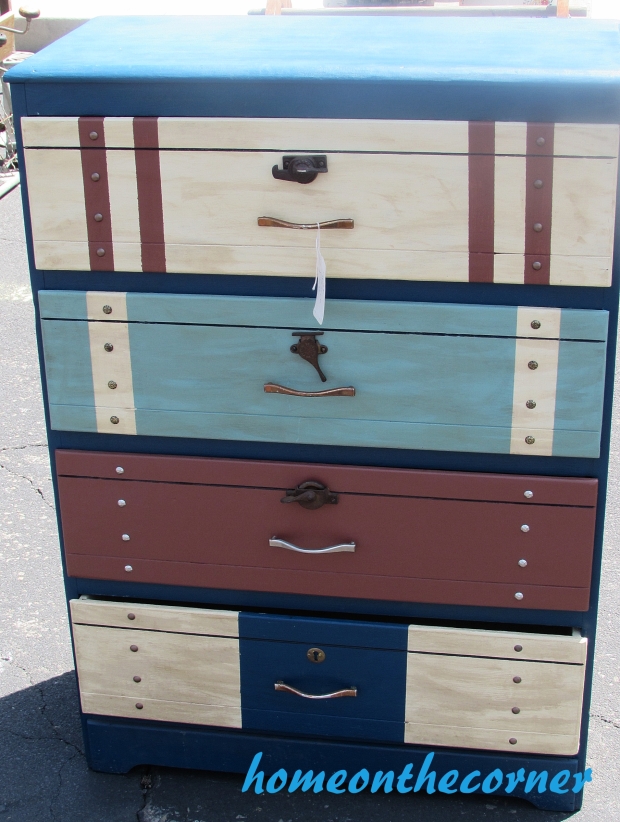
This is so clever!
After our ‘junking’ we stopped for lunch and a little more retail therapy. We were browsing Kirklands and found these little initial blocks. They were on clearance and the only ones left just happened to have all of our initials! So random!!
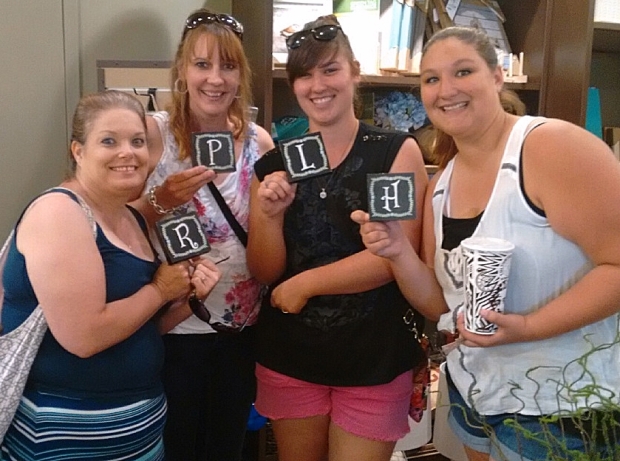
Great girls day out!
We had such a fun time! Sometimes you just need a day out with the girls! I hope you have a wonderful Memorial Day and a great week!


