So, what does a ruined door and a few pieces of wood make? A Beverage Station! I saw this idea last year on the blog, Finding Home, and knew I wanted to make one!

Upcycled Outdoor Beverage Bar Station-Finding Home
Almost 2 years ago, one of the houses in my neighborhood had a fire. Nobody was in it at the time and it had a lot of damage. Later, it was gutted. I found this door in the alley after the fire. It had some slight burn marks, lots of soot, and some cracks in it from being broken down, but I took it anyways. One mans trash…right?!

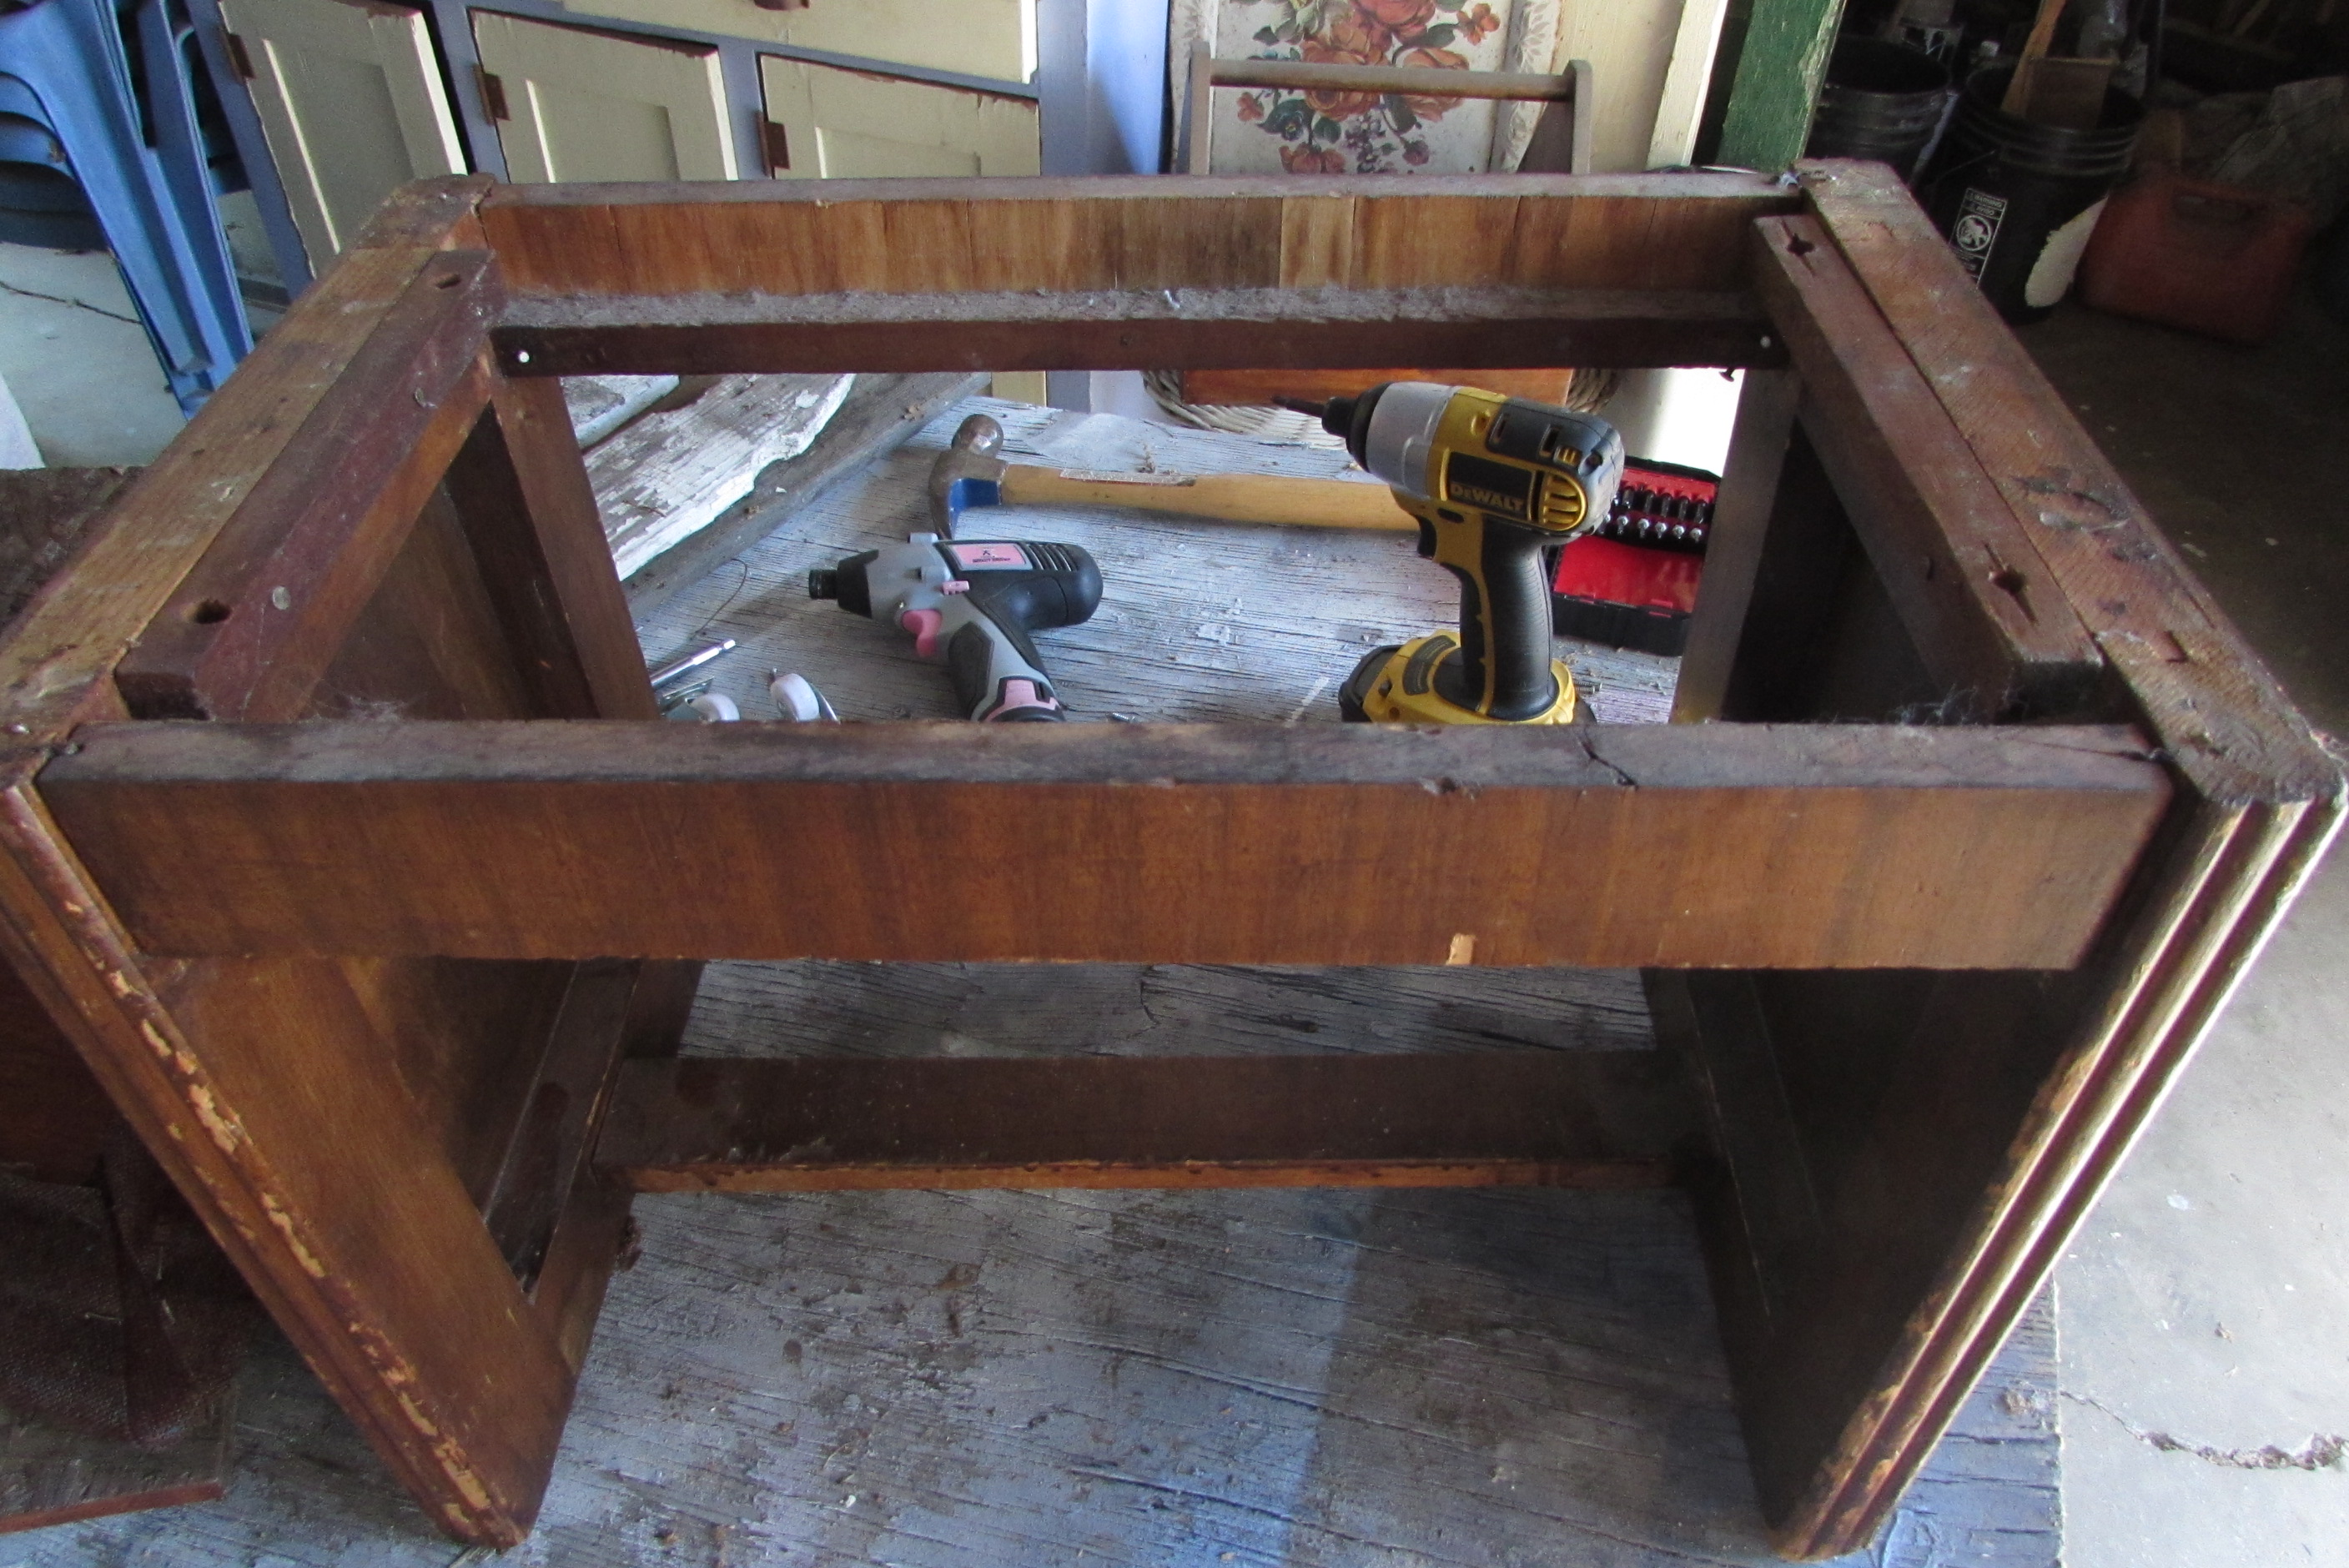
Door and Wood
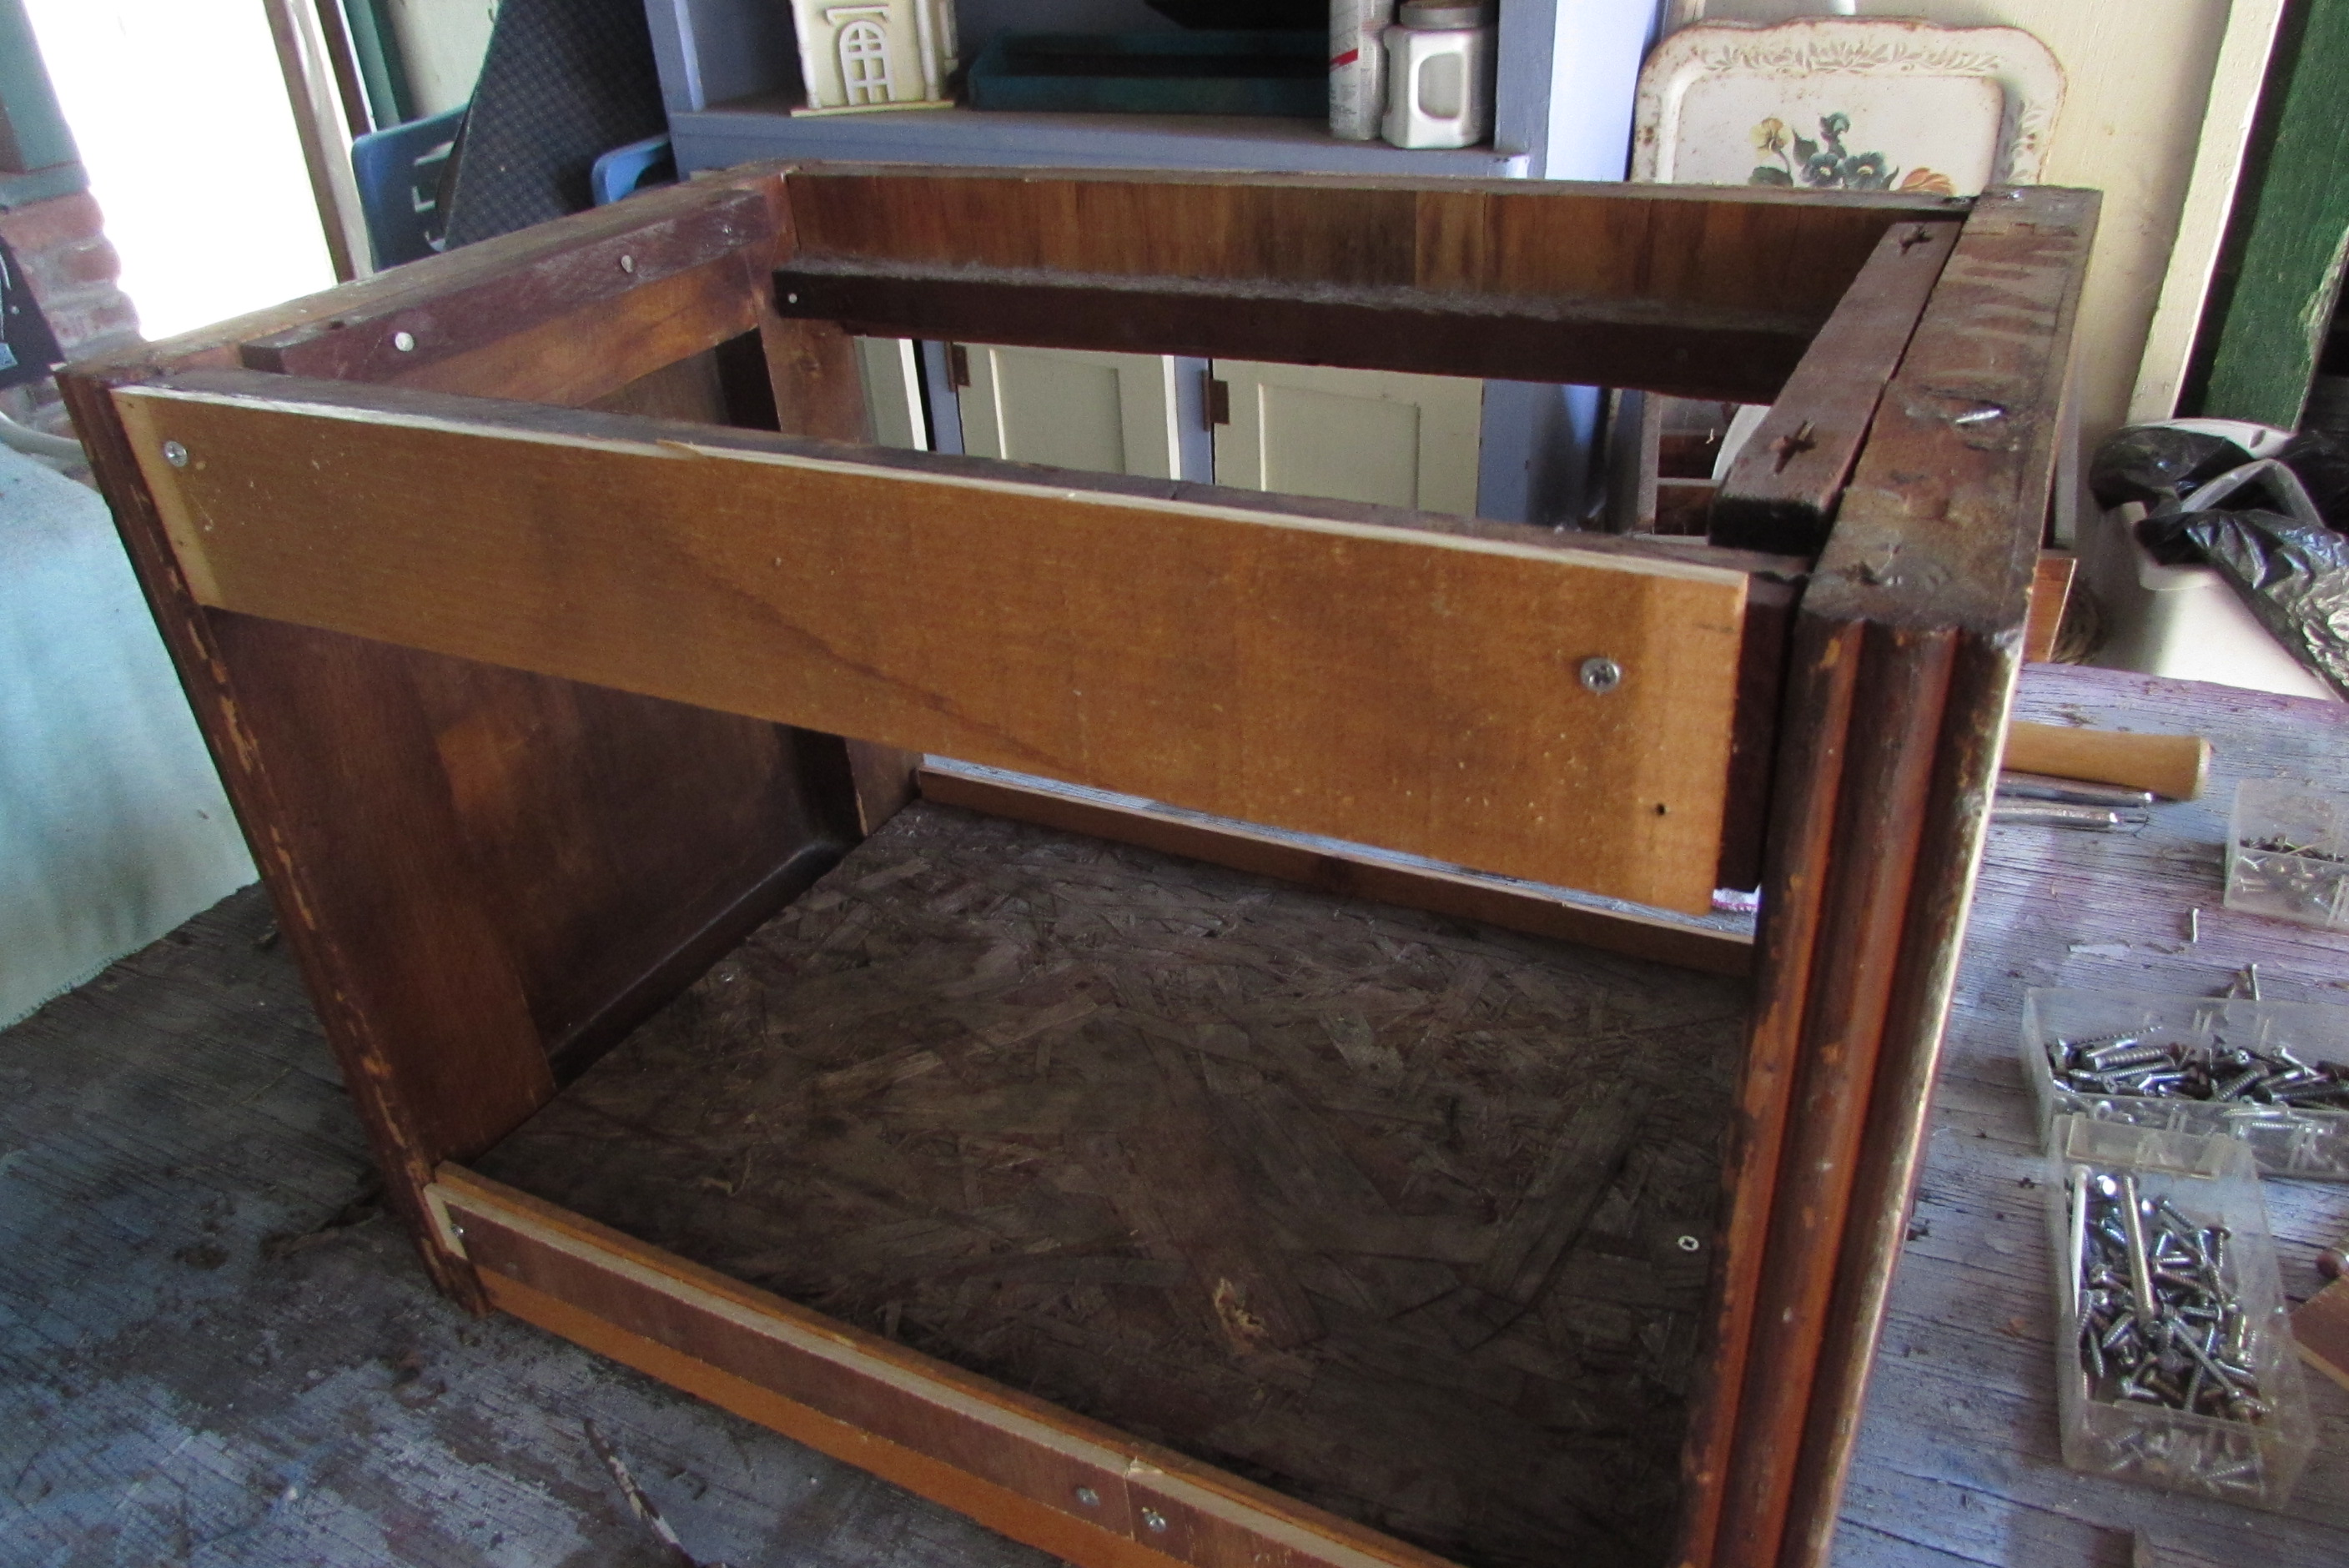
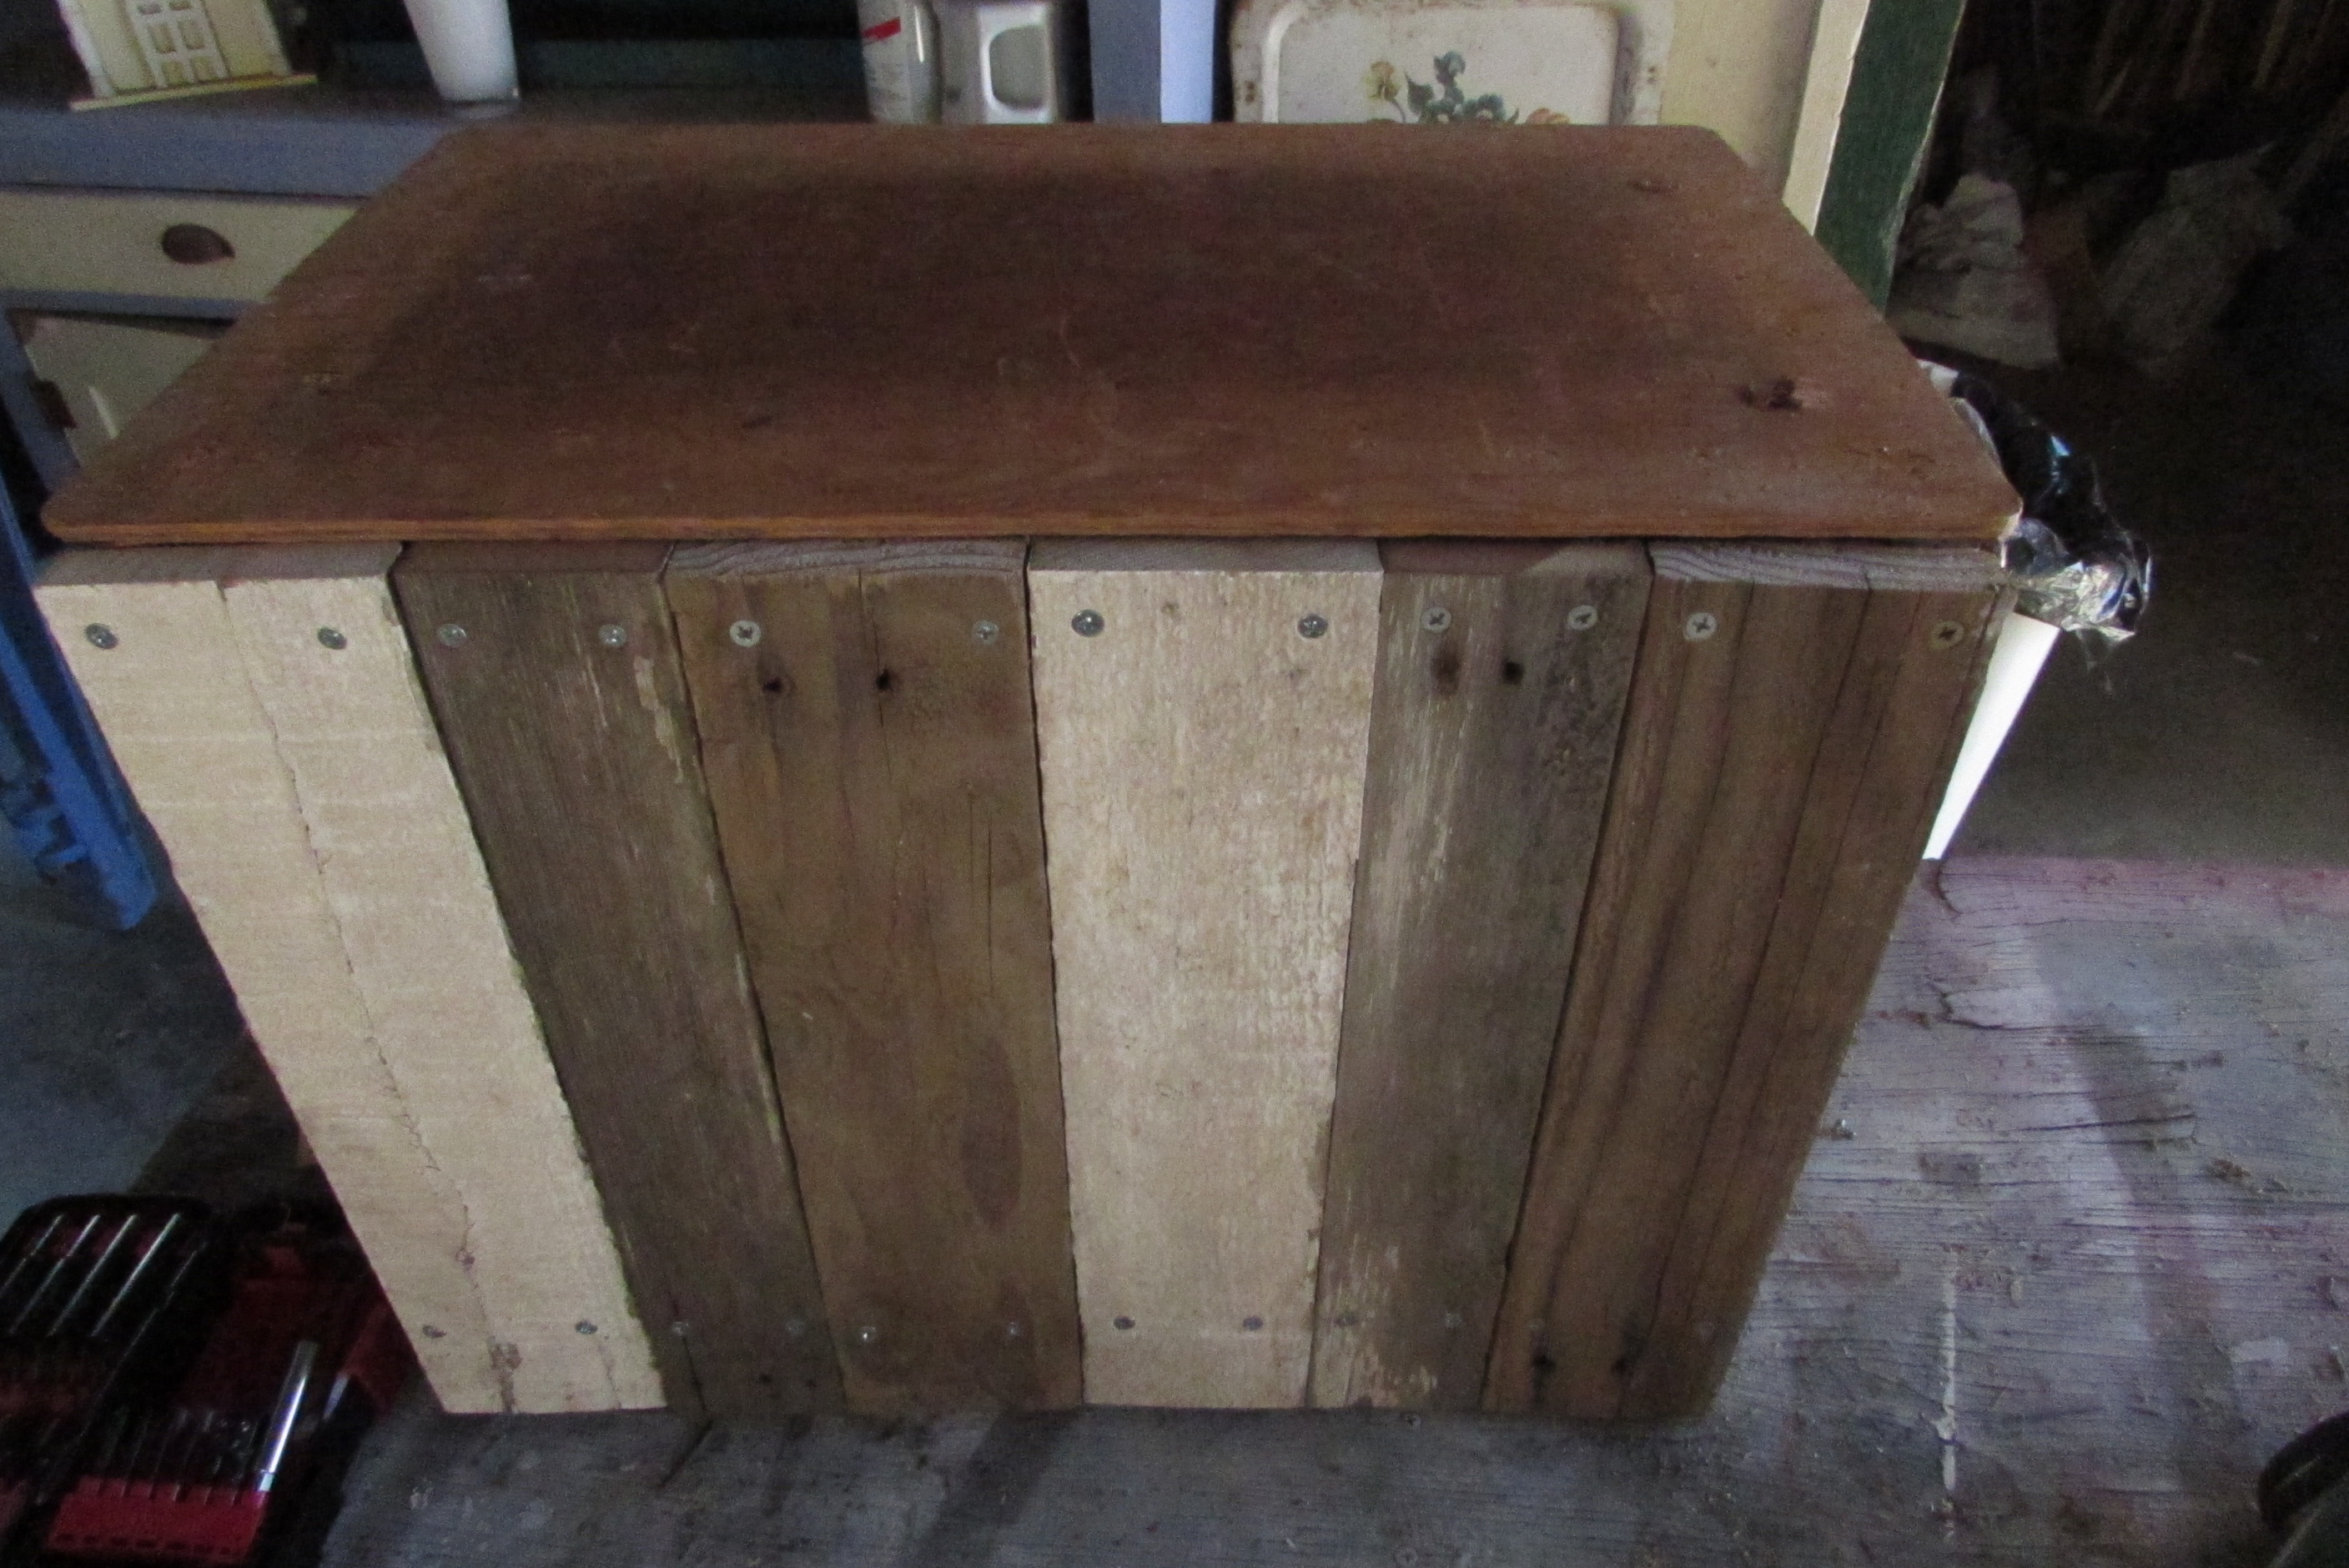
Here you can see the door, sort of. We had to put a couple of braces on the areas where it was cracked and fill in places with spackle, but paint will cover that later. Here’s another view.

Another view
I used old cupboard knobs for feet. I wanted it a little above the grounds so it wouldn’t sit in any water and get rotten. The knobs are attached to the bottom shelf of the station.

Knob feet
I bought the spindles at a craft show last summer, just for this project. It only took a year to get to it! I took a piece of shelving and my husband screwed it into the spindle. We did this for all 4 of them. We also screwed the spindles into the bottom shelf.

Attaching the spindles
Here is the two shelves and the spindles, all attached.

We added another deeper shelf above this one for large containers of drinks. I was going to add one more small shelf on top, but I had this old metal piece from a screen door, so I hung that on instead. I screwed cup hooks in the door and just hung the metal piece. I can always change it later if I so desire!

All together
Now for the fun of painting! I borrowed a neighbor’s paint sprayer and sprayed on primer after covering the spindle legs with paper. The sprayer worked great, but when I went to try it for the paint it wouldn’t work!! Not sure what happened, but I had to brush paint the color on. I used the Barely White from Lauren’s room (trying to use what I already have).

Primered
And here it is! All freshly painted! I added the metal piece back on and I also painted the shelf with chalkboard paint. I figured I could label the drinks or food when I place it on the shelf! I also remembered I had an old doorknob and hardware. I spray painted them black and added them where the old deadbolt had been.

It’s Finished!
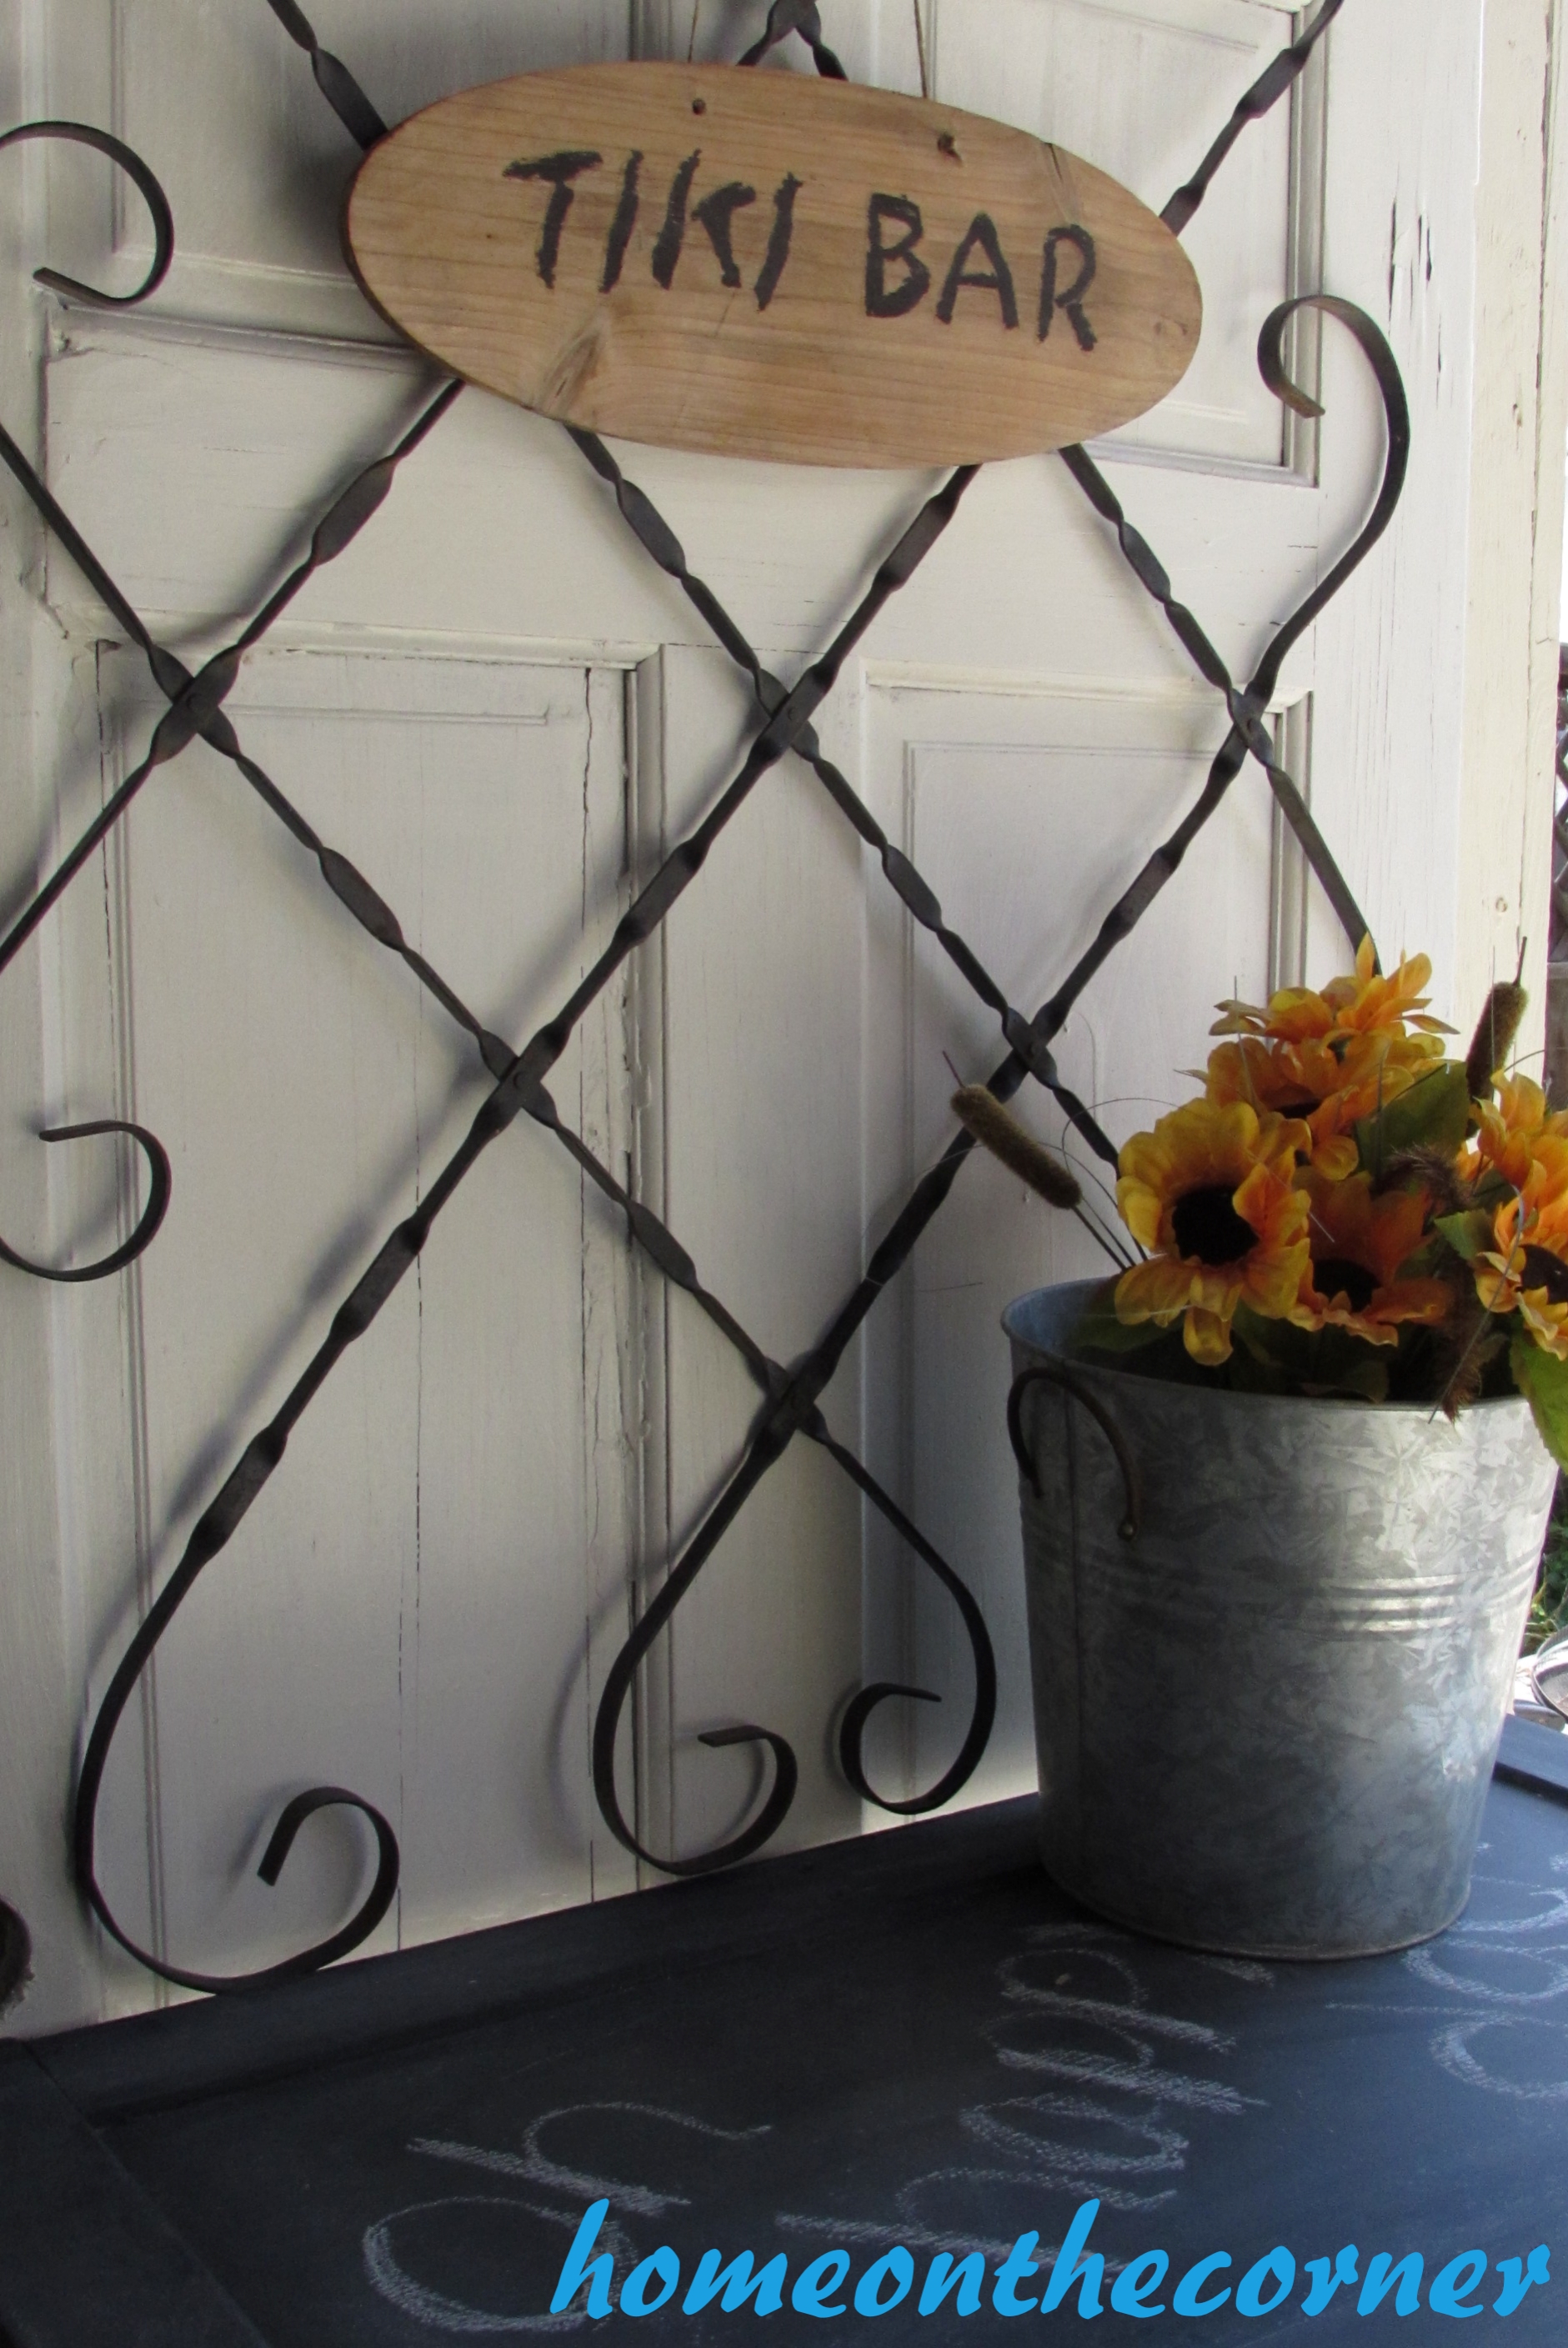
I added some old signs and other decorations for now.

Old Signs
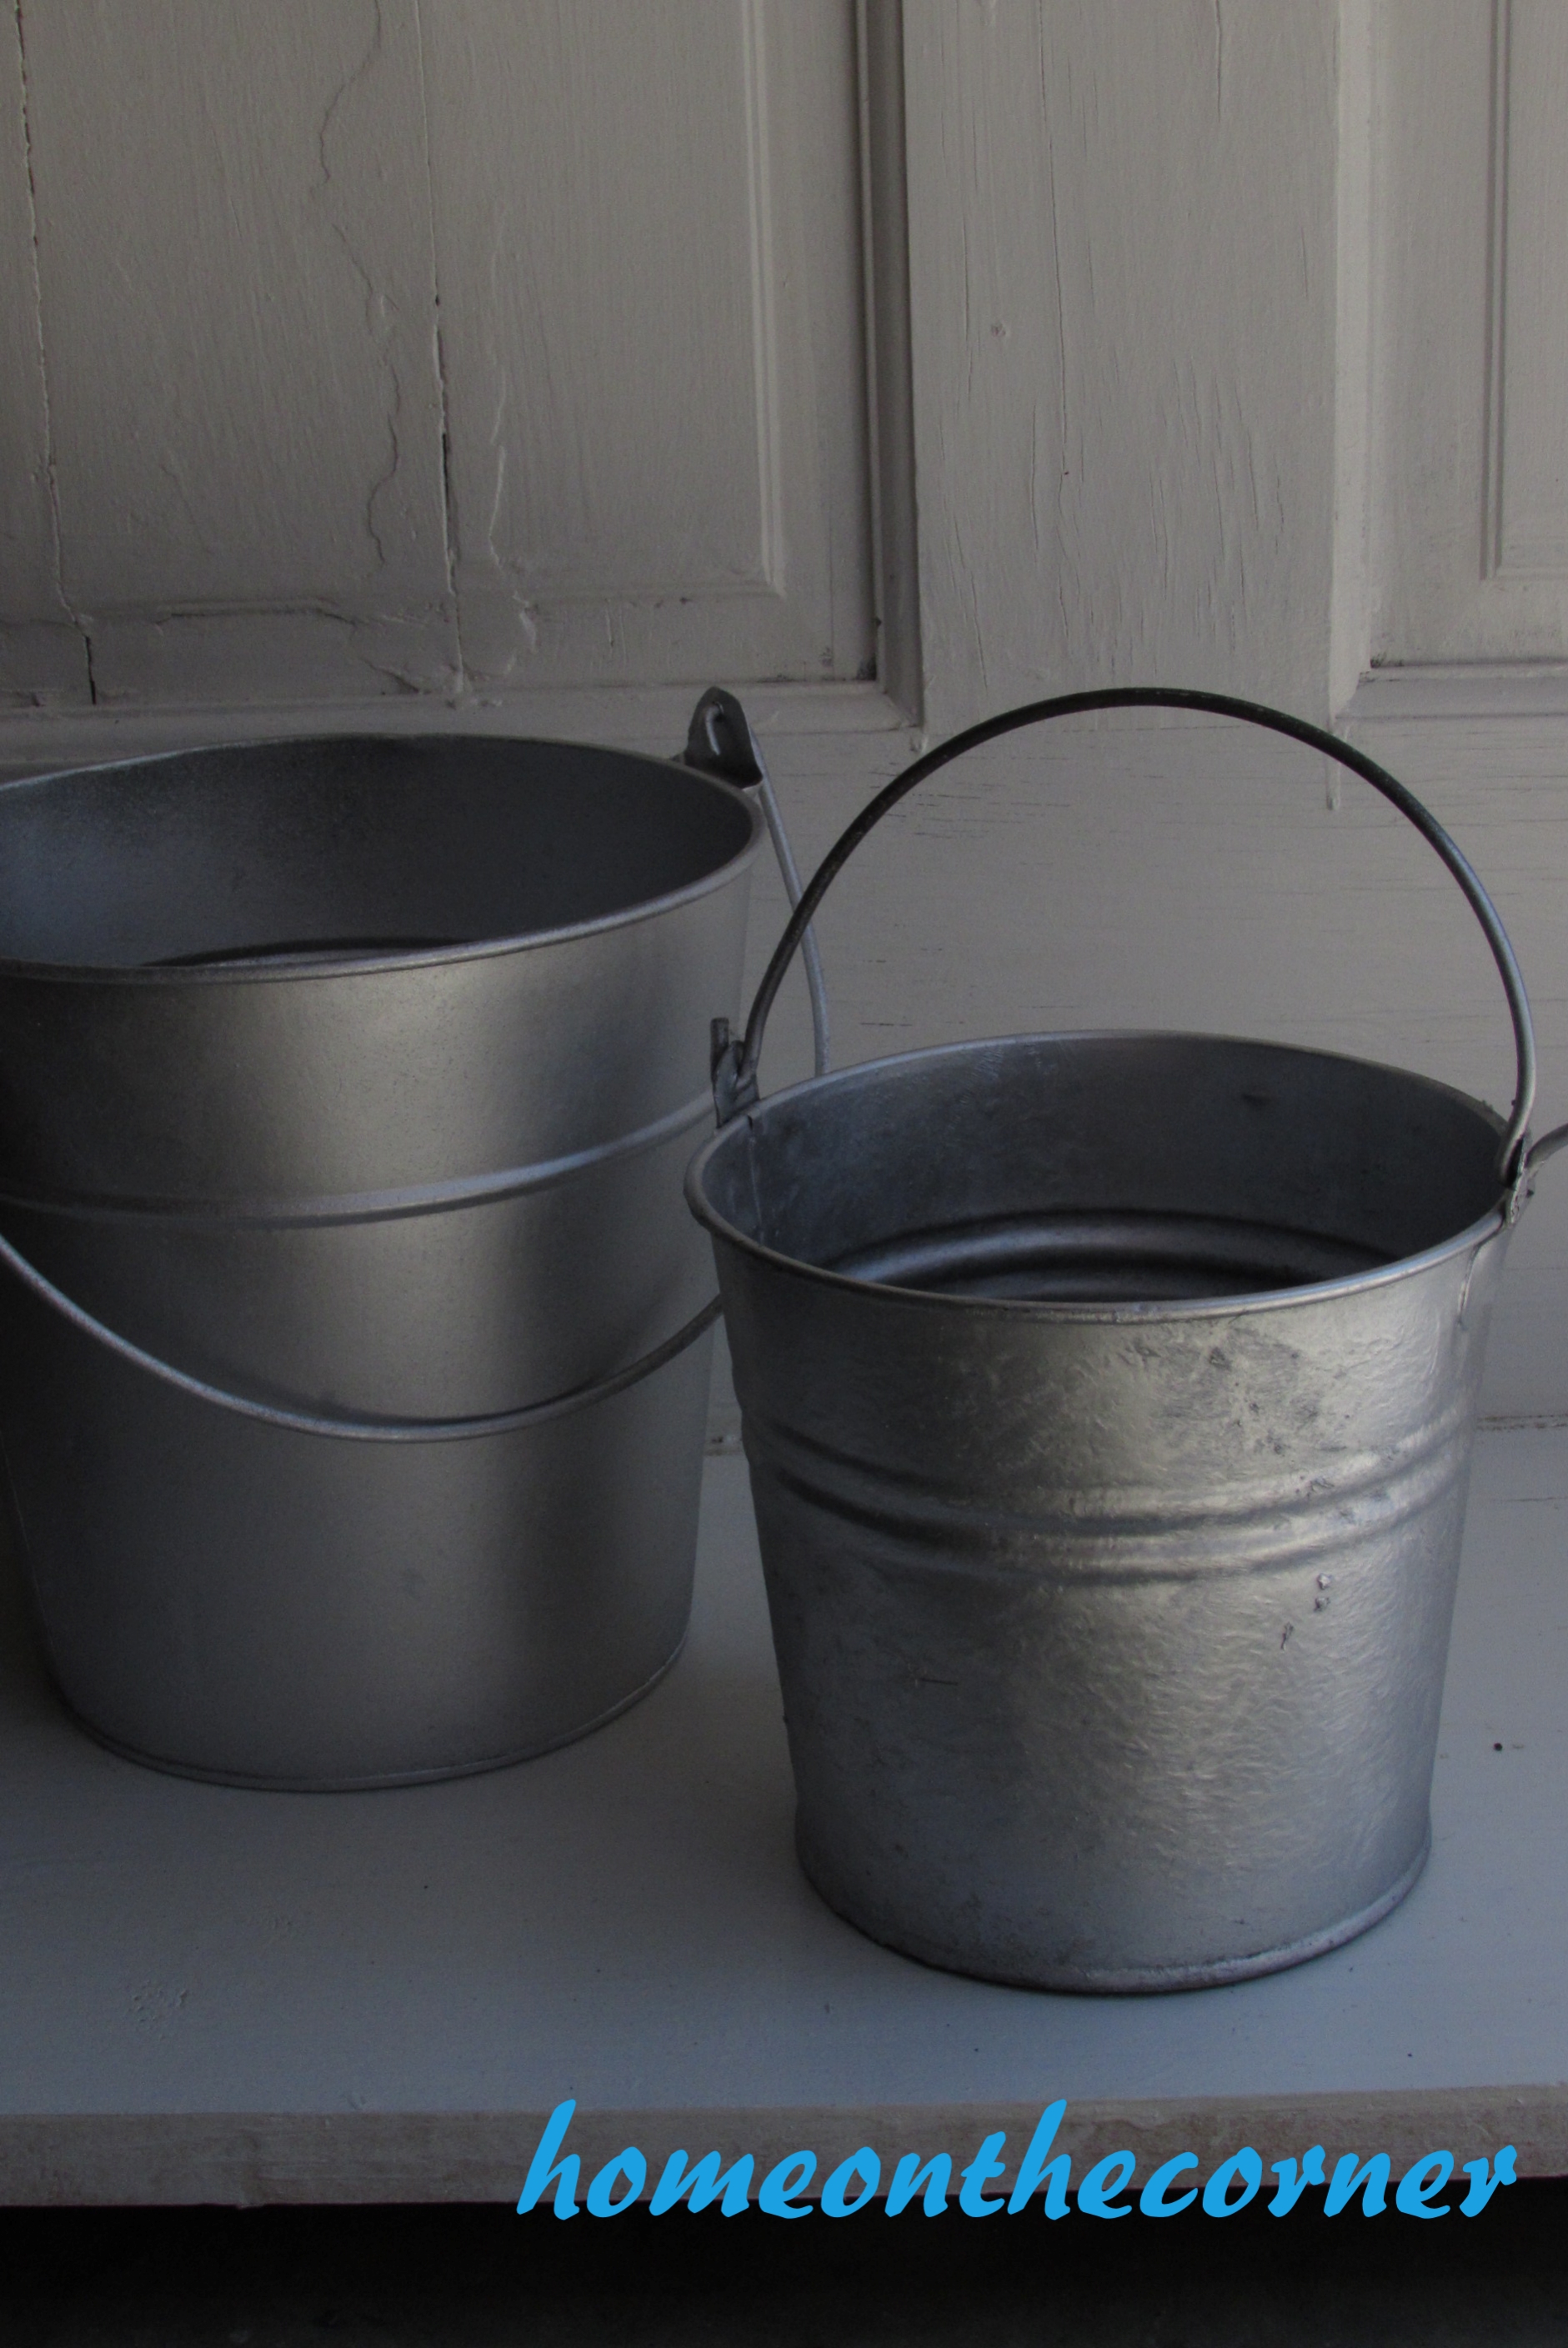
More Buckets

Sunflowers
One More View
I can’t wait to be able to use this! We plan on using it as a ‘Candy Bar’ for Haley’s upcoming graduation and drinks for other parties and get-together’s. I’m excited to see how many different ways this can be used!