Happy Thanksgiving from Home on the Corner! We hope you all have a wonderful day with family and friends!
Pamela and Lauren

Happy Thanksgiving from Home on the Corner! We hope you all have a wonderful day with family and friends!
Pamela and Lauren


Happy Monday before Thanksgiving! It hardly seems possible that it is already here. We will have a Thanksgiving ‘Feast’ at the preschool on Wednesday and then be off for the rest of the weekend. The kids are already all wound up for the holiday, so it will be nice to have a few days to relax. And, no move yet :(. We were really hoping to have the house and start doing a little bit of work on it, but it doesn’t look like it is going to happen.
I do have another ornament for you today. I know a lot of people already have their tree up and ready! So here is sparkly ornament to add to it!

Your supplies are very minimal for this ornament. A styrofoam ball- as small or big as you want, some sequins-any colors, and some sequin pins. I found mine at Hobby Lobby. Then just start pinning! I chose silver and a little bit of turquoise.

Lauren decided to use some beads that we already had and to make a design. I would have bought longer pins if I knew she wanted to use beads. But, of course, she had to be different!
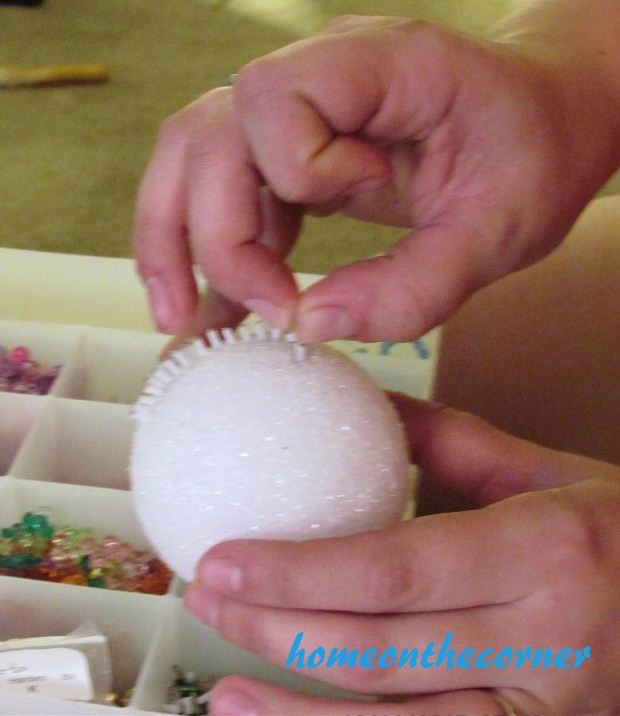
Here it is part way done. I won’t kid you. This takes awhile! I just kept it by my computer and worked on it a little each day. First I added all the silver and then filled in a few places with the turquoise.
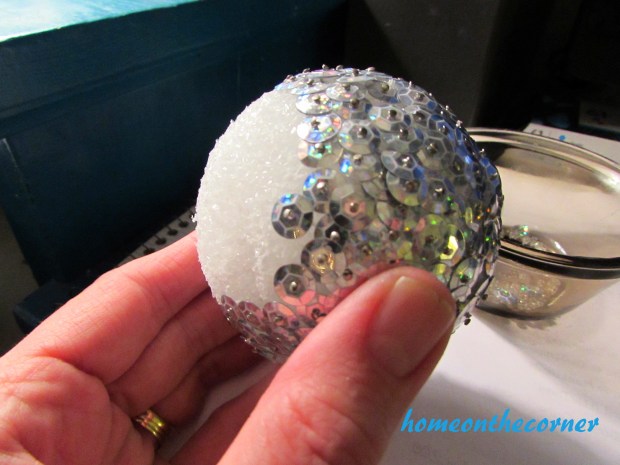
That’s it! Pretty simple but it will add a lot of sparkle to your tree!
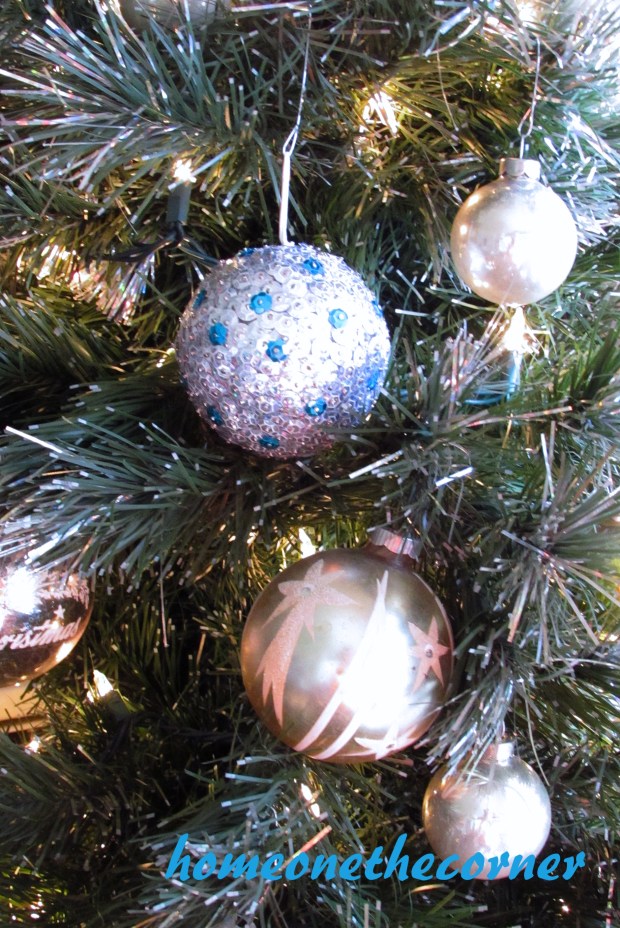
I love how it turned out! Have you made any simple ornaments for Christmas? I always love looking at others’ handmade crafts. Thanks for stopping by today!


Good morning! Happy Wednesday! Today my Finds and Fashions come from the Target Dollar Spot! Some of this stuff is so hard to resist! I shouldn’t be buying anything right now, because I will just have to pack it, but I just couldn’t pass these by. I know it won’t be there later, so I snatched them up.
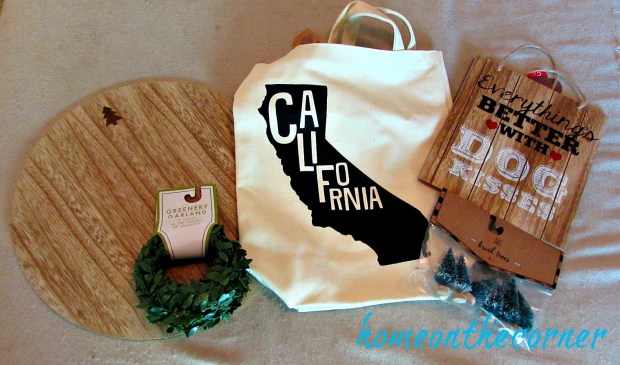
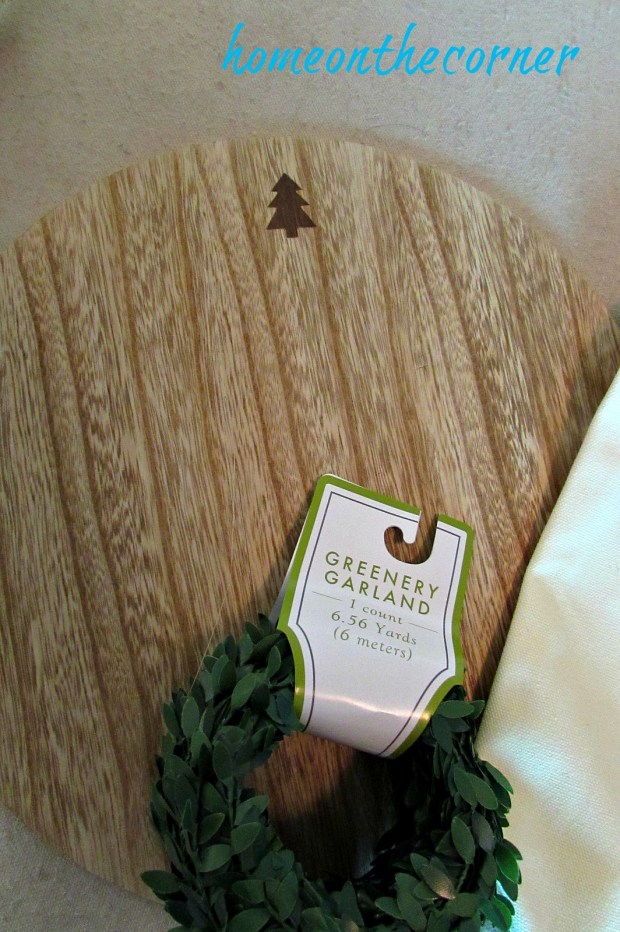
I love this wooden platter with just the little touch of Christmas on the top. It could be used for a little tabletop vignette or to serve up some Christmas goodies. Maybe Santa’s cookies and milk! And the little garland is the perfect little touch to add Christmas charm. I think I will put it around my little cows neck in the kitchen.

You know I couldn’t resist this sign! I am planning on decorating my laundry room with dog stuff, so this is the perfect addition.

What can I say? I have been a California girl my whole life! I just had to have this bag. I wonder, does Target have a different bag in each state? Probably. I also picked up the little trees you see in the corner. I don’t know if they will get used this year, but they are perfect for the little jar snow globes you see around.

That’s all the finds I have for you today! Have you found any great stuff at Target lately? Maybe a tote bag for your state? I hope you all have a great rest of your week!


Well, I am starting some of my Christmas posts! Can you believe it is almost here? I actually worked on some different Christmas projects during the year so they would be ready to post. Good thing I started early!
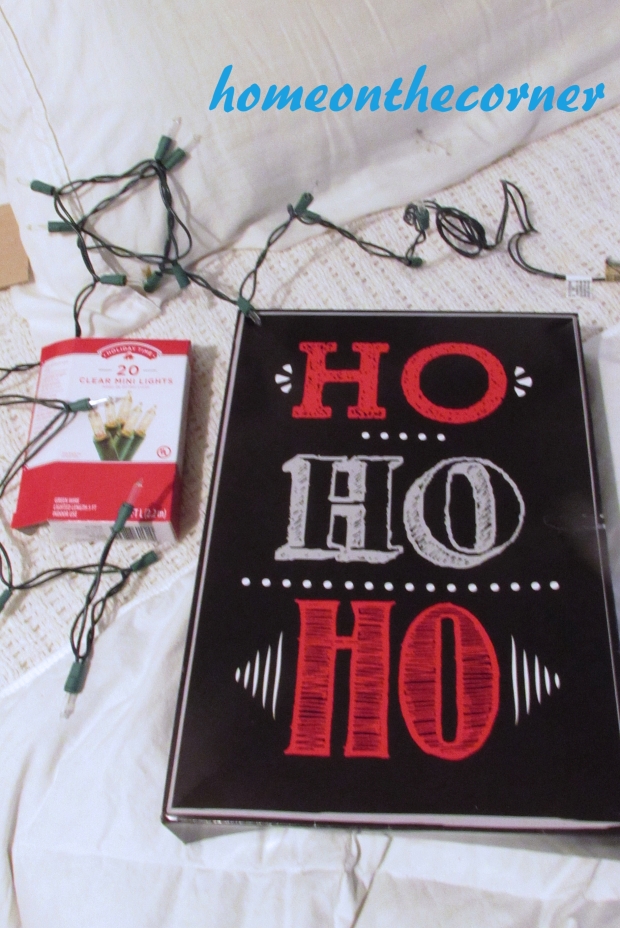
I received this gift box last year for Christmas and knew I could do some cool project with it. Haley just rolled her eyes at me when I told her that. 🙂
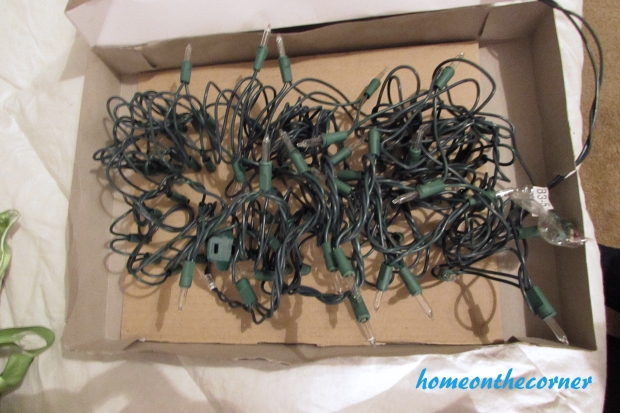
I started with my box, and a string of lights. The lights were a 20 count, but I ended up using 100 count.
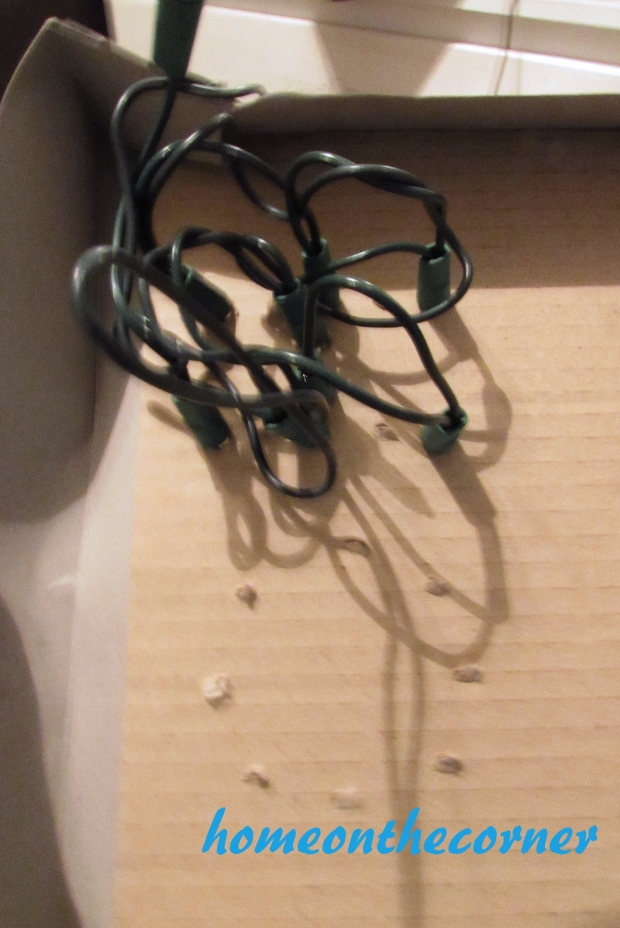
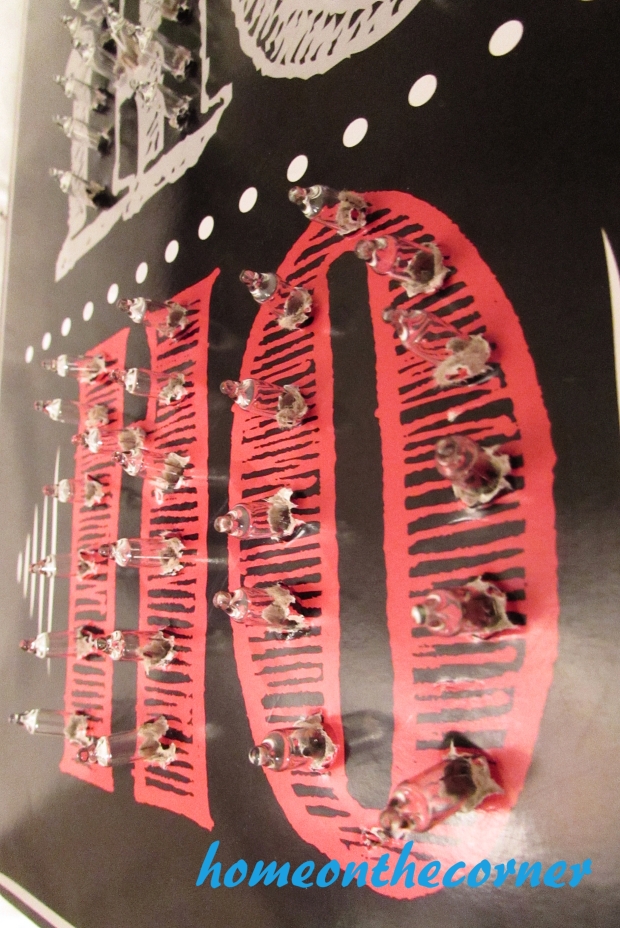
I punched holes with a pencil from the front to the back. This way I could place them in the right spots and I wouldn’t have the extra cardboard sticking out on the front. I placed the holes in each of the letters of the ho, ho, ho. Then I started pushing the lights into the holes from the back. (sorry for the blur!)
Here it is, from the back, with the 100 lights. There were some lights that didn’t go into holes, but 50 wouldn’t have been enough either.
And the front. Then it was just a matter of plugging it in and seeing if it would work
Yay! It works! And you can even tell what it is supposed to say!
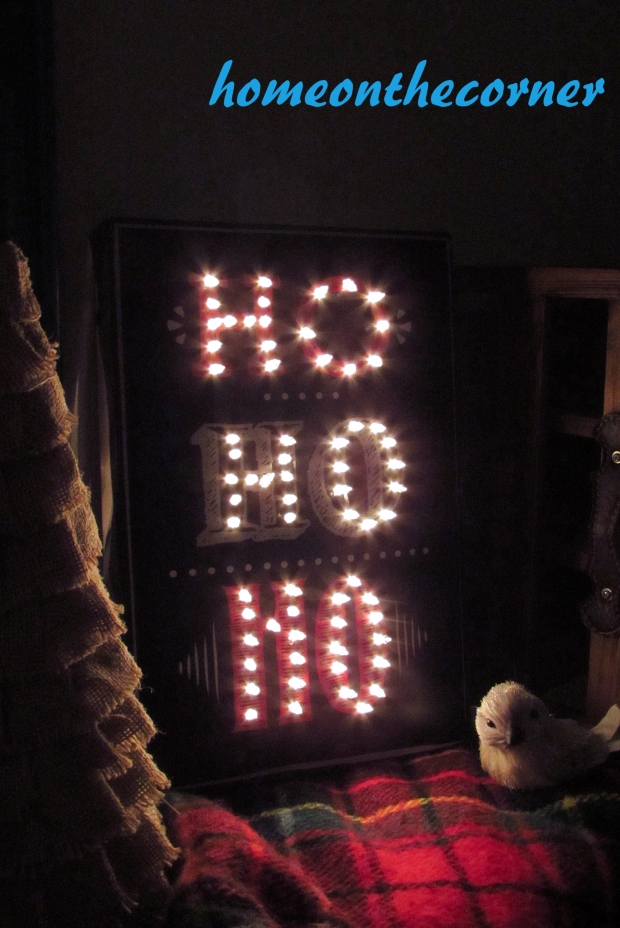
Now I have my own little marquee light!
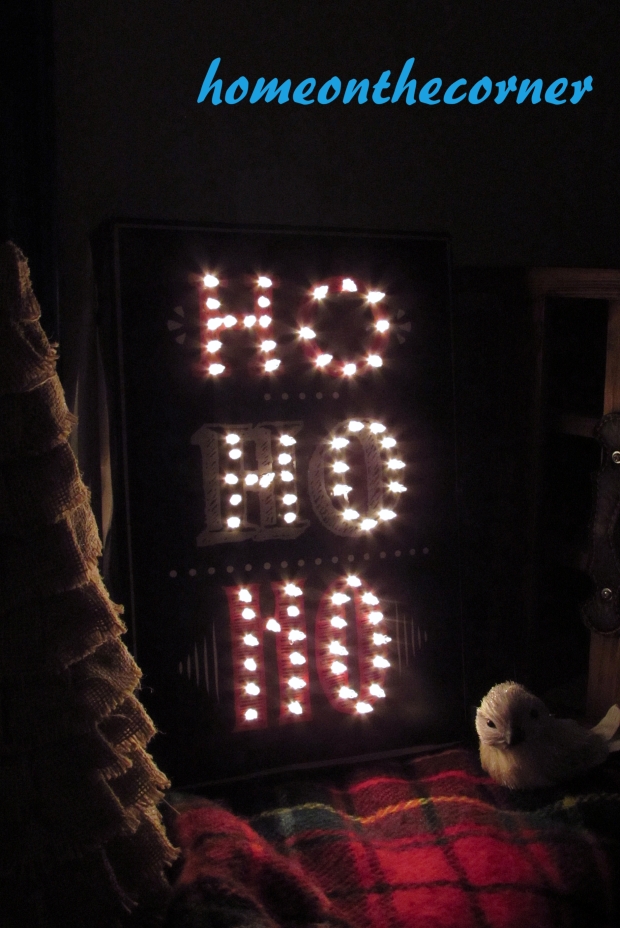
Such a simple idea with a lot of impact! I’m sure you can find boxes similar this at the store too. I will be back next week with another idea!


Welcome to the 2016 Ornament Exchange & Blog Hop! I’m so excited to be joining this group of ladies again! Thank you to Erlene at My Pinterventures for putting this all together. This year, there are 11 pairs of partners or 22 talented ladies participating in the exchange. The rules of the challenge were simple – create a handmade ornament for under $15 to exchange with a partner and create a tutorial to share on the blog hop!


Erlene ⋅ My Pinterventures Kim · Made In A Day Amanda · The Kolb Corner
Shirley · Intelligent Domesticatons Michelle · Our Crafty Mom
Robin ·Redo It Yourself Inspirations Sherry · Olives-n-Okra
Nicki · Sweet Parrish Place Sherry · Savvy Apron Megan · C’mon Get Crafty
Jelica · A Pretty Fix Emily · Two Purple Couches Christene · Keys to Inspiration
Kati · Houseful of Handmade Beverly · Across the Blvd.
Jeanie · Create and Babble Erin · Suburban Simplicity
Terri · Christmas Tree Lane Maureen · Red Cottage Chronicles
Debra · Shoppe No. 5 Donna · Two Chicks and A Mom
Pamela · Home On The Corner
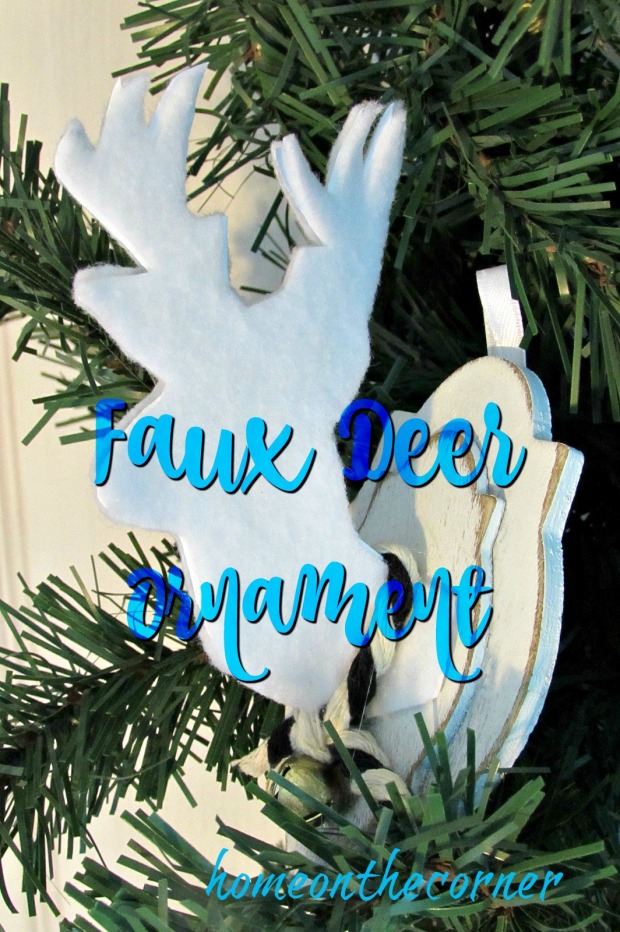
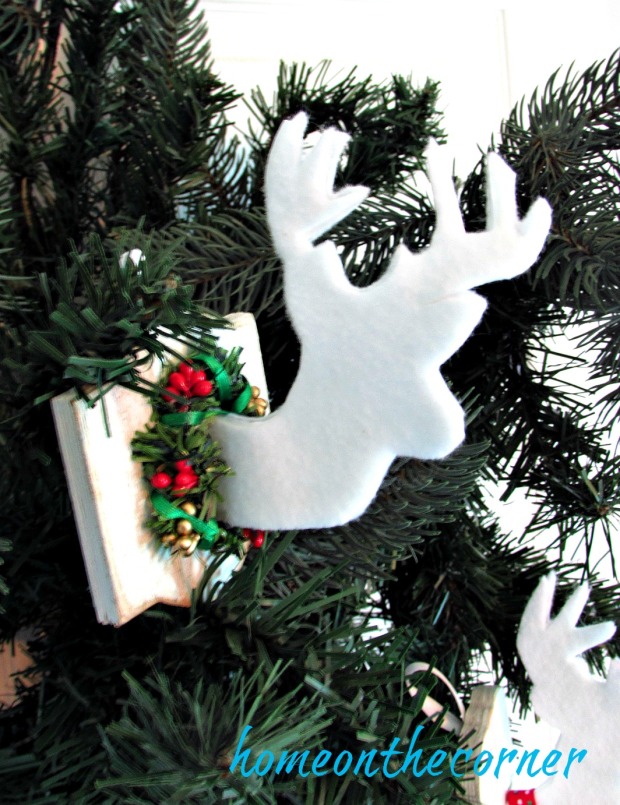
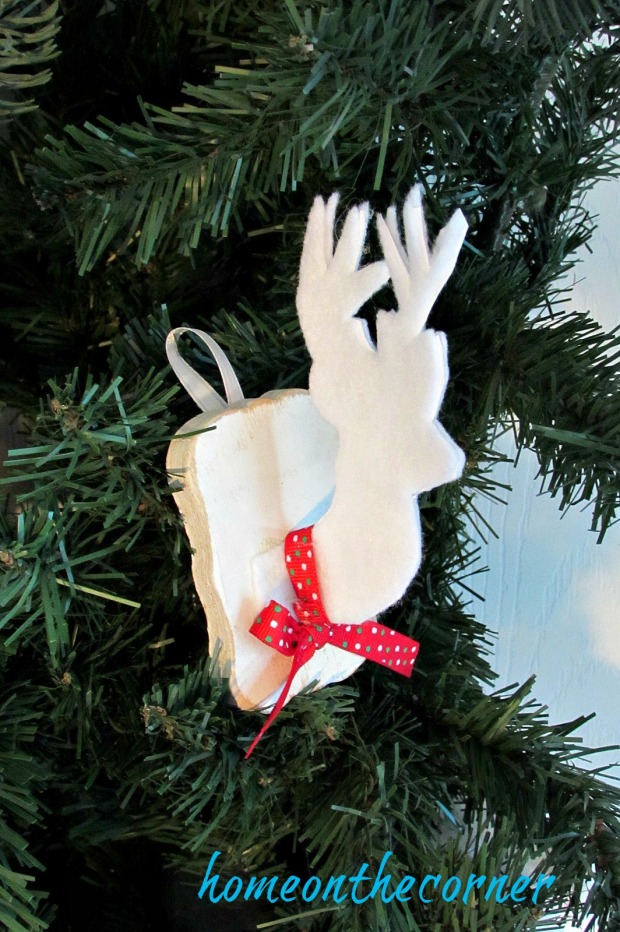
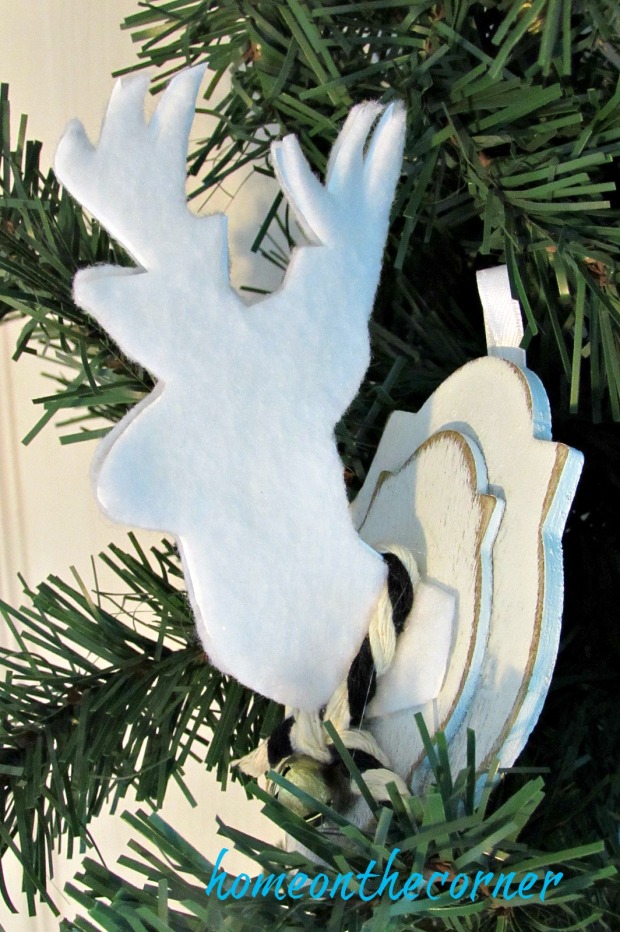
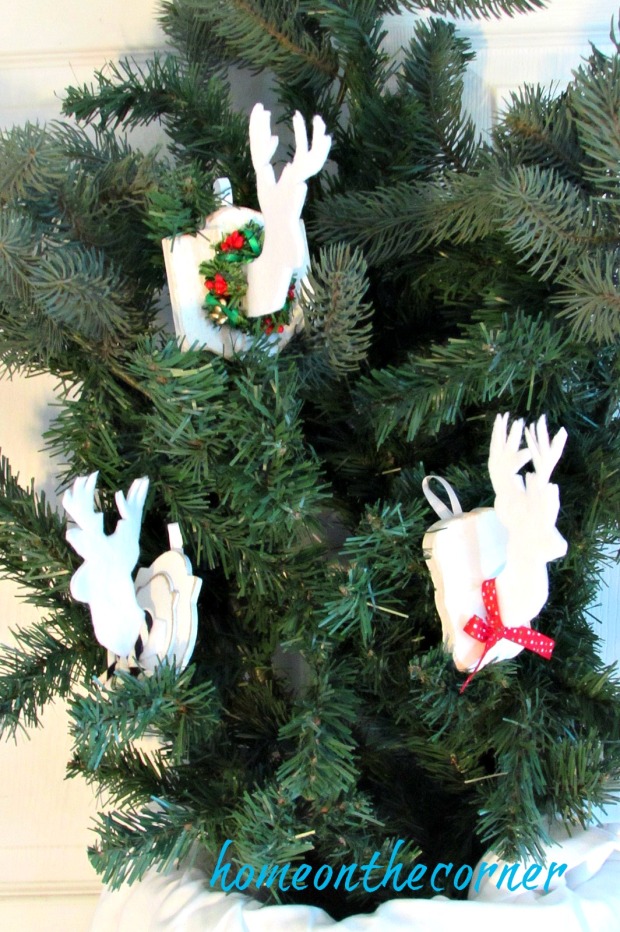
I love creating new ornaments for the holidays, and making one for someone else is even better! This year I was partnered with Kim, at Made in a Day. I have been following Kim for awhile now, so I was honored to make the ornament for her. I took a look at her tree from last year and saw that she liked anything rustic, gold and deer. I came up with something that incorporates all three elements.
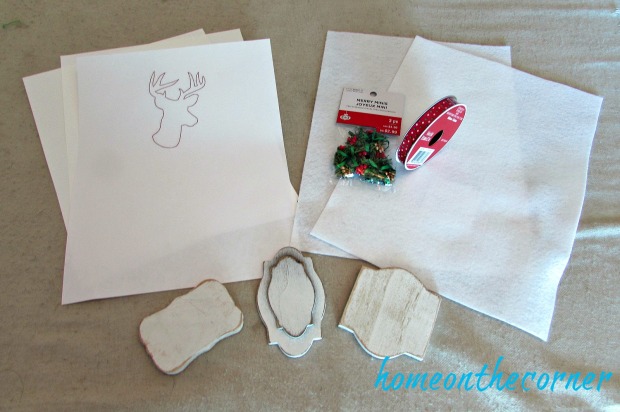
I started out by looking for a deer silhouette on a Google search. Of course, there are hundreds to choose from, but I didn’t want my design to be too complicated since I was going to have to cut it out of felt. I found one I liked and printed it out. I also picked up supplies from Michaels- 2 sheets of felt, 3 small wooden plaques, small Christmas wreaths, and some ribbon. I also needed some cardstock to help the deer keep their form when they were mounted. I already had that on hand.
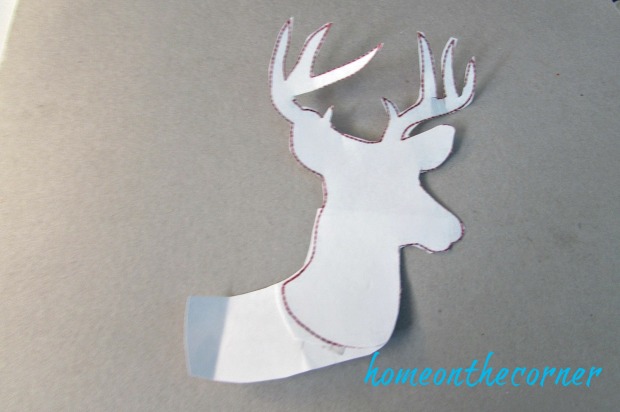
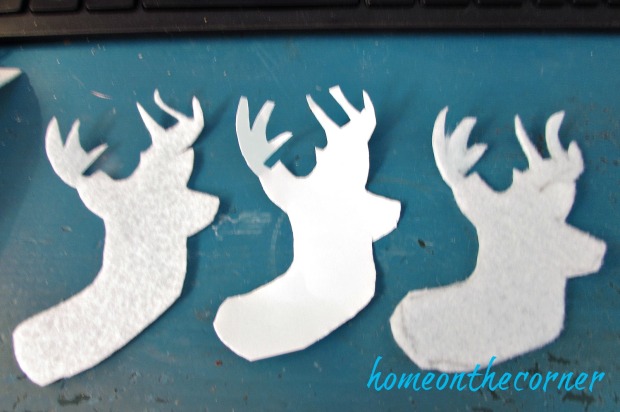
After printing out the deer silhouette, I cut it out. As you can see, I added a little extra to the neck so I would be able to mount it on the wood plaques.
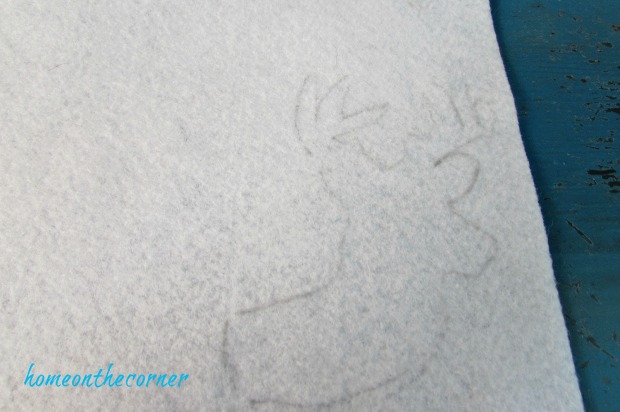
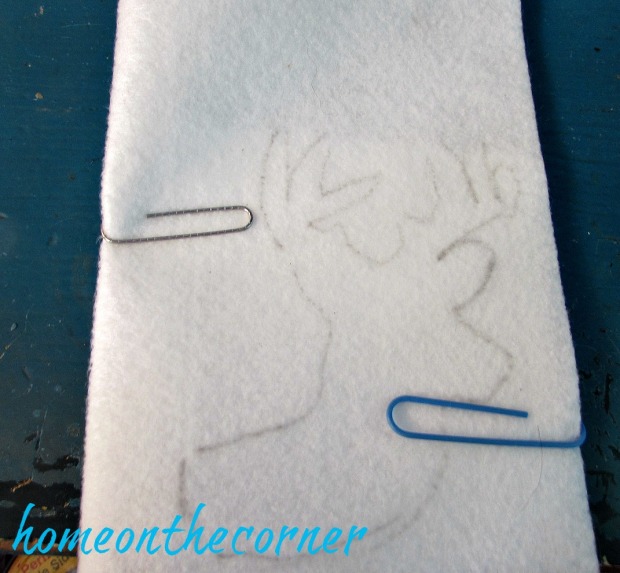
I then traced with a pencil around the deer onto the felt.
To make sure all my pieces came out the same, I layered them before cutting. I placed the cardstock between 2 pieces of felt. I paper-clipped them together so they wouldn’t move while cutting, and cut all three pieces at the same time. The trickiest part was the antlers, but they came out okay in the end.
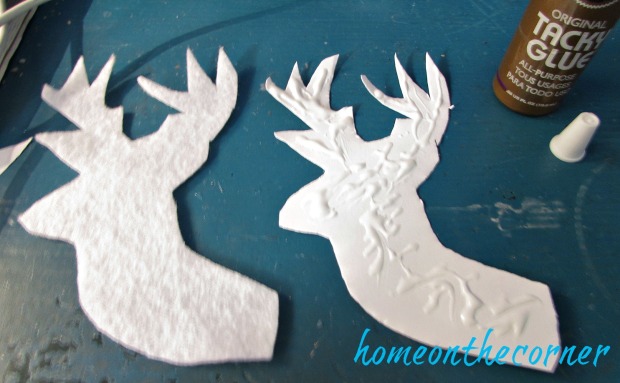
I added some tacky glue to the cardstock and attached the felt pieces on both sides. I trimmed up any pieces that needed it.
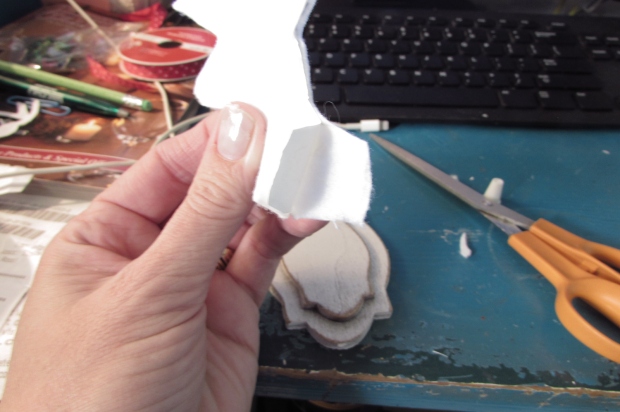
In order to attach the deer to the wood plaque, I took a little bit of one of the felt sides and separated it from the cardstock. Now I could glue those pieces onto the center of each of the wood plaques.
Embellishing each one was the fun part and is what helped them become more personal. I added a Christmas wreath to one, a red polka-dot ribbon to another and bakery twine with a bell to the last one.
I love how they turned out and hope Kim enjoys them on her tree!
I’m so glad you all came by for a visit today! Be sure to visit the other ladies too and check out all the great ornaments. There is also a link-up if you would like to link up your own creations. Have a Merry Christmas!
FIND MORE HANDMADE ORNAMENT TUTORIALS BELOW AND SHARE YOURS TOO!