Day of the Dead Ofrenda

Good morning! Can you believe we are already in November? Some of the days kind of drag by, but the month is gone before I know it! I have some exciting news for you! Lauren and I have joined in with 50 other bloggers with some great Christmas ideas and the series will start this Friday!! I can’t wait to see what ideas everyone has come up with. There is sure to be something for everyone! So come back on Friday for the kick-off!

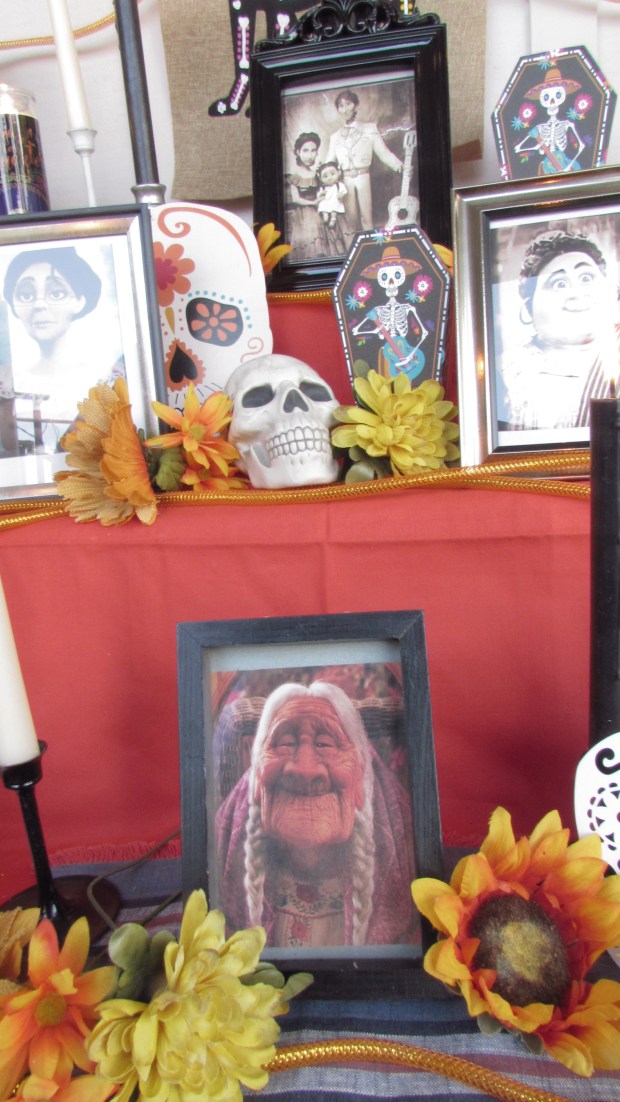
Did you decorate or go trick-or-treating for Halloween? I don’t usually do too much decorating, just a few pumpkins, but this year Lauren helped me set up an Ofrenda, similar to the one from the Disney movie Coco.

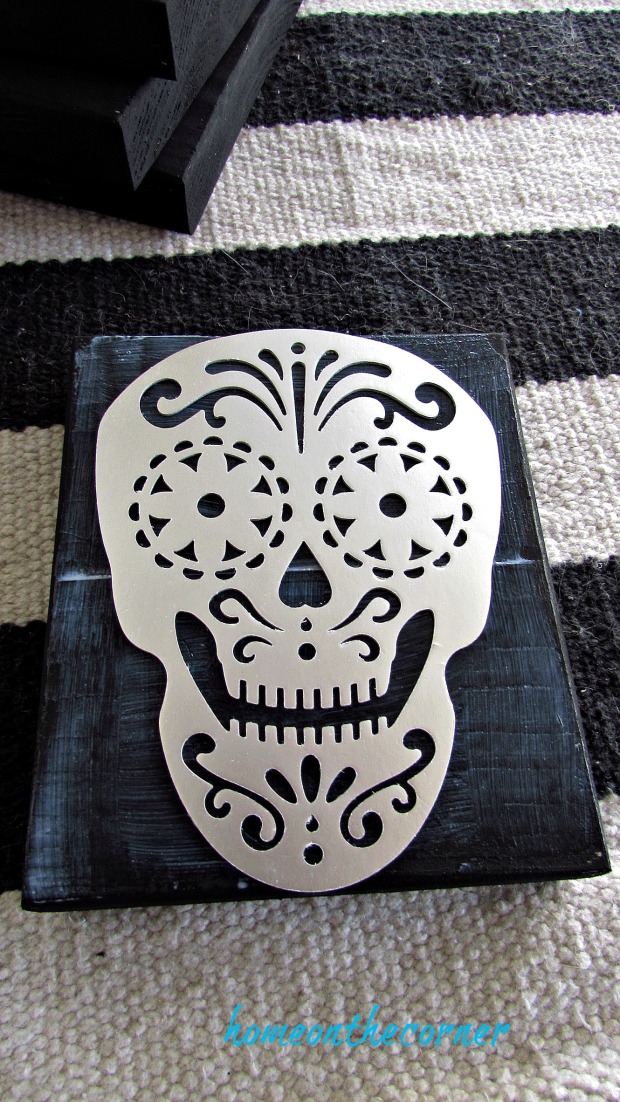
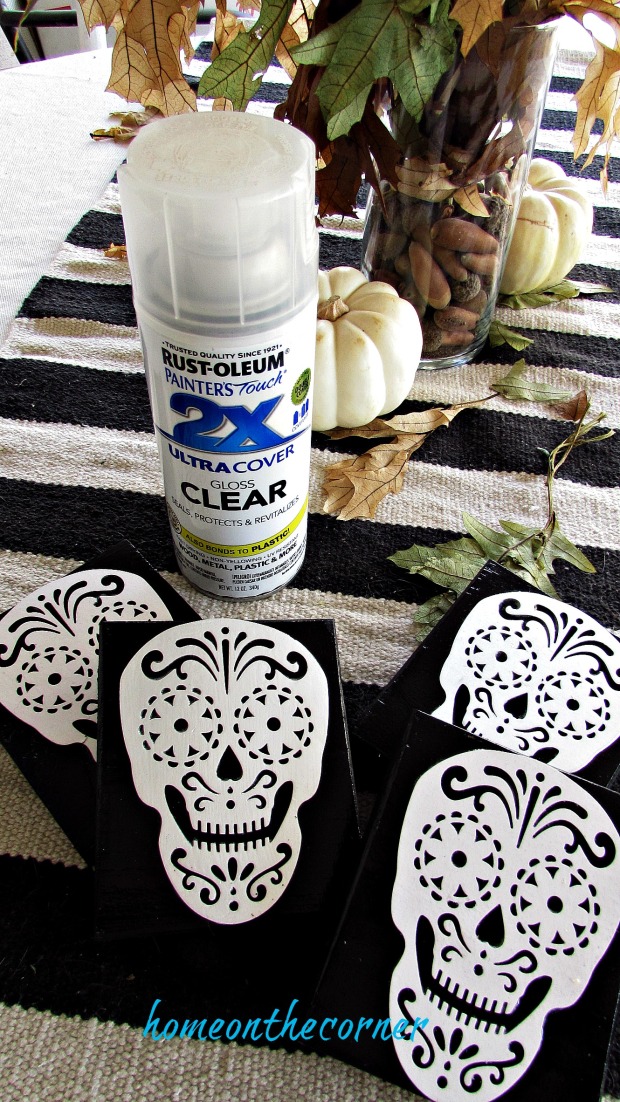
We have a 99 Cent Store in our town and we found so much Day of the Dead stuff there! Now, ours is not as elaborate as Disney’s (!), but I think it turned out pretty good!

IMG_0513

I don’t know much about this celebration, but the little bit I have learned is so interesting. I think the whole idea behind it is so cool. Remembering our relatives and our past is so important to who we are. I hope to learn more each year.

IMG_0515

I found pictures of the Coco characters online and printed them out to place on our Ofrenda.

IMG_0516IMG_0517

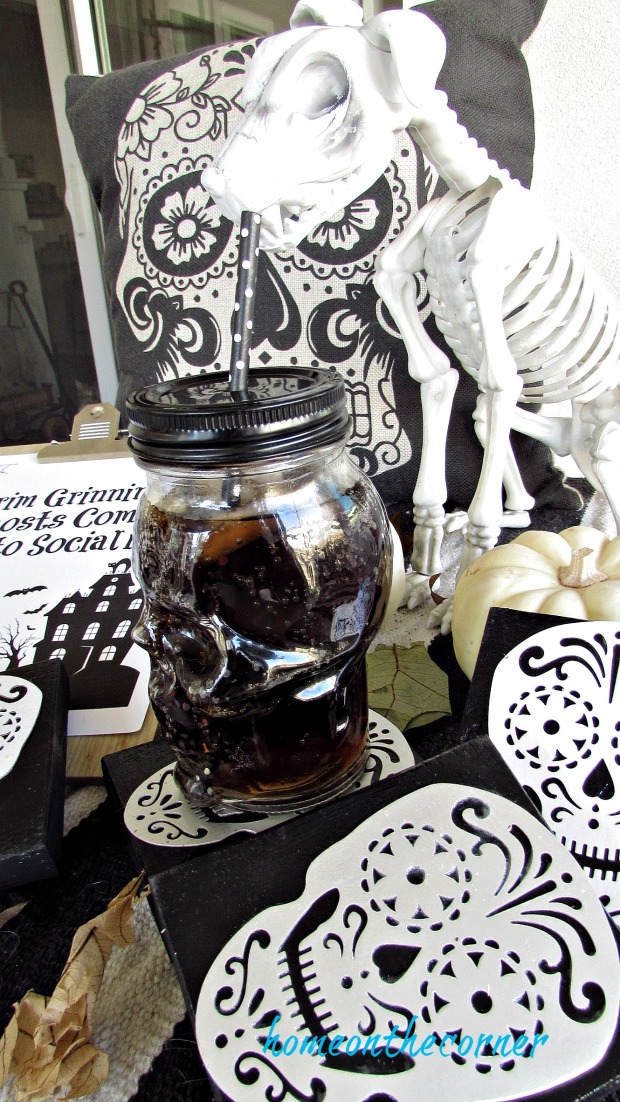
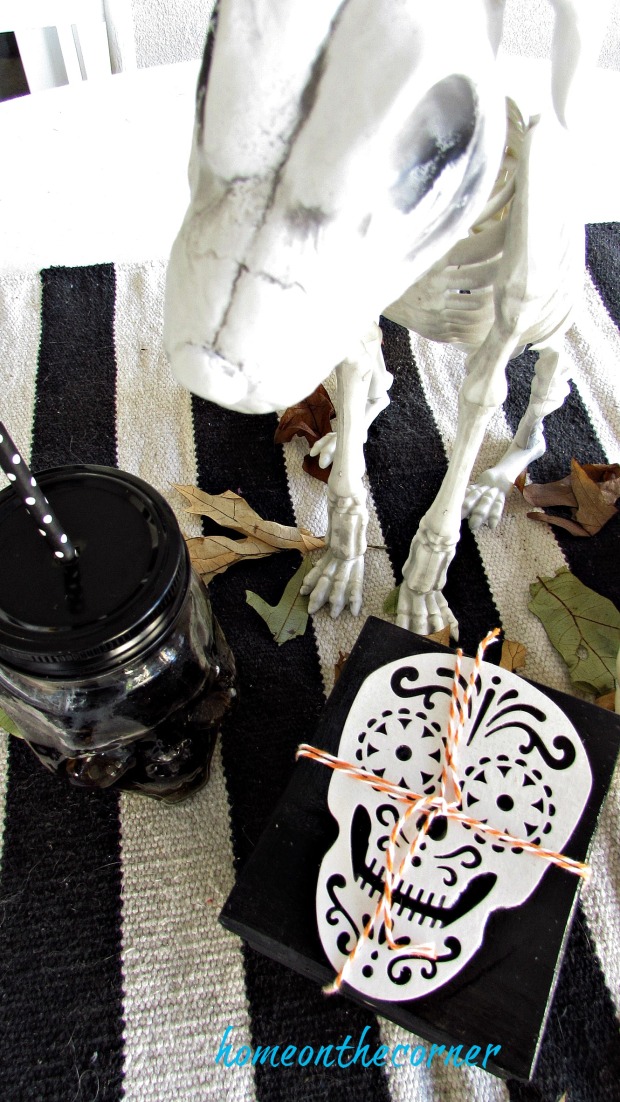
I love the little spirit animal! A dog, of course!

IMG_0518IMG_0520

Lots of candles and flowers fill it all in.

IMG_0521IMG_0522

I love the designs on the jar candles! So perfect!

IMG_0523IMG_0524

Do you recognize any of the characters! Mama Coco is at the bottom of the picture.

IMG_0525IMG_0526IMG_0527

IMG_0530IMG_0531IMG_0532IMG_0534IMG_0536

Does your family set up an Ofrenda? I would love to know about it! Thank you so much for stopping by today! Remember, on Friday, starts Christmas!!

sunshine-and-blessings-picmonkey

Make Your Own Coasters Plus a Printable!

Skull coasters title

Good morning! Are you ready for a new week? it’s hard to believe that October is almost over! Crazy! Are you starting to think of Christmas yet? I have been. In fact, this project is a gift for Christmas, that is, if my daughter doesn’t see this blog post first! 🙂

I have lots of scrap pieces of wood around and this was the perfect project to use a little bit of it. I had my husband cut 4 pieces of wood into squares and then sand the edges to smooth them.

Skull coaster blocks of wood

I painted 2 coats of black acrylic paint on all sides. I had these skulls in my stash, so they were perfect for Haley’s love of skulls. I used Mod Podge to attach them to the wood.

skull coasters with mod podge

I brushed Mod Podge all over the top of the wood block.

skull coaster mod podge

I centered the skull on top and then brushed more Mod Podge over the whole thing.

skull coaster paper skullskull coaster black wooden block

Once everything was dry, I sprayed each block with clear gloss. I gave each one 2 coats, since these will be used as coasters and have wet glasses on them.

skull coaster white and silver clear coat

I also attached rubber feet on the bottom so they won’t scratch any surfaces.

skull coaster rubber feet

They are ready for a cup of something cool or hot!

skull coasters with printableskull coasters mug, skeleton, pillow black and white

Isn’t this printable great? Lauren made this just for all of you! I want to sing the song every time I look at it. You can get this printable by clicking here. Just scroll to the bottom of the page once you get there. There is another one to choose from too.

skull coasters gim grinning ghosts printable

As you can see, we have quite a few skulls to go along with the coasters.

skull coaster tablescapeskull coaster black silver white

I tied them up with orange bakers twine so they are all ready to give as a gift. I’m excited to give these to Haley!

skull coasters tied with orange twine

Hope you all have a great week!

sunshine-and-blessings-picmonkey

Here are some other posts you might like:

travel map pumpkin book pumpkins leaves   fall 2018 back patio coffee table pumpkins

amazon affiliate


Step Stool Makeover with Stencils

Good morning! I’m a little late this week, but I finally made it here! I had several small paint projects I worked on this weekend and I thought I would share this one with you. It’s just a simple little update.

I picked up this sturdy little stool awhile ago. It was already white, it just needed a little freshening up. I used a creamy color white to spray paint it, but wanted to add a little bit more to it. I remembered I had these stencils (Designer Stencils and the design is Jaipur Damask) from my entryway floor and decided to use the smaller one here.

step stool makeover

I pulled out 2 different paints from what I had to try them out. I tried the Glidden Quiet Rain first, but it was too light, so turquoise it is!

step stool makeover paint colors

I measured to find the center of the step and then taped my stencil on to keep it in place.

step stool makeover stencil

I used a foam dauber and just lightly dipped it into the paint. I try not to get too much paint on the brush, but if I do, I just daub some off before I put it on the stencil.

step stool makeover paint dauber

Lightly pounce all over the design. You don’t want to press too hard, unless you are wanting a very distinct design.

step stool makeover stencil and dauber

I painted both the top of the stool and the step.

step stool makeover stencil and turquoise paint

I carefully lifted off the stencil and then let the paint dry. This didn’t take too long, since there wasn’t much paint. I lightly sanded over the design once it was dry.

step stool makeover stencil pattern

I added a couple of pumpkins and a cozy throw and it’s all ready for fall!

step stool makeover striped pumpkins turquoisestep stool makeover pumpkins and blanketstep stool makeover living room pumpkinsstep stool makeover fall stencil pumpkins

Lauren and I are busy getting some Christmas posts ready for all of you! We have a lot coming your way, starting in November! Can’t wait to share it with you!

sunshine-and-blessings-picmonkey

Thrift Store Pumpkin Makeover

Good morning! Now that’s it’s officially fall, are you experiencing fall weather? This week we have a few cool days, a couple hot ones, and then it cools down for the weekend. I do love the cool nights and being able to cuddle under the blankets!

I found this paper mache’ pumpkin at a thrift store this past week. I liked the size, but didn’t like the shiny finish on it.

cream pumpkin makeover

I took the stem off and then used some of the chalk paint I had on hand. I used what I thought was a cream colored chalk paint, but it was actually wax. I thought I would try it and it ended up working out.

cream pumpkin waverly and american decor chalk paint

I used a couple of coats of the wax and I like the chalk look much better.

cream pumpkin chalk paint

I used Waverly ‘Mineral’ and Americana Decor ‘Heirloom’ and used a small paintbrush to brush small strokes of paint all over the pumpkin. I made sure to add some in the recesses, to give some shadow.

cream pumpkin and stem with grey and tan

I also painted the stem with the ‘Mineral’ and ‘Heirloom’ paint and then glued it back on the top of the pumpkin.

cream pumpkin with lantern

I added the pumpkin to my mantel along with a couple of lanterns and a large pumpkin canvas I painted last year.

cream pumpkin mantle with painted pumpkin picture

Just a few touches bring fall into the room!

painted pumpkin fall mantlecream pumpkin fall mantle lanterns and candles

I also bought a new candle from Bath and Body Works, Sweet Cinnamon Pumpkin. Mmmm! It smells so good!

cream pumpkin fall mantle pumpkin candle and lanterncream pumpkin makeover fall mantle

I love when I can take a thrift store item and remake it to be usable again! I also love when I don’t have to spend a lot of money to bring something ‘new’ to my home. What items have you made over? I would love to hear about it!

sunshine-and-blessings-picmonkey

amazon affiliate


Make Your Own Rice Bag Hand Warmers plus Free Printable

Good morning! Glad you stopped by today! I have a very simple project for you to make for yourself or as gifts. The holidays are coming!  I’m sure you have seen rice bags around and now you can make it yourself.

Hand Warmer Title

Supplies:

  • small pieces of cotton fabric
  • ruler
  • thread to match and needle
  • sewing machine or fabric glue
  • rice
  • funnel

I always wash my fabric before using it to make sure all the shrinkage is out. Then I cut my pieces into 4 inch squares. You need two matching ones for each hand-warmer, or four for a set.

hand warmer squares

Place your squares right sides together.

hand warmer square right sides together

I sewed my squares together, but you can also use fabric glue. I sewed around the edge, about 1/4 in. seam, leaving about 1 inch open at the end. Be sure to back-stitch the beginning and end so the sewing doesn’t come undone.

hand warmers sewing seam

Turn your square right side out, using the small hole you left open.

hand warmer 1 inch openinghand warmer turn right side out

I use regular long grain rice to fill my bags. I also fill my bags over a large bowl to catch any overflow.

hand warmers cup of rice

I placed the funnel inside the hole in the bag and used about 1/2 cup of rice for each warmer. You don’t want the bag too full or empty. When mine are filled, they lay nice and flat. There are no empty spaces and no bump in the middle.

hand warmer funnel and ricehand warmers pouring rice into baghand warmer filling bag with rice

Once the bags are filled, fold in the open edge and stitch, or glue closed, with coordinating thread.

hand warmer fold in and stitchhand warmer rice stitch close

I tied up each set with baker’s twine an added a small tag with instructions.

hand warmer basket with tag

I’ve included a PDF so you can print your own tags too!  There will be a link at the end of the blog post to click on.

hand warmers in a baskethand warmers rice tag

You can warm these up in the microwave and then place them in your pockets to warm your hands. Sometimes I even place them in my bed to warm the sheets on a cold night. They can be used on sore muscles too. You can also keep them in the freezer for boo-boos or to cool you down when it’s hot. There are so many uses for these cute little bags.

hand warmers in a basket with tagshand warmer rice bag in a basket

Let me know if you have any questions and I hope you all have a wonderful week!

hand warmer tags

Hand Warmer Tag Printable

sunshine-and-blessings-picmonkey