I created a little flag from some of the scrap pieces of wood I have laying around. This one was already painted red, so I figured that would work well for the stripes. Now, I made two mistakes on this craft. 1. I forgot to take pictures of all the parts of the process. It’s not too difficult, so I’m sure you will be able to figure it out. 2. I forgot to paint the star part of the flag white before I painted it blue. But I did come up with a solution.
Like I said, my wood was already red, so I taped off the part for the stars. If I had been thinking, I should have painted this square white before putting the stickers on, but, alas, I didn’t.
I found these stickers at Dollar Tree and stuck on 50 of them. That’s when I realized I should have painted it white, but I really didn’t want to have to redo the stars again. So I just spray painted navy blue over everything.
Once it was dry, I peeled the star stickers off the board. I have a white Sharpie paint pen, so I colored in each of the stars. It really didn’t take too long since the stars are small.
I didn’t get the pictures of the white stripes, but they are book pages with torn edges. I wanted 6 white stripes, 3 short ones and 3 long ones. For the long ones, I had to put 2 pieces together. I used Tacky Glue to attach them.
Good morning! How are you doing today? Have stores and other places started opening up in your area? We were able to travel out of town this weekend! This was the first time since the beginning of March, so we were more than ready to get out of town!
*We are affiliated with Dollar Tree and may receive compensation if you click on the link above at no extra cost to you!*
The basket had a couple of wooden pieces glued on. Not quite the look I was going for. 🙂 I tried to come up with a way to remove them.
So I thought I would try a blow dryer first. It did work, but it didn’t get the glue all the way off. I removed the wood pieces but ended up using the other side of the basket for the front of the basket when I hung it up.
I added some green foam into the basket to secure the flowers. I just cut it with an old knife until it fit.
Next, I cut all the flowers off the big stem until I had individual flowers. I pushed up the leaves too so they were closer to the flower.
I pushed the flower stems in the green foam at different heights and making sure that the same colors weren’t together. I even added a little pinwheel!
I wanted to add one of the wooden stars to the front of the basket so I chose the ‘God Bless America’ star. I feel like our country needs lots of blessings right now. I thought it still seemed a little plain, so I added a piece of red and white polka-dot ribbon around the top of the basket. I also added a piece of ribbon for hanging the basket. I used hot glue to attach both the ribbon and the star.
And then it was ready to hang!
It’s a little touch of the red, white and blue!
This is a quick and easy craft, but looks great and shows you are ready to celebrate our freedom and our country.
Thank you so much for coming by today! I appreciate each and every one of you! Have a happy 4th of July!
Here are a few more patriotic posts you may enjoy!
Not only is this project done, but now I have more exciting news!! My daughter, Haley, got engaged this past weekend!!! I’m so excited for her and my soon to be son-in-love! Now I get to help with the wedding planning! I’m not sure how much I will be able to blog about, but I will try to document some of it. But now on to the show!
If you didn’t see the first post of what the trailer originally looked like, you can click here. I will include some of the original pictures here too.
I went for the Bohemian look this time in the trailer. A lot of the pictures and things are from the old trailer and I found new places for them to go. As you walk in the door, you can see our Camping Rules. Most importantly, is Make Memories! You can see in this picture, we outlined the slide out with varnished wood. I love how it turned out! Looks so much better than the plastic pieces that were up there!
Just to the left as you enter the door are 2 swivel chairs by a big picture window. You can see here that all the brown is now painted white. I used Benjamin Moore Swiss Coffee for all the paint in the trailer. I used the original handles, knobs and hinges and painted them all gold. I bought theblinds from Home Depot, and the fabric and pom-poms from the 99 Cent Store. The seat covers came from Amazon.
The little table was a t.v. stand and Steve reconfigured it to fit over some of the hose and electrical hoses and wires that are underneath. I painted it and decoupaged the top. I added some fun little decorations to the top and the shelves.
BEFORE:
AFTER:
Straight in from the door is the couch. I covered it with an old chenille bedspread I already had and some fun pillows. I used the same blinds on the window and fabric for the curtains. I love that I could use all different colors and it all looked good together!
I recovered the cushions at the table. I used velcro on the back to hold them in place. You may have noticed, but we took down all the valances over and around the windows. We added our own curtain rods and the new woven blinds.
I also covered the table with a marble look contact paper from Amazon. I used a regular width paper and I probably should have used a wide width. It would have fit better. I used black spray paint on the poles that hold up the table. You can see one of them a couple pictures above.
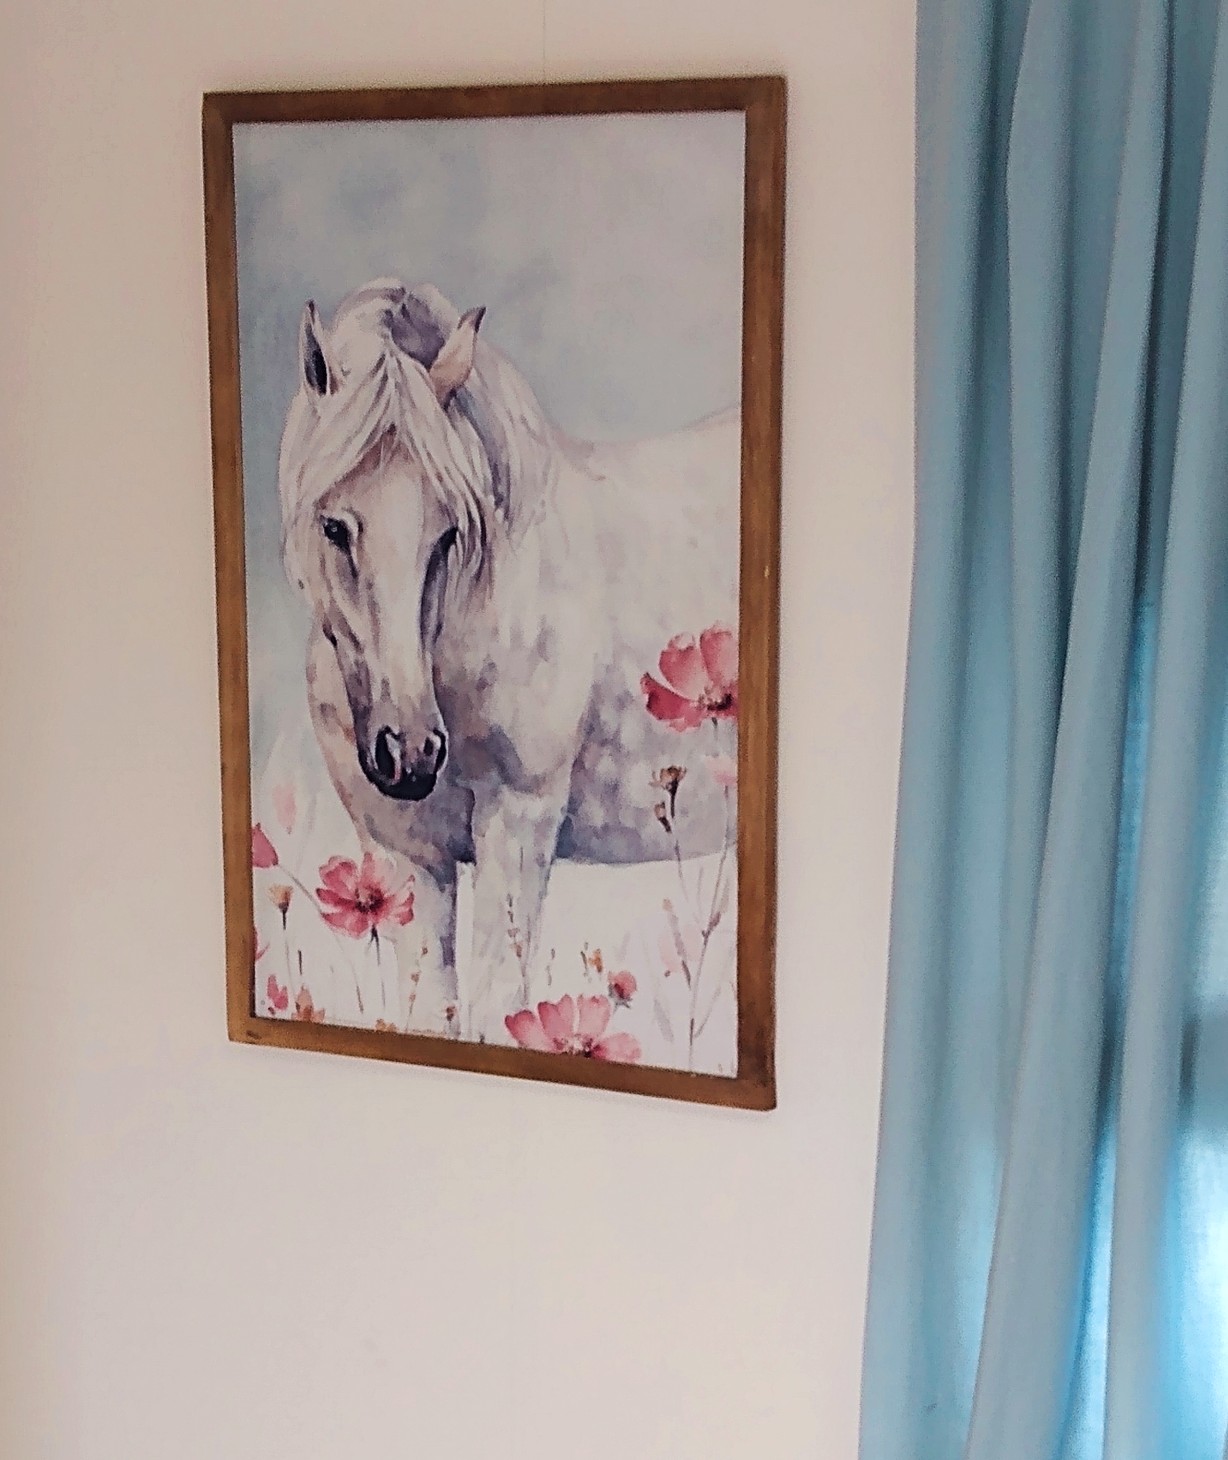
This is my favorite picture!! I hung it in the little hallway that leads to the bedroom.
BEFORE:
AFTER:
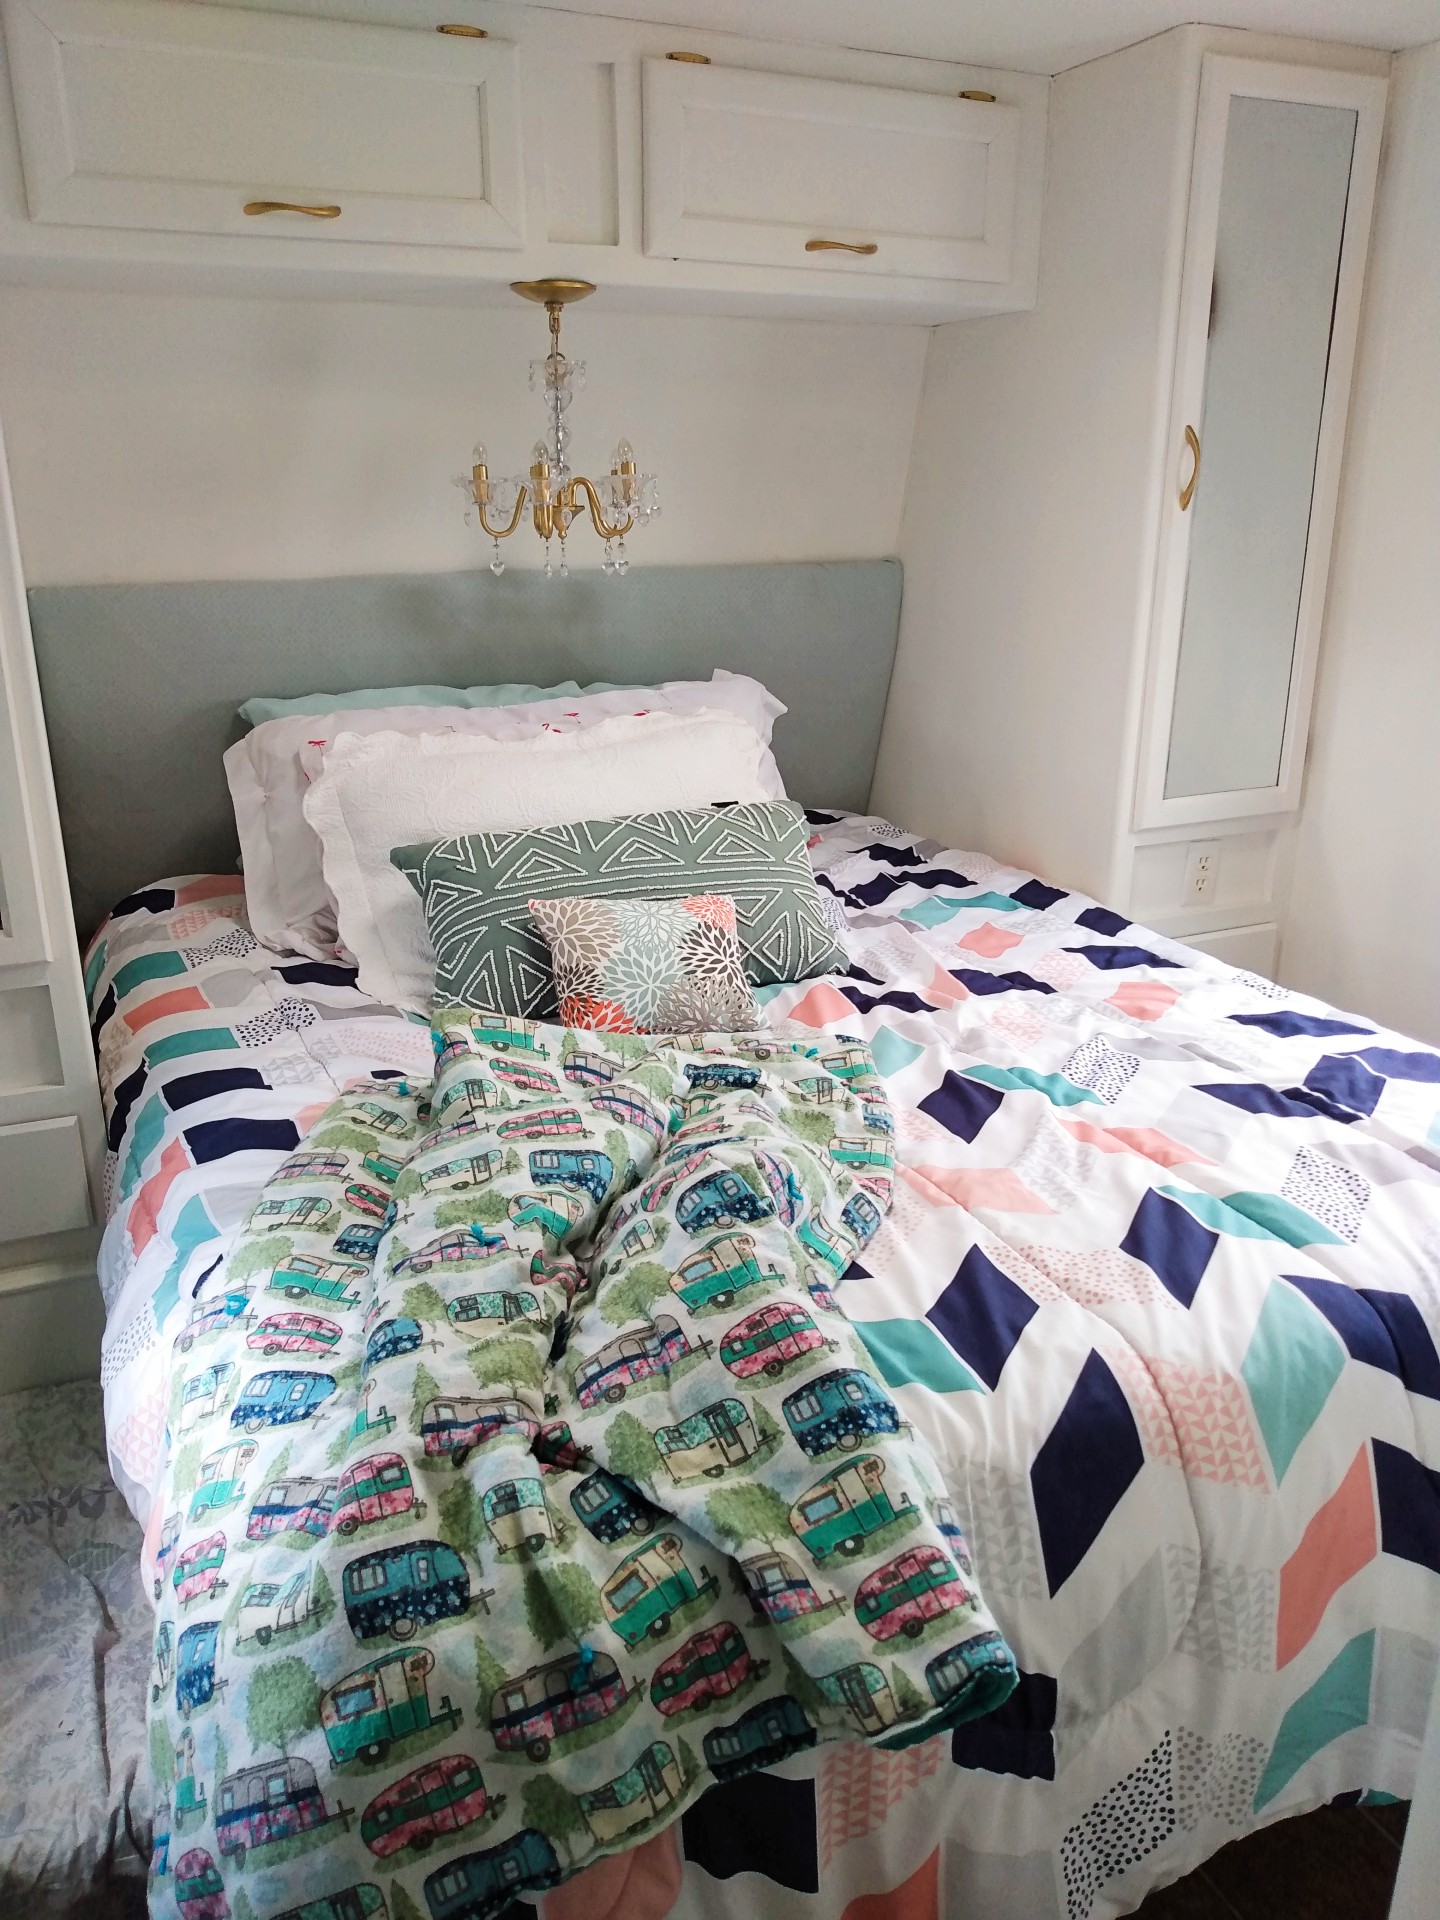
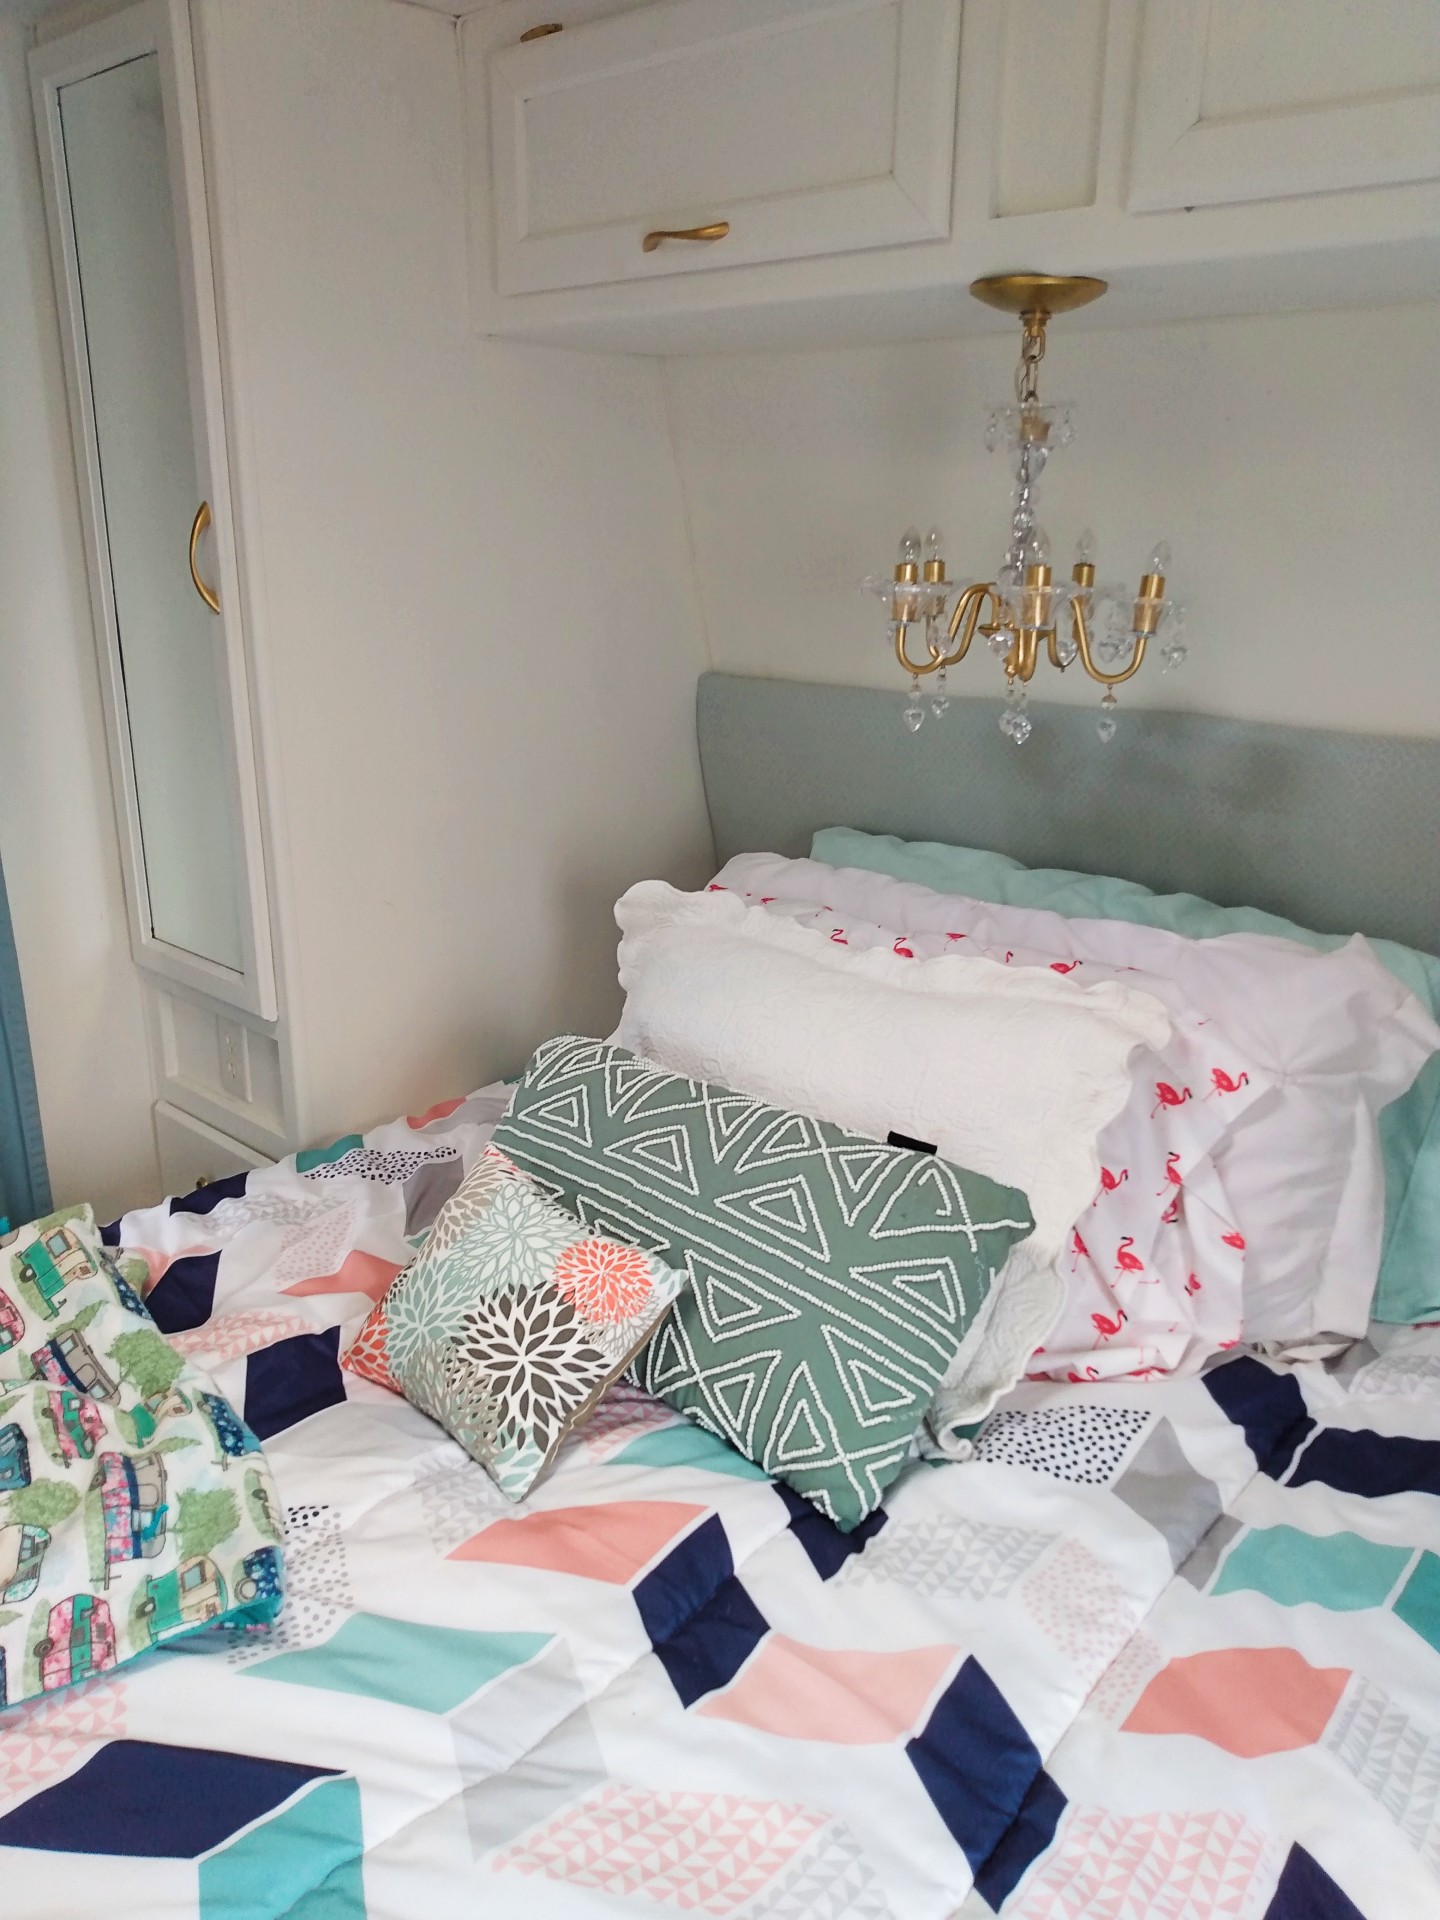
It’s hard to believe this is even the same room!!! I absolutely love this bedroom! We removed the headboard and recovered it with a sheet. I also added the cute little chandelier above the bed. My good friend, Robin, made me the cute camping blanket at the end of the bed. Doesn’t it match perfectly?
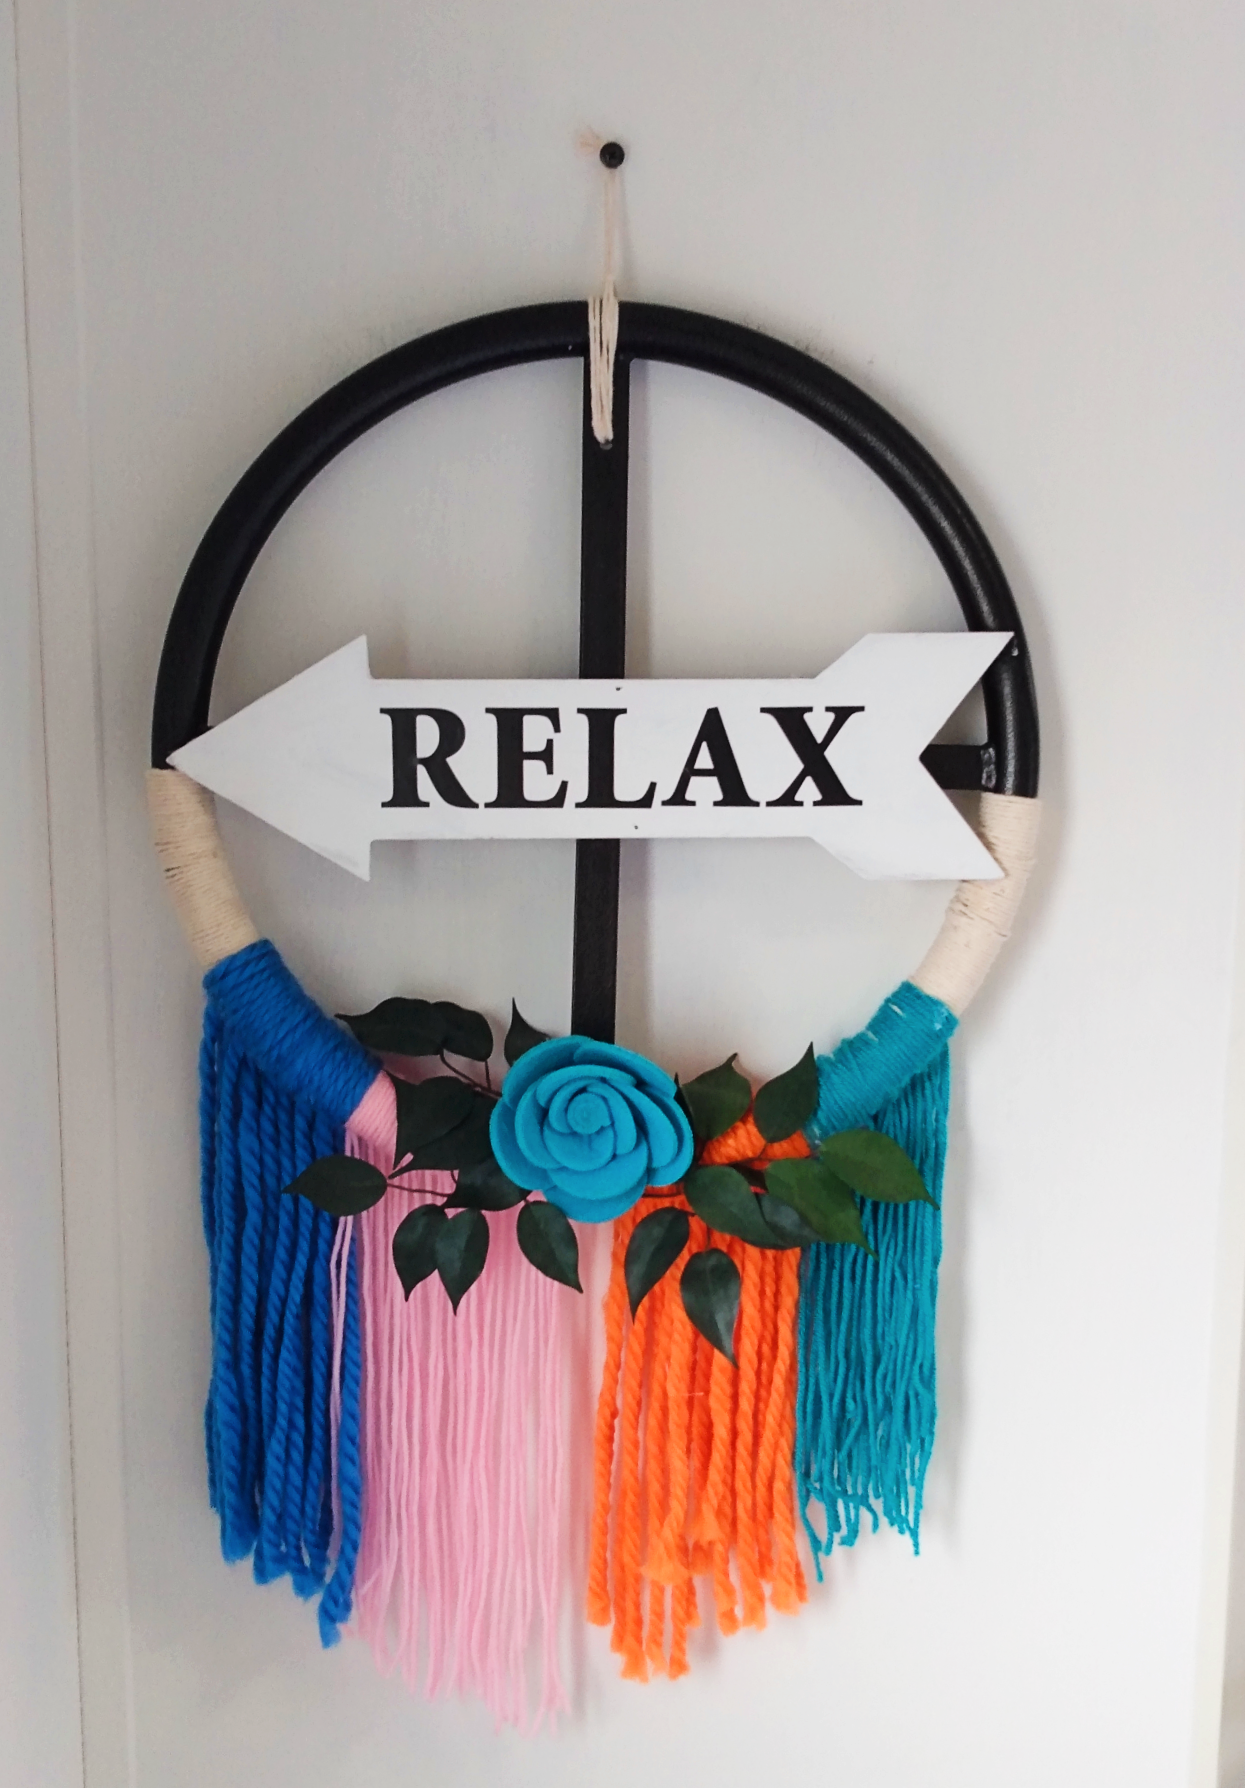
I made this cute little Relax sign out of bits and pieces I had in my garage.
BEFORE:
AFTER:
Isn’t it amazing how much of a difference paint can make?
Loving my flamingos!
There isn’t much storage in the bathroom, so I added this basket holder above the toilet to store a few things in. I found it at Home Goods, but I added the bits of material and pom-poms to give it the Boho look.
We have not changed out the floor yet, but it is something I hope to do in the future.
BEFORE:
AFTER:
Doesn’t this look so much better?! Did you know that the pieces on the front of the fridge are just a thin piece of cardboard? I just slid them out and spray-painted them with chalkboard paint. Such a simple update!
I also used a peel and stick subway tile from Amazon behind the sink and up on the wall. I love how it turned out! It gives such a fresh and clean feel. I reused the blind on the kitchen window and used a bit of sheet to make the curtain.
We’ve collected magnets from all the different places we have visited. It’s fun to talk about the different places we have traveled to.
I would love to hear what you think! I had so much fun planning everything out and I really love how it turned out!
Now that the RV is done, it’s on to other projects!
Good morning! How have you all been? I have been good, but so busy with a new project! I’m so excited about this one! My husband and I bought a new travel trailer and are doing renovations on it! I’ve wanted to do this for several years and now I finally get the chance to do it!
I loved our last little trailer, but now that my kids are adults, it was just too small for all of us. You can see a partial makeover I did on that trailer here.
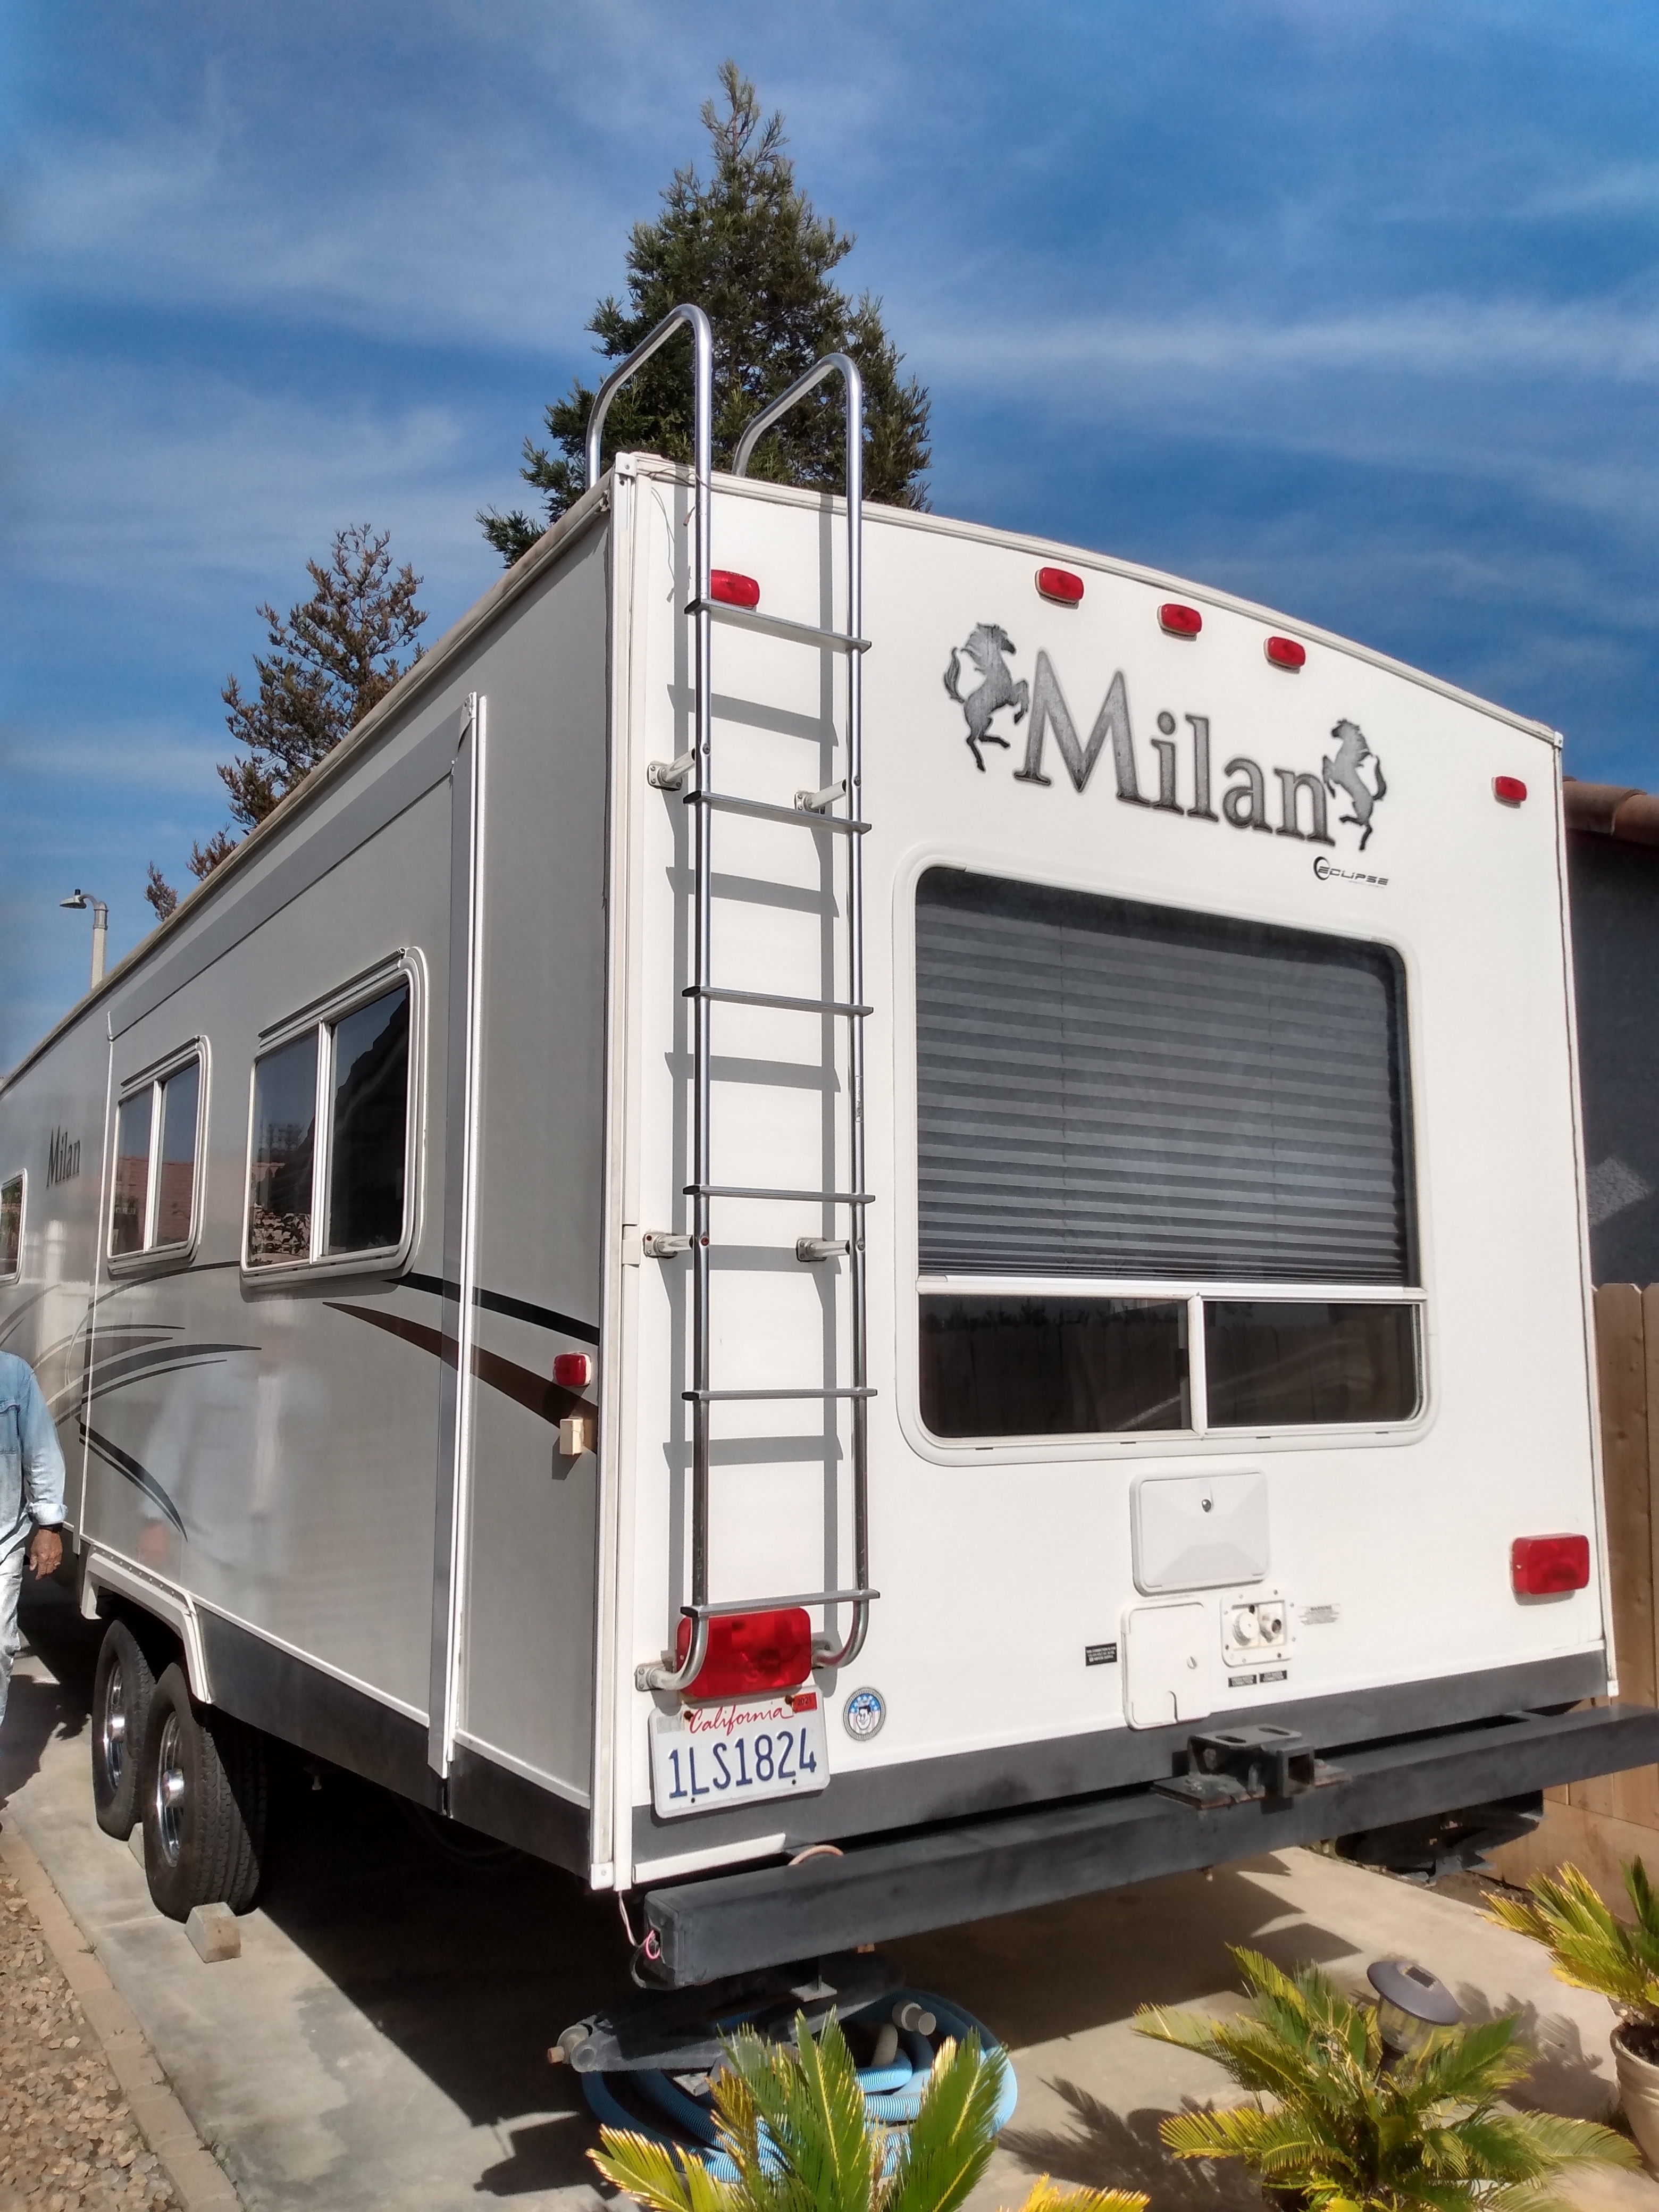
As you can see, this trailer is much bigger! It’s actually bigger than what we were looking for, but the timing and the price were right, so we couldn’t pass it up.
I was specifically looking for the separate bedroom so I wouldn’t have to make up the couch or table every day. I love all the storage too! These pictures were from the sales ad. I love the walk around bed!
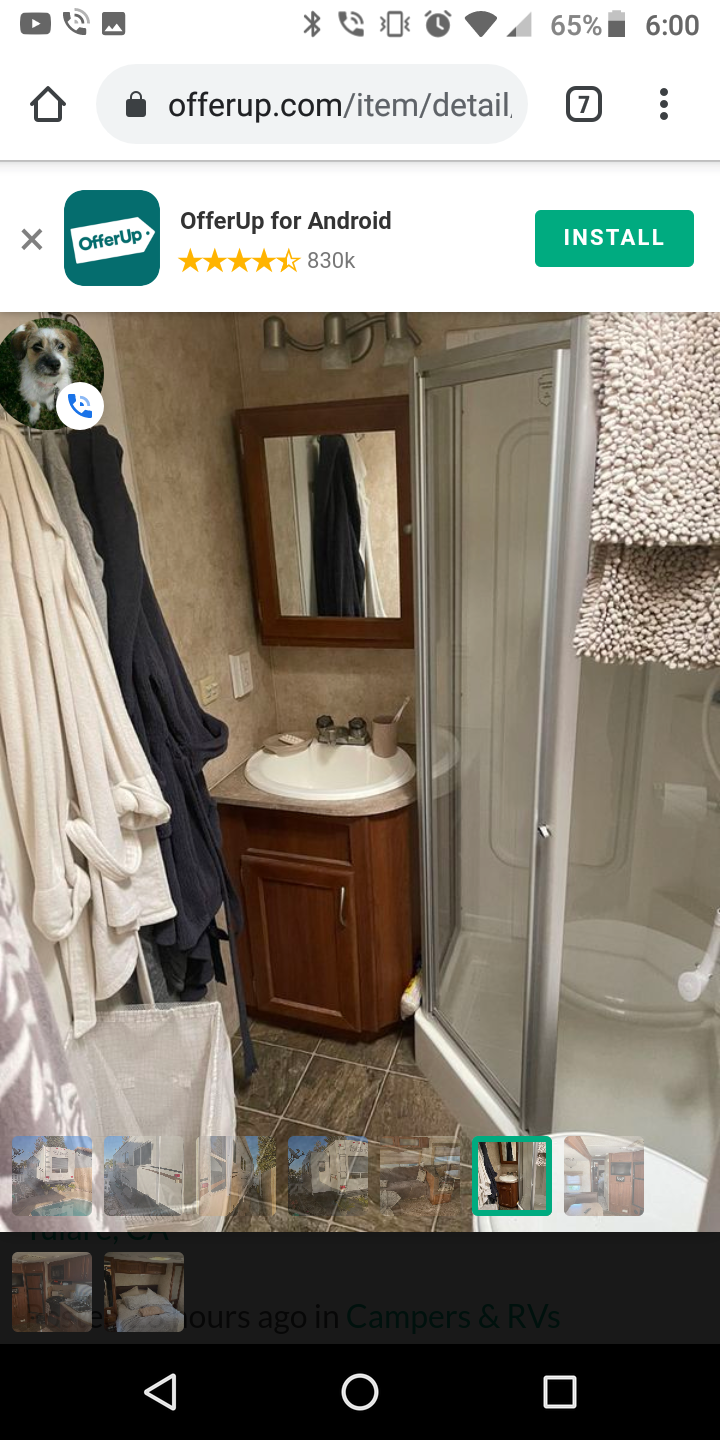
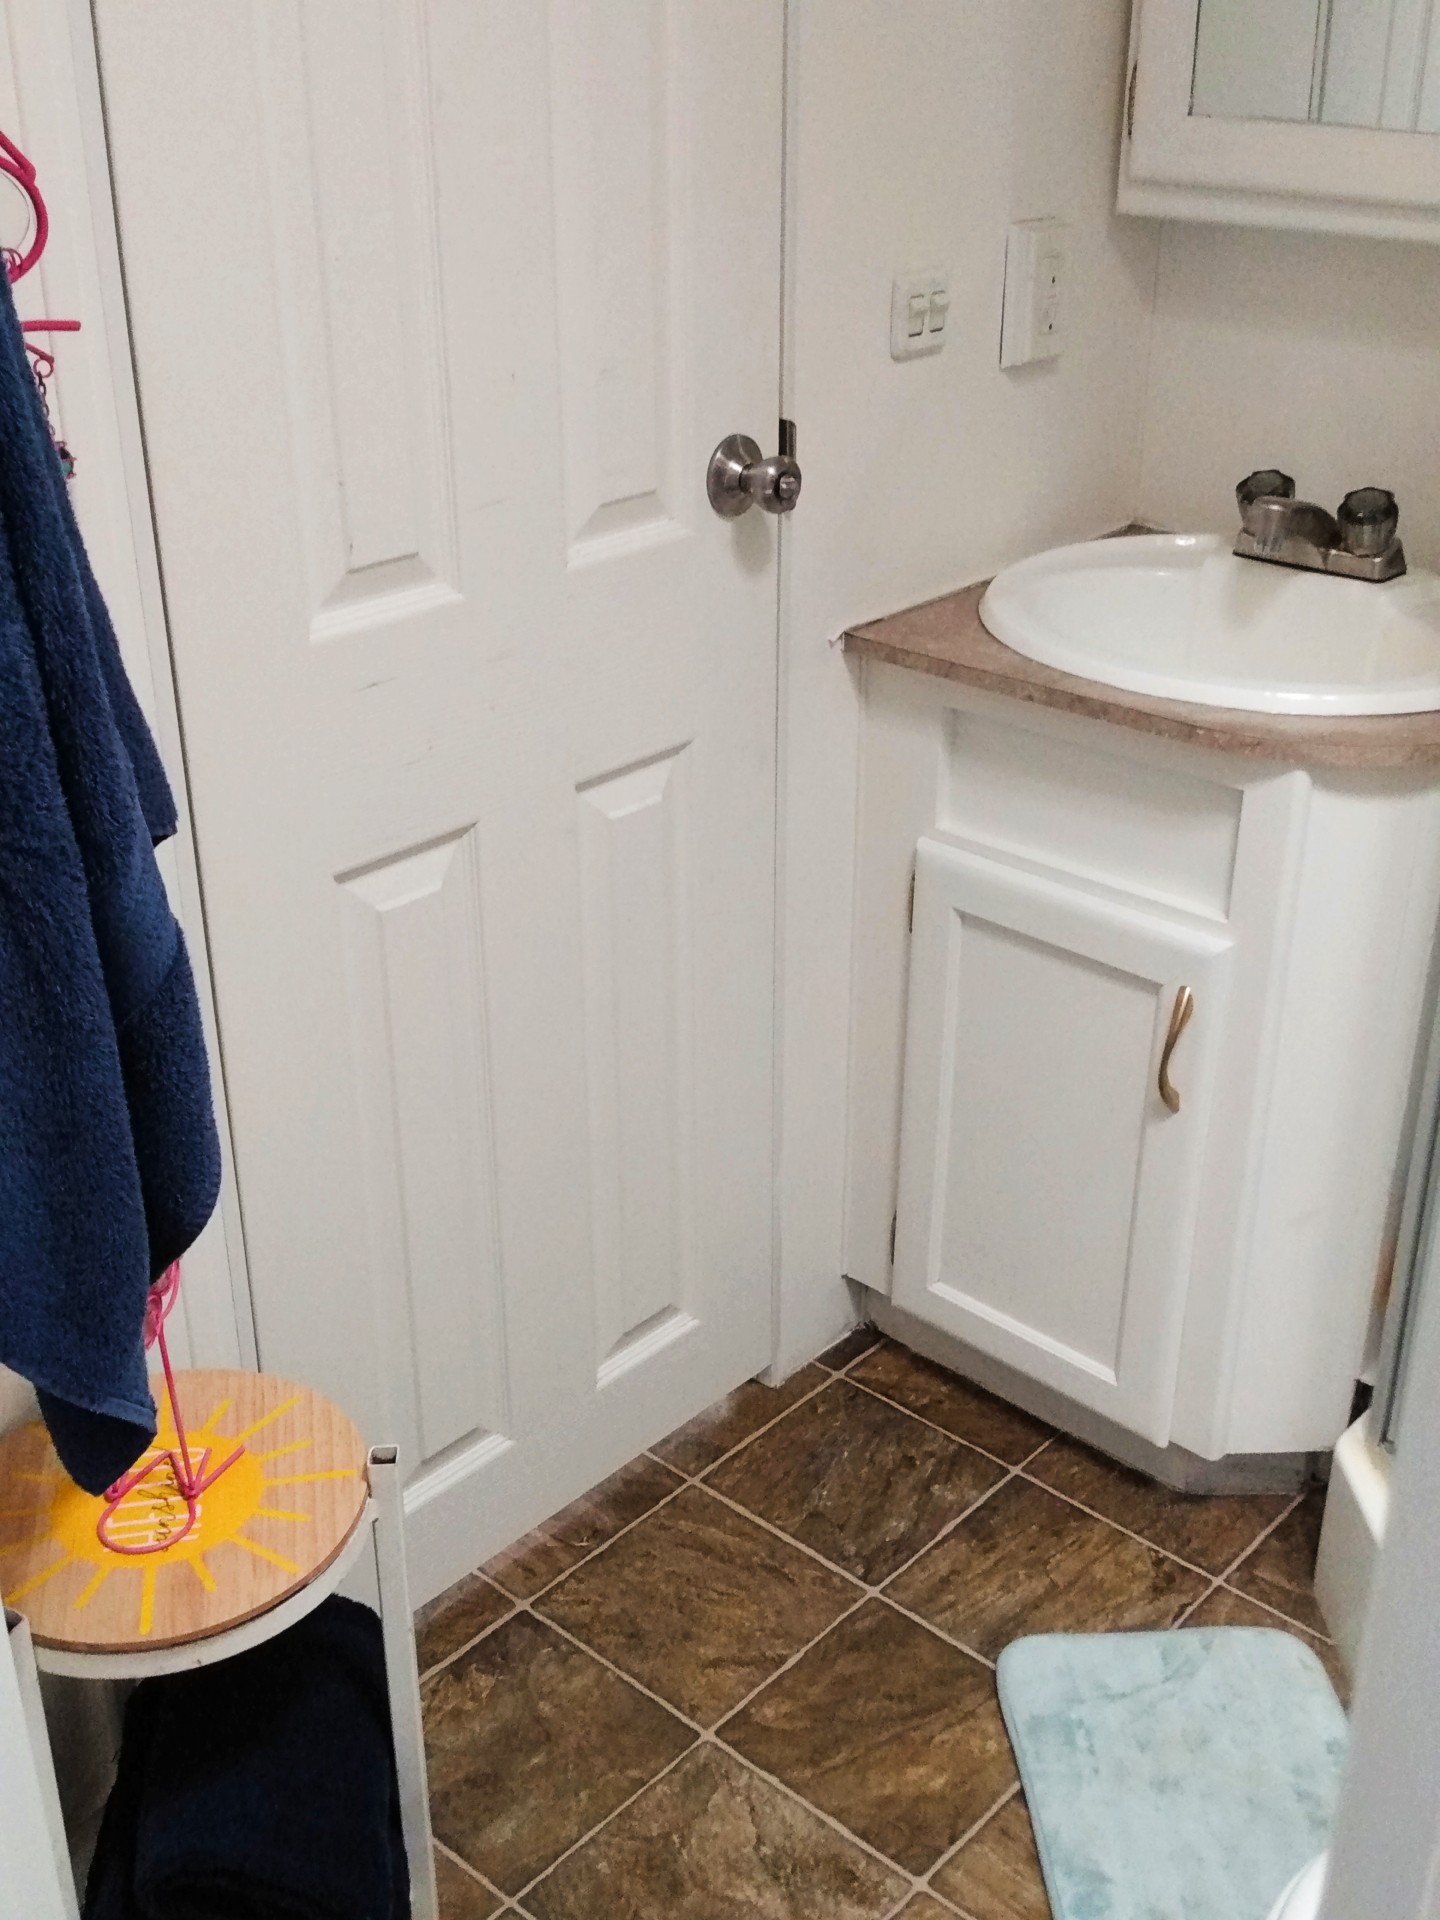
Can you believe the size of the bathroom? Most trailers with this layout have the bathroom split with the hallway down the middle, but this one is all on one side, so it is quite large. There are two doors into the bathroom, one from the bedroom and one from the hallway.
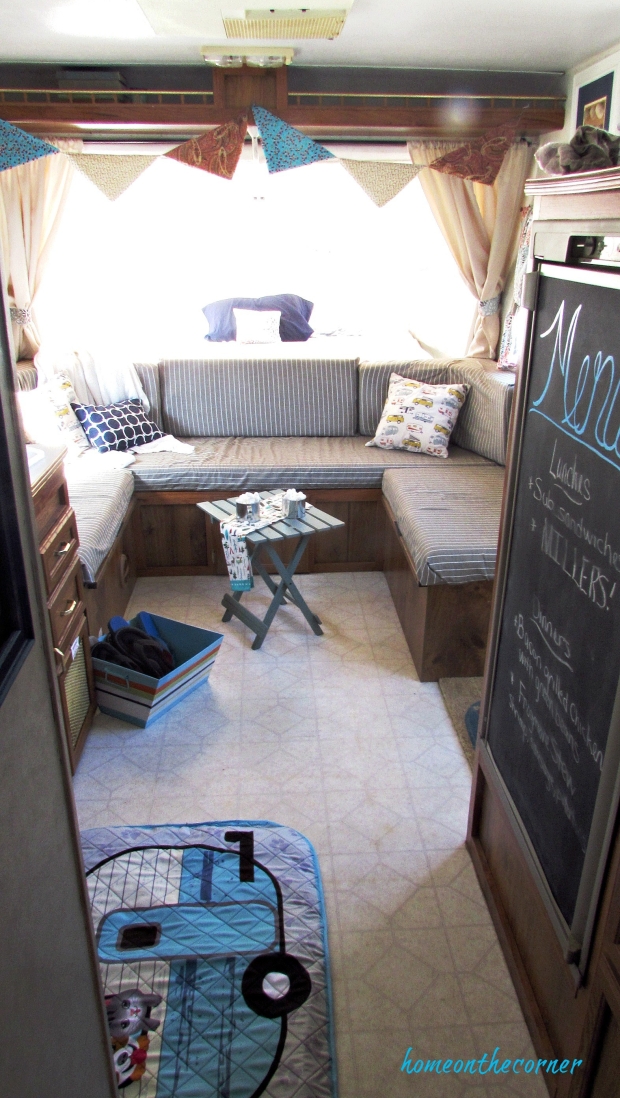
Are you loving all the brown!? The couch and the table are part of the slide-out, which gives so much space! I really like this type of dinette because it goes room for more people to sit around it. You can see the arm of a chair at the bottom corner. There are two swivel chairs that sit in front of the big window in the back of the trailer.
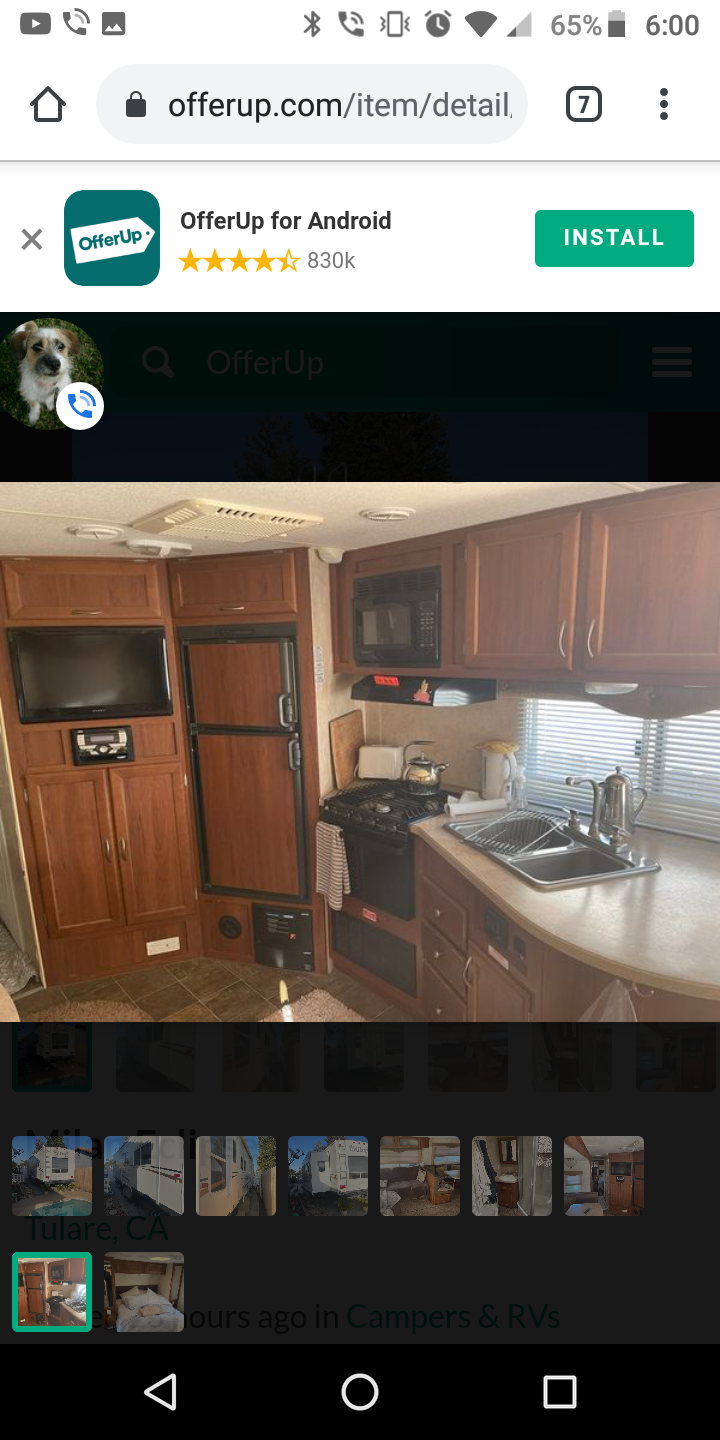
More brown! It is so depressing! But here is the kitchen, with so much storage and even some real counter space! It has a nice size refrigerator too.
While I love the layout of the trailer and the space we will have, I was not loving all the brown. 🙂 So here is where the makeover comes in! The first step is to clean. Ugh! Prepping is the worst, but so important! Don’t skip this step!!
CLEAN
I washed down all the walls and wood with a mixture of TSP and water. Anything you are going to paint, wallpaper or add peel and stick tile to, needs to be cleaned. Our trailer was pretty dirty, so it needed cleaned anyways.
REMOVE EVERYTHING THAT HAS TO GO
After cleaning, we removed all the cupboard doors, drawers and anything else that had to go. We took down the valances over the windows and doors, a shelf, and took off the outlet covers to get ready to paint.
SAND
But before painting, everything needed sanded. Even the walls! The ‘wallpaper’ isn’t really wallpaper and it’s not worth trying to take it off. You don’t need to sand down to bare wood, but rough up the surface so the primer and paint have something to stick to.
TAPE AND PRIMER
Once everything is sanded, you need to tape around anything that isn’t going to get painted. We didn’t paint the ceiling, so we had to tape around the whole top edge. We also taped around window and door frames. Finally, it is time to use primer. I used my favorite, Kilz. On the walls we did one coat of primer, but for the dark wood, it needed two coats. Be sure to let each coat dry in between. All the cupboards and drawers were taken off, cleaned, sanded and then primered in our garage.
I took off all the knobs and drawer pull and handles and spray painted them gold. I even did the screws! Crazy, I know.
PAINT
Now it was finally time to paint! I had found a big 5 gallon bucket of Oops! paint at Home Depot a few years ago and I had plenty left. It is Behr, Swiss Coffee. It was the perfect color for a big freshen up! Again, we painted 2 coats of paint all over and some of the dark brown even got 3 coats. I went around after everything was dry and used a small paint brush to fill an any areas that were missed.
Yes, this is a ton of work, but so worth it!! The trailer looks so much lighter and now I have the fun of decorating! I’m going to give you a sneak peak, but I will post the whole thing in a couple of weeks. We are going camping in it and I can’t wait to try it out!
Here is the bedroom after primering. The cupboard doors were taken off to be painted in the garage. You can see the tape all around the top edge since we weren’t painting the ceiling.
Eeekk! Doesn’t this look so much better!!! I can hardly believe how much brighter it is!
One more peek! The dining area is all painted but no curtains or many accessories yet!
I can’t wait to show you the finished trailer in a few weeks!! It was so much work, but I am so glad we took the time to do it right and now we can just sit back and relax!
Have you ever redone a trailer? I loved looking at all the ideas on Pinterest! See you in a few weeks!
And it’s so easy!!! These would make great Teacher gifts for all those who have worked so hard this past year. The nice thing about making your own, is you can customize it any way you want!
You are going to need:
11/2 inch ribbon
Heat and Bond and iron
‘D’ ring and hook
Sewing machine or fabric glue
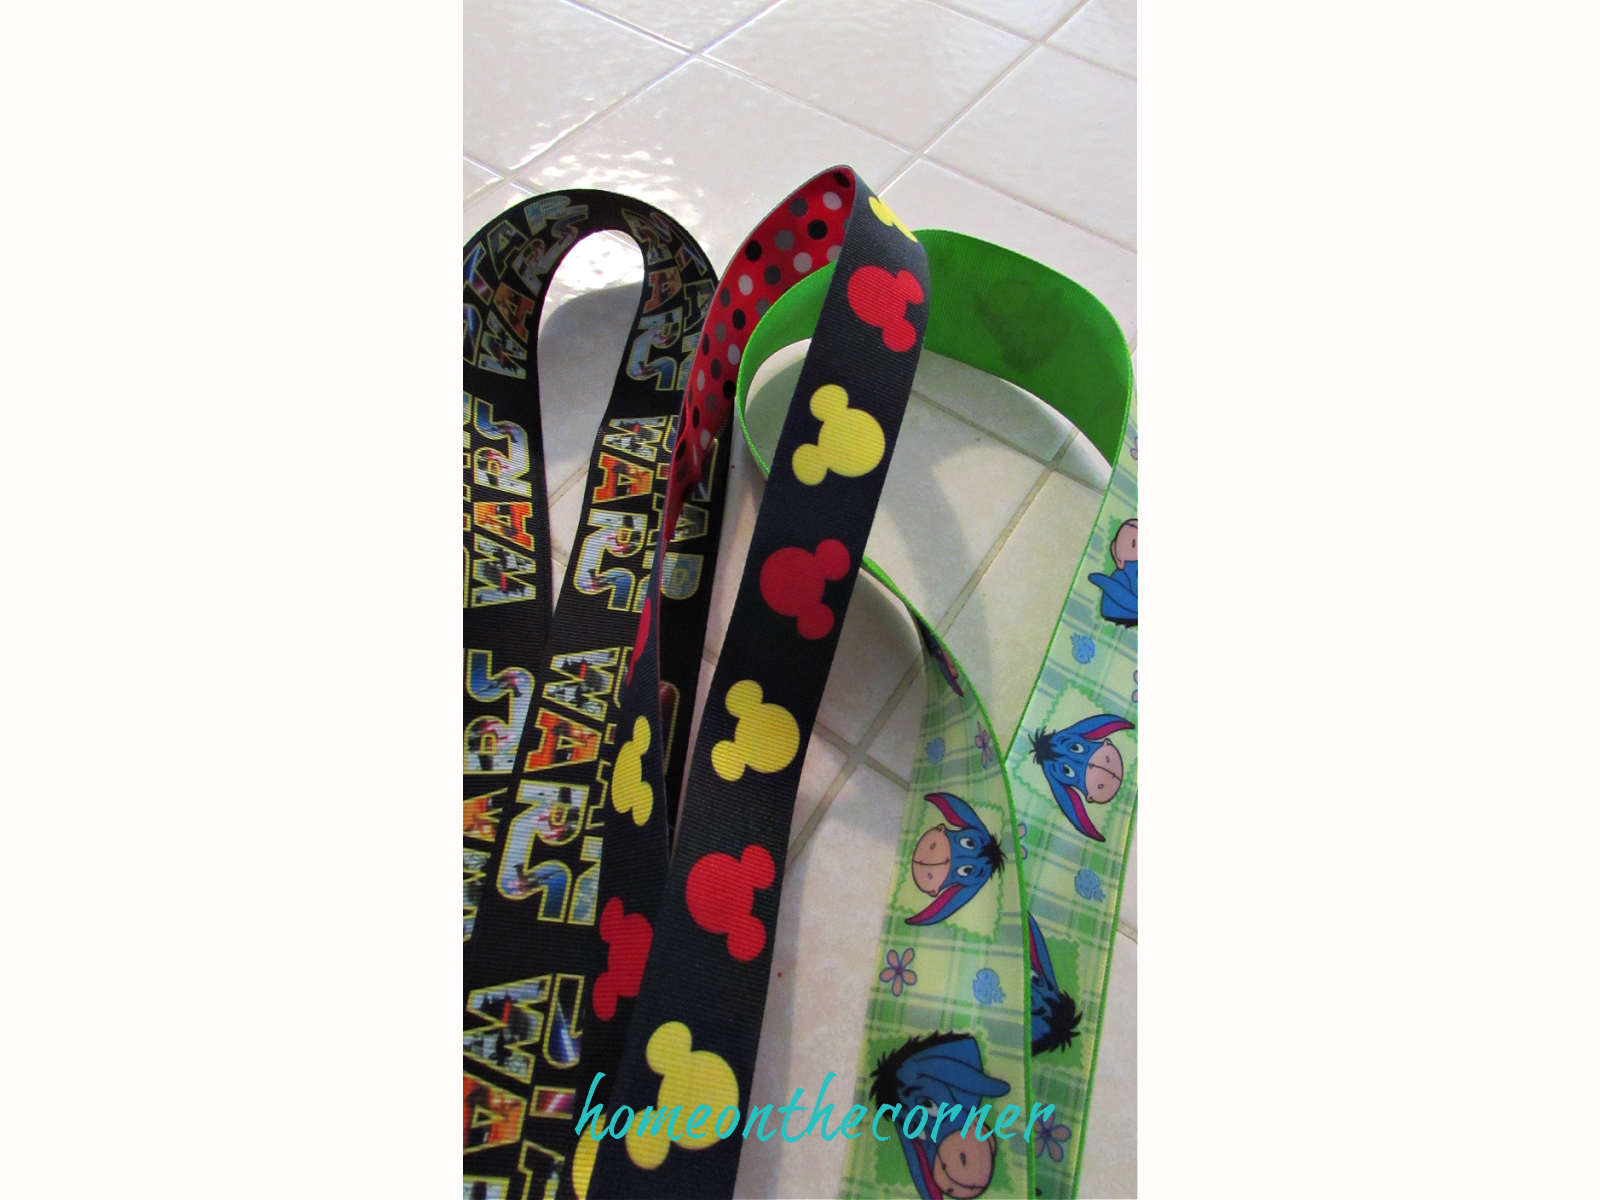
The first step is to find some cute ribbon! That’s not hard to do! I found two coordinating ones. I actually ordered the Star War and Yoda ribbon from Etsy, but I have bought several from Michaels and Hobby Lobby. I like the 1 1/2 inch the best, but 1 inch would work also. Cut your ribbon in 1 yard lengths.
Here is where you have a couple of choices of ways to attach you ribbon together. I used Heat and Bond. You could always sew the ribbons together or use fabric glue to attach them. I cut a piece the same length of the ribbon.
I laid the Heat and Bond on each edge of the ribbon and ironed it on. Follow the directions on the package. I ironed over each side slowly to make sure the glue is bonded well.
Once the ribbon has cooled peel off the paper backing.
Lay the other ribbon on top and iron the two together. Again, I iron over it slowly to attach the two ribbons together.
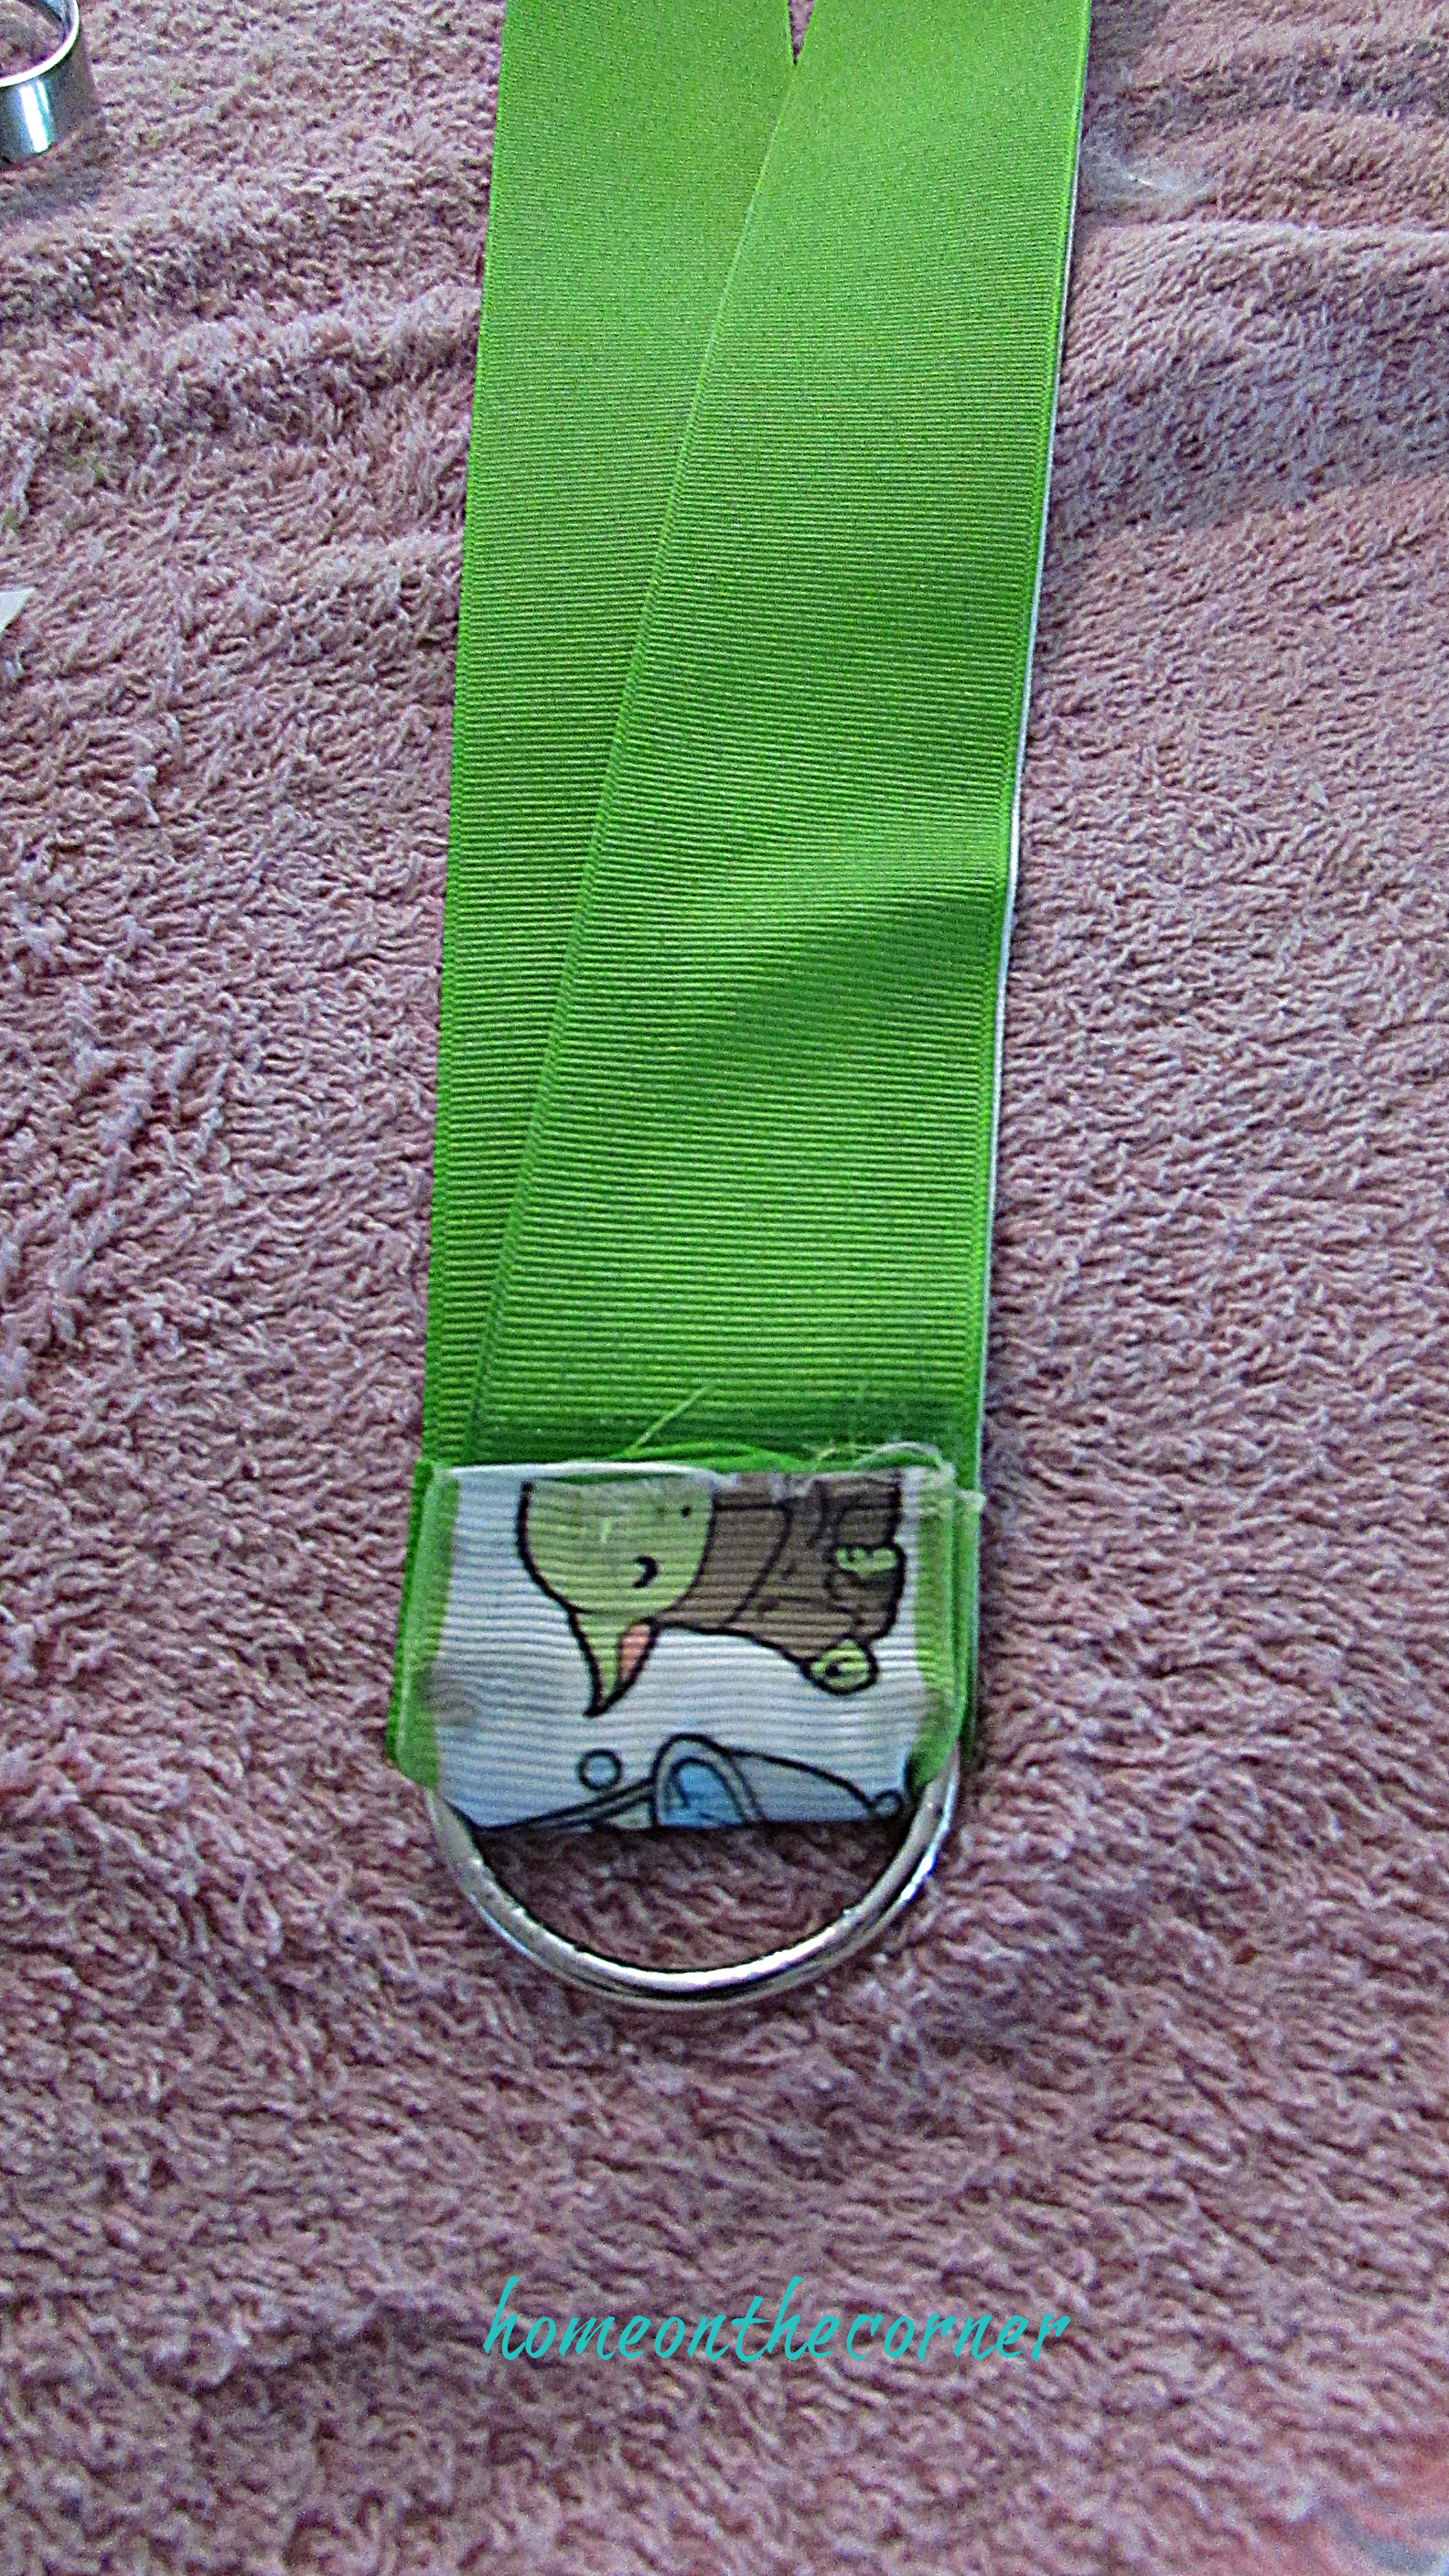
Once the ribbon has cooled, lay the ribbon flat. At the ends, place the back side on top of the front side. It kind of looks like an exclamation point.
Slide a ‘D’ ring over the end of the ribbon.
I ironed on another small piece of Heat and Bond on the bottom of both pieces of ribbon and ironed them together.
I also used a little bit of fabric glue to just make sure the pieces wouldn’t come apart. I have also sewed some of the ends, which makes it a little neater.
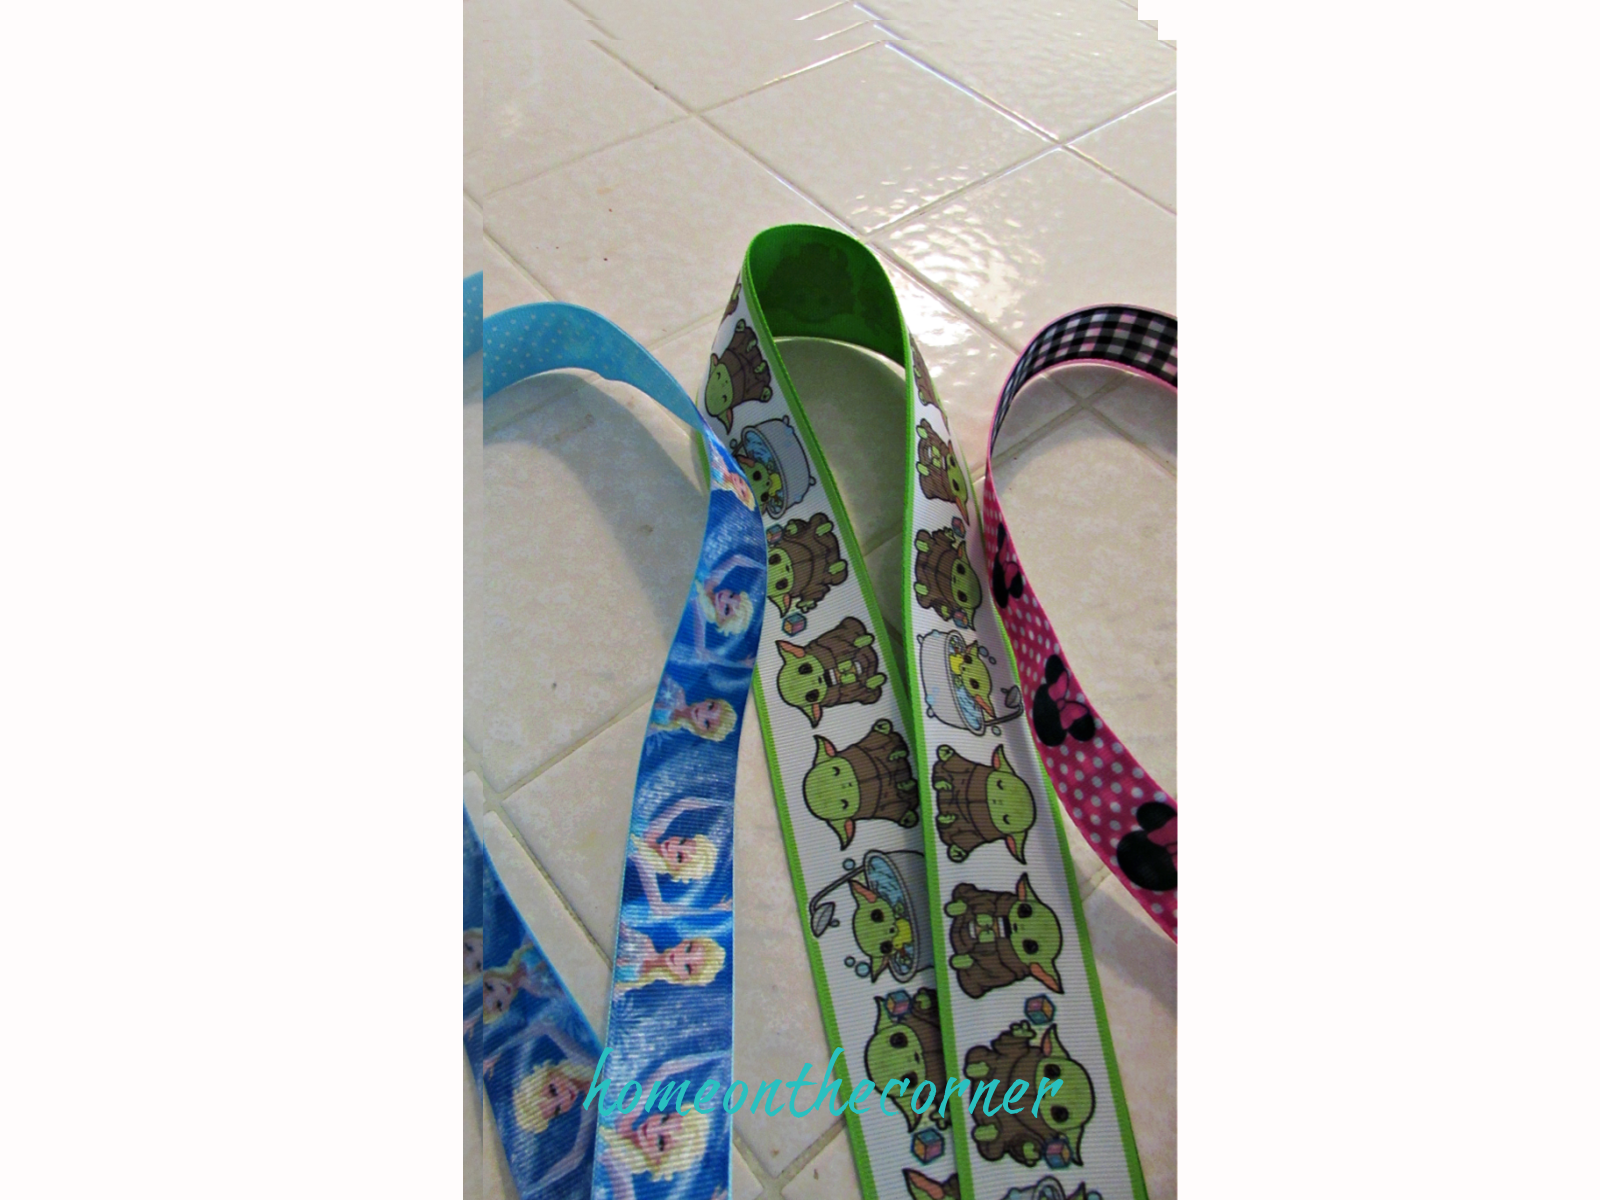
Here are a few of the others I have made.
Do you see something similar about them? Haha! I am selling these at the vendor fairs with Lauren while she sells her Disney trading pins.
When I was a teacher, I wore these every day! They sure come in handy!
I would love to know if you try this out! Let me see what pattern ribbon you use! Have a great day!