Coastal Buoy Christmas Wreath

Good morning! We are back today with another idea for the Twelve Days of Christmas-Wreaths! Here is a link back to the original post where you can see all the other hosts and their ideas! Don’t forget the inlinkz and the giveaway at the end of this post!

76996992_2464543913815532_1581782501737627648_n

I love the coastal look, which most of you know already, so I made a Coastal Buoy for my Christmas Wreath! This will go much better with my decor!

Coastal buoy christmas wreath title

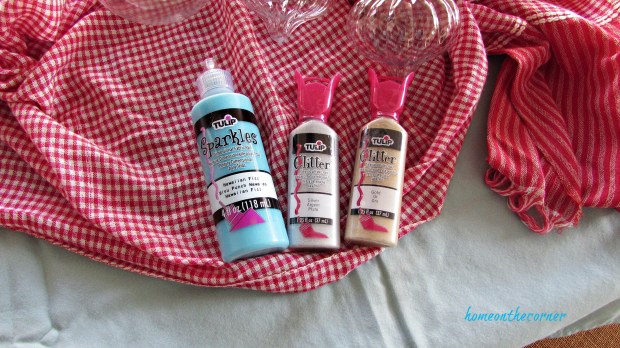
Here are the supplies you will need:

  • Green or white foam circle form
  • White paint (optional)
  • Strips of cotton or muslin fabric
  • Mod Podge
  • Brushes
  • Silver Duct Tape
  • White paint and whatever other color you want to use
  • Christmas greens, berries, pinecones, ect.

I bought enough supplies to make 2 wreaths, but you only have to buy enough for one. I found these green styrofoam wreath forms at the Dollar Tree. Because they were green, I painted them white first, but if you buy white ones, you can skip this step.

christmas wreath foam formchristmas wreath foam form painted white

While the wreaths were drying, I cut strips of muslin to wrap around the wreath. I cut them about 1 inch wide, but they don’t have to all be perfect or the same.

christmas wreath muslin strips

I wrapped each strip around the wreath overlapping as I went. When one ended, I overlapped the next one and continued all the way around. Once I got to the end, I used a little bit of hot glue to keep it from coming undone.

christmas wreath muslin strips wrapped around foam form

I brushed Mod Podge over the whole thing. Since mine will be hanging outside on the door, this will protect it a little bit, plus it looks a little more finished.

christmas wreath foam form mod podgechristmas wreath wrapped with muslin strips

When the Mod Podge was dry, I used painters tape to mark off 4 areas. I will be painting 2 areas turquoise and 2 white, so this will keep the paint from going into the other area. I will be covering the taped area later, so it won’t matter that it’s not painted.

christmas wreath muslin wrap painters tape

I used a turquoise with some sparkle in it since it’s for the holidays.

christmas wreath glittery turquoise

Next I cut strips of duct tape and then cut each piece in half lengthwise. These pieces I wrapped around the wreath on the unpainted areas.

christmas wreath duct tape strips

christmas wreath turquoise and whitechristmas wreath with silver duct tape

I found the perfect rope at The Dollar Tree too! I couldn’t believe they had this. It was even called Nautical!

christmas wreath nautical rope

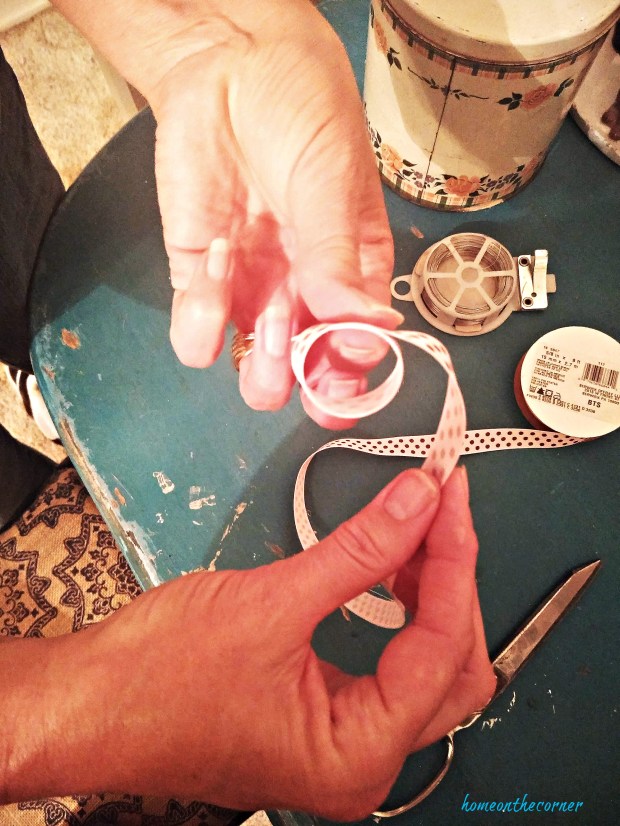
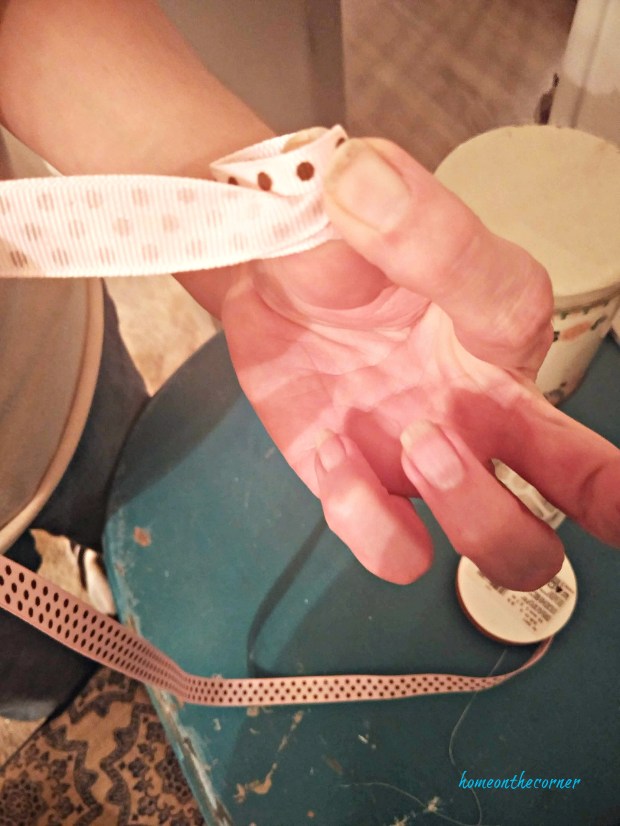
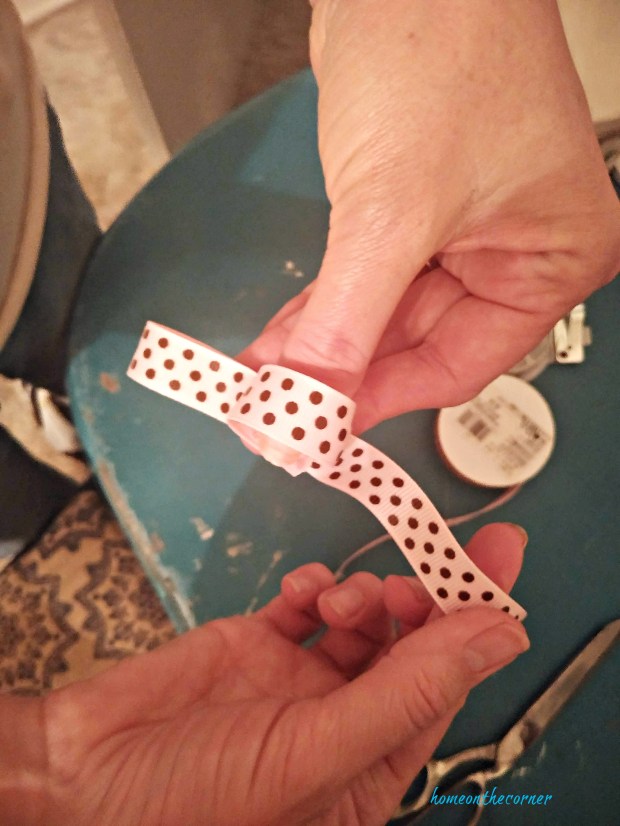
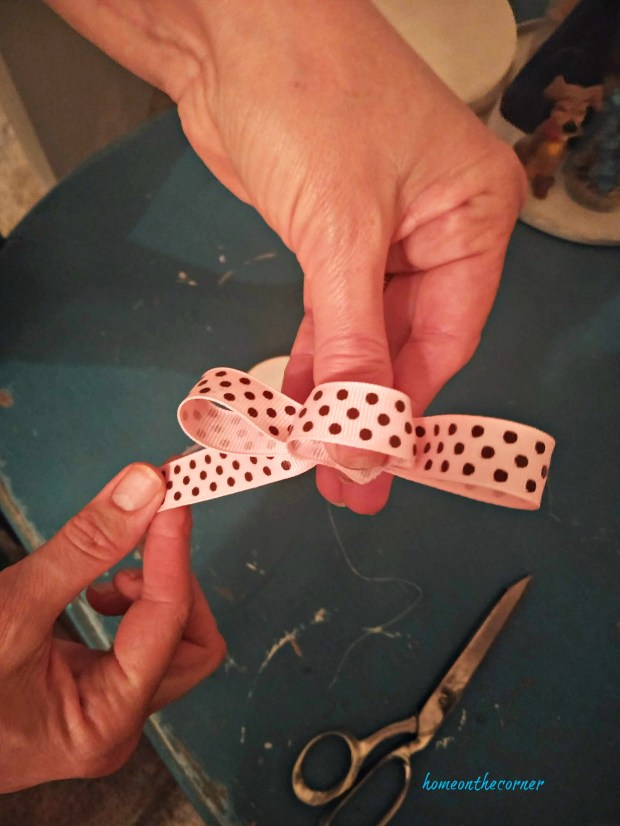
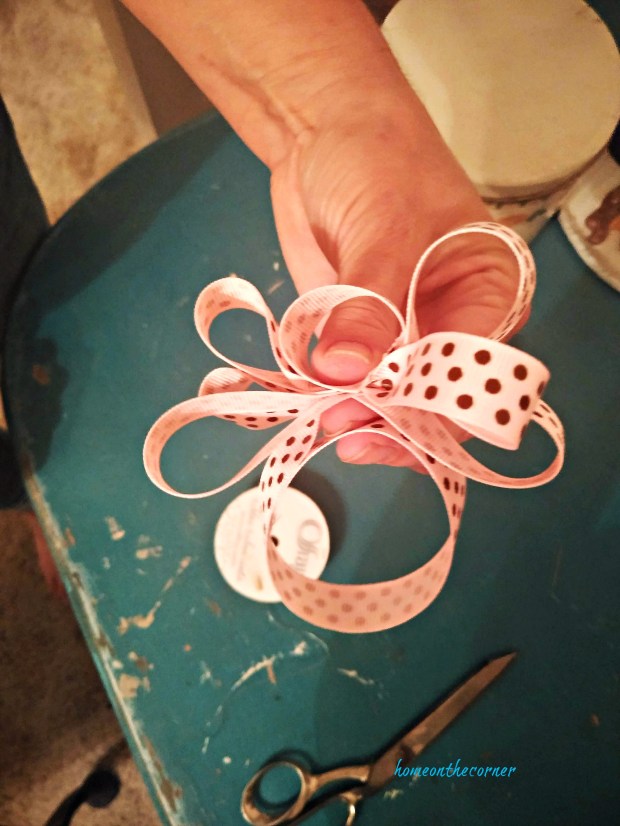
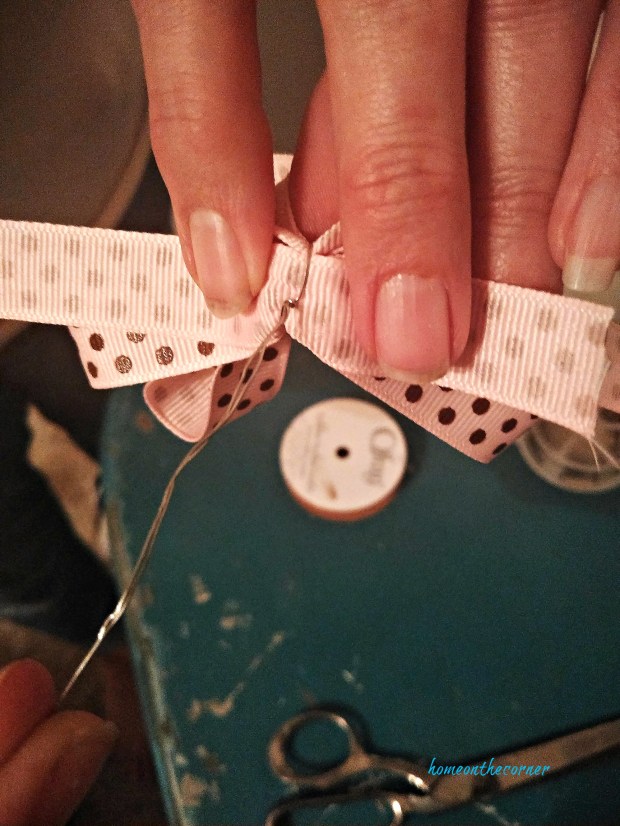
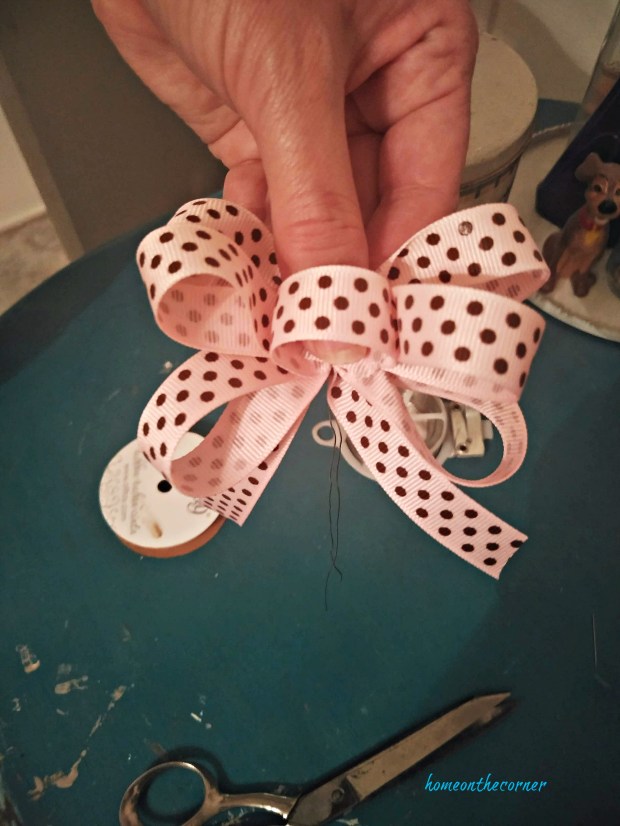
I made some loose loops, 4 of them and then wrapped another piece of rope around the middle, securing it tightly.

christmas wreath nautical bow

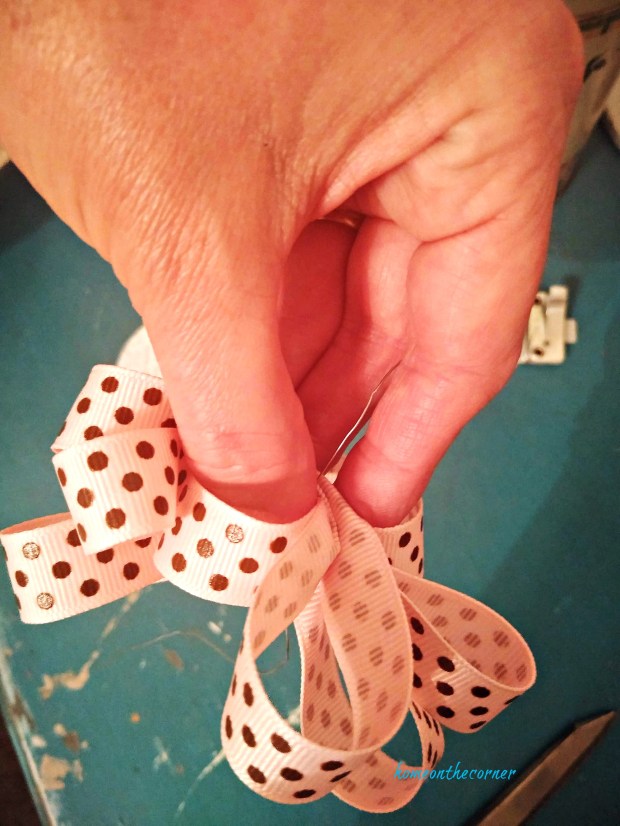
I also tied knots at the end of the loose pieces so it wouldn’t fray.

christmas wreath nautical rope bow

I used a separate piece of rope to go around the outside of the wreath. I loosely wrapped it around the wreath and secured it with duct tape over the other duct tape. I matched up the ends and secured them too.

christmas wreath rope life buoychristmas wreath life buoy

For the greenery,  I used 2 pieces of greens with berries and a small one with the rope pieces. I placed 2 going up and one going down and I tied them together with twine.

christmas wreath buoy greens tied with twineChritmas wreath buoy greens and berries

I laid the greenery on the back of the wreath and hot glued it in various places until it was secure.

christmas wreath greens and rope

Once they were attached, I placed the rope bow on the inside of the wreath and tied it on with twine too.  I also added a twine loop for the back. I hooked it around one of the bent stems.

christmas wreath twine hanger

I took it outside and hung it on my porch! It’s the perfect touch to my coastal home!

christmas wreath life ring buoychristmas wreath turquoise buoy with greenschristmas wreath life buoy turquoise and whitechristmas wreath life buoy rope, greens, rope and berries

I also made one to go inside the house. I can’t wait to find the perfect spot for it!

christmas wreath coastal buoy, throw and pillowchristmas wreath christmas greens with rope and berrieschristmas wreath buoy rope and pinecones

I love how it turned out and is perfect for my front porch! What do you think? Let me see what wreaths you have made!

You are invited to the Inlinkz link party!

Click here to enter

Don’t forget about the giveaway!

No photo description available.

a Rafflecopter giveaway

Thank you for coming by today! Our next post will be a DIY Ornament. See you next time!

sunshine-and-blessings-picmonkey

Vintage Coastal Farmhouse Advent Calendar

Good morning! I’ve lost track of what day we are on, but I do know I am sharing my advent calendar with you and I love how it turned out! But first, go here to go back to the 50 Christmas Ideas and see what the other hosts are sharing. Also, don’t forget the Inlinkz and the giveaway at the bottom of the post!

75327079_2464543887148868_5772413866612883456_n

First, a little history about advent. I got my information from a wonderful blogger, Yvonne over at Stonegable. She is an excellent writer and designer! Please head over to see her site. She explains advent wonderfully. Anyways, the meaning of advent is ‘the coming.’ For Christians, ‘the coming’ is the coming of Christ. His first coming was over 2000 years ago as a baby in a manger. When he was a man, he died on the cross to save us from our sins. His second coming will be when he takes all those who believe and ask forgiveness, to heaven with him to live forever.

Most symbols of advent are a wreath with 4 candles and each candle is a symbol-for hope, peace, love and joy. Advent is a time to reflect on all of our blessings and to remind ourselves about the true meaning of Christmas.

Learning all this information about advent, I decided my calendar would have just 4 bags, one to represent each symbol-hope, peace, love and joy. The wonderful little bags I used were graciously given to me by BurlapFabric. The linen material is so beautiful!  But I am getting ahead of myself!

I started out with this cupboard door. I don’t even remember where it came from! But I knew how I wanted to transform it. I started by removing the hinges and then spray-painted the whole door with Rustoleum 2X Satin Heirloom White. I didn’t worry about the patched holes in the middle because I knew I was going to be covering them.

advent calendar cupboard door

Once the door was dry, I cut out a piece of pretty fabric scrap I had to fit in the middle. I love the crocheted lace going through the fabric.

advent calendar lace material background

I pinned it to the right size and then ironed the edges.

advent calendar pinned white lace material

I hot-glued the fabric onto the middle section of the door.

advent calendar white lace in frame

Next I cut a small piece of burlap that I wanted to center on top of the crocheted fabric.

advent calendar burlap with fringe

I frayed a little bit of the edges of the burlap, then I stitched around the edge to make sure it didn’t keep fraying any further. I pulled out a few extras that were beyond the stitching after finishing the edge.

advent calendar burlap with stitching and fringe

I ironed the burlap onto the shiny side of freezer paper.

advent calendar burlap on freezer paper

I created the quote in the font I wanted on PicMonkey. I saved it onto my computer. I loaded the freezer paper into the printer and then printed out my quote. I couldn’t believe how well it worked!

advent calendar oh come let us adore him print on burlap

I used spray adhesive to attach the burlap to the crocheted fabric.

advent calendar adhesive spray with burlap

I found this cute white pom-pom trim at Walmart and knew it would look great on here. It reminds me of little snowballs! I hot glued it around the inner edge of the cupboard door.

advent calendar pom pom ribbon trim

I found these knobs at Hobby Lobby on clearance. Look at the price! I knew as soon as I saw them they would be perfect for this.

advent calendar white knobs

I measured out the bottom edge of the door and penciled in even marks to drill holes for the knobs. I drilled the holes and then placed the knobs in.

advent calendar knob placement

On these cute little muslin bags I received from Burlap Fabric, I decided to stencil numbers 1 through 4 on them. I used black fabric paint.

advent calendar number burlap bags

I hardly put any paint on my brush and dabbed it over the fabric.

advent calendar stencil number

I love the vintage look of the bags!

advent calendar linen bag number 3

I filled the bags with little special items and hung them from the knobs.  I don’t have any little children at home or I would have filled them with little toys or candy.

advent calendar christmas bags adore himadvent calendar burlap and lace, wreath, star

I hung my calendar right by my table, so if I was reading an advent story on one of the 4 Sundays, the bags would be right there. They make such a great reminder of the real reason for the season.

advent calendar bags one and twoadvent calendar christmas decor

I’m excited to have this calendar to put up each year!

advent calendar oh come let us adore himadvent calendar white lace and burlap

This project took me a little bit to get done, but I’m so happy with the results! Do you celebrate Advent? I would love to hear how you and your family celebrate!

sunshine-and-blessings-picmonkey

Here is the inlinkz! Let’s see what the other hosts have created!

You are invited to the Inlinkz link party!

Click here to enter

And don’t forget the giveaway! One of the prizes is from Burlap Fabric which sponsored this post.

MEET OUR SPONSORS who have generously donated fabulous prizes for the Big Christmas Giveaway!

DecoArt  winner will receive a prize package valued at $100!

Dixie Crystals/Imperial Sugar winner will receive a Keurig Coffee Maker valued at $100!

Oriental Trading winner will receive an OrientalTrading.com gift card valued at $200!

Cabot Cheese winner will receive a gift basket of Cabot products valued at $75!

Burlap Fabric winner will receive a prize pack of products valued at $50!

Zulay Kitchens winner will receive one Milk Frother and a Lemon Squeezer valued at $21

It’s Home To You winner will receive one wooden Santa sign valued at $65

12 Days of Holiday Ideas Event Sponsors 2019

Giveaway begins Nov. 8, 2019 and ends Dec. 6, 2019. Winners will be notified by December 13, 2019. Sponsors will ship each prize to the winner. There will be a total of seven winners, one for each prize. Drawing is by random selection using the Rafflecopter widget. 

Must be 18 to win. Open to U.S. residents only.

a Rafflecopter giveaway


Hundreds of Christmas Ornament Ideas!

Welcome to the 2019 Ornament Exchange Link Party! It’s my fourth year of the blogger ornament exchange and you’ll find hundreds of DIY ornament tutorials and inspiration. This link party runs from November 14th through December 14th, so make sure to come back to add as many of your own handmade ornament tutorials before it closes!


This year, we have 38 talented bloggers hosting the handmade ornament exchange link party! The rules of the challenge were simple: create a handmade ornament for $15 or under, create a tutorial (all tutorials are linked below), and ship the ornament off to a new home!

2019 Ornament Exchange Long

ORNAMENT EXCHANGE LINK PARTY HOSTS

My Pinterventures •  Create and Babble • 2 Bees in a Pod
 Across the Boulevard •  Elle Marie Home  • Faeries and Fauna
Home on the Corner • This Autoimmune Life • Our Unschooling Journey
Domestic Deadline •  Inside the Fox Den • Intelligent Domestications
Cookies, Coffee and Crafts  • Munofore •  Rosewood and Grace
Raggedy Bits • Christmas Tree Lane •  Making Manzanita
Mom Home Guide • From Evija with Love •  Red Cottage Chronicles
Coastal Bohemian • Our Crafty Mom •  Girl, Just DIY! •  Pixel Maven’s Retreat
Prim and Propah •  Purple Hues and Me • Farm Girl Reformed • Eye Love Knots
Keys to InspirationCharleston CraftedSparkle Living
Interior Frugalista  • Love My Little Cottage •  My Family Thyme
Crafting a Family  •  All Things New Again  •  Just a Little Creativity

Ornament Exchange Collage 3 Blank (1)

You can see the ornament I created for my new friend Morgan, here.

DIY Turquoise, Silver and Gold Coastal Ornament

turquoise ornament white and silver bow

I can’t wait to see what you have all created! Link up you ornaments below!

2019 Ornament Exchange Link Party

Share your handmade ornament tutorial on the link party below ⇓⇓ Add as many ornament tutorials as you like until December 14th. 

You are invited to the Inlinkz link party!

Click here to enter

sunshine-and-blessings-picmonkey


Nautical Inspired Seashell Ornament

Good morning! Welcome to the 2019 Ornament Exchange! I’m so excited to be participating again this year! It’s such a great way to find other bloggers and some new friends. Thank you Erlene for putting this all together! Look at all these great ideas! You can click here to go back to the blog hop and link up your own ornaments!

Ornament Exchange Collage 3 Blank (1)

This year I was partnered with Morgan from Charleston Crafted.  She has some of the cutest ideas and the cutest little boy! I love her style and enjoy following all the diy’s her and her husband work on. Please go over and take a look at her blog!

Morgan enjoys the coastal style just like I do, so making her an ornament for her Christmas tree was easy! I started our with these clear ornaments. I found the smaller ones at the Dollar tree and loved the swirly design.

christmas ornament exchange clear ornament

I bought some glittery paint to add to the ornaments. I knew these would be the perfect colors for Morgan.

christmas ornament exchange glitter paint

I practiced making dots first on a piece of paper. I didn’t want to mess up the ornaments!

christmas ornament exchange paint dots

I used a cup to balance the ornament on and once one side was dry, I turned the ornament to paint the other side.

christmas ornament exchange glitter paint dots

While the paint was drying, I made bows for the top of each ornament. I learned to make bows years ago when I took some florist classes. They aren’t too difficult, but do take a little bit of practice. If you want really nice looking bow, use wired ribbon. It makes any bow look perfect! Here are the steps for making your own bow:

!. Start with a small loop of ribbon. This will be the center of your bow.

how to tie a bow step 1

2. Twist the long piece of the ribbon on the back of the loop.

how to tie a bow step 2

3. Taking the long piece, twist the ribbon into another longer loop on one side. When you bring it back to the middle, twist it again and make a loop on the other side.

how to tie a bow step 3

4. Keep making loops on each side of the center loop and keep twisting the ribbon on the back.

how to tie a bow step 4

5. Once you have as many loops as you want on each side, make one more loop around the bottom. You can also leave extra so you will have 3 tails on the bottom.

how to tie a bow step 6

6. Cut a small piece of wire (easier done before you start :)), slide half the wire through the middle loop.

how to tie a bow step 7

7. This part takes a little practice. The wire should go between your two first fingers and them squeeze the two ends of the wire together under the loop.

how to tie a bow step 8

8. Once the wire is together, twist it tightly around to secure the bow.

how to tie a bow step 9

Fluff up each loop and cut the long tail loop and you have a bow! Did you know if you cut ribbon on a diagonal, it won’t fray?

how to tie a bow step 10

Here is a video too that might make it a little easier to understand.

I used silver and gold ribbon, tied them into bows and glued them to the top of each ornament. I also glued some seashells onto the ribbon, just to make it look more coastal.

christmas ornament exchange gold and seashellschristmas ornament exchange turquoise, gold, silver

They look so pretty when they sparkle with the lights from the tree.

christmas ornament exchange silver and white ribbonchristmas ornament exchange coastal turquoisechristmas ornament exchange coastal seashellschristmas ornament exchange 2 ornaments

Since the ornaments were a little hard to see on a white tree, I took a few pictures with green pine too.

turquoise clear ornamentturquoise ornament gold bow and seashellsturquoise ornament gold, silver seashellsturquoise ornament polka dotsturquoise ornament white and silver bowturquoise ornament with bow

I loved making these and I think they turned out so good. Thank you Morgan for your ornament too! I will be sharing it soon! Be sure to go back and link up your ornaments too. I would love to see them! I hope you all have a wonderful holiday season!

sunshine-and-blessings-picmonkey

How to Survive Christmas: 101

Good morning!  How strange to be posting on a Wednesday! We haven’t posted on Wednesdays for a while now but here we go! Remember to head over to the original 12 Days of Christmas post here to look at all the other hosts and their ideas, to print out calendars and to enter the giveaway! Also, there is an inlinkz at the bottom of the post where you can add your ideas of how to survive the holidays!

Welcome to the 5th annual 12 Days of Holiday Ideas event, hosted by Shirley of Intelligent Domestications  and  Erlene of My Pinterventures Between Nov. 11th and December 6th there will be hundreds of new ideas shared by over 55 Co-host bloggers! 

Go here to see our kick-off collection of Holiday ideas as well as all of this years talented participating DIY and Foodie Blogs. Download this years November and December calendars with all of the topics and dates so you can make plans to watch for ideas!

We are hosting a BIG GIVEAWAY from our Sponsors this year! Be sure to scroll all the way down for more information and to enter to win!

We are continuing on with our 12 Days of Christmas Blog Hop.  This is day 2 of 12 and we are talking about the best tips on Surviving Christmas!  Christmas is one of the busiest and most stressful times of the year and this year will be no different.  While everyone is trying to complete their Christmas list (for themselves and shopping for others), here is a short list of things you can do to make your Christmas go smoothly.

Order All of Your Gifts Early and Keep a Checklist

checklist

I think this is probably the biggest thing to help keep you sanity during Christmas.  I like to write down everything that I want to get for people and mark it off when I have received the item.  So for my checklist this year, I wrote down my sister, my mom, my dad, my Secret Santa for work, and my cats (you can’t forget them).  Under each person I put what I am planning on getting them and put a check mark next to it when I have purchased the item.  If you have a price limit for the gift, I like to write the price next to their name so I don’t overspend.  And don’t forget to order way ahead of time!  If you are planning on getting gifts from websites like Amazon, make sure you order them early so they have time to arrive.  You would hate to order a very important Christmas gift a week before Christmas and it not arrive on time!

Set Up a Time to Wrap All of the Presents

wrapping presents.jpg

This is something that my mom does every year.  Once she has collected all of the gifts, she finds a day where she isn’t doing too much and wraps ALL of them.  When my sister and I lived at home, mom would lock herself in her bedroom to wrap all of the presents.  But make sure you have all of the things you would need to wrap.  Paper, tape, ribbon, scissors, tags, boxes, bags, and tissue paper.  Make sure you have all of your stuff so you don’t have to keep leaving the room.   Make sure you have some water and a possible snack and some good music to listen to!

Make a Checklist of Christmas Activities You Want to Do

More checklists!  Personally, I love making checklists or to do lists so this is definitely something I do.  Your checklist can be as big or small as you would like.  You can add things like visit a nativity, bake cookies, watch a Christmas movie, go caroling, and many many more.  You can add as many or as few things as you would like to your list.  This year, my Christmas list actually looks like a Christmas tree coloring page.  All of the things I want to are ornaments on the tree and I get to color one in when I’ve completed it.  And guess what?  You can use it too!  I placed it below so you can print out your own Christmas Tree Checklist!

Christmas To Do Coloring Page (1)

Christmas To Do Coloring Page

Pick One or Two Days to Stay Home

With all of the craziness of the Christmas season, it is easy to get stressed out from going places and doing things.  Take some time for yourself and stay home.  Plan a day to stay home and bake Christmas cookies, watch Christmas movies, read Christmas stories, stay in Christmas pajamas all day, drink hot cocoa, among other things.  You don’t always have to be crazy busy.  Make sure you take time for yourself and relax for a day.

If You are Hosting, Enlist Help

help wanted

During the crazy Christmas season we are always attending parties.  If it’s just hosting Christmas at your house or hosting a Christmas Cookie Exchange, it can still take a lot of work.  And it’s tiring to do it all yourself.  Don’t forget to enlist the help of others to prepare for your party.  Have your family help you clean (even if that means getting the kids to just tidy up their toys), ask some friends or family who are attending if they would be willing to help you prep, and asking others to help supply food.  For our families Christmas, we separate the food duties out between all of the families attending.  It makes life just a little easier when it comes to the actual day of the party.  That it one less thing you have to worry about the day of the party.  It makes the day less stressful and the party easier to enjoy!

Buy Wrapping Paper WAY Ahead of Time

wrapping paper.jpg

Something my mom and I do is we actually buy wrapping paper AFTER Christmas.  This is the perfect time get huge discounts on wrapping paper and other supplies for your Christmas presents.  Ribbon, bows, paper, boxes, bags, you name it you can get it discounted.  Now, I know it’s too late now, but I highly recommend buying your wrapping paper sooner rather than later.  The sooner that you have your wrapping paper, the sooner you will feel less stressed.

And that’s it!  These are just a couple ideas on how you survive the Christmas holiday season.  There are more things you can do to help make the season less stressful.  But these are my top things to help keep my sanity.  So I hope you enjoy and let me know if you are going to try any of these this season!

Here’s the inlinkz! See what the other ideas there are for surviving the holidays!

You are invited to the Inlinkz link party!

Click here to enter

Sparkle

MEET OUR SPONSORS who have generously donated fabulous prizes for the Big Christmas Giveaway!

DecoArt  winner will receive a prize package valued at $100!

Dixie Crystals/Imperial Sugar winner will receive a Keurig Coffee Maker valued at $100!

Oriental Trading winner will receive an OrientalTrading.com gift card valued at $200!

Cabot Cheese winner will receive a gift basket of Cabot products valued at $75!

Burlap Fabric winner will receive a prize pack of products valued at $50!

Zulay Kitchens winner will receive one Milk Frother and a Lemon Squeezer valued at $21

It’s Home To You winner will receive one wooden Santa sign valued at $65

12 Days of Holiday Ideas Event Sponsors 2019

Giveaway begins Nov. 8, 2019 and ends Dec. 6, 2019. Winners will be notified by December 13, 2019. Sponsors will ship each prize to the winner. There will be a total of seven winners, one for each prize. Drawing is by random selection using the Rafflecopter widget. 

Must be 18 to win. Open to U.S. residents only.

a Rafflecopter giveaway