My Luggage is Ready for Vacation

Well, here we are. Already into July! Where has time gone? I don’t feel like I have accomplished much yet! We have been camping and are planning another few days away in a couple of weeks. But my luggage wasn’t ready. Actually, the only luggage I had were some pieces my husband had recieved from work and they all had the company name on them. So cute and fashionable(sarcasm)!! Then I remembered I had  a suitcase I used to keep scrapbooking stuff in before I moved it into the big desk in Lauren’s room. I bought it years ago at a yard sale and it’s red, which is not my favorite color, but I figured I might as well do something with it. Maybe I could make it a little cuter! I looked around on Pinterest, but the only suitcases were vintage ones. Yeah, this is vintage…1990’s vintage! 🙂

Plain Jane

Plain Jane

Since the suitcase is red, I decided to go nautical. I tried to think what design would work and settled on an anchor. I found a design I liked on the computer and printed it out, but it was too big. I shrunk it down and printed again. This is where the mistakes began. I taped the pieces of my anchor together and then proceeded to cut out the wrong one! I cut out the bigger one instead! You see, in order to save paper, I printed out the smaller anchor on the back of the larger one. Maybe not such a good idea. 😦 luggage makeover 2 Well, I pieced it together as best I could and figured I would just add in the missing parts. First I tried rubbing chalk on the back of the anchor and then tracing over the design on the front. Failure! Tried again, this time tracing the front with a pencil instead of chalk. Double failure! My only other choice was to cut out my mutilated anchor as best as I could and then trace around it onto the suitcase. luggage makeover 3 
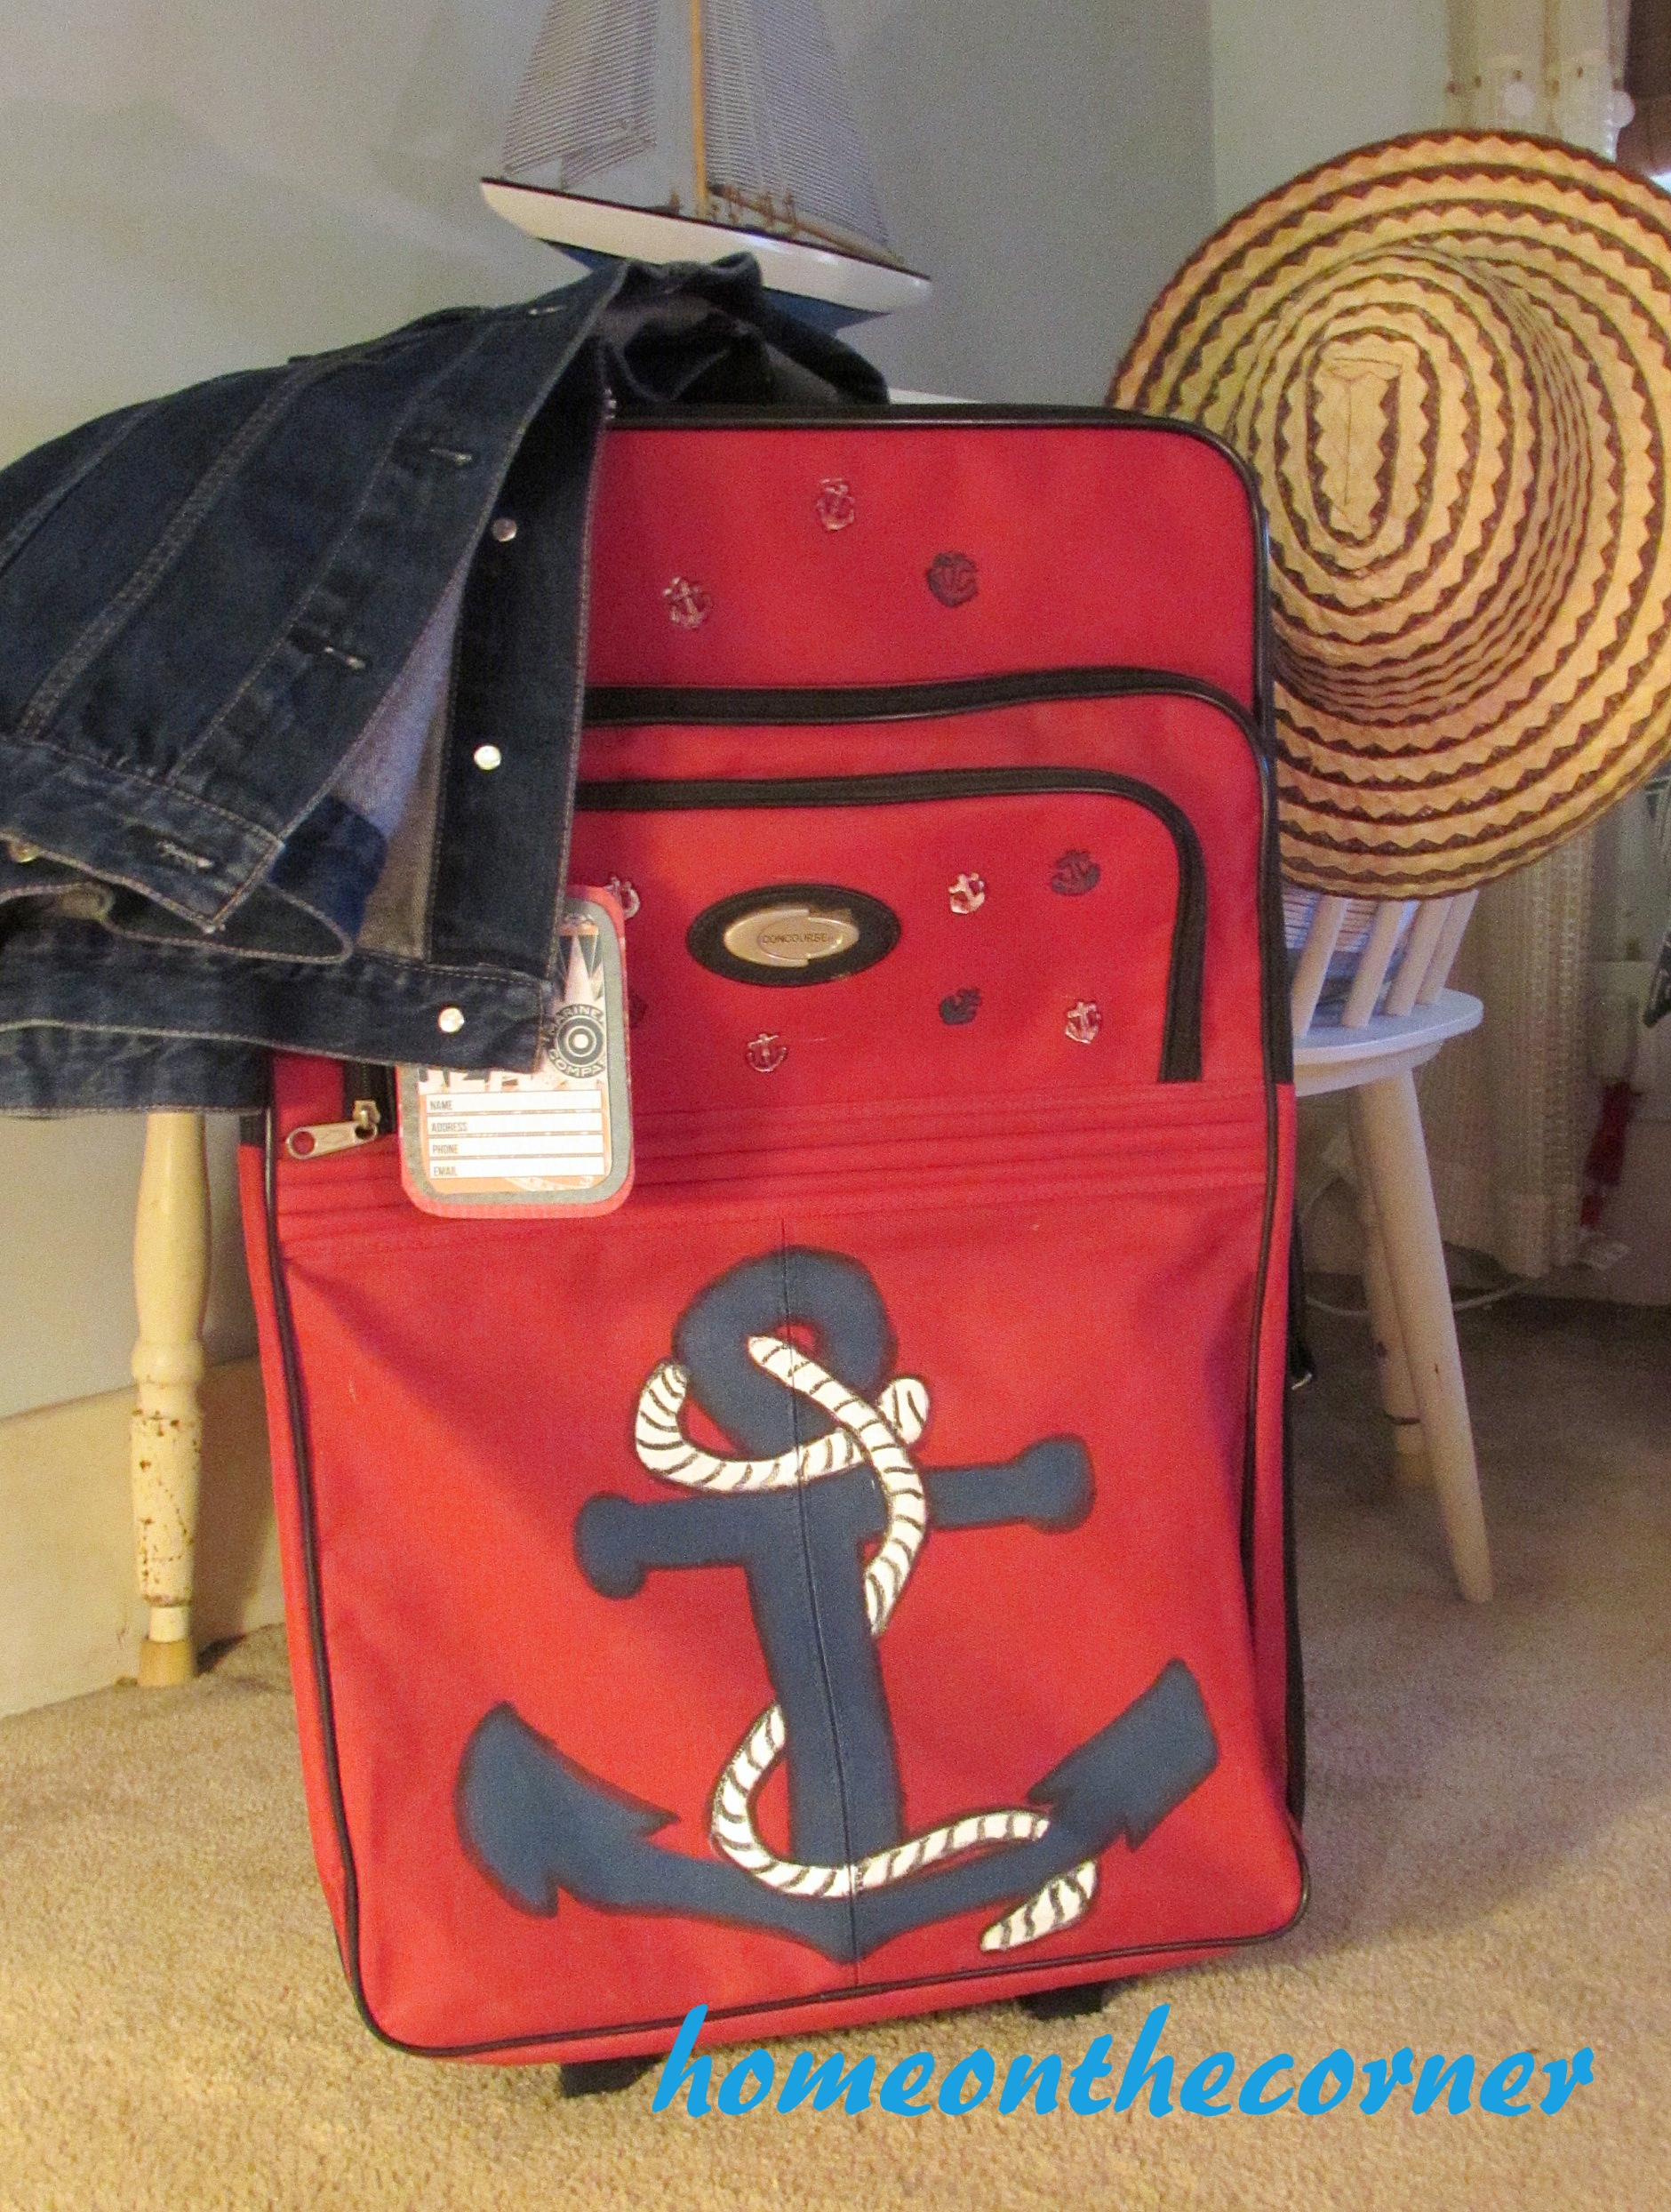
I stuffed the suitcase with a couple of boxes and put a large scrapbook into the front pocket before starting the tracing to give me a hard surface..I used a black paint pen to trace. It actually came out pretty good! Surprise! I am no artist or painter, so this is pretty good for me! luggage makeover 4 
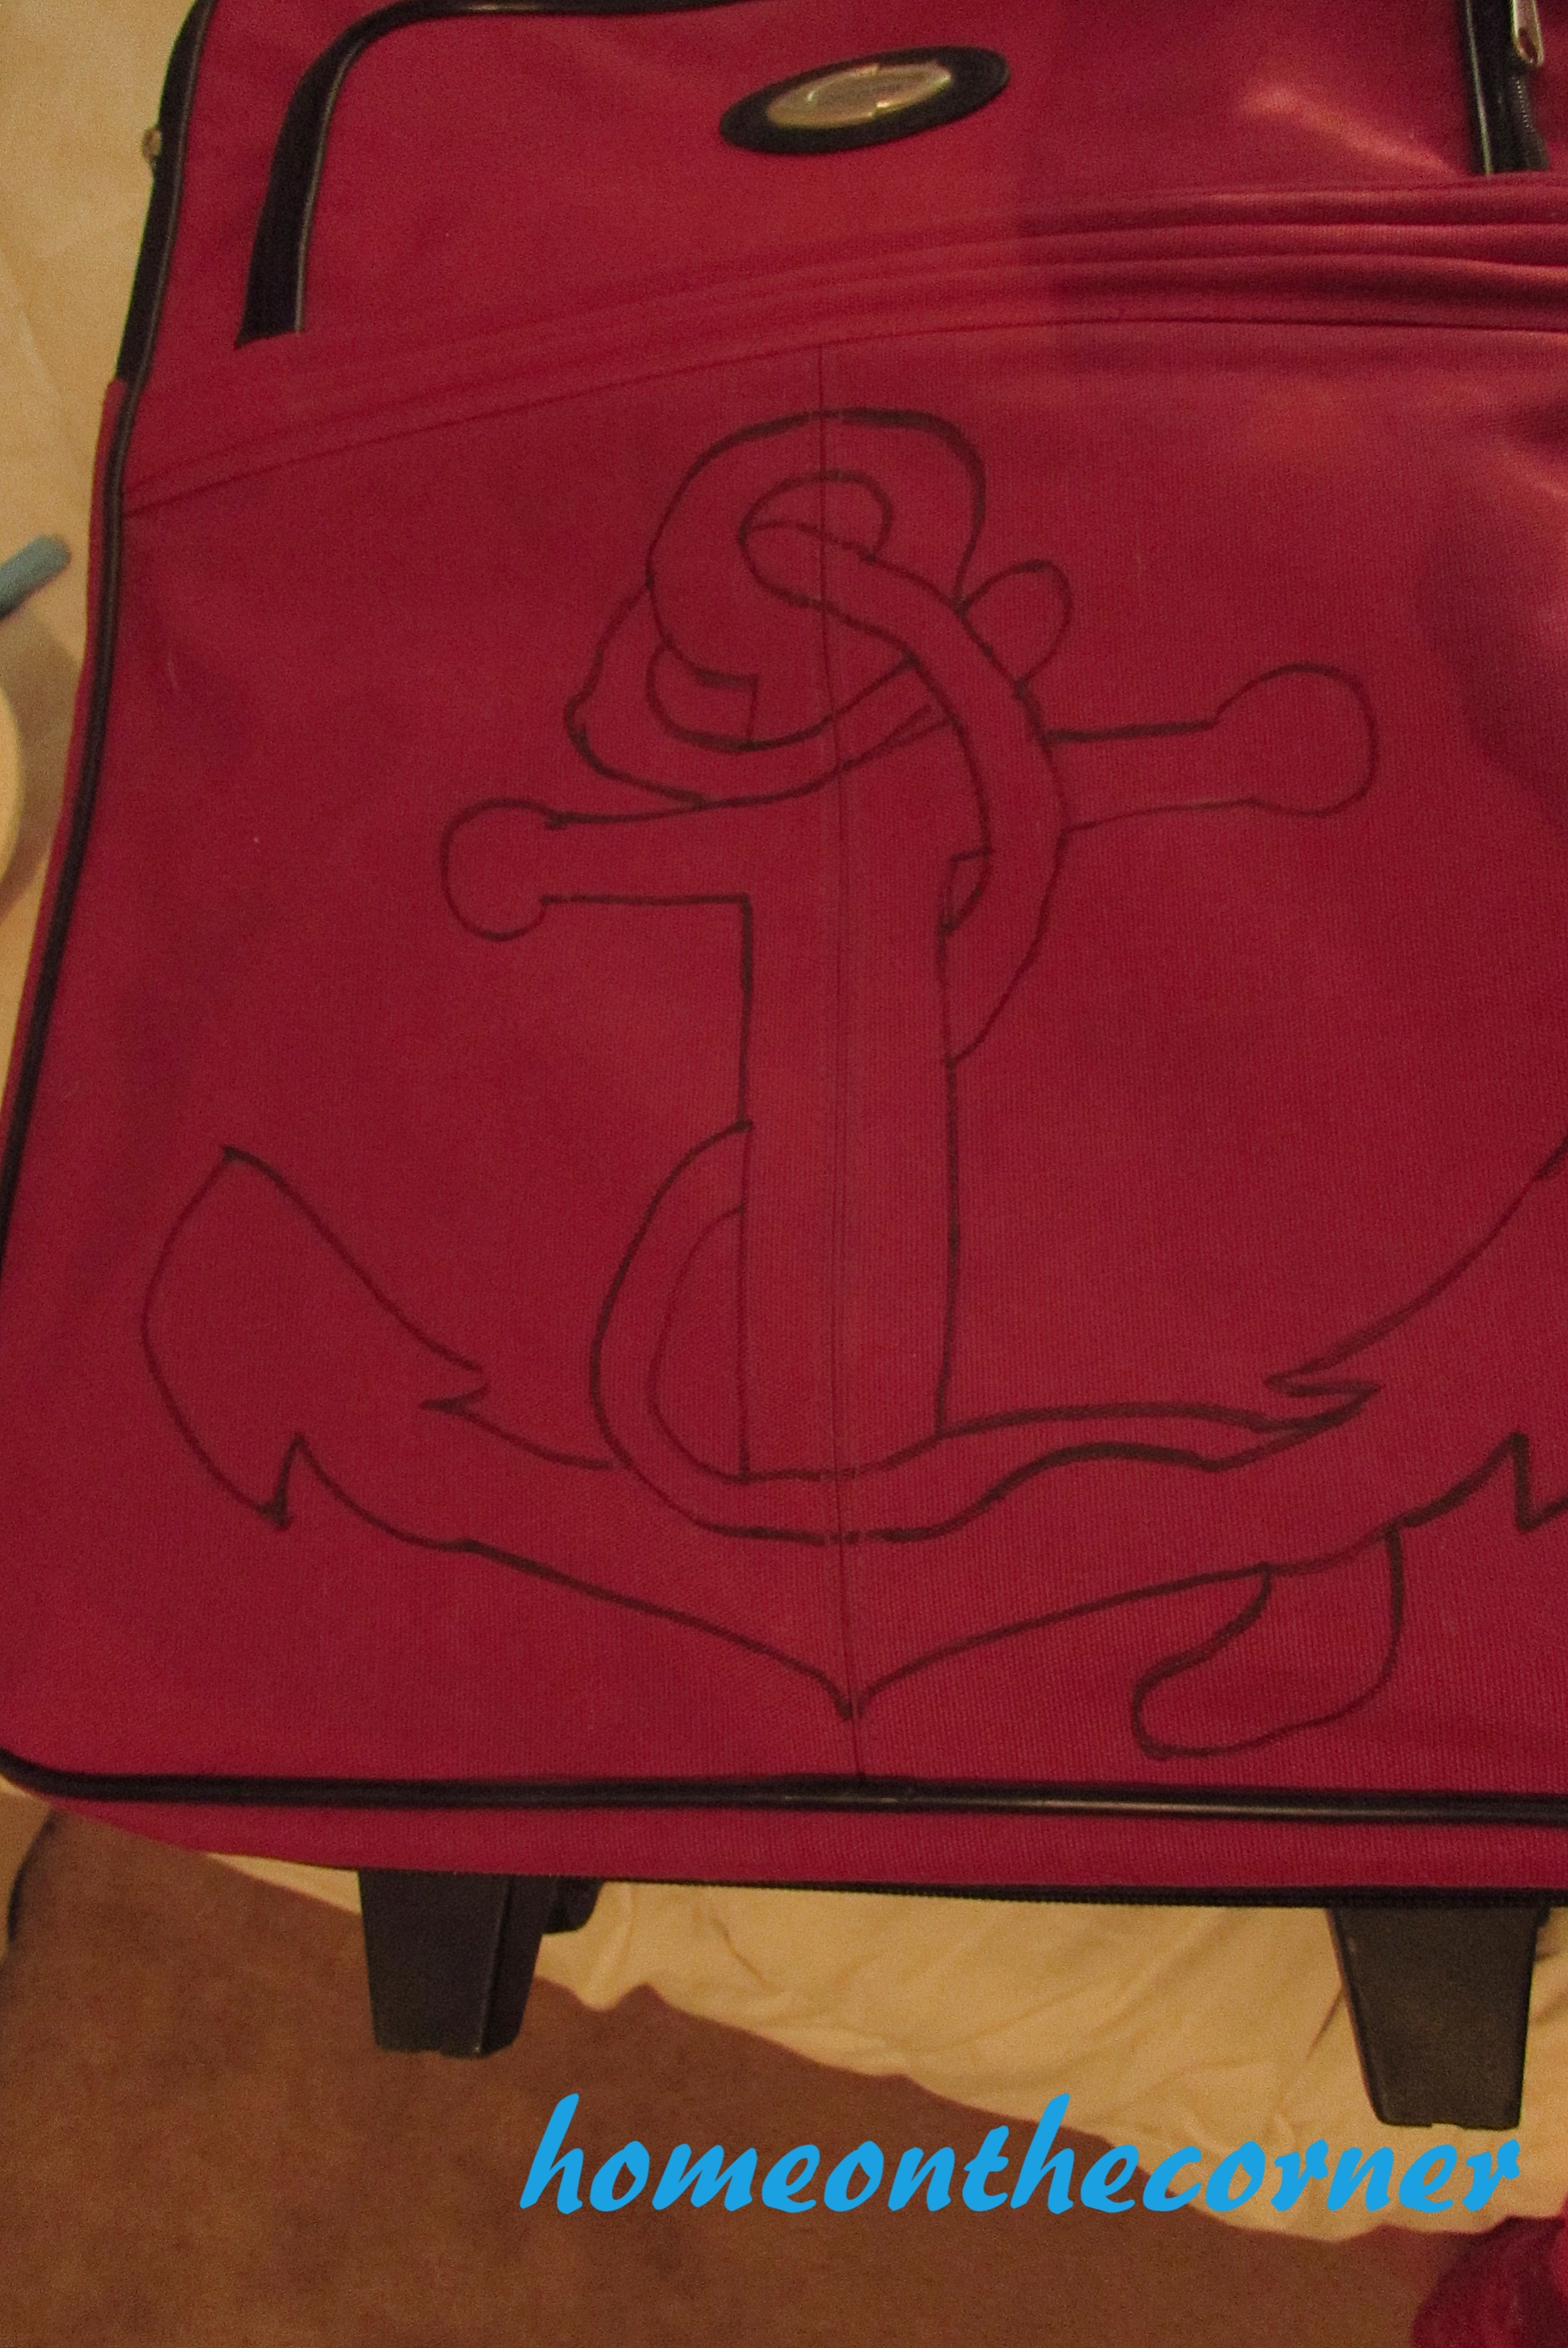
Now I started coloring it in. I started with a navy blue paint pen. It worked okay, but didn’t really cover very well. I used white paint and a stiff bristled brush for the white rope. luggage makeover 5 
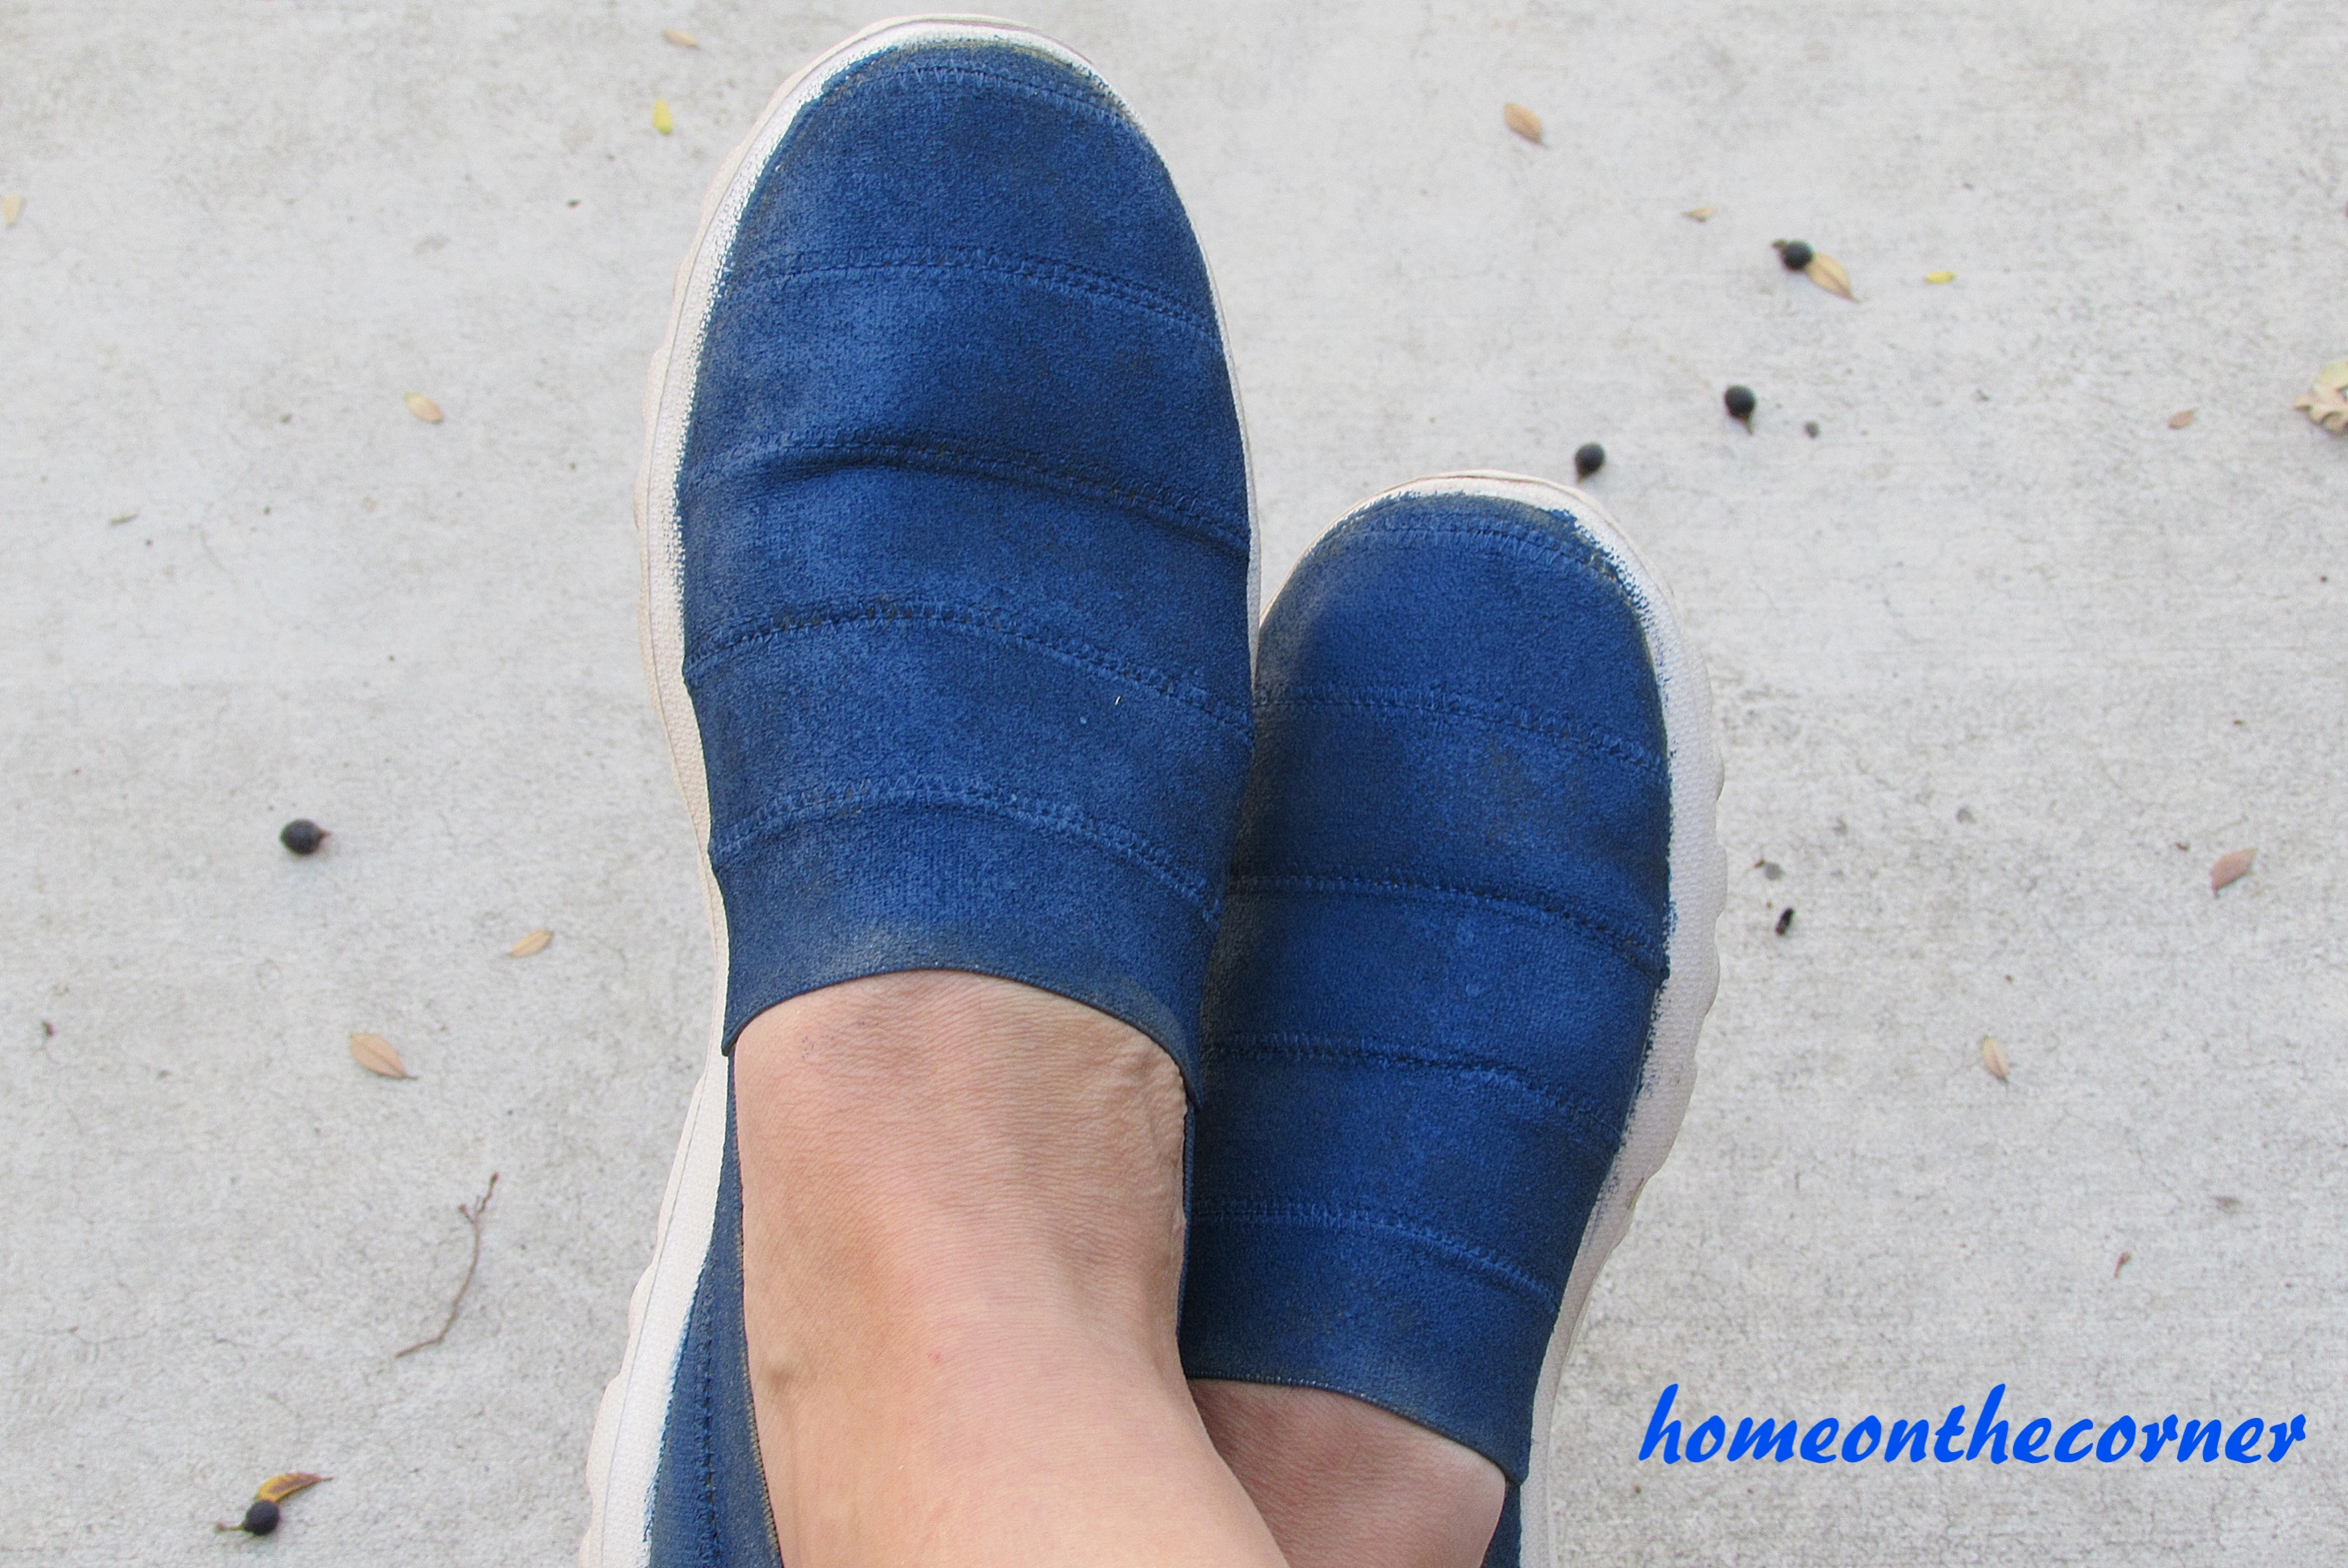
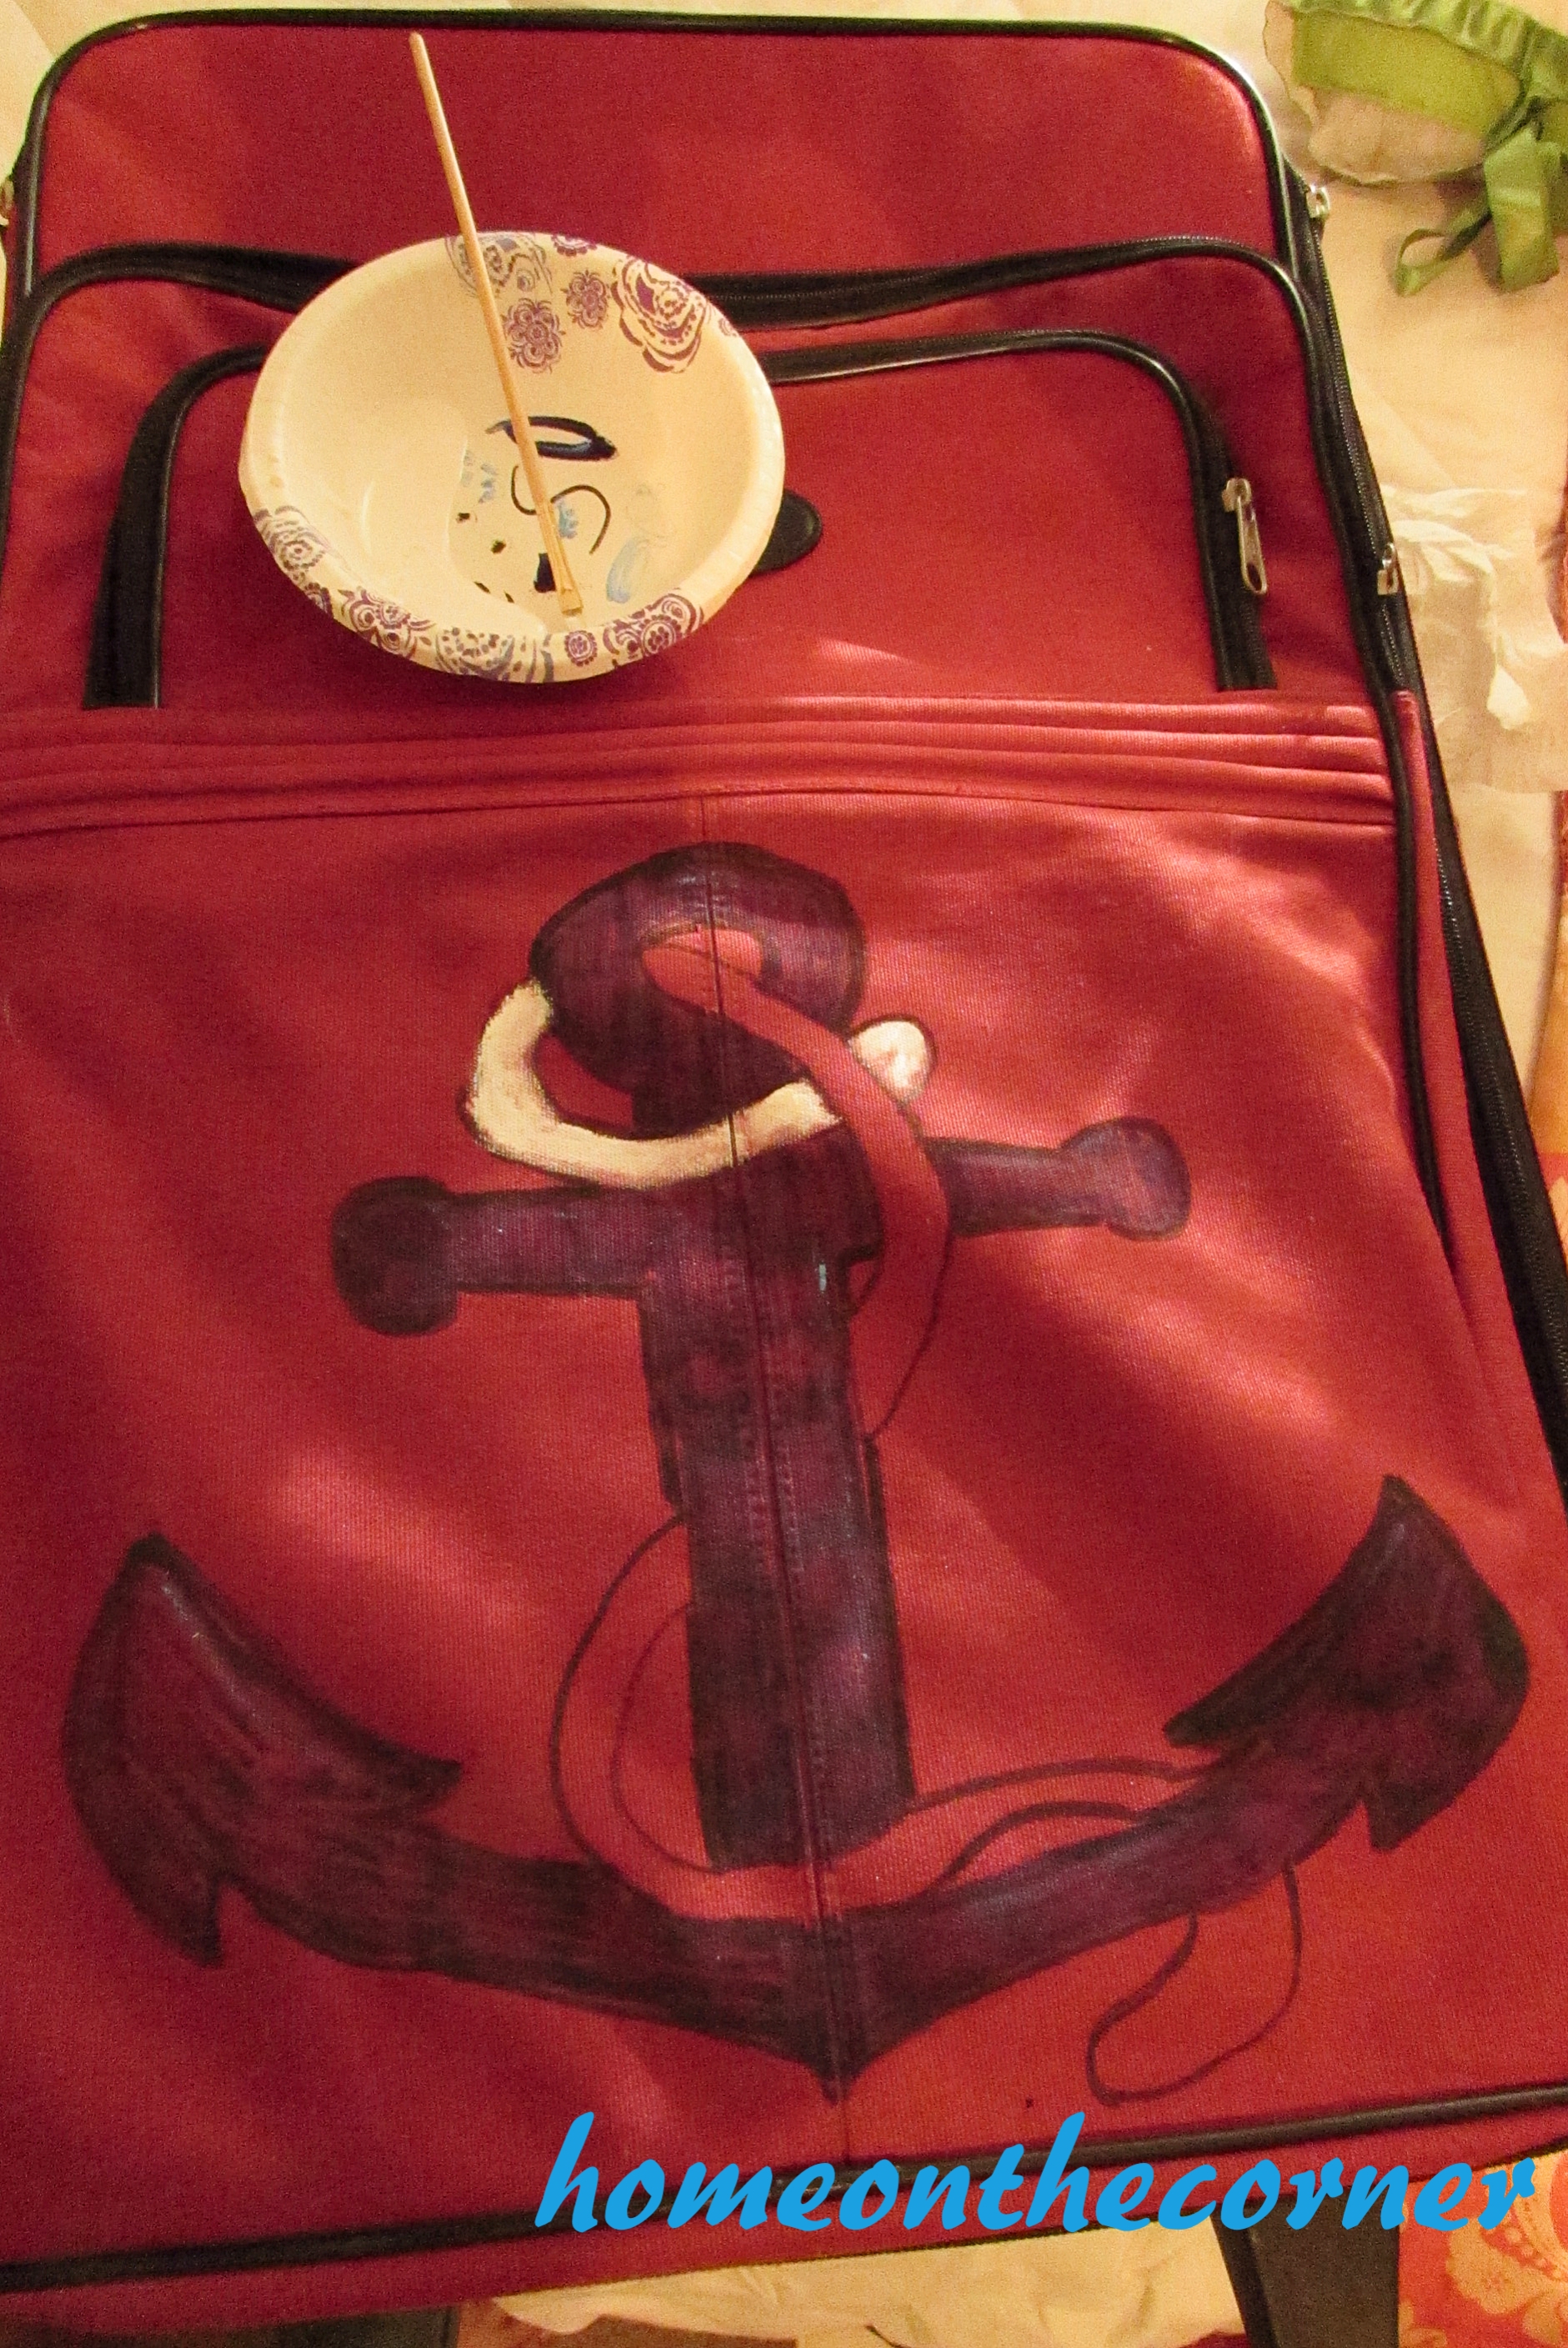
After it had dried, I knew I needed something different for the blue. I used the same fabric paint I used when I painted my Skechers, Tulip Fabric Paint, Marine Blue. luggage makeover 6 This turned out much better! I let it dry overnight and then added another coat of each color in the morning. After that dried, I added the black outline again and the details to the rope. luggage makeover 7 
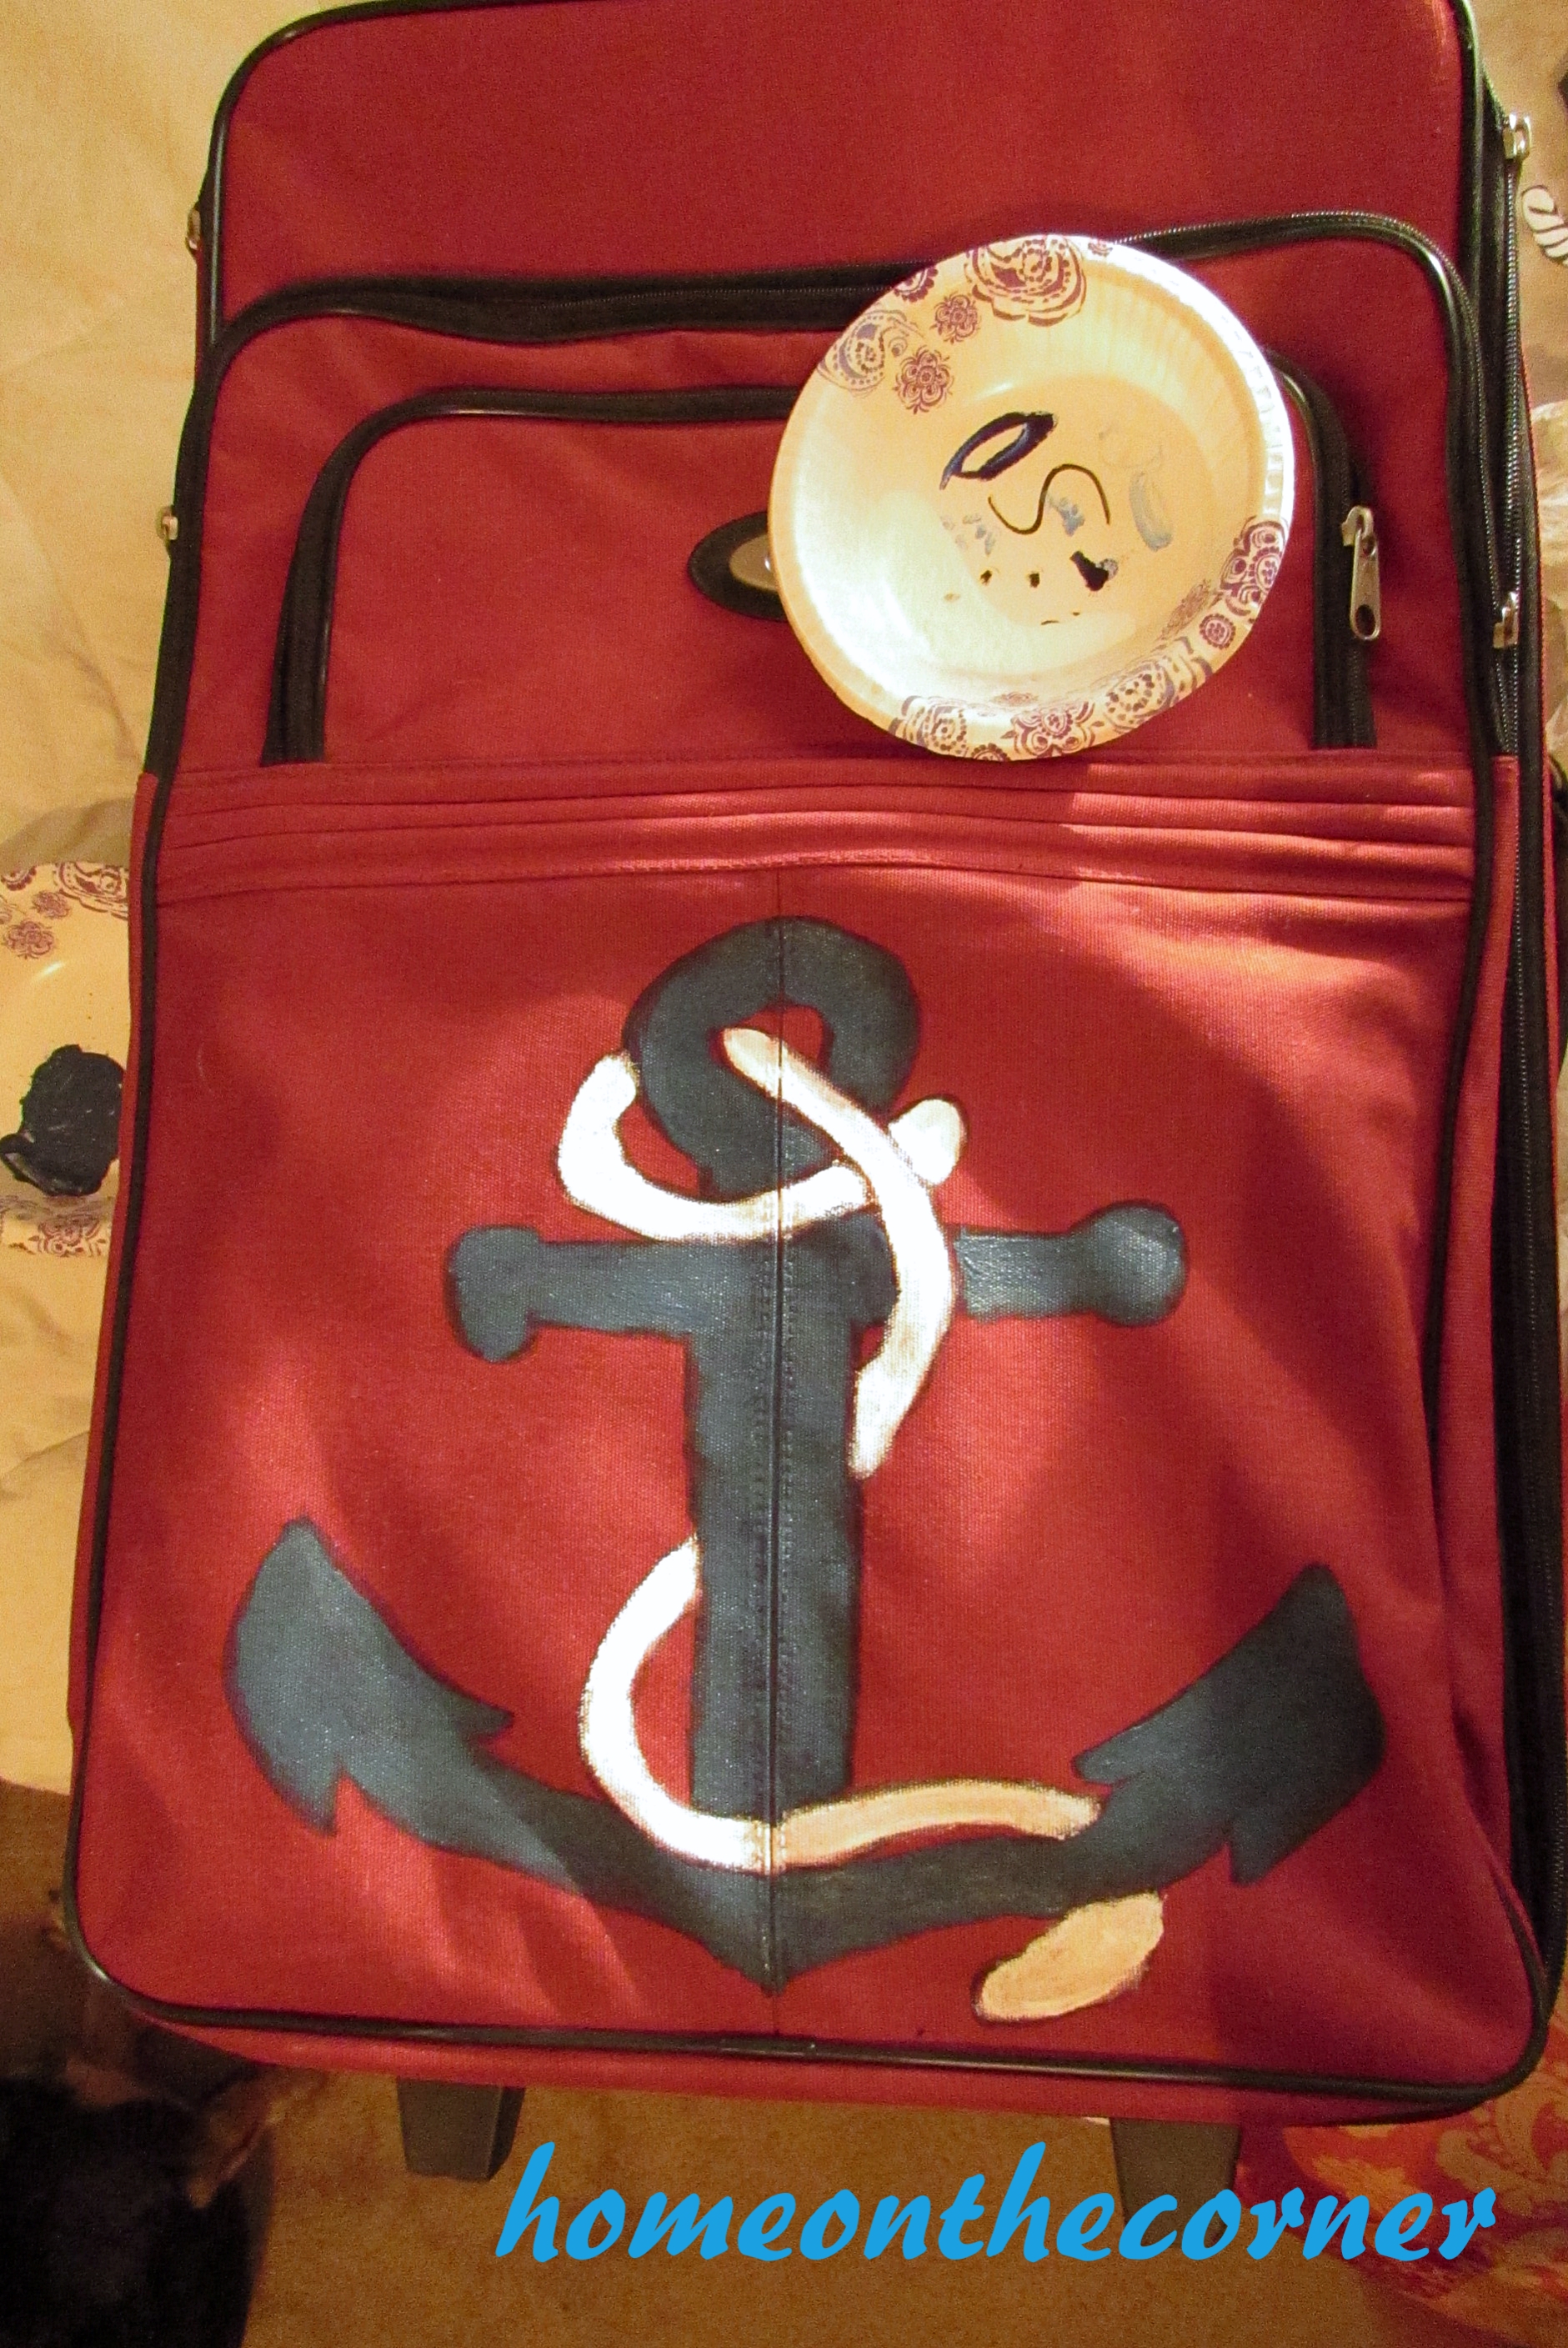
I am actually pretty impressed at how well this turned out! luggage makeover 10 I did find a small anchor stamp at Michaels and tried stamping some small anchors in blue and white on the top pockets. They didn’t turn out very well, so I only did about 8. I outlined them with sharpie and called it good. luggage makeover 11 luggage makeover 8 I think my luggage and I are ready to go now! luggage makeover 12 
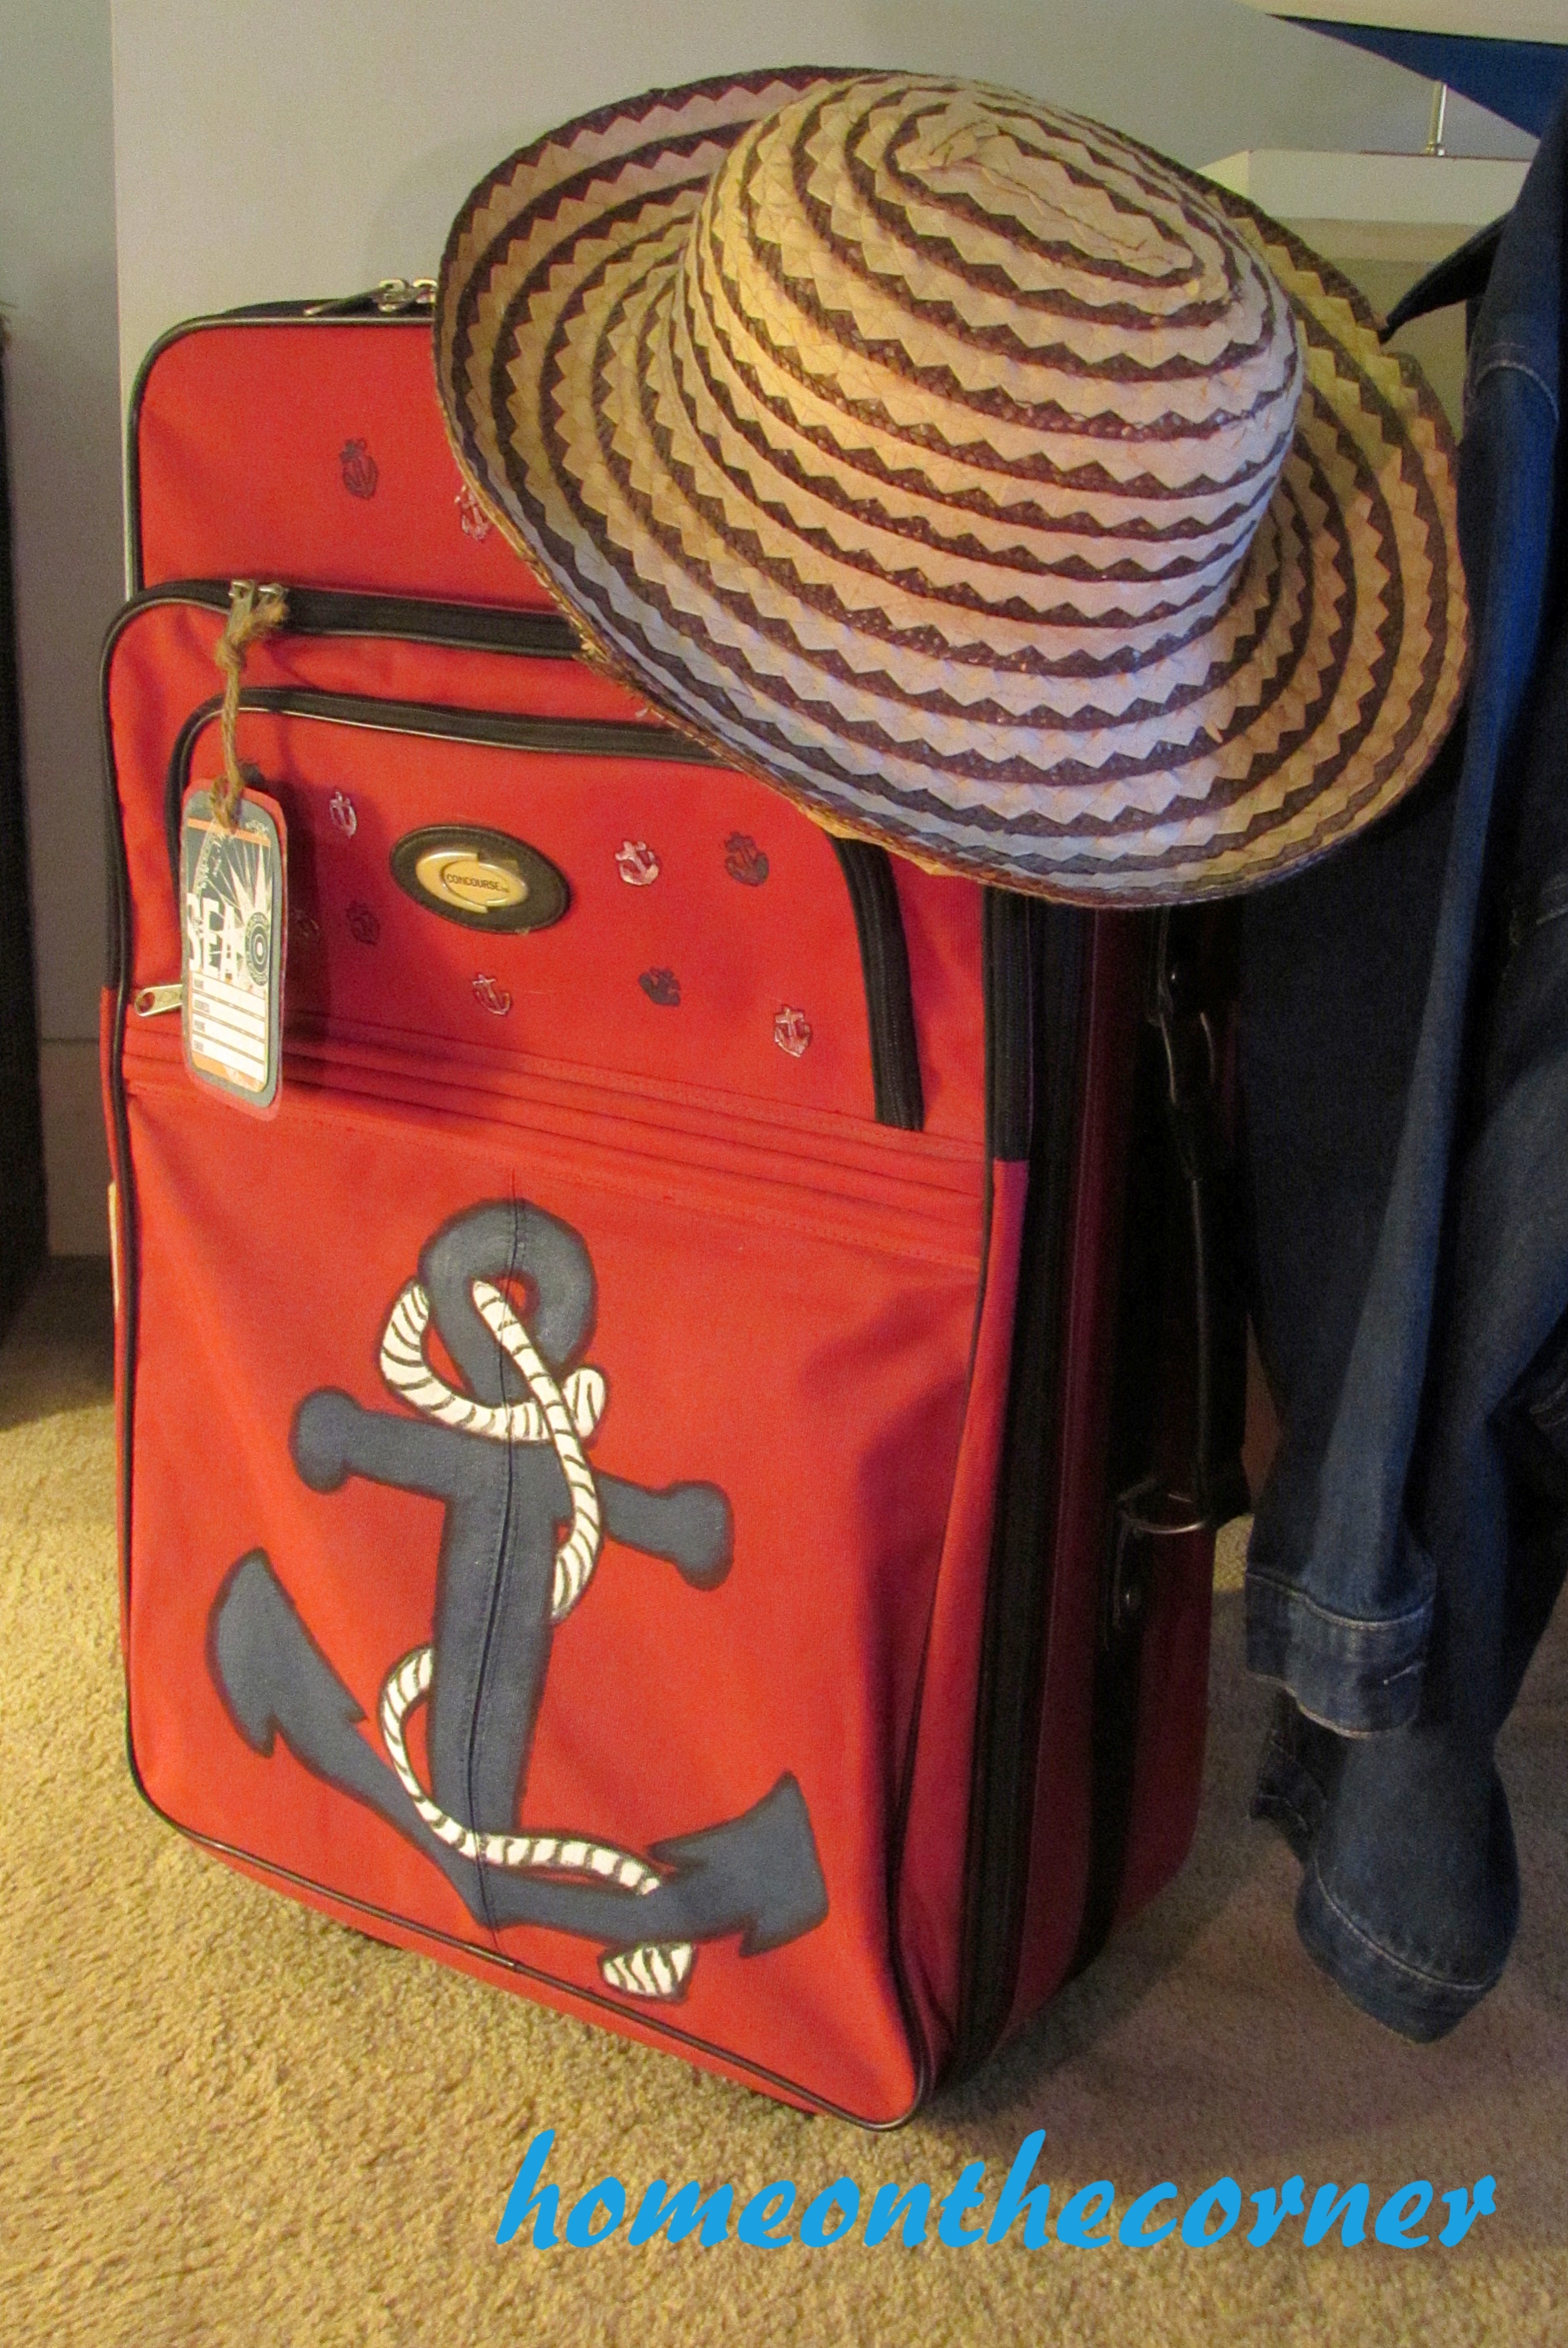
My husband can use his own! 😉 luggage makeover 13 Sunshine and Blessings

My Closet Makeover

I’m finally back!  Nothing against the blog, but work has gotten me extremely busy and it has been hard to find time to write something for the blog.  But, I got a day off from work and finally found time to get something together…

My closet.

Closet Makeover

My closet is atrocious.  For more than one reason.

1. I have too many clothes and shoes. I need to go through them and get rid of some of my things.

2. I don’t have that much floor space because of all the shoes on my floor.

3. Even though I have the most clothes out of all of my roommates, I have the smallest closet.  That would be thanks to having the wonderful water heater in my closet.  Yeah…

Closet Makeover

So I took time go through my clothes.  I organize my shirts by color, so I took out the shirts by color and went through a process of getting rid of them.  My criteria to keep a shirt was: do I like it, is it long enough (I’m tall), does it still fit, and is it still fashionable.  I tried each shirt on unless I knew for a fact that it still fit.  I also went through dresses, skirts, and tank tops the same way.

Closet Makeover

I then went through the tee shirts that I own.  Now, I am proud to say that I have a very large black tee shirt collection, but I got rid of a few that I know don’t fit or that I don’t wear.  I also had some smocks that I had for work before we got new shirts that I was able to get rid of.

Now, the prized possession of my clothing, shoes.

A Mess in my Room

A Mess in my Room

Before I started, I took all the shoes out of my closet and off of my shoe hanger.  When I brought them out into my hallway to put on my staircase, I made quite a mess…thankfully I don’t have a downstairs roommate as of the moment, so it’s okay to make a mess.

A Mess in the Hallway

A Mess in the Hallway

But here are all my shoes.  All 60 pairs of them.

Closet Makeover

So I went through them and was able to take my shoes collection down from 60 pairs to 43.  Honestly, I am pretty proud of myself.  It is hard for me to get rid of shoes.

I still have a lot of shoes

I still have a lot of shoes

So, here is everything that I am getting rid of.

Closet Makeover

Closet Makeover

And here is what my closet looks like now!

Closet Makeover

Closet Makeover

Closet Makeover

There is actually space that I can walk on the floor and put new clothes in the closet.  I have my work shirts separated from my tee shirts so they don’t get lost, and I am able to add new things if needed. What a difference!

Have you gone through your closet and what kind of stuff you have gotten rid of?!

FYI-We are now on Facebook too! Check us out and be sure to sign up for our emails if you would like reminders when we post!

sparkle

Navy and Turquoise With Just a Touch of Red

Happy 4th of July week! It’s so great to see all the red, white and blue all over town and the blogosphere! It really puts you in the mood for fireworks, bbq and fun times! I did a very simple tablescape for the holiday. I don’t really use red in my decorating, so I kept it very light. But I DO use lots of blue and turquoise!! So that’s what I went with!

Blue, turquoise with just a touch of red

Blue, turquoise with just a touch of red

I still kept it coastal and beachy too with the driftwood bowl and glass floats and seashells. july tablescape centerpiece 3 A few candles add to the atmosphere. july tablescape centerpiece 2 I picked up these white and red metal plates several years ago at a thrift store and the small turquoise ones are from the 99 Cent Store. The woven place mats I just picked up at Goodwill last week. I was so excited to find them! They are so perfect for the beach theme! july tablescape placesetting The napkins are just pieces of material I ‘borrowed’ from Lauren’s fabric stash. july tablescape placesetting 3 I love adding the red and white straws to the glasses! july tablescape simplicity The red watermelon was the perfect accent! Do you find, that once you cut up some fruit, it gets eaten much quicker? My watermelon was completely eaten by that evening! july tablescape watermelon I hope you all have a wonderful 4th of July! Please stay safe and enjoy time with family and friends!July tablescape july tablescape centerpiece Sunshine and Blessings

My Skechers Makeover

Lauren’s work schedule has been crazy, so I am here again today. I have just 2 more days of work and then I have some time to relax and get some projects done, before heading back to school. I have quite a list, so let’s see what I get done!

Today’s makeover is an easy one. I did a quick makeover on a pair of Skechers that I have. I bought these awhile ago from Ross, because they were so comfortable! I have had other styles of this same shoe. The problem was, I just never wore this color! I thought about getting rid of them, but they are so perfect for school and so comfortable for being on my feet all day. I finally came up with the brilliant idea of painting them! I figured, what do I have to lose? I don’t wear them anyways!

Skechers Go Walk

Skechers Go Walk

So comfortable, just not the color for me!

So comfortable, just not the color for me!

I found some Tulip Soft Matte Fabric Paint in Marine Blue. I actually thought this would be more of a navy color and I would paint the stripes, white. Well, the color was a little more royal than I expected.

Hope this works!

Hope this works!

I painted 3 coats of paint on each shoe. They actually turned out pretty well! And the color looks kind of like denim.

Like this color much better!

Like this color much better!

I certainly didn’t do a very professional job, but the other teachers at work thought I had bought a new pair of shoes! Several of us have these Skechers, so we notice when someone is wearing a pair!

Cute!

Cute!

They are perfect for work and for running around town. I can wear this color so much more! Fabric painting will definitely become an option for me if I have other items I don’t wear because of the color or if they are just faded.

I will definitely wear these!

I will definitely wear these!

So, this experiment turned out well! I’m so glad I took the chance and gave this a try! Have you tried painting anything with fabric paint? How did it turn out? Hope you all have a great weekend!

Sunshine and Blessings

Bedframe Plus Desk Equals Bench

Hello! We have a guest post today! My daughter, Haley! She made this awesome bench from some random furniture pieces, so I am going to ask her a few questions (this was the only way I could get her to participate!).

What gave you the idea to make this?

Haley-I saw the bedframe on the side of the road and thought the shape of it was pretty. I picked it up, but It sat for awhile, while I thought about what to do with it. I saw on Pinterest where someone used a tailgate from a truck for a bench, and then I remembered the bedframe and thought maybe I could do something with it.

Bed footboard

Bed footboard

What pieces did you use to make it?

H-I used the footboard, which I placed upside down, for the back.  The outside edges of the headboard were used for the arms. A desk was used for the seat. I used other pieces of wood for the supports.

Sides of the headboard

Sides of the headboard

How did you start?

H-I started with cutting the headboard apart and screwed each side onto the footboard for arms. I took the legs off of the desk. I used boards across to give it support. Then added the desk on top. It wasn’t quite long enough, so we used the supports to help it stay.

Coming together!

Coming together!

Desk before

Desk before

Desk after

Desk after

bed to bench 10

screwing it together

wood slats underneath

wood slats underneath

What tools did you use?

H-I (with the help of my dad) used a drill, a counter-sink drill bit, 2″ screws to mount the supports to the legs, a radial arm saw and a skill saw.

Did you have any issues or problems when making it?

H-We used too short of screws the first time, and the wood split when I sat on it! We then added longer screws and now it works well. The legs ended up being kind of long and the bench is pretty high. I’m tall so it works for me, but some of my friends may have problems sitting on it!

It's finished!

It’s finished!

How did you decide what color to use? And what did you use?

bed turnd bench

Grey and turquoise

H-I am redoing my room grey and turquoise, so this was my inspiration! I used 4 cans of Granite Rustoleum spray paint and the drawers are Lagoon Rustoleum. I also added new knobs.

bed turned bench 2

Great for storage too!

bed turned bench 4

A cozy spot

Thanks Haley! The bench turned out great! It looks nice right underneath the window in the bedroom. I love it when my girls get creative too! Have you used old furniture and made it new again? I would love to see your projects! I hope you all have a great week!

Sunshine and Blessings