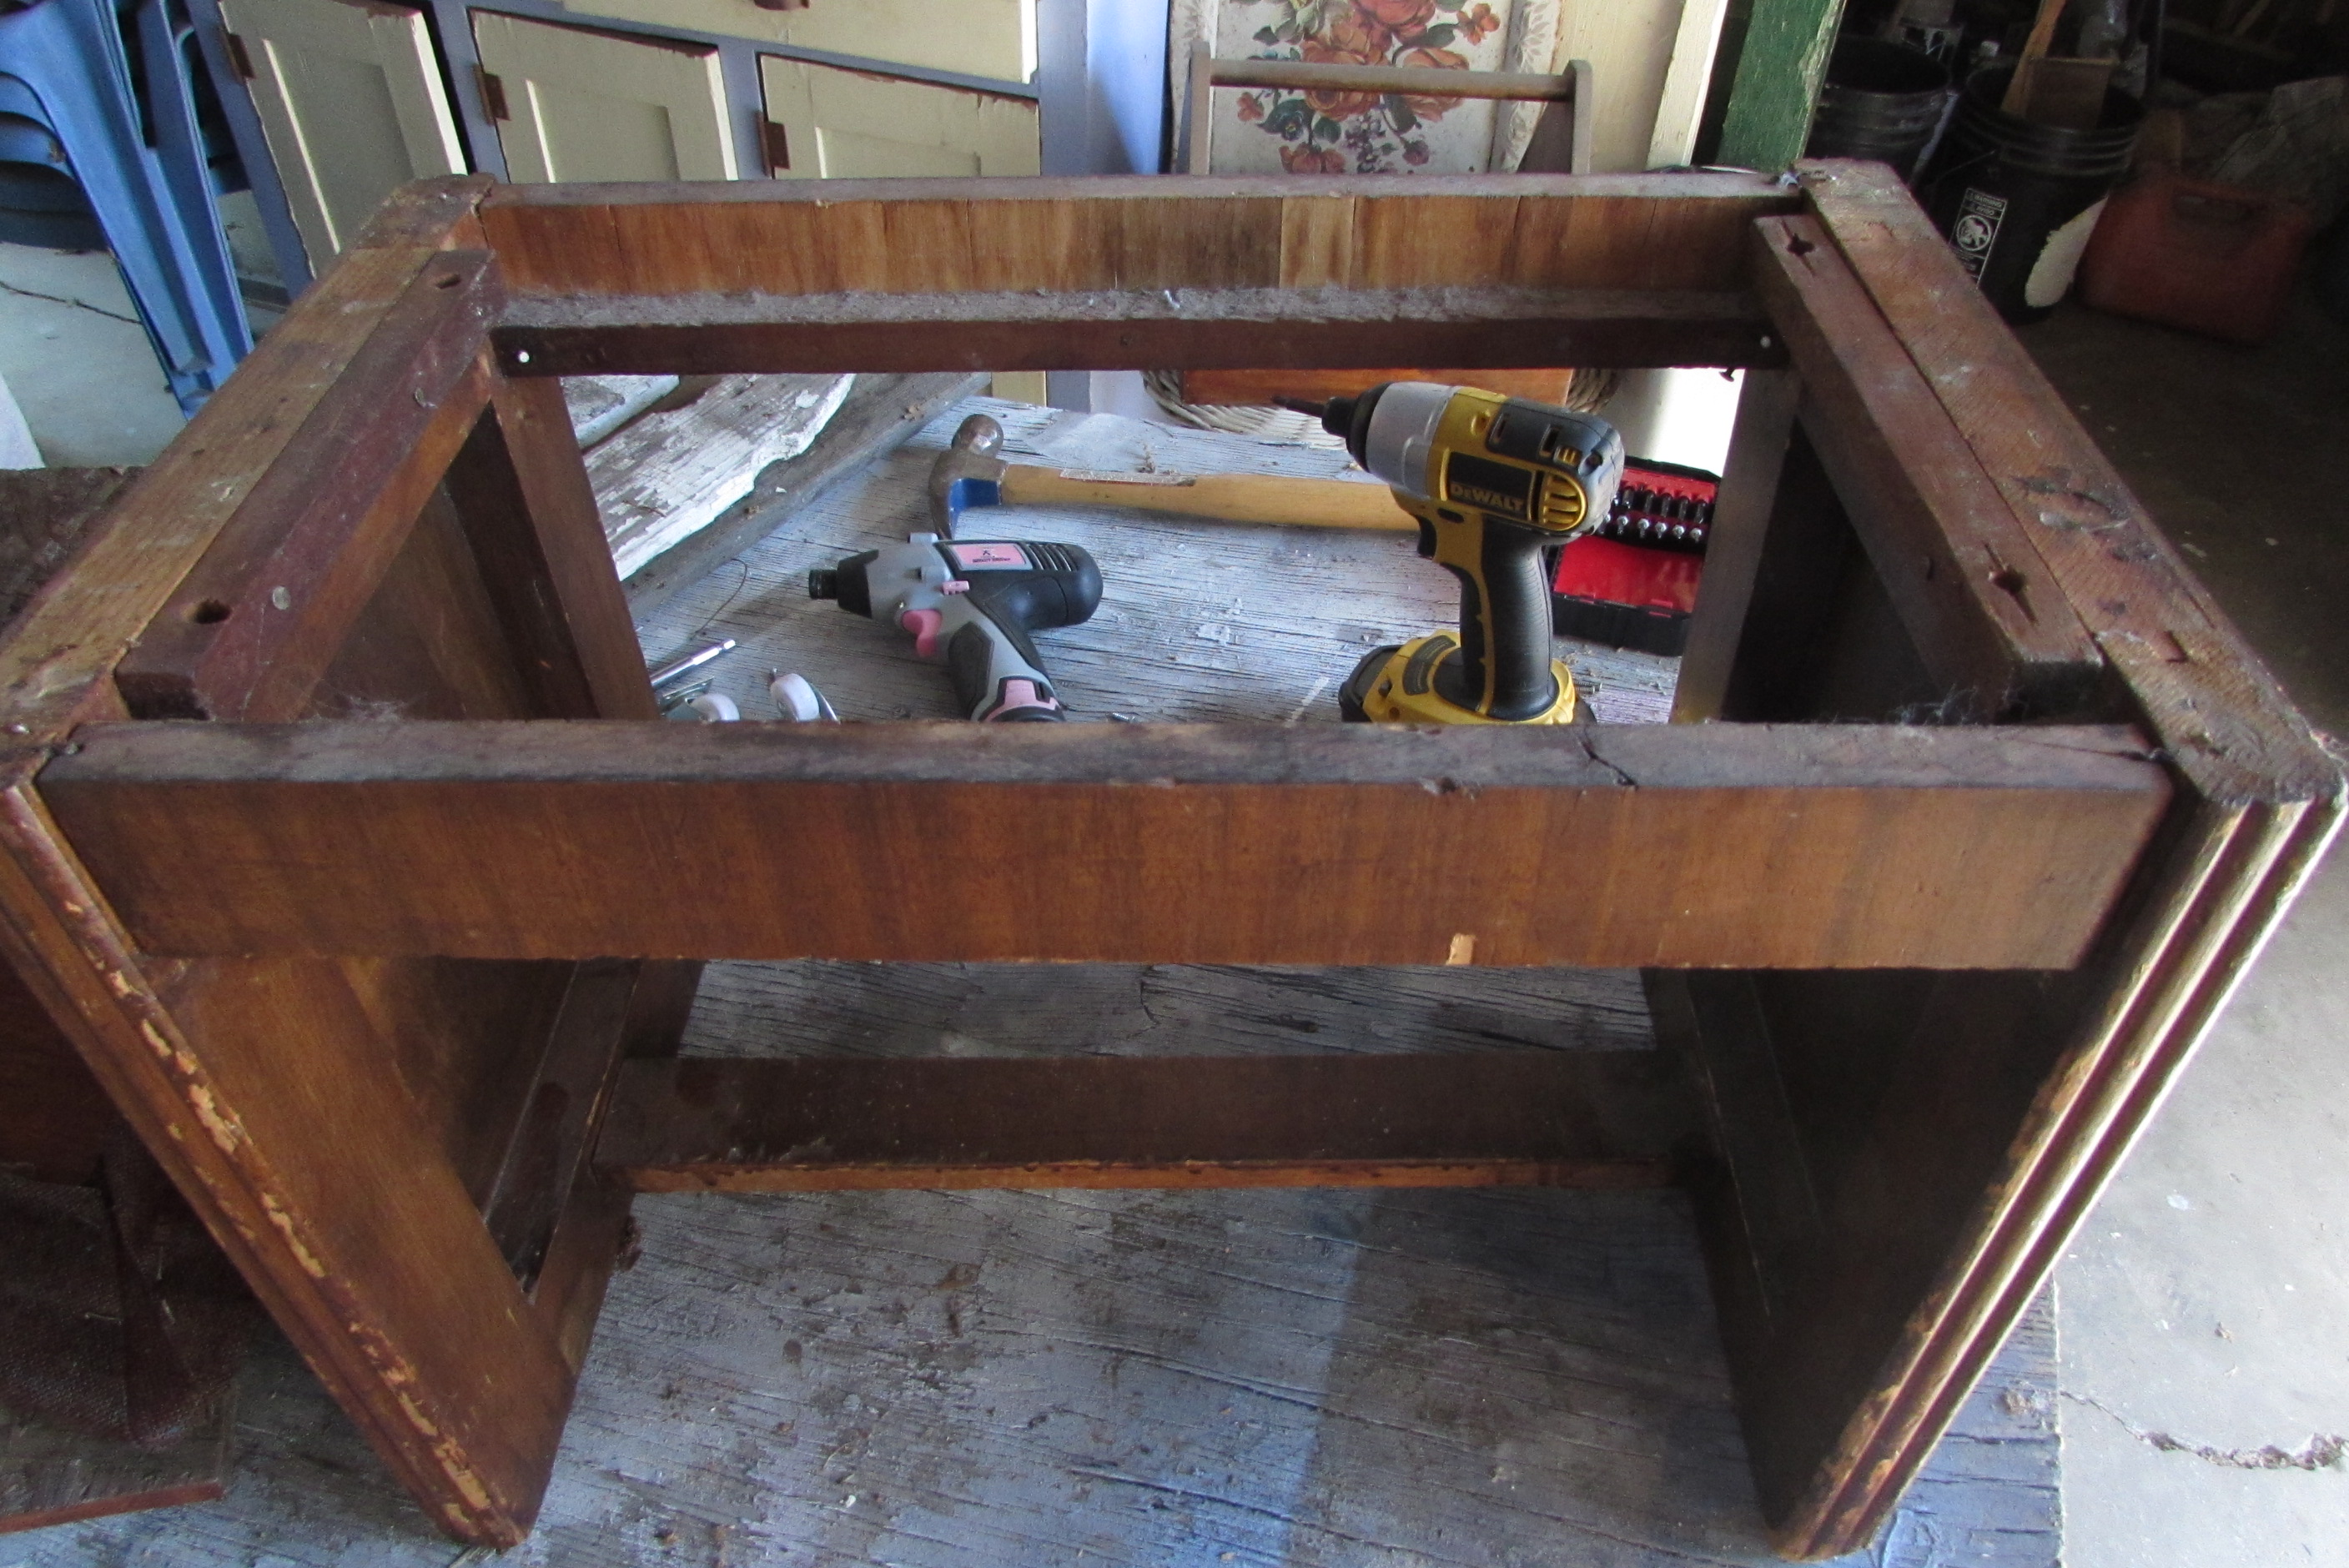
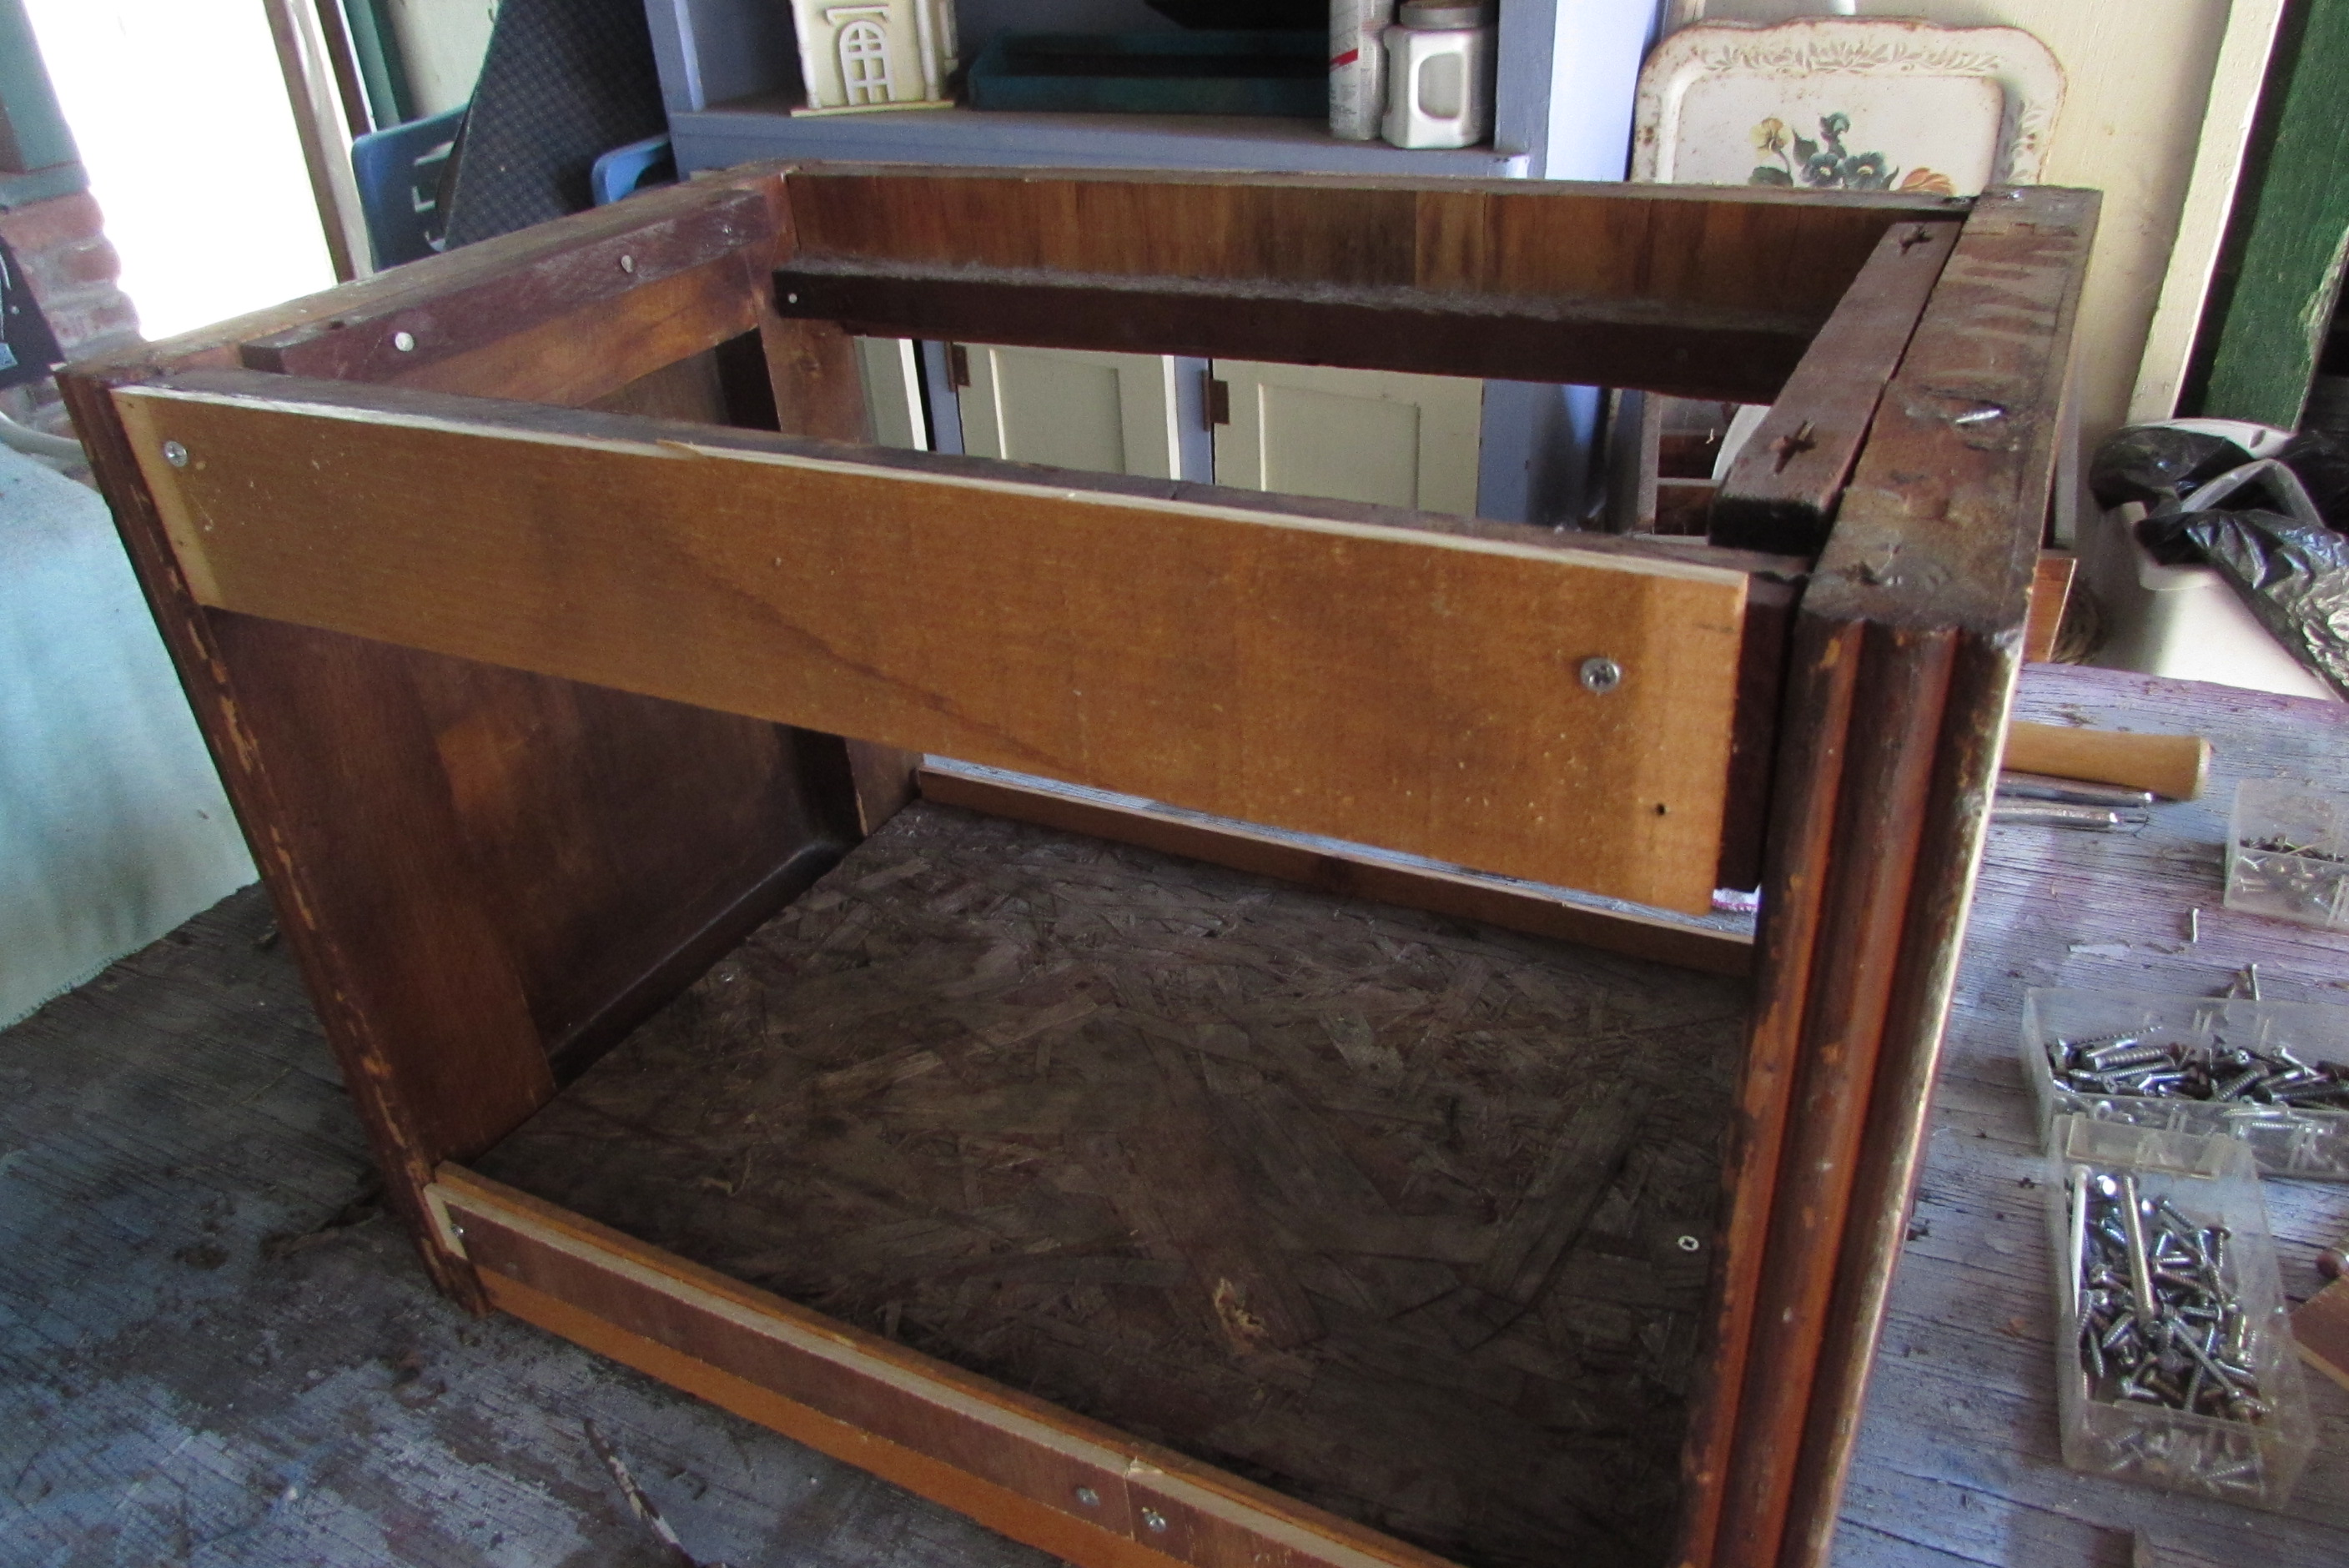
We have been having quite a bit of drama in our backyard lately! We have been busy getting ready for my daughters graduation party, which will be outside. So there is this going on…

But I will tell you all about the party as it gets closer.
Here is the other story! I was walking through my front garden area when some mockingbirds starting calling and swooping around my cat. They had been at this for awhile, but I finally really took a look around. There is a smallish pomegranate tree right by my kitchen window, and sure enough, there was a nest! I stood and listened for a bit, but didn’t hear anything, so I thought there were just eggs. I pulled a chair closer, climbed up and suddenly there were little beaks poking up!

Daddy is watching!
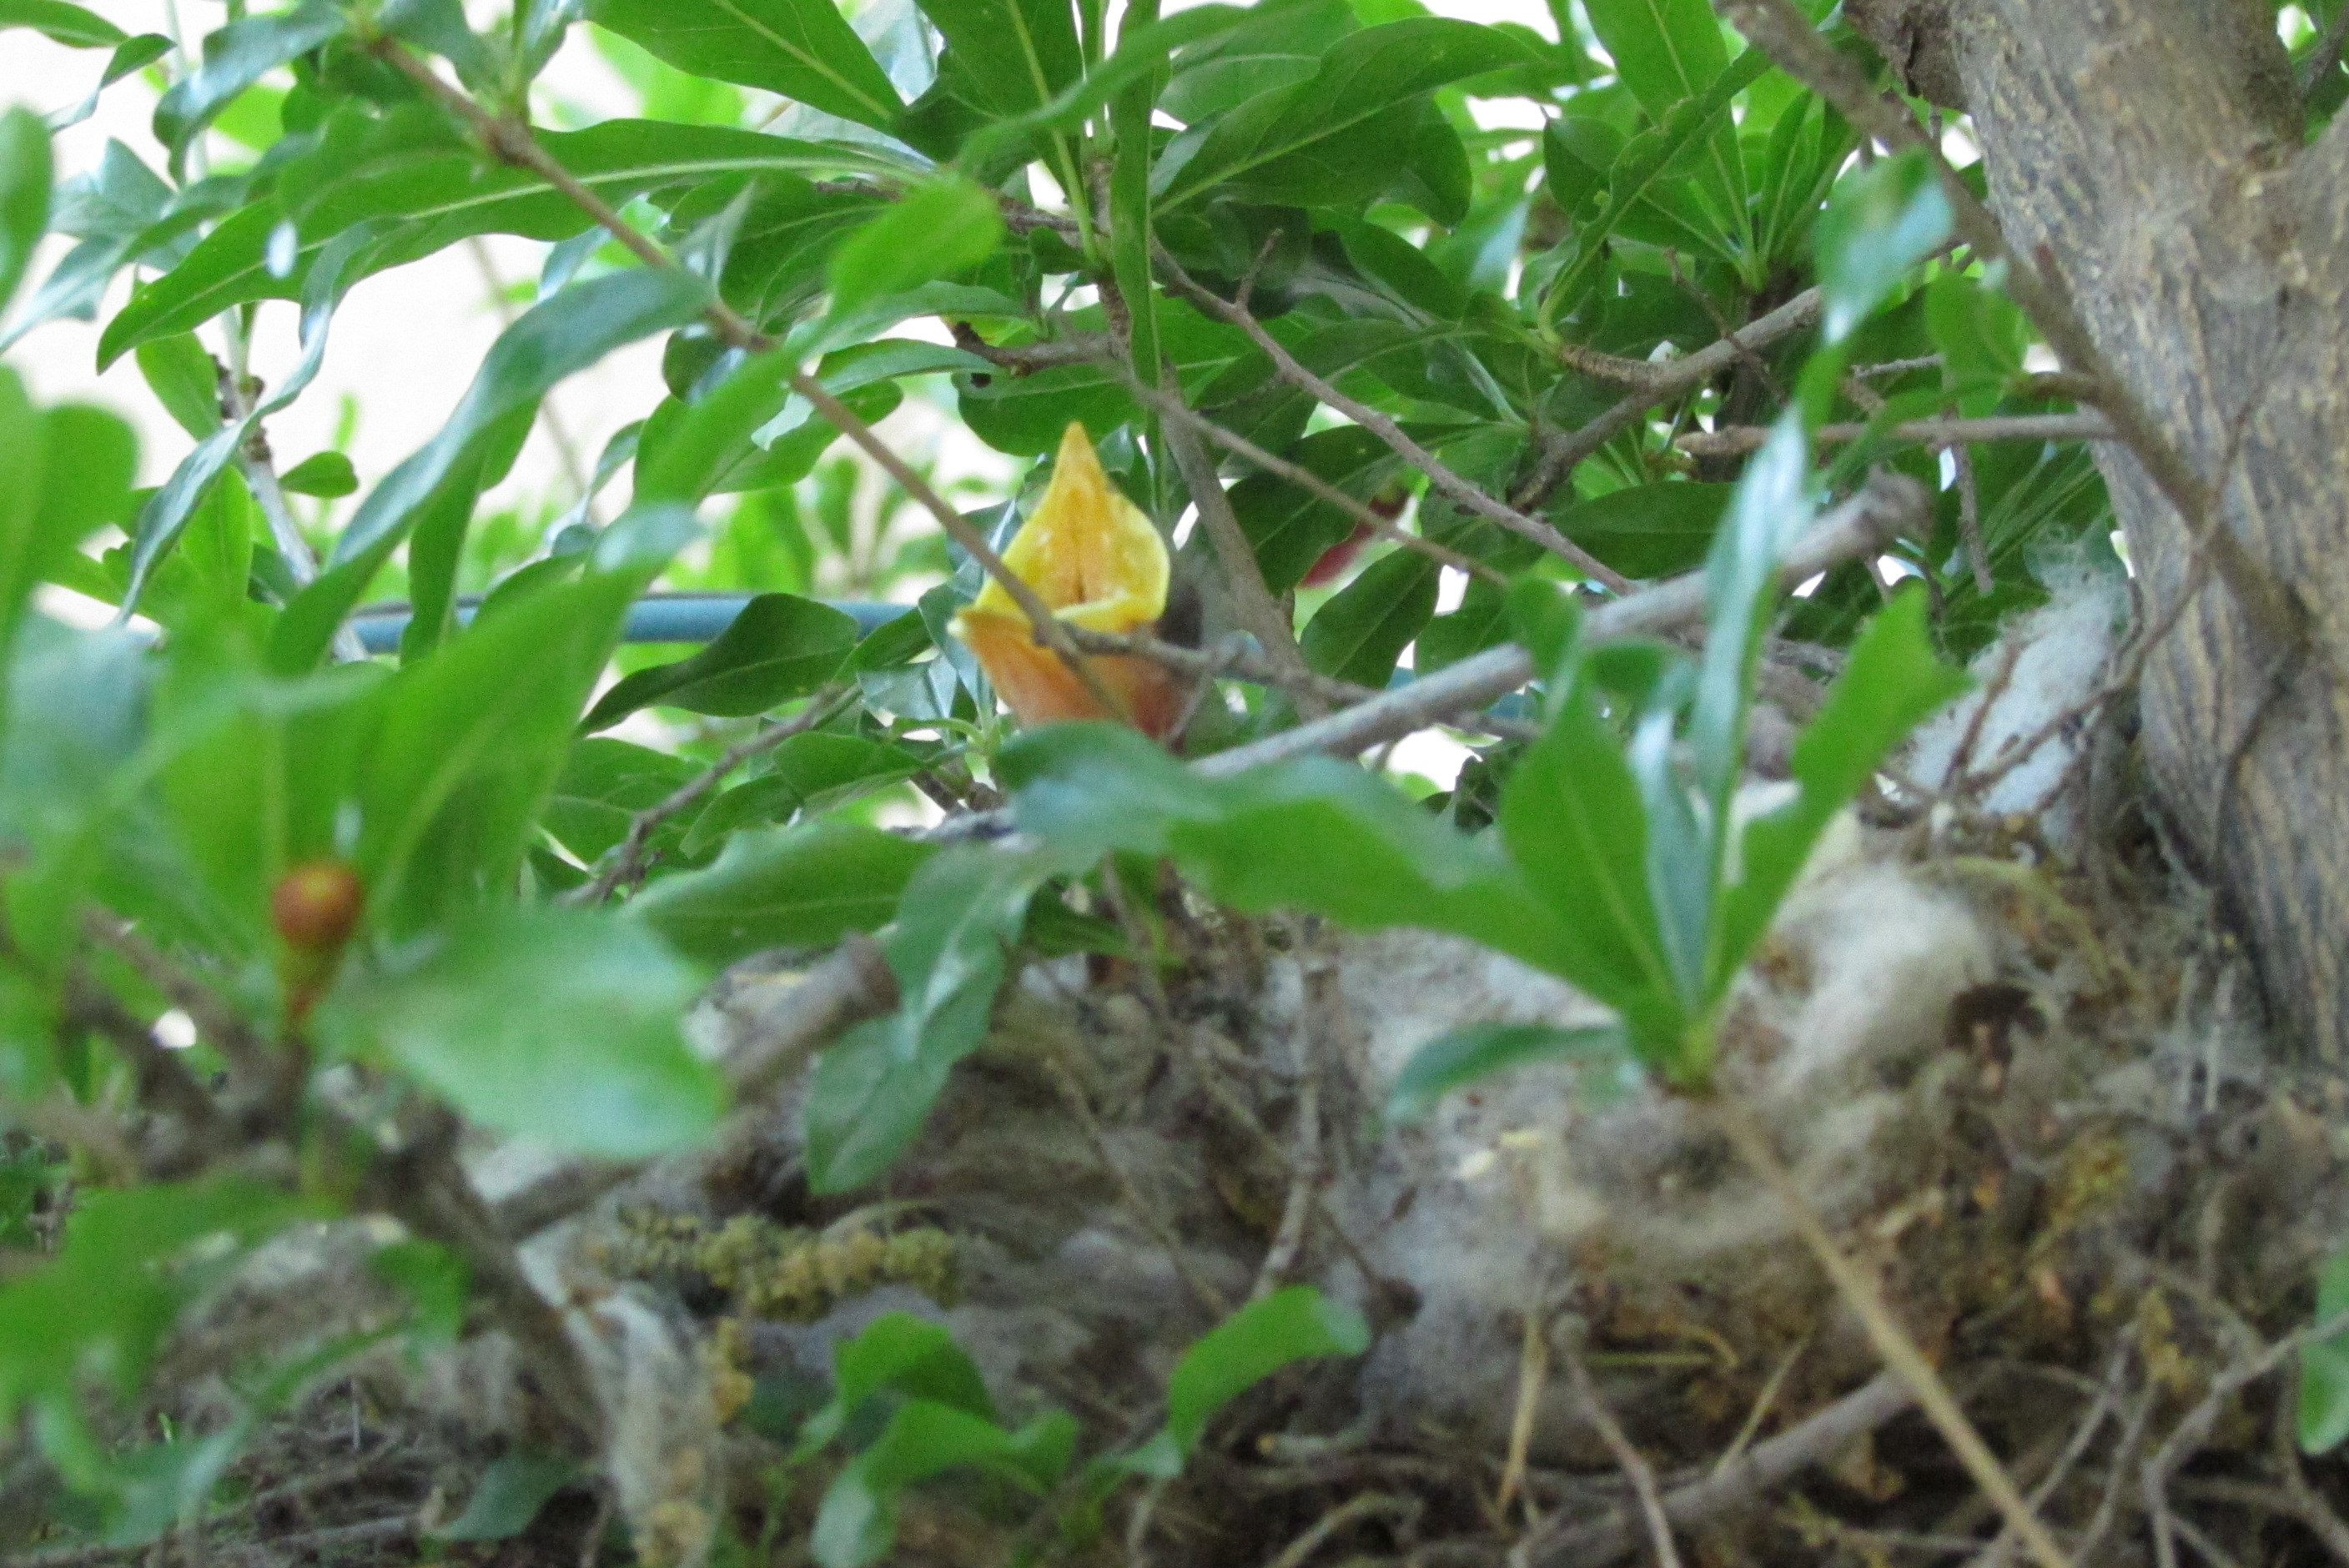
Babies!
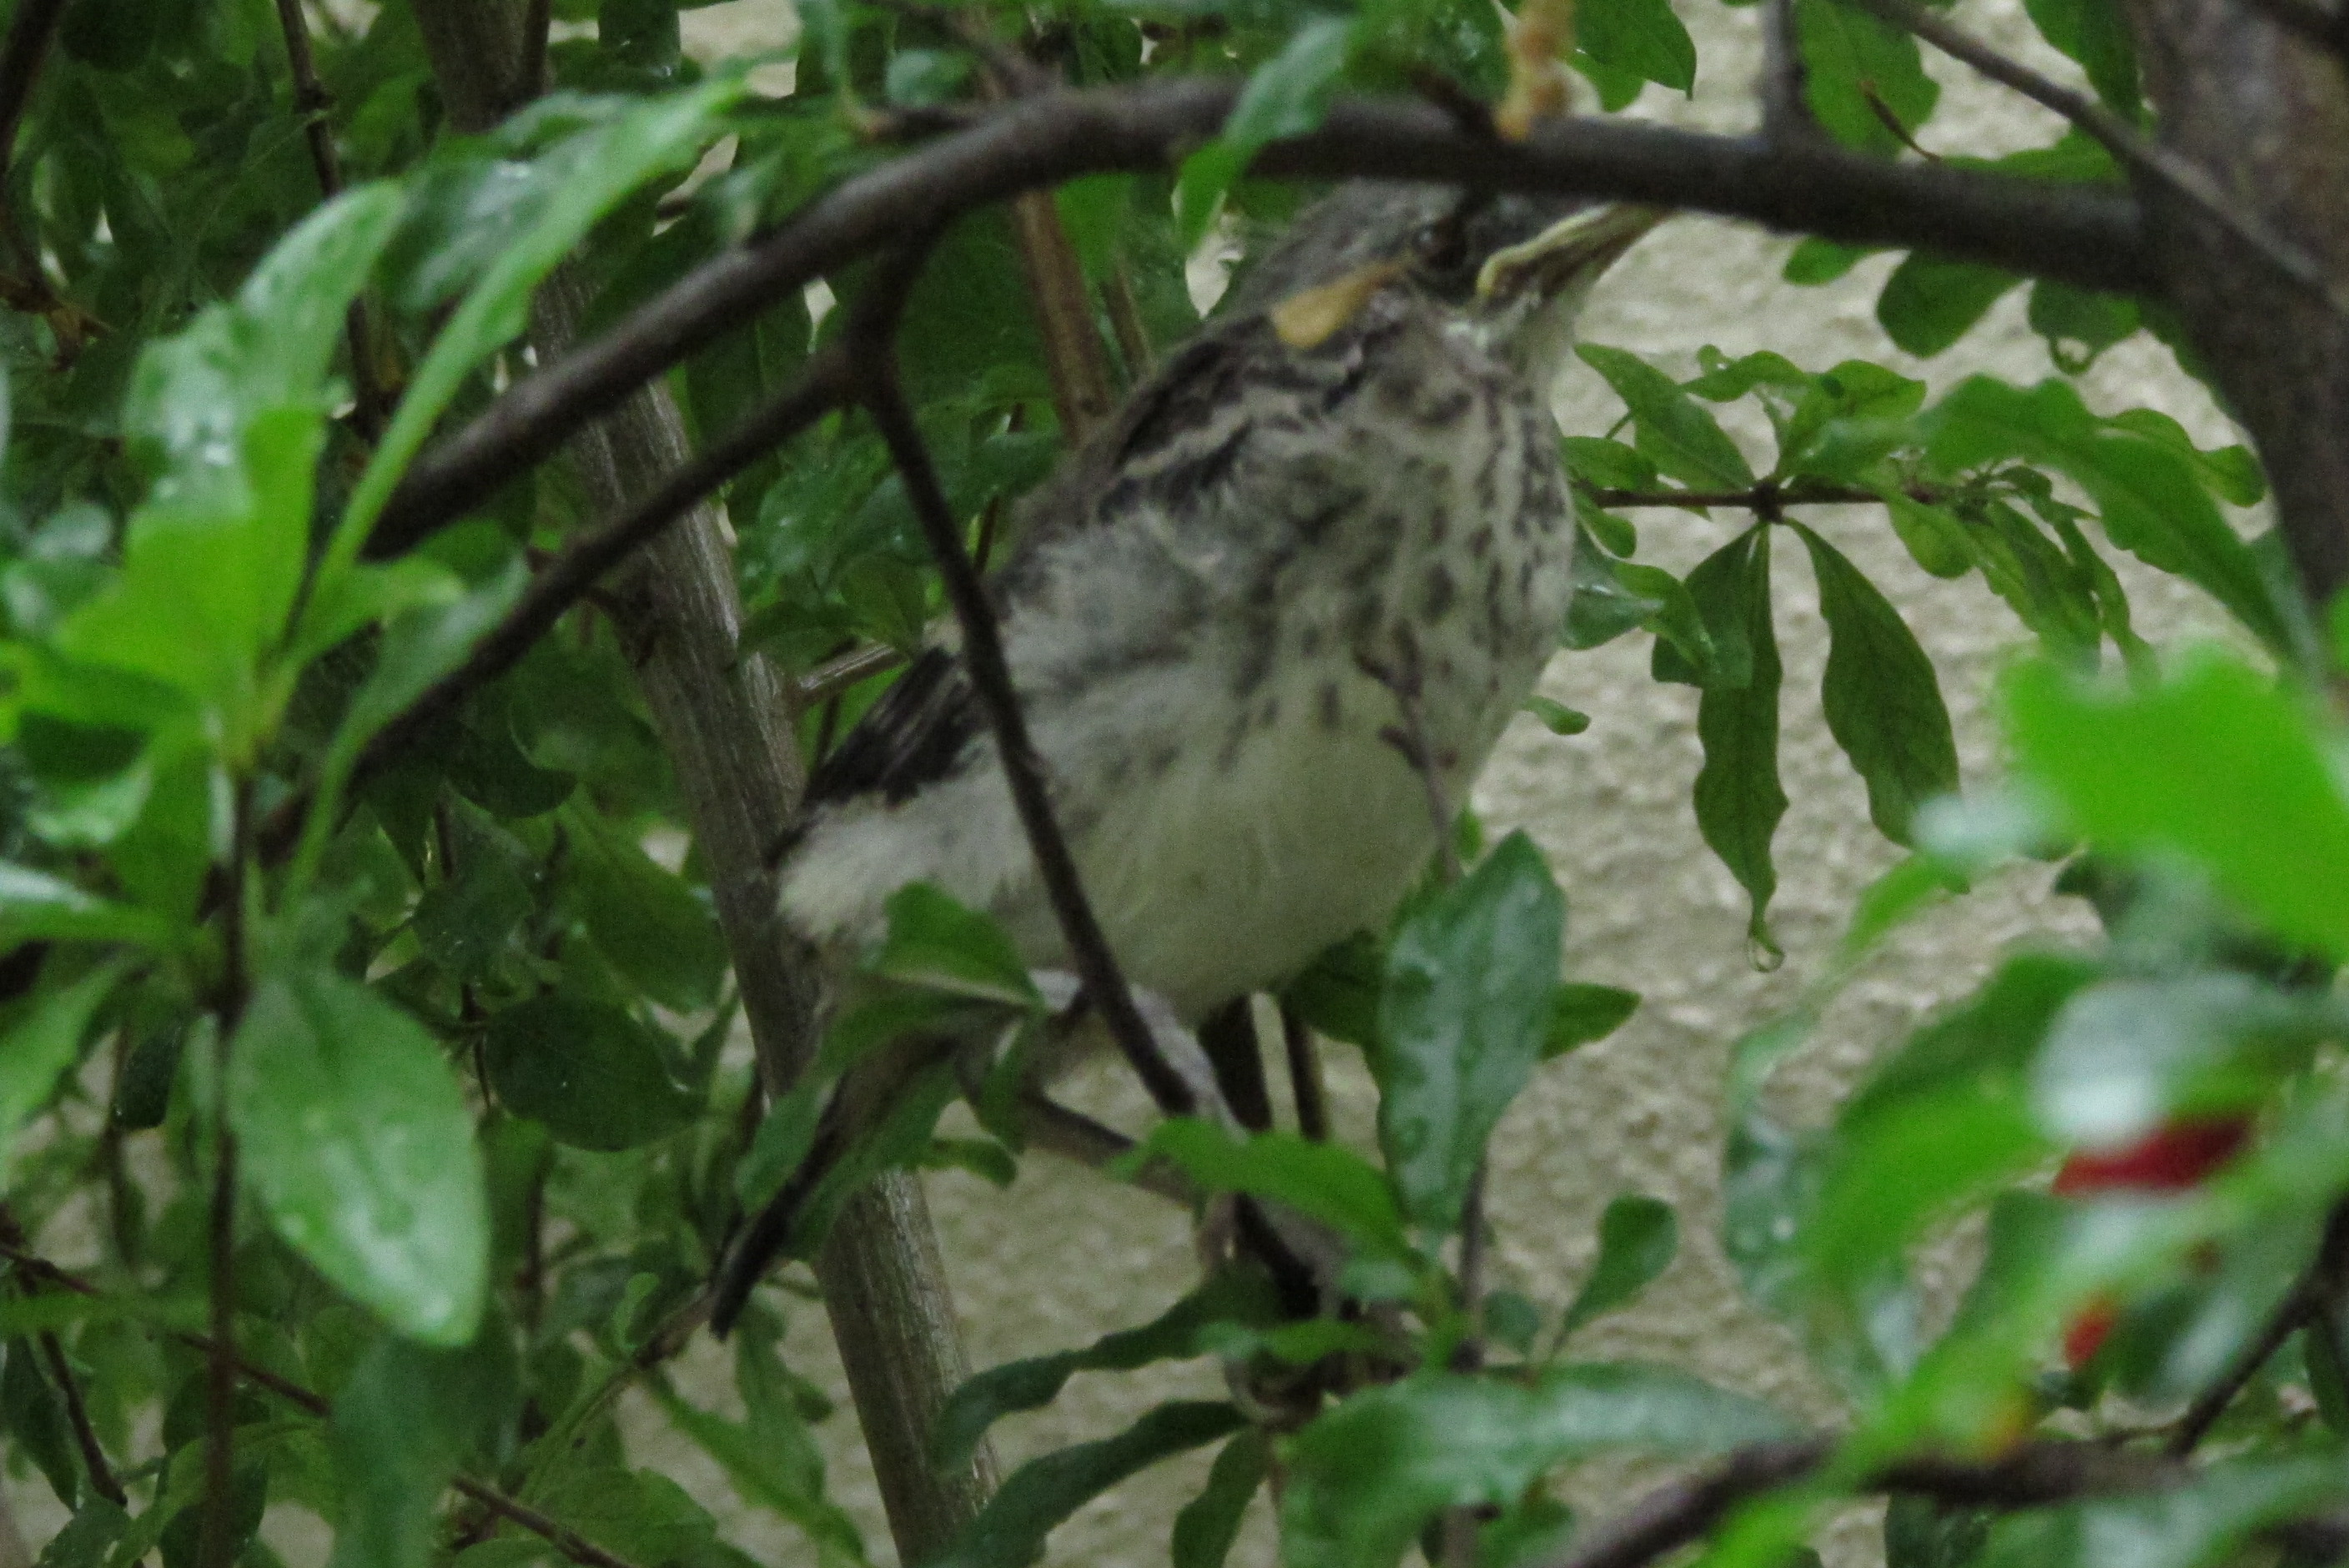
I was so surprised and excited! I was even able to get these great pictures! The momma and daddy kept chirping, but they let me snap away. It was just when the cat came by, that they got very upset, even pecking at her! I waited about a week and then took these pictures. They now have fuzzy heads and their eyes are open.

One week later
I told my husband we needed to get some temporary fencing to try and protect the babies from the cat. I had read online, they leave the nest after about 12 days, but then they are on the ground for another week or two. This was going to be quite an interesting couple of weeks once they were out of the nest! So we added some fencing on Friday night. 
I woke up on Saturday morning, took a look out the window, and saw this!
That wasn’t one of the babies was it! No way! I waited a bit, then saw another one on the ground-on the other side of the fence!! That wasn’t supposed to happen! This was only 2 days after taking the ‘week later’ picture and a day after the fence was put up!

Franklin
Haley and I tried to decide the best way to get the one baby back inside the fence. We knew it would never survive in the yard with our ‘wild’ animals. But we didn’t want to be attacked by momma and daddy either!

Wrong side of the fence!
Our solution was quite hysterical! I held up a big patio umbrella over our heads so we wouldn’t get divebombed and then Haley, with gloves on, picked up the baby and put it back in the fence. Whew! We did it!
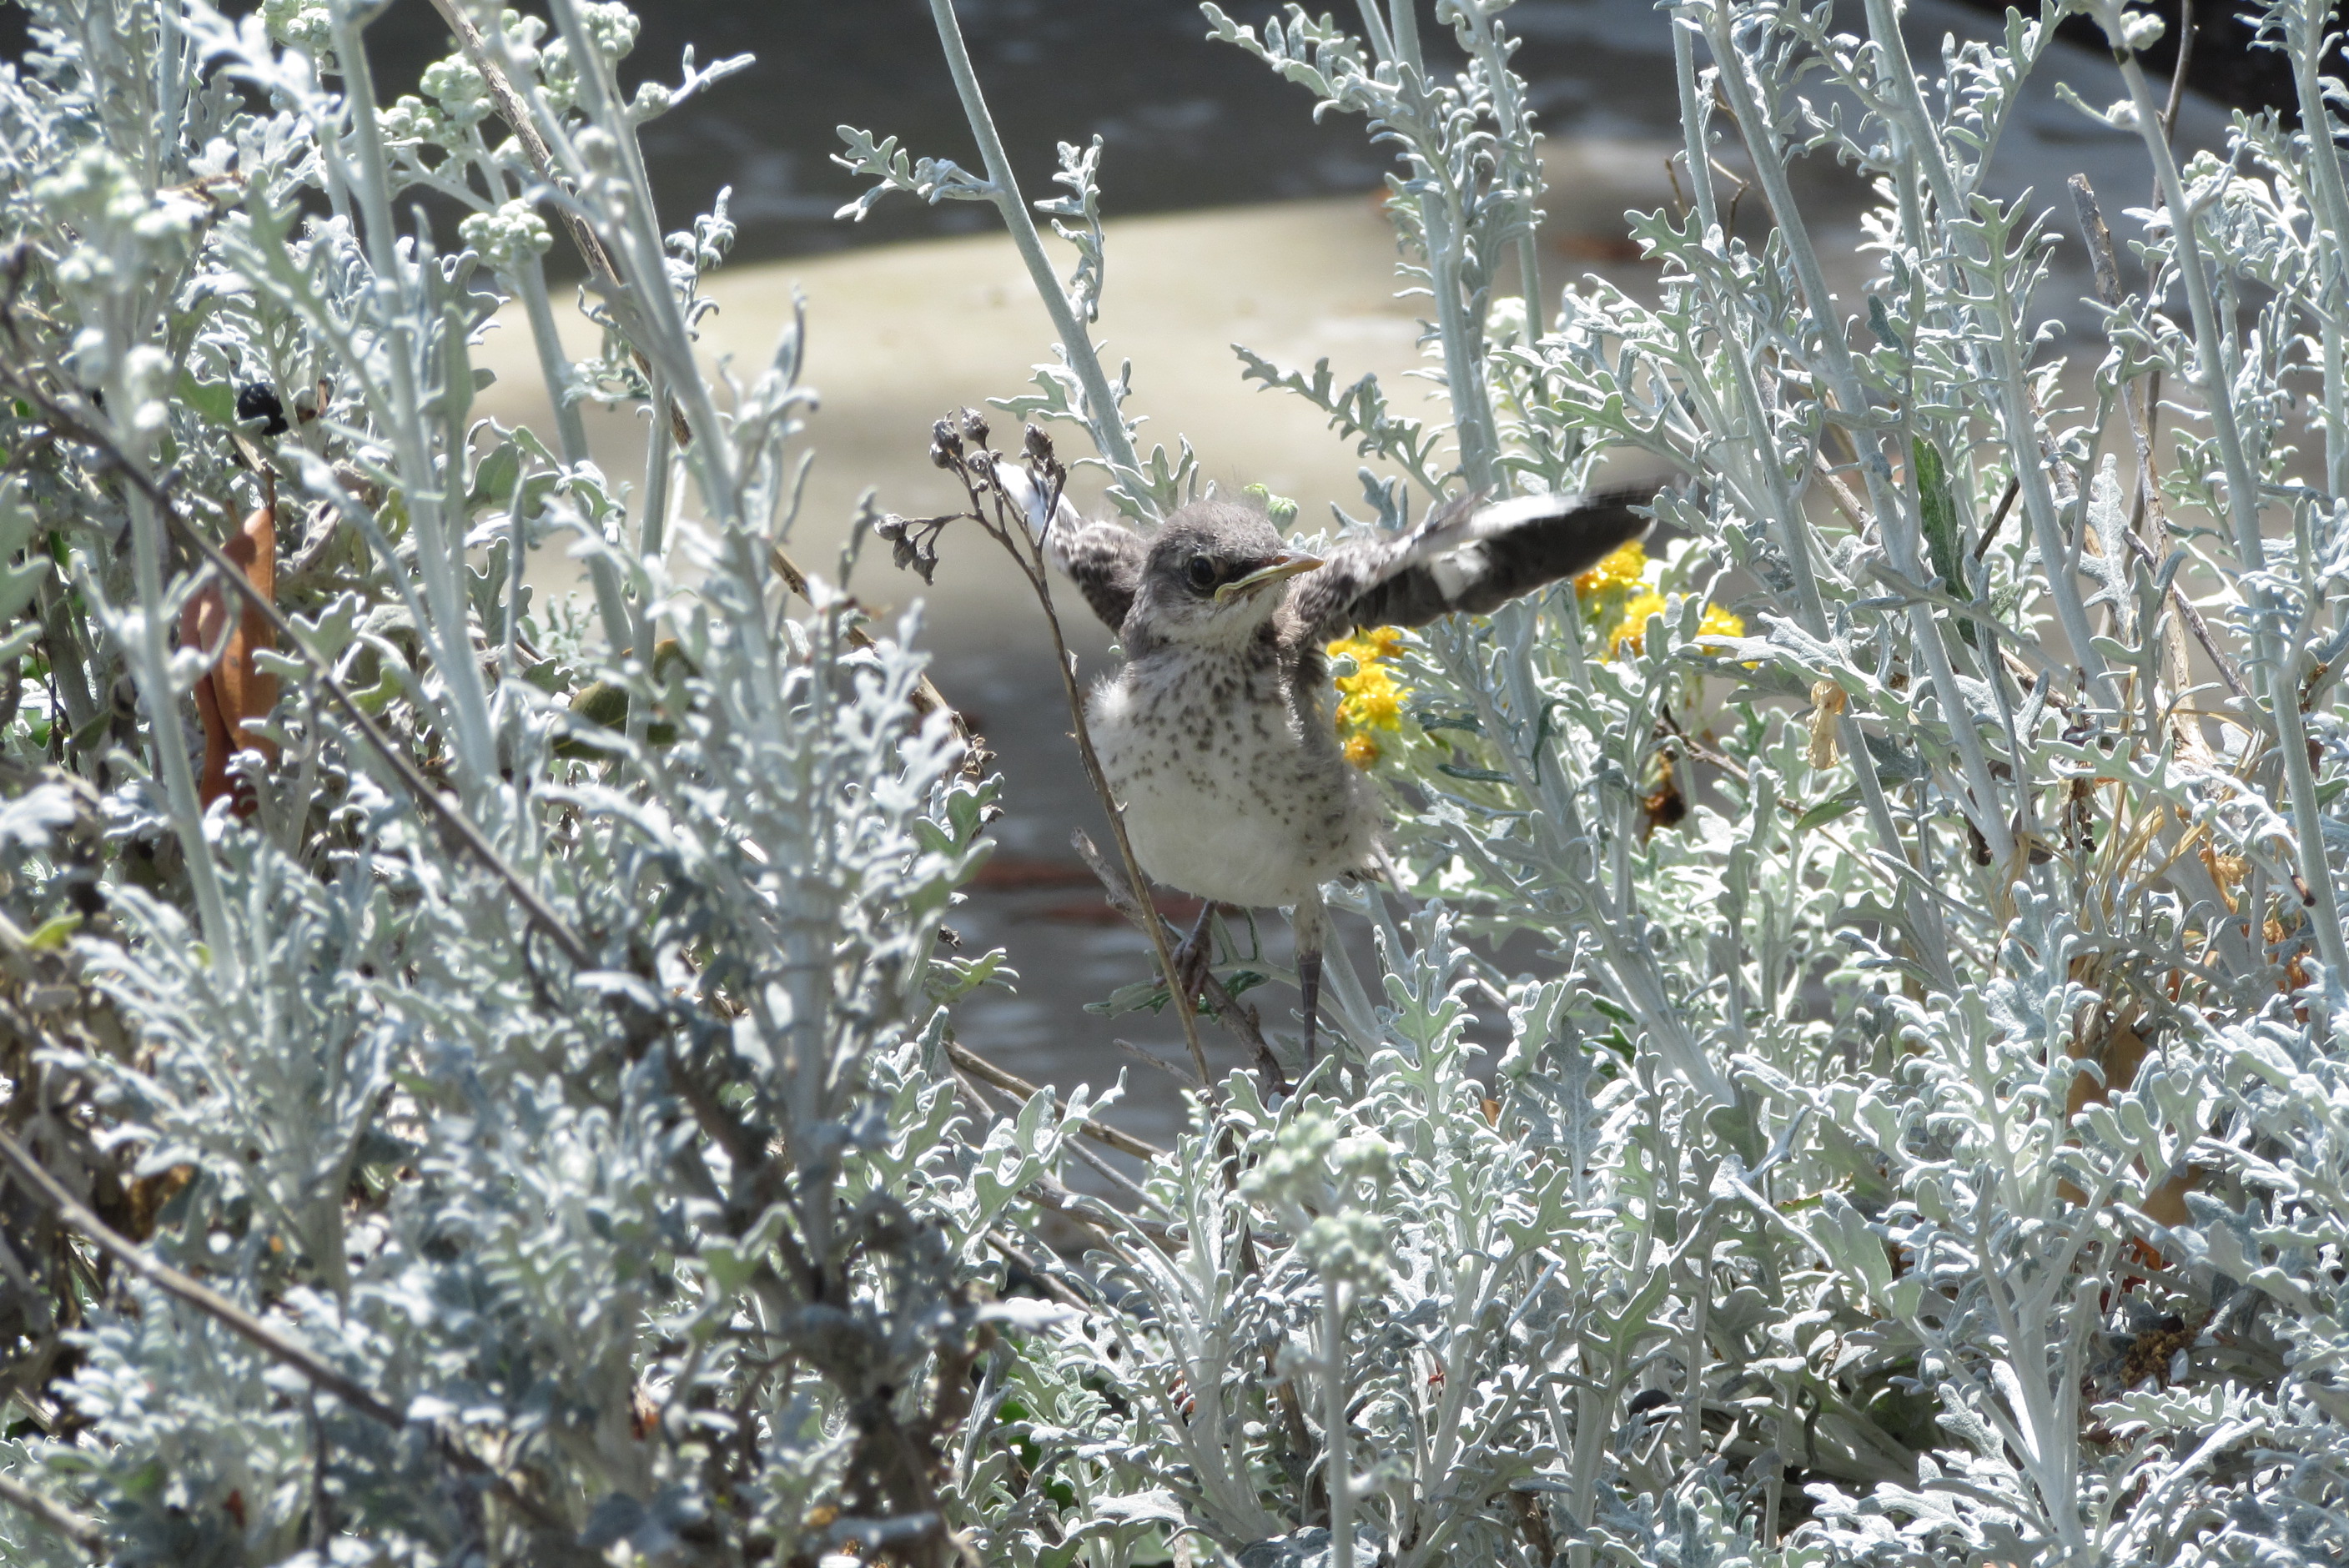
Trying to look big!
So far, we have only seen two, but the other might be in the pomegranate tree. They are pretty hard to find in there.
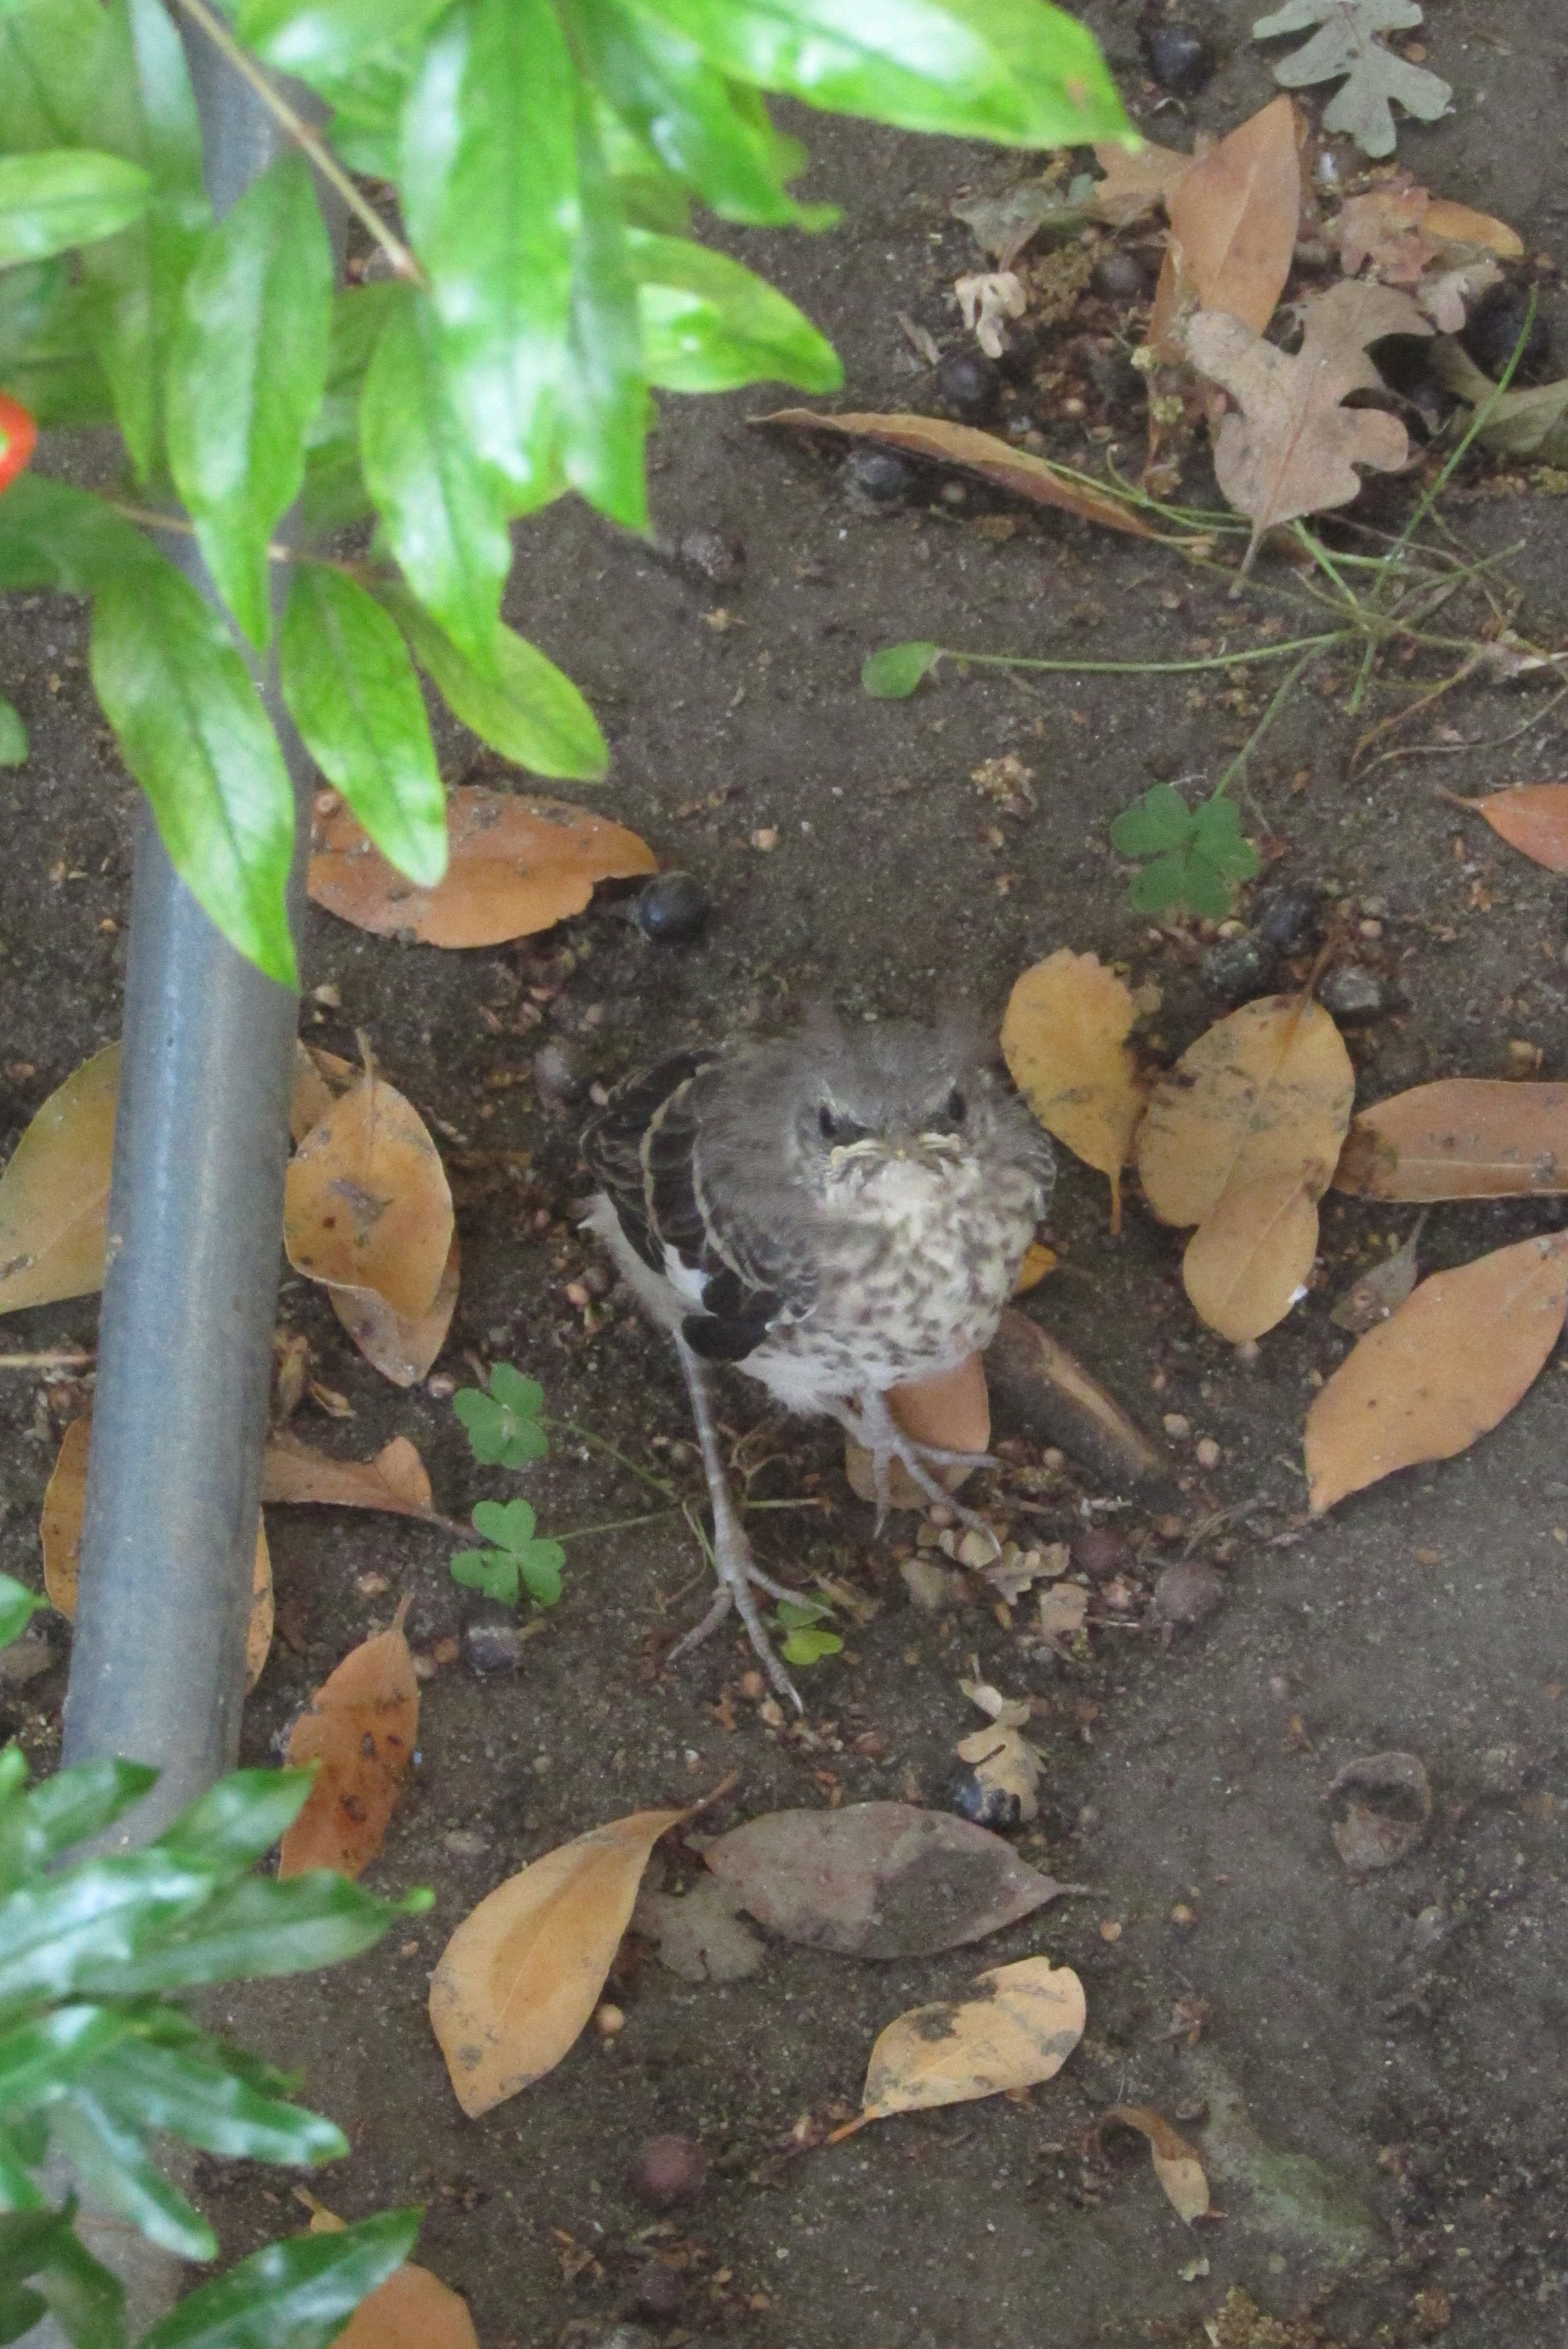
Look at that face!
Well, after awhile we couldn’t find the babies at all, but we still heard them. There is another tree overlapping the pomegranate tree, so we figured they were in that one. It has been another week, I still hear one of them chirping, but they are too high for me to find. I am just thankful we were able to protect them when they were on the ground. Now that they have flown the coop, we can get on to that graduation party!!