We hope you have a wonderful and blessed Easter! Christ is risen!


Hello! Easter is in 2 days and some people are ready and others are not. Well I am here to give you some ideas for different treats that you can make for your family. Some of these are easier than others, and some of these are actually healthy! But unfortunately most are not.
Enjoy!
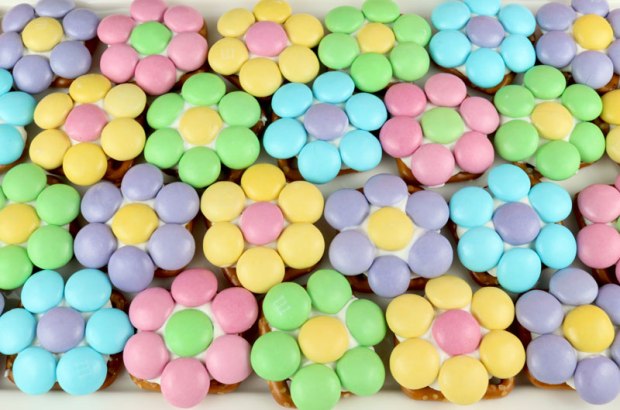
Easter Flower Pretzel Bites from Two Sisters Crafting
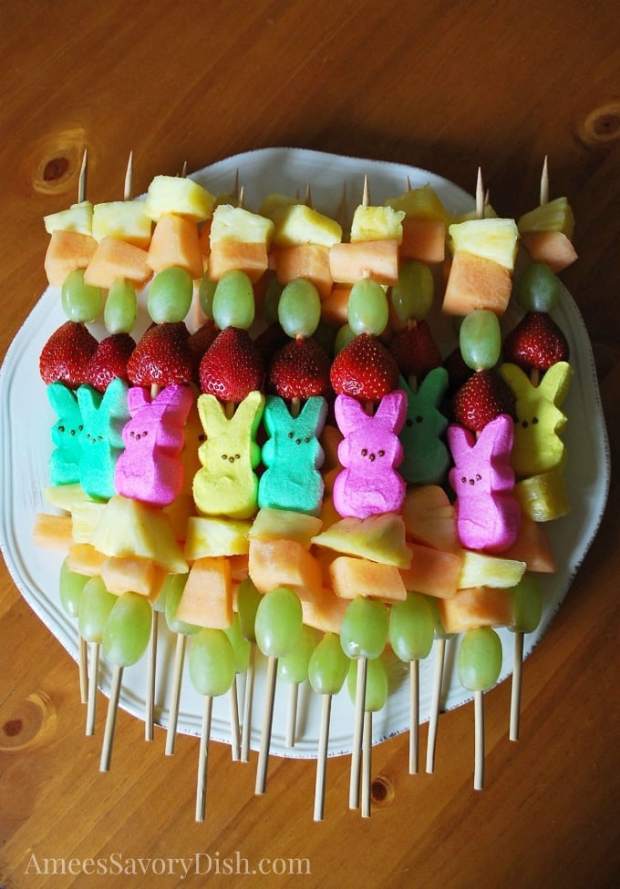
Peep Fruit Kabob from Amee’s Savory Dish

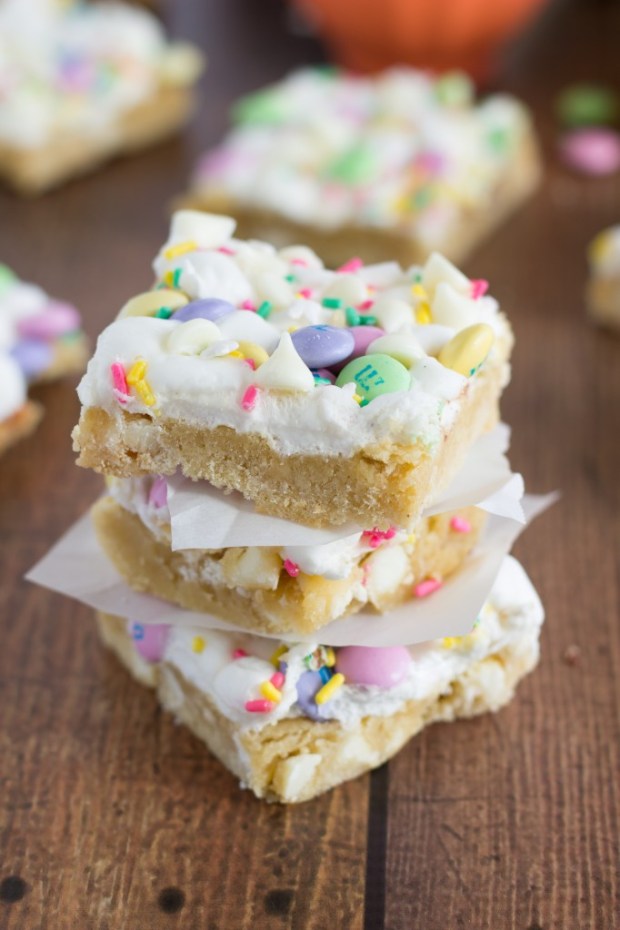
Easter Egg Fruit Pizza from Persnickety Plates

No Bake Bird’s Nest Cookies from Recipe Rebel

Bunny Trail Mix from Mom’s Favorite Stuff

Rabbit Cinnamon Rolls from A Girl and a Glue Gun

Cookie Dough Easter Eggs from Cakes Cottage

Easter Bunny Race Cars from Wonderful DIY
Spring Confetti from Chelsea’s Messy Apron

Easter Egg Pretzel Chocolate Bark from Five Heart Home


Good morning! It’s time for spring break around here! Do you have plans for your break? I’m not sure what we will be doing. Haley will be home from school, so just being able to spend time with my girls is good for me. I’m sure we will plan one shopping trip to buy something for Easter, but otherwise we are free to do whatever might come up.

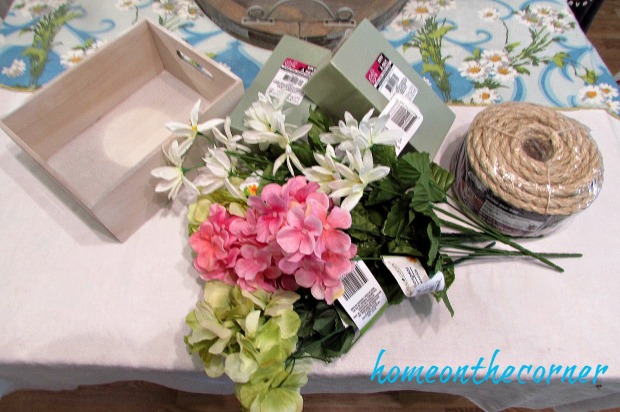
Today I have a simple flower box idea for spring. I found this box in my stash when I was unpacking. I believe I bought it at a thrift store, but I know they have similar ones at the craft stores. I also bought some styrofoam and flowers at the Dollar Tree. If you click on the Dollar Tree ad on the sidebar, Home on the Corner get a little compensation, but you spend no extra! I bought the rope awhile back for another project that never got done, so now I could use it for this!
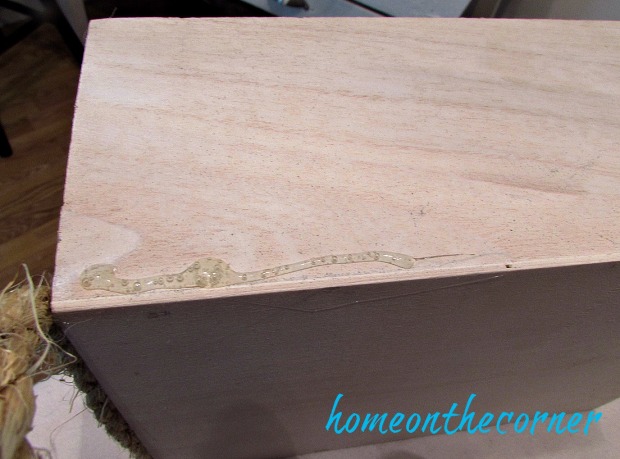
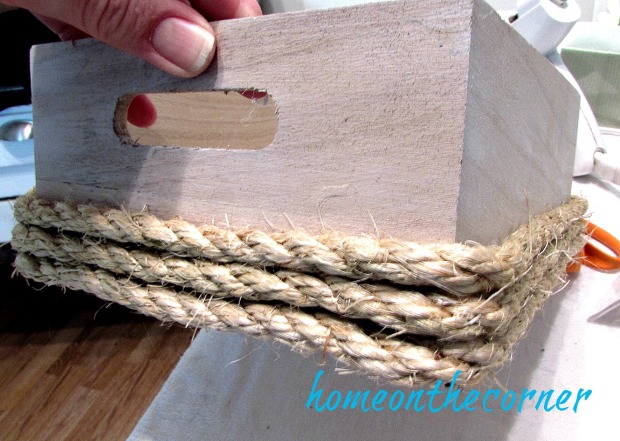
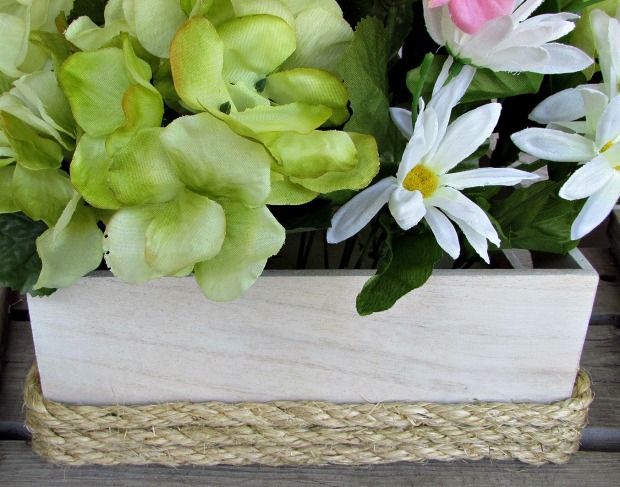
I did give the box a light coat of white paint, so its just barely there. I decided I wanted the rope around the bottom to give it a little more texture. If it was around the top, it wouldn’t show because of the flowers. I like the little added touch of farmhouse or coastal the rope gives it. I added a line of hot glue and then placed the rope on top, gluing a little at a time. I ended up doing 3 rows.
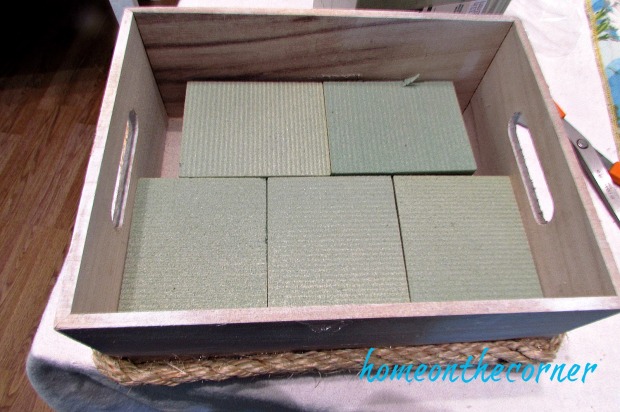
I placed the styrofoam in the bottom of the box and used a little glue to keep it in place.
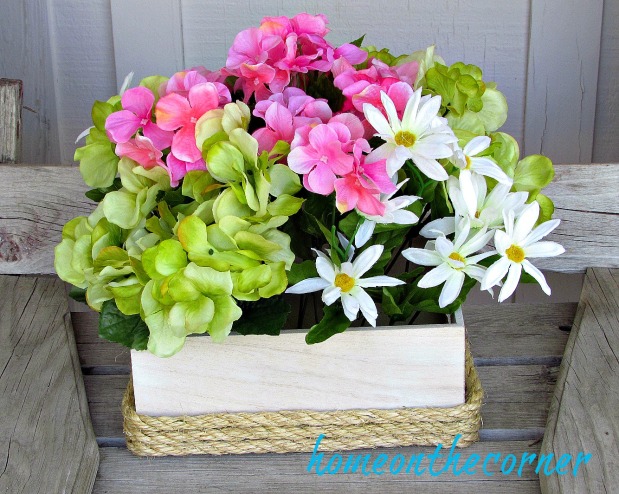
Lastly was the flowers. I didn’t have any moss, but it would probably be better to add it first, just to cover the styrofoam. I pushed some of the leaves towards the bottom of the stems to help cover it up. I placed the taller flowers first and then filled in around it.


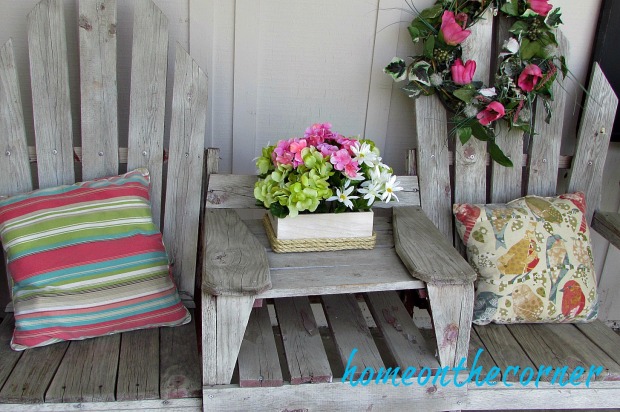
I only used 6 stems, 2 of each kind. It’s just the perfect touch to add to my front porch!
My hall bathroom is complete, so hopefully I can get some pictures done and get it posted! Hope you all have a wonderful week!

Here are some of the items I bought at the Dollar Tree. Click on the link below or on the ad on the sidebar to be taken to the website.
Easter Crafts, Supplies, and More At Dollar Tree!


Hello! Is everyone ready for spring break??? It is just about Easter and time for the kids to be home. And that means boredom. But you can use these awesome crafts for you to cure the boredom!
Enjoy!

Cute Clothespin Eggs by One Little Project

DIY Easter Eggs by Home on the Corner

Craft Stick Easter Basket by 4 Joy of Sharing

Napkin Bunnies by Good Home Designs

Pom Pom Bunny Bums by Clean and Scentsible
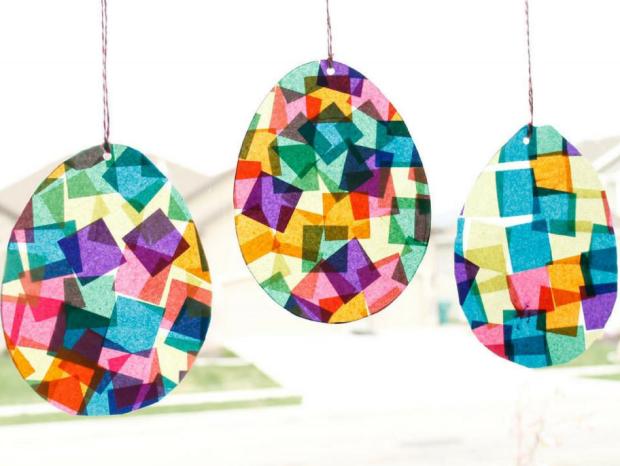
Colorful Suncatchers from Fun 365

Bunny Bookmarks by Easy Peasy and Fun
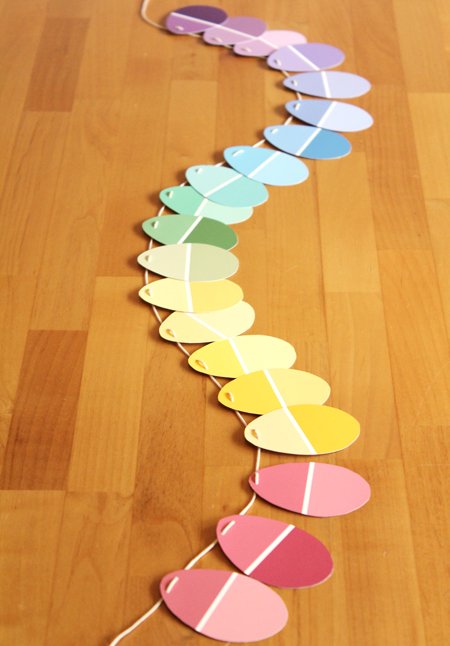
Paint Chip Easter Egg Garland from PopSugar

Easter Mason Jars by Mason Jar Crafts Love

Cute Egg Centerpieces by Home on the Corner


Good morning! We have had so much wonderful rain, but I am so ready for sunshine and warm days! How about you? We also found out my niece is going to have a baby boy this summer! This will be the first boy in 27 years for our family! Pretty exciting news!
I am still in the process of trying to use the supplies I already own and decided to try to find another project for the wooden beads I have in my stash. The first project I made was Minnie Mouse ornaments. I have been seeing many beaded lamps on the internet, so I thought I would give it a try for myself. I have had this hanging lamp on my patio for many years. I bought it at a yard sale and removed the wiring so it is lit with candles. Several of the glass globes were broken during the move to our ‘new’ house, so I had to figure out something else to dress it up. I wasn’t sure what I was going to do, but than the wooden beads came to mind.
The lamp is pretty rustic. I cleaned it up, but I decided not to repaint it, but just leave it as is. I did remove the weird little curved parts on the bottom.

I used a variety of different sizes for the beads. I first went through my stash to figure out how many of each size I had and make some kind of pattern with them. I knew I would need six strands of each set. I also used twine to thread them on to. I did end up having to buy a few beads just to finish out some of the strands.

Sorry for the blur on this picture. This is the lower section of the lamp. I measured out how long I wanted the twine to be and then threaded the beads on. I wrapped one end of the twine around the metal, hot gluing it into place. I wrapped the twine three times at this end.

This is the other end where it ends at the candle holder. I also wrapped this three times and secured it with hot glue.

For the top section of the lamp, I was able to tie a knot in one end of the twine and glue tuck it under the open edge. I also secured it at the middle. I now had my six strands on the top and bottom.

For the candle holders, I took the largest bead I had and my husband cut out the middle to fit a small tealight candle.


I tried lighting candles to take pictures, but it was pretty windy outside this day. But you get the idea. 🙂

It turned out so much better than I thought it would!


Here is a better picture of the twine wrapped around in different places.


I can’t wait to have a nice warm evening to light the candles and see how it will look on my patio.


Have you ever tried a project like this? This was the first time I have used so many wooden beads, and I am so happy I tried it! I hope you all have a great week!