Good morning! Are you ready for another week? Do you have lots of plans? I hope it’s something fun!
I have my last camping post today and then it’s time to move on to fall! Can you believe it? I try to get ideas out to you a little bit early so you have time to try out some ideas or decorate before the season is over.
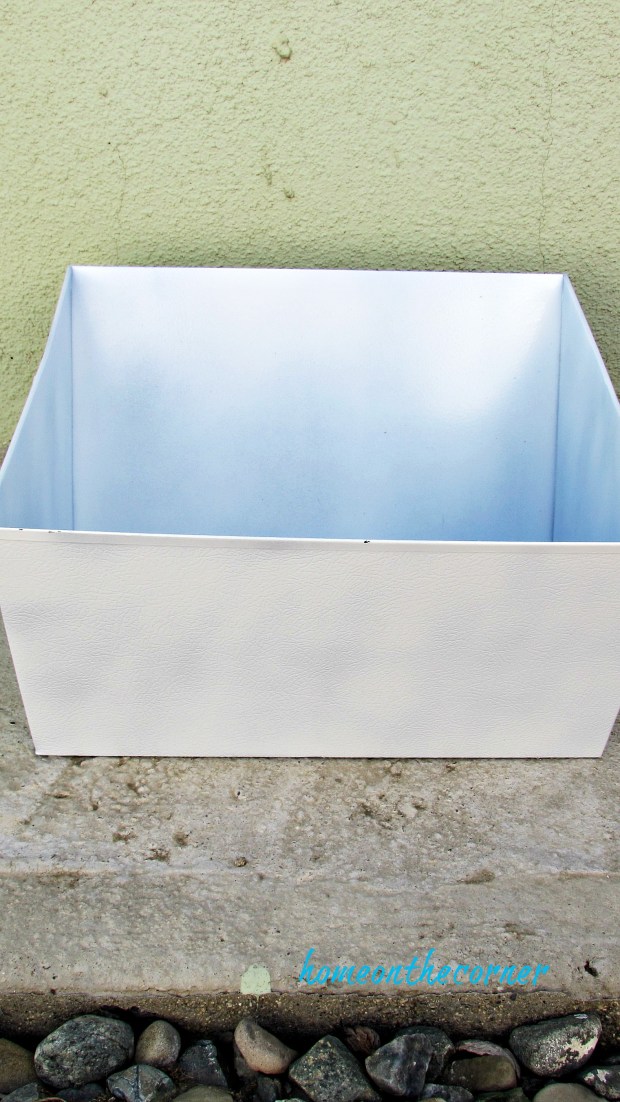
I showed you this metal box during my trailer makeover here, so I’m going to show you how I painted it. This box was a black metal box. I didn’t get the before picture, but I primered it a couple of times and then spray-painted it white. This is just one coat, but I painted two coats.
Painter Tape Rustoleum Primer Metal Box
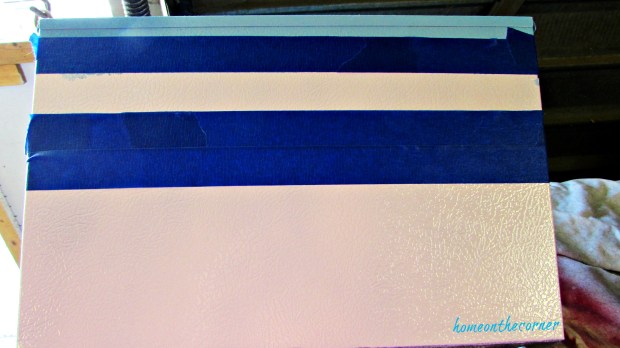
I spray painted the inside of the box with Rustoleum 2X Ultra Cover Satin Aqua. Then I used painters tape and newspaper to protect the bottom part of the box and painted the top edge the same Aqua.

Here’s how one side turned out. It looked good…

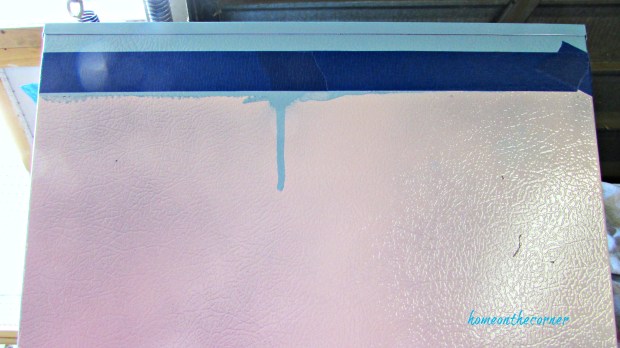
This side not so much. I was in too much of a hurry and sprayed the paint too thick and then it dripped. I sanded it a little and was able to paint over it.
I placed the painters tape over more sections to paint another stripe. I should have used newspaper to cover the painted parts, because I tended to get overspray. So don’t do what I show you, do as I tell you! 🙂 Cover other areas with paper! It ended up taking more time than it should have.
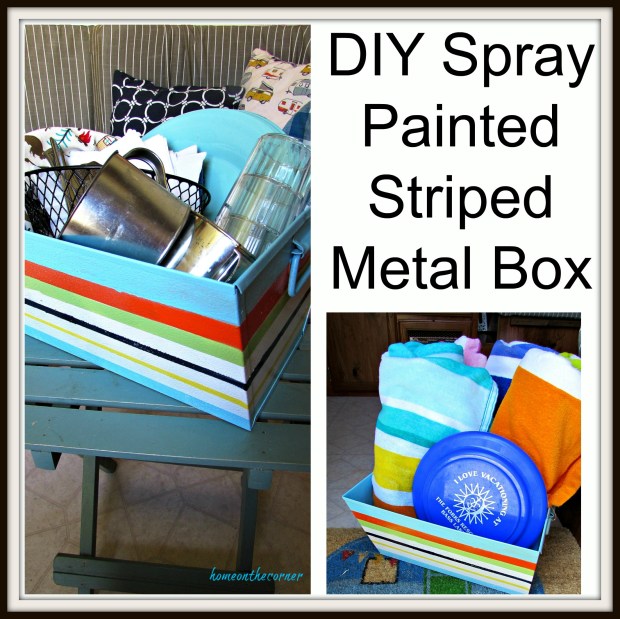
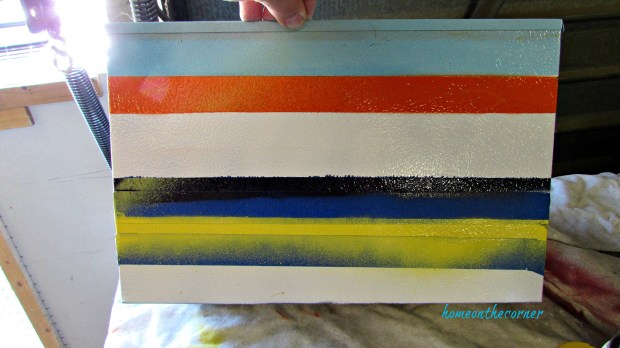
I used all Rustoleum 2X Ultra Cover spraypaint. In addition to the Aqua, I used Real Orange, Navy Blue, Green Apple, and Sun Yellow.
Rustoleum 2X Real Orange Rustoleum 2X Navy Blue Rustoleum 2X Aqua
Rustoleum 2X Green Apple Rustoleum 2X Sun Yellow
I used these colors to match the shower curtain in the trailer, but it matches the whole makeover. I used it this past camping trip to store flip-flops in. This way it’s easy to grab a pair on your way out the door or place the shoes in when you come into the trailer.
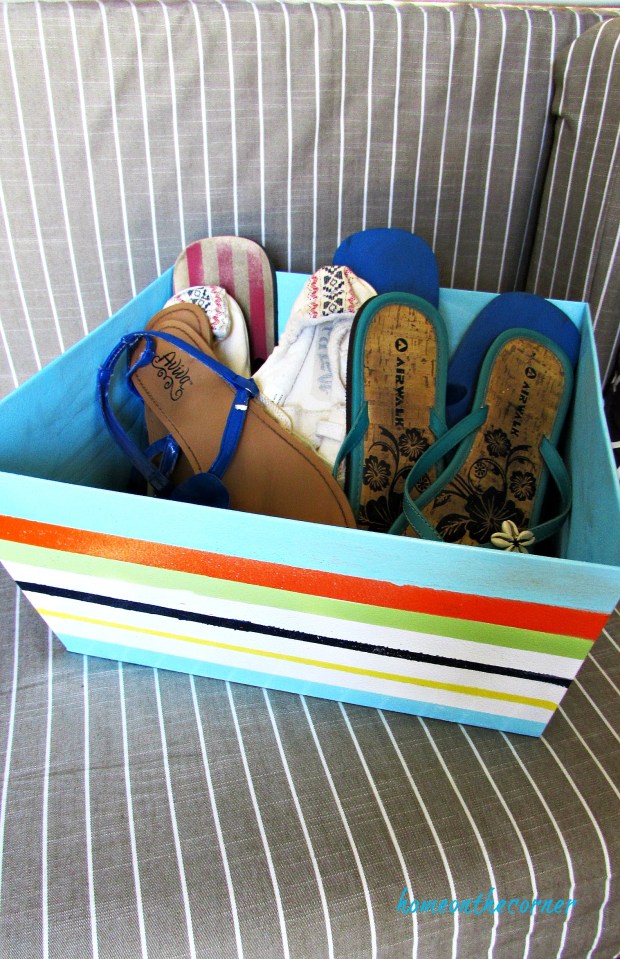
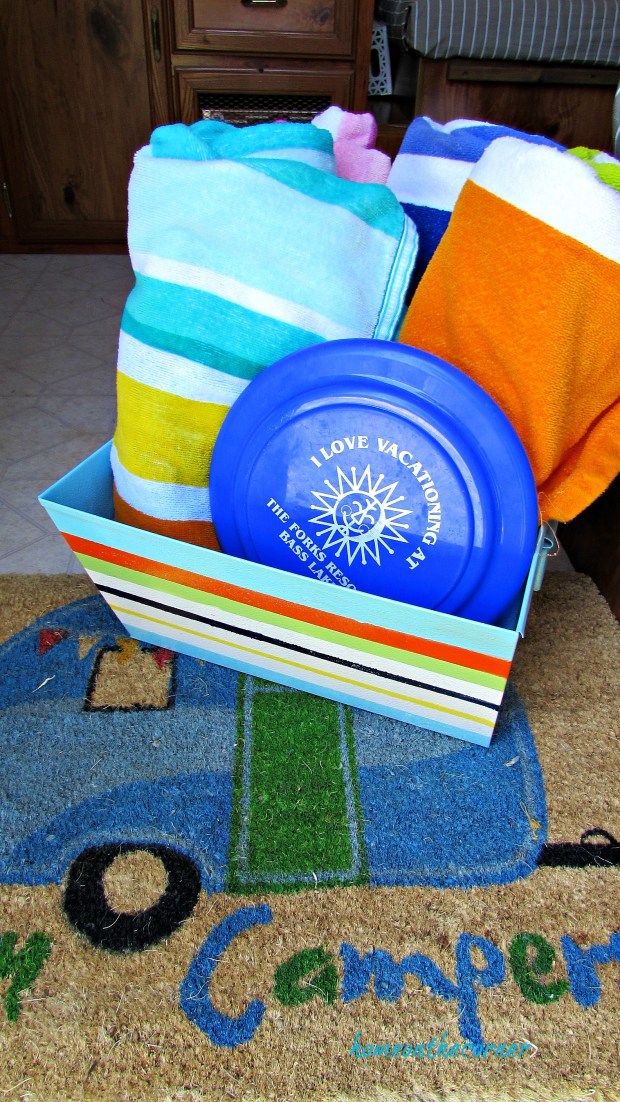
It could also be used to store beach towels in. This way you don’t get the constant question, “Where’s my towel?”
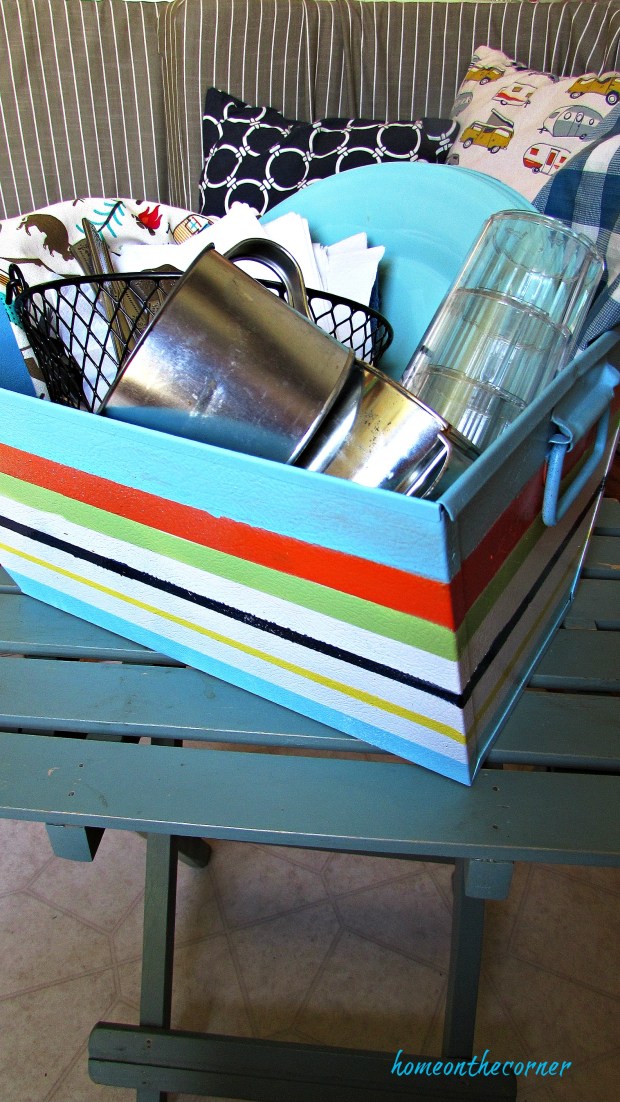
Lastly, I used it to put dishes in to carry out to the picnic table. It helps to cut down on the trips back and forth.
I know this metal box will come in handy many times when we travel in our trailer. It can be used in many different ways. Okay! Next week, FALL! I can’t wait! See you next time!