Good morning! Can you believe we are almost halfway through the month! And just a reminder, Valentine’s Day is next week!! Are you looking to make something for someone special? Here a few different ideas you could make this weekend.
These wreaths are great for the season and so easy! You could use different colors for different season and holidays too. Chas’crazycreation came up with this cute idea.


How cute are these tea towels? Design Improvised made these adorable towels. I love these and they would make such a cute gift too!

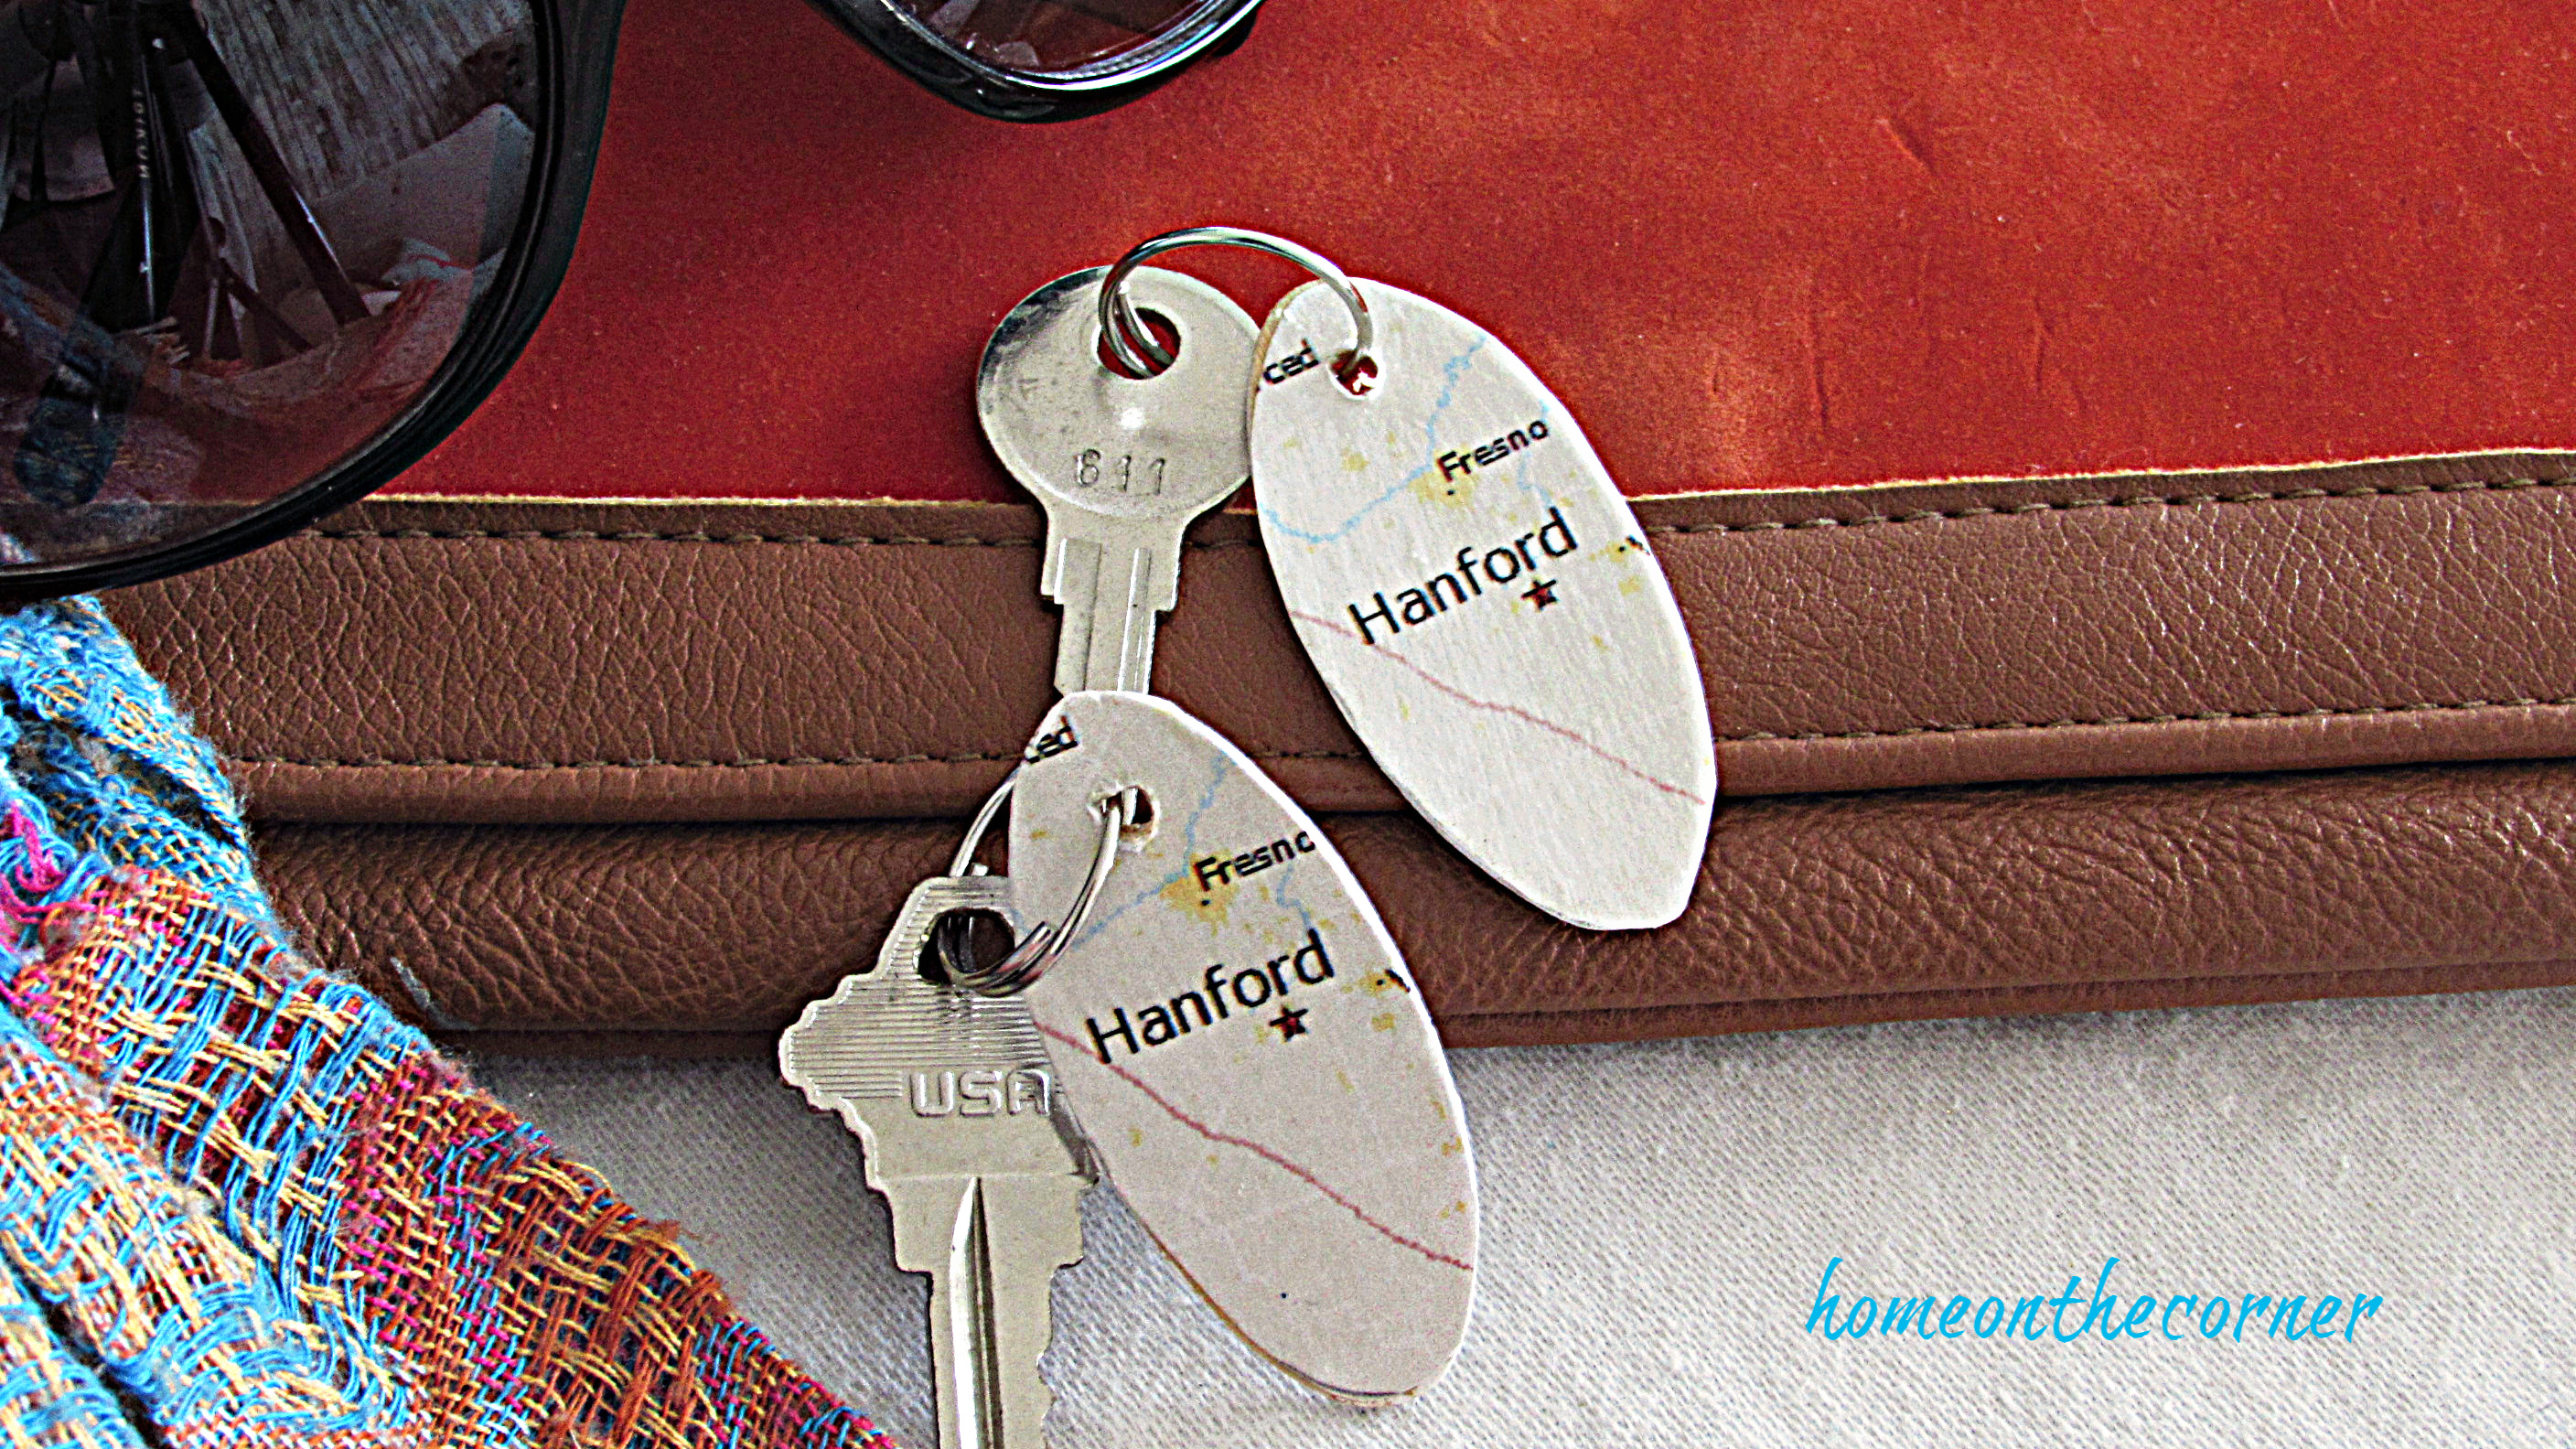
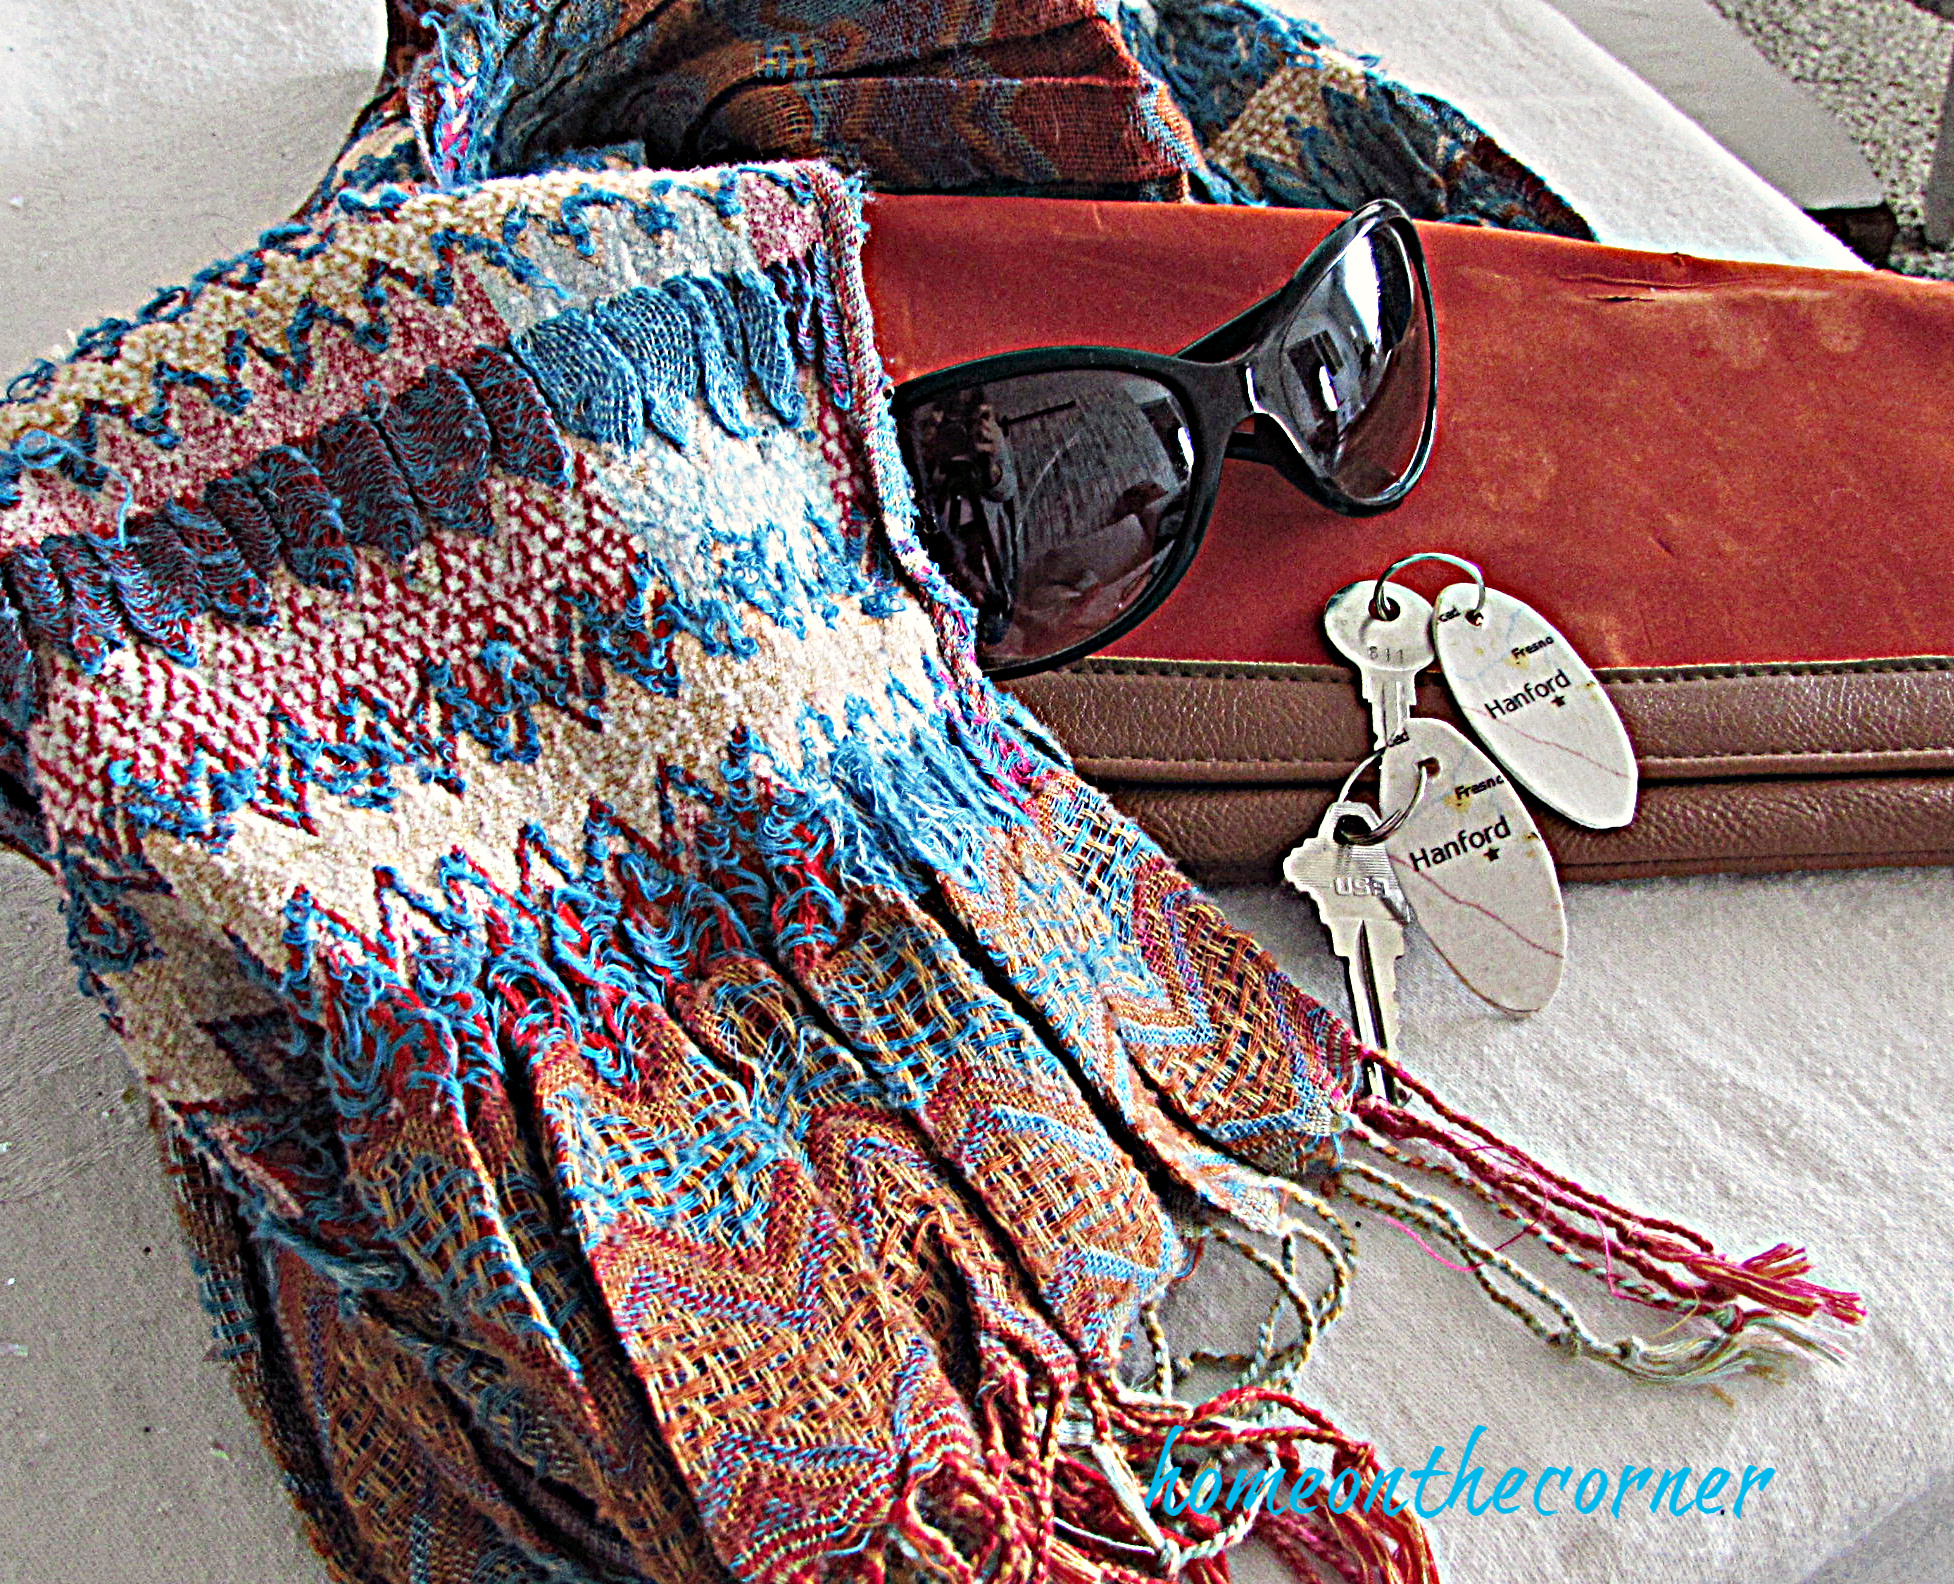
How about these cute little tags from Linda at It All Started With Paint? I love the simplicity of this! You could join several together and make a garland too. She has lots of great ideas on her blog.

This is a cute and easy Love frame idea from Quirky Inspired! Wood frames and sheet music can easily be found at thrift stores or they can be picked up at craft stores. Use stickers to decorate the rest!

This would be a great idea to give to friends! Fill with their favorite candy and they will be thrilled! HubPages created these cuties. You can find them here.

This is such as sweet little heart! Kay’s Place created this one, but think of all the possibilities you could make with different colors and designs!

Are you a lover of discarded pieces and hardware? Maybe this is perfect for you! This cute sign was made by Kathy at Petticoat Junktion.

This Love sign is as simple as can be! The sign, some confetti and glue is all you need! Karianne over at Thistlewood Farms created this!

Maybe you want to treat your feathered friends to something special for the day. So cute! Check it out at Thrifty Jinxy.

Our last one today is for your pet! Or maybe the owner of the pet. Isn’t this so cute?! I just love little paw prints! You can find it at Rover.com.

So many ideas! Are you going to make something special for your Valentine? I would love to hear about it! Happy Valentine’s Day!