My Closet Makeover

I’m finally back!  Nothing against the blog, but work has gotten me extremely busy and it has been hard to find time to write something for the blog.  But, I got a day off from work and finally found time to get something together…

My closet.

Closet Makeover

My closet is atrocious.  For more than one reason.

1. I have too many clothes and shoes. I need to go through them and get rid of some of my things.

2. I don’t have that much floor space because of all the shoes on my floor.

3. Even though I have the most clothes out of all of my roommates, I have the smallest closet.  That would be thanks to having the wonderful water heater in my closet.  Yeah…

Closet Makeover

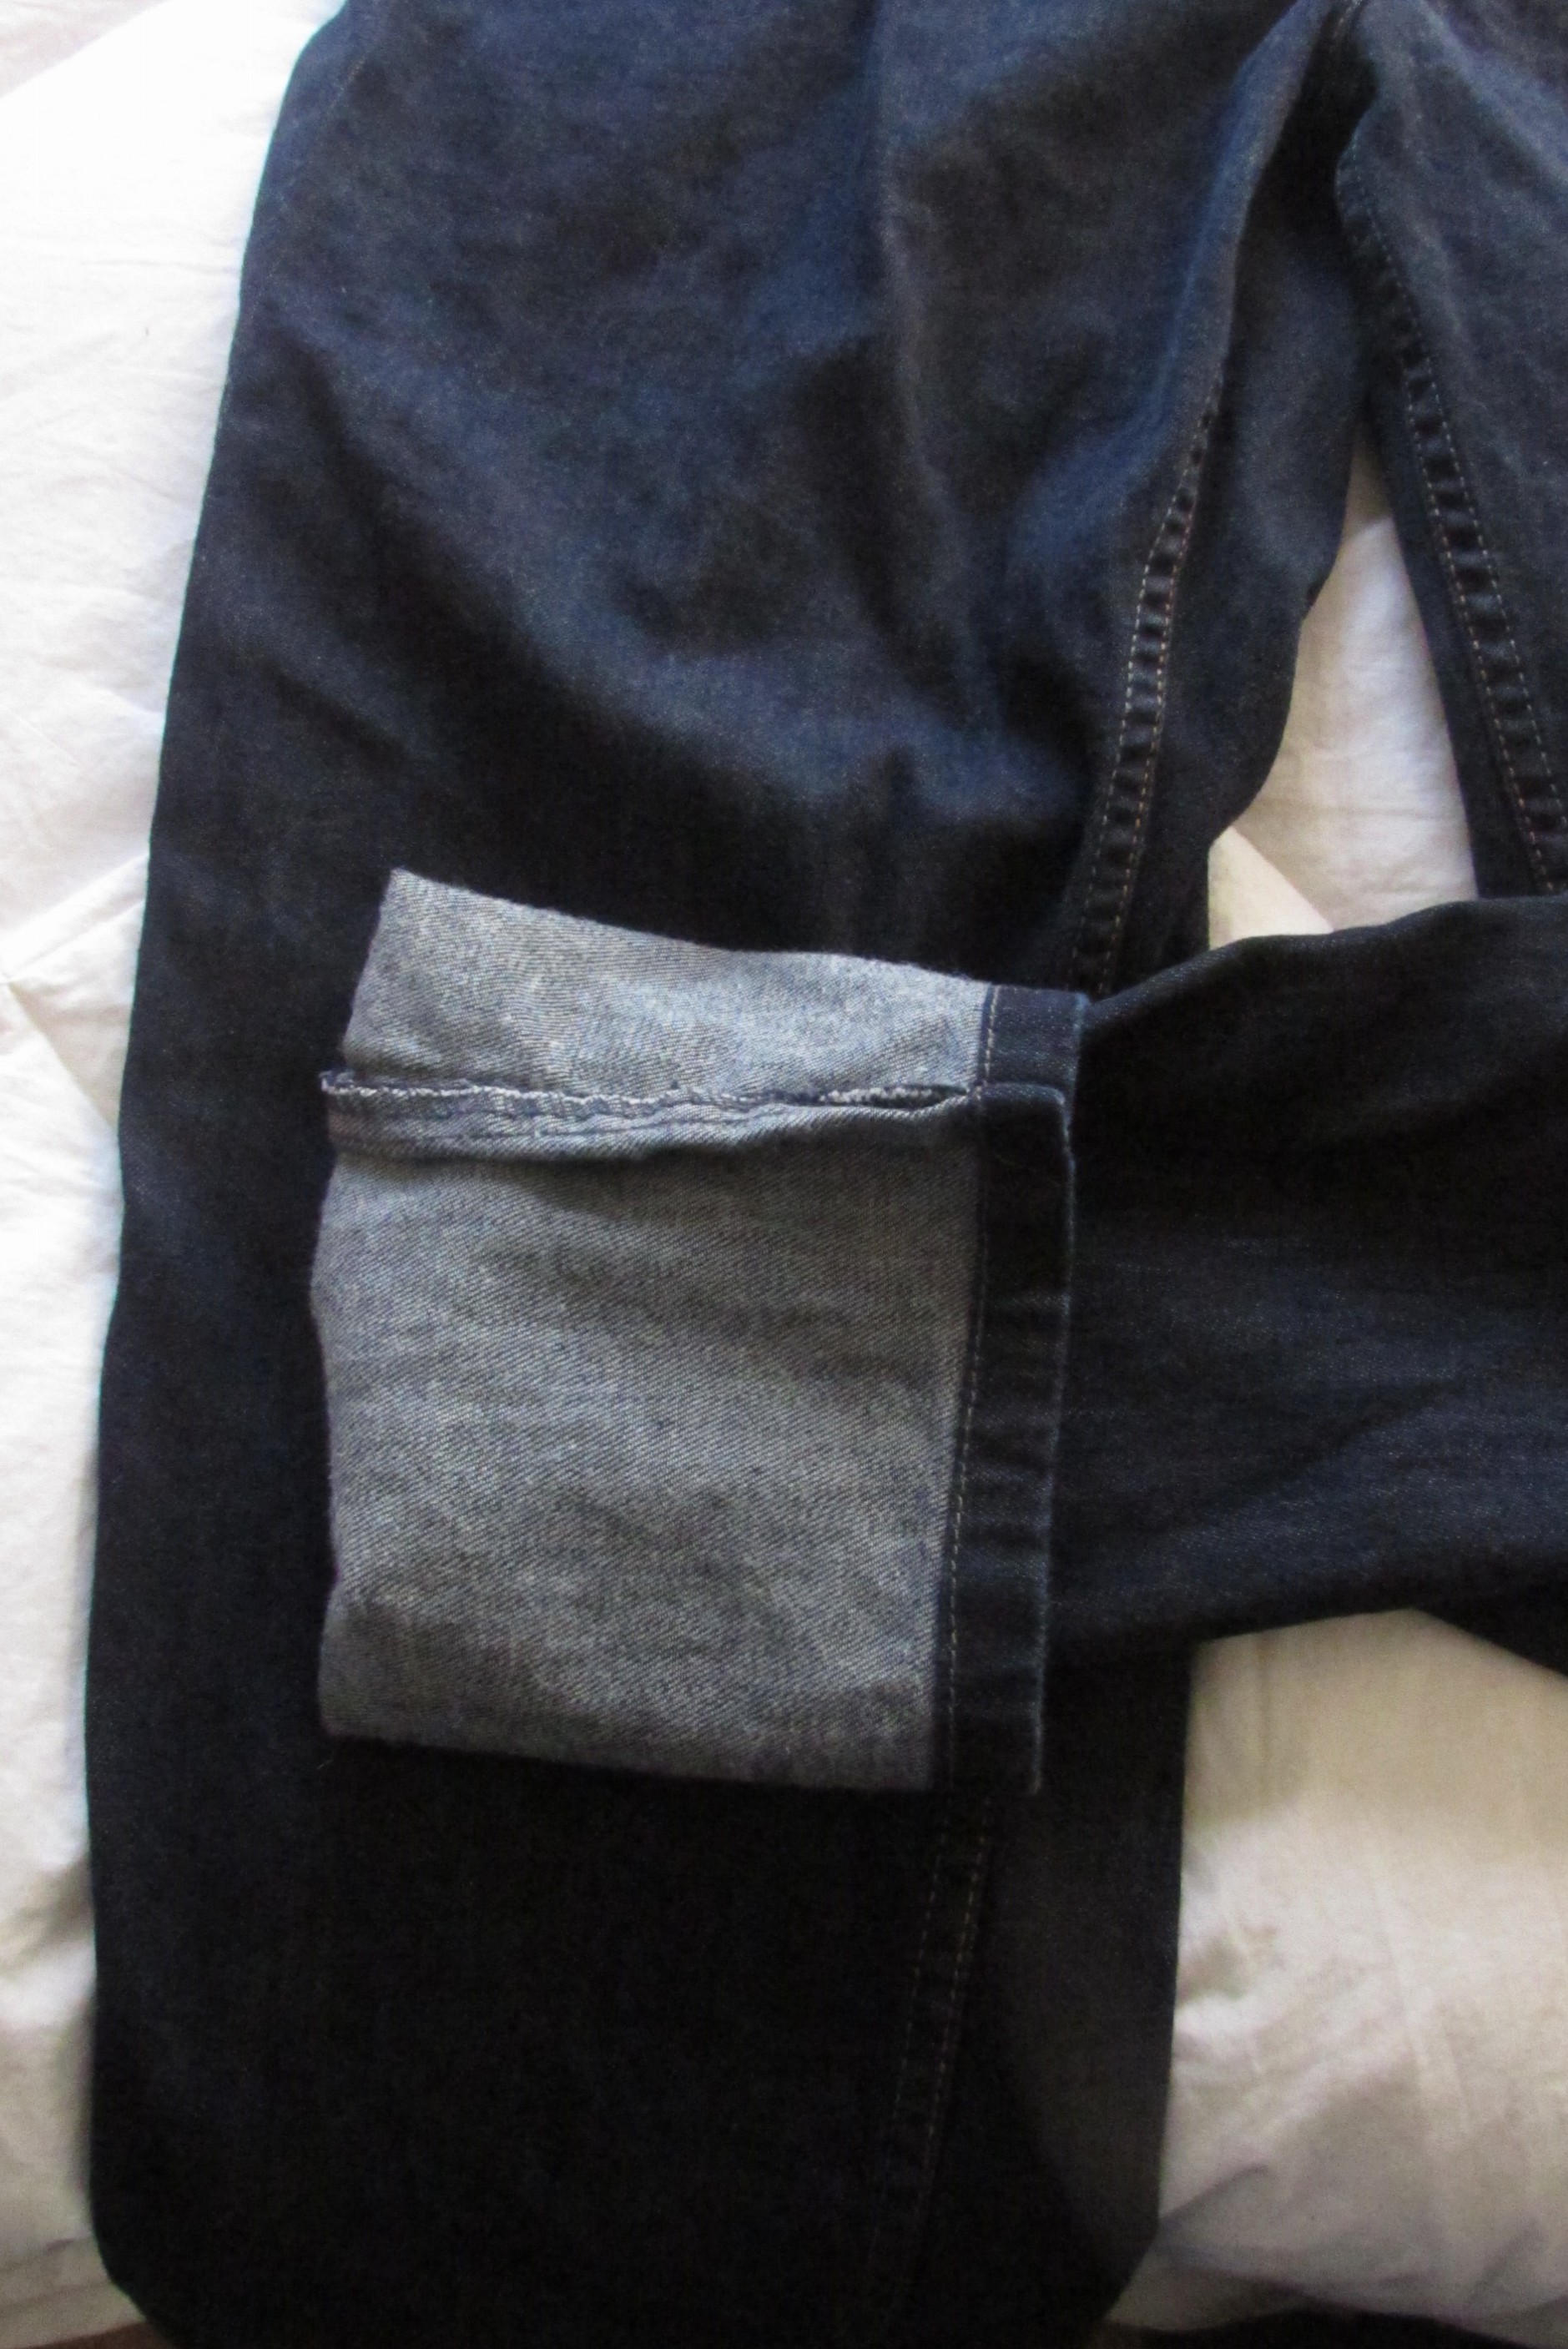
So I took time go through my clothes.  I organize my shirts by color, so I took out the shirts by color and went through a process of getting rid of them.  My criteria to keep a shirt was: do I like it, is it long enough (I’m tall), does it still fit, and is it still fashionable.  I tried each shirt on unless I knew for a fact that it still fit.  I also went through dresses, skirts, and tank tops the same way.

Closet Makeover

I then went through the tee shirts that I own.  Now, I am proud to say that I have a very large black tee shirt collection, but I got rid of a few that I know don’t fit or that I don’t wear.  I also had some smocks that I had for work before we got new shirts that I was able to get rid of.

Now, the prized possession of my clothing, shoes.
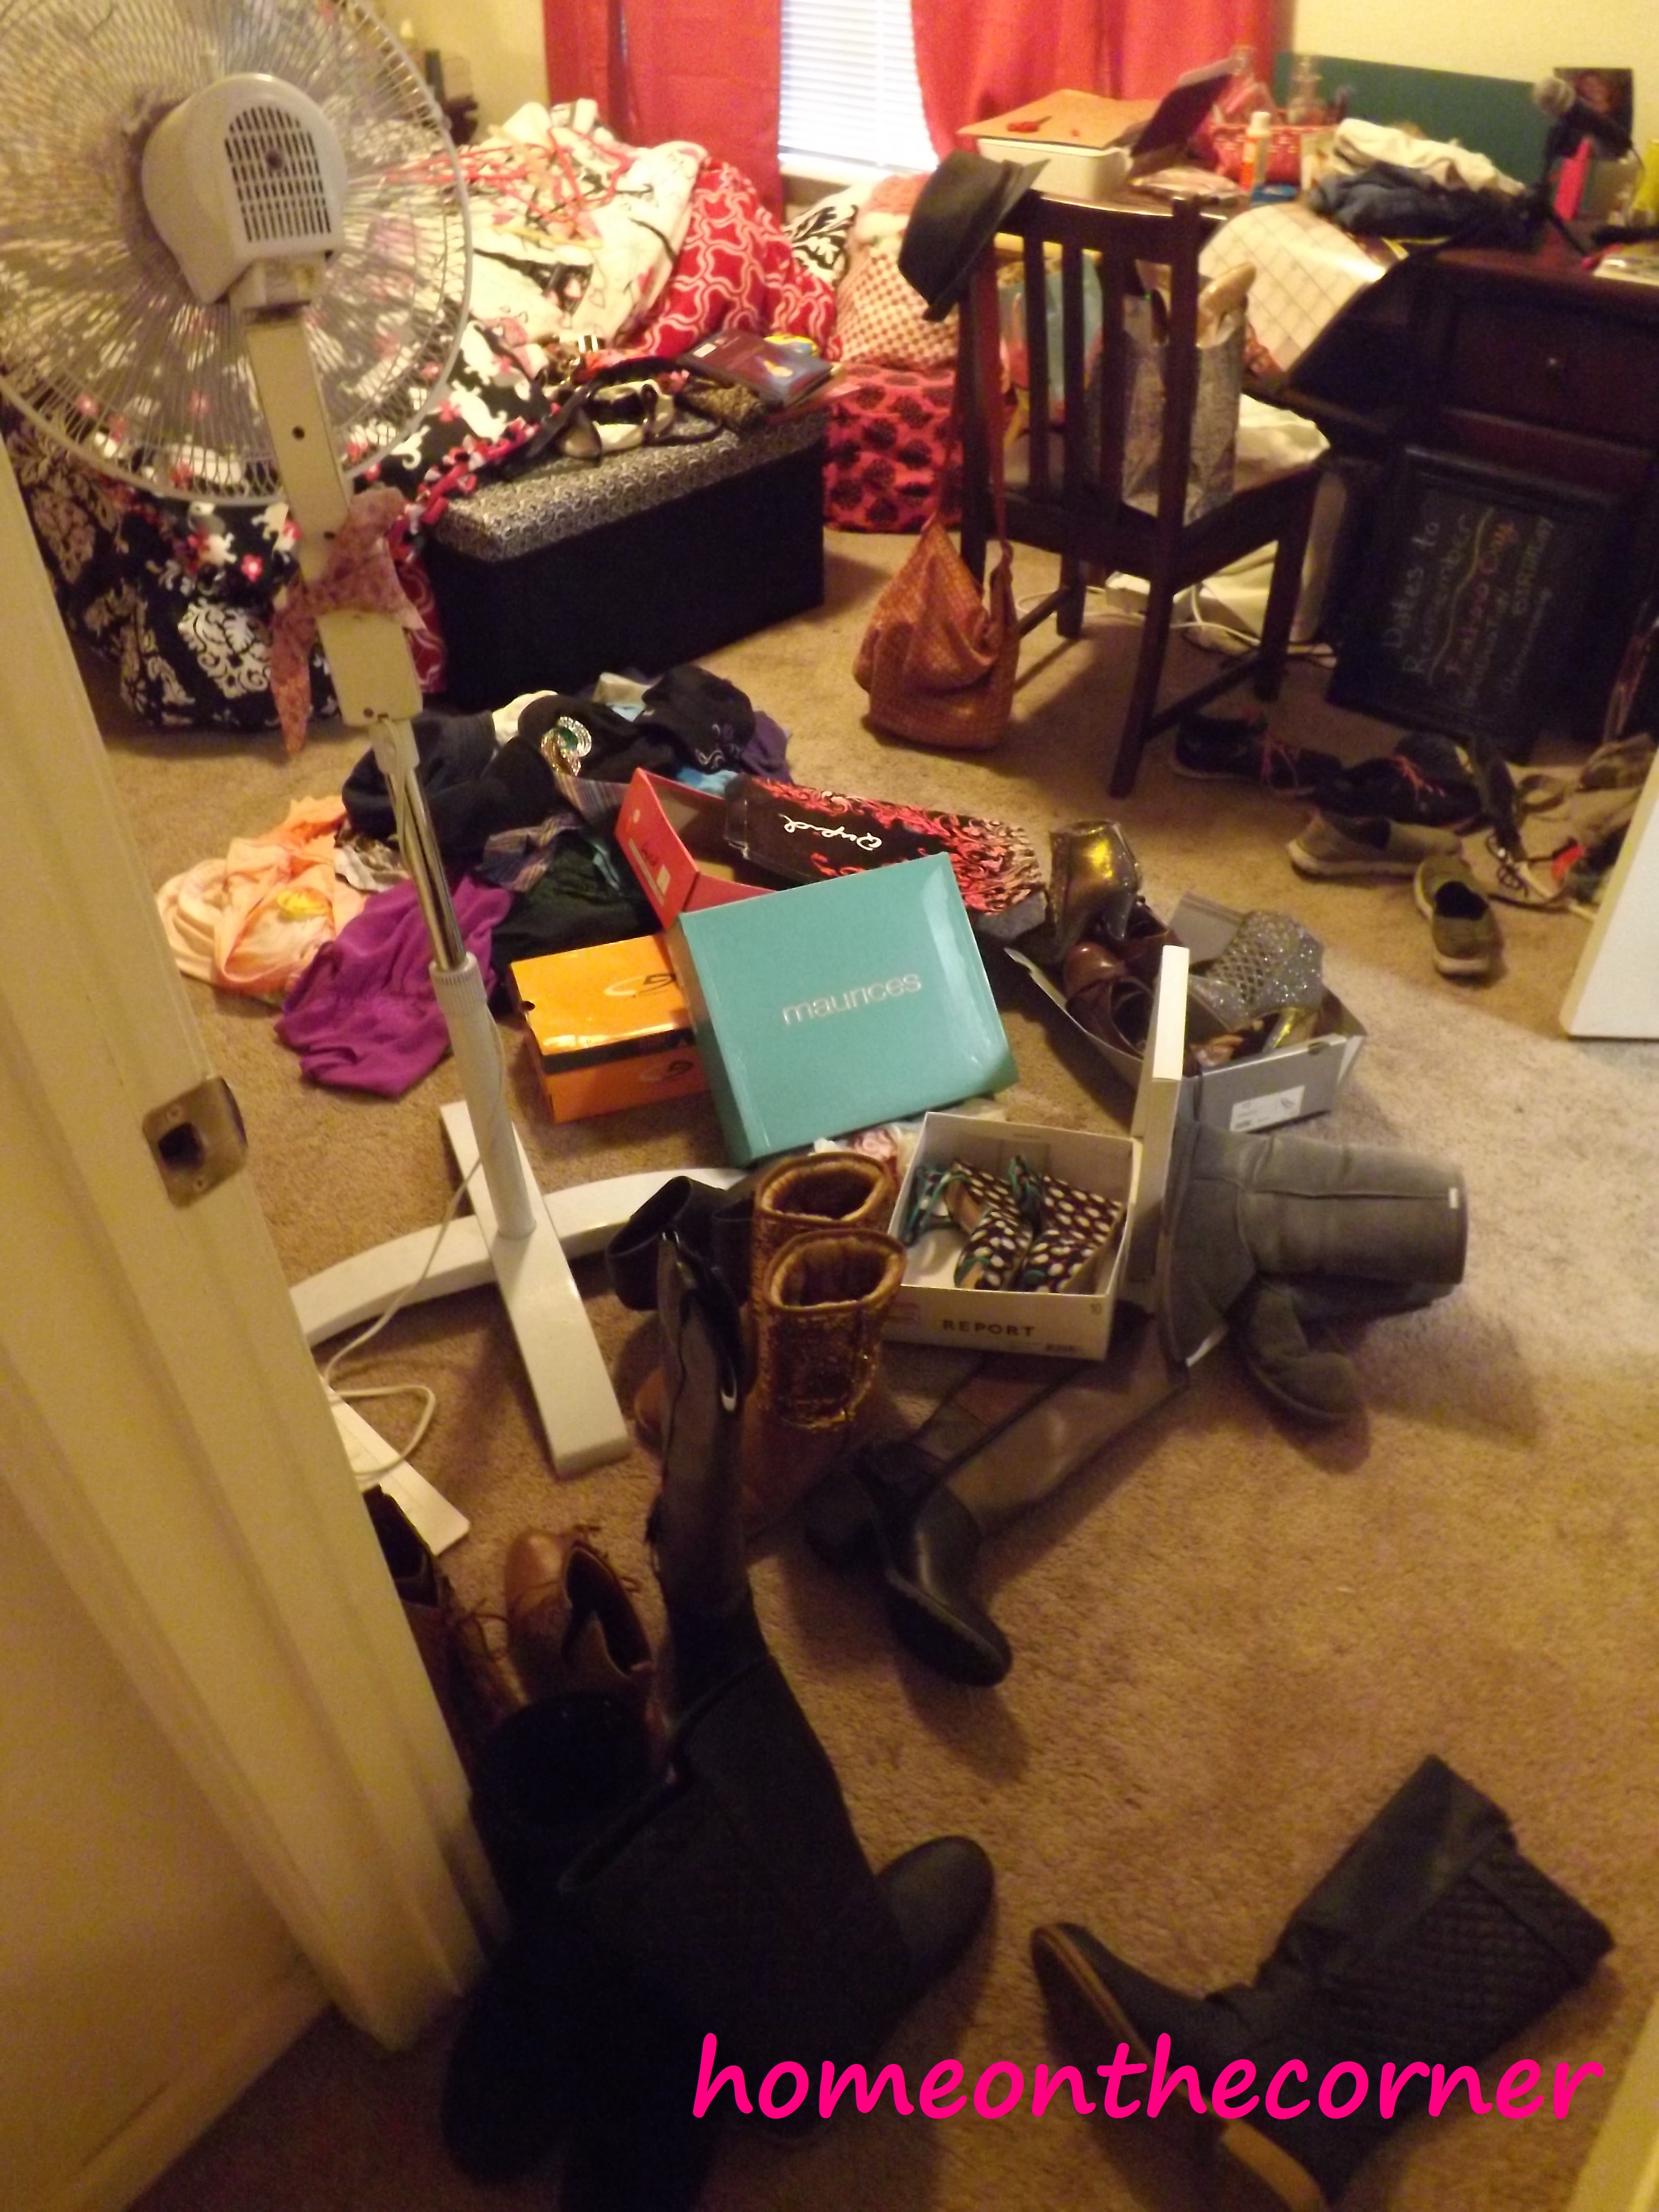
A Mess in my Room

A Mess in my Room

Before I started, I took all the shoes out of my closet and off of my shoe hanger.  When I brought them out into my hallway to put on my staircase, I made quite a mess…thankfully I don’t have a downstairs roommate as of the moment, so it’s okay to make a mess.

A Mess in the Hallway

A Mess in the Hallway

But here are all my shoes.  All 60 pairs of them.

Closet Makeover

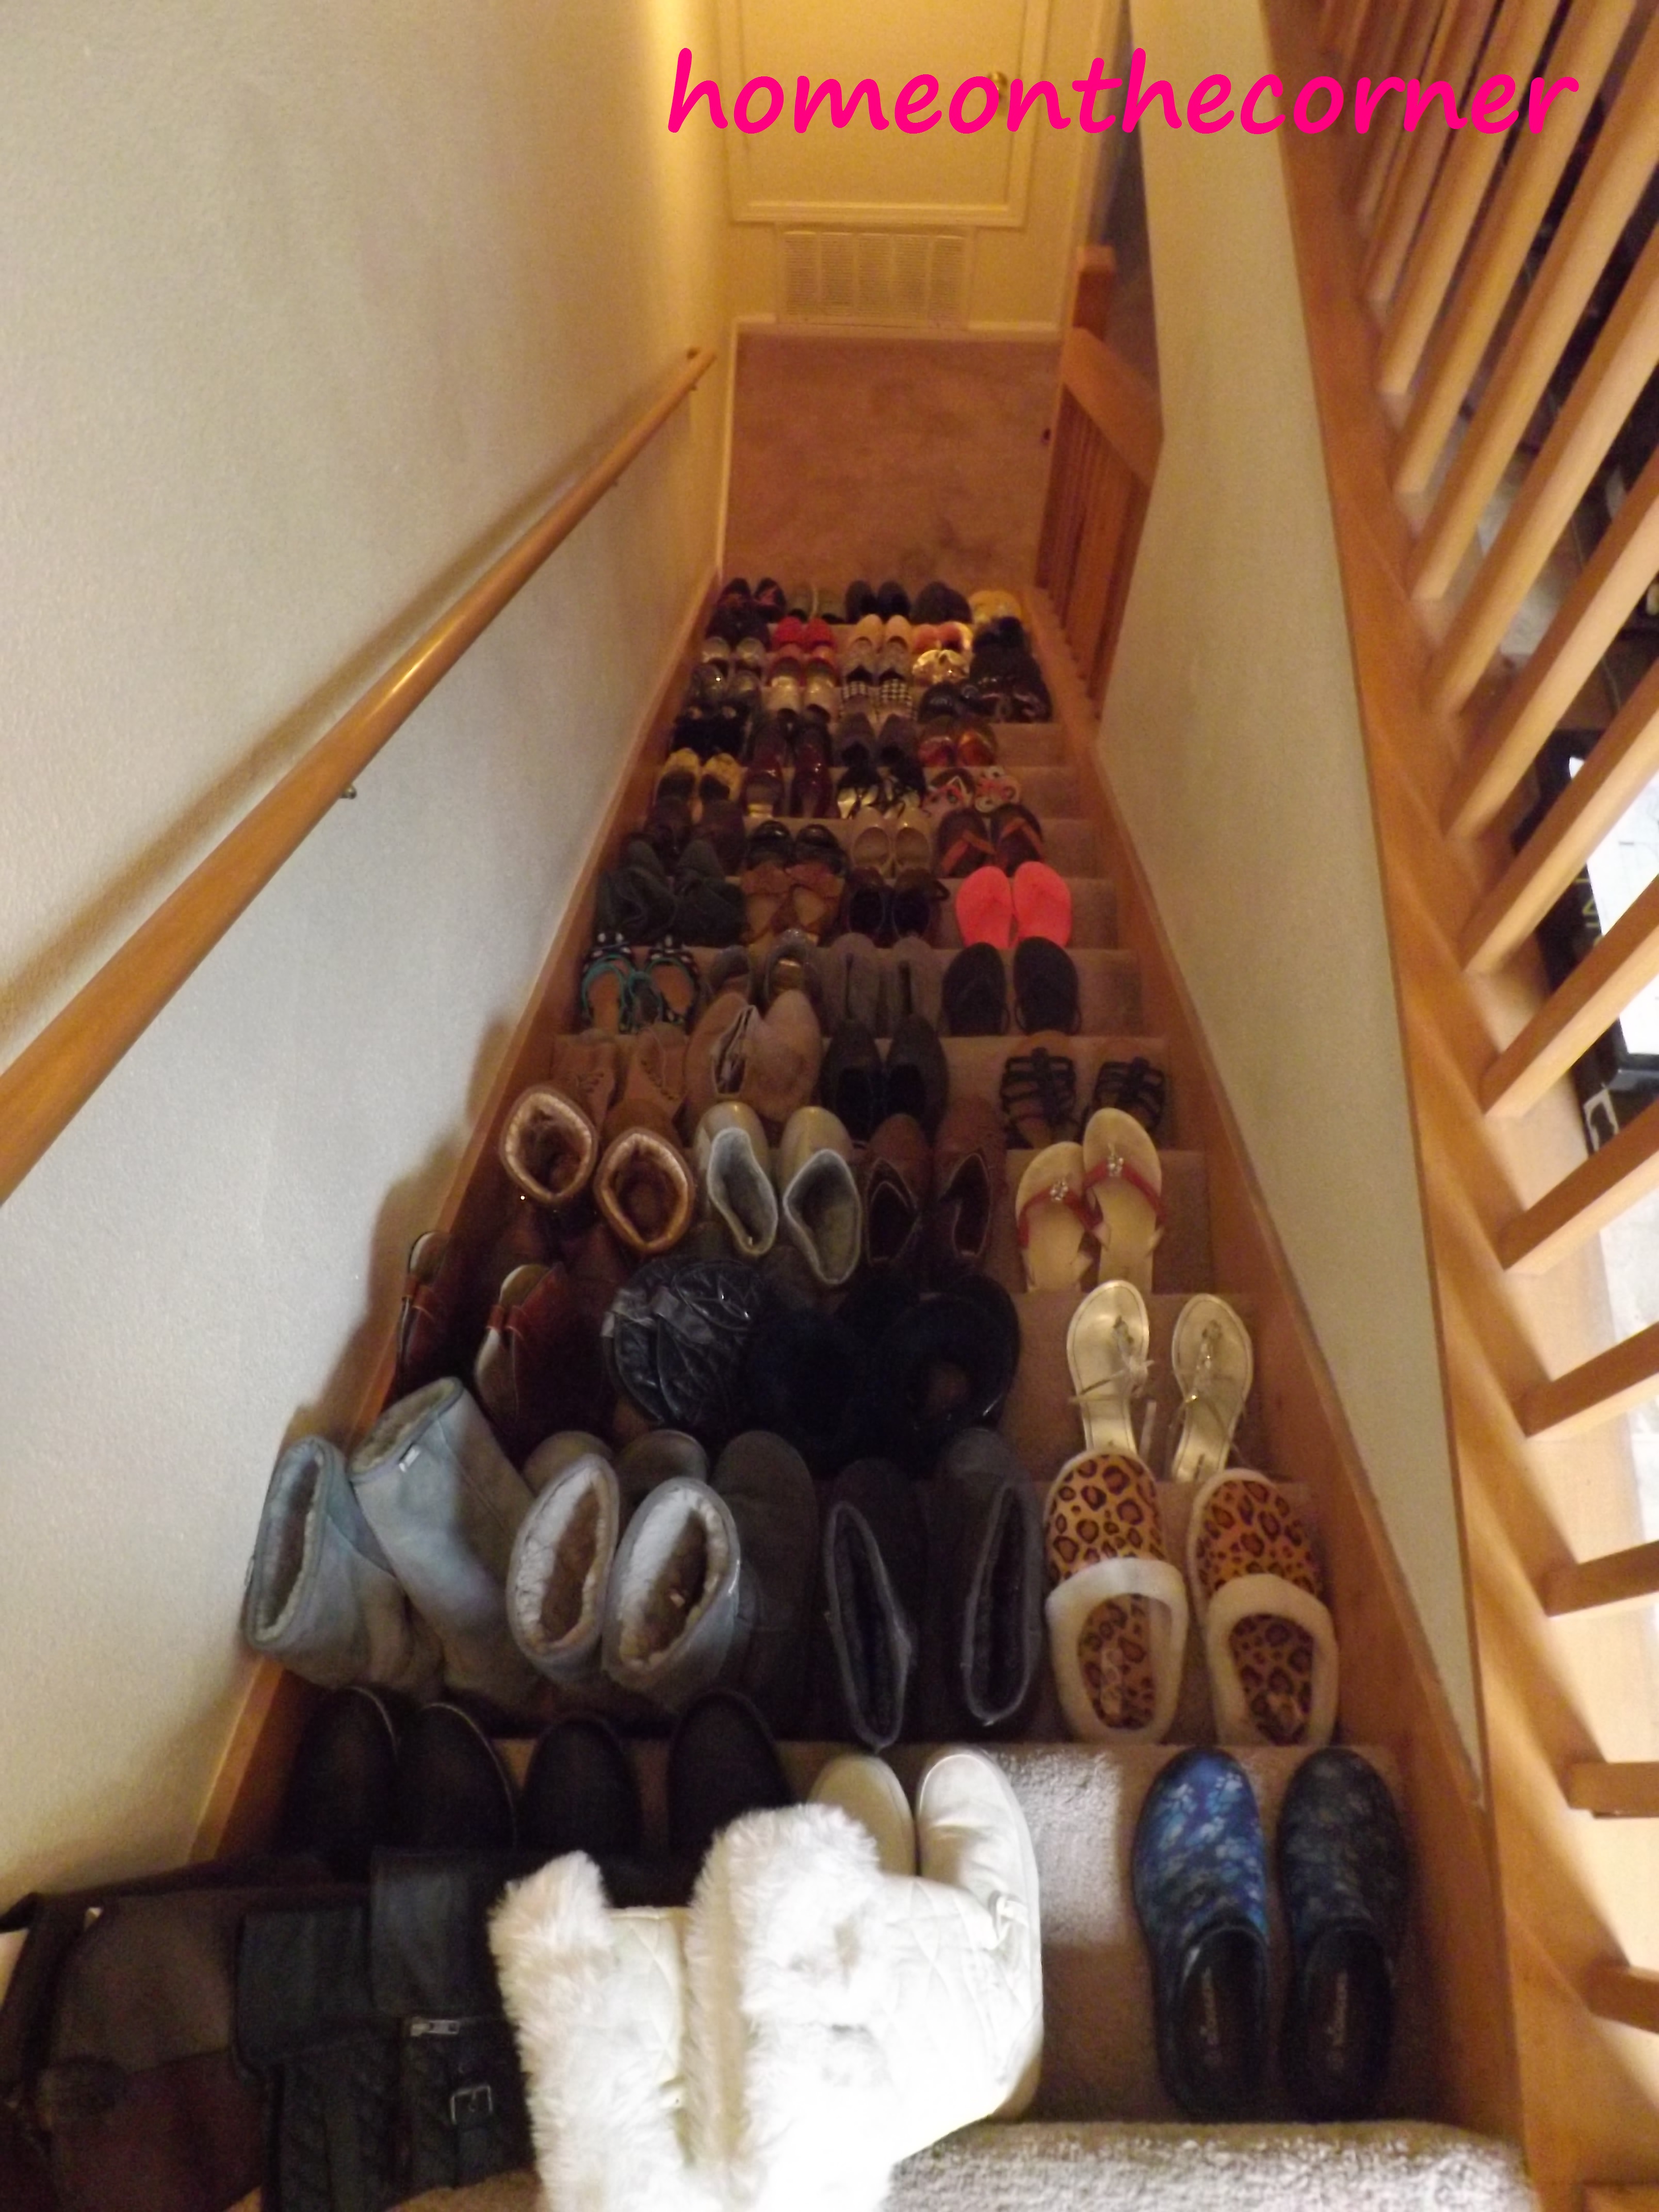
So I went through them and was able to take my shoes collection down from 60 pairs to 43.  Honestly, I am pretty proud of myself.  It is hard for me to get rid of shoes.

I still have a lot of shoes

I still have a lot of shoes

So, here is everything that I am getting rid of.

Closet Makeover

Closet Makeover

And here is what my closet looks like now!

Closet Makeover

Closet Makeover

Closet Makeover

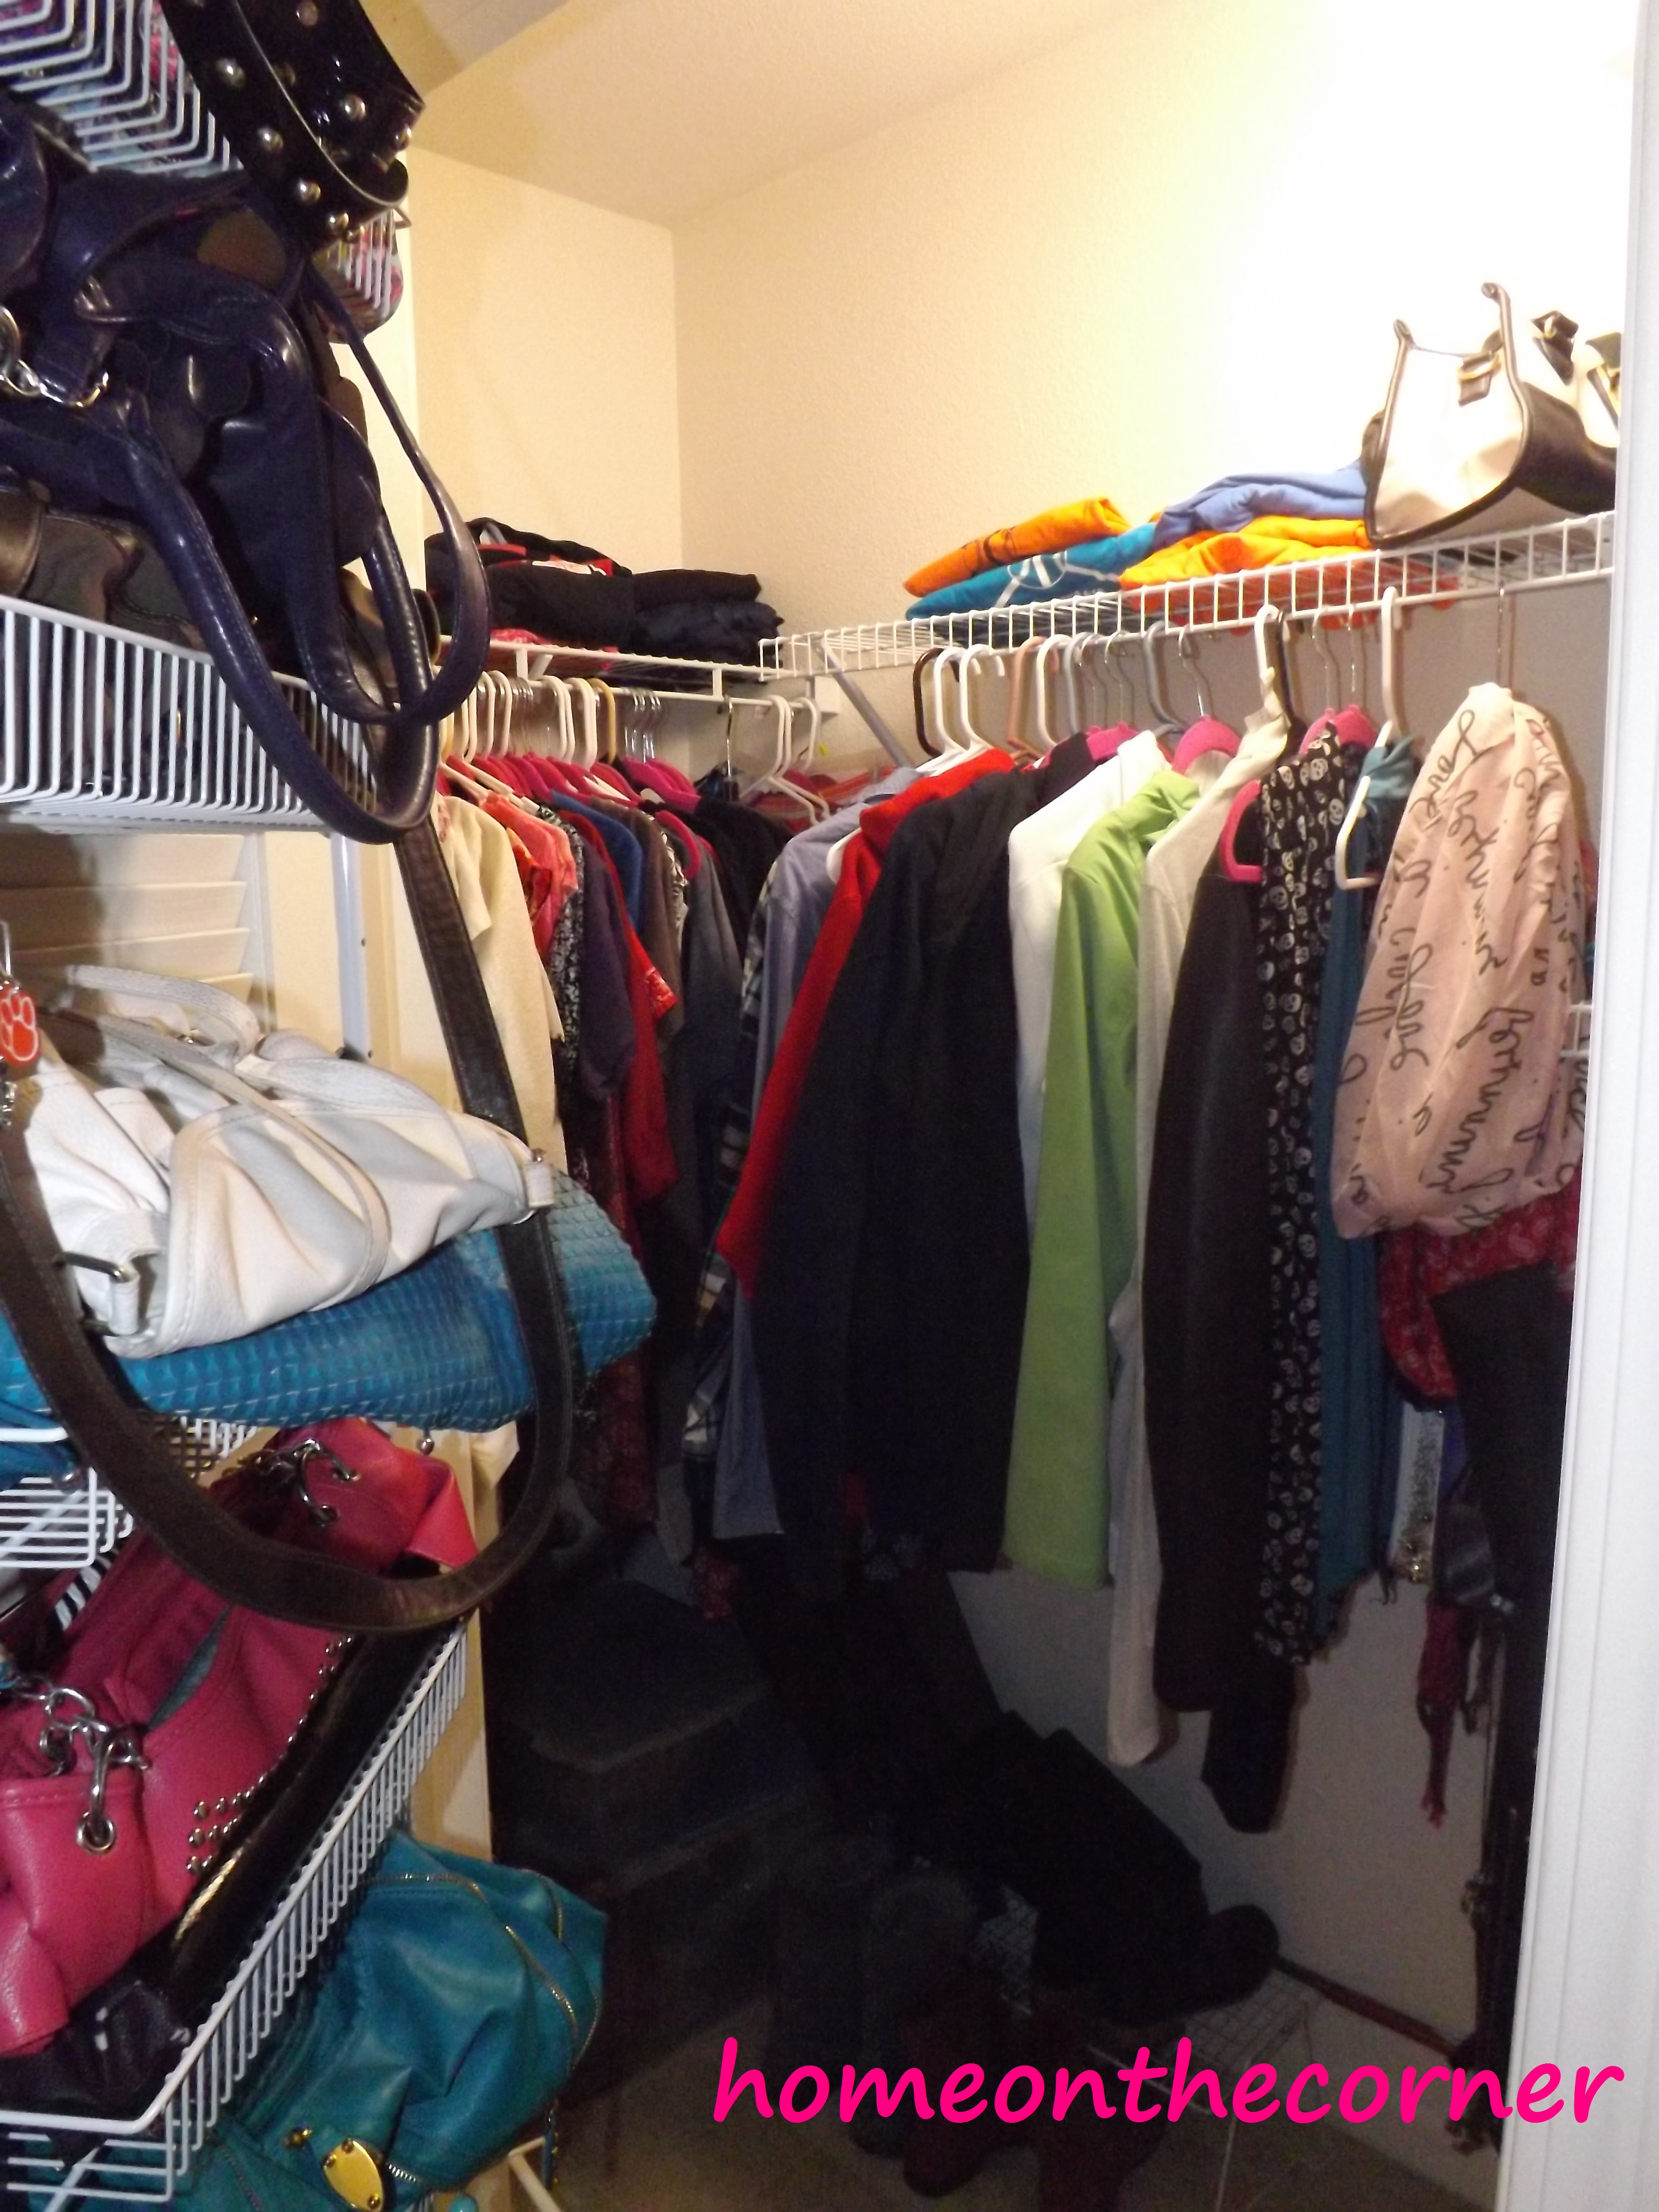
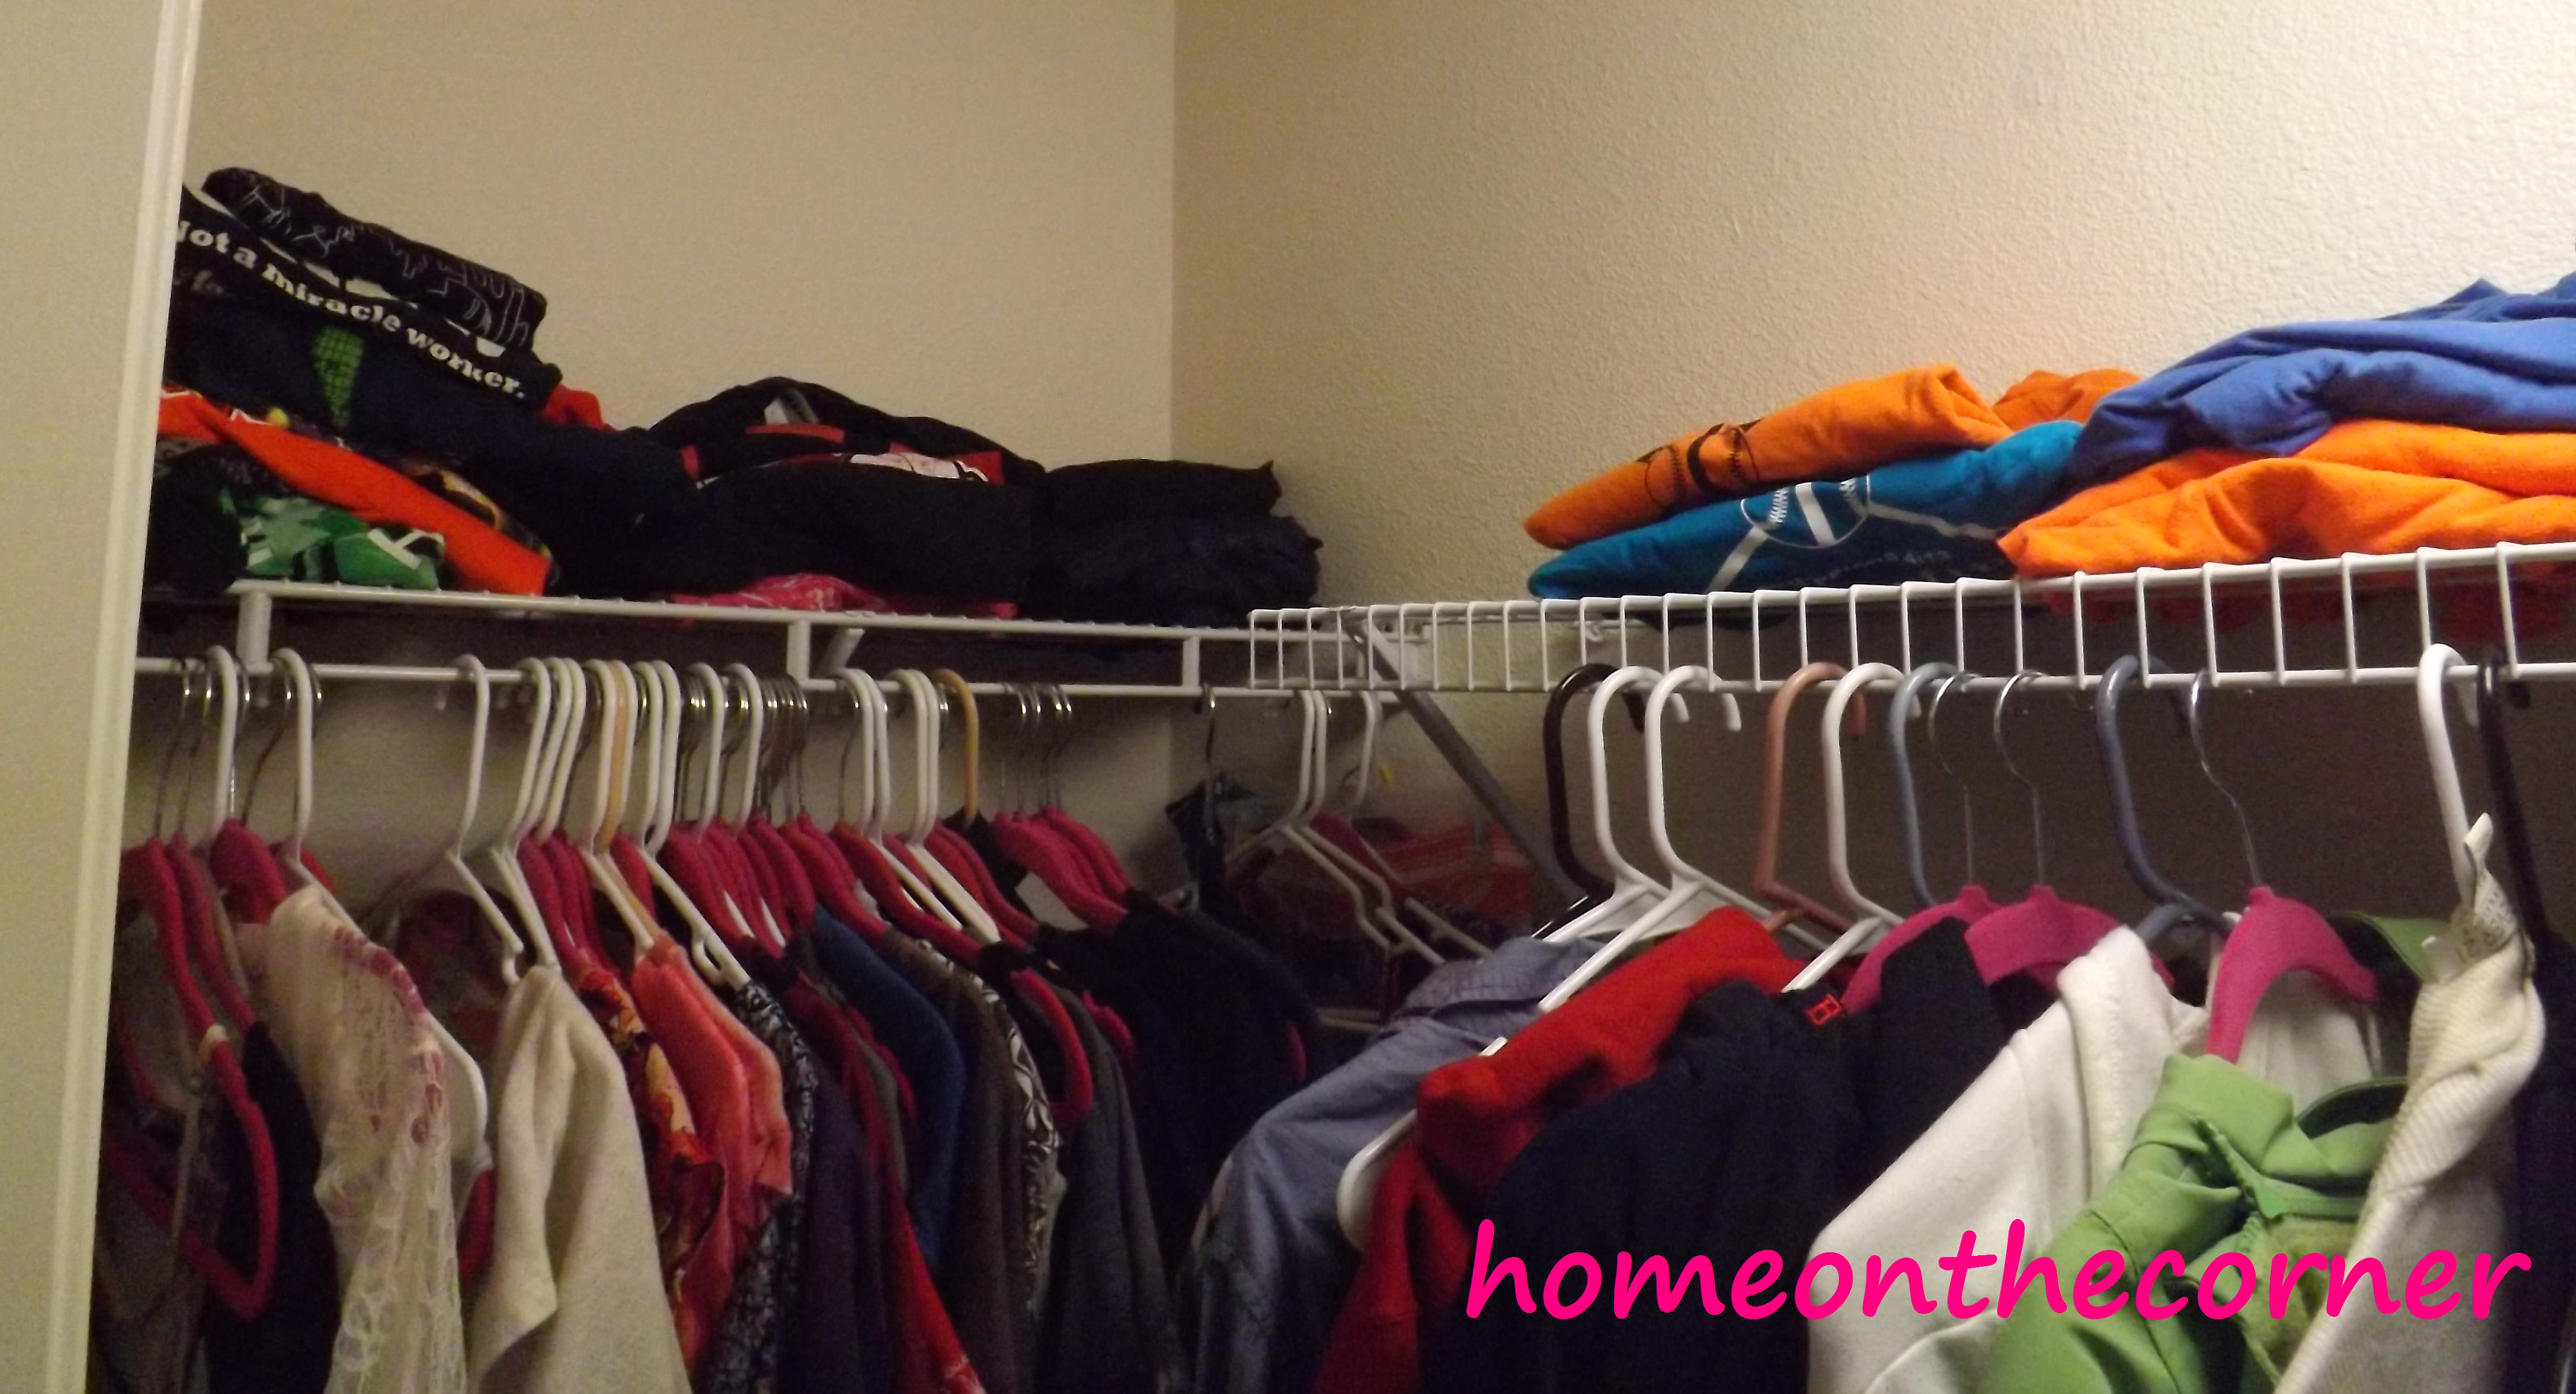
There is actually space that I can walk on the floor and put new clothes in the closet.  I have my work shirts separated from my tee shirts so they don’t get lost, and I am able to add new things if needed. What a difference!

Have you gone through your closet and what kind of stuff you have gotten rid of?!

FYI-We are now on Facebook too! Check us out and be sure to sign up for our emails if you would like reminders when we post!

sparkle

Salvation Table

Alright everyone.  Gather around!  It’s story time with Lauren.  Get into a comfortable chair with your favorite drink or snack and get ready for the story of a table.

To be completely honest, I’m not exactly sure where my mom and I received this wonderful table, but unfortunately, it was just sitting on our back porch for quite a while.  It didn’t have a beautiful coat of paint or a loving home inside the house.  It just sat outside in the cold for a year or two.

So where did I start?  I started by deciding to use this table in a project.  Smart starting place, huh?  Unfortunately, I don’t have a before picture…oops.  But it was a simple brown table with nothing special, which is why I wanted to use this for my project.

I knew I wanted to paint it, so I started by sanding it.  It wasn’t too hard to take a piece of sandpaper across the table, and it became rough easily.

It is now black!

It is now black!

Painting the table black came next.  I used two cans of black spray paint to cover the table and make it look even.  Spray paint is amazing…unless you run out of it halfway through your paint job.

Now, I knew I wanted the lyrics from one of my favorite songs on the top of the table.  The song “Salvation” by the Christian rock band Skillet is almost always on repeat in my car.  This song is very inspirational, having lyrics like “Keeping me alive, you are my salvation” and “my heart will burn for you, it’s all I can do”.  I wanted to keep the beauty of the lyrics, but I didn’t want to take away from them because they were on a table.

So…I went with a cursive manuscript called Laurenis Handwrittingcus on Microsoft Word and started to put the lyrics on the table.

I had quite a few failures before I finally found something that worked.  The first thing I tried was writing all the lyrics on an overhead projector that mom got from somewhere (who knows where) and project the lyrics on the table and copy it.  Even though that worked in the way that all the lyrics fit on the projector, I couldn’t fit all of the lyrics on the table in a way that I liked it.  Plus, because of the projector is square, and the tabletop has a curve, the edges would’ve been bare.

The second thing I tried was writing in chalk and then writing over it in sharpie.  Okay…the chalk looked awesome, but the sharpie didn’t.  Not only did the sharpie not write over the chalk, but when I tried erasing the chalk with a wet washcloth and rewriting in the sharpie, the sharpie still wouldn’t write.  UGH!

So, I finally wrote with a chalk marker.  I picked white because I wanted the table to look classy.  This time, I erased the chalk and rewrote the lyrics with the chalk marker.  This worked great…until the lyrics didn’t match up on the bottom of the table.  Thank goodness spray paint is easy to use and it doesn’t get extremely messy.

And now…the finished project!

A classy table

A classy table

The table turned out beautiful.  I cannot wait to find a place in my apartment or bedroom or mom’s house to put it.

Laurenis Handwrittingcus

Laurenis Handwrittingcus

More of my Laurenis Handwrittingcus

More of my Laurenis Handwrittingcus

I think I did a pretty good job writing on the top of the table.  It was simple in the sense that it was a flat surface, but it was hard to keep it straight and have all the words be the same size.  I also like the title at the bottom of the table so I can cover the top and people who look at it can see what song it is.

"Feel You Need You Salvation"

“Feel You Need You Salvation”

This song is very inspirational and was a great motivation for this project.  It is uplifting and makes me happy.

So now this little table has a better life as a classy looking table.  It can be used as an end table or just a piece of decoration.  But for now, it has a much better life than a life sitting on the back porch.

I challenge you to listen to this song and tell me what you think.  Do you have a song that inspires you or lifts you up when you are down?  Let me know in the comments what you think!

sparkle

Coming Soon!! Ugly April Makeover Challenge

I have a story for you today.

Once upon a time there was a little girl. She had a beautiful spirit, was kind and had many friends. She was not ugly, but … maybe awkward. In second grade she got glasses after the teacher said she may have some learning problems.  By 6th grade she had to wear the headgear for braces. Not pretty! Her friends still loved her and stuck by her. We all saw her beauty. In 8th grade, she was the Valedictorian for her graduating class. So much for learning problems! In high school, she started discovering what her style was and her spirit and determination stayed strong. She made many more friends too. Her senior year, she decided to run for Miss Kings County. She figured she didn’t have much of a chance, but she did it for the scholarship. In the end, she won! She was crowned as Miss Kings County! She was, and is, beautiful on the inside and the out. She still has her same group of friends, is a wife and a mom, and she glows with beauty. She just needed time to come into her own. I know all this, because she is my niece, and I am very blessed to have her in my life!

Ugly April Makeover-homeonthecorner

Ugly April Challenge

I tell you this story because, we can’t always see the beauty of somebody or something until some work is done. So it was with this little stool. Lauren and I are joining the Ugly April Makeover Challenge, No, not for ourselves!, but for a piece of furniture.

Ugly April Makeover-homeonthecorner

Peeling veneer

It just needs some braces, maybe some contacts, and some care. We hope to give it a new life. I am just going to give you some glimpses of it today and we will have the reveal next Monday.

Ugly April Challenge-homeonthecorner

Tattered, ugly fabric

I definitely think this need some tender loving care!

Ugly April Challenge-homeonthecorner.com

Wobbly, cheap wheels

That’s it for today! Please join us again next Monday for the big reveal, the stories behind the ideas, and the bloopers!

Sunshine and Blessings

My February “Finish-it-Up” Challenge

I accept the challenge! That’s what I did back in January. Serena, from the blog, ThriftDiving, http://www.thriftdiving.com/,  offered up a challenge for February. The idea was to commit to 5-10 projects we never finished and work on them in February! What a great way to get ourselves to get those projects done!

So here was my list:

1. Make a couple of pillow covers for my front porch.

2. Sew the seam on a pair of jeans to make them ‘skinnier.’

3. Sort through my seashells and figure out a project for them.

4. Paint the floating shelves in the hallway.

5. Frame maps to hang in Lauren’s room.

6. Paint the trim in my dark hallway.

So, how did I do? I did them all!  Not all perfectly, but they are done!

1. The Pillow Covers

Yes, I did make these, but I cheated a little.  I picked the fabric from Lauren’s overflowing fabric closet. I liked the turquoise, of course, and thought the red was good because of Valentine’s Day.  When I showed Lauren, she asked if the sewing machine had behaved for me. Um..well..

IMG_2553

I glued them. I really don’t like to sew, and a few years ago, I had seen a Pinterest story about someone who had recovered all her patio cushions by hot gluing fabric on them (which I have also done!), so I figured why not pillows too! It worked and I was done with number 1 very quickly!

IMG_2556

2. Sew the Seams on a Pair of Jeans

Yes, I did this too and yes I actually sewed them. No hot glue!! They turned out okay, but as I wore them, they kept stretching more and pretty soon they were still too big, So I will have to pull the dreaded sewing machine out again and sew them a little skinnier.

Here is the seam I sewed.

Here is the seam I sewed.

3. Sort Through Seashells

I went through my several boxes and jars and bags of seashells. I sorted them all out by type and even some color.  I know what I am going to do with them, but it involves buying several frames with mats, so it will probably be awhile before I actually get the whole project done. But at least I know what shells I have and how to use them!

IMG_2446

just a small part of the collection

4. Paint the Shelves

IMG_2447

basic brown

Yep! They got painted. I purchased them from a thrift store, and was so excited to find them, I couldn’t wait to put them up! They were just a plain brown, but they are now white. When my daughter Haley walked down the hallway that evening, she asked ‘Weren’t those shelves a different color this morning?” Yes, they were!

IMG_2536

IMG_2537

5. Frame Maps

IMG_2449

Just need to get these on the wall

The maps are framed and hanging above the bed in Lauren’s room. I got these maps from the yard sale my mom and I have every year. Not even sure who they came from, but I love old maps and these were California mountains, so they were perfect!

IMG_2550

My State!

Now they look even better on view for all to see!

IMG_2545

They are up!

IMG_2546

Love how they look!

6.Paint Trim in Hallway

IMG_2448

Before-blah brown

IMG_2532

dark and dreary

Yeah! I got this done! I have been wanting to do this for quite awhile. Haley and I painted all the trim in the living and dining rooms a couple of years ago and I had been wanting to do this too. Well, this was the push I needed.  I painted a coat of primer and then 4 coats of paint. I used Benjamin Moore Cloud White.

IMG_2570

New and improved

This included all the trim and 6 doors!

IMG_2543

Loving the white

There is also a built in cabinet in the hallway, but I left if the color it was.  I may go back later and paint it, but painting all the rest was plenty. My husband hung a chandelier that used to hang in the dining room. Love it!

IMG_2566

IMG_2564

I plan on painting the walls too. I don’t like how the green looks with the new trim,  so maybe that is my project in March. I hope to add a sisal rug to the area also.

Well, that’s it. Challenge…Done! I feel so good having completed this. Please check out Serena’s blog and see what else she has done. She completed her basement challenge and it is an amazing space!! Maybe next time you can join in too!

PhotoScan


Link Parties we have joined:

http://staceyembracingchange.com/2015/02/26/creative-inspirations-linky-party-124/

http://www.impartinggrace.com/2015/02/grace-at-home-no-143.html

http://www.aglimpseinsideblog.com/

Show Off Friday

http://www.jugglingrealfoodandreallife.com/

http://www.nancherrow.com/2015/02/fridays-unfolded-link-party-146.html

http://www.frenchcountrycottage.net/

http://chiccalifornia.com/2015/02/26/tiful-link-party-59/

http://cityofcreativedreams.blogspot.ca/2015/02/city-of-links-60.html

http://romantichome.blogspot.com/

http://chiconashoestringdecorating.blogspot.com/2015/02/flaunt-it-friday-246.html#


http://diy-vintage-chic.blogspot.com/2015/02/fridays-five-features-no-79.html#more

http://www.lifeonlakeshoredrive.com/

http://www.lifeonlakeshoredrive.com/

http://www.pamspartyandpracticaltips.com/2015/02/dare-to-share-152.html

1-Funky_Junks_Party_Junk_link_party.29-AM

share_button3.jpg-150x150

cl7

fav