So…if you read my mom’s blog posts, you know full well that I didn’t like the idea that my room was going to be painted white. I remember telling my mom that I felt like I was staying in a hotel because the walls were white and the bedding was white. I felt sad because it was almost like I was being kicked out of my bedroom.
Even though now I stay in that exact bedroom every weekend when I come home.
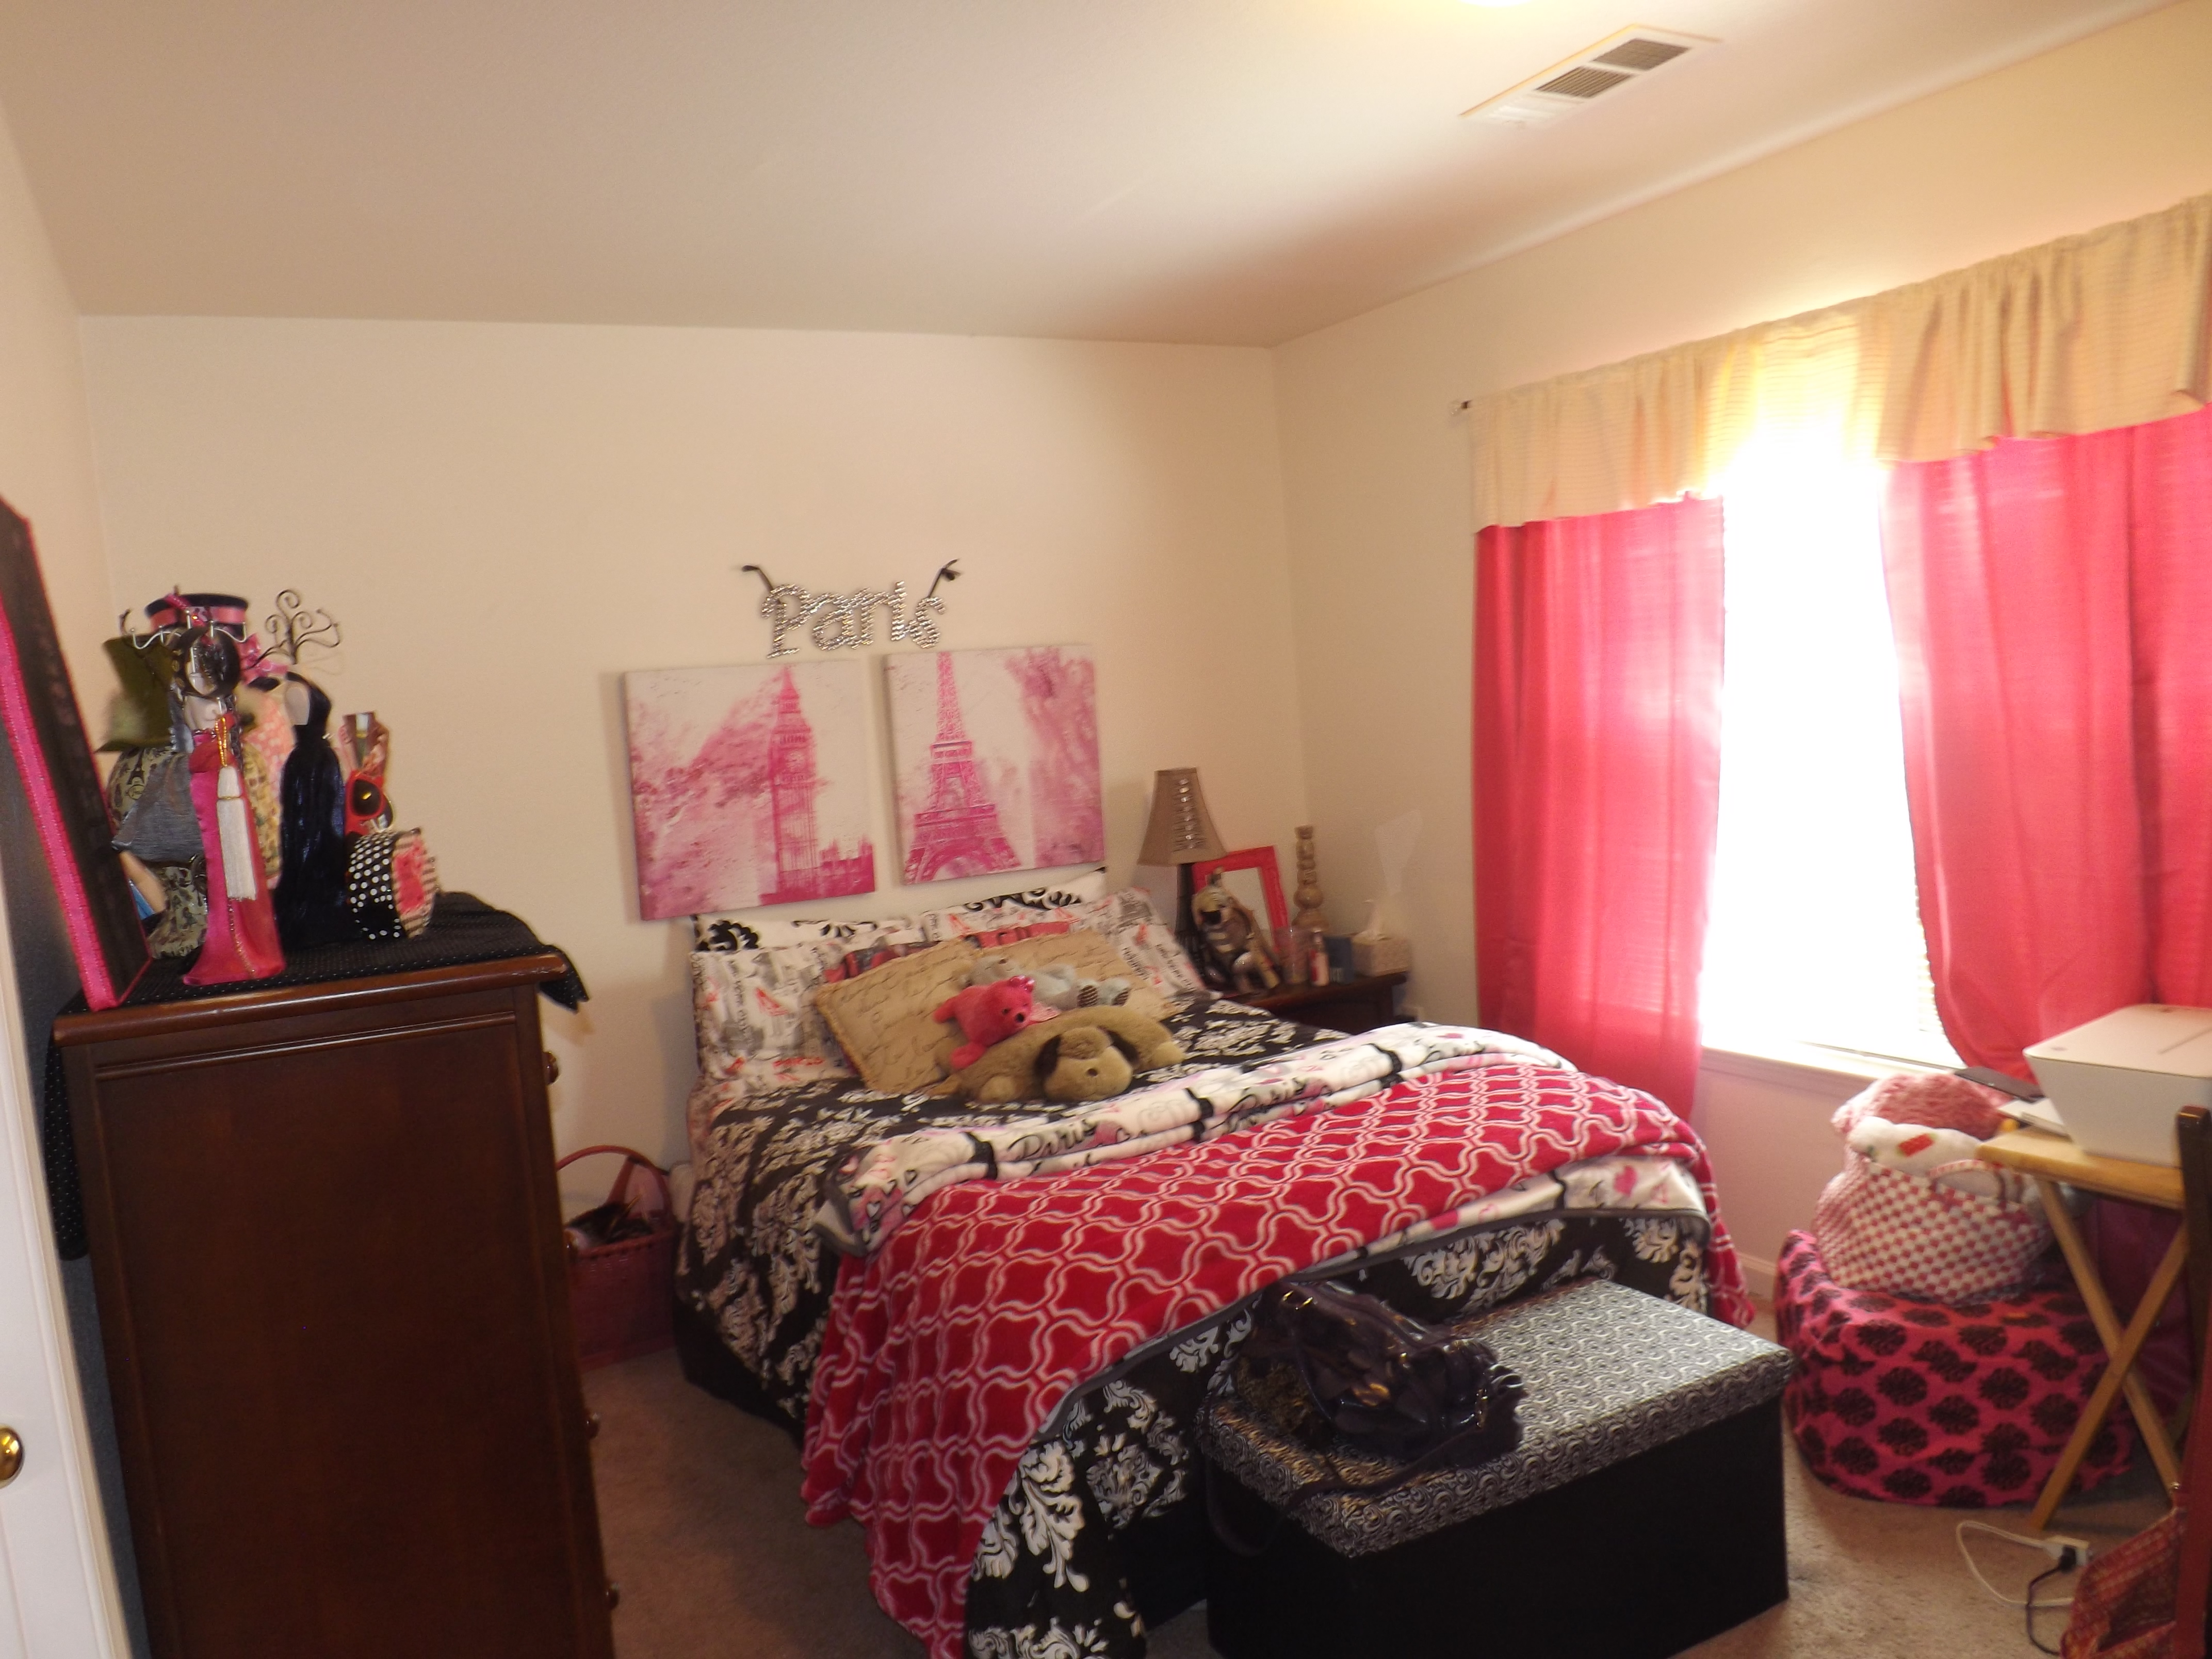
So because of the sadness of my old bedroom, I have decided to show you what my bedroom looks like in my apartment. Because honestly, these rooms look nothing alike. My mom has a very beachy theme and I have a very pink theme. To see what my bedroom looks like at my parents house, click here.
So welcome to my home!

Welcome to my room!
Honestly, besides work and school and when I go to my parents house, I spend 99% of my time in the apartment in this exact room (and only leave because I get hungry and I try to be social sometimes). Really, I love my roommates to death, but I think I love my bedroom more.

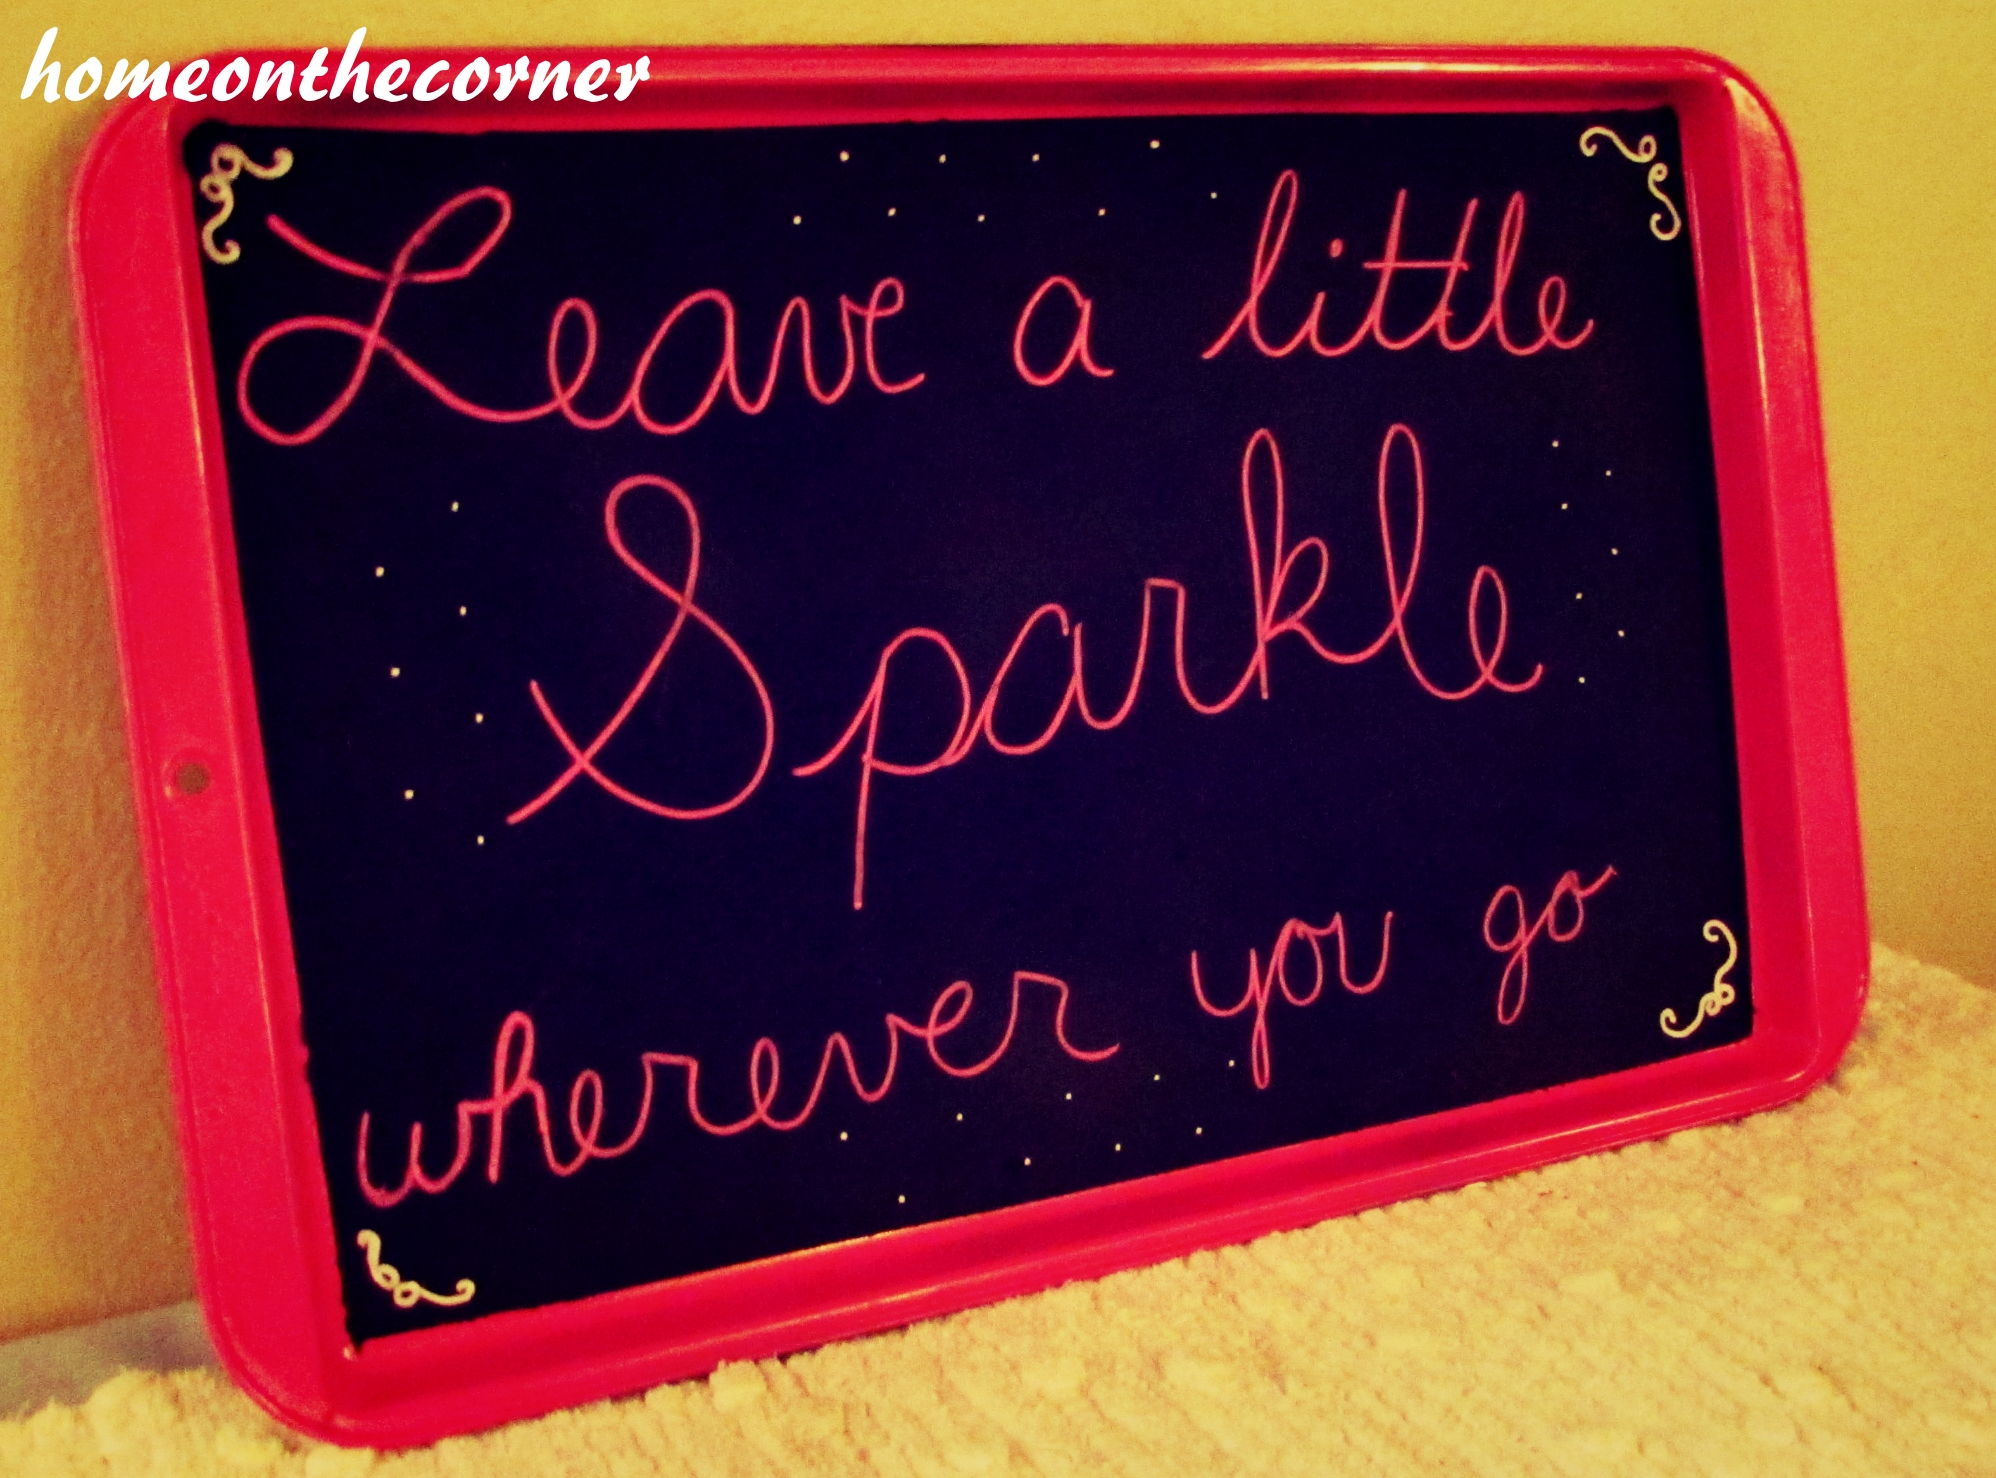
If you can’t tell by this one picture, I love pink and glitter. Like…a little too much. My best friend Shelby told me that whenever she comes over to my house, she feels like she is covered from head to toe in glitter. I’m kind of surprised that I haven’t thrown a glitter bomb on her yet.

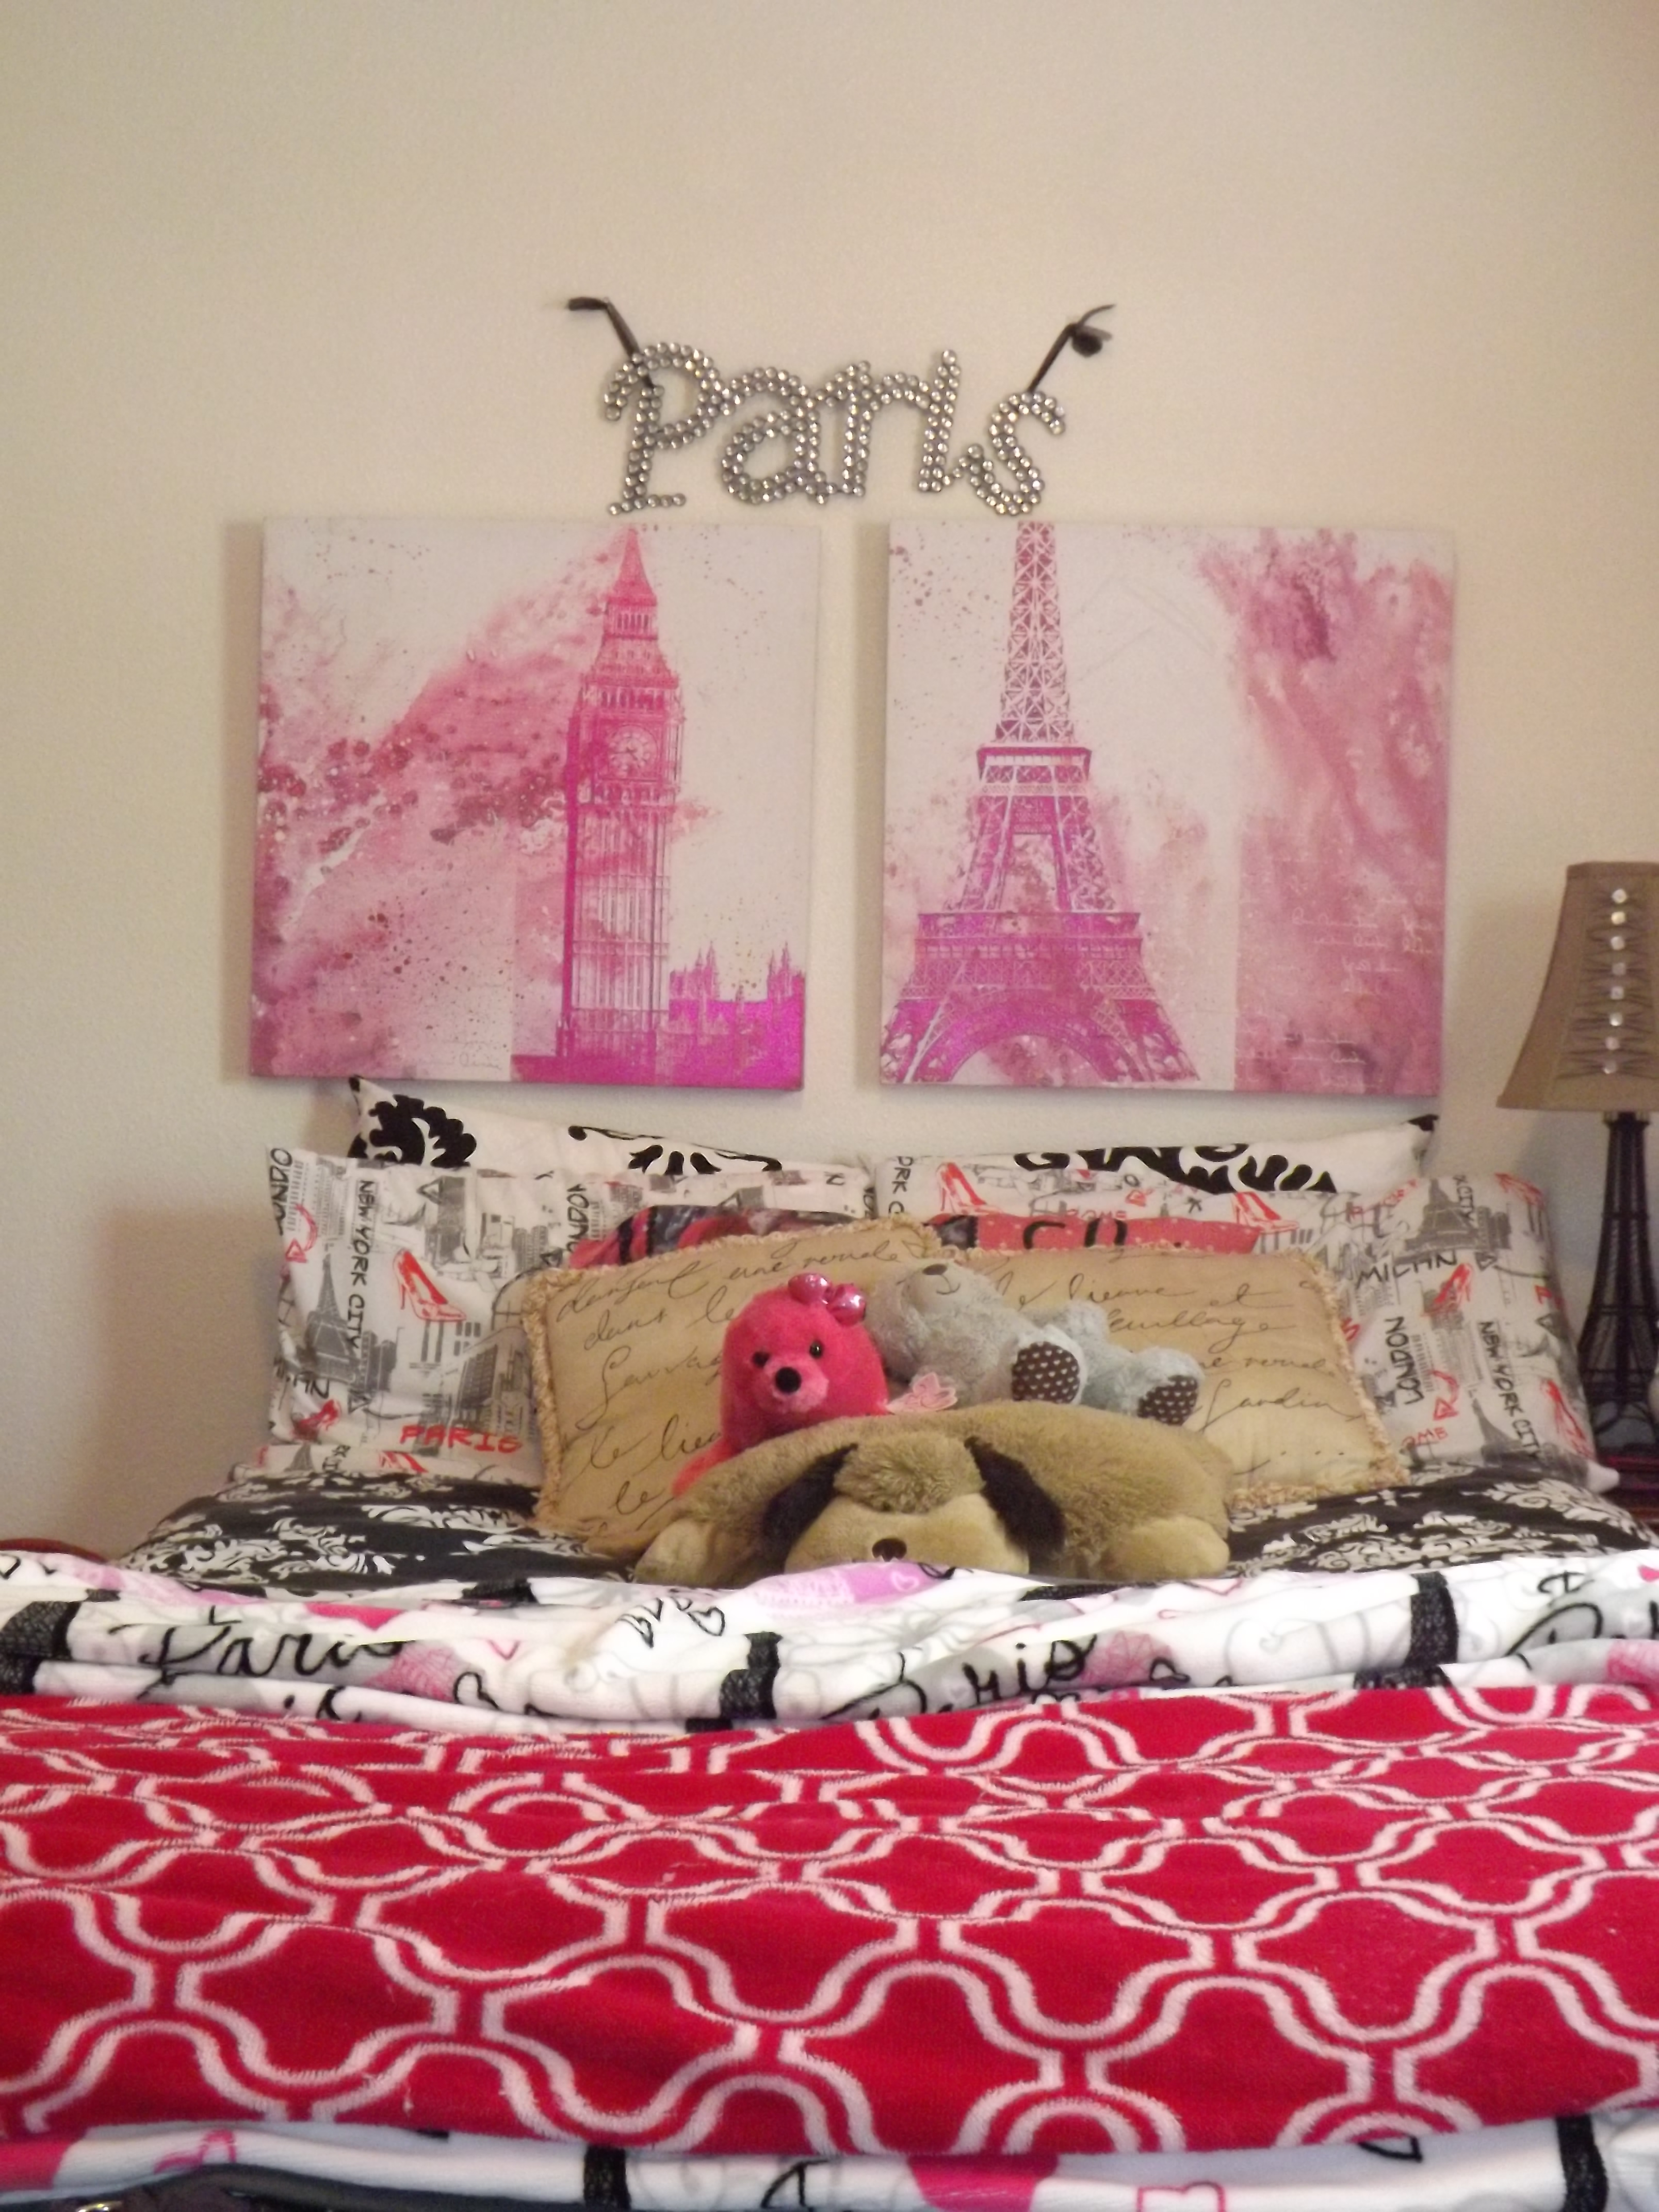
My favorite part of my room-the bed
The focal point of my room is my bed with the two paintings above my bed. I have black and white sheets, a pink blanket, and a reversible black and white bedspread. I also have a pink and white velour blanket and a white blanket with Eiffel Towers, hearts, and Paris written on one side and Sherpa on the other side. Even though it’s getting warmer in Central California, I still sleep under all of these blankets. I also have many pillows, of which I really only use 2…but why not have as many pillows as possible on your bed?

Above my bed I have these two pictures that I bought from Ross about 3 years ago. I had them under my bed at my parent’s house for 3 years, and now they are my headboard. The one of the left is Big Ben and the one on the right is, obviously, the Eiffel Tower. I also have a blingy Paris sign that I bought from Hobby Lobby hanging above the pictures. This is the central part of my room and it is definitely the focal point.

Dogs leave paw prints on your heart
The bedside table isn’t my favorite, but it came with my apartment. Yes, the apartment came furnished. My favorite part is the lamp, even though you can’t really see it in the picture, but it is shaped like an Eiffel Tower. Shocker, I know. I bought it from a thrift store and it came with the lamp shade. Yeah! The burlap dog has a wire frame in it so it stands up on it’s own. I received it as a gift for my birthday and it’s perfect for holding my headphones on. The small blue sign came from my cousin as a Christmas present. I think that it’s absolutely perfect!

I’d like you to meet Alyxa!
This is Alyxa, pronounced Alexa. She is a full dressmaking mannequin that I bought for $100 on Ebay almost 6 years ago. She has been a great piece of decoration and perfect for displaying my sewing projects in the past. So now, I dress her based on the season. So she is wearing a dress that I wore for Easter a few years ago. I also have my laptop and knitting around her since she is next to my bed. The white case is an old shoe bag (is that what you call it?) that I re-purposed. It was originally blue and I painted it white, then I put my favorite Banksy picture on the front. It holds small balls of yarn that are just for small projects.

More mannequins!
If you didn’t figure out, I might have a small affinity with mannequins. And Paris. And pink. And glitter. You get the picture. Which is why the top of my dresser keeps all of these themes. Although it has all the themes, and it is a bit busy, but I love it. Also, notice the L in the corner. Yeah, mom has the same one.

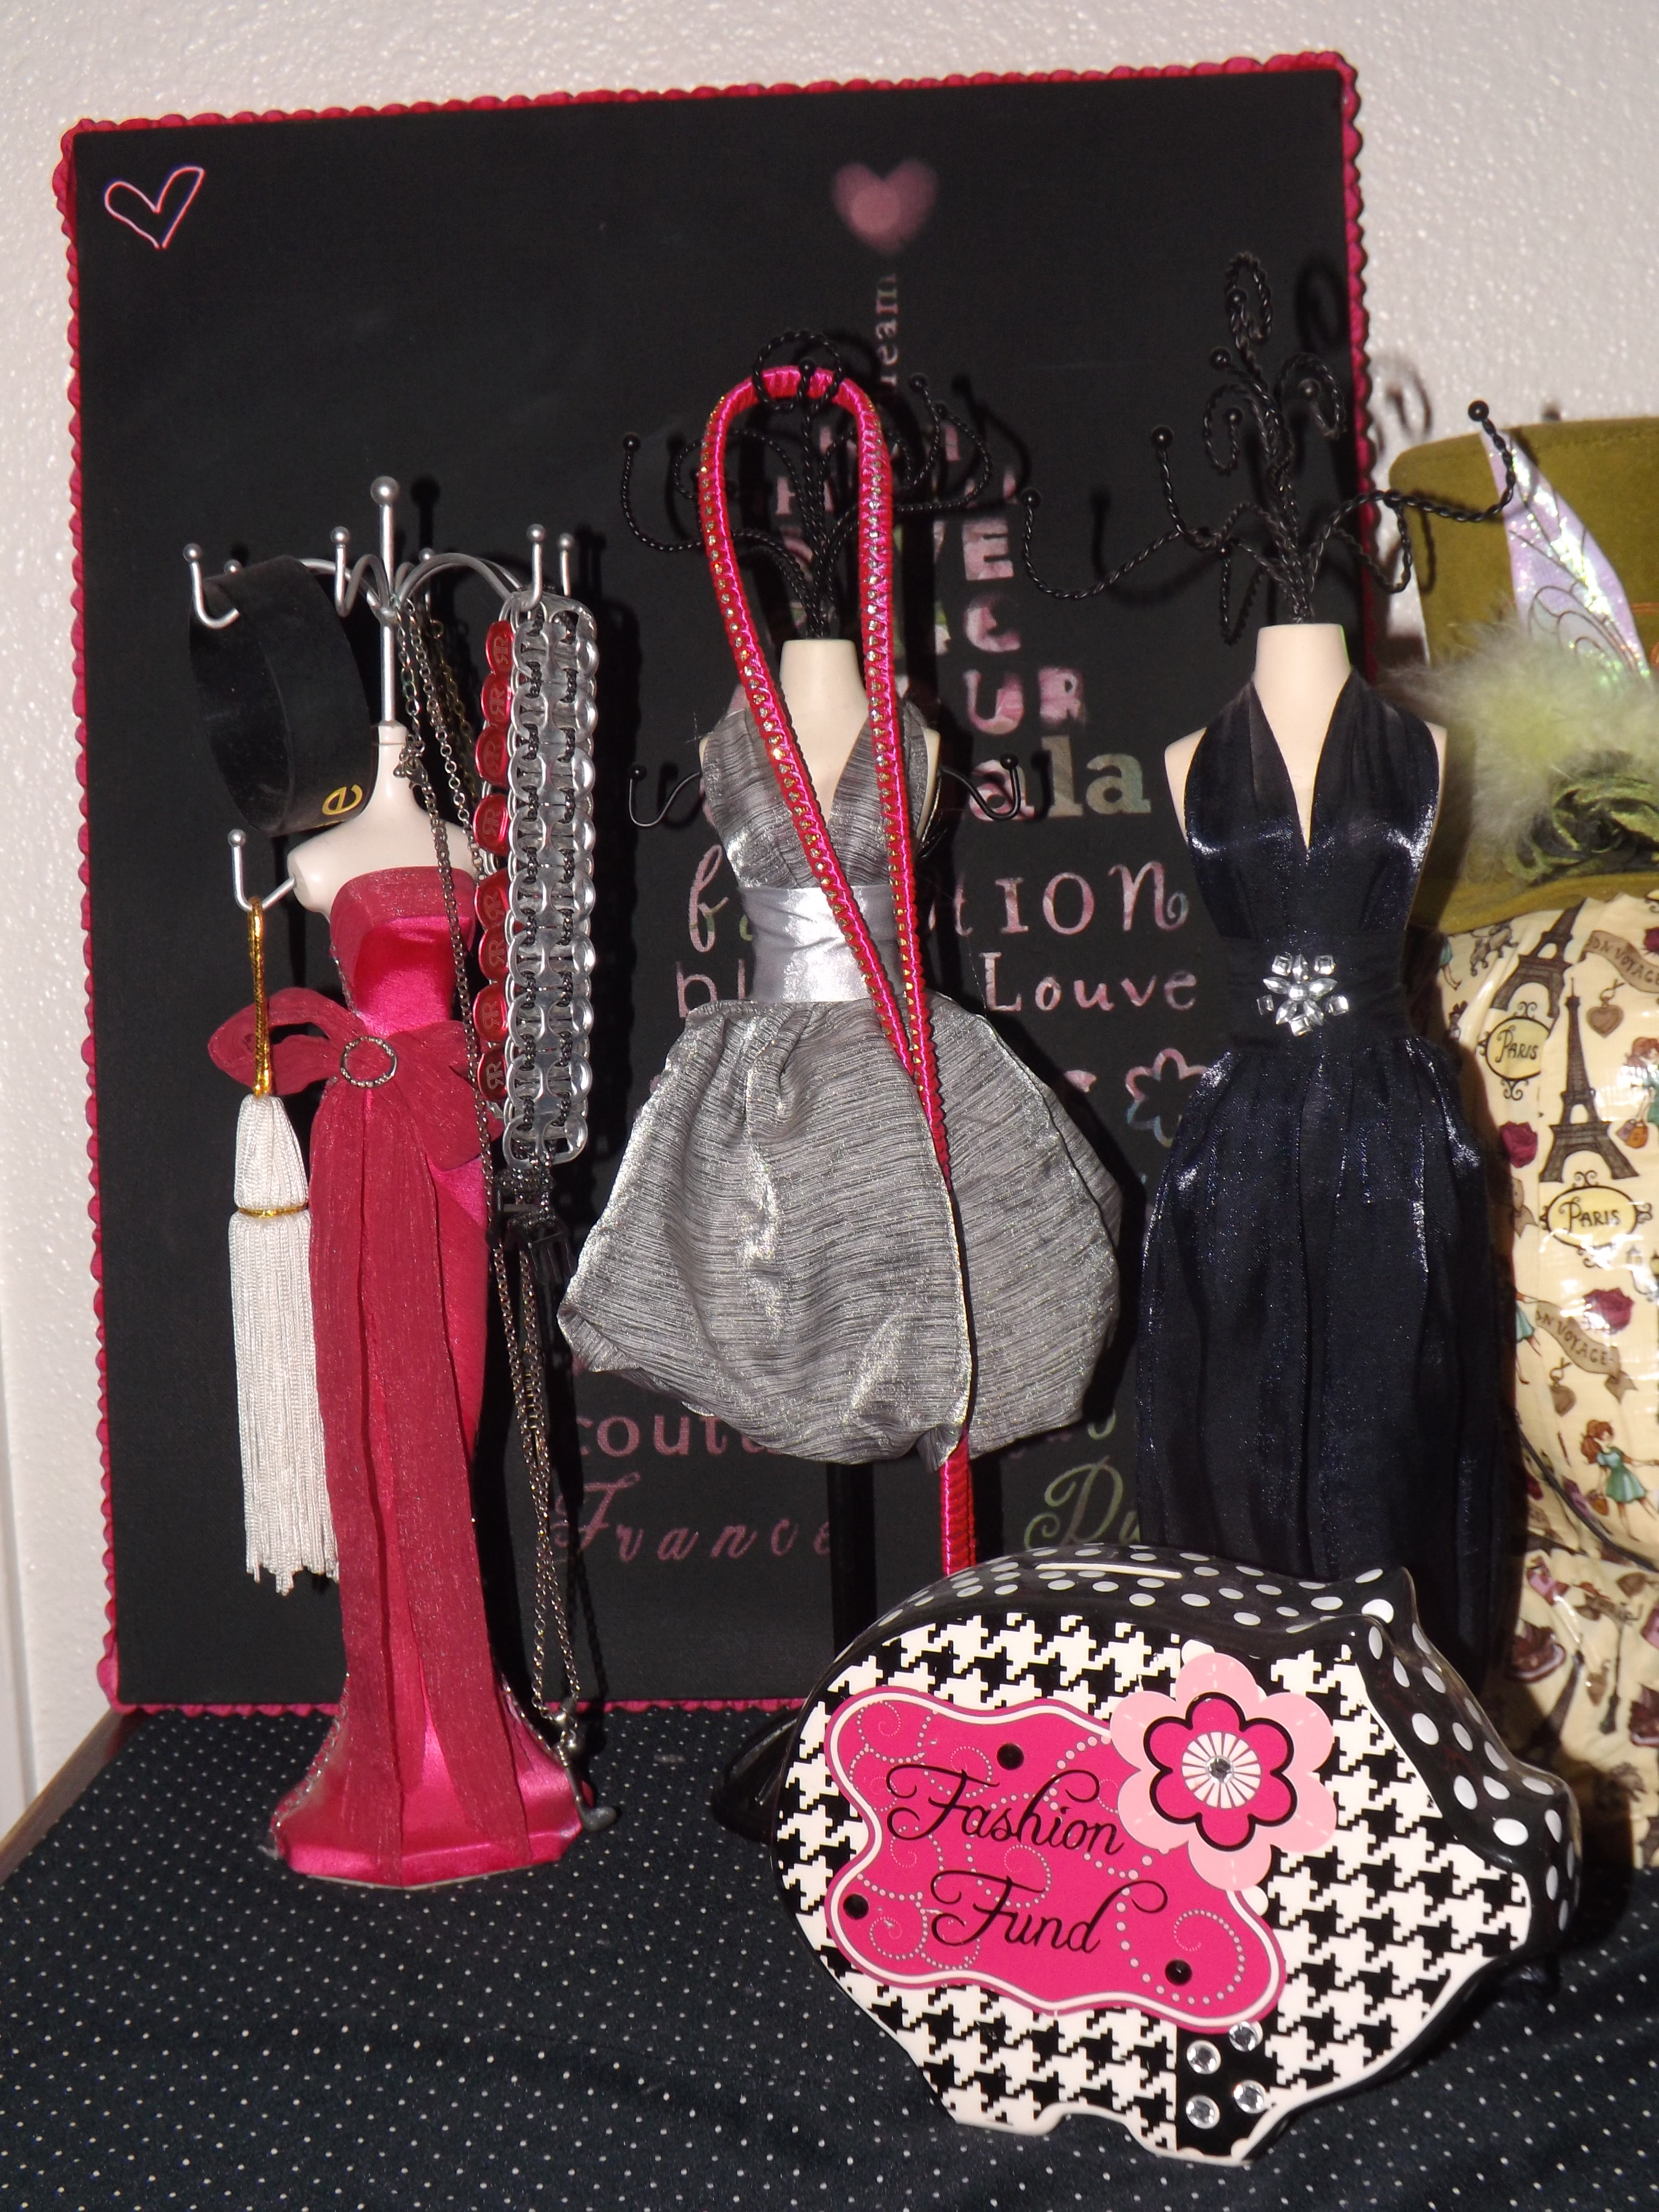
Mannequins/Jewelry Holders
I have received these mannequins from different places. I bought the pink one from Ross, the blue one was originally Haley’s, and I bought the silver one from a Goodwill. The piggy bank was given to me as a friend. And unfortunately, it’s empty, so no money for shopping. The picture in the back is actually from mom. It has words that form the shape the Eiffel Tower. It’s hard to explain, but it’s awesome!

So here’s a picture of it…since it is very hard to explain.

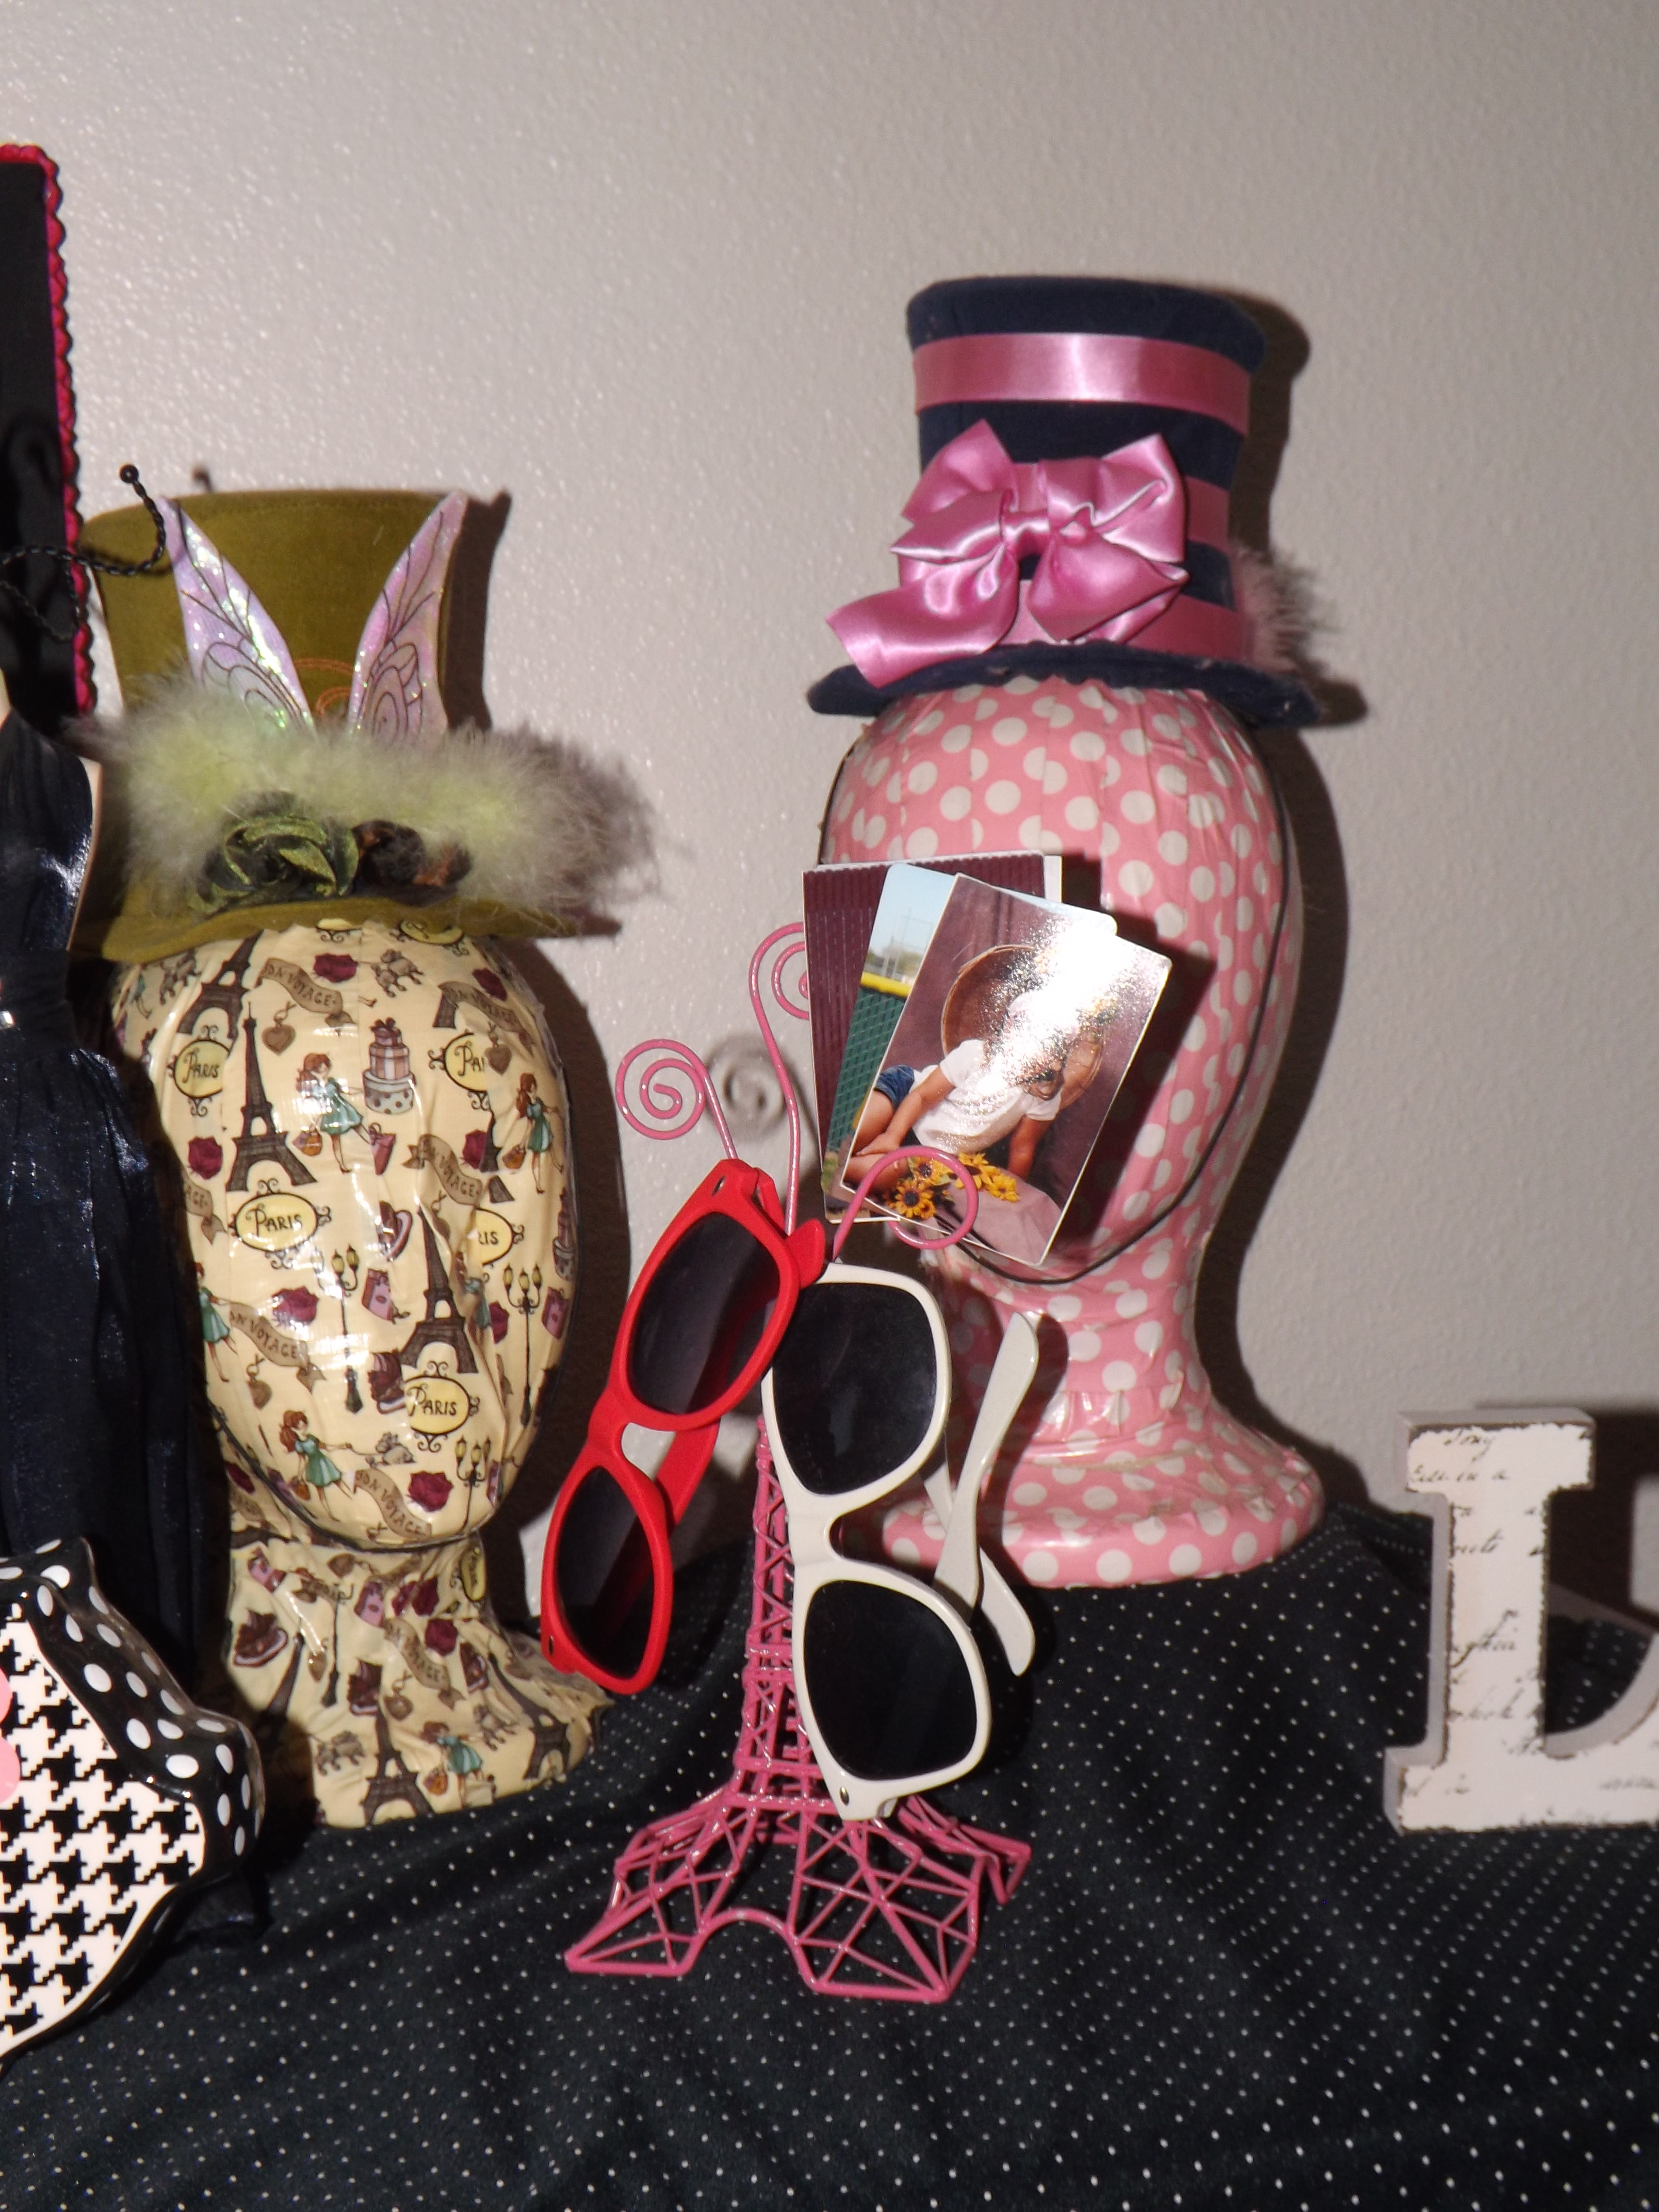
More Displays
These are Styrofoam heads that I covered in duct tape. This is the best way for me to display the top hats that I bought from Disneyland. The green one is Tinkerbell and the blue and pink one is the Cheshire Cat. I want a Jack Skellington hat which is black and white pinstripes. The pink Eiffel Tower is actually something that I received from a birthday party who knows how many years ago. I have spray painted it a darker pink than it was originally. It’s perfect for pictures and hanging my Ray bands on.

Now, to the other side of my bedroom. The desk and bookshelf are really the only things to see on that side of the room. Except for all of my shoes…those are important.

Honestly, I hardly ever use my desk. The only thing it is really used for is holding things. Except for that stupid smoke detector. That needs to go back up on my ceiling. But my favorite thing here is Haley’s senior picture. I always love to see that.

Castle and Markiplier
No, I don’t actually need two calendars, but I actually like having both of them. The one hanging on the wall is from the TV show Castle. And the one on the bookshelf is a custom calendar that I made of my favorite youtuber Markiplier. Yes, I may be a bit obsessed.

Corgis and Towers and Paris oh my!
These are sitting on top of my bookshelf. The Eiffel Tower was purchased from Hobby Lobby. It could be hung on the wall if I wanted, but I like it sitting. The Paris string art sign was made by Haley for Christmas. If you can’t tell from this angle, the A is the shape of the tower. And the Corgi was made for me from my best friend Shelby as an art project. It is made completely out of soda tabs with Monster tabs as the eyes and nose. Her name is Ella.

Bookshelf
Here is my book collection. All of the wonderful reading that I can do, including my Jodi Picoult collection. Yippee for reading! I also have more, yes more, Eiffel tower things, some of my favorite pictures, and a pink Corgi that Shelby made for me. It can hold a gift card in its mouth.

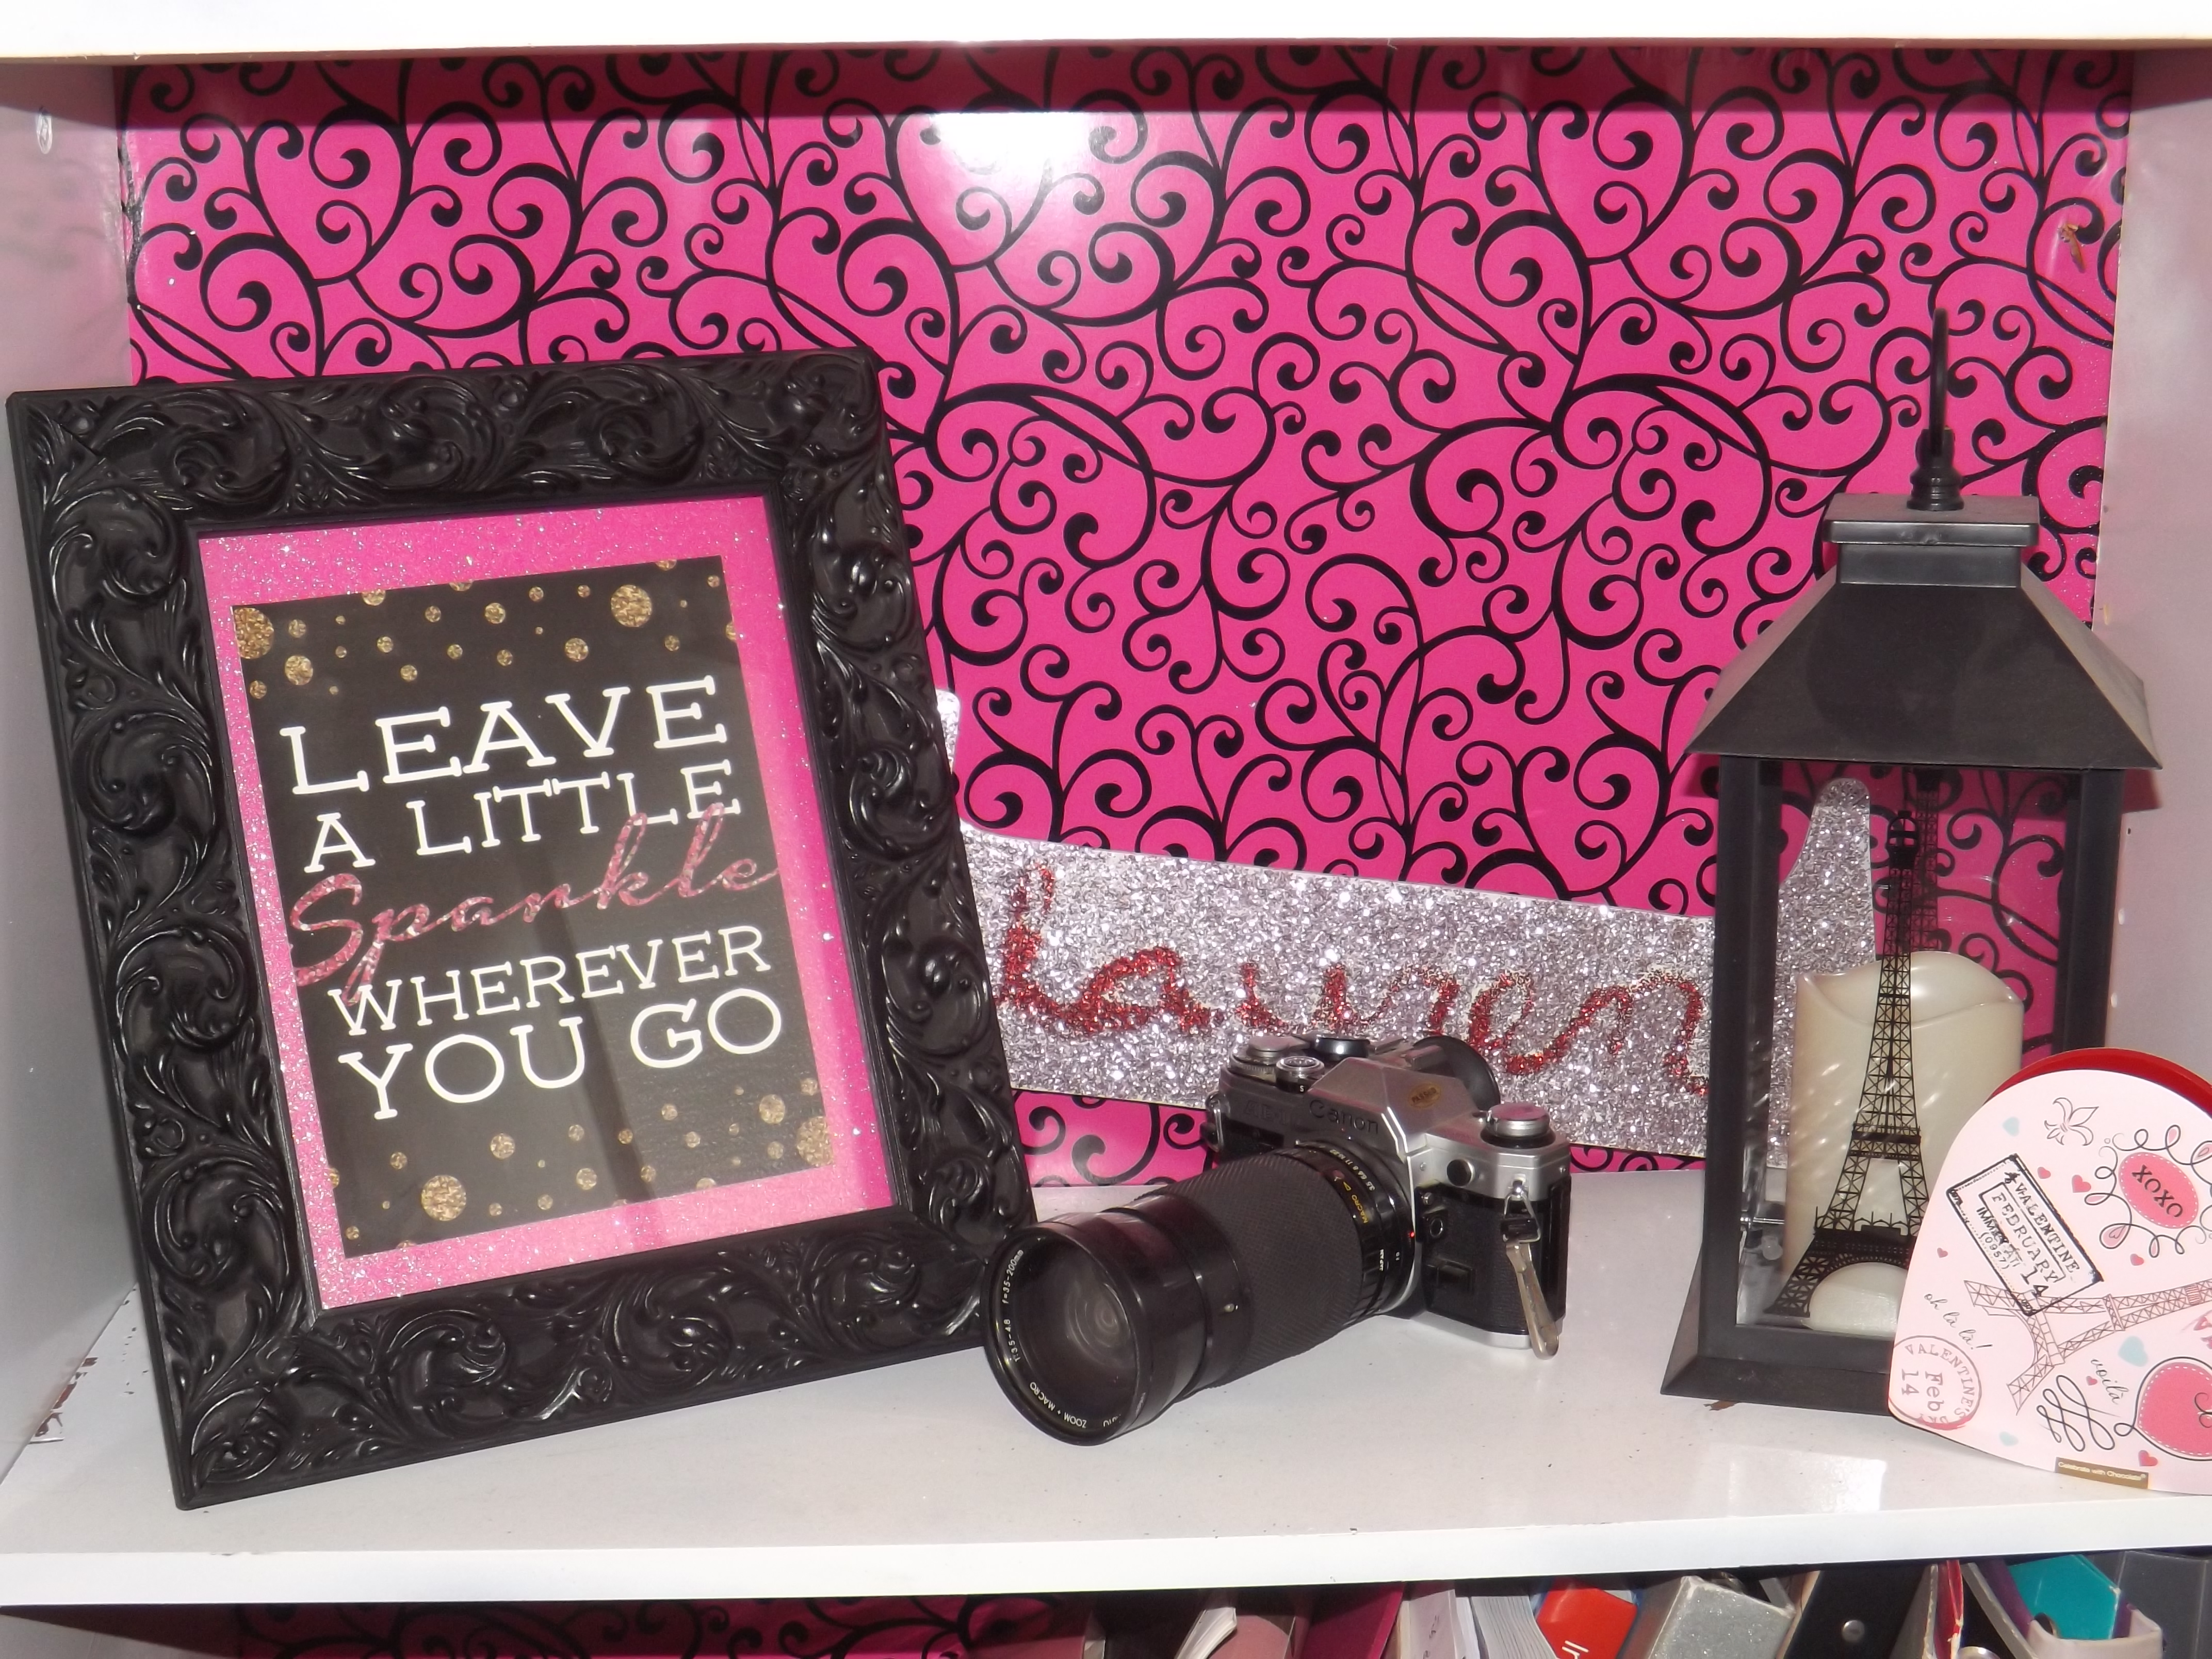
These are a few of my favorite things
And finally on my bookshelf, a few of my favorite things. A lamp that I bought from a yard sale, a box that had chocolate in it, a wooden L that I covered in glitter, an old fashion camera that could work if I put film in it, and a sign that I now use as my signature. My mom and I downloaded this from another blog.

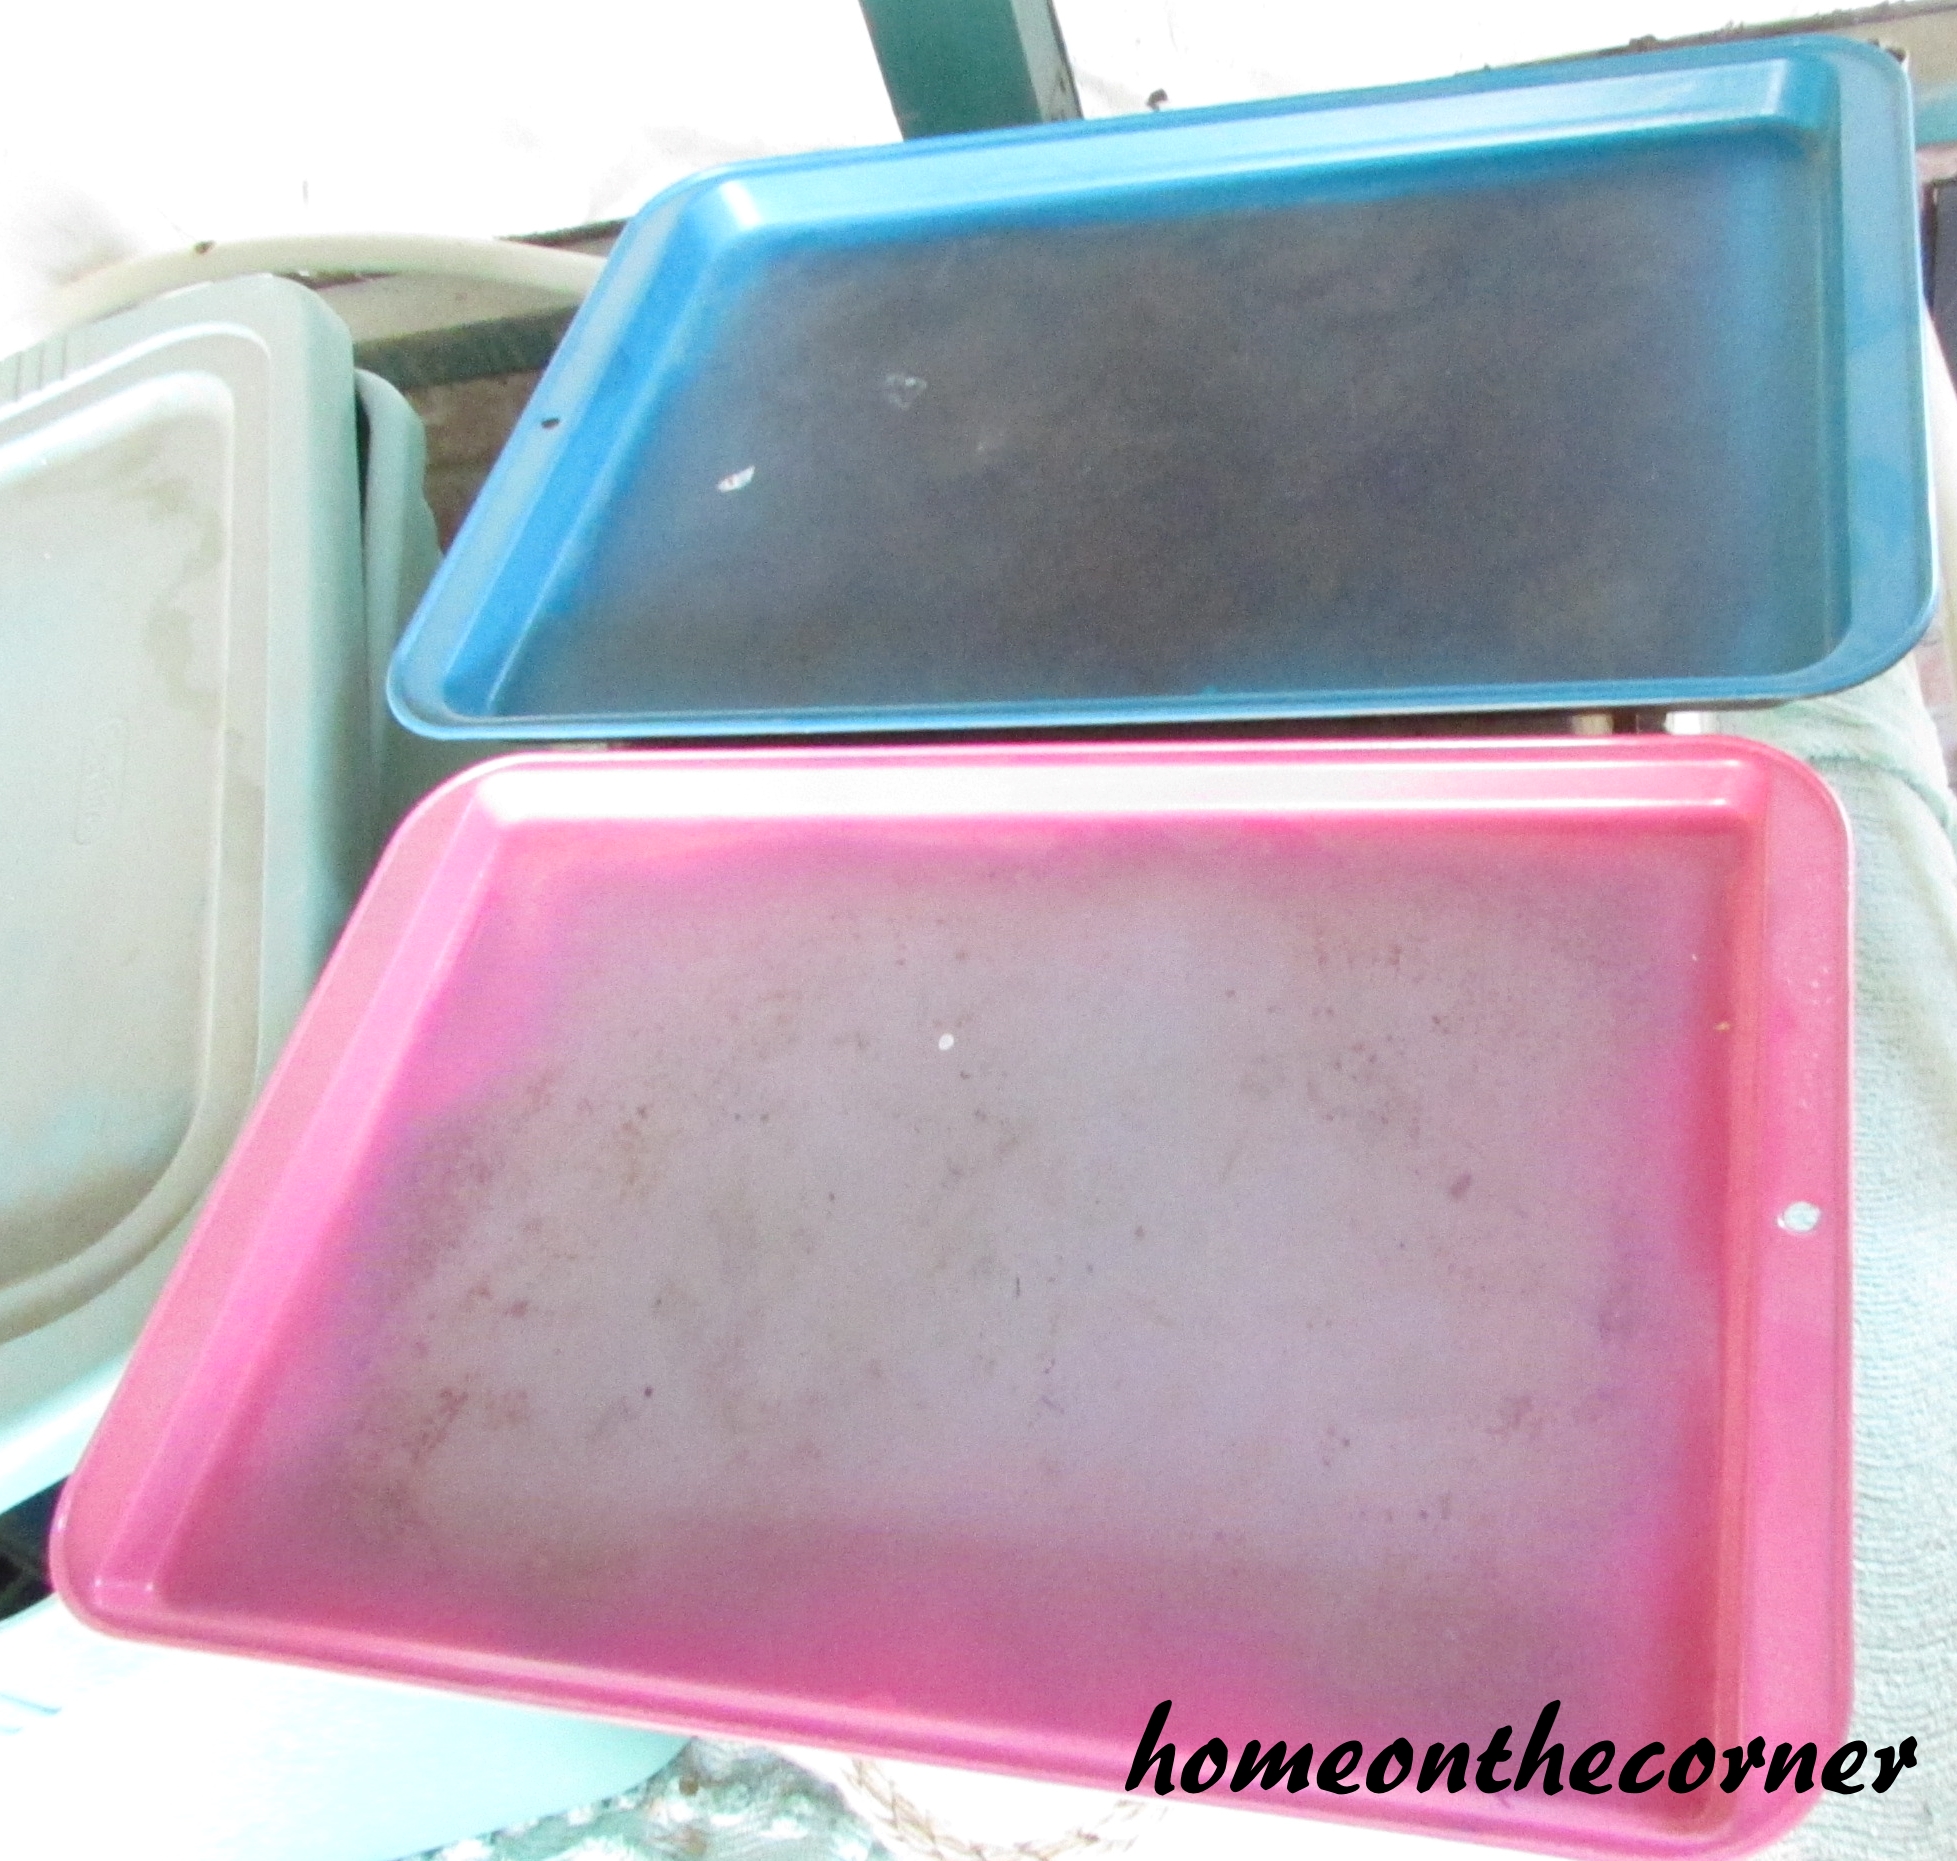
Chalkboard Calendar
And the final piece in my room, is this chalkboard calendar. I made this out of a baking sheet. It is hanging next to my door, and it’s awesome for being in school. I always hang my work schedule on the bottom of the calendar so I can see who I am working with, and I also put business cards from appointments on here so I can remember the dates and times. All I did was spray the inside of the baking sheet with chalkboard paint and write on it with chalk markers.
So…that’s my bedroom. Very different from my mom’s version of my room. Hope you liked a look into my bedroom and my life!