DIY Dog Costumes for Halloween!

Hello!  How is everyone doing this week?  We’ve been having some wonderful fall weather here! We usually don’t have much of a fall, so this is a welcome change. On Saturday night, our little family went to a corn maze and had so much fun! We actually were able to find all 12 checkpoints and only got lost a couple of times.

This week we are looking forward to Halloween (it is only a couple weeks away if you weren’t aware).  And we are taking a look at some Halloween costumes for our furry friends!  Now, my cats would think that it’s the worst thing in the world to be dressed up in a costume, but other people will dress their pets up for each Halloween.  So here are some ideas for you if you have decided to dress up your pet but you don’t have any ideas.  Enjoy!

This Ty Beanie Baby swing tag costume is easy to make and adorable on pets but can also be a great costume for their humans, too. I'm loving this for the Howloween Pet Parade!

This is so simple, but so cute!

Ty Beanie Baby Tag from Dream A Little Bigger

Lion Costume.jpg

My Maggie would look perfect as a lion!

Lion Costume from Instructables

hostess cupcake dog outfit

Yummy! I’m actually dressing mine up as snacks this year, so this one might be a possibility.

Hostess Cupcake from Sew Doggy Style

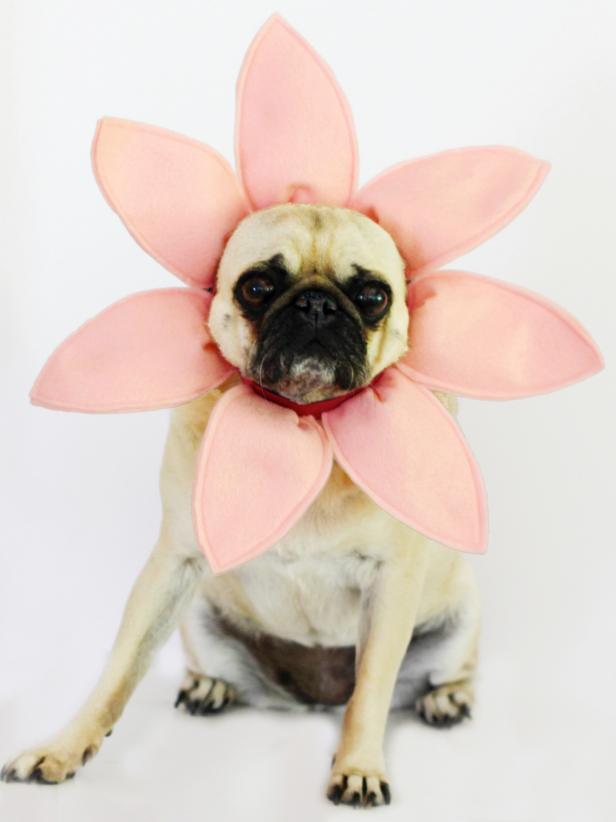
Flower Costume.jpeg

Aww! So sweet!

Flower Costume from DIY Network

dinosaur jackets


For this one, you can use a jacket you already own and just add felt to the back!

DIY Dinosaur Jacket from Crafty Carmen

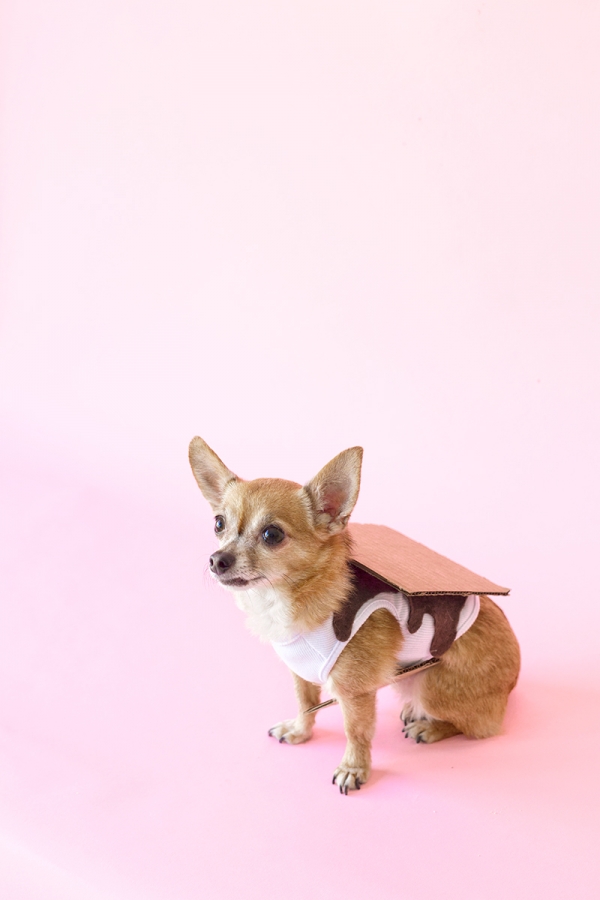
DIY Smores costume.jpg

Here is another snack costume. She looks good enough to eat!

S’mores Costume from Studio DIY

luffa-dog-costume-outside.jpg

Wouldn’t this be cute on some little tiny puppy? It would be all loofa!

Loofa Dog Costume from Crafts by Courtney

diy pirate.gif

Argh Matey!

Pirate Costume from Luigi and Me

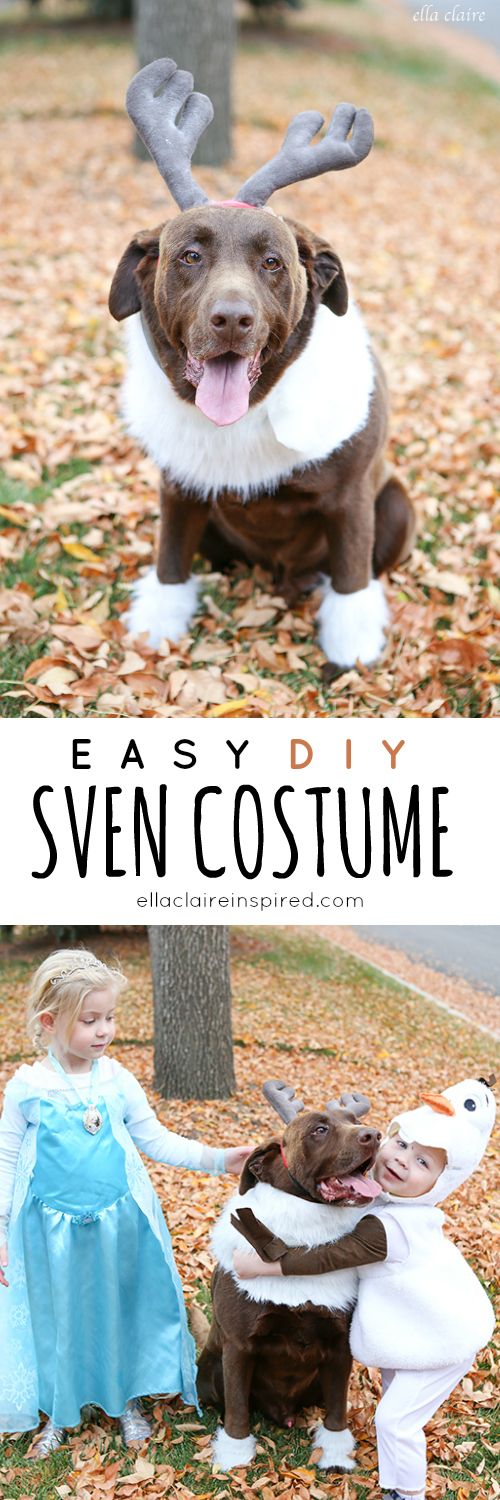
sven costume.jpg

Perfect addition to your little Elsa and Anna!

Easy Sven Costume from Ella Claire Inspired

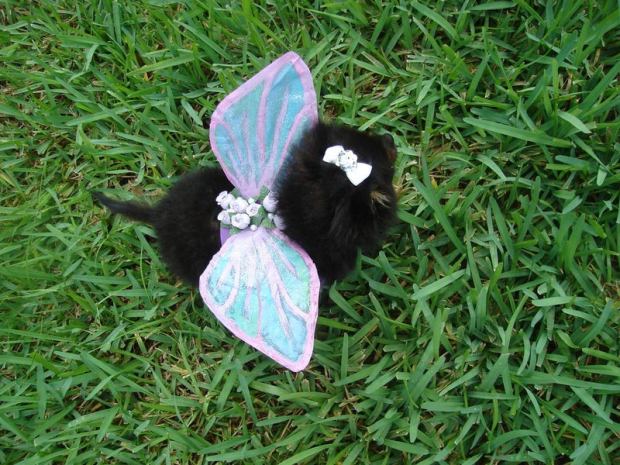
Puppy Fairy Wings.jpg

Soooo Cute!!!

Puppy Fairy Wings from Instructables

I hope you all have a safe and happy Halloween!

Sparkle

I’m So Excited About My RV Makeover!

rv makeover title

Good morning! I’m so excited about this post today! If you are on Pinterest at all, you have probably seen a RV makeover. So many of them are amazing! I have always wanted to do one, but have a couple of reasons for holding back.

  1. The only time I really have the time to do all the work in a full RV makeover is summer. Our summer has averaged between 95-108 degrees. Too hot to be out in a trailer!!
  2. I don’t have a good place to work on the trailer. My trailer is parked in my driveway, right next to my neighbors yard. I wouldn’t have been able to pull stuff out of the trailer without constantly being in their yard. I don’t think they would appreciate it and I wouldn’t do that to them.
  3. Did I mention it’s hot?!

Anyways, I had kind of put it out of my mind. Sort of. But then I realized, I could do a partial makeover. Duh! I could make some changes, but not go all out. My trailer is a 1999 Rockwood, 21 feet long, with the beds folding out of the ends.  I knew I wanted to change out the fabric on the cushions and the curtains, which were very 1990’s. Of course, then my mind just kept spinning and I came up with more changes. Anyways, here are some of the before pictures.

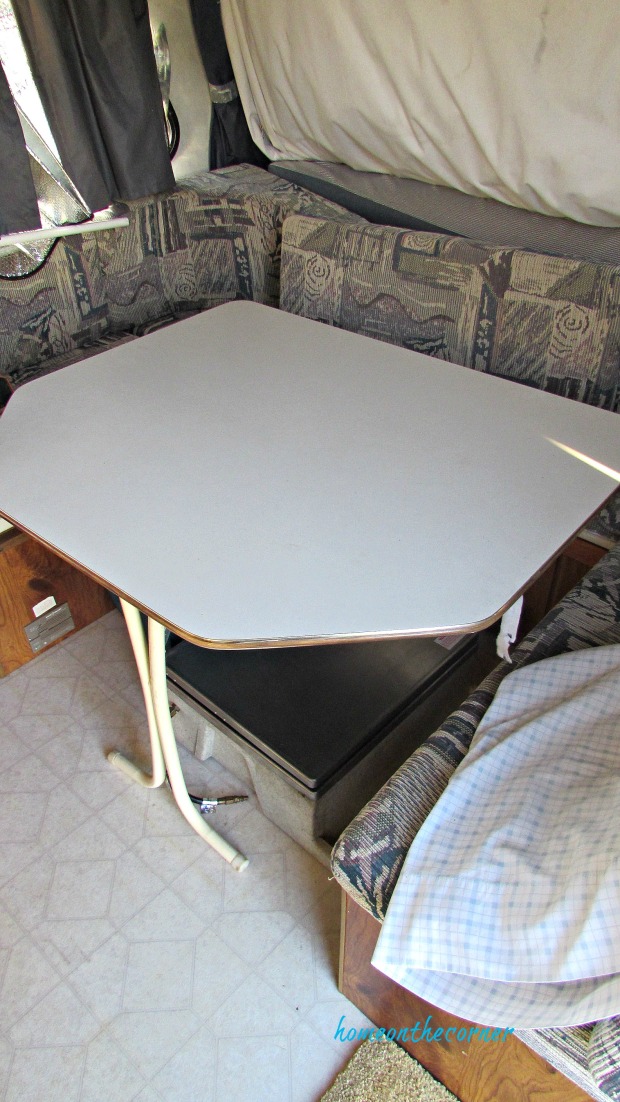
Dining area and bed, table also makes into a bed
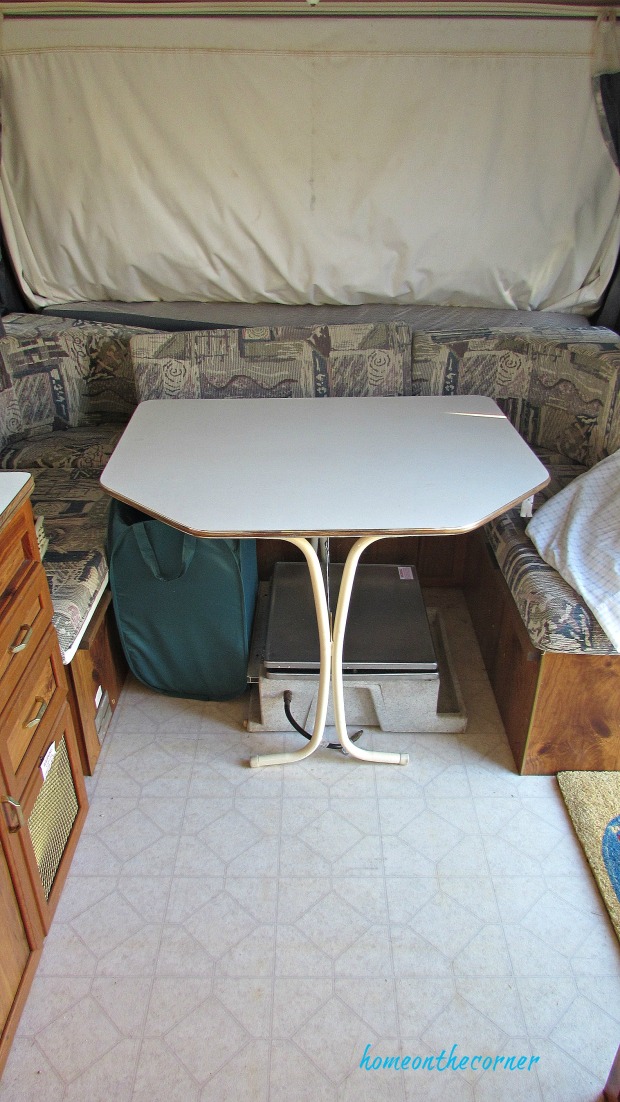
rv makeover table beforerv makeovere table and benches

Kitchen

rv makeover kitchen before

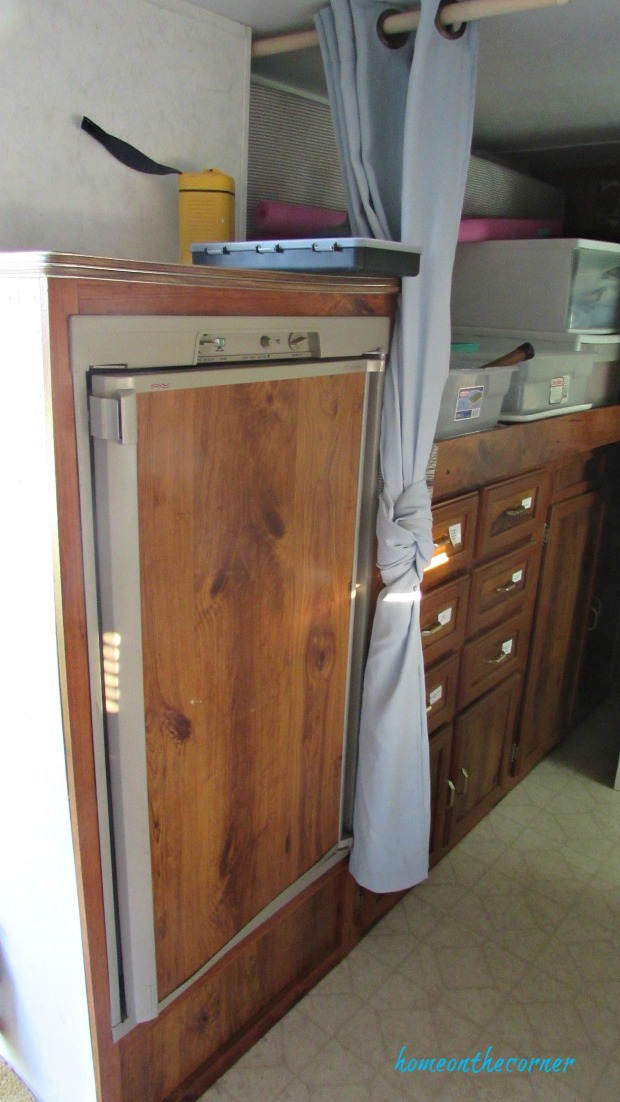
Refrigerator

rv makeover fridge before

Storage area and another bed in the back, bathroom on the right
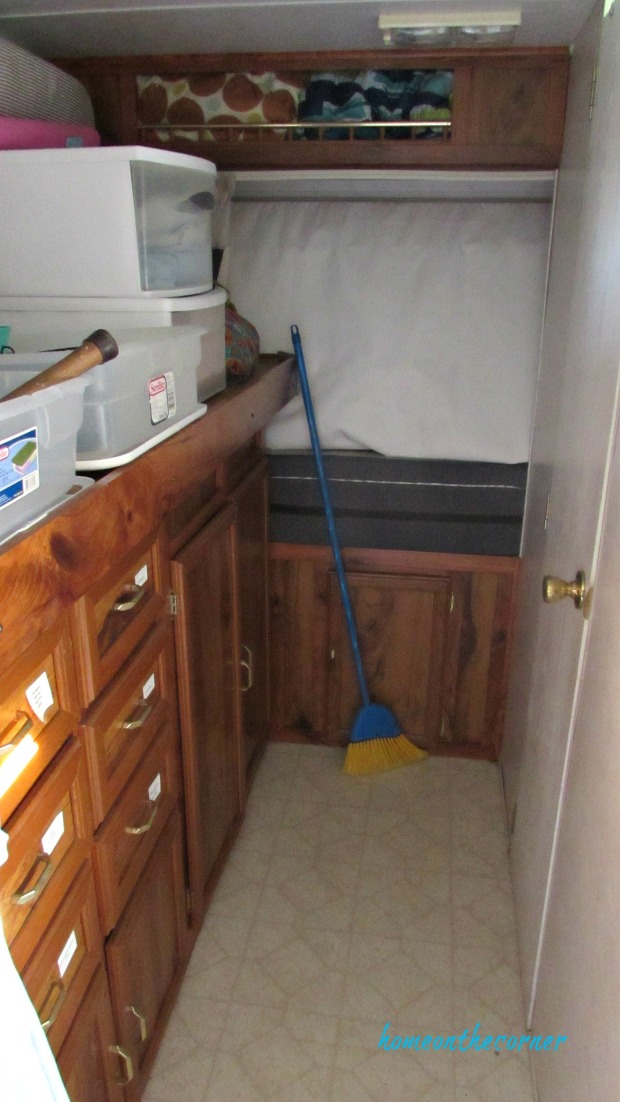
rv makeover before cupboards

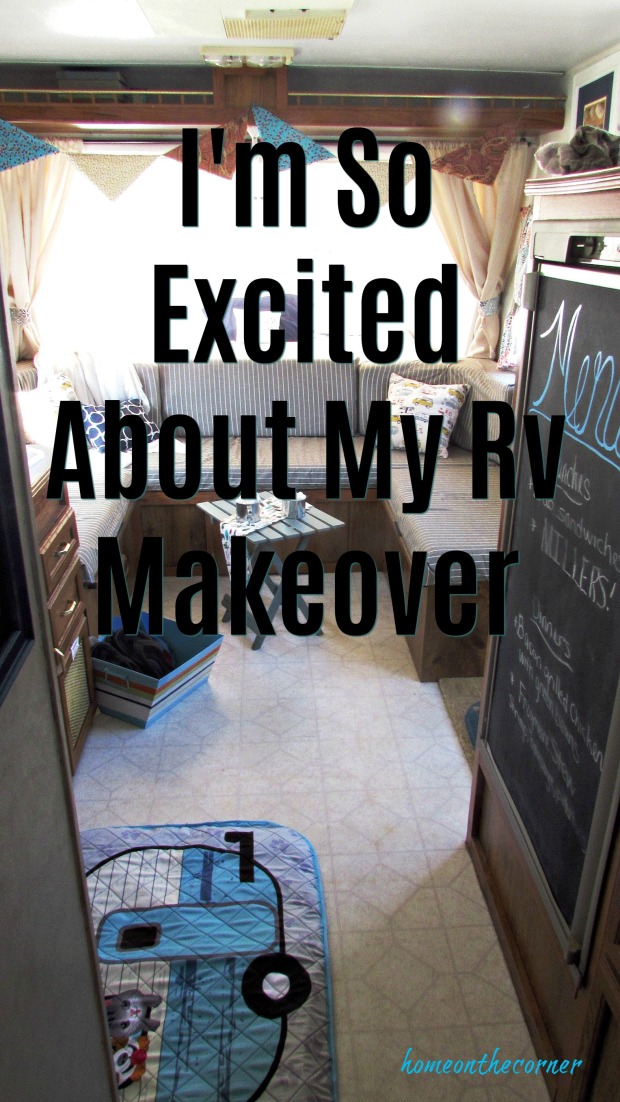
That’s it in all it’s glory. In my makeover, I didn’t do any painting or major changes. The linoleum flooring really needs changing, but that will have to wait for another time. I am not much of a seamstress, but I managed to get the cushions covered with a slight short cut. I will show you a little here, but I will do another post next week to show you what I did. Here it is! I love it!!

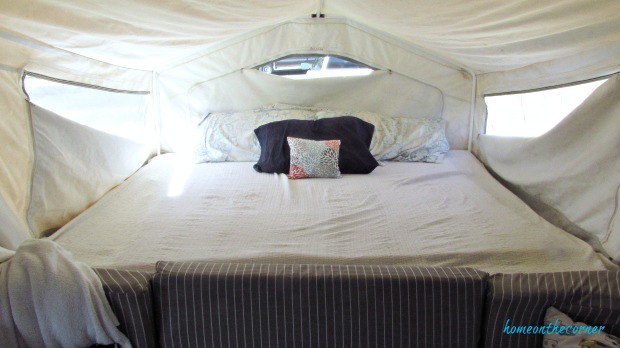
The door is just on the other side of the refrigerator and you walk straight into the kitchen area. In the front is the seating area and then one of the beds that pulls down. You saw the table in the before pictures,  but it is so big, it’s hard to get in and out of the seats, so we only use it when we actually have to use it for a bed.
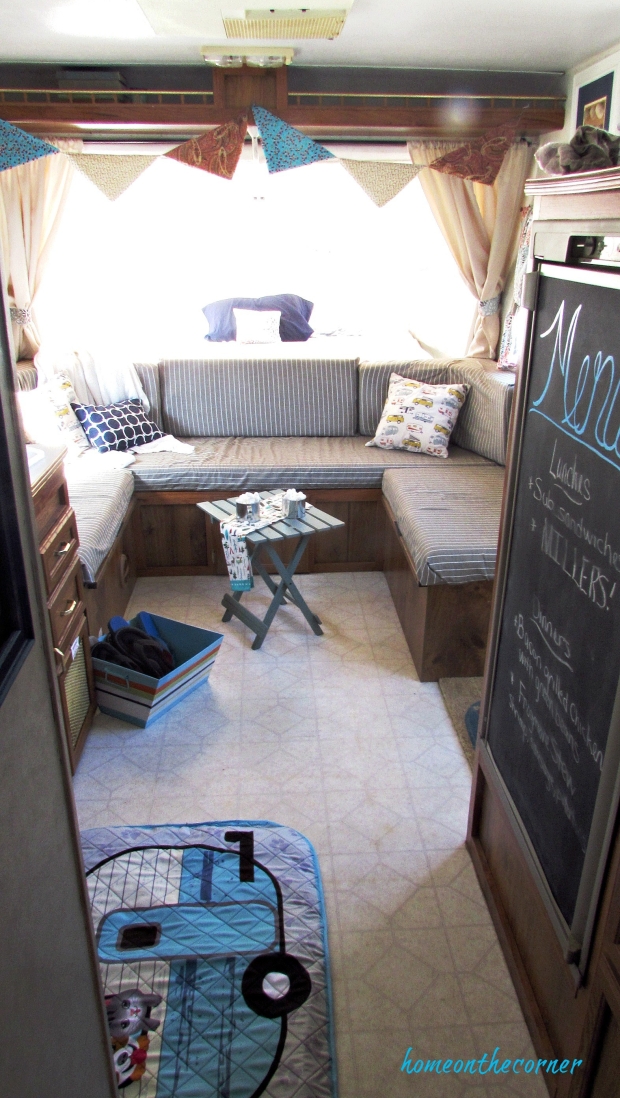
rv makeover full view

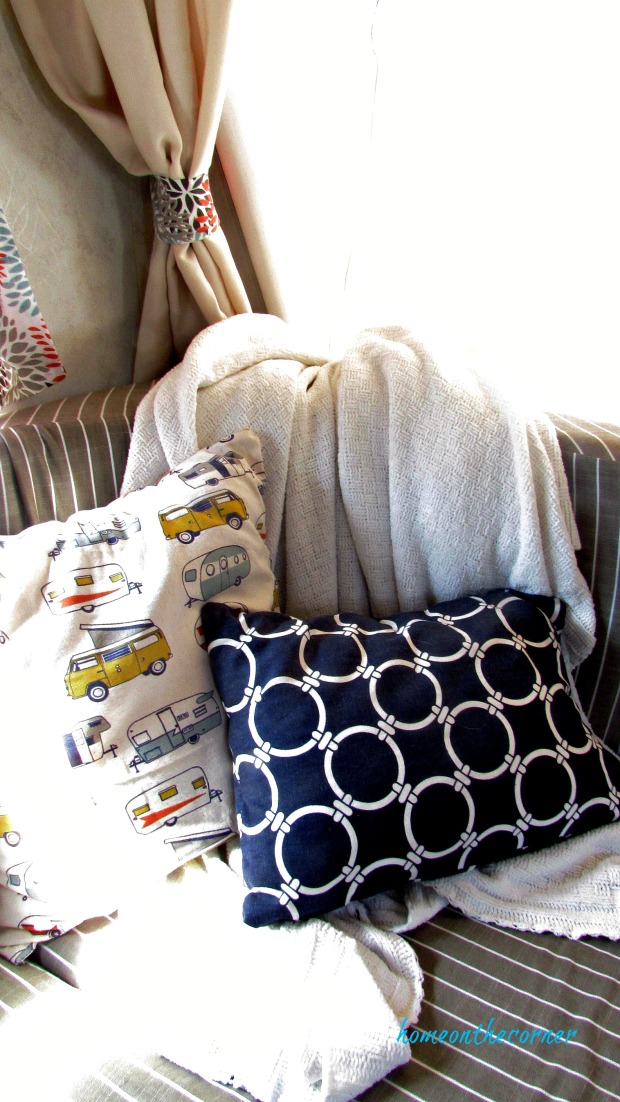
I found the olive/grey striped fabric on clearance at Hobby Lobby for only $4.00 a yard. That was how I decided what colors to use! Lauren and I also found the cute trailer and camper fabric that I had to have! It makes the cutest pillows. The last fabric was the curtains, and these had the perfect colors so they all coordinated together.

Grey and White Fabric  *  Camper Fabric  *  Floral Fabric

rv makeover new curtains, cushions, pillows

I also used the fabric to make curtain tiebacks. I wasn’t going to make curtains to separate the beds from the rest of the trailer, but after making the the other new curtains, I couldn’t leave the old ones up! They looked terrible! All the curtains were faded, dirty and torn. I used some old curtains I already had on hand and put them up on curtain rods.
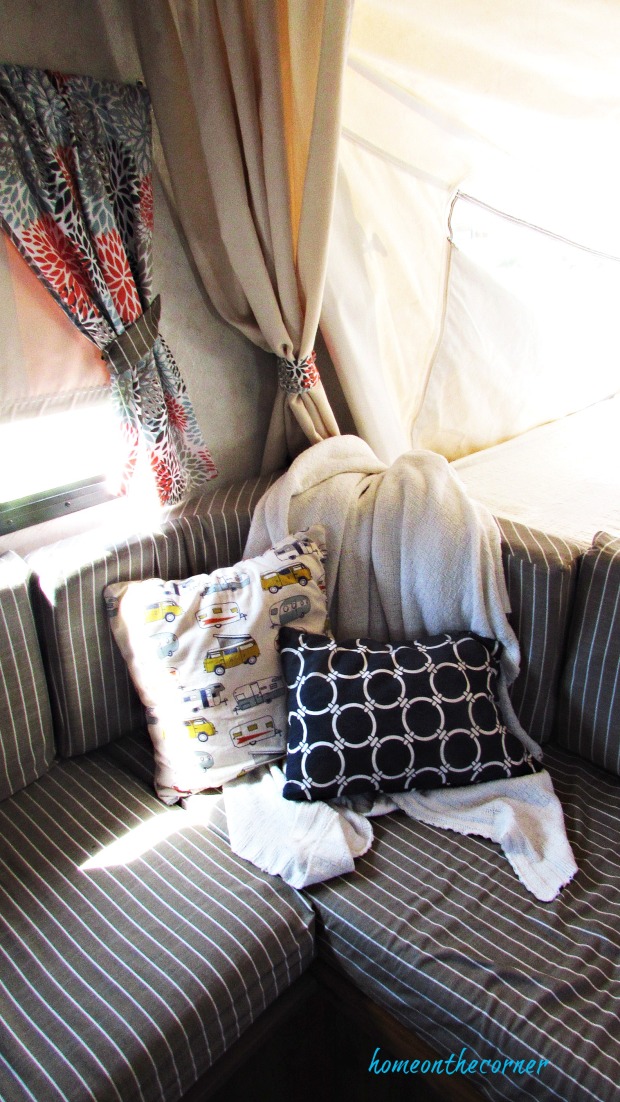
rv makeover striped cushions, trailer pillowrv makeover striped cushions and bedrv makeover bed

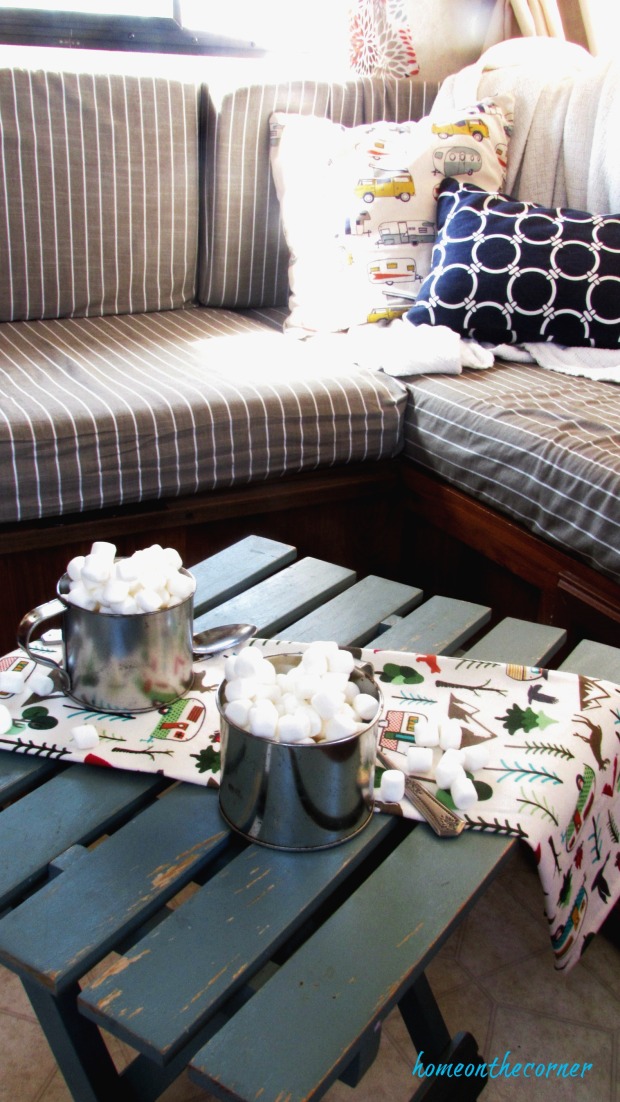
Instead of the large table, I used this little folding table in the middle. It looks so much cuter! I just found this towel and a coordinating one at the lake this past weekend. It is the perfect match to the colors I had used. And of course, hot cocoa is a must when camping!

Camping Life Towels  *   Tin Cup   *    Mocha Table   *   White Table

rv makeover hot cocoa with marshmallowsrv makeover small table with hot cocoa and marshmallows

I also added a valance above the kitchen sink and the stove. There hadn’t been one at all before. This made it look much softer and ties in with everything else.
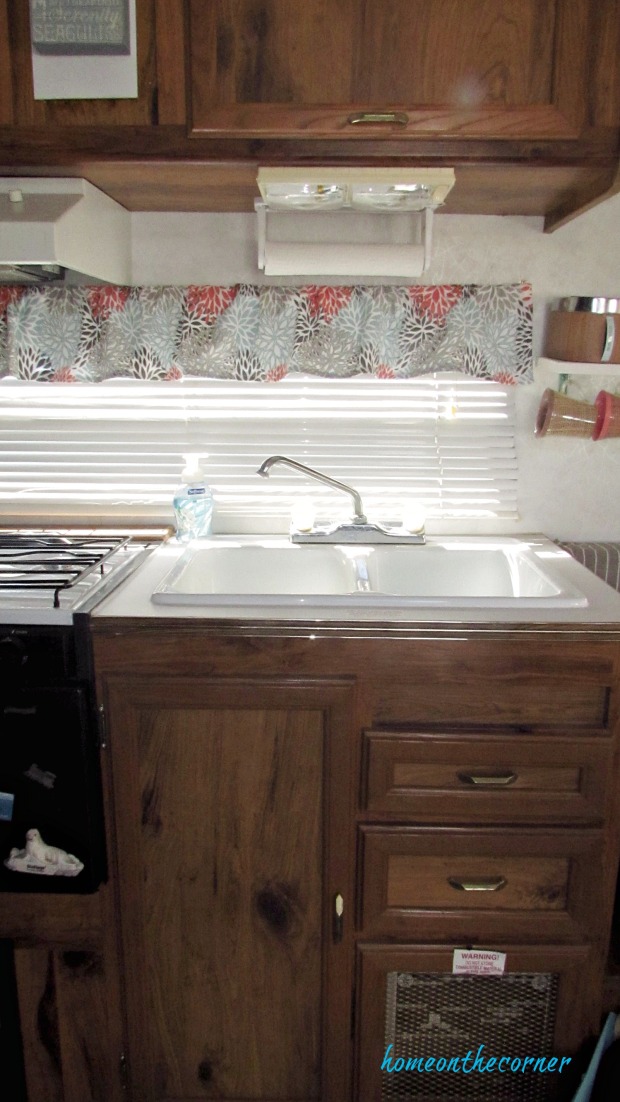
rv makeover kitchen

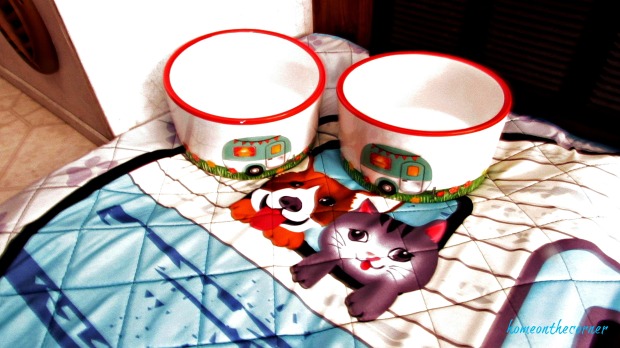
And this new pet bed! Isn’t it adorable! The bowls even match! We always take our dogs camping when we go, so I just had to have this! Of course, the turquoise is perfect! They came from Lakeside Collection, but I found similar ones on Amazon.

Camping Pet Dishes   *   Camping Pet Bed
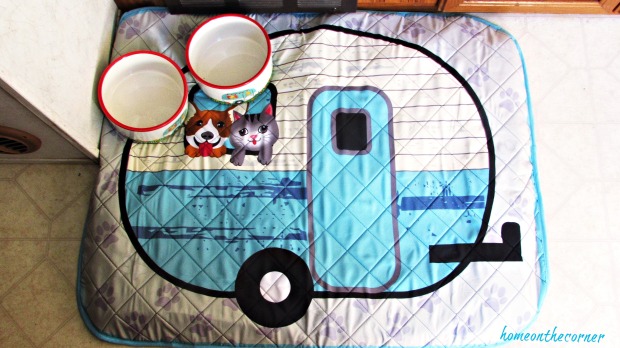
rv makeover trailer dog bedrv makeover trailer dog dishes

I also painted the front of the refrigerator with chalkboard paint. The faux wood piece in the front just slid out so I was able to paint it outside the trailer. Now I can write down the menu for the weekend.

Bristro Chalk Marker   *  Chalkboard Spray Paint
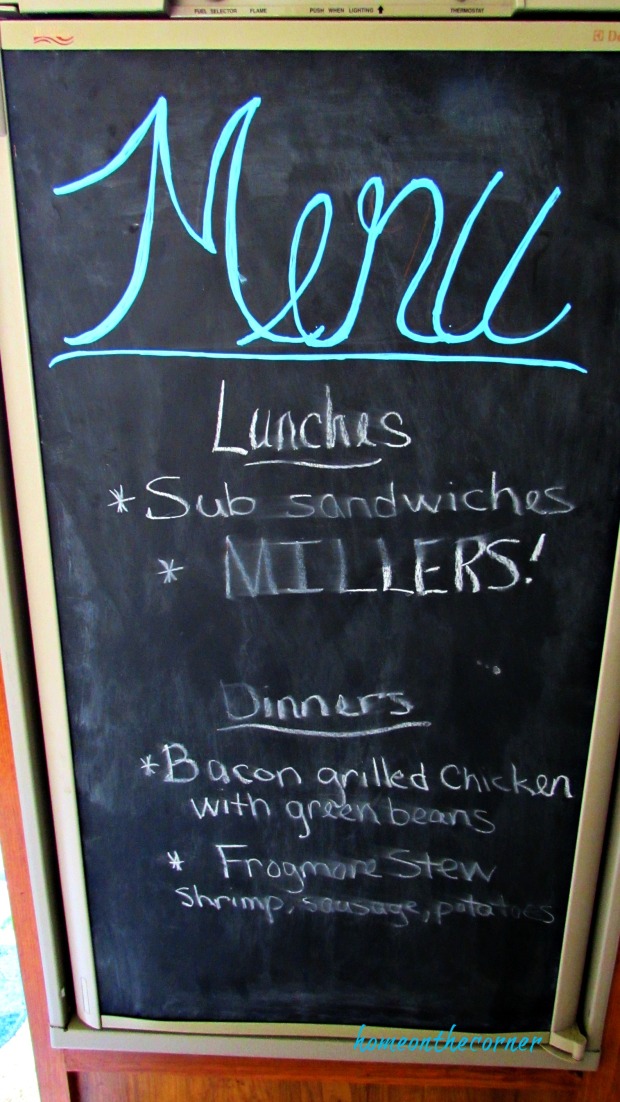
rv makeover chalkboard refrigerator


Haley had given my these lights awhile ago, and I thought they would look cute in here. I hung them above the refrigerator along with the divided basket. I used some white foam tape on the bottom of the basket so it doesn’t move and fall off when we travel. This is the perfect place for a box of Kleenex and holding items such as keys, change and sunglasses.

Rattan String Lights   *   Divided Basket   *   White Foam Tape Squares

rv makeover hanging lights and basket

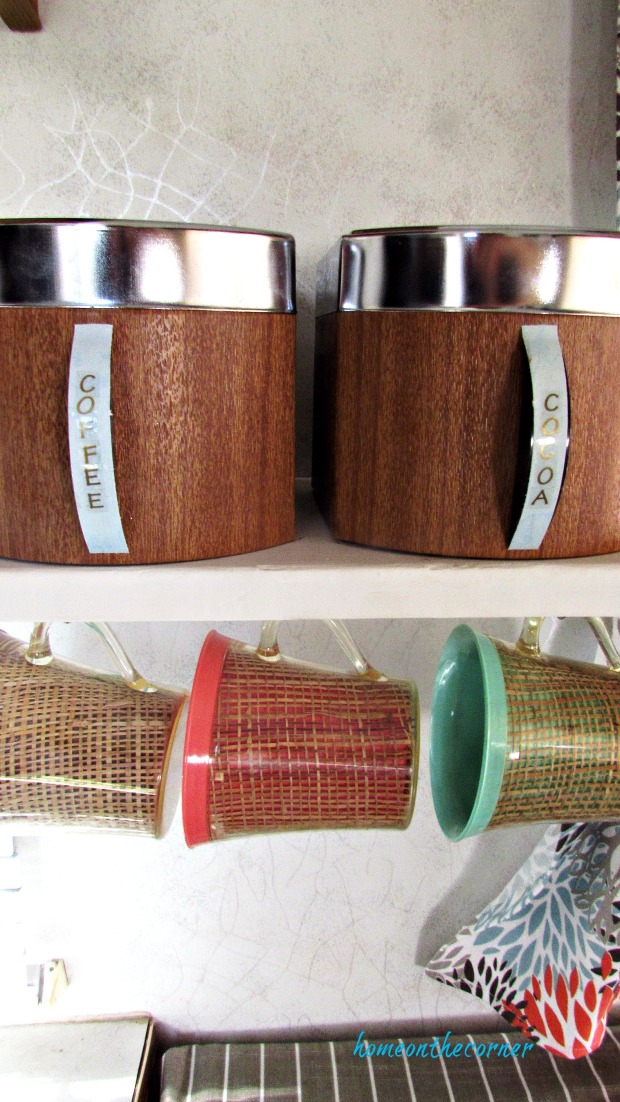
I love these canisters! My aunt and uncle were getting rid of these and I snatched them up! They are so retro! The lettering was for coffee and tea and I changed it with some scrapbook paper and stickers to coffee and cocoa. When we used to have a cabin at the lake, we had cups like these. Several years ago, I found these at a yard sale. I can’t believe how perfect they go with with all the other decor.

Black Canisters  *  Galvanized Canisters   *   Happy Camper Mug

rv makeover coffee and cocoa stationrv makeover canisters and mugs

Here’s a little sneak peek at how I covered the cushions.
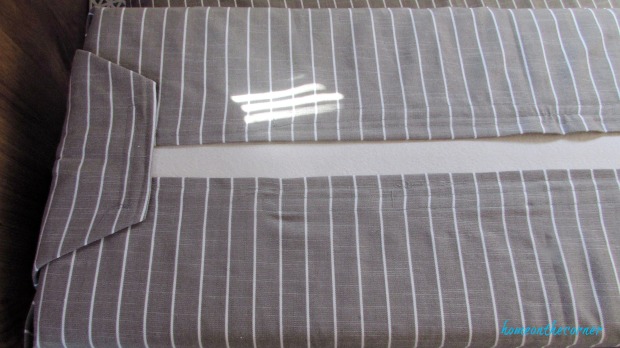
rv makeover cushion covers with velcrorv makeover striped cushion cover with velcro closure

I sewed the curtain tiebacks and added small plastic rings to the ends. Then I screwed a cup hook into the wall and can place the rings on the hook.

Cup Hooks   *   White Plastic Rings   *   Sew-on Velcro   *   Stick-on Velcro
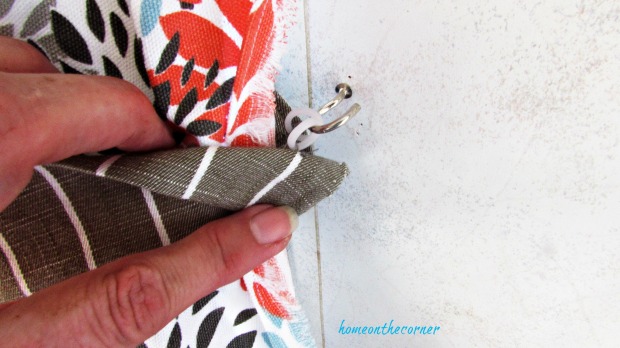
rv makeover curtain tiebacks with hooks

I used the seashell specimen art I made a couple of years ago, to hang on the wall. Another blogger used Scotch Extreme Mounting Tape.  It’s amazing! Even over all the terrible roads, none of the pictures or other items I hung up with this tape have fallen when we traveled.

Scotch Extreme Mounting Tape
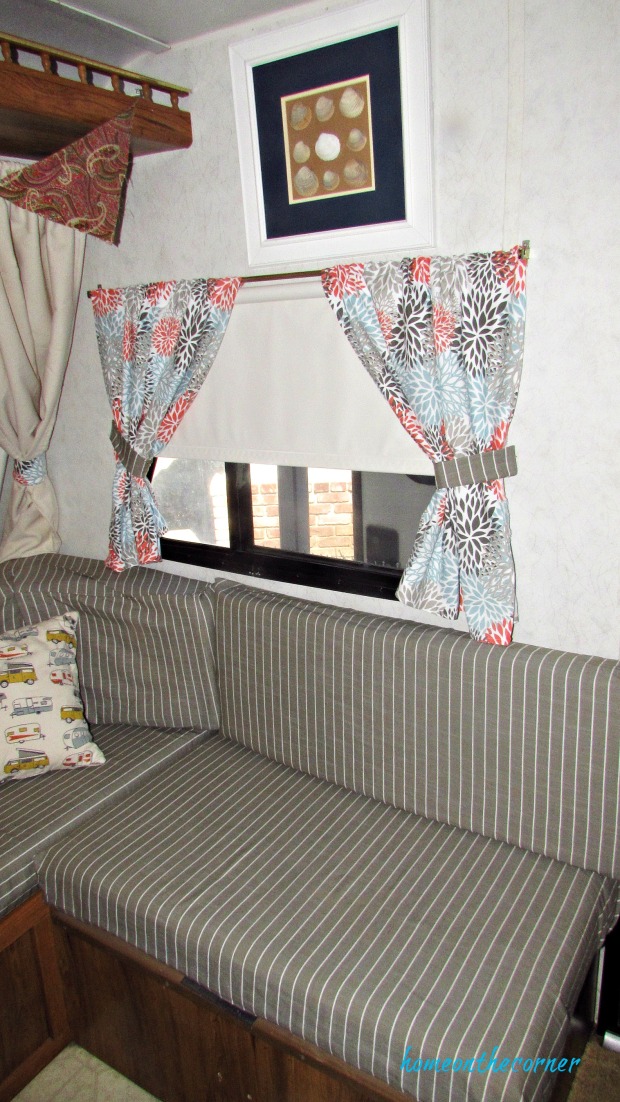
rv makeover striped cushion covers and curtainsrv makeover navy pillow camp pillow

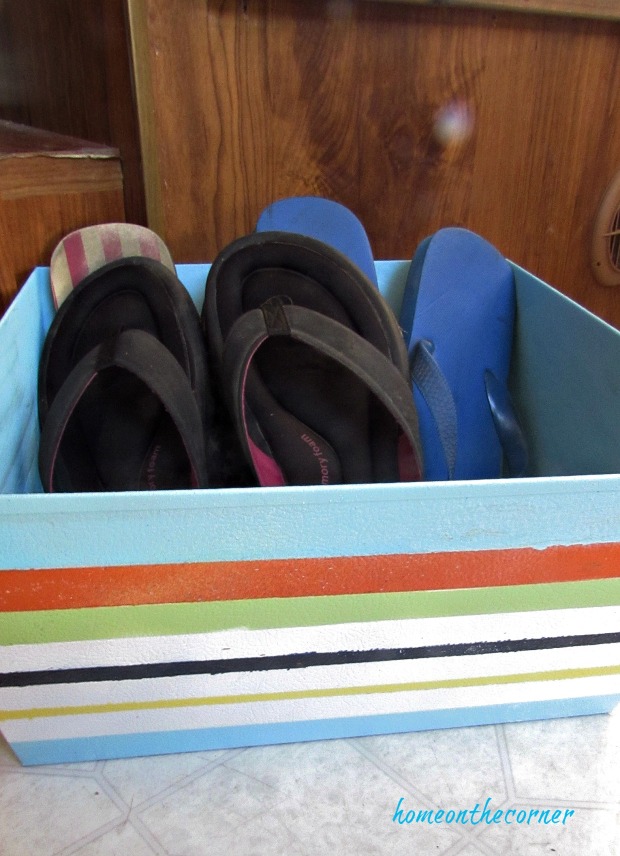
I also painted this metal box to use as a shoe holder when we camp. It’s so much easier to have flip flops right by the door, so you can slip them on quickly to go in and out of the trailer. I painted the stripes with spray paint to match the ones on the shower curtain in the bathroom.

Galvanized Bin   *    Rustoleum Spray Paint
rv makeover metal striped box

The hooks are a great place to hang our dogs’ leashes when not in use. Perfect! Isn’t this little lantern the cutest thing! It was an Avon aftershave bottle. I just poured out the aftershave and washed it out really well. 🙂

Command Key Rail   *   Tiny Coleman Lantern

rv makeover coleman lantern and leash

I placed some old books and a candle up above the table. I used the same white foam tape to keep them from sliding around. I made the fabric banner a few years ago and hung it up across the front of the bed. It’s made from fabric squares and twine.

rv makeover books, candle, banner

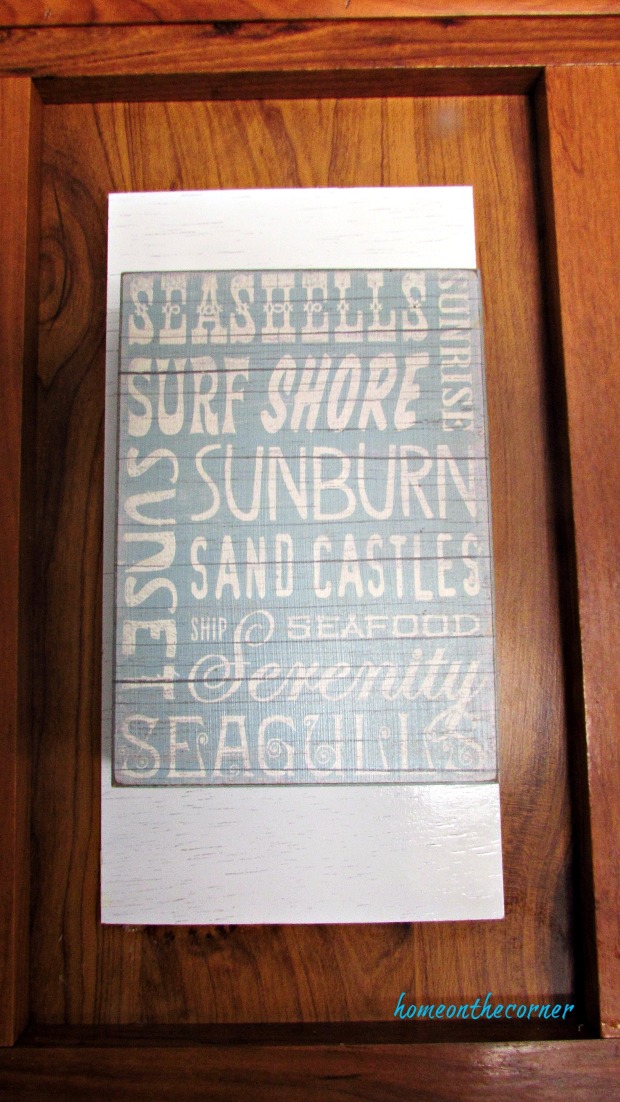
There was a hole here in the cupboard panel where we removed an old speaker. I painted a small piece of wood white, glued it to the panel and then hung the beach sign on it.

Beach Sign
rv makeover beach sign

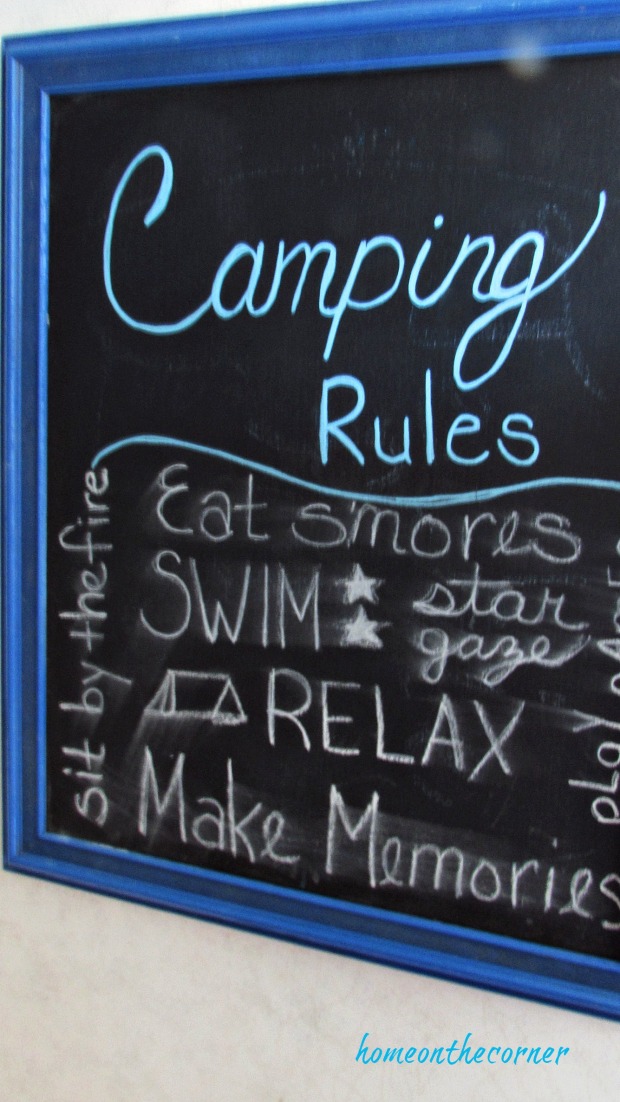
The last thing I added was a Camping Rules chalkboard. This was an old sign I had and so I added some of the ‘rules’ and hung it next to the bathroom. It got rubbed against a few times during this weekend. 🙂 I need to get a new white chalk pen!
 

rv makeover camping rules chalkboard

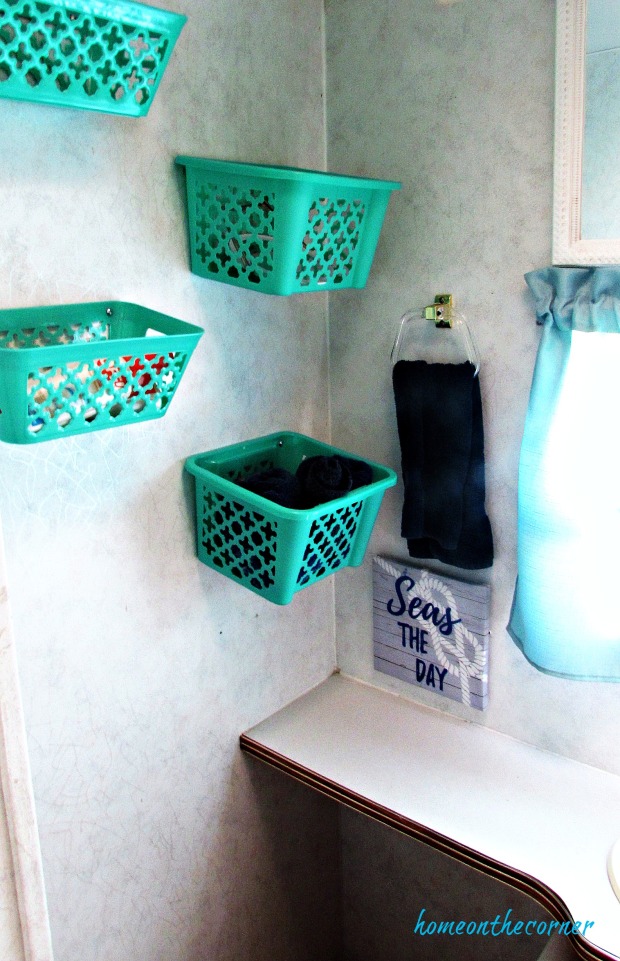
I don’t have a before of the bathroom because I changed this room before I decided to do the rest of the trailer. This wall used to have a medicine cabinet on it. I took it down and added these baskets to store all our personal items in. I added a little picture on the wall below the towel mostly to cover up some holes in the wall. The mirror on the right is the mirror from the medicine cabinet. We removed the mirror from the cabinet and hung it above the window.

Grey Plastic Bins   * Seas the Day Plaque   * Striped Shower Curtain
rv makeover turquoise baskets

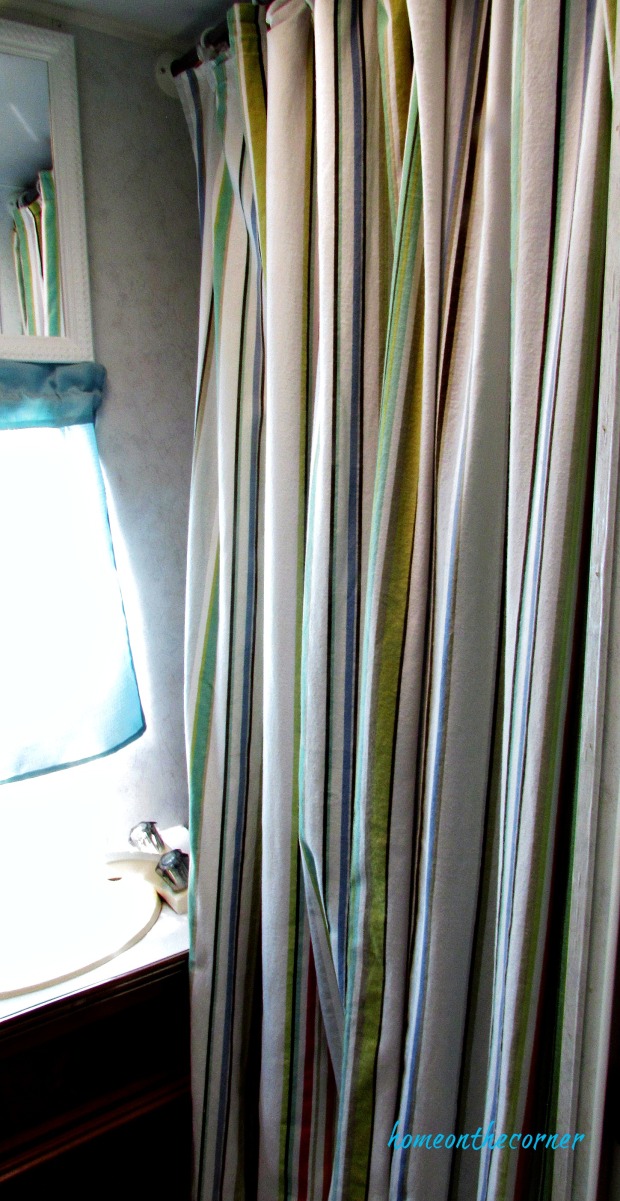
I hung up this striped curtain over the shower. It used to have just a plastic curtain, but this is so much cuter!
rv makeover bathroom shower curtain

I bought this towel along with the other one on the little table because ‘This is how we roll!’ I also collect magnets from the different places we visit and place them on the oven door. I love the memories it brings back!

rv makeover kitchen towel

So what do you think? I love it! As I was sitting in the trailer this weekend, I looked around, and just love how it all looks together! I’m so happy I took the time to do this makeover! I would love to hear your comments! Thank you so much for coming by!

sunshine-and-blessings-picmonkey

Dog Toys Round Up

Hello everyone!  I hope you are all doing well!  I am so ready for today because I get to go out of town this weekend and see Haley!  I know, it’s only been two weeks since I’ve seen her, but I still miss my sister.

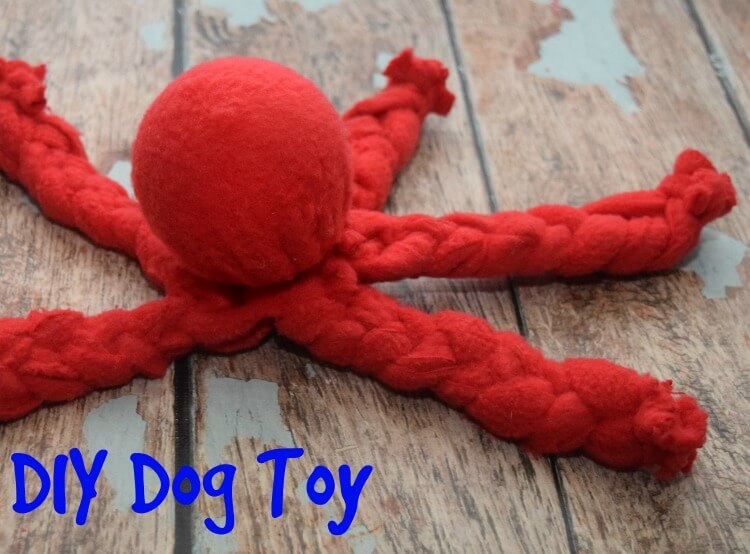
Anyway. This week is all about our dog toys.  Yes, mom has 4 and I have 2 cats who definitely think that they are dogs.  So here are some awesome toys you can make yourself for your four legged friend.

Make this easy DIY Dog Toy & feed your dog #NutritionWorthWaggingFor! #ad #diy

A DIY Sweet Potato Dog Toy from The Tiptoe Fairy

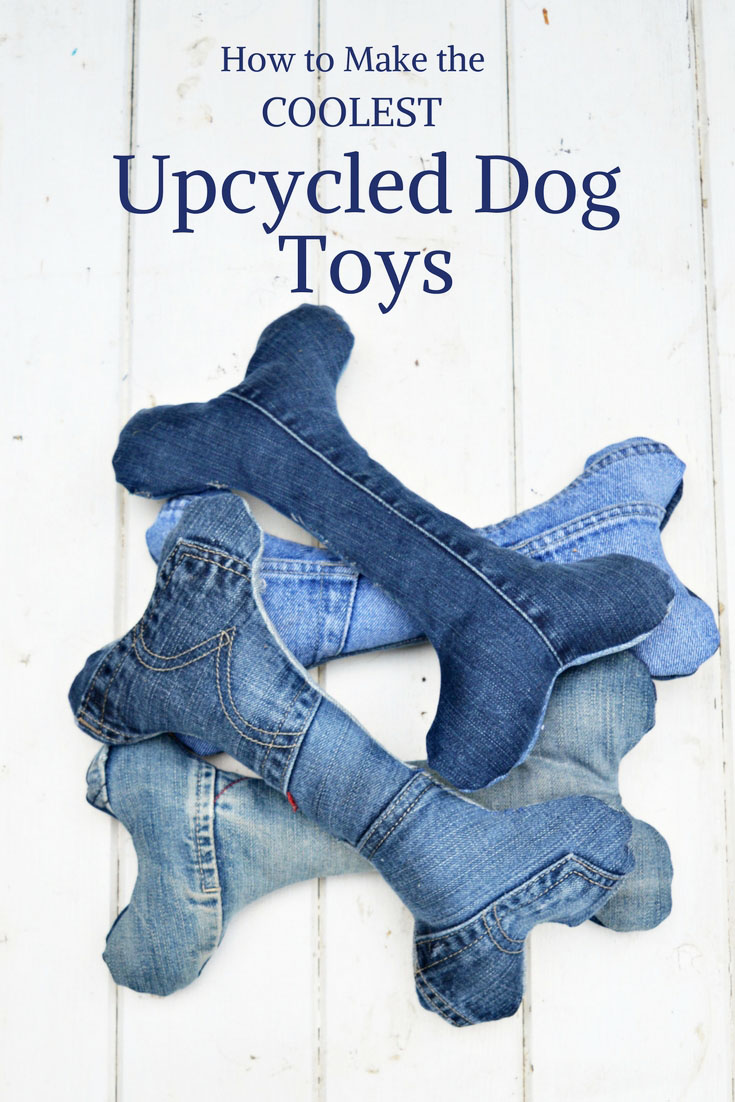
How to upcycle your old jeans into some cool handmade dog toys.  complete with squeakers.

Blue Jean Dog Toys from Pillar Box Blue

Cheap Dog Toys from The Cozy Condo

Square Knot Fleece Tug Toy from Dalmation DIY

Tennis Ball Ring Toy from Proud Dog Mom

Picture of How to Make a Ball and Rope Dog Toy

How to Make a Ball and Rope Toy from Instructables

DIY No-Sew Crinkle Dog Toy (Guest Post)

No Sew Crinkle Dog Toy from My So-Called Chaos

 Sparkle

Christmas in the Guest Room

Good morning! Welcome to another room on the Christmas tour! It’s been so fun to decorate this year, since I didn’t get to last year. I may have gone just a bit crazy! But I love how it has all turned out!

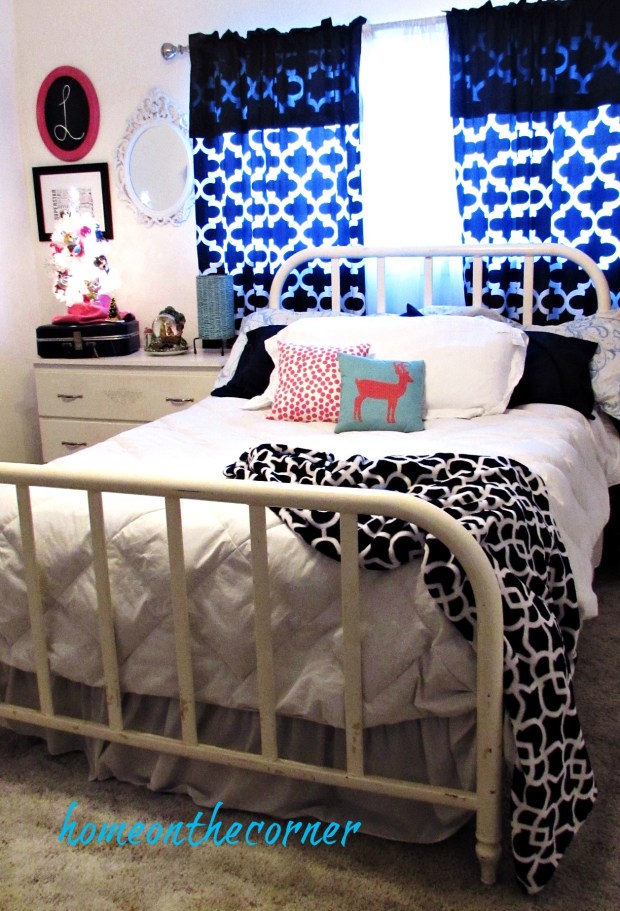
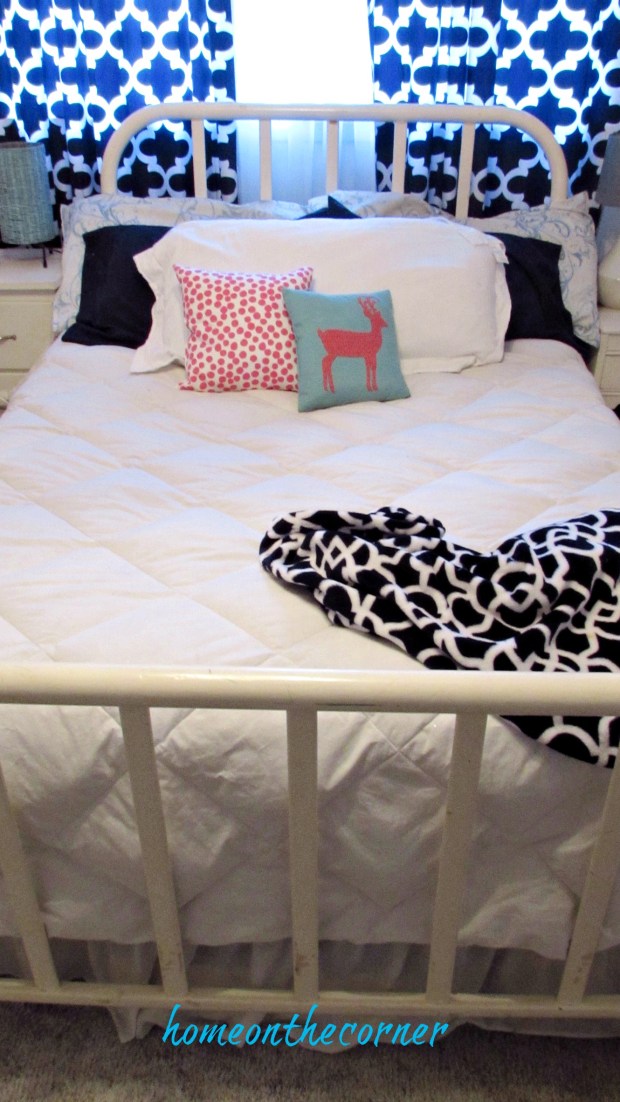
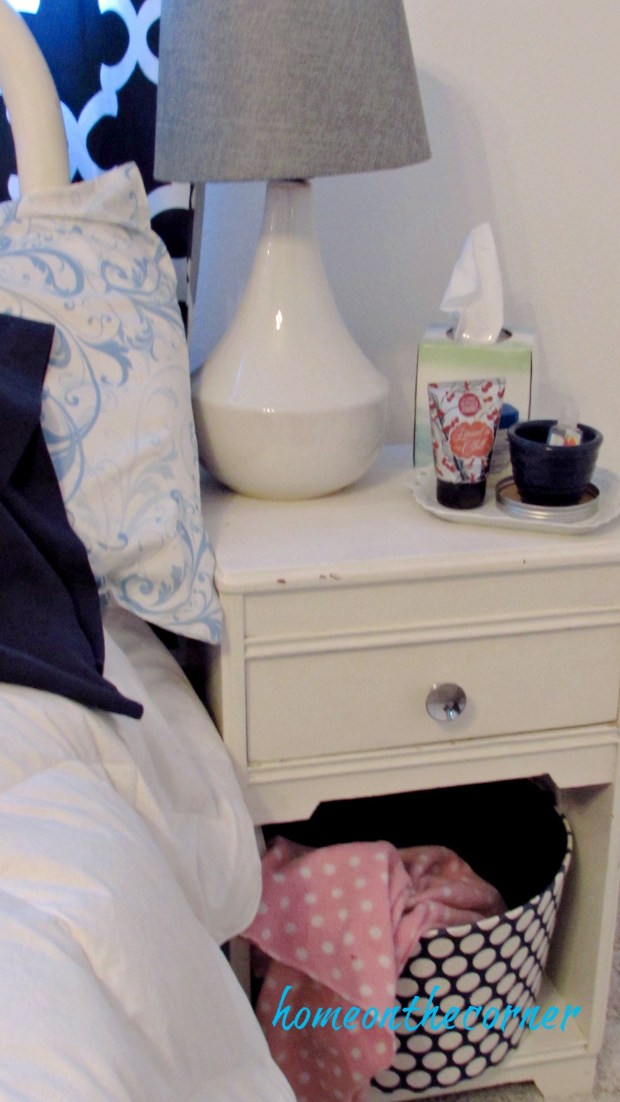
My guest room is decorated in bright pink, blue, green and some turquoise (of course). No matter how hard I try, the turquoise just seems to creep in! I kept all my usual pieces in the room and added some pink Christmas touches.

Christmas in the Guest Room Pink and Blue

I love the little reindeer pillow! I found him on clearance a few years ago and he had to come home with me. The pink polka-dot pillow actually has a flamingo on the other side, but this side worked perfect for Christmas.

Christmas in the Guest Room Pink and blue reindeerChristmas Guest Room Side Table

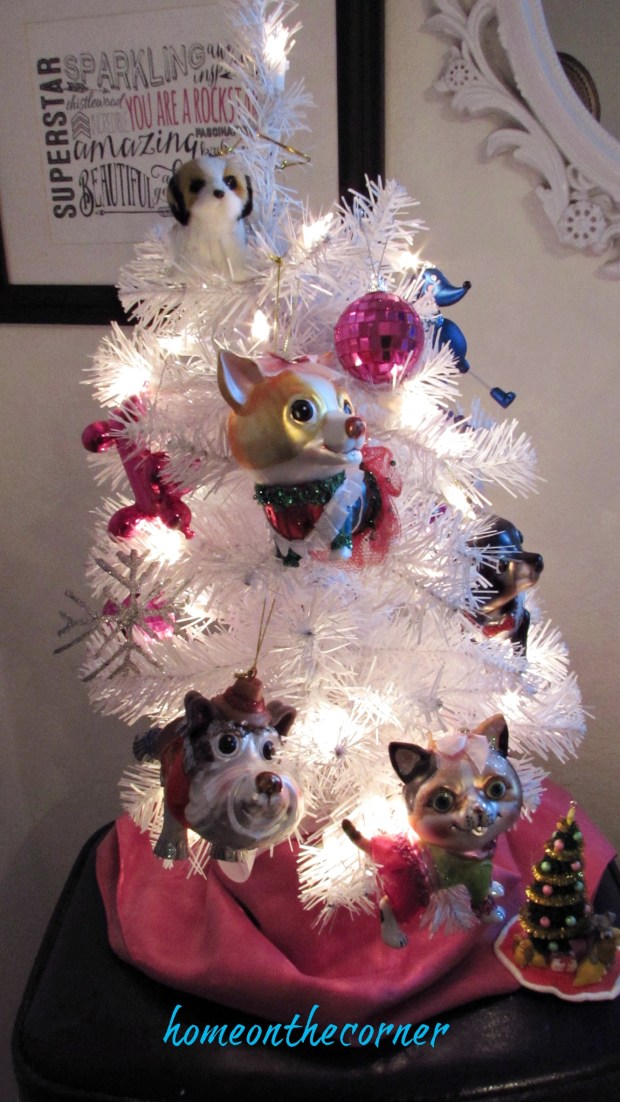
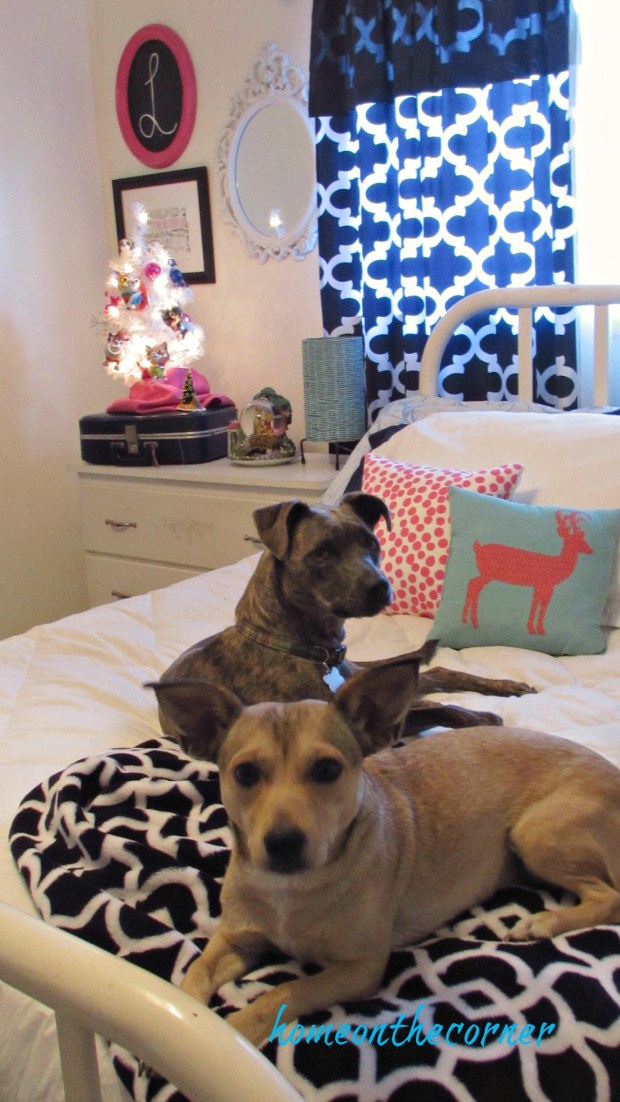
I added a small white tree to the dresser and then hung my glass dogs and cats. I don’t have one for all my pets yet, but the ones I do have each look similar to one of my own. Well, not the balloon dog, but you get what I mean. 🙂

Christmas Guest Room Wrought Iron Bed

Here we have Munchie on top (I haven’t been able to find a glass one for her yet), Maggie is the tan and white one, Scamp is the fluffy little guy on the left, Kitty Kiara, and Ezzy is the black on around the side. I need to find a Rozy, even though it will be nearly impossible, but I will keep on searching!bejeweled bottle 1

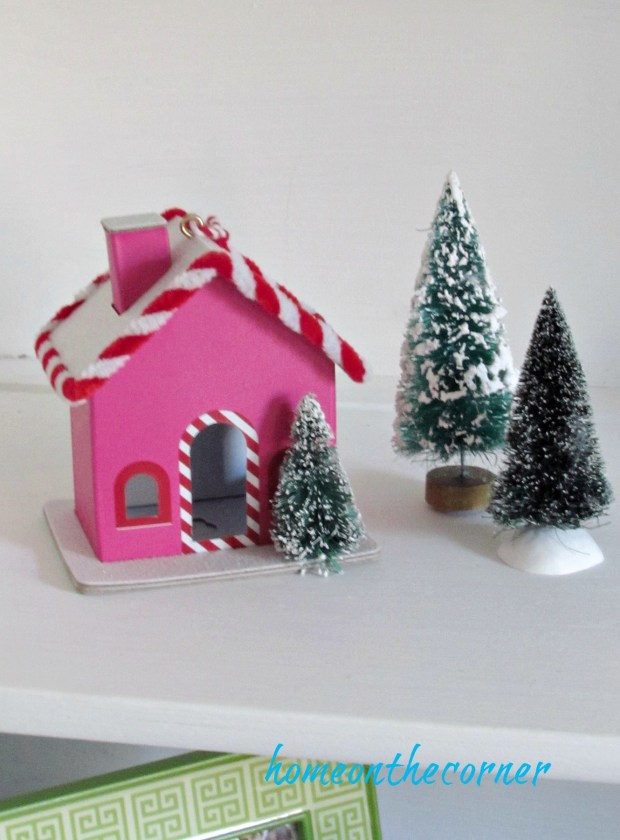
I added my tree garland on top of the glass cabinet and some more pink touches inside.

Christmas in the guest room cupboardChristmas in the guest room pink house

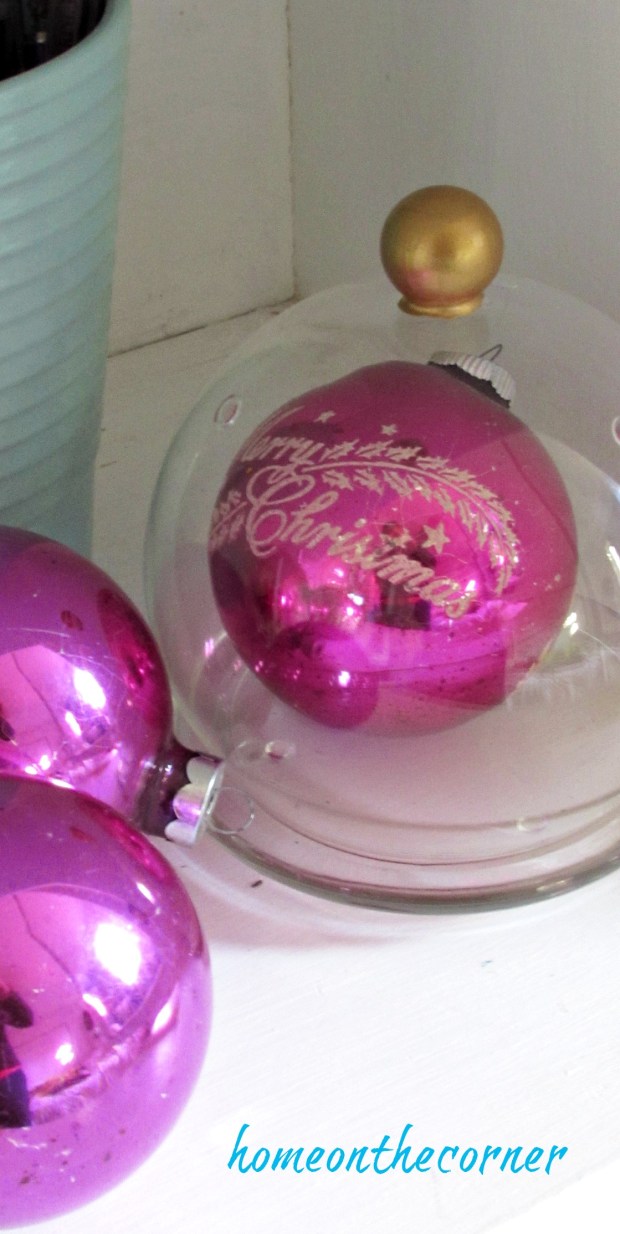
These pink ornaments are part of the ones I received from my dad’s mom.

Christmas in the guest room pink ornament

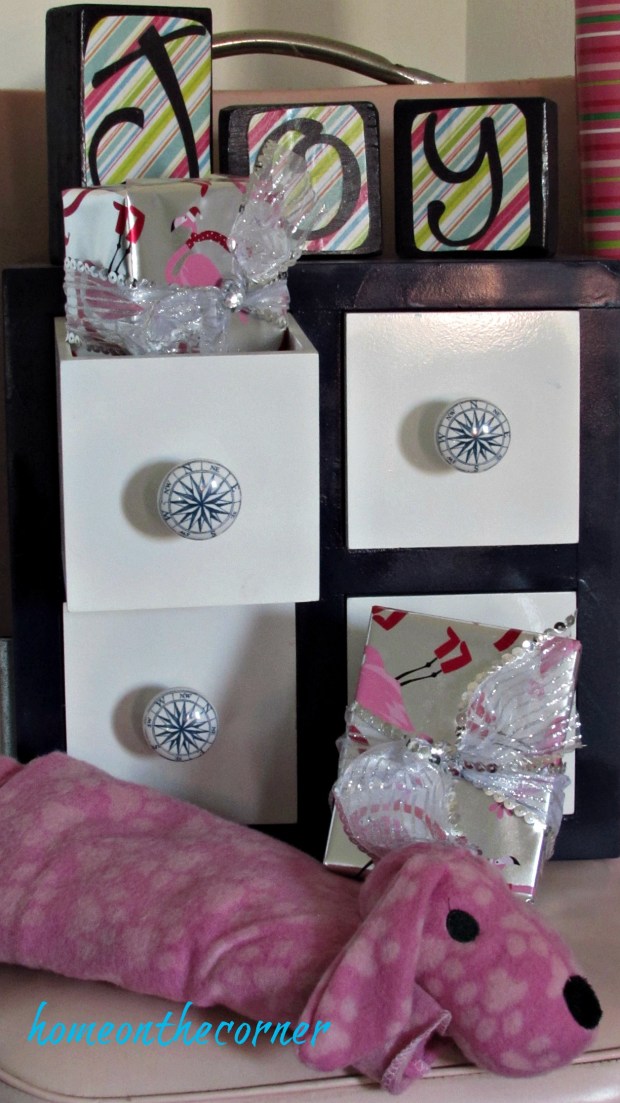
I love this little vignette in the corner! It just seems happy to me! I found this flamingo paper last year and just had to have it!

Christmas in the guest room pink dog, flamingo paper


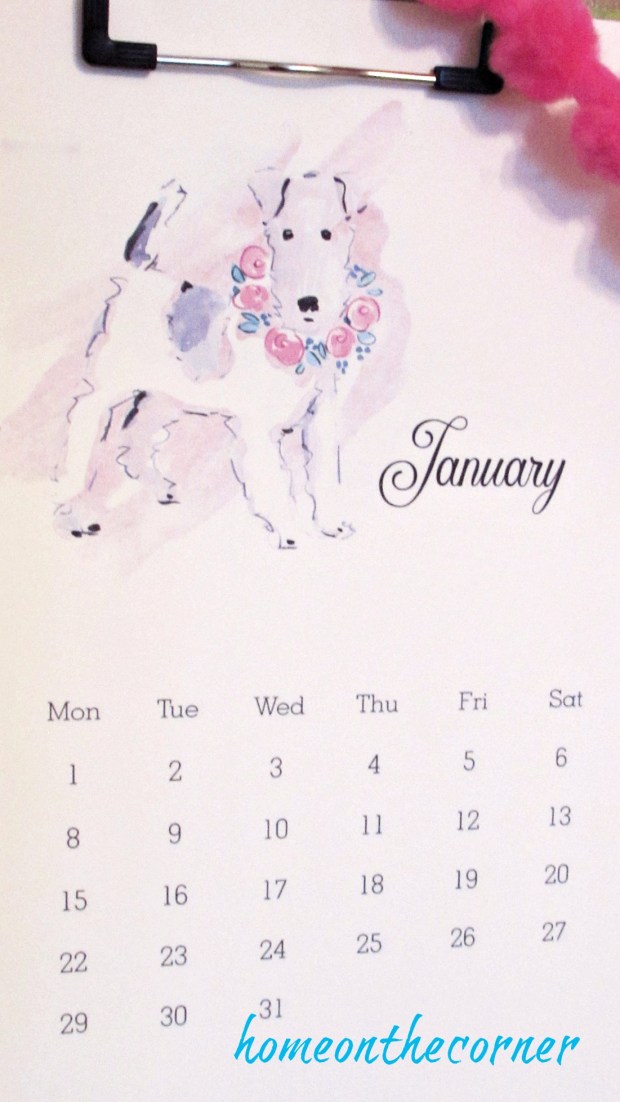
This calendar is so adorable! I found it over at The Cottage Market. She has tons of cute printables. Great place to check out! Here is the link for the dog calendar is you are interested in this one.

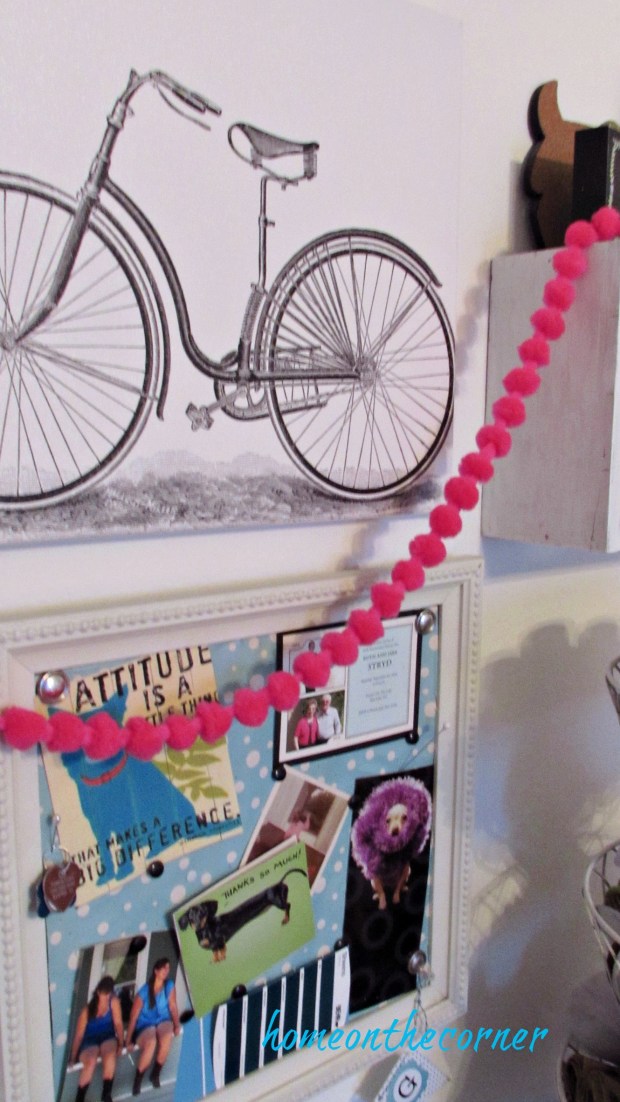
Christmas Guest Room Pink Dog CalendarChristmas Guest Room Pink Puff Ball Garland

Maggie and Rozy would like to say Merry Christmas to all of you!!

Christmas Guest Room Maggie and Rozy

sunshine-and-blessings-picmonkey

Clifford the Big Red Dog and Pals Halloween

Happy Halloween!!! October has seemed like a really loooonnggg month! I’m not sure why, but I am glad to be in November.

I decided to have a little fun with dressing up the dogs this year. They are just so funny and it makes me smile. I started out with a felt doghouse. I just tacked it onto a board and set it up. Nothing too fancy!

halloween 2017 doghouse

Next came the challenge! Getting the dogs dressed and posed. Rozy does pretty good, but as you can see here, she has a couple of extra legs and an extra tail. I chose Clifford because Rozy always wants to sit on our lap like she is just a little puppy. Actually, we can’t see a thing in front of us when she sits there!

halloween 2017 outake 1

We actually did pretty good getting this picture of Maggie, aka Cleo. She just hasn’t gotten the hang of sit and stay yet.

halloween 2017 cleo (maggie)

Why is this taking so long and why do I have to wear these ridiculous things?

halloween 2017 clifford tired out

I love the beanie pulled down low! She looks like a hoodlum!

halloween 2017 rosie as clifford

Hopefully we get a good one soon!

halloween 2017 Clifford the Big Dog

No hands this time!

halloween 2017 cleo (maggie grace)

Aww, Munchy’s (T-Bone) turn!

halloween 2017 tbone (munch)

Oh my! I don’t think Munch is liking this! She even stuck out her tongue in protest!

halloween 2017 outtake 2 sticking out the tongue

Better…but still missing Cleo.

halloween 2017 clifford and tbone

This is as good as it gets! At least they are all in the picture. Of course, the neighbor dog started barking and everything went haywire!

halloween 2017 clifford, tbone and cleo

Ezzy acts like she doesn’t want to dress up in a Halloween costume, but she kept hanging around and getting in the way, so I finally put this ladybug costume on her and she seemed satisfied with that.

halloween 2017 ezzy the ladybug

I hope this gave you a little smile today and enjoy your Halloween!

sunshine-and-blessings-picmonkey