How to Set Up Your Christmas Village

Good morning! It’s been a couple weeks since I have been here and now we are in December and all things Christmas!! I have all the decorations up and now I can just sit back and enjoy the lights and other decor. I was finally able to find a place to display my Christmas village this year. I had the perfect place for it at our old house, but we have been here for 4 years and I was still having a hard time figuring out where to put it. So I tried something different and I think it turned out pretty good. This will probably end up being its new place each year.

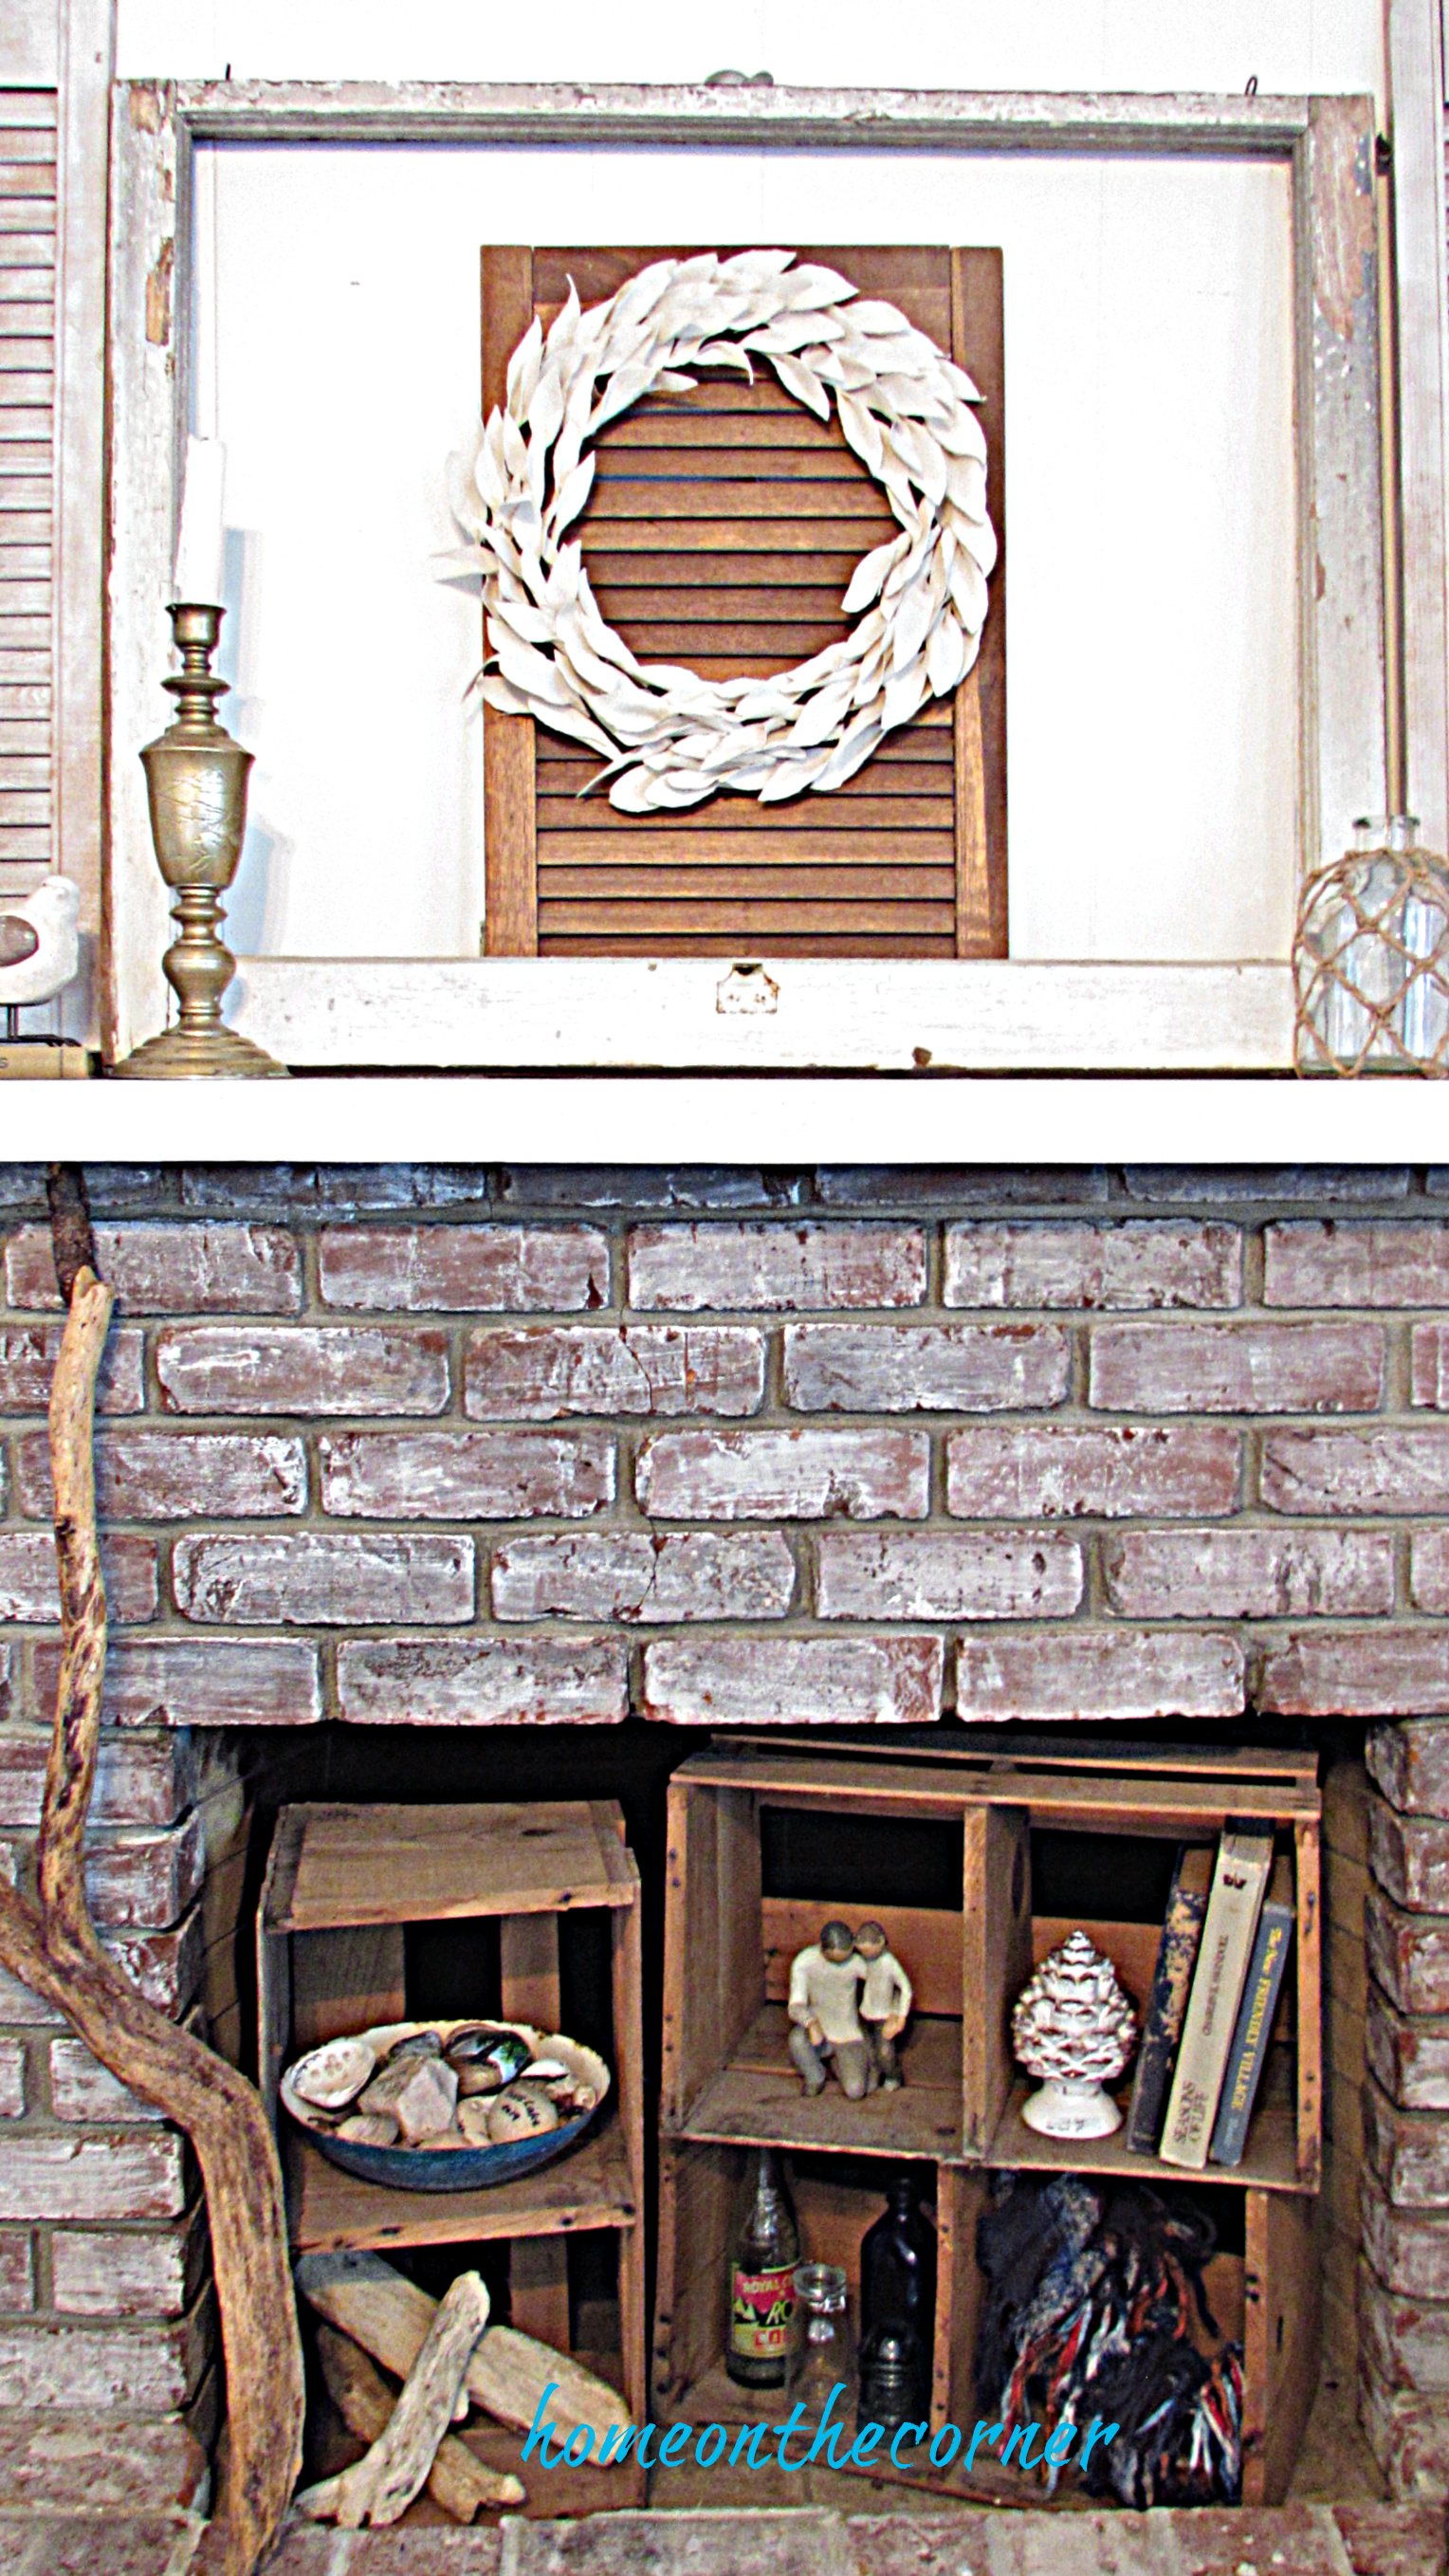
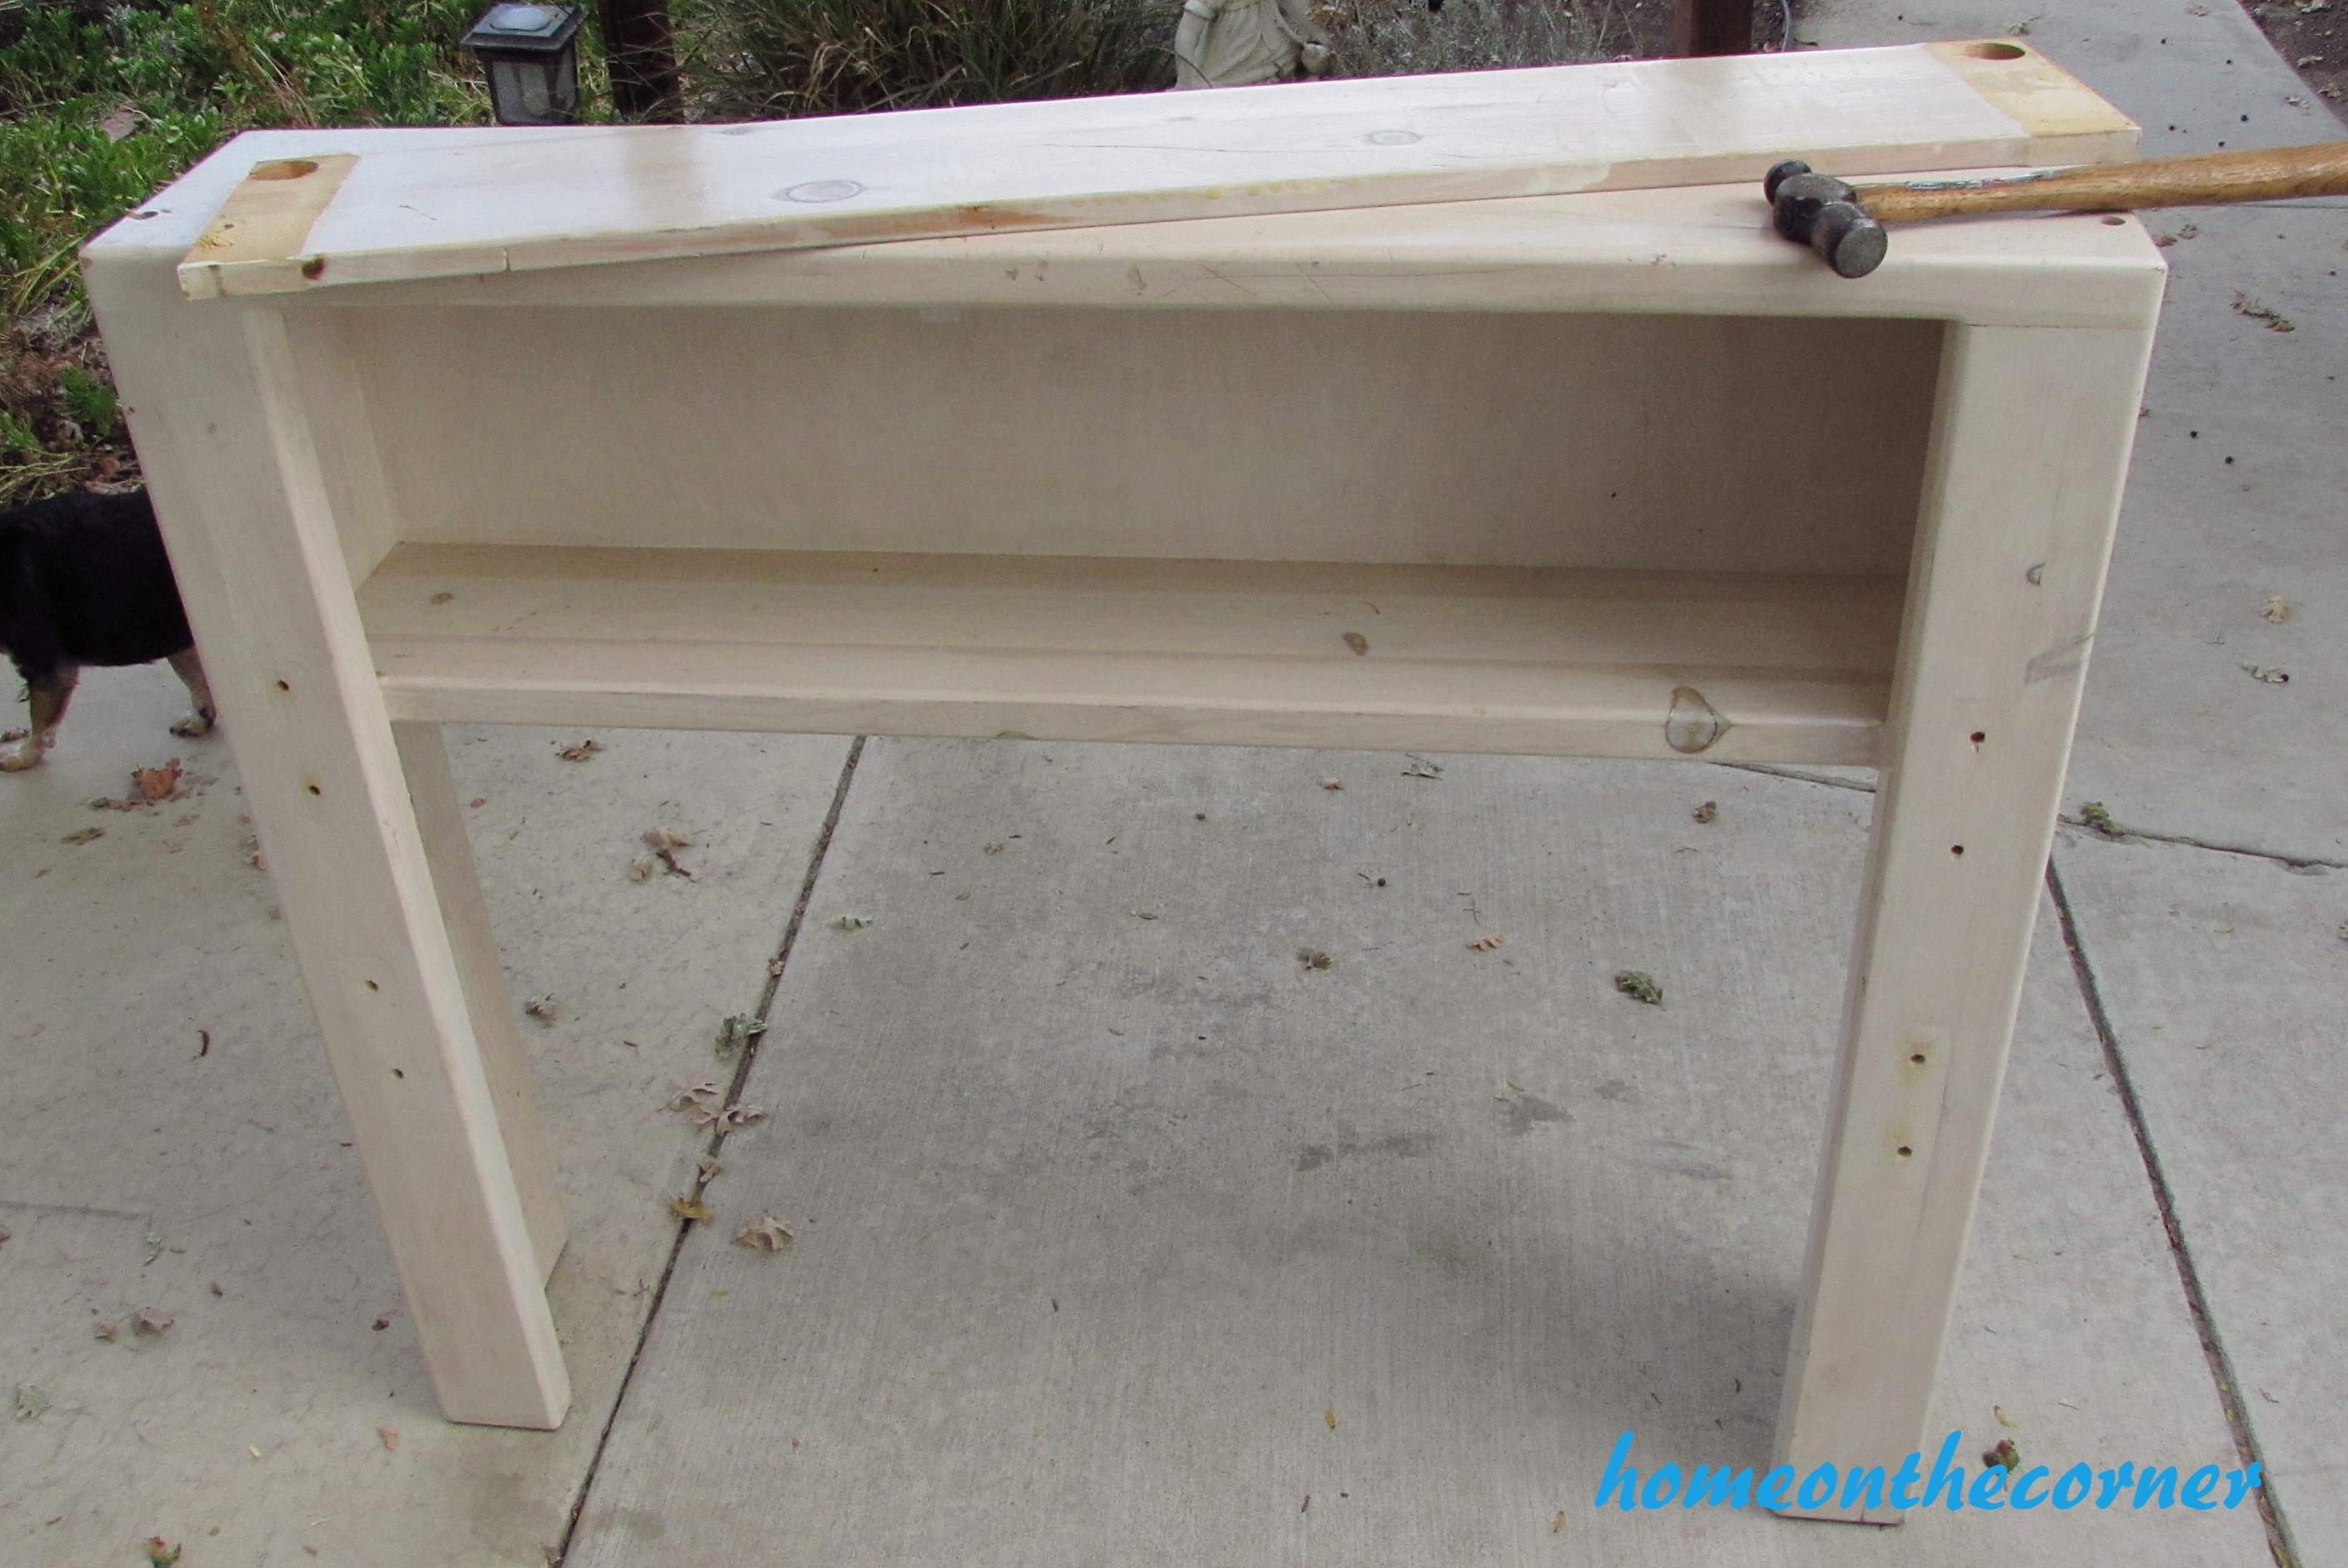
This is what my fireplace looked like in the fall. This is in my family room. I have had the crates in here for a while and thought maybe they would work for the village too. The first step was to clean everything out and put it all away.

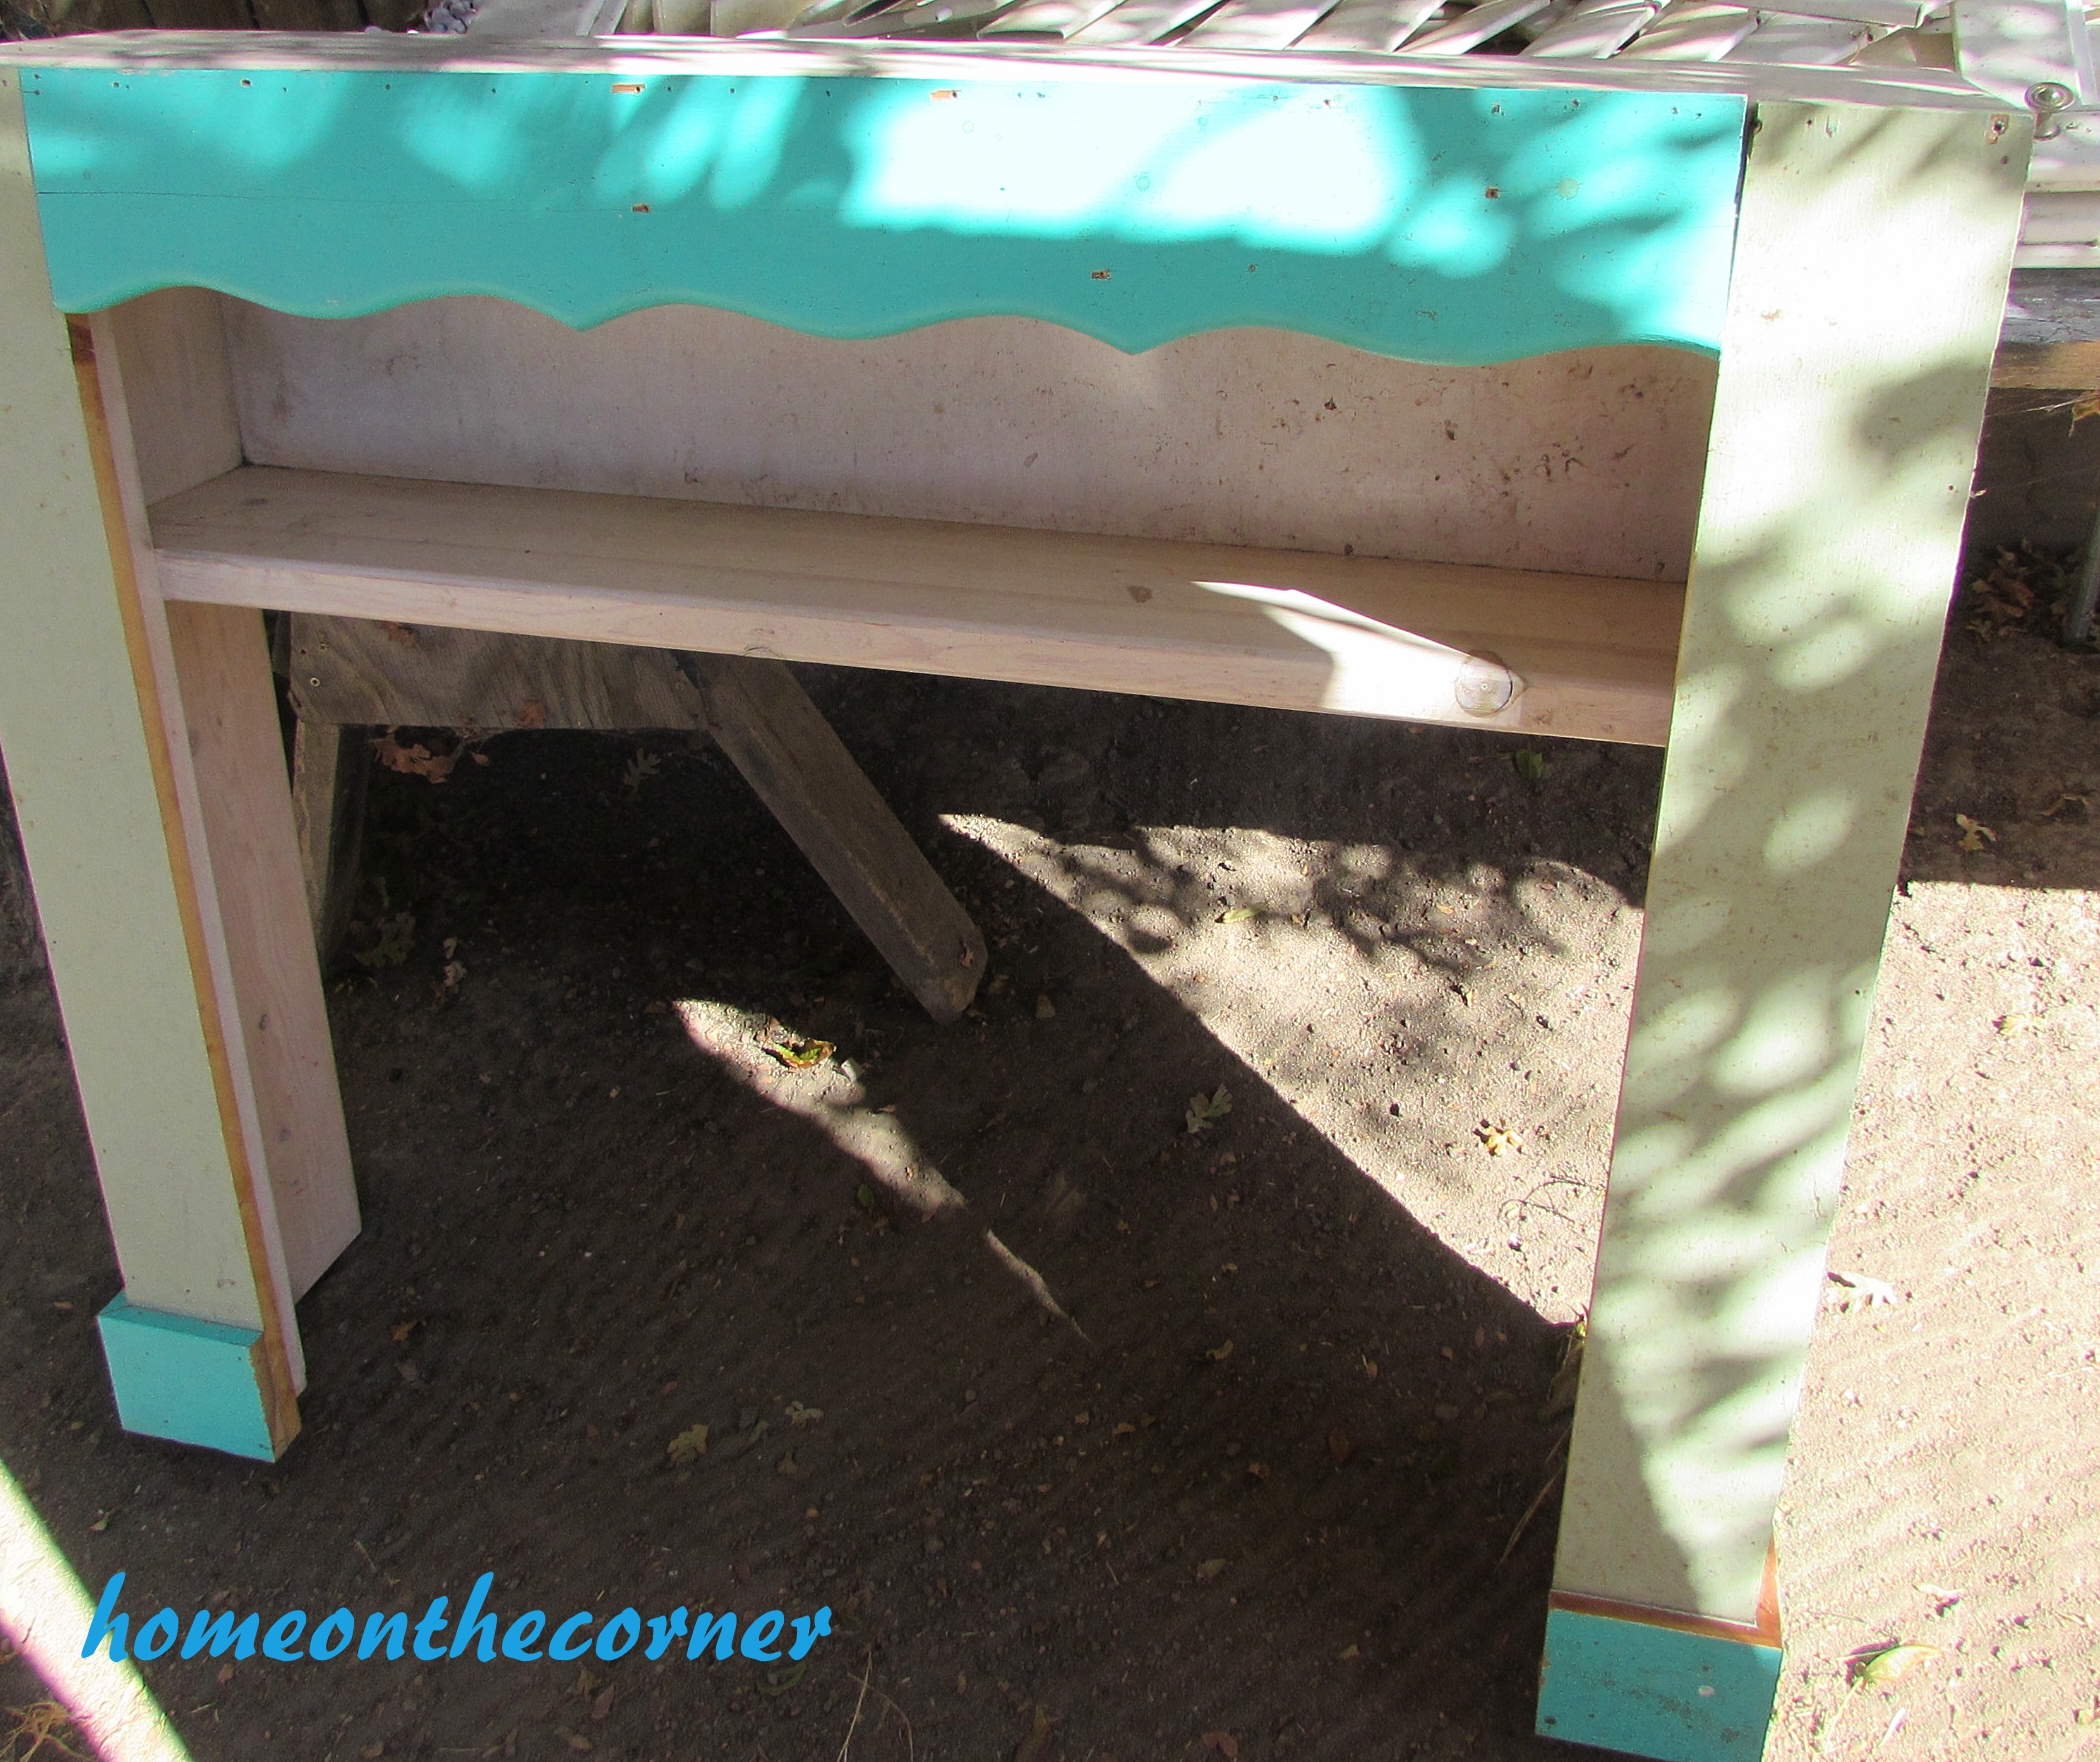
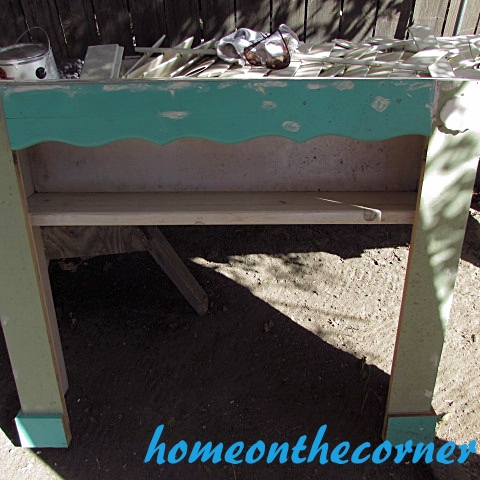
Once everything was cleared out, I gave it all a good cleaning. I also added another crate and set it on the hearth.

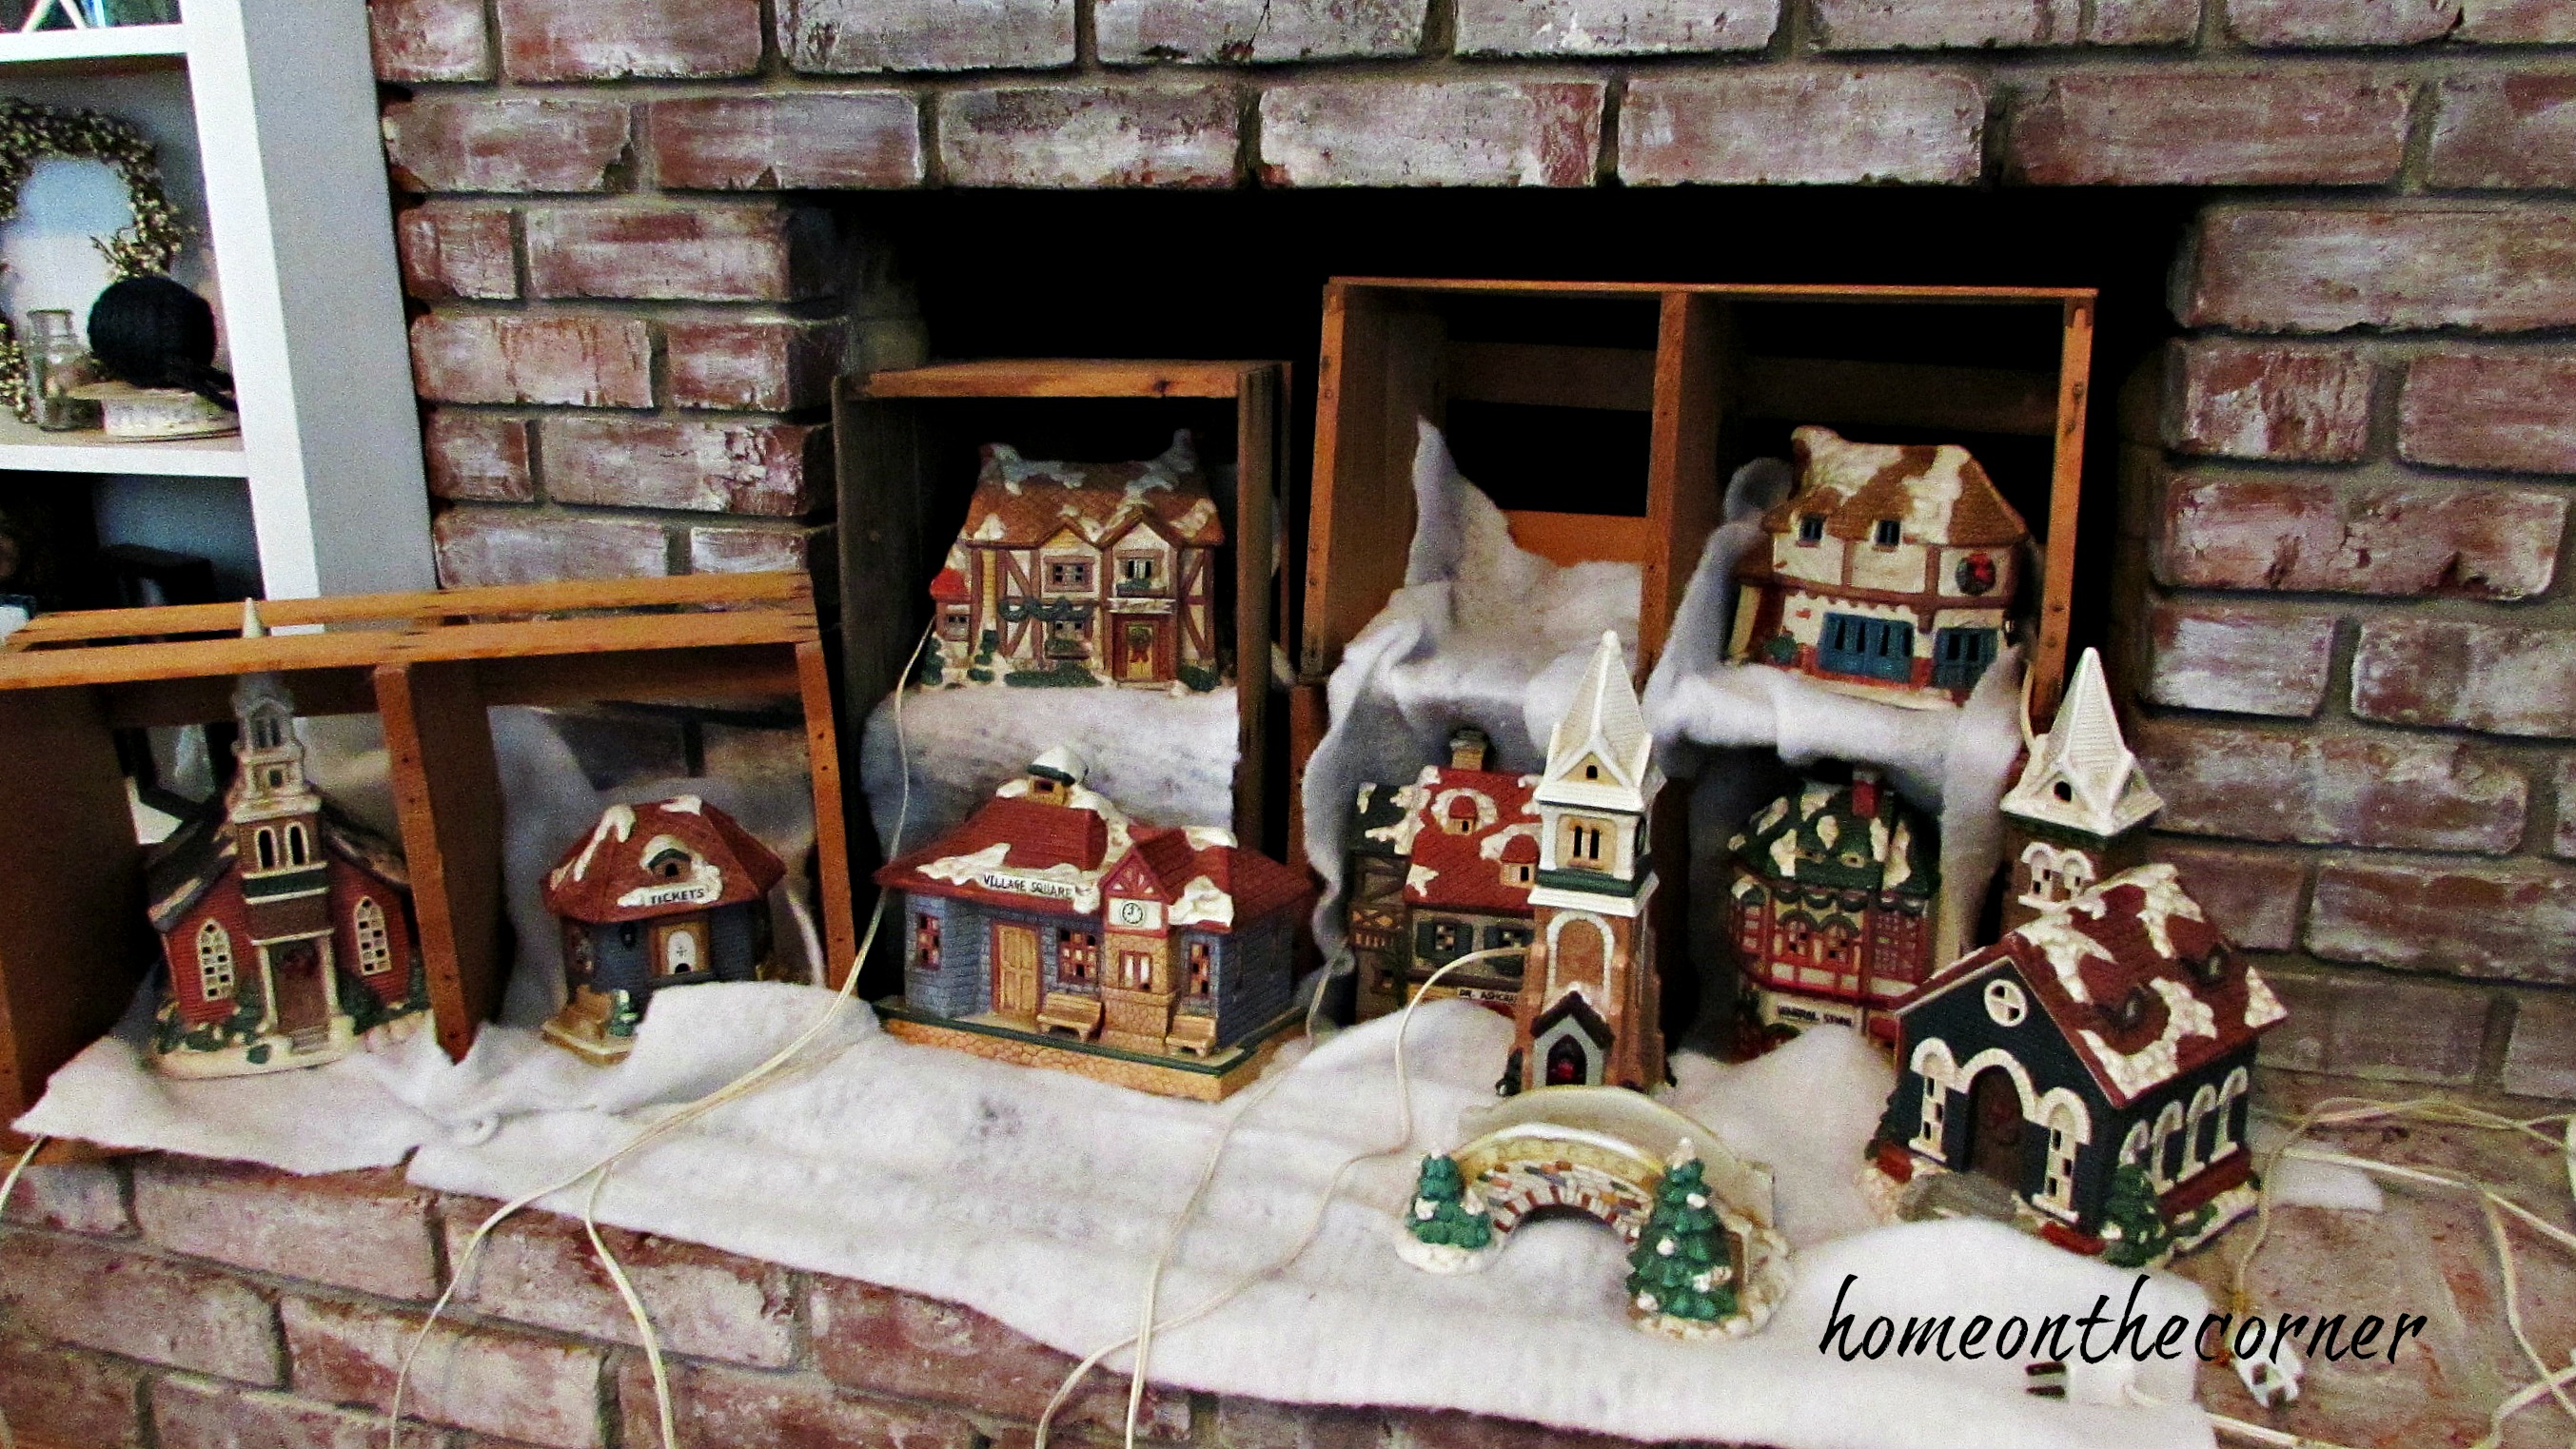
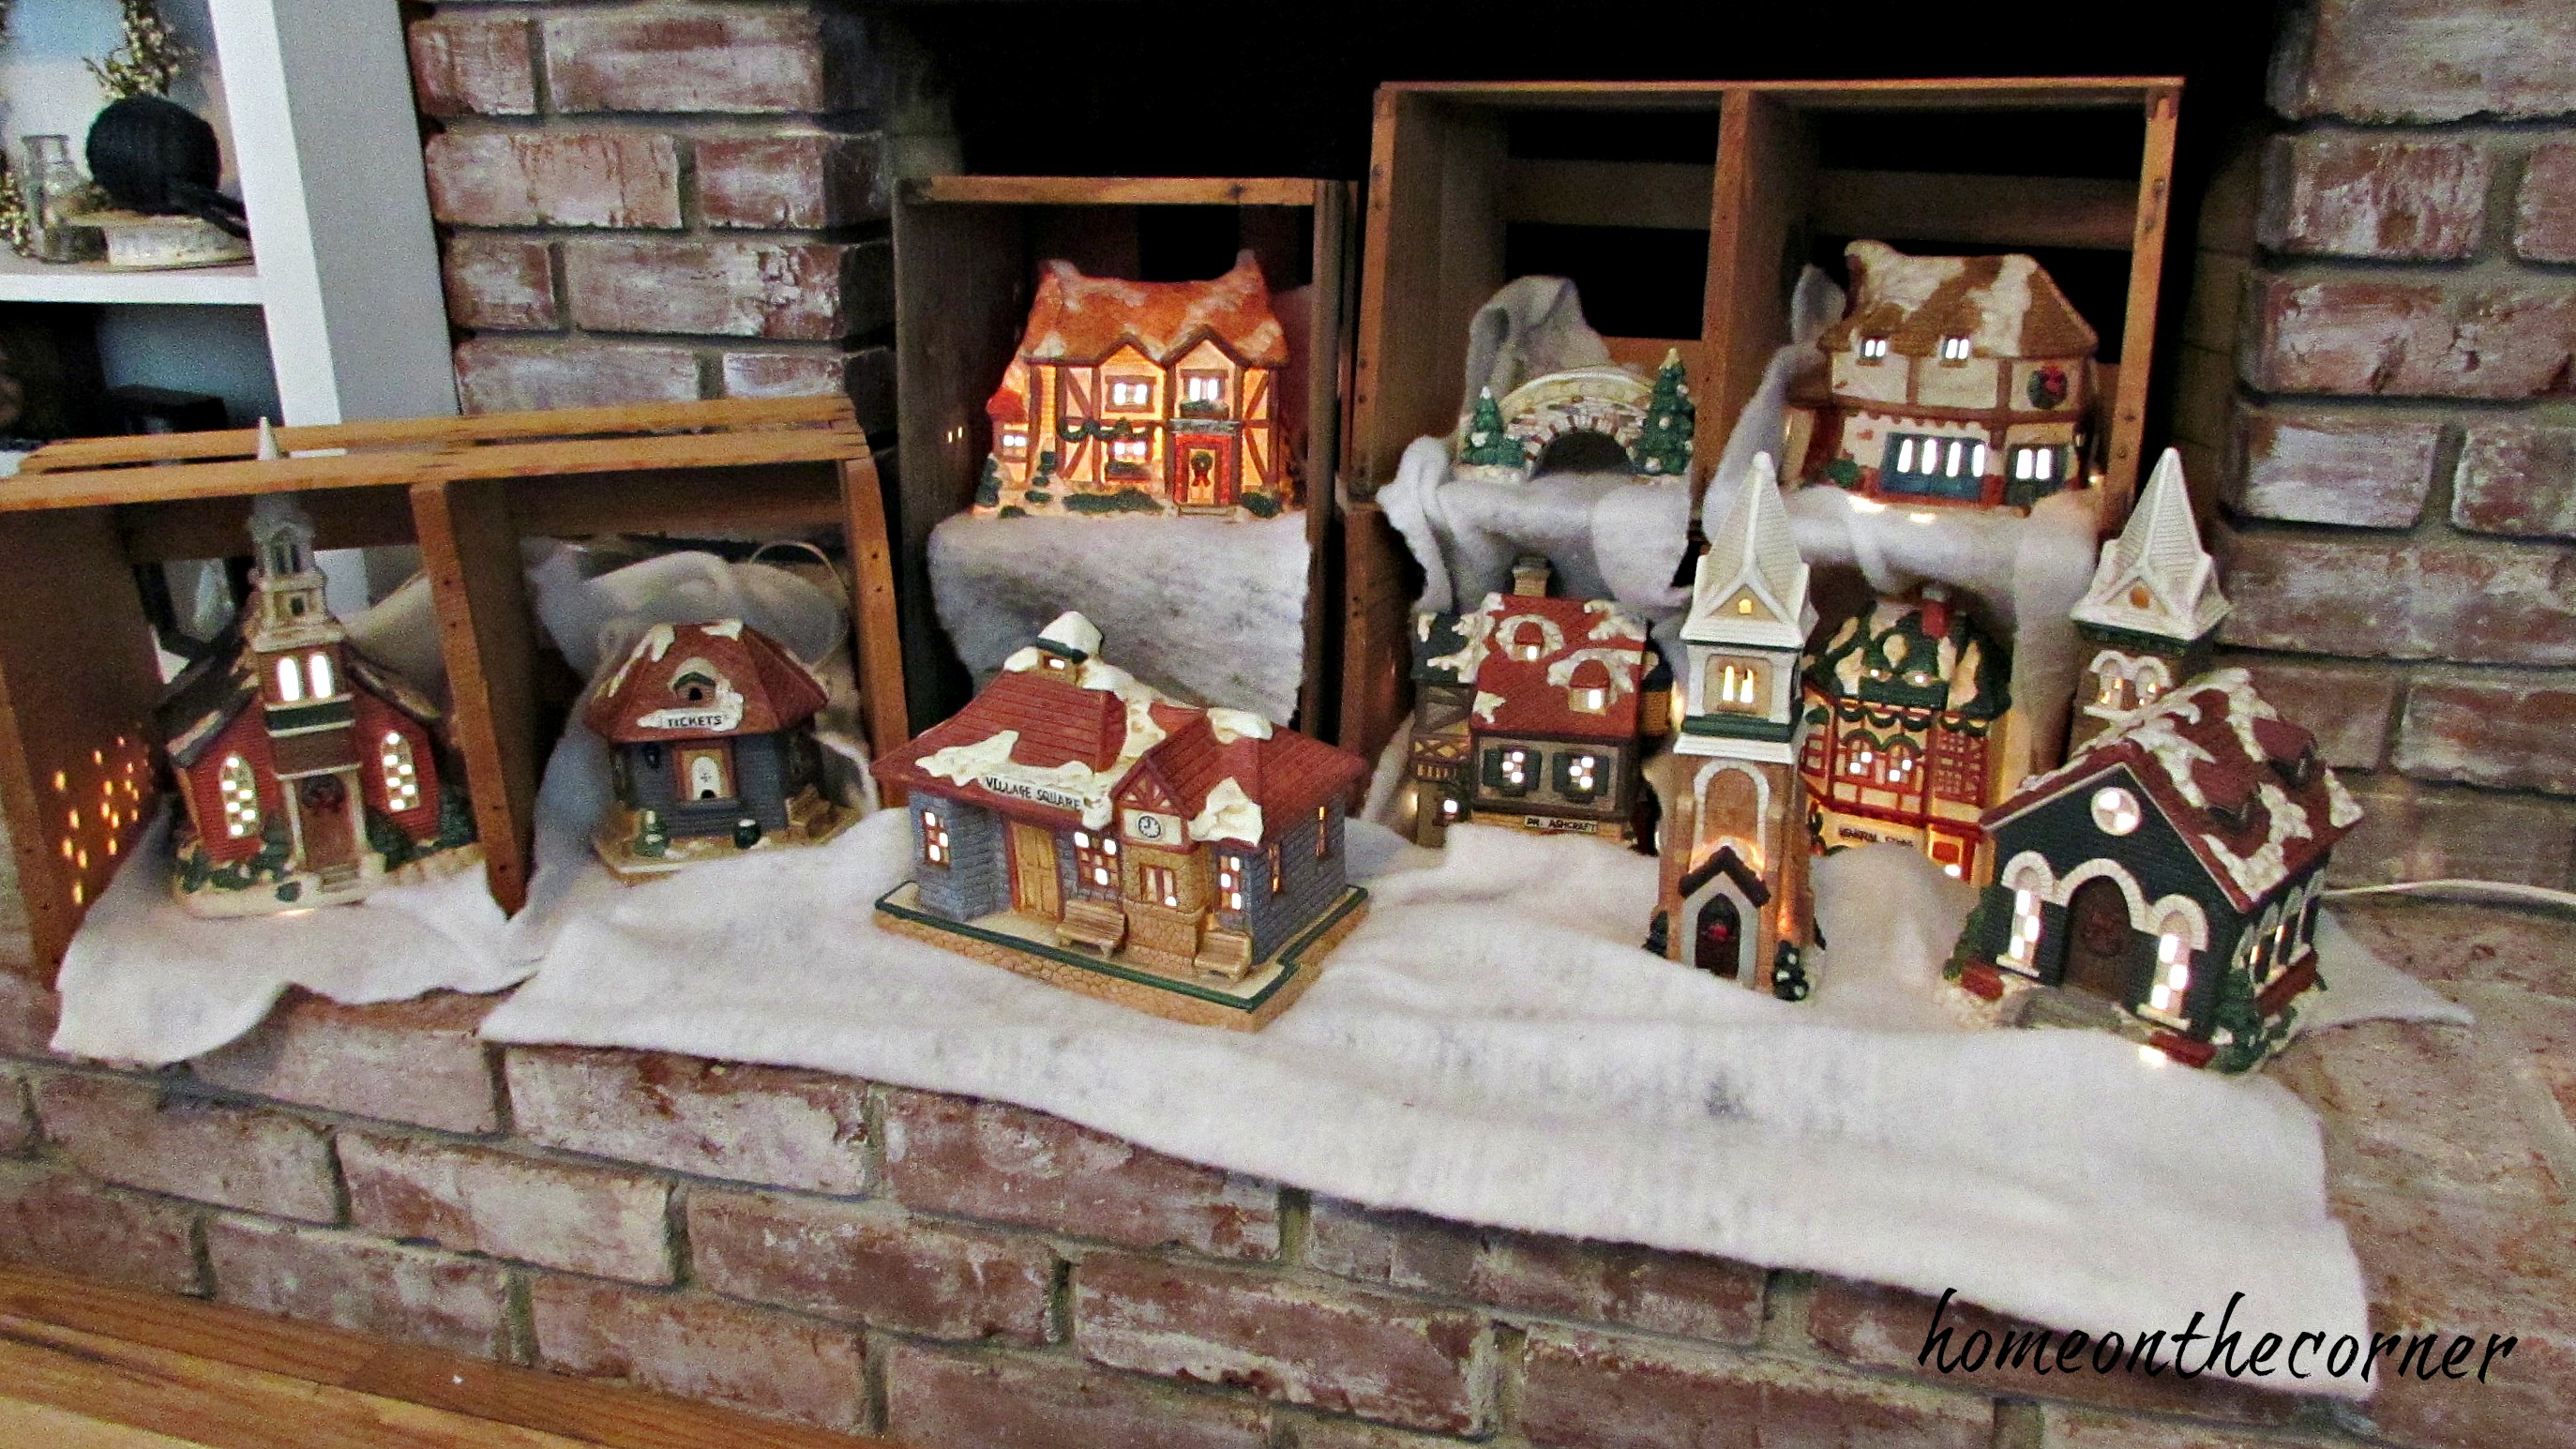
I placed soft white felt in all the crates and on the hearth. I found a white tree skirt at the 99 Cent Store that worked perfectly. I pulled out all my large pieces, plugged them in to make sure they worked and then set them where I thought they worked best.

Now comes the hard part…getting them all plugged in and hiding the cords! Whew! I was ‘glistening!’ I have a cord that has outlets every couple of feet and I can plug in 2 or 3 at each outlet. I ran all the cords out the back of the crates and hid them under the ‘snow’ as much as possible. Thankfully there is a wall outlet nearby.

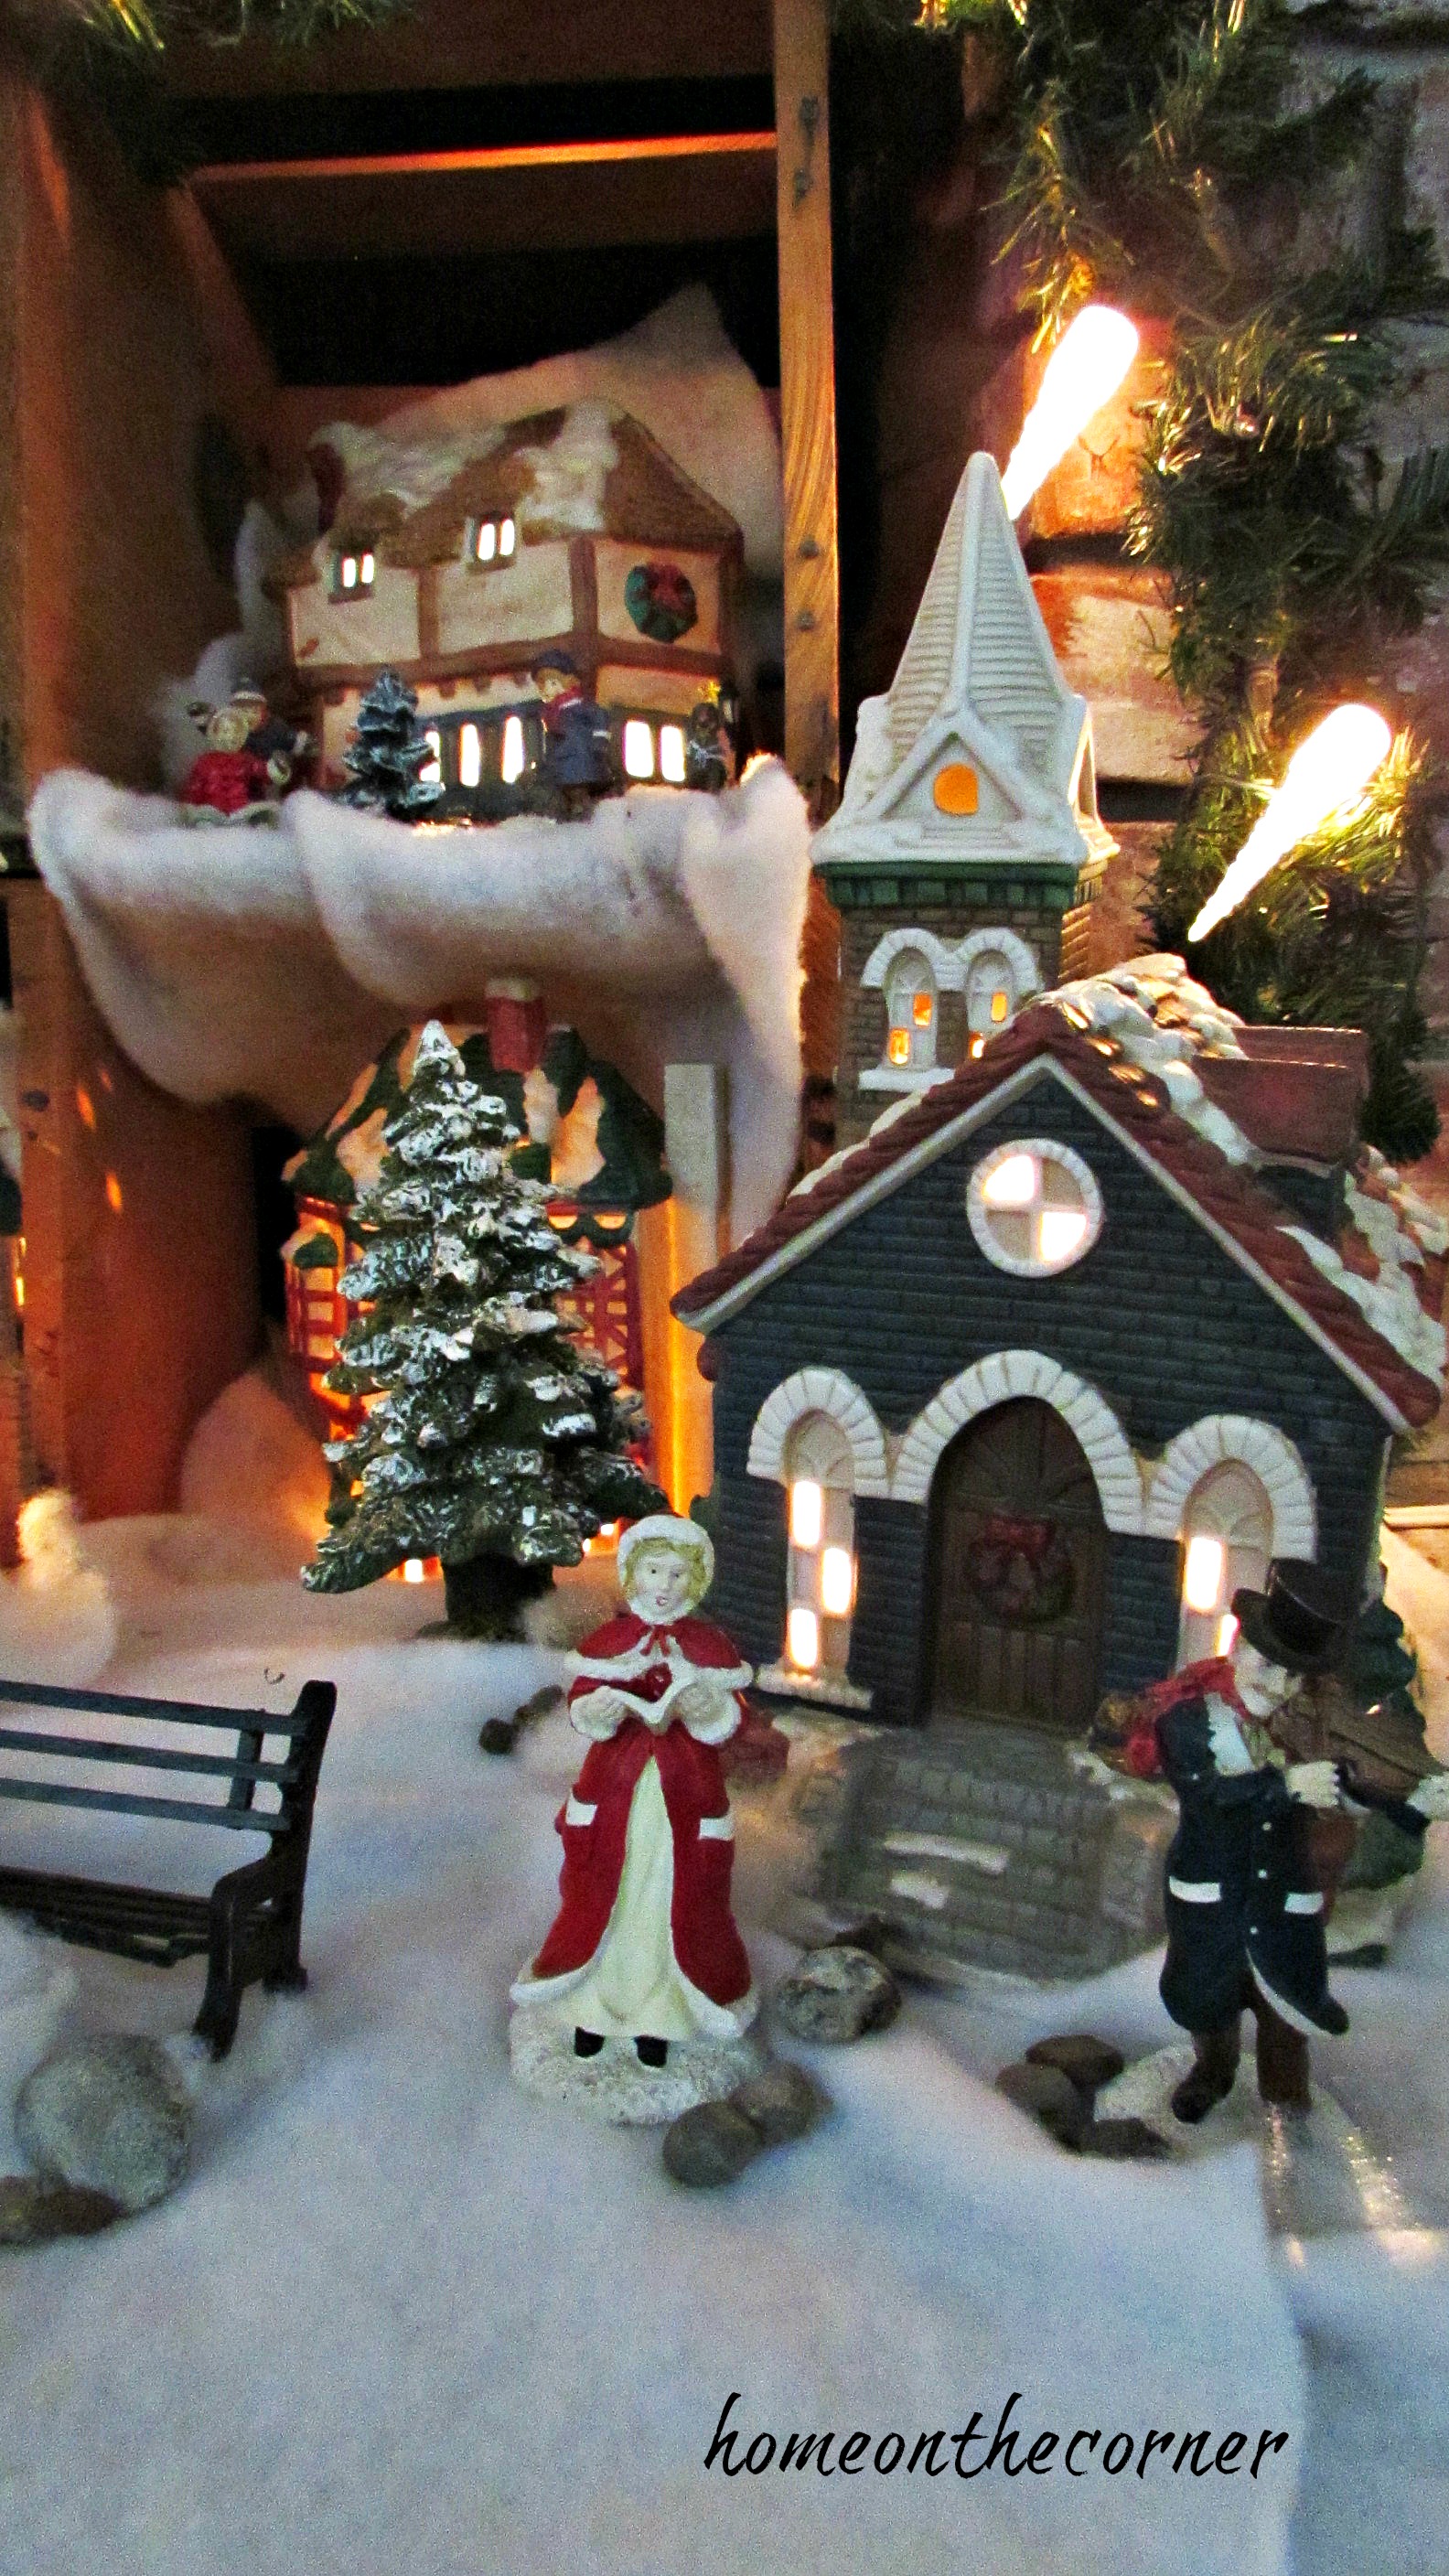
This next part is easier and more fun! I placed all the smaller accessories into the scene. I have trees, benches, people, and dogs. I use fiberfill for little tufts of snow and I even have some little rocks I place around the scene.

The last piece to add was a garland and lights over the top of the whole thing. It looks so pretty at night!

I have two churches, one on each end of town. This village came from Mervyns when they were around. My husband usually bought me a new building each year.

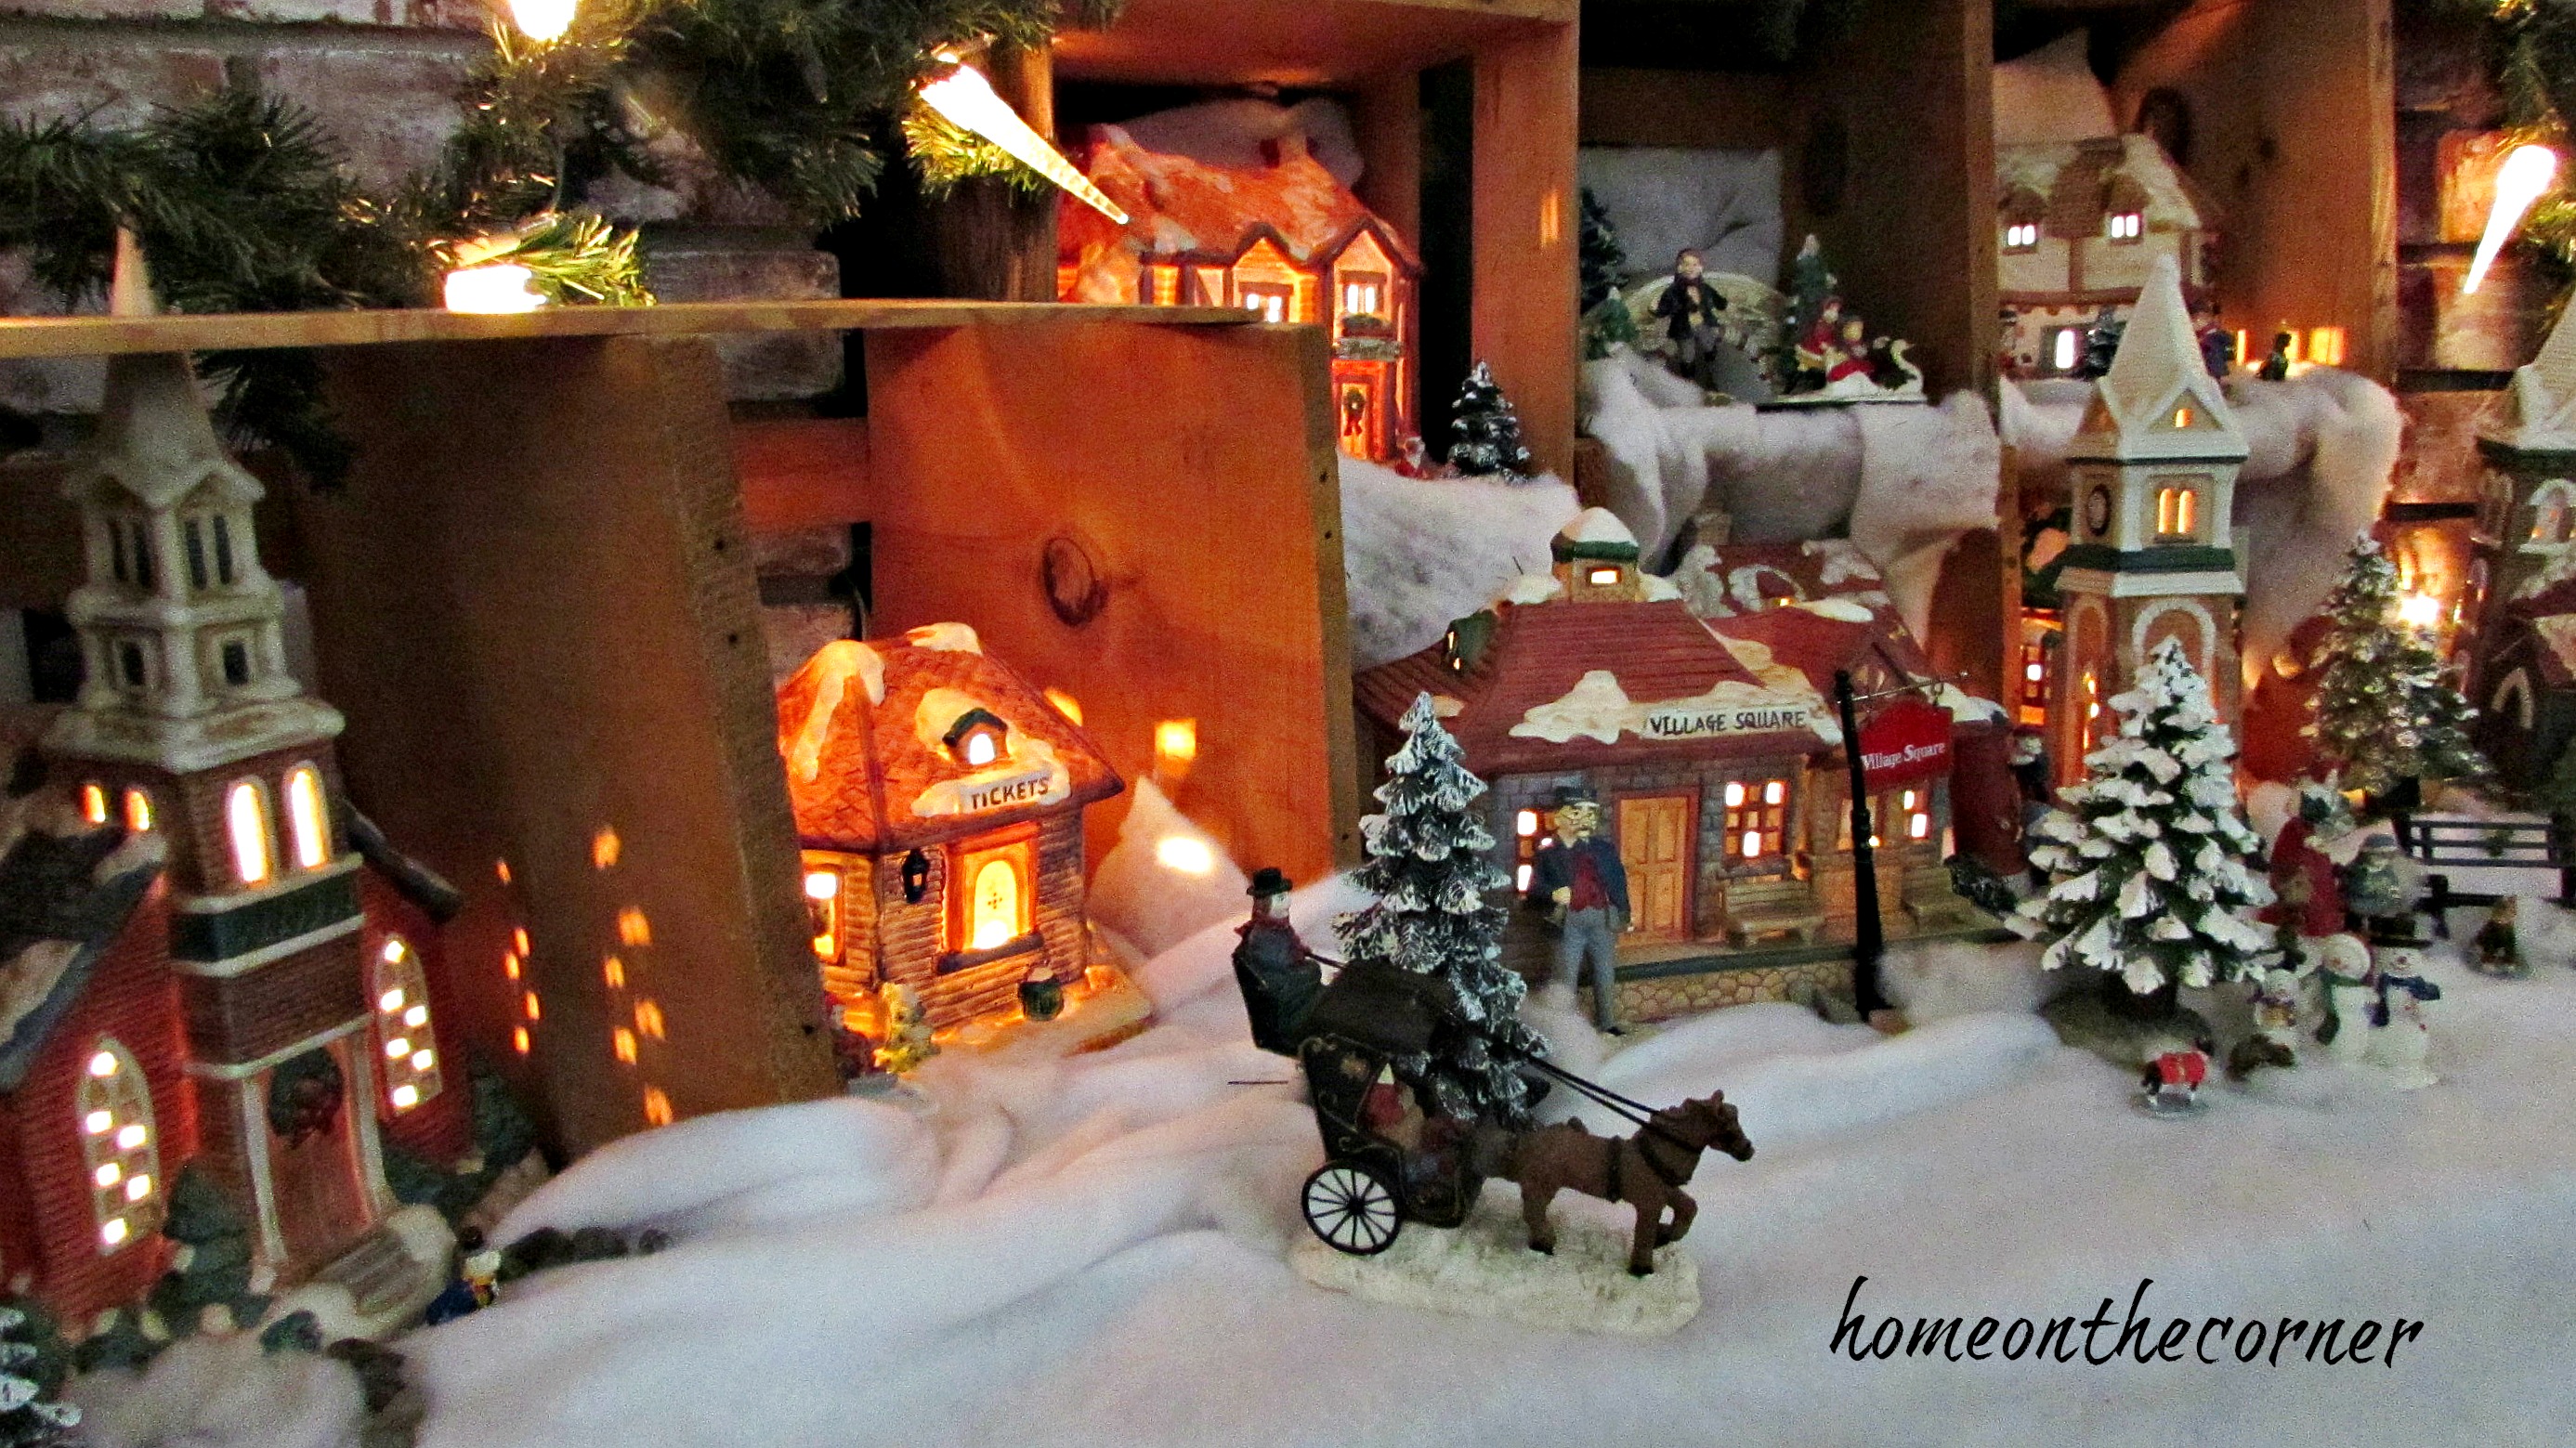
Here you can see the set was part of Village Square. I still see pieces around once in awhile at thrift stores, but I never had enough room for any more pieces. But if this is where I decide to keep it, I can fit more in!

I’m so glad I finally found a good place to display my village. How about you? Do you have a village? How do you display it? I love to see everyone’s villages and how they set it up! Have a great week!

Drop Cloth Winter Wreath

Good morning! I hope you are all well today! We are having lots of rainy weather lately. We need the rain, but my yard is a muddy mess! Hopefully it won’t be too long before we are nice and warm again and the mud will be gone.

I saw this drop cloth wreath over at Thistlewood Farms blog, my favorite blog, by the way! I thought this wreath would be great for the winter months, but it would be perfect any time of year! Here’s the link for the wreath, but be sure to check out her other posts. KariAnne is a terrific writer and so creative.

drop cloth leaf wreath winter white title

You can find out all the instructions over at her blog too and mine are pretty much the same. The only difference, I had to cut many more leaves than she did, so my wreath form must be larger than hers.

Supplies:

  • Wreath form-I used a metal one from the Dollar Tree, but you could use other kinds too
  • Drop Cloth
  • Scissors
  • Hot Glue

drop cloth leaf wreath supplies

I ended up cutting about 150 leaves. i was able to cut several layers at the same time, so it didn’t take too long.

drop cloth leaf wreath cut leaves

Once the leaves were cut, I added a dot of glue at the end of the leaf to give it a little bit of curve. This will give the wreath a little more depth.

drop cloth leaf wreath folded tipdrop cloth leaf wreath leaves hot glued

Once all the pieces had their dot of glue, the leaves were glued onto the wreath form. I glued them on, staggering them, but keeping them all going the same direction.

drop leaf wreath hot glued to metal wreath form

I hung the wreath on a shutter on my mantle. I have a random outlet right in the middle of the wall above the fireplace, so I always have to find something to cover it up. This shutter was perfect.

drop cloth leaf wreath white mantle

I like the contrast of the brown shutter with the white wreath.

drop cloth leaf wreath shutters jar candles

I added a couple of brass candlesticks and a little bird to the mantle as well. I’m hoping the bird will bring spring a little sooner. 🙂

drop cloth wreath candlesticks bird

drop cloth wreath mantle fireplacedrop cloth leaf wreath hanging mantle fireplace

Have you ever used drop cloth for any projects? I’ve used it for curtains on my back patio and also as tablecloths, but I have never done a smaller project like this. I really like the texture of it and the soft creamy white color.

drop cloth wreath shutter

Thank you so much for stopping by today. Please do go over and visit KariAnne over at Thistlewood Farms. I hope you all have a wonderful week!

sunshine-and-blessings-picmonkey

Here are some other posts you might enjoy:

Flower Wreath Closer          wooden flower box with jute rope

amazon affiliate


Welcome Fall!

Good morning! It’s September! Fall time, right?! Well, not really. But in the blogging world, we have to get our ideas out to inspire everyone. I didn’t want to pull out all the red, golds and oranges, so when I visited Michaels, I noticed all the pretty soft neutrals, like sage green, cream and blush. I decided I would focus mostly on those colors with a few spots of orange thrown in.

Come on in!

Since I tried to keep a more neutral color scheme, I added lots of texture. I added a woven basket, a burlap pumpkin, book page paper leaves, and a brass candlestick.

early fall entryway neutralsearly fall entryway neutral colors textureearly fall entryway leaves and pumpkins

I did pick up this Thankful and Grateful framed print from Hobby Lobby. I figured it was perfect for fall!

early fall entry grateful and thankfulearly fall entryway grateful and thankful print

Let’s head into the living room! I’m still loving having my faux fireplace in here and I love decorating it too!

early fall living room mantle cotton chalkboardearly fall living room mantle fireplaceearly fall living room mantle with cotton

I used lots of neutrals on the mantle, using books, chalkboard, cotton and even a spool of ribbon for texture.

early fall living room neutral bird and booksearly fall living room chalkboard a fallen leafearly fall living room pumpkin pillow

Here’s a peek into the dining area! On my coffee table I created a simple vignette. I did add one turquoise pumpkin here along with some gourds. I just received this little ‘Grateful’ wooden block from a friend and knew it would be perfect.

early fall living room coffee table vignetteearly fall living room lantern and pumpkin vinetteearly fall living room grateful vignette

I finished painting this little side table this summer and it was nice to be able to finally add it to my room and place some special pieces on top. I tied a few stems of flowers together, added a burlap pumpkin and a lantern.

early fall living room side table flowers pumpkinearly fall living room side table

I hope you enjoyed this little tour. I will be back next week with my early fall dining room. Thanks for stopping by today!

sunshine-and-blessings-picmonkey

amazon affiliate


Rustic Glam Christmas Fireplace

Merry Christmas and Happy Holidays! Only a few more weeks until Christmas! How is your decorating and shopping going? I got most of my decorating done this weekend after having a mess around the house for the past week. I kept it v-e-r-y simple this year. I used mostly silver and gold and natural items, like wood, greens and wire. I really like how it looks! It’s very calming and soothing. My trees are more colorful and really stand out. I have already shown you my Hot Chocolate Bar and my Silver and Gold Table, so today I am going to show you my Mantel of my Fauxplace.

I used many of the same types of items as I did on the table. Lots of gold, silver and wood.

Chistmas Fireplace 2015

I used many of Lauren’s books to fill in the space at the top and then placed a wooden tray with Shiny Brite ornaments in the center.

Christmas Fireplace Books

Christmas Fireplace 2015 Shiny Brights

I have had this metal deer for years. He used to be kind of rusty, then turquoise and now he is silver! The magic of spray paint! I added a piece of burlap and a button that came from my grandma’s coat.

Christmas Fireplace 2015 Deer


I love this little penguin! He is one of my favorite decorations to put out each year. I also love that he can stay out all winter!

Christmas Fireplace 2015 Penguin

I made these wreaths from small wood slices and added a green and white winter themed bow and a little silvery pom-pom to the center. I found the leather strap of bells at a thrift store several years ago.

Christmas Fireplace 2015 Wreaths

The large wreath over the top has more wood slices with special Christmas words printed on them and some silver ornaments from Target.

Christmas Fireplace 2015 Wreath

Our stockings are hung on a ladder. I have added charms to each of our stockings that represent each of us. Some of the charms are from places we have been that year, or something special that has happened over the year. I have several Disney ones on mine.

christmas Fireplace 2015 stockings

Christmas Fireplace 2015 Stocking Pins

Of course, I had to add my signature starfish to the mantel too!

Christmas Fireplace 2015 Side View


I hope you enjoyed my little tour! I will be having more Christmas ideas in the weeks to come.

Christmas Fireplace 2015 View


I can’t wait to see some of your decorations and ideas too! See you on Friday!

Sunshine and Blessings

DIY Headboard to Faux Fireplace Reveal

I’ve always loved the look of a fireplace. Unfortunately, I have never lived in any house, even growing up, that had one! I am so deprived :)! So after scouring Pinterest and all the blogs I follow, I decided I should try and make my own sometime. This past summer, Lauren and were at Goodwill and came across this headboard for only $3.99! Sold! There were two, and I probably should have bought both of them, but I was so excited to just find one! Then it sat for quite awhile. It always takes me time to think about how this is going to work and exactly how I want it to look.

Faux Fireplace Headboard

We took off one of the pieces that was under the shelf. I found some more pieces of wood at another Goodwill that had scallop across one side and decided that would work too. Yes, they are bright turquoise, but everything will get a few coats of paint.

Faux Fireplace Makeover Before Paint

I added a little extra to the bottom too. I had these ornaments from last year that I never did anything with, so I glued them up near the top to add some interest to the piece.

Faux Fireplace Medallion

After patching all the holes, I gave it a couple coats of paint.

Faux Fireplace Patched up

We added a thin piece of plywood to the back which I painted black. We also added a board along each edge in the back so it would sit flush on the wall since we have 6 inch baseboards. So here it is!

Faux Fireplace Full View

I am so pleased with how this turned out!

Faux Fireplace Reveal

It was different to decorate a mantle, but I am looking forward to all the different ways to style it.

Faux Fireplace Top view

Here are the Christmas ornaments I never used last year. I’m so glad I could find a good use for them! I made the acorn garland by hot gluing acorns from my yard onto a piece of twine.

Faux Fireplace with Acorns

My mom and dad found this box in a dumpster. Um, yes please! It’s perfect here for now.

Faux Fireplace Wood Box

It won’t be long until this is all decorated for Christmas. I am also wanting some kind of heater for inside so my doggies and I can cuddle up in front of it when it gets cold. It will be the perfect spot!

Faux Fireplace Fall Decor

I hope you enjoyed the reveal! I’m so glad it is done and ready to go! Now on to the next projects!

Sunshine and Blessings