How I Cheat When I Cover My Outdoor Cushions

Good morning! Are you ready for Easter this Sunday? We will be going to my parents house and having our annual egg hunt. We have 3 littles, so this is always a fun event! Even the adults get a chance to find their special egg. We should be having great weather too!

outdoor cushions title

Since the weather has been so nice, I have been working on some projects in our back yard and patio. One of the projects that needed done was recovering my outdoor cushions. I did this a few years ago too. You can see it here. I recovered these cushions about 5 years ago, so it had lasted for quite awhile, but they had become faded and dirty. I had bought indoor/outdoor fabric last time, but this time Haley had found some pretty shower curtains from Goodwill, and I knew they would be perfect for the cushions. Here are the old covers.

IMG_9508

So my secret to recovering my cushions, is…hot glue! You read that right! I glue the fabric on! I can sew, but I am not good enough to actually sew slip covers, so this is the next best thing. Now when the fabric becomes dirty and faded, I can just tear it off and put new covers on. Isn’t this fabric pretty! I love all the shades of blue. This is what the cushion looked like under the fabric.

outdoor furniture makeover fabric cover

Each shower curtain covered 2 cushions. The back of my chairs are open in the back, so I had to cover the whole front and the back of the cushion for the back of the chair. For the seat cushion, I could leave some of the under section of the seat cushion uncovered.

I started by figuring out how much I would need to cover the back cushion and cut that piece off from the big piece. I folded one side over towards the middle. I put a line of hot glue along the cushion and pressed the fabric onto it.

outdoor furniture hot glue fabricoutdoor cushion makeover hot glue

After that piece was secure, I folded over the other side towards they middle. I put more hot glue and pressed that side into it.

outdoor cushion chair cover hot glue

Once the fabric was secure in the middle, I worked on the sides. I laid them out flat and then folded the sides in towards the middle like wrapping a present.

outdoor furniture makeover folded corneroutdoor makeover cushions folded corners

I then folded those ends up over the cushion and hot glued them down. I made sure I hot glued all over to make sure the fabric was secure.

outdoor furniture makeover hot glue corner

I did have to put a seam on the front of the bottom cushion since the fabric didn’t quite fit, but the back cushion covers it.

outdoor furniture makeover cushion covers

I love how they turned out! It looks so fresh and clean now! My kitty Kiara, decided they looked comfy too!

outdoor back patio cushion coversoutdoor cushion patio porch

I didn’t have enough fabric to cover the loveseat, but I will try to find some solid blue fabric so it coordinates with the chairs.

outdoor cushion recover white and blue cat

I also gave the chairs a fresh coat of black paint.

outdoor cushions recovered aloha pillowoutdoor patio chair cushions recovered

I added some fun summer pillows, some plants and a small rug to this corner. It looks so comfy and inviting.

outdoor patio cushions recovered blue and whiteoutdoor patio furniture cushion recover with shower curtainoutdoor patio furniture recover blue, white and pink

What do you think? Would you try something like this? I love how easy it is! I would love to hear from you!

sunshine-and-blessings-picmonkey

Here are some other posts you may have missed:
mAKE YOUR OWN SHUTTER LANTERN TITLE       scrabble tile letters turquoise spring        master bedroom dresser vintage drawers and pearls

Driftwood Starfish

Good morning! Well, this will probably be my last summer post this year. Crazy, right? It’s hard to think about fall when it’s still over 100 degrees outside!

I found this cute idea over at The Wicker House.  Thanks Emily! Great craft!

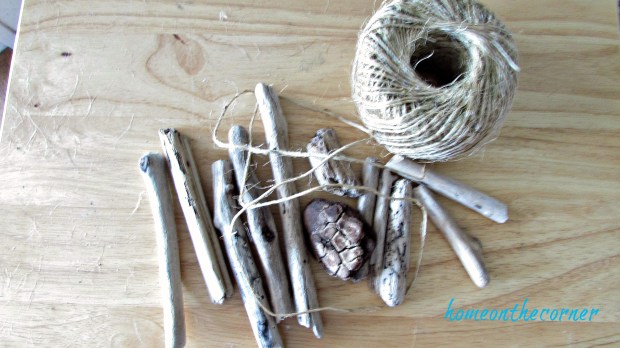
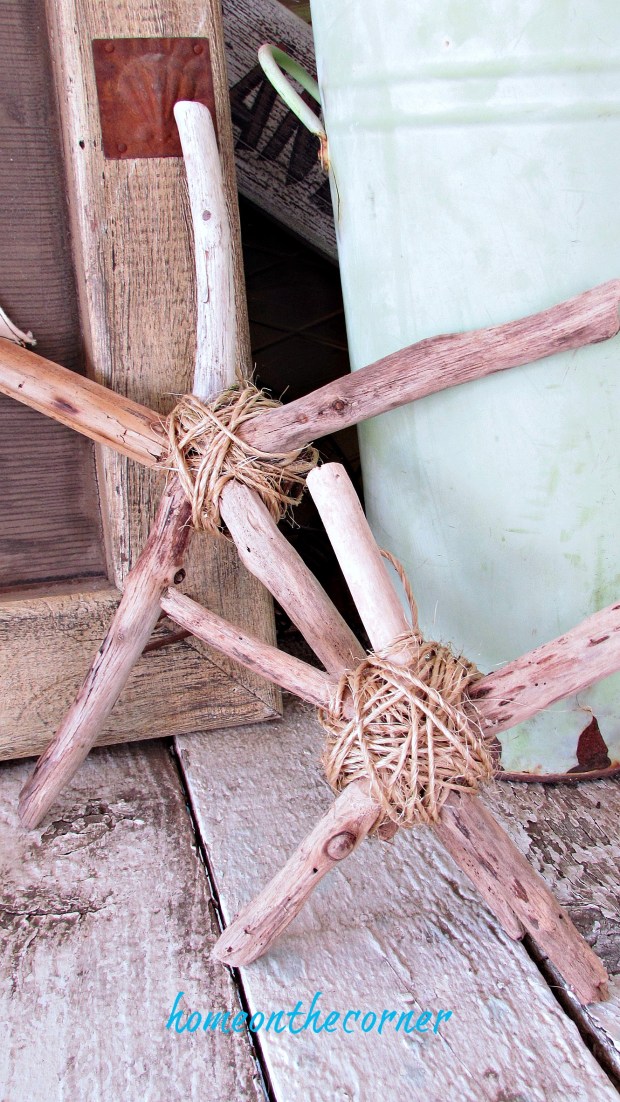
I thought I would give it a try with some of the driftwood I picked up when we went to the beach. I found some slim pieces that weren’t too long and some small chunks of wood to add to the back. I already had the twine.

driftwood starfish supplies

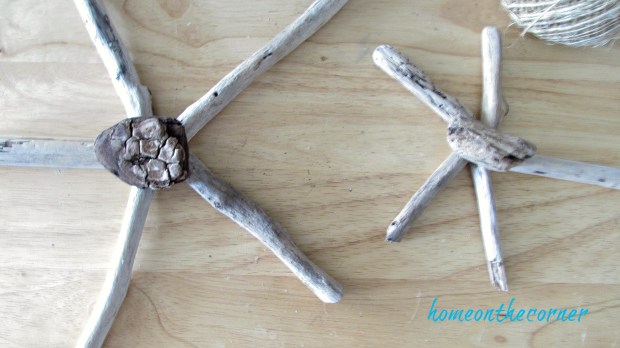
I started with the long pieces that I wanted to go together and a piece that would work for the middle.

driftwood starfish 5 pieces

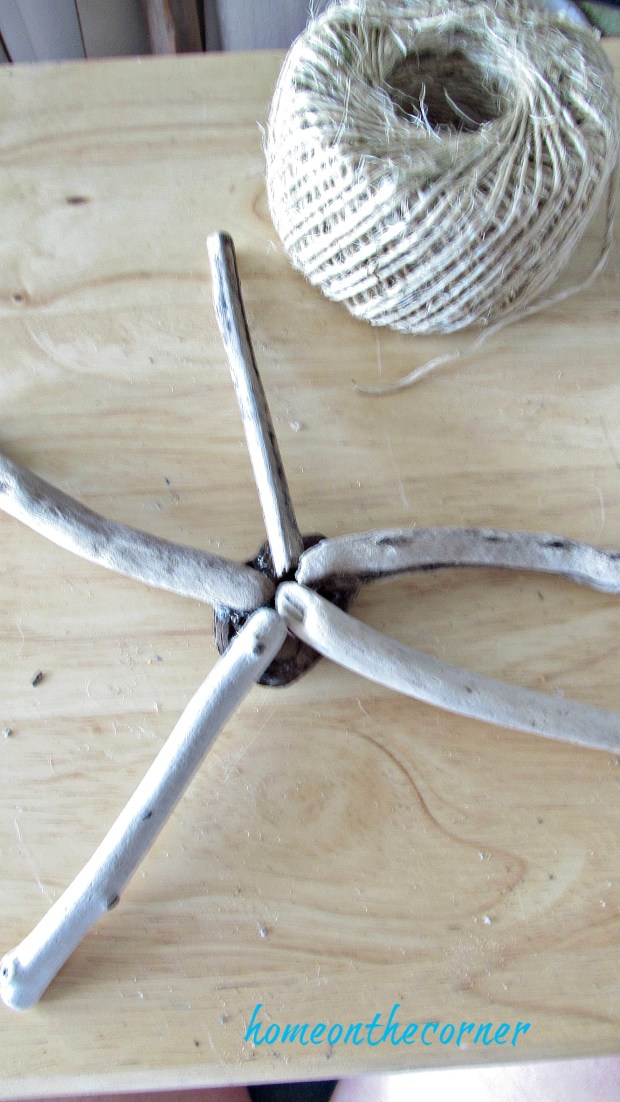
I used hot glue to attach all the pieces together.

driftwood starfish hot glue and twine

I then glued the end of the twine to the back of the piece of wood to secure it and then started wrapping it around all the long pieces.

driftwood starfish with twine

I continued wrapping until everything seemed secure and then added a little more hot glue on the back to finish it off.

driftwood starfish wrapping with twine

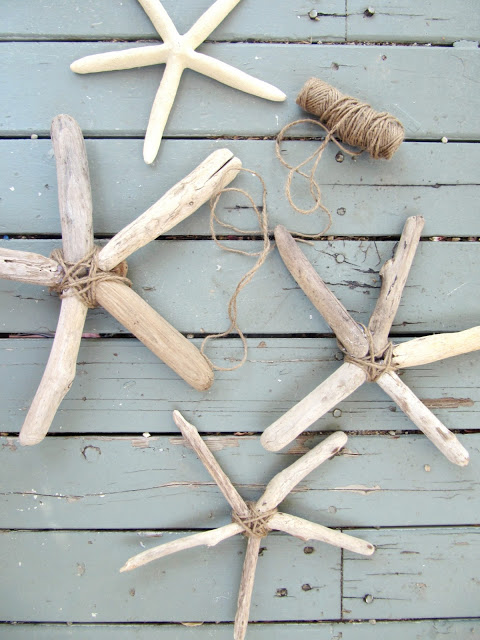
Such a simple project, but looks so cute!

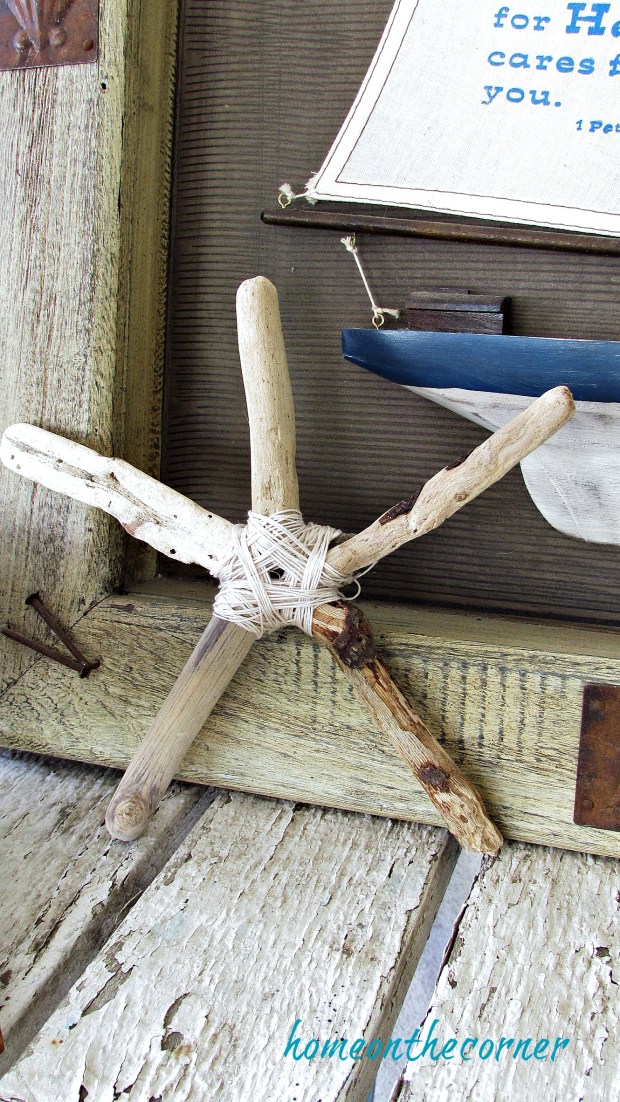
driftwood starfish with sailboat

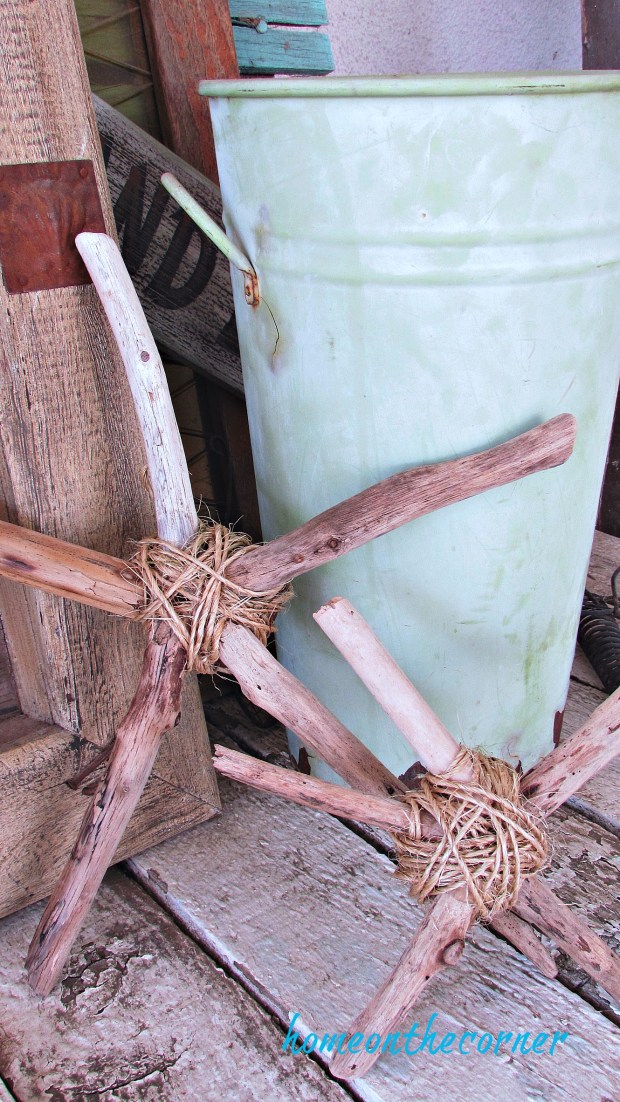
These starfish give the perfect finishing touch to any coastal vignette.

driftwood starfish 5 pieces and twine

I wrapped this one with string instead of twine and it looks great too.

driftwood starfish single 5 pieces with stringdriftwood starfish small starfishdriftwood starfish with bucket

I love the little extra touch these starfish bring to my home.

driftwood starfish with twine boats

Are you ready for fall or are you still hanging on to summer?

sunshine-and-blessings-picmonkey

Silk Flower Heart Canvas

Hello everyone!  February is now upon us and Valentines Day is a little over a week away.  But, that doesn’t mean that all of the Valentines Decor is complete.  Hence this project.

But, before we get started, congratulations to Sarah C. on winning the Canvas Factory Raffle!  We can’t wait to see what you have picked out!

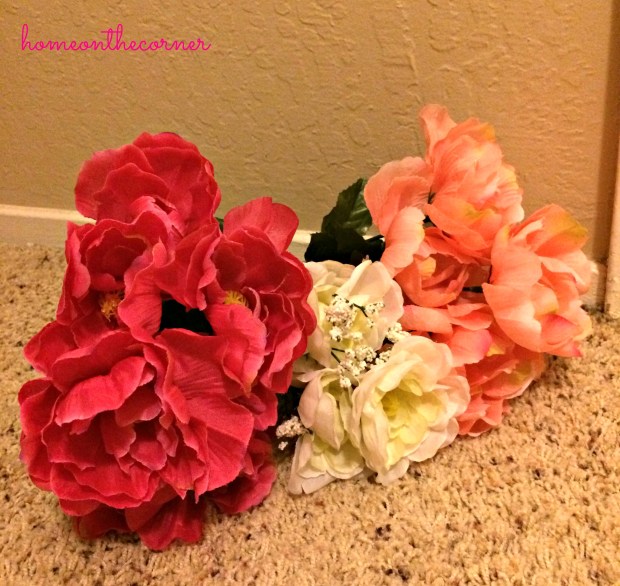
I have been trying to find different projects for BlitzyBlingArt.  And, I went to the 99 Cent Store and found these really pretty silk flowers.  So, naturally I bought a few bunches and started my project.

pink-fake-flowers

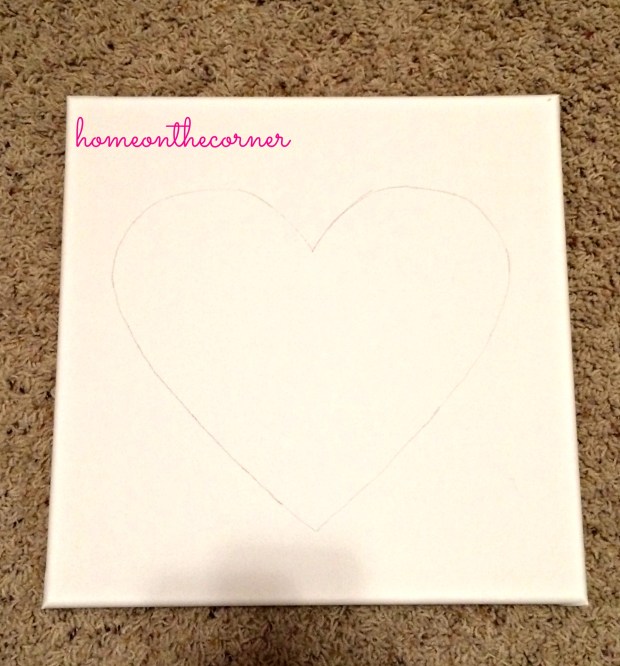
The first thing I did was take all of the flowers off of their stems and cut them short so I could glue them.  Next, I cut out a heart and drew it on the canvas.

heart-on-canvas

Then I started gluing.  First problem I ran into, I attempted to use Elmer’s glue.  Obviously I realized that wasn’t going to work AFTER I attempted to glue the first flower on.  Second problem, I wasn’t going to fill in the heart.  But then I realized that that as I started to put flowers around the heart, you couldn’t see the shape of the heart.

first-row-pink

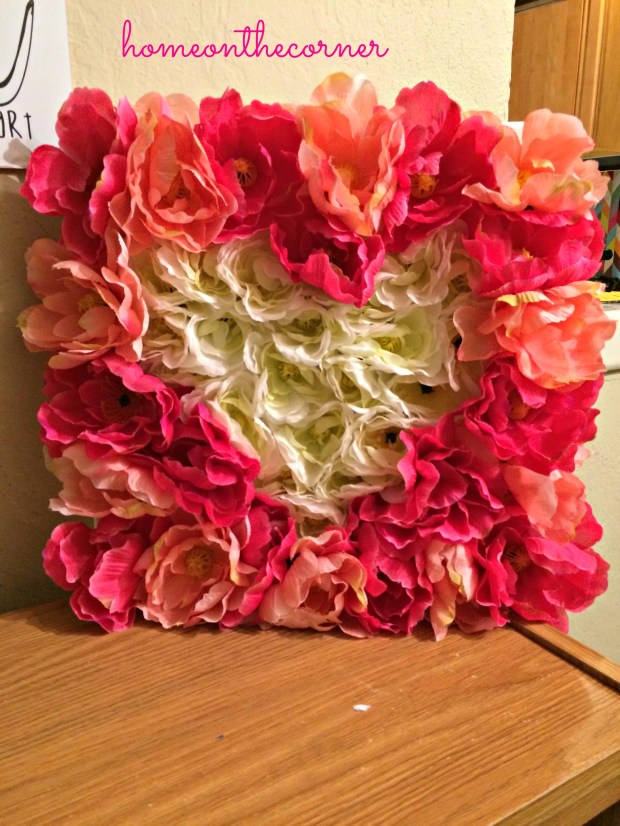
I decided to use the pink flowers around the heart and the white inside the heart.  That way the heart is a bit more obvious and you could see it.

floral-half-canvas

And after lots of hot glue and a few flowers falling apart with cutting the stems off, the canvas was finished.  And it looks amazing!

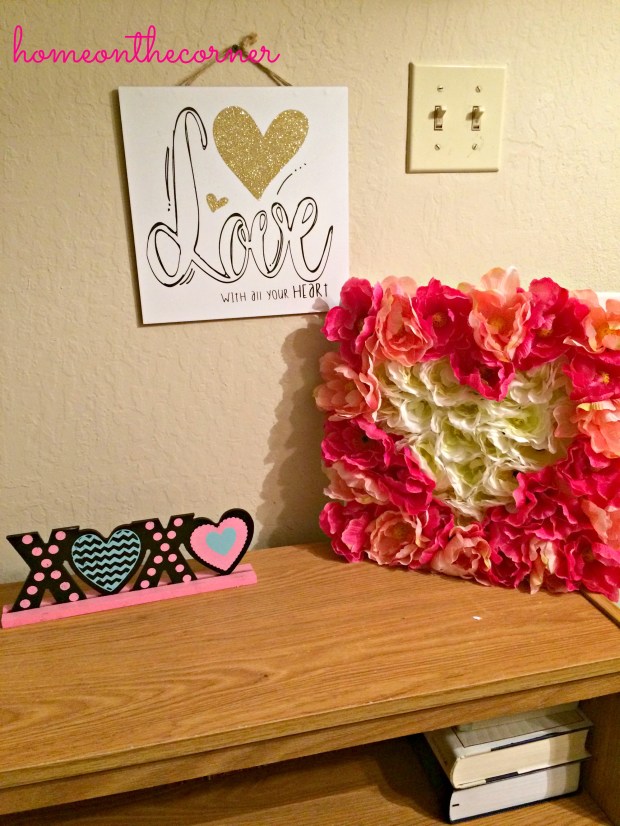
finished-heart-canvasfinished-heart-canvas-2finished-heart-canvas-3

The heart still isn’t very heartish (if that is even a word), but it looks really cool!  I love how it looks.  The flowers look really nice and it looks full.  I also like how it look next to my other Valentines Decor!

sparkle