Step Stool Makeover with Stencils

Good morning! I’m a little late this week, but I finally made it here! I had several small paint projects I worked on this weekend and I thought I would share this one with you. It’s just a simple little update.

I picked up this sturdy little stool awhile ago. It was already white, it just needed a little freshening up. I used a creamy color white to spray paint it, but wanted to add a little bit more to it. I remembered I had these stencils (Designer Stencils and the design is Jaipur Damask) from my entryway floor and decided to use the smaller one here.

step stool makeover

I pulled out 2 different paints from what I had to try them out. I tried the Glidden Quiet Rain first, but it was too light, so turquoise it is!

step stool makeover paint colors

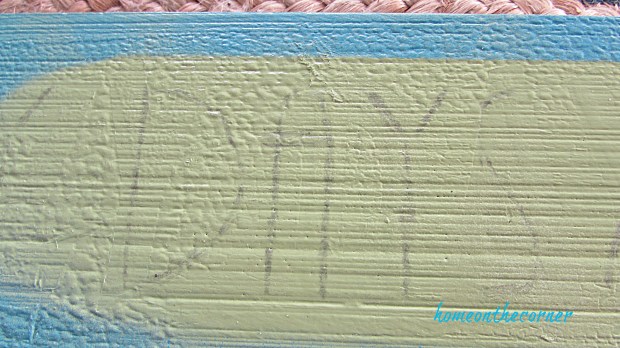
I measured to find the center of the step and then taped my stencil on to keep it in place.

step stool makeover stencil

I used a foam dauber and just lightly dipped it into the paint. I try not to get too much paint on the brush, but if I do, I just daub some off before I put it on the stencil.

step stool makeover paint dauber

Lightly pounce all over the design. You don’t want to press too hard, unless you are wanting a very distinct design.

step stool makeover stencil and dauber

I painted both the top of the stool and the step.

step stool makeover stencil and turquoise paint

I carefully lifted off the stencil and then let the paint dry. This didn’t take too long, since there wasn’t much paint. I lightly sanded over the design once it was dry.

step stool makeover stencil pattern

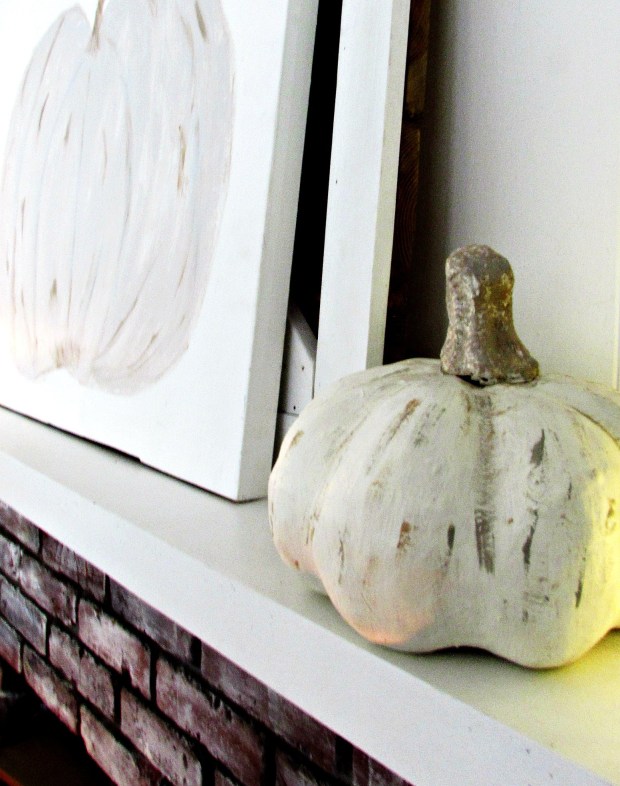
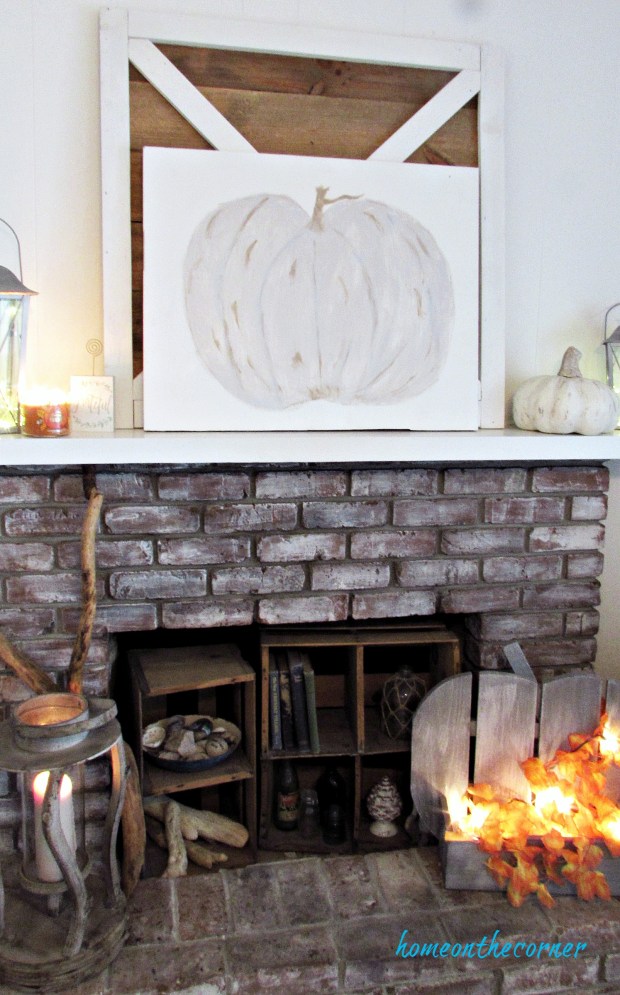
I added a couple of pumpkins and a cozy throw and it’s all ready for fall!

step stool makeover striped pumpkins turquoisestep stool makeover pumpkins and blanketstep stool makeover living room pumpkinsstep stool makeover fall stencil pumpkins

Lauren and I are busy getting some Christmas posts ready for all of you! We have a lot coming your way, starting in November! Can’t wait to share it with you!

sunshine-and-blessings-picmonkey

Thrift Store Pumpkin Makeover

Good morning! Now that’s it’s officially fall, are you experiencing fall weather? This week we have a few cool days, a couple hot ones, and then it cools down for the weekend. I do love the cool nights and being able to cuddle under the blankets!

I found this paper mache’ pumpkin at a thrift store this past week. I liked the size, but didn’t like the shiny finish on it.

cream pumpkin makeover

I took the stem off and then used some of the chalk paint I had on hand. I used what I thought was a cream colored chalk paint, but it was actually wax. I thought I would try it and it ended up working out.

cream pumpkin waverly and american decor chalk paint

I used a couple of coats of the wax and I like the chalk look much better.

cream pumpkin chalk paint

I used Waverly ‘Mineral’ and Americana Decor ‘Heirloom’ and used a small paintbrush to brush small strokes of paint all over the pumpkin. I made sure to add some in the recesses, to give some shadow.

cream pumpkin and stem with grey and tan

I also painted the stem with the ‘Mineral’ and ‘Heirloom’ paint and then glued it back on the top of the pumpkin.

cream pumpkin with lantern

I added the pumpkin to my mantel along with a couple of lanterns and a large pumpkin canvas I painted last year.

cream pumpkin mantle with painted pumpkin picture

Just a few touches bring fall into the room!

painted pumpkin fall mantlecream pumpkin fall mantle lanterns and candles

I also bought a new candle from Bath and Body Works, Sweet Cinnamon Pumpkin. Mmmm! It smells so good!

cream pumpkin fall mantle pumpkin candle and lanterncream pumpkin makeover fall mantle

I love when I can take a thrift store item and remake it to be usable again! I also love when I don’t have to spend a lot of money to bring something ‘new’ to my home. What items have you made over? I would love to hear about it!

sunshine-and-blessings-picmonkey

amazon affiliate


Lazy Days and Lemonade Wood Sign

Good morning! Happy Memorial Day! Thank you to all those who serve, have served or have given their life for our freedom. You are appreciated!

I have had this sign for several years and it was definitely showing its age. The colors were faded and the paint just looked awful, but I love this saying! So I decided to redo it.

lazy days and lemonade wooden sign

I decided to use my favorite summer colors: apple green, oasis blue and orange. I gave the wood a little bit of sanding and then spray painted the board with Rustoleum Apple Green.

lazy days and lemonade green apple

Once it was dry, I taped a piece of newspaper on the middle of the board. I curved the edges to give it a softer look. Once the newspaper was secure, I spray painted Rustoleum Oasis Blue over the whole thing.

lazy days apple green

Here’s what it looked like after removing the paper.

lazy days oasis blue

I looked through the different fonts on my computer and choose the ones I wanted and then printed them out.

lazy days and lemonade printout

Once the papers were cut, I scribbled pencil over the back of each piece. I had to press down fairly hard in order for it to show up on the board.

lazy days printout with pencil rubbing

I placed the papers where I wanted them on the board and then traced over the letters with my pencil, pressing down hard until I could see the letters.

lazy days pencil markings

I used a thin paintbrush and orange acrylic paint to paint over the pencil marks.

lazy days wood sign with orange writing

Once everything was dry, I lightly sanded over the whole board to give it a worn look. Finally, I was able to take it out to my patio and display it on my potting table.

lazy days and lemonade wooden sign with clay pot

The colors are perfect!

lazy days and lemonade wooden sign vignettelazy days and lemonade wooden sign turquoise, green and orange

I’m looking forward to some lazy summer days!

lazy days and lemonade wooden sign patiolazy days and lemonade wooden sign and old window

Thank you so much for coming by today! I would love for you to leave a comment and to chat with you! Have a great week!

sunshine-and-blessings-picmonkey

Here are some other posts you might be interested in:

surfboard makeover live, swim, drink            Board After 3          toolbox makeover spool, plants candles

Here are some products you might be interested in to start your own project!

amazon affiliate


Master Bedroom Vintage Dresser Makeover with a White Wash

Good morning! I’m back this week with a mini makeover! I have been trying to decide what to do with this dresser for quite awhile now. I had scrolled through Pinterest and did searches looking for an idea for a mid-century dresser that wasn’t too mid-century. So easy, right? This dresser had been my aunt and uncles, then my sisters’ when we all lived at home and has been mine since I got married. I’m not sure of the exact age.

Master Bedroom Dresser Title

When we first got it, it was painted dark brown. My husband sanded it all down and then we just left it as is. The wood is very soft and dirt and oils had absorbed into the wood.

Master Bedroom dresser makeover

I think this darker spot was from some candle wax.

mater bedroom dresser marks

My cat also decided to use this corner as a scratching post.

master bedroom dresser scratches

Since the wood is so soft, I was able to sand it by hand and all the dirt and oils came off pretty easy.

master bedroom dresser sander and top of dresser

The scratches were a little more difficult. Some of them were pretty deep. I sanded as much as I could, but I would have had to sand a lot of the wood away if I was going to get it as smooth as possible. I left it like this and thought it would work out okay.

master bedroom dresser sanded

I used Benjamin Moore Simply White and watered it down. You can’t really tell in the picture, but it is pretty watery.

master bedroom makeover paint

I used very little on the brush and even wiped some off before I started painting.

master bedroom dresser paint brush

Once my brush was ready, I started brushing it over the surface until it all looked even.

master bedroom dresser sanded top


master bedroom dresser makeover inspiration

I would still like to do something with the mirror and my husband is working on some kind of frame. I’ll let you know what happens with it!

master bedroom dresser white wash

Doesn’t it look so pretty!

master bedroom dresser completed

I love the wood grain on here!

master bedroom dresser pretty grain white washmaster bedroom dresser ring bowl wood grainmater bedroom dresser perfume necklace

This little vintage dresser was my moms and aunts when they were little girls. It held their doll clothes and all my cousins and I used it too whenever we played at Grandma’s house.  I use it for jewelry now, but it holds lot of great memories.

mater bedroom dresser old small drawer setmaster bedroom dresser vintage drawers and pearls

I added a few turquoise touches and my seashells.

master bedroom dresser seashell candle holder necklacemaster bedroom dresser seashell

I’m really happy how this dresser turned out! It was a nice simple refresh for the bedroom. Thanks for coming by today!

sunshine-and-blessings-picmonkey

Here are some other posts you might have missed!


spring porch pink, yellow, orange flower box            driftwood wreath bowl of shelves          drop cloth leaf wreath hanging on shutter (1)


Minnie Mouse Wooden Ornament

I posted this earlier this year, but since we just went to Disneyland for Christmas, I decided it was appropriate to post again! Merry Christmas!

Good morning! Guess what? I am planning a trip to Disneyland! And I am so excited! My husband and I gave my parents a day trip to California Adventure and we have set the date! So I wanted to create something that represented Disney.

I have quite a few of these wooden balls in my stash, so I have been trying to figure out different things to make with them. Minnie ears were the perfect start! I picked pink, black and white for the colors and had some Minnie mouse ribbon left from another project.

Minnie Mouse wooden ornament

I painted all the small balls black for the ears and each of the large ones were painted a different color-pink, black and white. I used acrylic paint for each one and then sprayed each one with semi-gloss clear sealer.

minnie mouse wooden ball ornament black ears

I hot glued 2 of the small balls to the top of one large one to make cute little ears!

minnie mouse wooden disney ornamentminnie mouse wooden disney ears black and white

Once the ears were on, I added a bow to the top. I also added a hanger so they could be used either as an ornament or as a decoration.

minnie mouse decor disney pink bow

I hung them on my little cup holder just to give you an idea of how they looked.

minnie mouse wooden ornament pink and black polka dot bowminnie mouse wooden ball pink

Aren’t they cute?! They would be perfect for a little girls room, maybe a tablescape or even a Christmas tree.

minnie mouse wooden ball ornament pink, black and whiteminnie mouse pink bow black ears

Perfect for any Disney theme!

minnie mouse ears hanging triominnie mouse disney hanging ornament

Well, that’s one project done, but I have lots of these wooden balls left, so I will be coming up with more! See you next time!

sunshine-and-blessings-picmonkey

amazon affiliate