Dio de la Muertos Shadowbox

Good morning! We finally had a cool off!! The smoke is disappearing, there is a small breeze and the weather is beautiful! I’m not sure how long it will last, but I will enjoy it while I can!

Have you started thinking about fall yet? I added some neutral decor, so not too fallish yet, but I couldn’t wait to make something to add to my CoCo and Dio de la Muertos Ofrenda table.

I found this small shadowbox at a local thrift store. I originally bought it for something else, but the pieces I was going to add to it were too big. So after wandering through the 99 Cent Store, I was inspired by all the Day of the Dead decor. The first step was to paint the shadowbox black. Of course, I used spray paint. 🙂

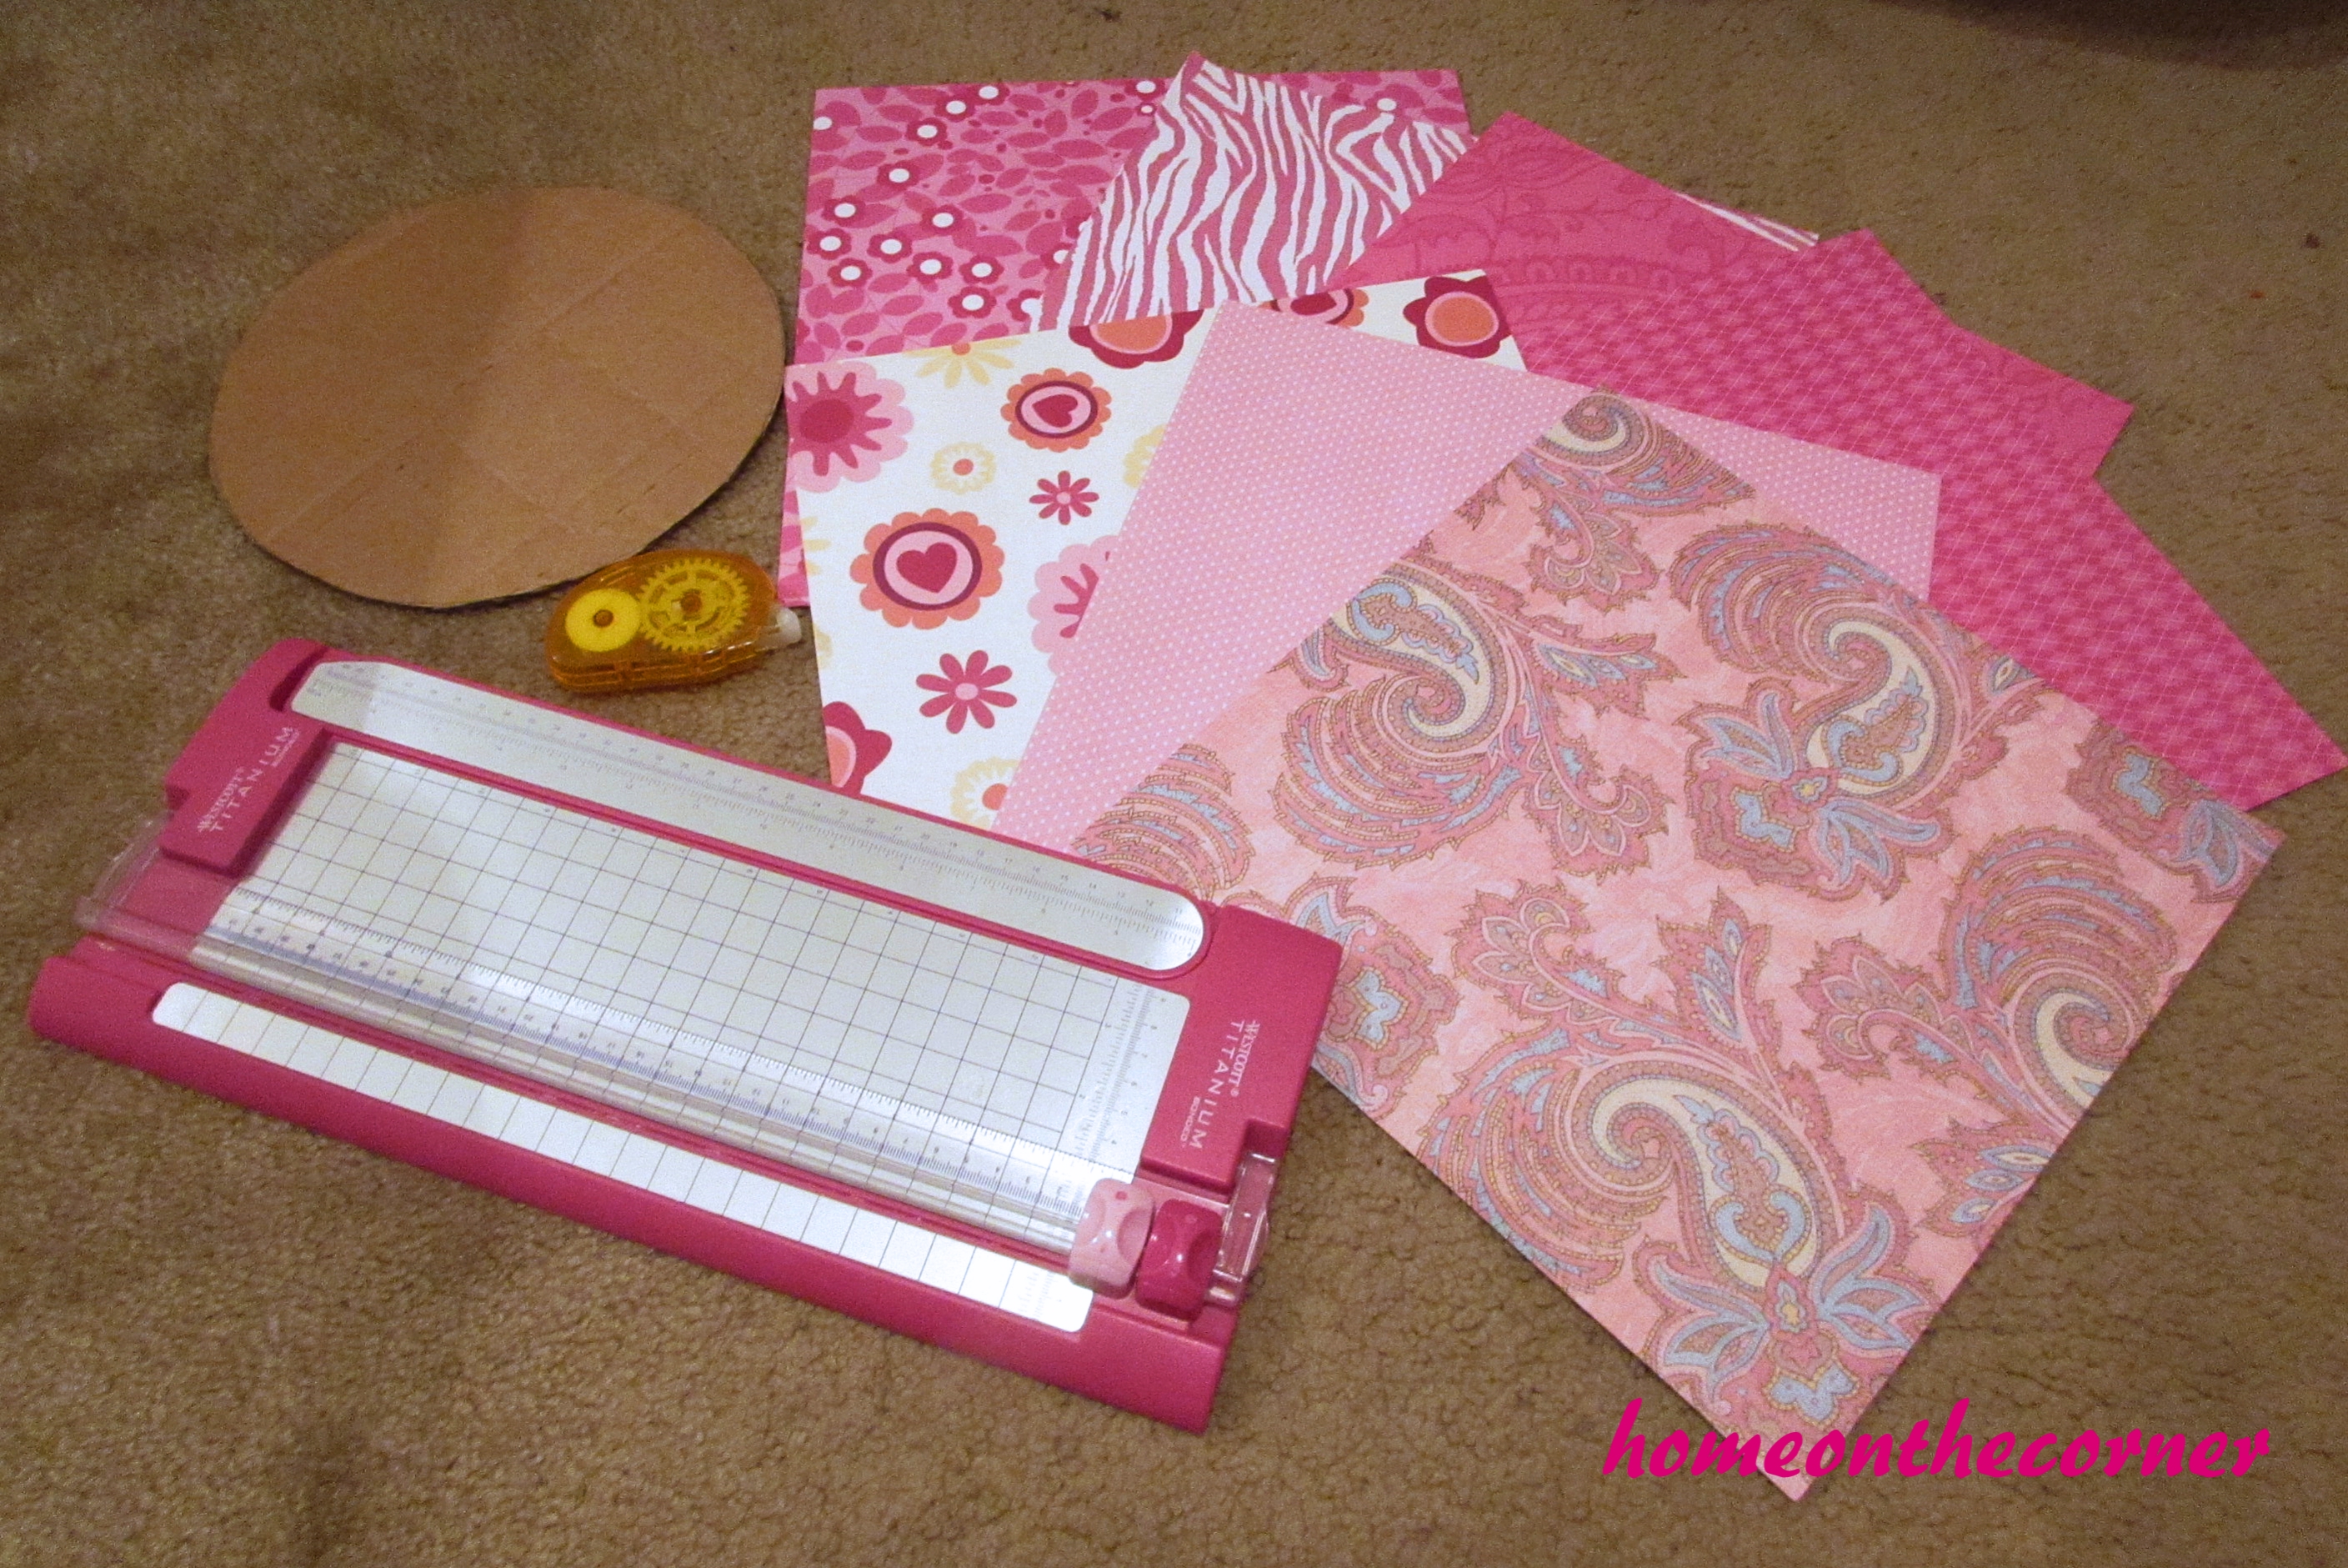
It was difficult to find items small enough to fit into the spaces, but I was able to find a couple of skeletons, cat salt and pepper shakers, and brightly colored flowers. Then I went through my scrapbooking paper to find paper for the backgrounds.

I cut out a piece of heavy weight paper to cover the heart at the top of the house. Then I covered that paper with floral and polka-dot paper.

The skeletons were actually the little solar things you put in your window and they dance, but I cut off the bottom part and then hot glued the skeletons into the top section of the house. I also added some turquoise rhinestones.

I cut the flowers off the stems and then glued them around the top edge of the house. You can see the rest of the paper that I chose for each square too. The black and white toile paper reminds me of the Haunted Mansion at Disneyland.

I had to add a dog to the box and because he was a little bit bigger he got the middle spot. I also gave him a black velvet bow.

One of the black cats was added to a spot with a pretty pink flower on its collar.

I had this paper stamped with the lock already in my stash and then added the key and the rhinestones.

I couldn’t find another small item, so I made this little sombrero out of felt, ribbon and trim.

I found the little dollhouse chair at the Dollar Store, spray-painted it black and glued the skeleton onto the seat.

I added it to the other items I already had on my entryway table. I will be sharing the the Dio de la Muertos hanging next week.

I hope I can find more shadowboxes and create different ones for holidays and seasons. I think one with pumpkins and little trucks would be so cute!

Thank you for stopping by today! Hope you have a great week!

Valentine’s Day ‘I Love You’ Wooden Blocks

I know Valentine’s Day is still a month away, but I thought I would repost these wooden blocks in case you were ready to get started on your decorations!

Good morning! Are you ready for February and lots of pink and glitter? My classroom is full of glitter and sparkles right now. Lol! But I want to keep things a little more simple at home.

I have had these blocks for too many years, circa 1990’s. They spelled out our last name. I wasn’t going to use them for the original purpose, but I kept thinking they were such nice wooden blocks, there had to be something I could do with them. I finally came up with something.

wooden blocks i love you

The pictures I took of each step, turned out blurry, but the steps were pretty simple. I painted the sides and back of the block white. Then I used painters tape and to block off the front of the block because I wanted it to stay white. I used scissors to cut straight edges. I went over the sides and a little bit on the front edge with black.

wooden block painters tape

Here is how they turned out. I like the little black edge on the front. I found some black chipboard letters and made a heart out of scrapbooking paper.

wooden blocks painted

Since I only had 5 blocks, I decided on i, u, x, o and a heart.

wooden block x and owooden blocks i love you pink heart

I layered a soft pink paper over scripted paper to make the heart.

wooden blocks pink heartwooden blocks x and o, i love you

I think it’s the perfect little Valentine’s Day touch!

wooden blocks black and white and pink

I’m glad I finally found a use for something else I already had and I love how they turned out! So simple and just the perfect little Valentine touch to my mantel!

sunshine-and-blessings-picmonkey

amazon affiliate


Pink Paper Flower

Valentine’s Day and springtime are approaching us.  That means all of the pretty colors are coming in and the flowers are starting to bloom.  The scenery is becoming more vibrant and it is time to start spending more time outside rather than in.

So, why not welcome spring by starting to decorate with some flowers and bright colors?

I found this easy DIY paper flower on HGTV.com.  I was excited because it looked really pretty and the instructions seemed simple.  So…here is my trial of making a pretty paper flower.

Items needed are:

Pink Paper Wall Flower Tutorial


A cardboard circle-the online instructions said to use a cake circle which would work, but I didn’t have one, so I just used a piece of cardboard and cut it into a circle.

Scrapbook paper-the online instructions said to use 7 pieces of scrapbook paper.  I ended up only using 5 1/2.  Granted, I used different designs where the original design used all the same color.

Double sided tape-I didn’t have any, so I used a hot glue gun and regular tape.

A paper cutter or scissors

Step 1: Cut all of your paper into 4 inch by 4 inch squares.  (I found it easier to cut the pieces that I wanted to use first instead of all of it because I didn’t end up using all of the pieces that I cut).

Pink Paper Wall Flower Squares

Step 2: Make all of your squares into a cone shape.  I had to use a little trial and error to make my cones look the way I wanted it to.  If you are using designed paper, fold the plain sides together for the inside of the cone.  If the design in on the inside, the flower is going to be a majority white.  Make sure to tape or glue the edges together.

Pink Paper Flower Cones

Step 3: Start gluing the cones onto the cardboard.  I had to use hot glue to get the cones to stick to the cardboard.  Also, the cones need to be a small distance apart so they don’t get too crowded and not make a circle.

Pink Paper Flower Close Up


Step 4: Keep adding cones to the cardboard to make the layers of the flower.  Just flatten the end of the cone and put glue on that end to stick to the cardboard.  Keep filling in until you have a flower!

Pink Paper Flower Final 2

Now, this flower can be hung from a wall or just placed on a table like I have done.  I love how it turned out with all the different designs of the paper in the different layers.  It is great with Valentine’s Day decorations or just to hang on the wall.

Pink Paper Wall Flower Final 1

We’ll be back with  more ideas in the next few weeks!

sparkle