From Yellow to Blue with a Bit of Paint

I AM SOOOOOOOOOOOO SORRY!  I CANNOT BELIEVE THAT I DIDN’T GET THIS POST UP YESTERDAY!  PLEASE ACCEPT MY APOLOGY AND KEEP READING THE BLOG!  PLEASE!

All kidding aside, I do apologize for missing the post yesterday.  Time got away from me, and I am just getting to post it today.

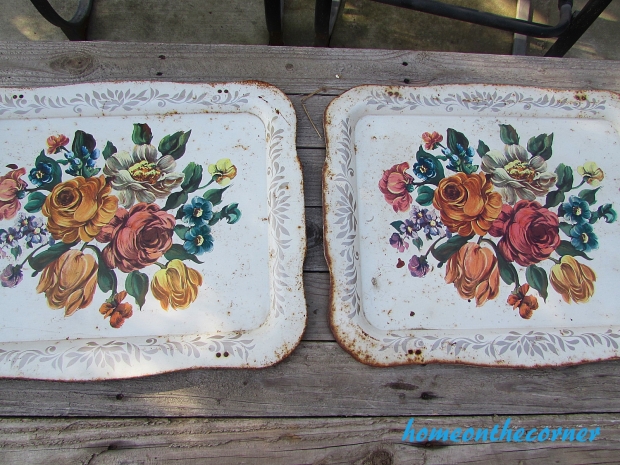
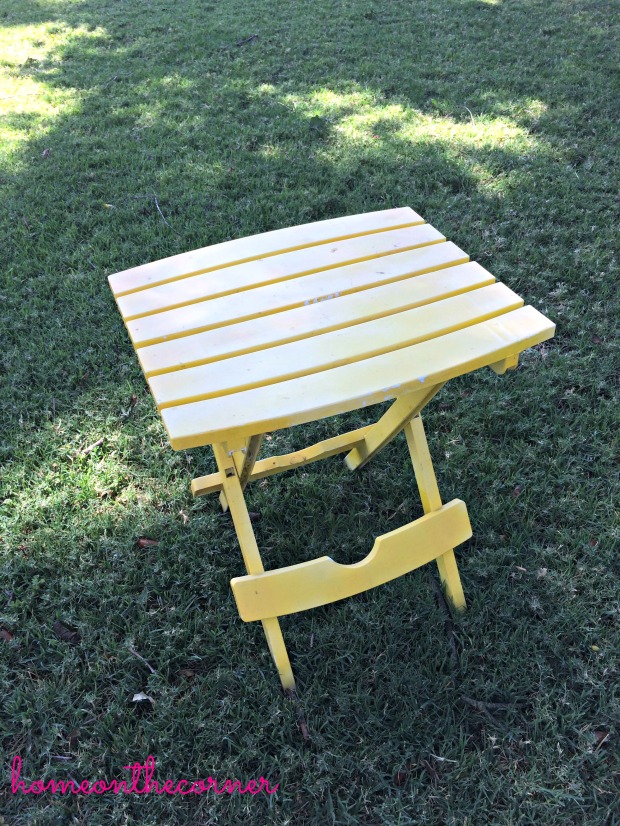
So, we have this table that you might have seen before in some of our blogs.  It was a cute little folding table that mom had painted yellow because it was originally green.  But, I was tired of it being yellow and I wanted a table for when I move out of my current apartment and into a new place.

Table Before

So, the first thing I did was paint the legs white.  I knew that this would help to make the top of the table a statement but still keep it neutral.  I used an old sheet that I wrapped around the bottom of the table to protect it while I painted the top.

Table Cloth

I used three different shades of blue from Rustoleum for the table top.  I wanted to do an ombre effect so I used Aqua, Spa Blue, and Lagoon.

Paint

It was a bit difficult to paint the top since there were different slats that I wanted different colors.  So I started with painting the Aqua and Lagoon on the edges and painted both of those.  Then, I covered both of those parts and painted the Spa Blue section since it was in the middle of the table.

And here is the final product!

Table After 1Table After 2Table After 3

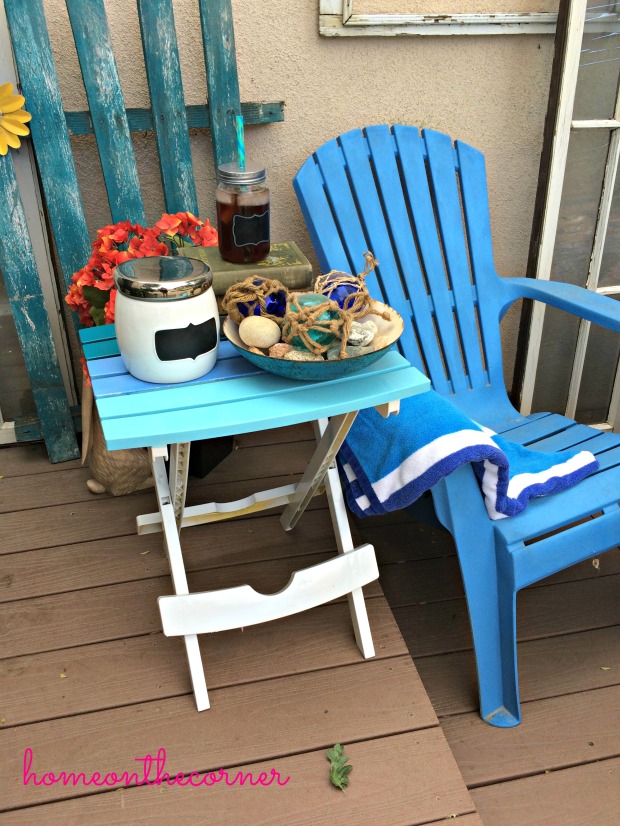
I love the ombre look on the tabletop!  It is great for the outdoors and is perfect for a front or back porch.  It would look good with things displayed on it or by itself.

I hope that you enjoyed the blog this week.  Thanks for stopping by!

sparkle


Upcycled Old Metal T.V. Trays

Hello again! Did you all have a wonderful weekend? I pretty much just stayed home (saves money that way!) and worked on bringing some spring inside! We already have blossoms on trees and flowers blooming here. It’s probably too early, but it’s so beautiful, it’s hard to complain! I did get to work on a couple of projects too.

I have had these trays for years and could never really decide what to do with them. I have always used them for decorating outside because I felt like the floral design just lent itself to be outdoors. But they never had a specific purpose. I don’t know why this took so long to figure out, but an idea finally came to mind-at least for one of them.

floral metal trays makeoverfloral metal trays makeover single tray

I dug through some letters I have had for awhile and found enough to sort of make the word ‘garden.’ I had to add the leg for the ‘R’ and an extra line for the ‘E’, but I managed to make it work. I planned on doing the word ‘summer’ on the other one, but I didn’t have enough letters.

floral metal trays garden letters

Now that I have my letters, I put a little glue on the back of each one and placed them on the tray. Probably a spray adhesive would have worked better, but I didn’t have any, so I went with what I could.

floral metal trays garden layout

For the other tray, I tried covering the design with burlap and spraying around it.

floral metal trays burlap

With the letters attached on the first tray and lined up, I started spraying lightly over the top with white spray paint. I always use the Rustoleum 2X paint. Love this stuff!

floral metal trays garden painted

Once I knew the letters would stick, I sprayed more layers of paint. It’s best to spray several light layers and let the paint dry in between. Once the paint was dry, I removed the letters.

floral metal trays floral garden

I didn’t like how the second tray turned out, so I tried something different. I printed out 3 large flowers, laid them on top and sprayed around them. I didn’t like this either, so I am going to have to come up with a whole new plan. I will probably spray the whole thing white and then stencil something on top.

floral metal trays flower cutouts

On the first tray, I sanded a little around the edges and over the top. I still wanted it to look like it belonged outside. After the sanding, I sprayed a clear sealer over the top to add some protection for the outdoors. I also added drawer pulls to the edges so it could be used as a tray for serving. At least one out of two turned out good!

floral metal tray styled

I love how a little bit of the floral peeks through.

floral metal tray garden closeup

I wish it was warm enough to actually use this right now!

floral metal tray garden letters

floral metal tray with glassware

Hopefully it won’t be too long before we can enjoy a nice glass of tea out in the garden. Are you ready for spring? Have you started any spring projects yet? I would love to hear about it!

Sunshine and Blessings

Corner News Friday August 28, 2015

Happy Friday everyone! I survived my first week back in the classroom and I think the kids did too!! Just kidding. I think this is going to be a great class. They are smart and are learning the routine very quickly. I am excited about this year.

I did manage to get a couple little projects done. Here is one. I have had this little doggy since I was in college (I will spare you how many years ago this was!), but she was in need of a little update. Spray paint to the rescue! Here she is before:

Dachshund Makeover

And after! Just some plain black glossy paint updated her to the new era!

spray paint dauchshund black

apray painted dauchshund

We also went to watch our local baseball team, courtesy of my husband’s company. The guys have been so safe at work, they and their families were treated to a night out. The team pulled out a win in the 10th inning! They have played great all season. I think they were trying to make it last a little longer by going into extra innings!

Fresno GrizzliesFresno Grizzlies Baseball

Two weekends ago we enjoyed some time at our favorite beach. Here is just one of the bunches of pictures I took of the beautiful sunset.

California Beach Sunset

I hope you all have a wonderful weekend! See you next week!

Sunshine and Blessings