Lazy Days and Lemonade Wood Sign

Good morning! Happy Memorial Day! Thank you to all those who serve, have served or have given their life for our freedom. You are appreciated!

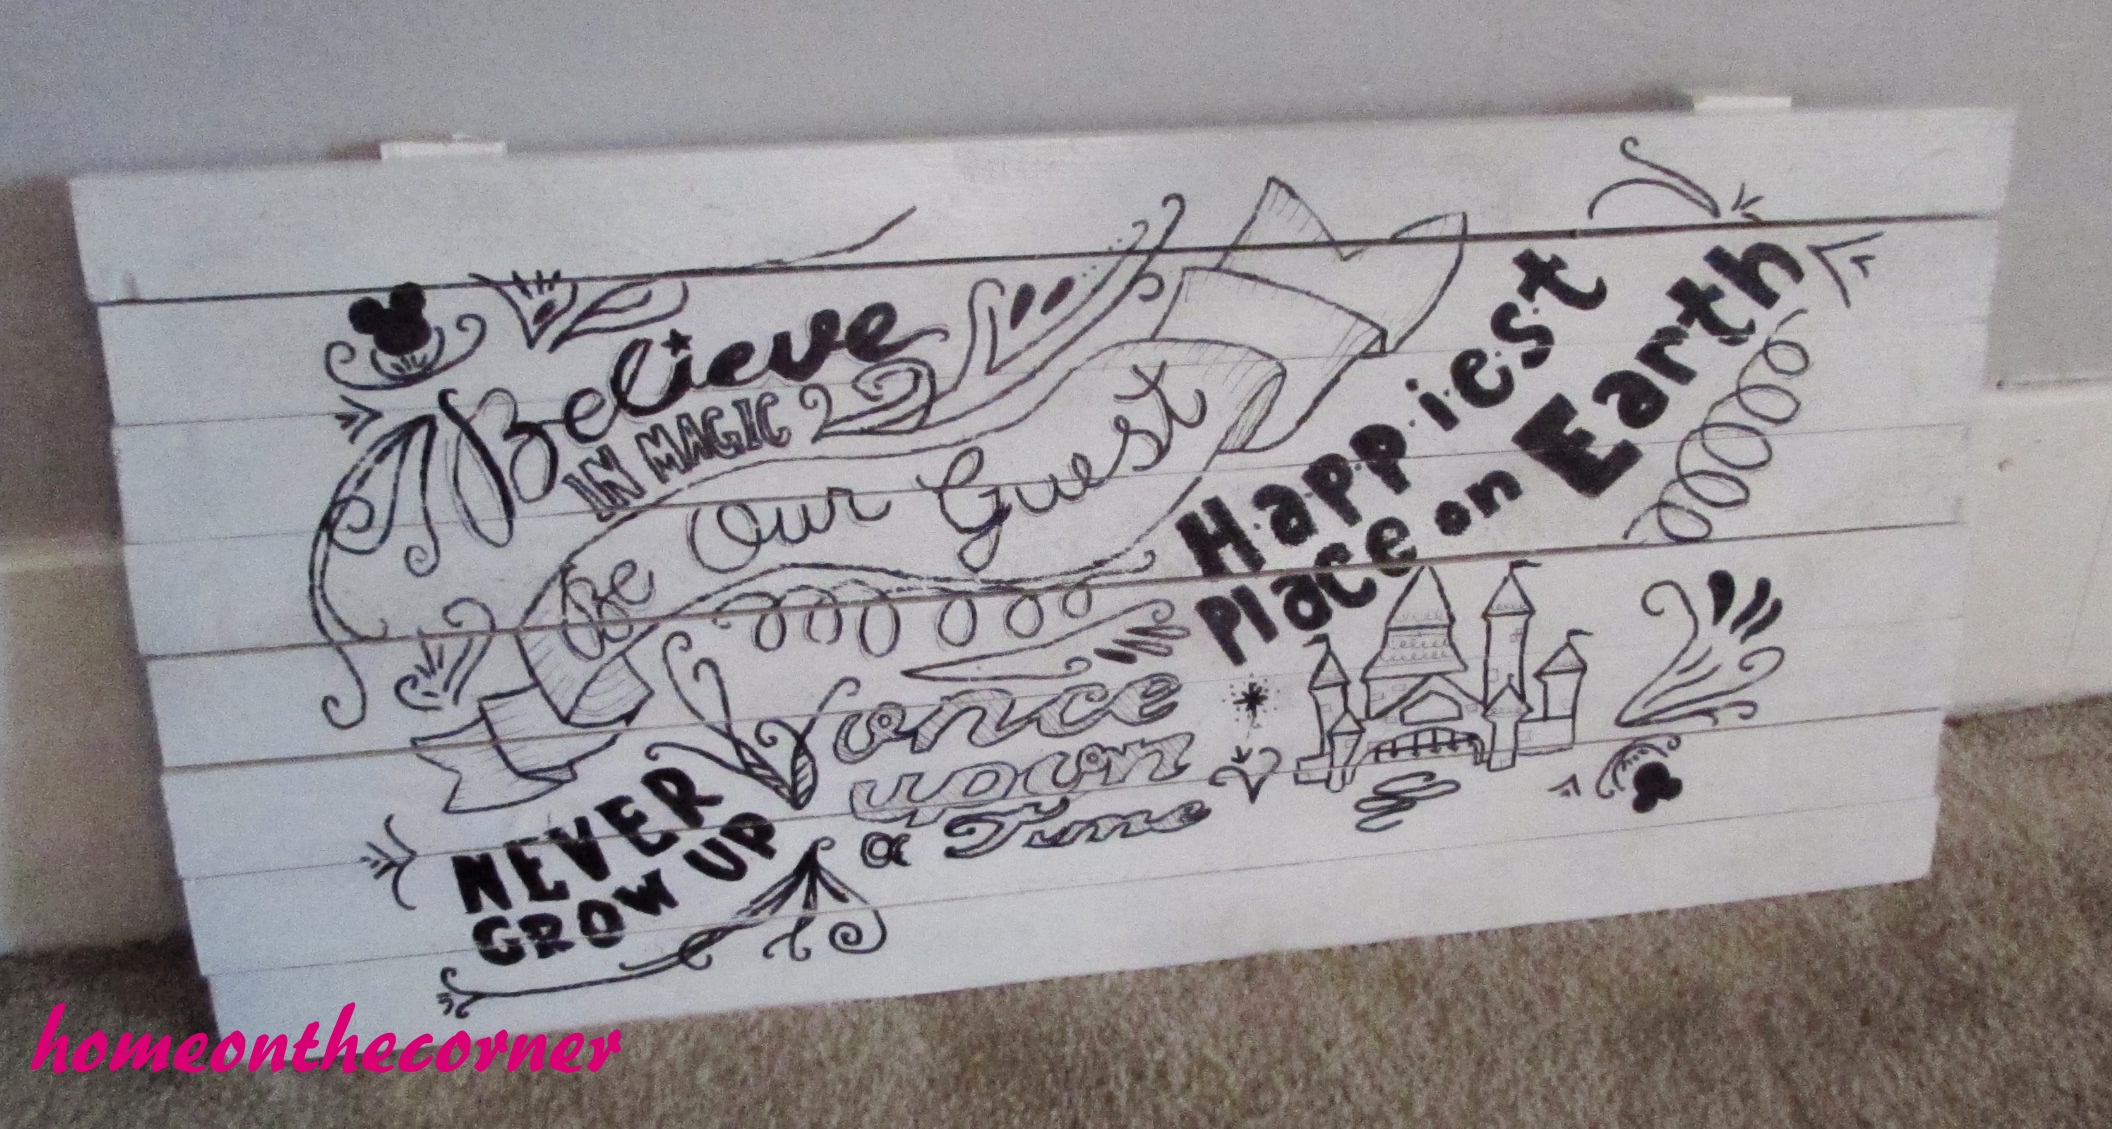
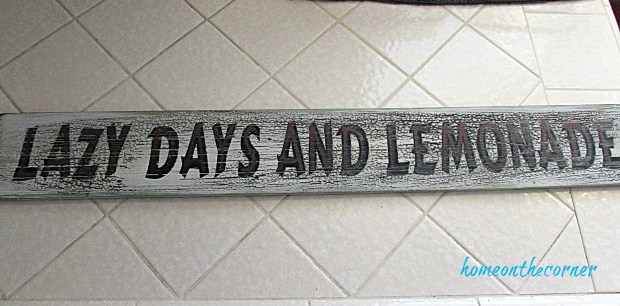
I have had this sign for several years and it was definitely showing its age. The colors were faded and the paint just looked awful, but I love this saying! So I decided to redo it.

lazy days and lemonade wooden sign

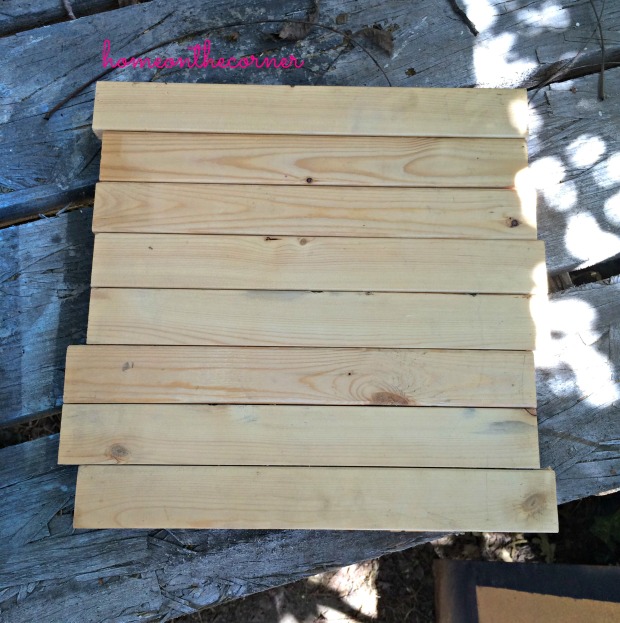
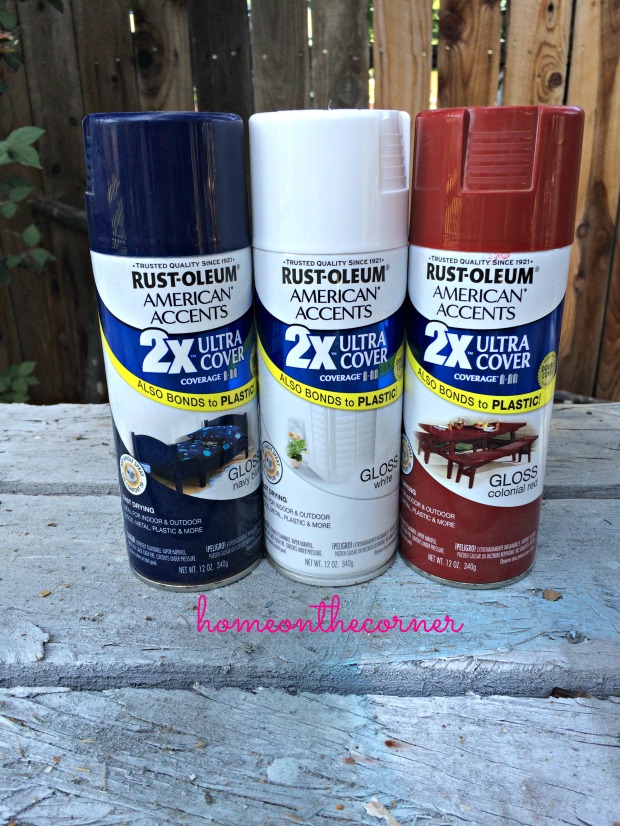
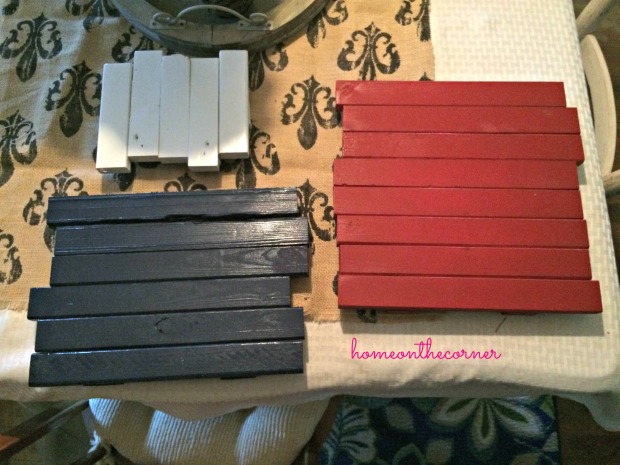
I decided to use my favorite summer colors: apple green, oasis blue and orange. I gave the wood a little bit of sanding and then spray painted the board with Rustoleum Apple Green.

lazy days and lemonade green apple

Once it was dry, I taped a piece of newspaper on the middle of the board. I curved the edges to give it a softer look. Once the newspaper was secure, I spray painted Rustoleum Oasis Blue over the whole thing.

lazy days apple green

Here’s what it looked like after removing the paper.

lazy days oasis blue

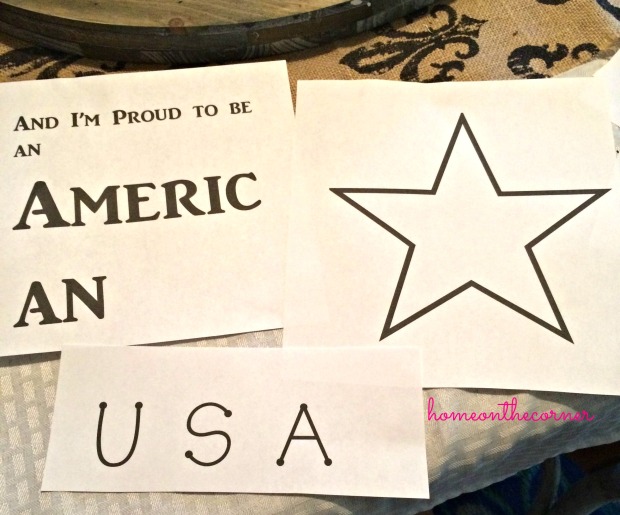
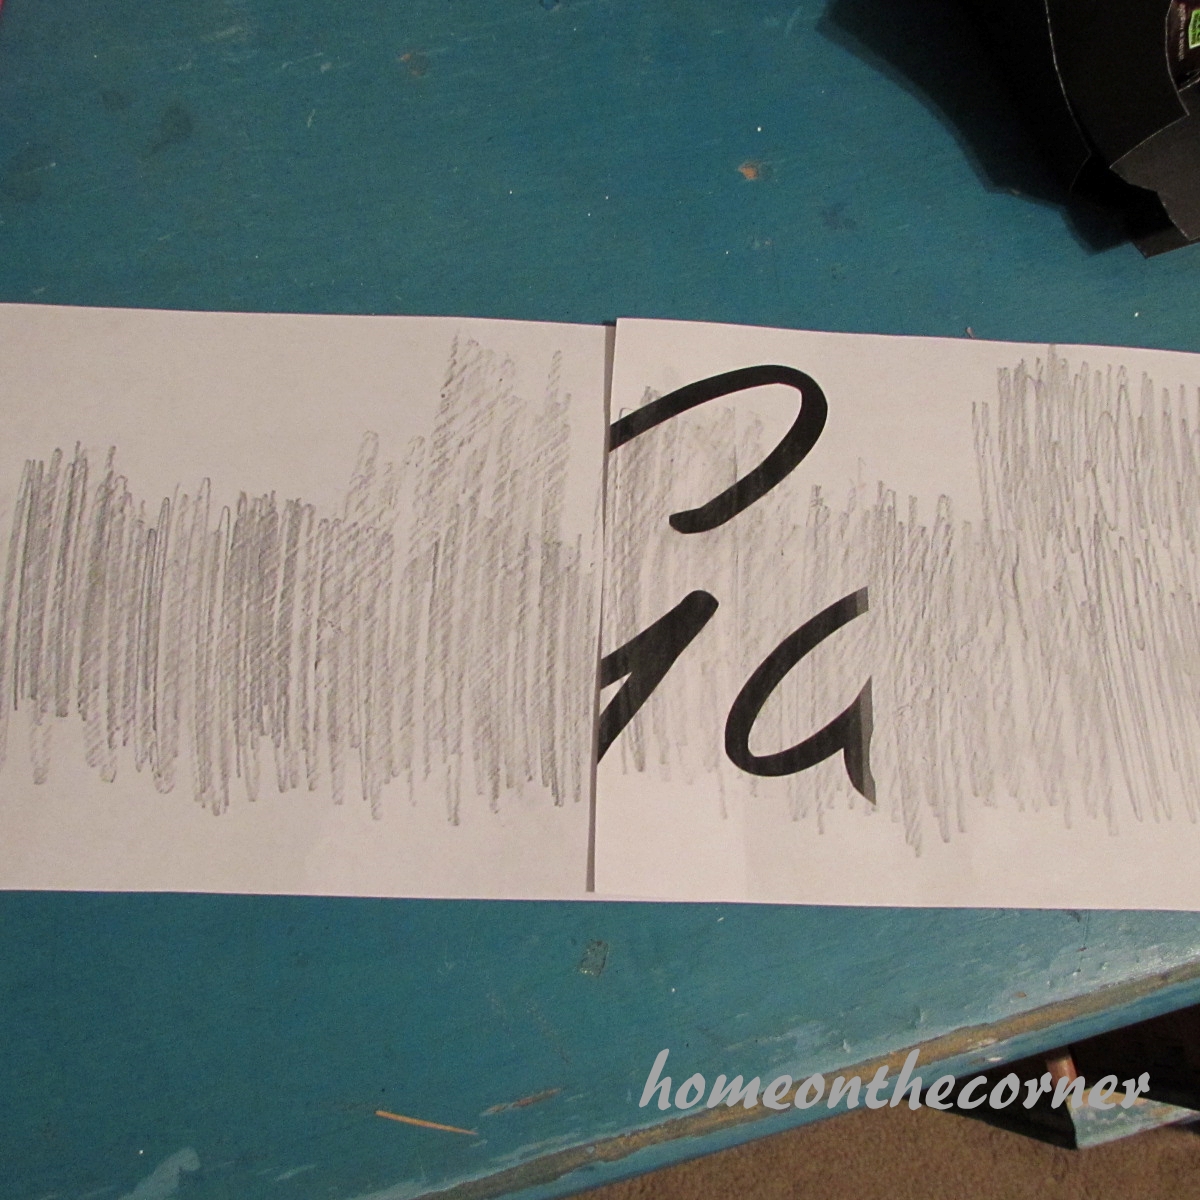
I looked through the different fonts on my computer and choose the ones I wanted and then printed them out.

lazy days and lemonade printout

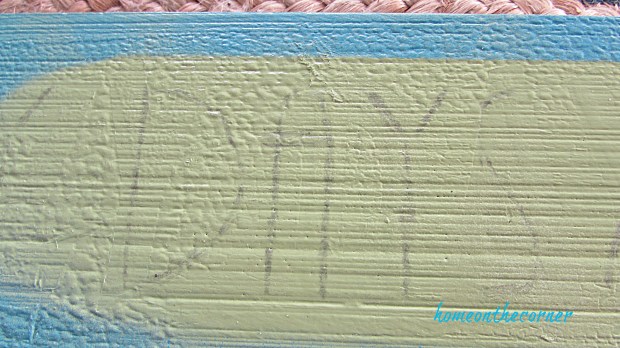
Once the papers were cut, I scribbled pencil over the back of each piece. I had to press down fairly hard in order for it to show up on the board.

lazy days printout with pencil rubbing

I placed the papers where I wanted them on the board and then traced over the letters with my pencil, pressing down hard until I could see the letters.

lazy days pencil markings

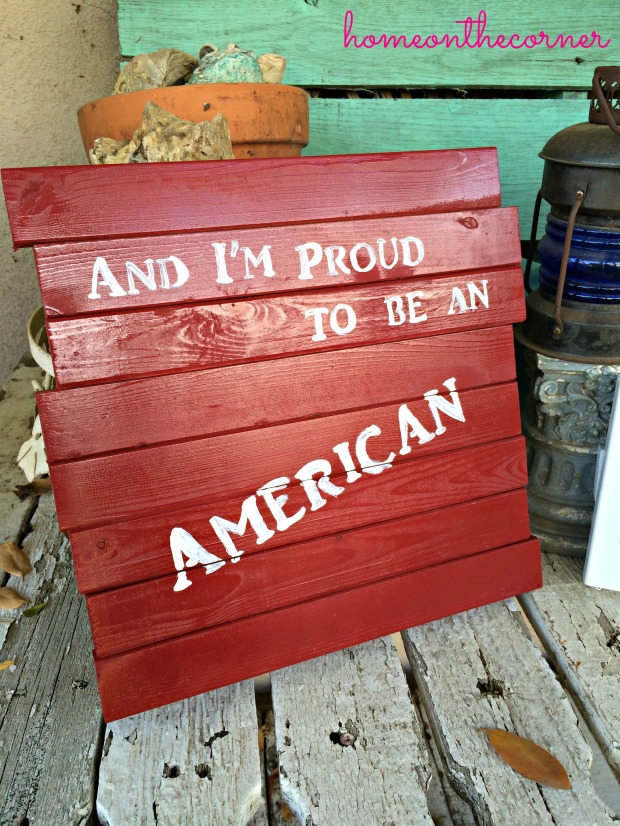
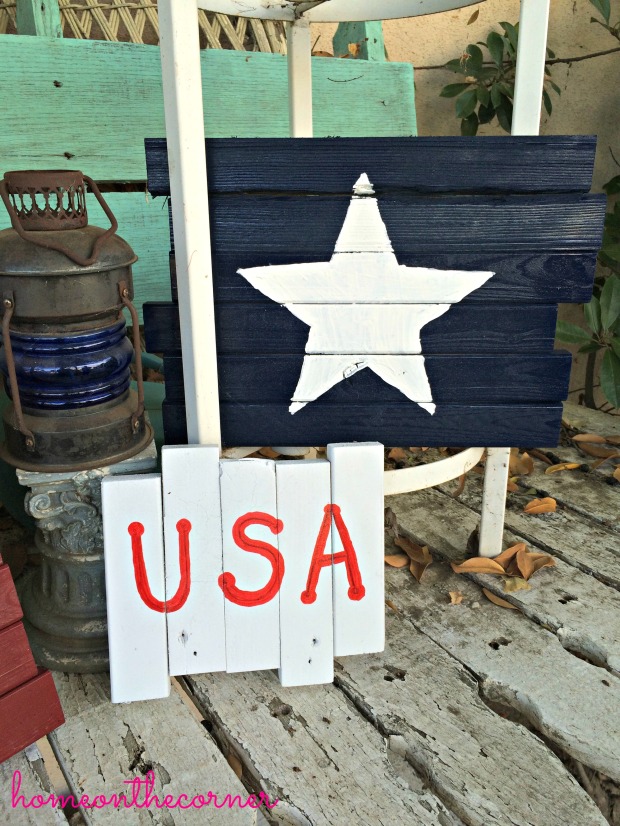
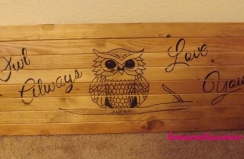
I used a thin paintbrush and orange acrylic paint to paint over the pencil marks.

lazy days wood sign with orange writing

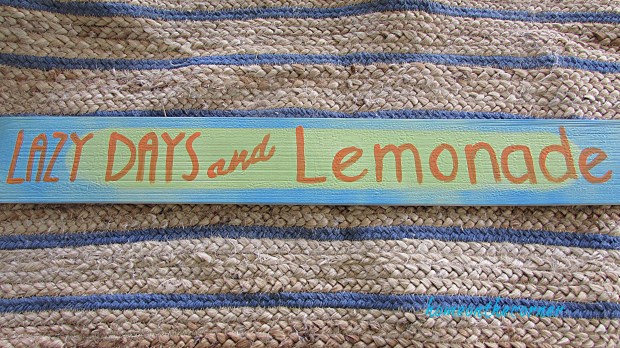
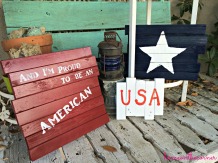
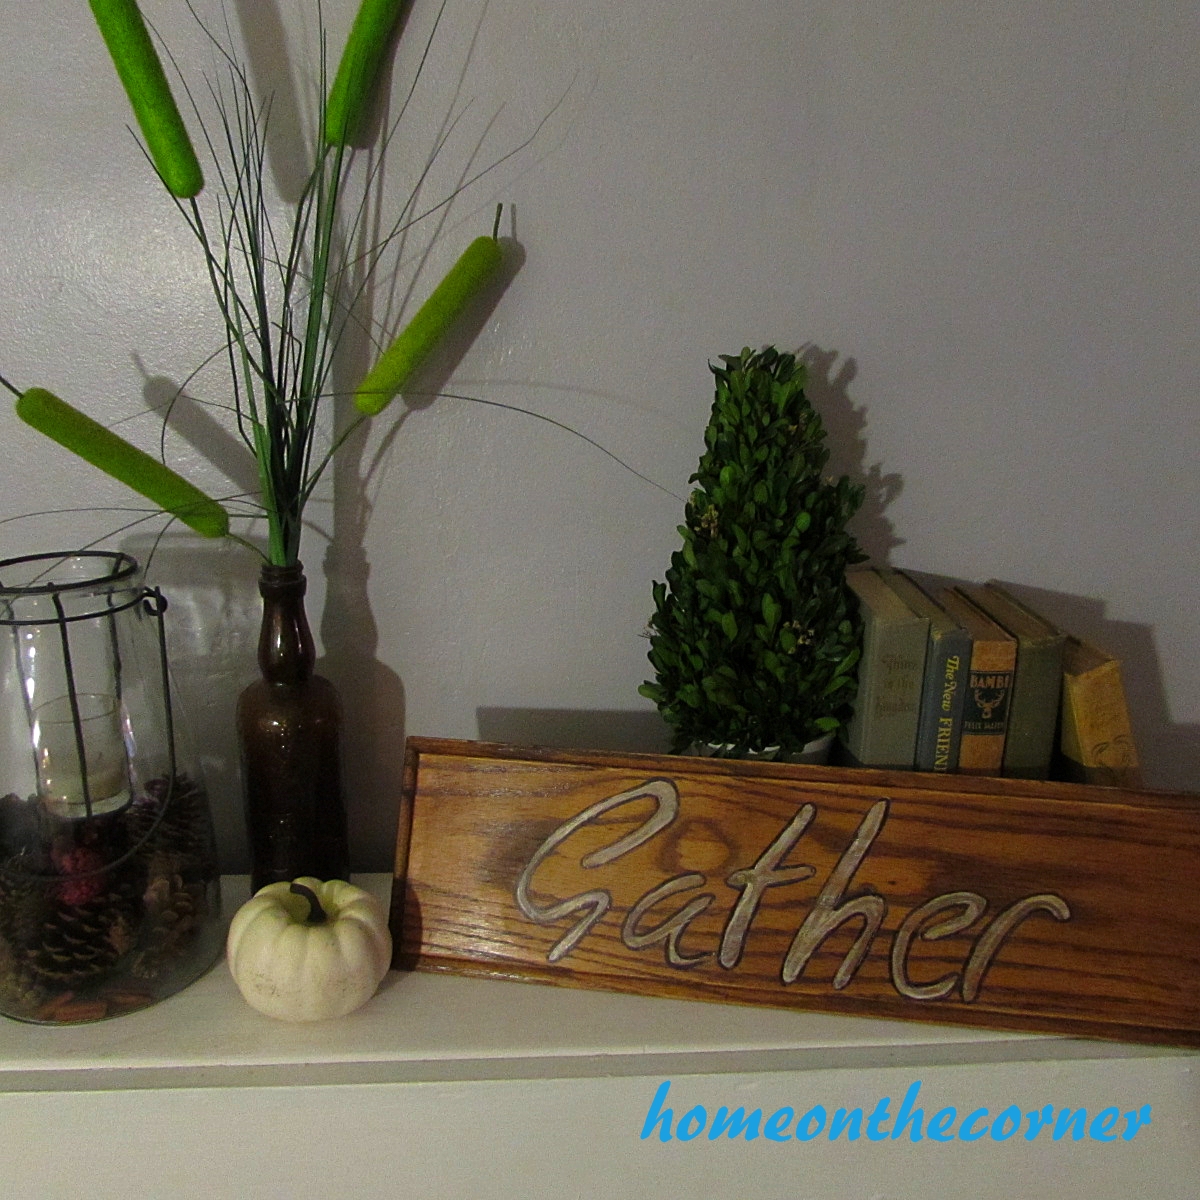
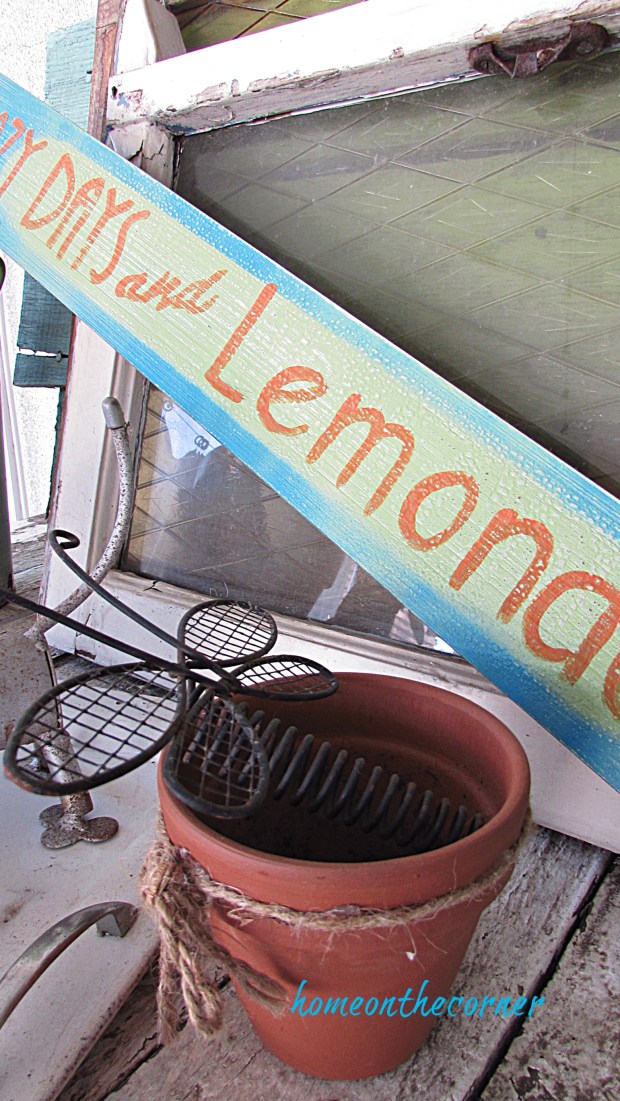
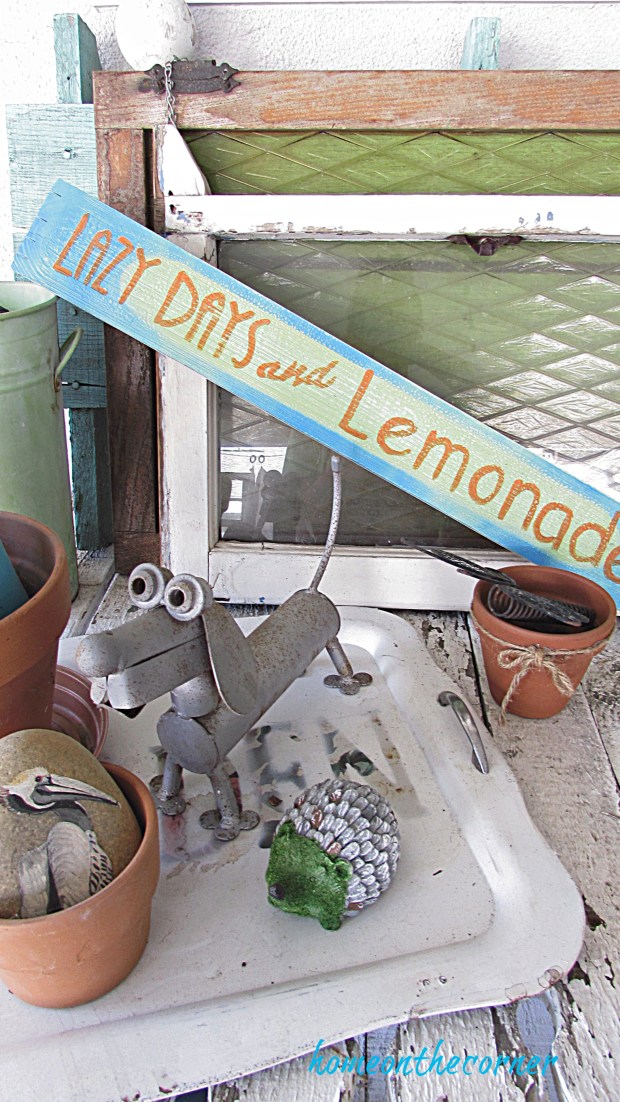
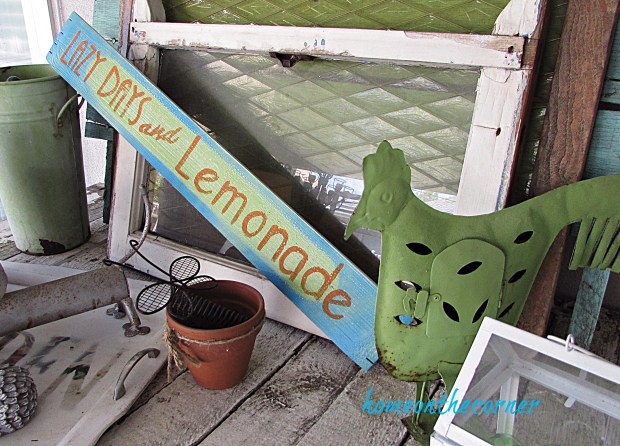
Once everything was dry, I lightly sanded over the whole board to give it a worn look. Finally, I was able to take it out to my patio and display it on my potting table.

lazy days and lemonade wooden sign with clay pot

The colors are perfect!

lazy days and lemonade wooden sign vignettelazy days and lemonade wooden sign turquoise, green and orange

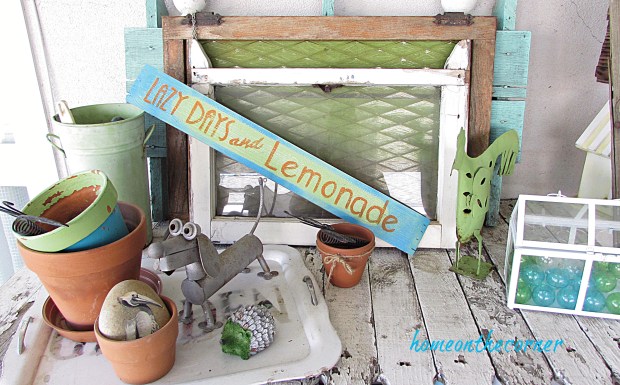
I’m looking forward to some lazy summer days!

lazy days and lemonade wooden sign patiolazy days and lemonade wooden sign and old window

Thank you so much for coming by today! I would love for you to leave a comment and to chat with you! Have a great week!

sunshine-and-blessings-picmonkey

Here are some other posts you might be interested in:

surfboard makeover live, swim, drink            Board After 3          toolbox makeover spool, plants candles

Here are some products you might be interested in to start your own project!

amazon affiliate


Homemade Disney Subway Sign

Good morning everyone.  I am bring back and old blog post for a Flashback Friday.  This was one of my favorite posts to write and one of my favorite projects to work on.  Even though it is about a year old, I still enjoy reading the post to see what I did.

So, here you go!

I wanted to make something for my coworker Kelli, who is a major Disney fanatic.  Without her, I wouldn’t be in the position that I am in and I wouldn’t enjoy going to work as much as I do.  So because of this, I wanted to make something for her as a thank you.

Do you remember the pillow that mom bought from Disneyland?  If you don’t, you can click here to see the post.  Well, I like the design of it, so I decided to put it on a sign for Kelli.

The first thing that I did was I found some scrap wood that dad had left over from building some cat huts for our friends shelter.  They were all about the same length, so I placed 8 pieces next to each other for the width of the sign.  I then took a 9th piece and cut it to fit on the back of the sign.  I then took the two pieces for the back and nailed all the pieces together.

Subway Art Sign

Next came the fun part, painting!  Yeah!

Subway Art Sign

I knew that I wanted the sign to be white and have black writing on it.  So, I painted the wood white…and of course the spray paint just soaked in.  Urgh!  So, I had to spray a few coats on the sign and then it was ready to be drawn on.

Subway Art Sign

Once the paint had dried, I brought the sign inside and was ready to start the fun part.  I found a picture of the pillow online and with some maneuvering in Microsoft word, I was able to take the picture and make it fit on my sign.  I covered the back of the paper with pencil so that I could draw on the front to have my design come out on the wood.

Subway Art Sign

pencil

This was harder than I thought it would be for a few reasons.  1: I had to put the pencil on really thick so that I could see it on the wood. 2: some pieces of the wood was rough and I could hardly see the pencil marks. 3: some of the pieces of wood were so rough that I had to free hand that part.

But with all of this bad, I was able to get a design that I absolutely fell in love with on the  sign.  I used a sharpie to draw on the sign and used a fine point sharpie to add detail.  The final things to add were varnish and picture hangers.  I added two on the back because I wasn’t sure how heavy it would be.

And here it is!  The finished product is beautiful!

Subway Art Sign

Subway Art Sign

Subway Art Sign

Subway Art Sign

I love how it turned out and it didn’t take that long to make.  I hope that Kelli loves it as much as I do.  And hopefully, I can make more because they turned out amazing!

Final note: Kelli absolutely loved the sign and it currently hangs in her office at work.  So, I get to see it everyday when I go into work.  Plus, it helped me to make a little extra cash because then my coworkers wanted signs!

Check out some of the other wooden signs I have made!

Board After 1           

sparkle

Wooden Americana Signs

Board After 2

Good morning everyone!  Are you all getting ready for Memorial Day on Monday?  Are you deciding how to decorate your backyard and what food you are going to barbecue for your guests?  Or maybe you aren’t having your own party, but you are attending someone else’s party.  Whatever you are doing, I hope you have a great holiday!

But, for today, I have a great idea for you to decorate at your party!

I love making wooden signs for different reasons.  And, of course, I had some extra small boards in storage that I had no use for.  So, I pulled them out of storage, dusted them off, and started painting them.

Board Before

I knew I wanted to do Memorial Day themed boards, so I used red, white,and blue paint from Rustoleum that I bought at Orchard Supply Hardware.  I used Colonial Red, Navy Blue, and White.

Board Paint

And here is how the boards look after the paint job.

Board Painted

I knew that I wanted them to be even more patriotic than the paint job.  I wanted to put the lyrics from Lee Greenwoods “Proud to be an American” on the red board, a star on the blue board, and USA on the white board.  So I printed out the designs that I wanted using fonts from Microsoft Word and a star that I found on Google.

Board Designs

I rubbed pencil on the back of the papers and then sketched the designs onto the boards.  The hardest one was the red board because the pencil marks were very light and were very hard to see on the dark paint.  But…I managed.  I then used a red sharpie for the USA board and white paint for the other two.

And here is how they turned out.

Board After 1Board After 2Board After 3

I really like how they look.  They are perfect for Memorial Day and 4th of July, but they could look really nice with any red, white, and blue decor.  They were extremely easy to make were a lot of fun to do.  It was also fun to find the different fonts to use on the boards and make everything look nice.

Thank you guys for stopping by.  See some of my other board projects by clicking on the pictures below!

Subway Art Sign                                                                      Owl Sign

sparkle

Wooden Drawer Front “GATHER’ Sign

Wooden Gather Sign Title

Hello all! Are you all ready for Halloween? My preschoolers are sooo excited! I think I hear every day what they are going to dress up as. We have a different type of dress-up day each day next week, so it should be fun and crazy! I am going as Mary Poppins, but most of the kids didn’t know who she was. Luckily I found a book and read it to them so they won’t be completely confused!

I am posting again today since Lauren has been too busy with mid-terms to get anything done. I am not real pleased with the result of the project, but since I had to get it done quick, I will just go with it!

I had this wooden drawer front sitting in my shed for awhile now and decided I needed to do something with it. I have been wanting to make a sign for awhile, so figured this would be a good piece for it.

Drawer Front Beginning

I filled in the holes with spackle because I didn’t have any wood putty. I let that dry and then put on several coats of Minwax Wood Finish. I wanted it to be pretty dark, so I put on several coats and didn’t wipe too much off in between.

Drawer Front Spackling

I like how the grain of the wood really shows up!

Wood Drawer Front Varnished

Now for my sign. I wanted to use the word ‘Gather.’ I found a font I liked on Microsoft Word and printed in out on my printer.I used a font called ‘Easy Rider.’

Wooden Drawer Gather Sign Printout

After printing out the size I wanted, I scribbled pencil all over the back of the paper. (Don’t mind the ‘G’ and the ‘a’-my printer decided not to print out the ‘t’, so I had to print again. Can’t waste paper!)

Wood Gather Sign Pencil Markings

Then I put the paper, face up, on the board, placing it where I wanted it to be. Then I traced the letters with a pencil, pressing down hard. I was able to get the outline of my word.

Wood Drawer Front Sign Etching

Next I traced it with a paint pen and then filled in the letters with white paint.

Wood Gather Sign Apple Barrel Paint

Wood Gather Sign Paint

I traced outside the letter with black, but after it was done, I wasn’t sure I liked it. I did some sanding on it and then added an antiquing wax over the whole thing.

Wooden Gather Sign

Still not sure about the outline, but since I needed to get it done for this post, it will have to do. Maybe I can work on it a little more later.

Wood Drawer Front Gather Sign

Wooden Drawer Front Gather Sign

This is what I am most excited about for the holidays-gathering together with family and friends! Hope you have a wonderful day!

Sunshine and Blessings