It’s officially summer! The preschool I teach at is now in its summer session! No more curriculum! Yippee! Just fun stuff now, like water play and field trips. To celebrate, I invited the other teachers to come to my house for an ice cream social. Just a casual get-together to relax and enjoy each others company. Since I haven’t really shown you my patio yet, I figured this was the perfect opportunity! You saw a little bit with Haley’s graduation party, but this is how it looks most of the time. I still used a few of the decorations because they fit my color scheme too.
Our pretty patio!
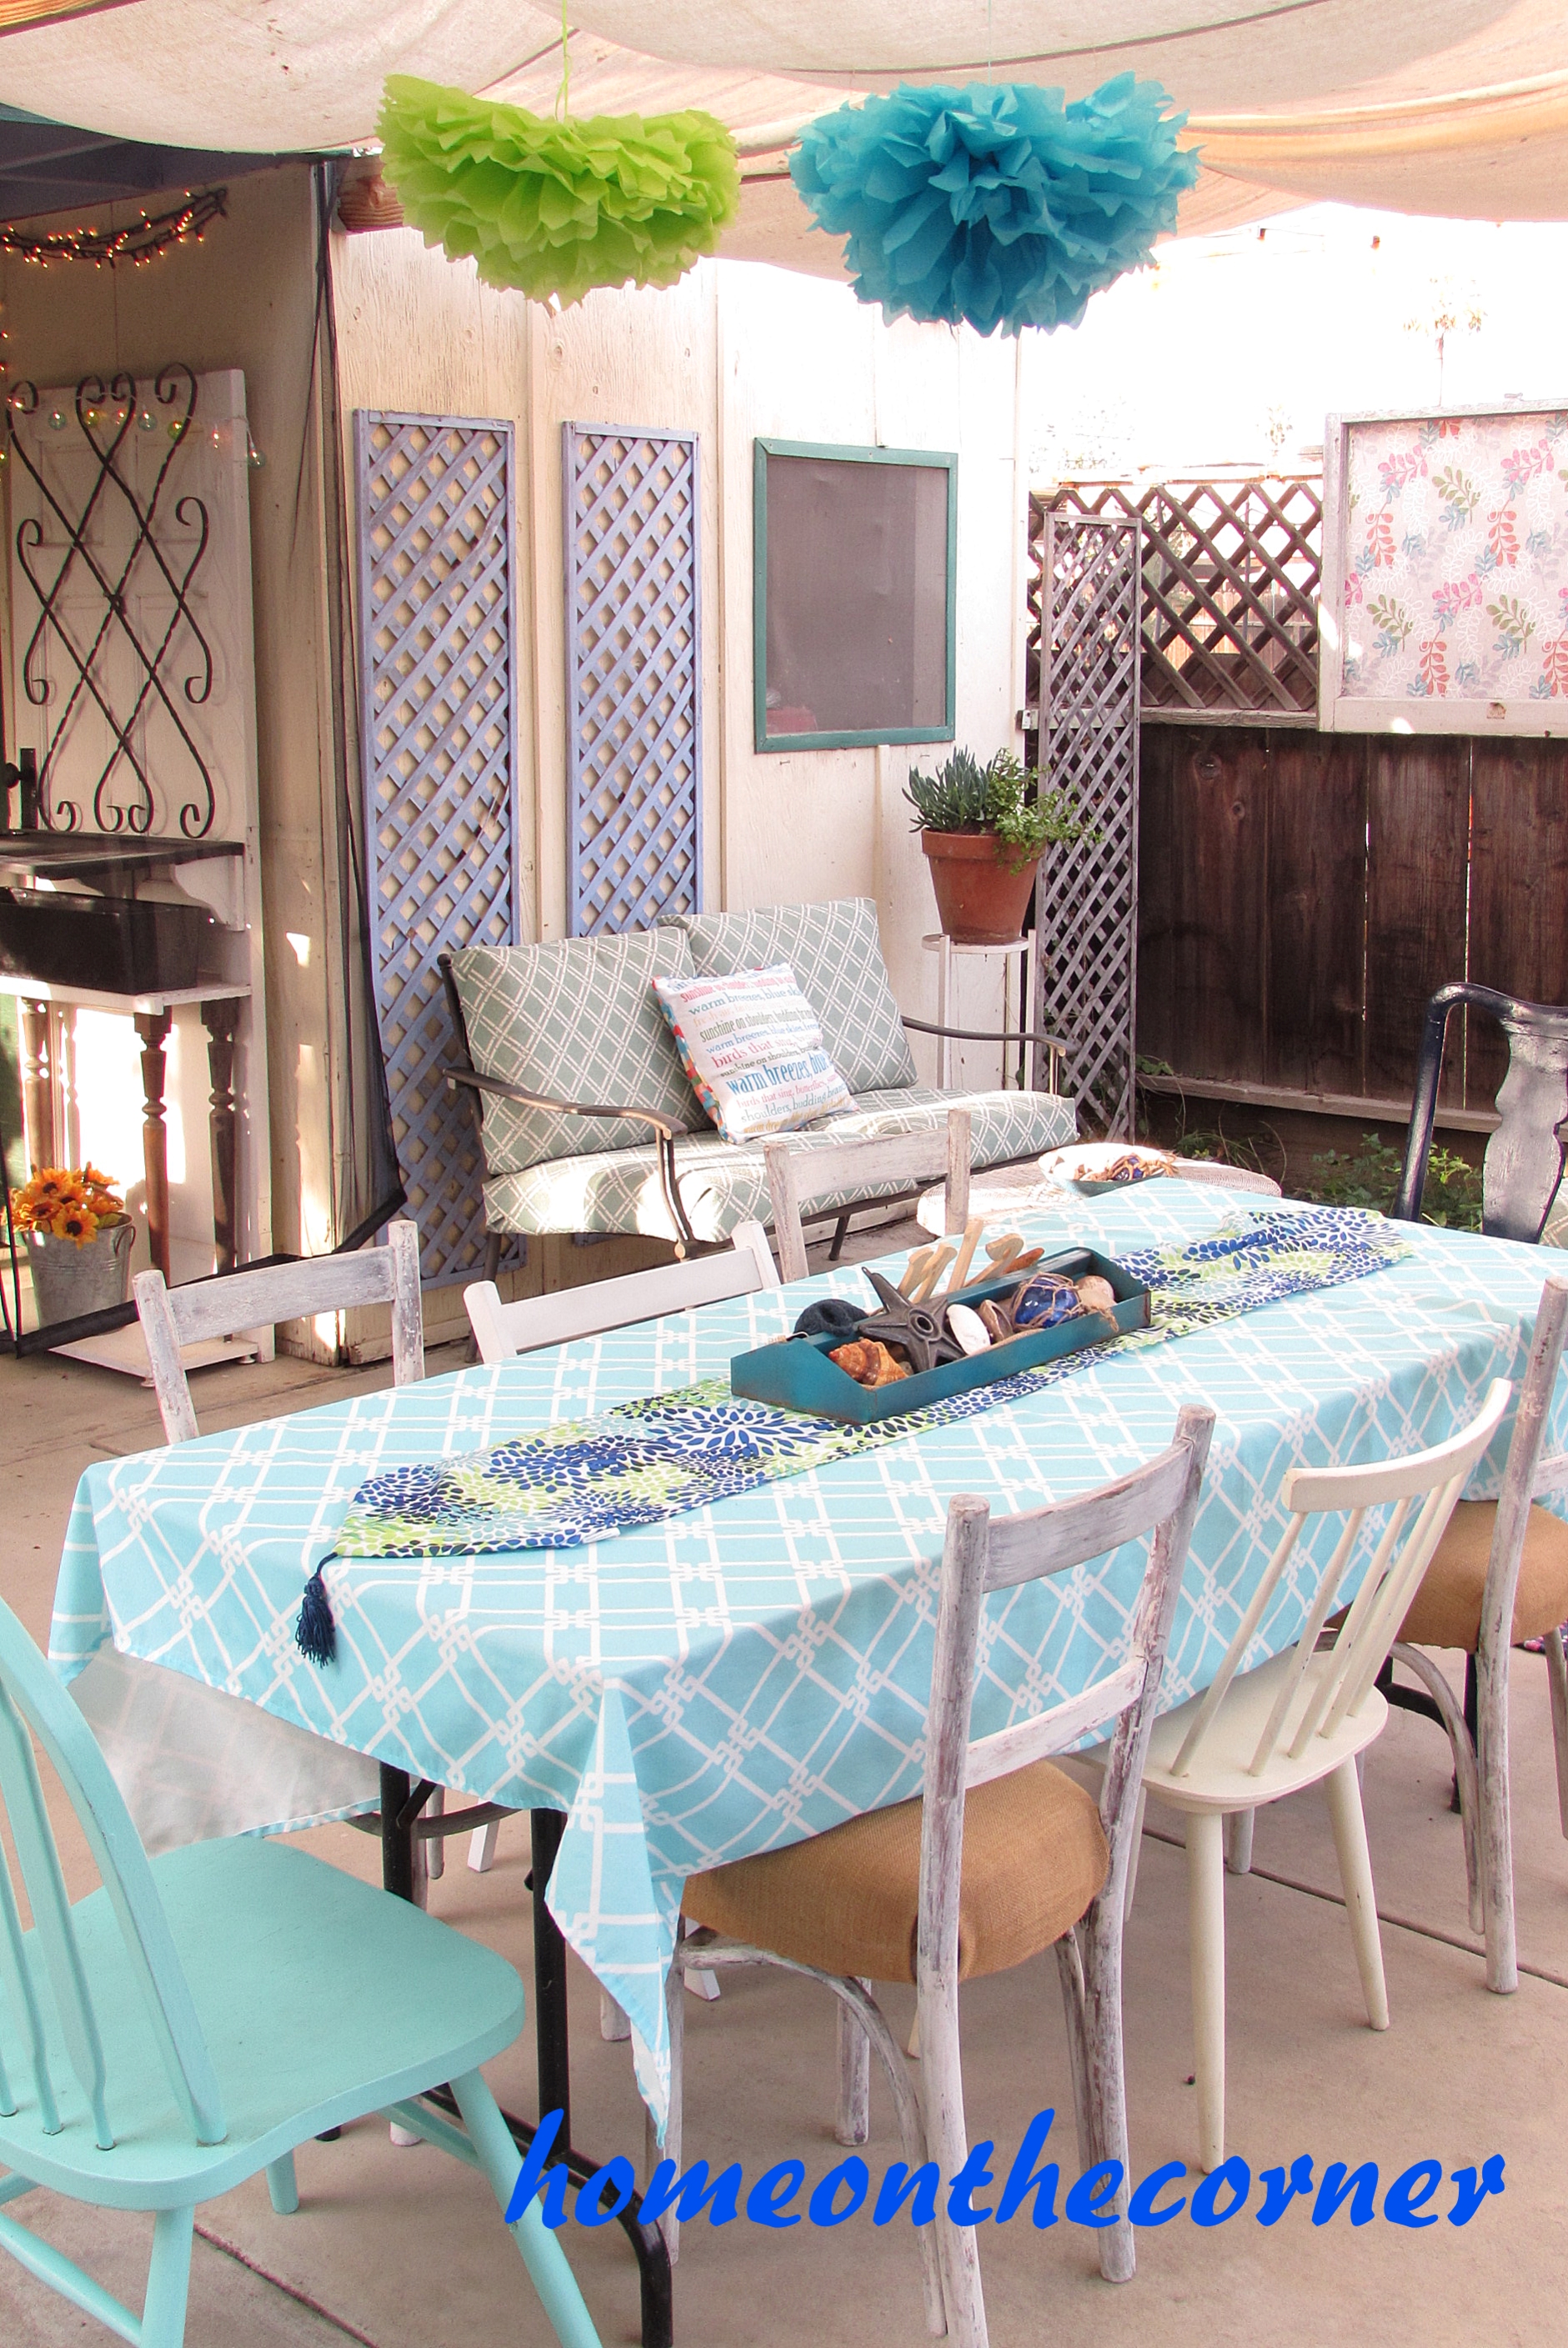
I am searching for a great old table, but this folding one does for now. I added the new chairs I bought at Junk Days (I haven’t recovered them yet) and a few other wooden chairs from the house. I covered the table with a turquoise and white tablecloth and a runner of turquoise, blue and lime green. My husband didn’t want the tool tray anymore, so I snagged it and painted it! I added a little burlap, some seashells and a few other baubles.

Seashells in an old tool box tray.

Sunny Days!
Off to the side, I have a potting table my husband and I built out of old pickets from a neighbors fence. It took me about a year to come up with something to make, but I love this table! We have used it for so many things, but it usually holds drinks for parties. This party was just water, since we were having ice cream!
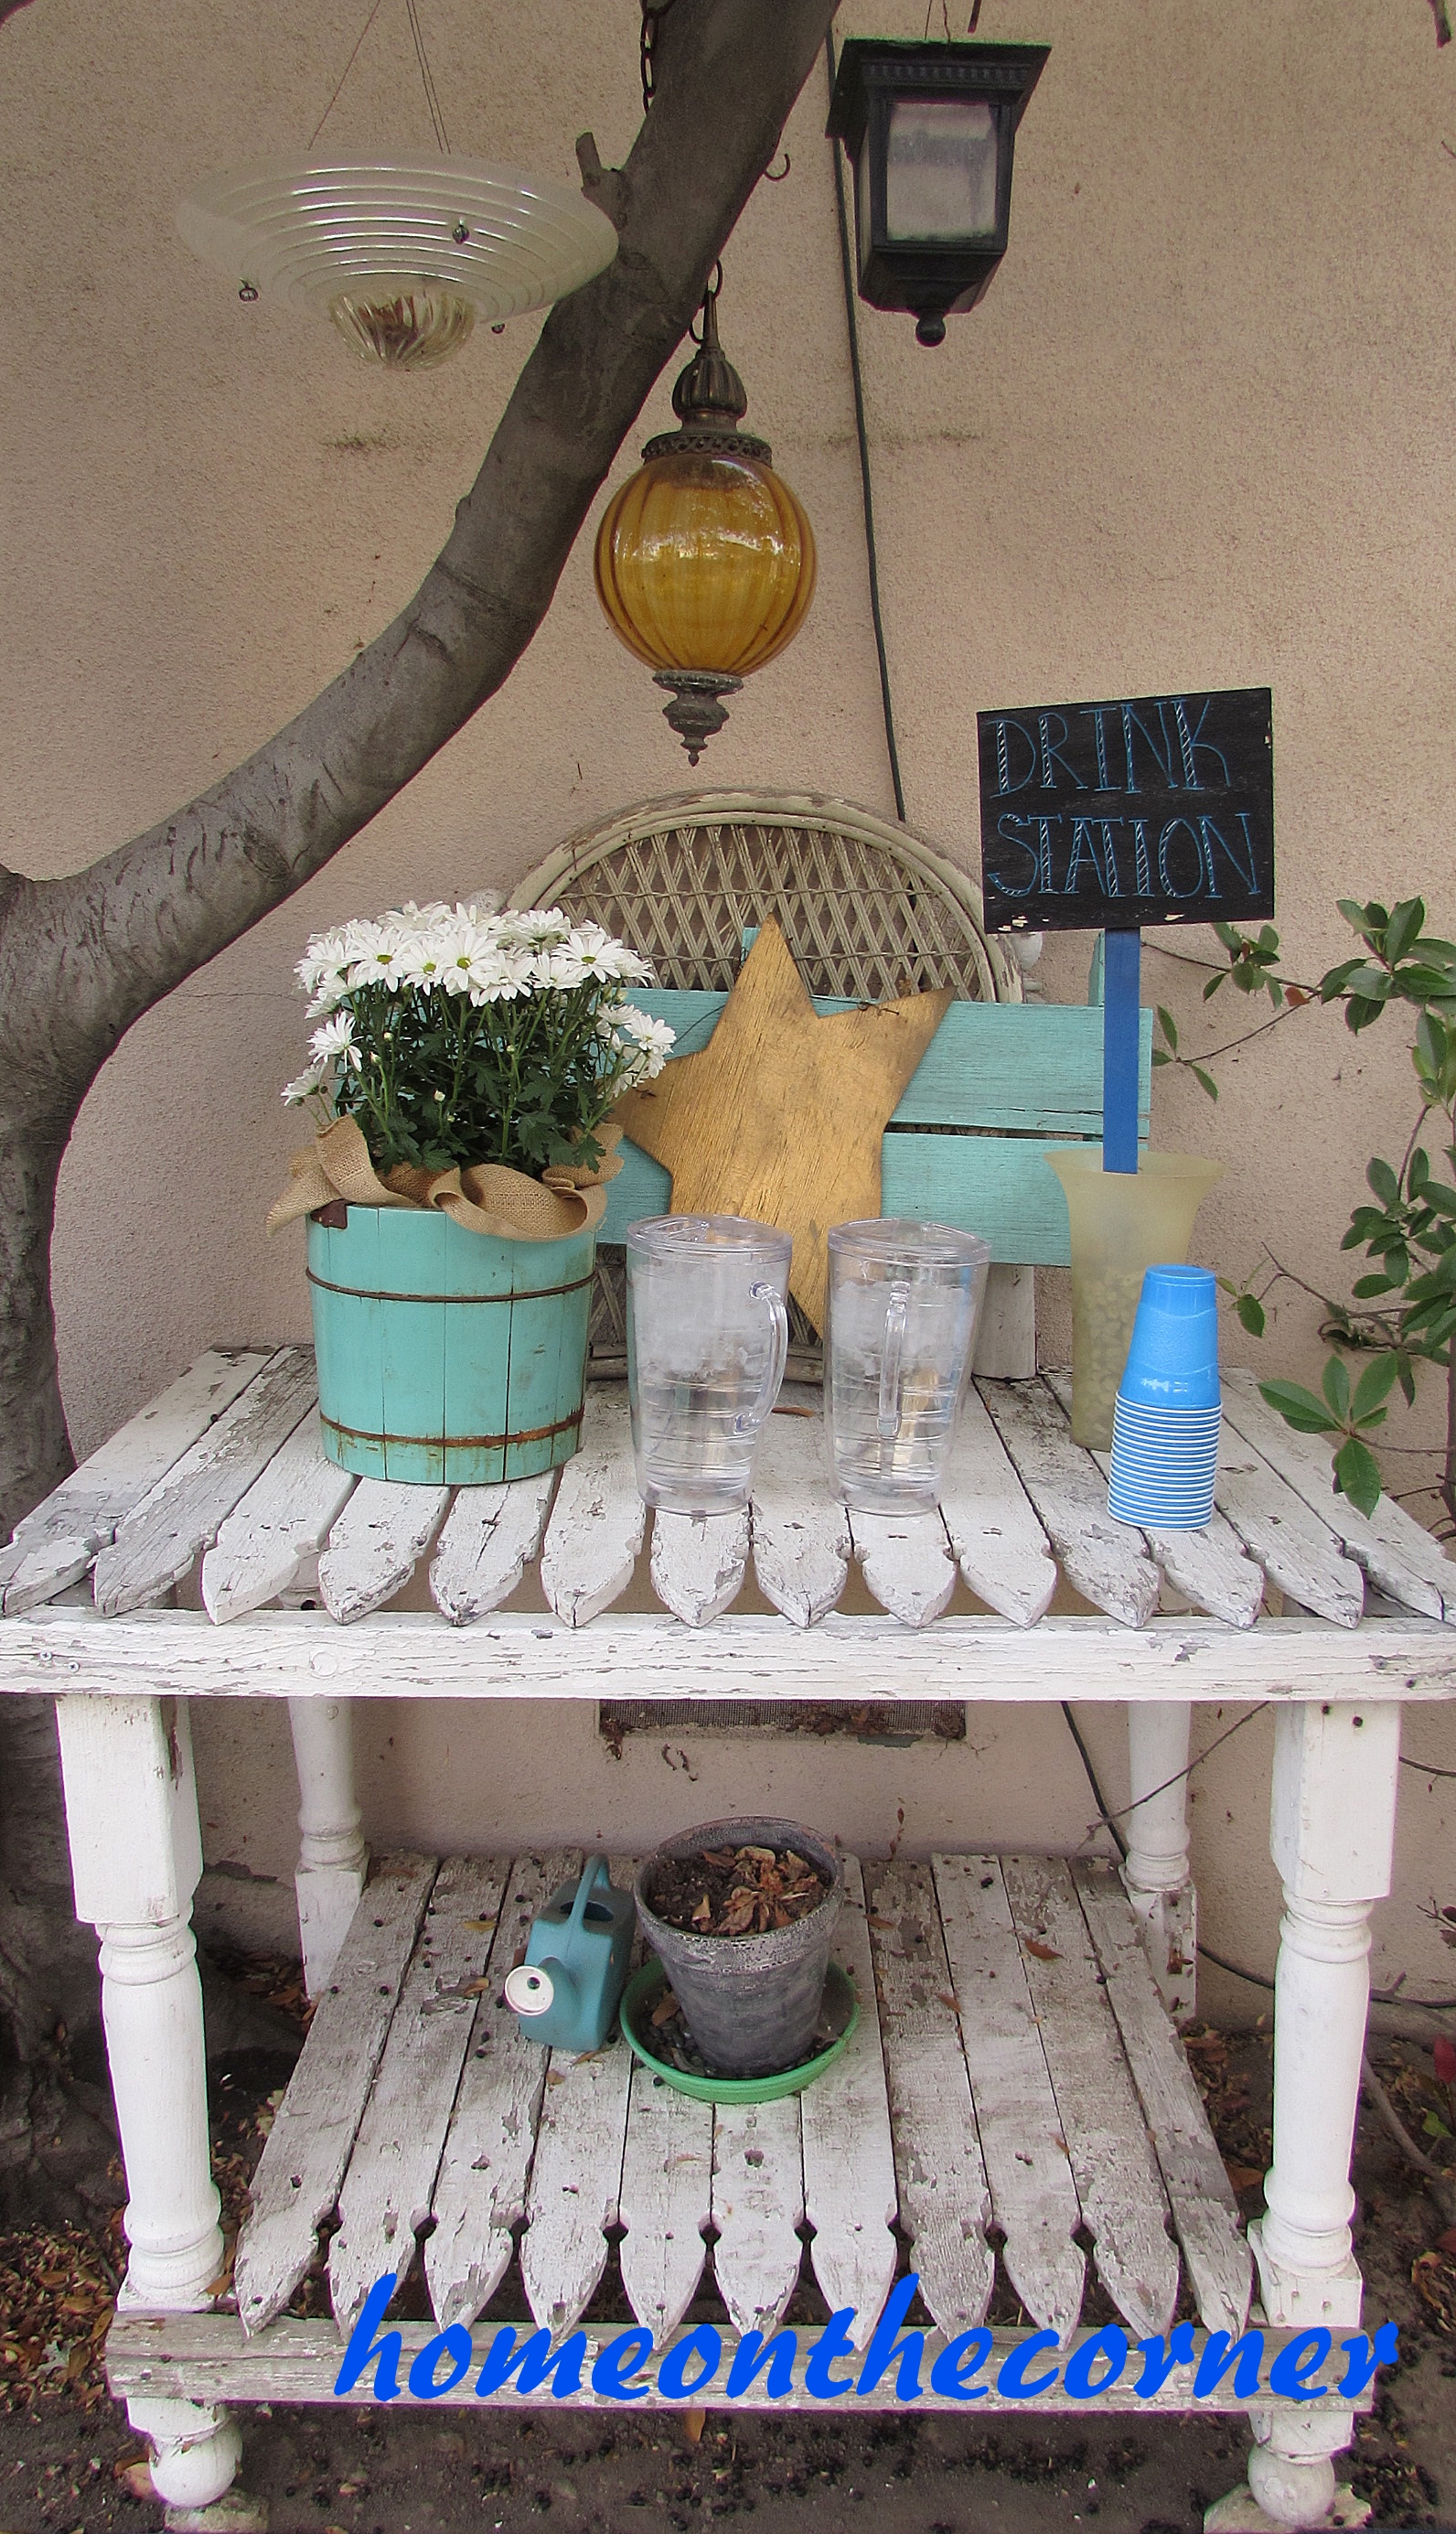
Potting table/drink station
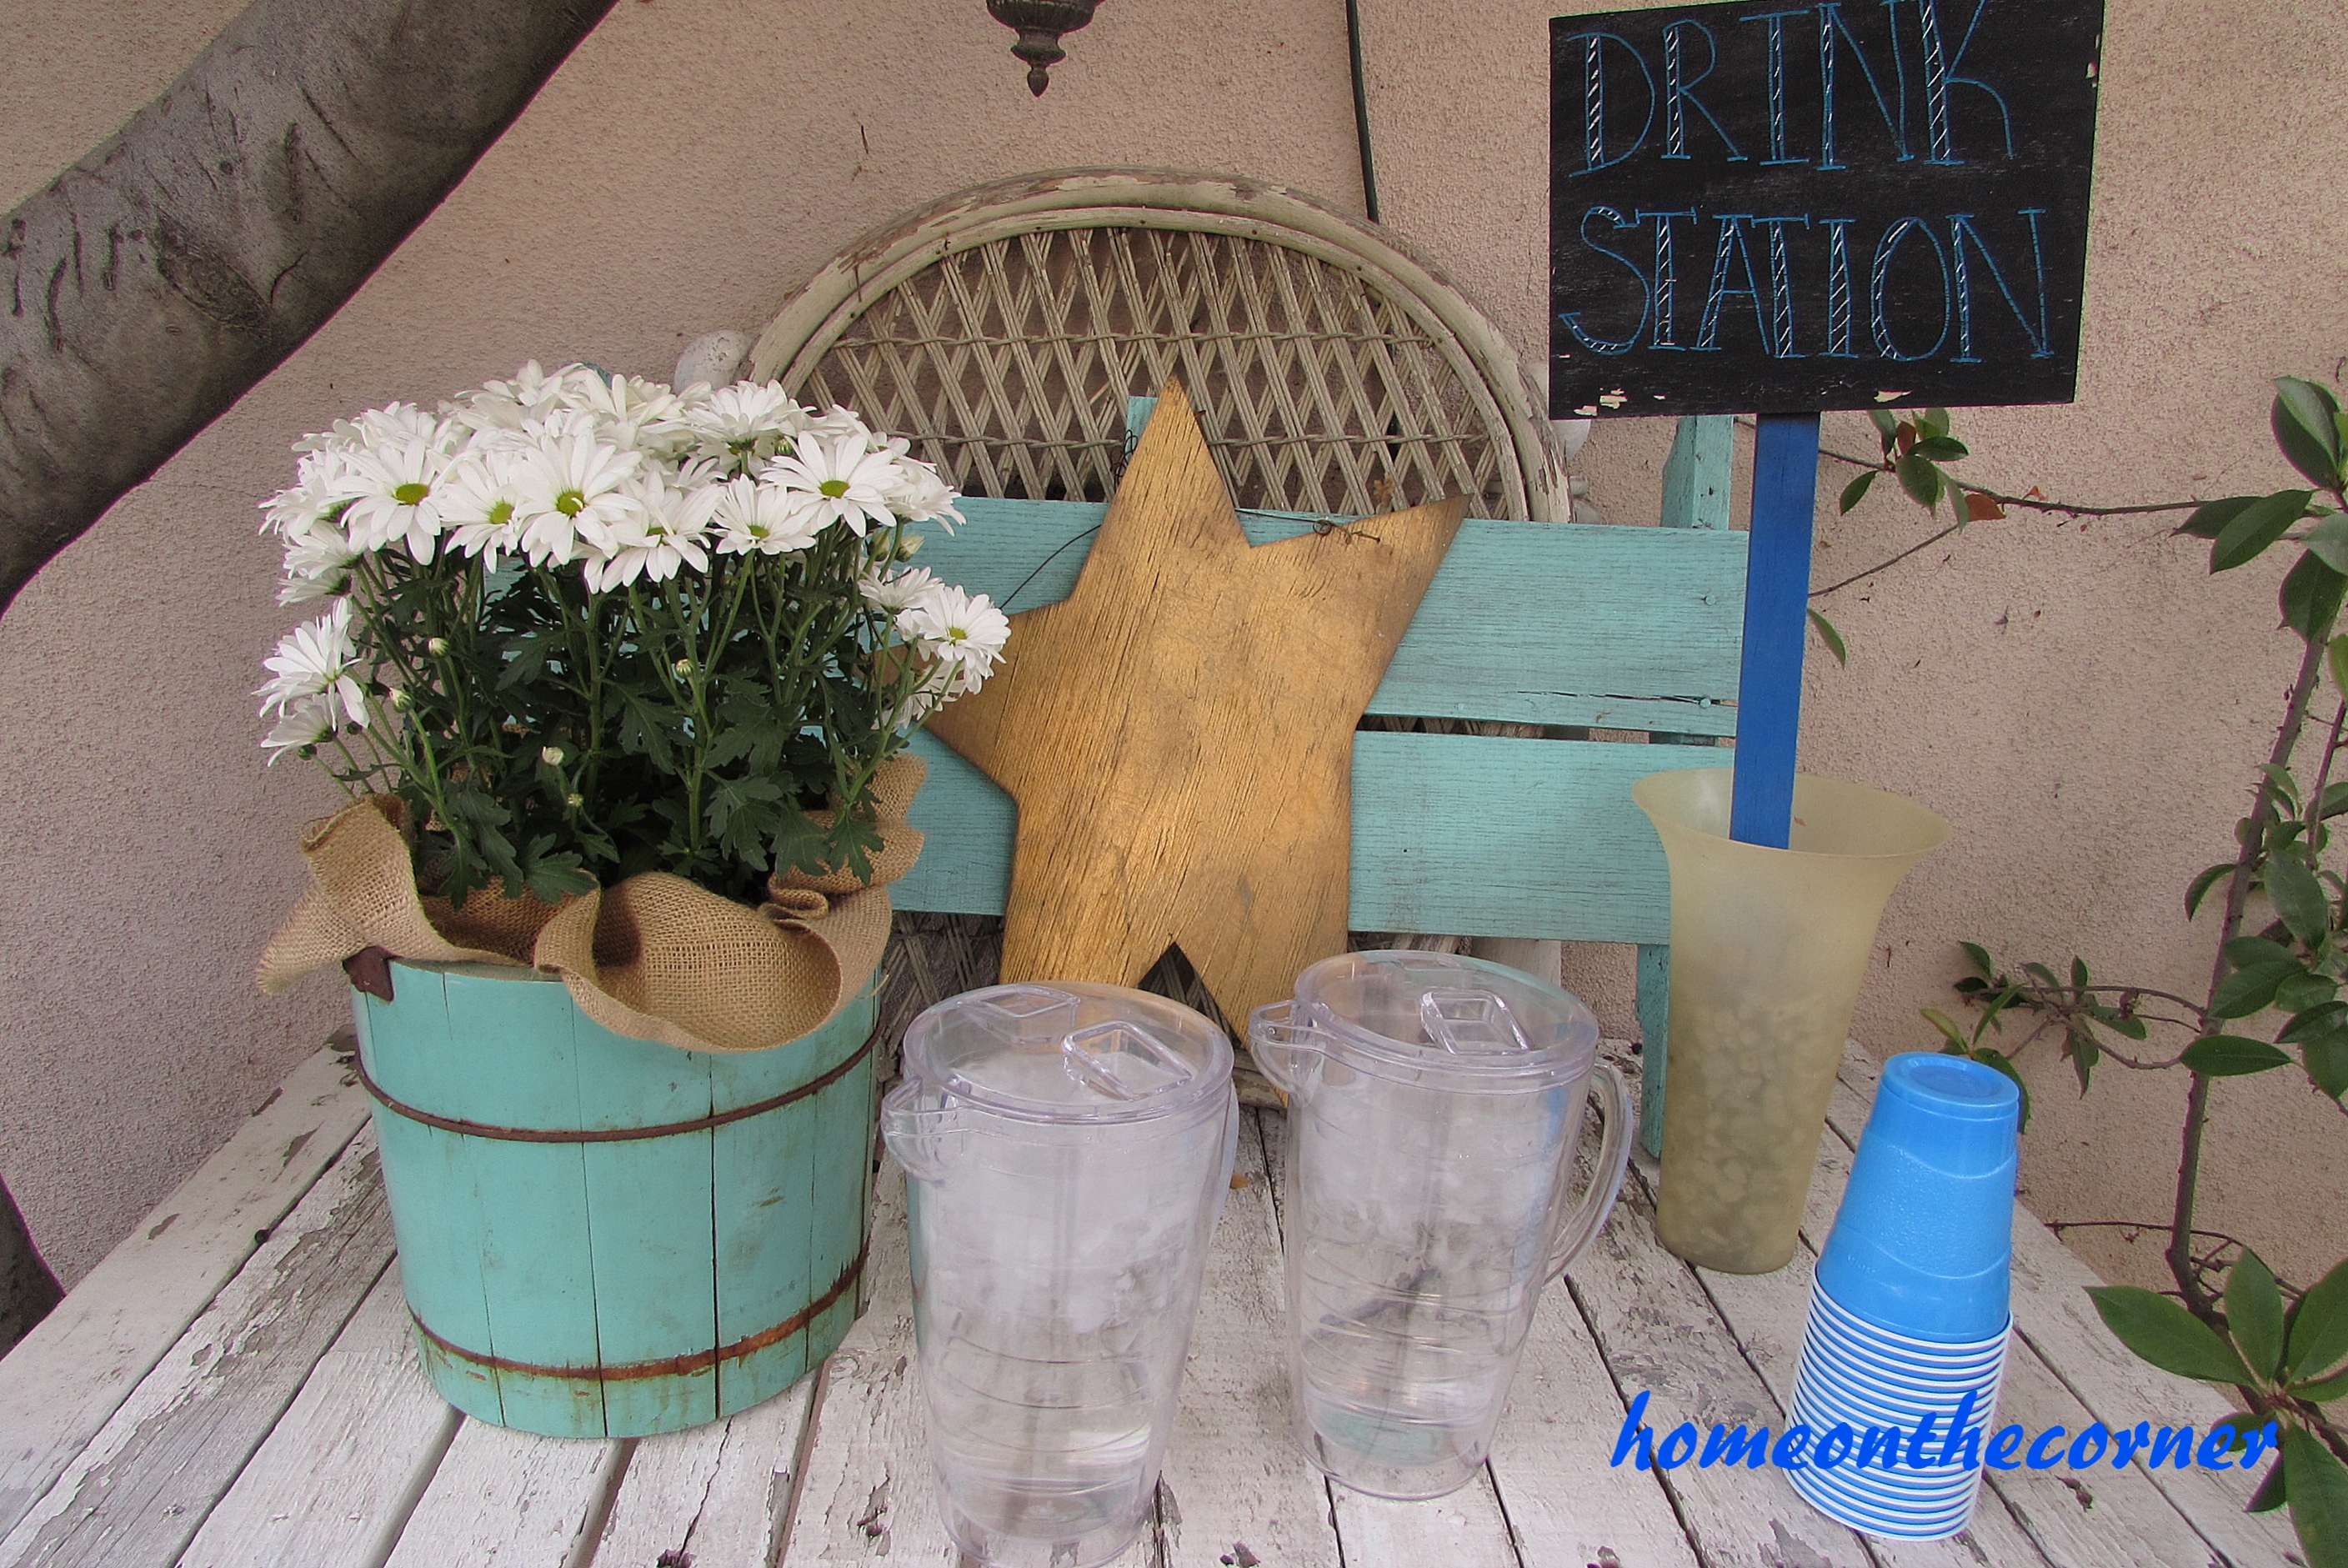
I added some chrysanthemums I received from one of my students and placed them in my old wooden ice cream bucket from my grandma.

Love this bucket and the flowers look just right!
There is also a wooden star and a chalkboard sign letting everyone know this is the drink station!
Cool down!
I’ve collected a few hanging lamps over the years, so I hung them from a branch in the tree above.  Next to the table is an old bike I have had for years. When the kids were little, I had their little seat on it and we went for bike rides. Miss those days!
 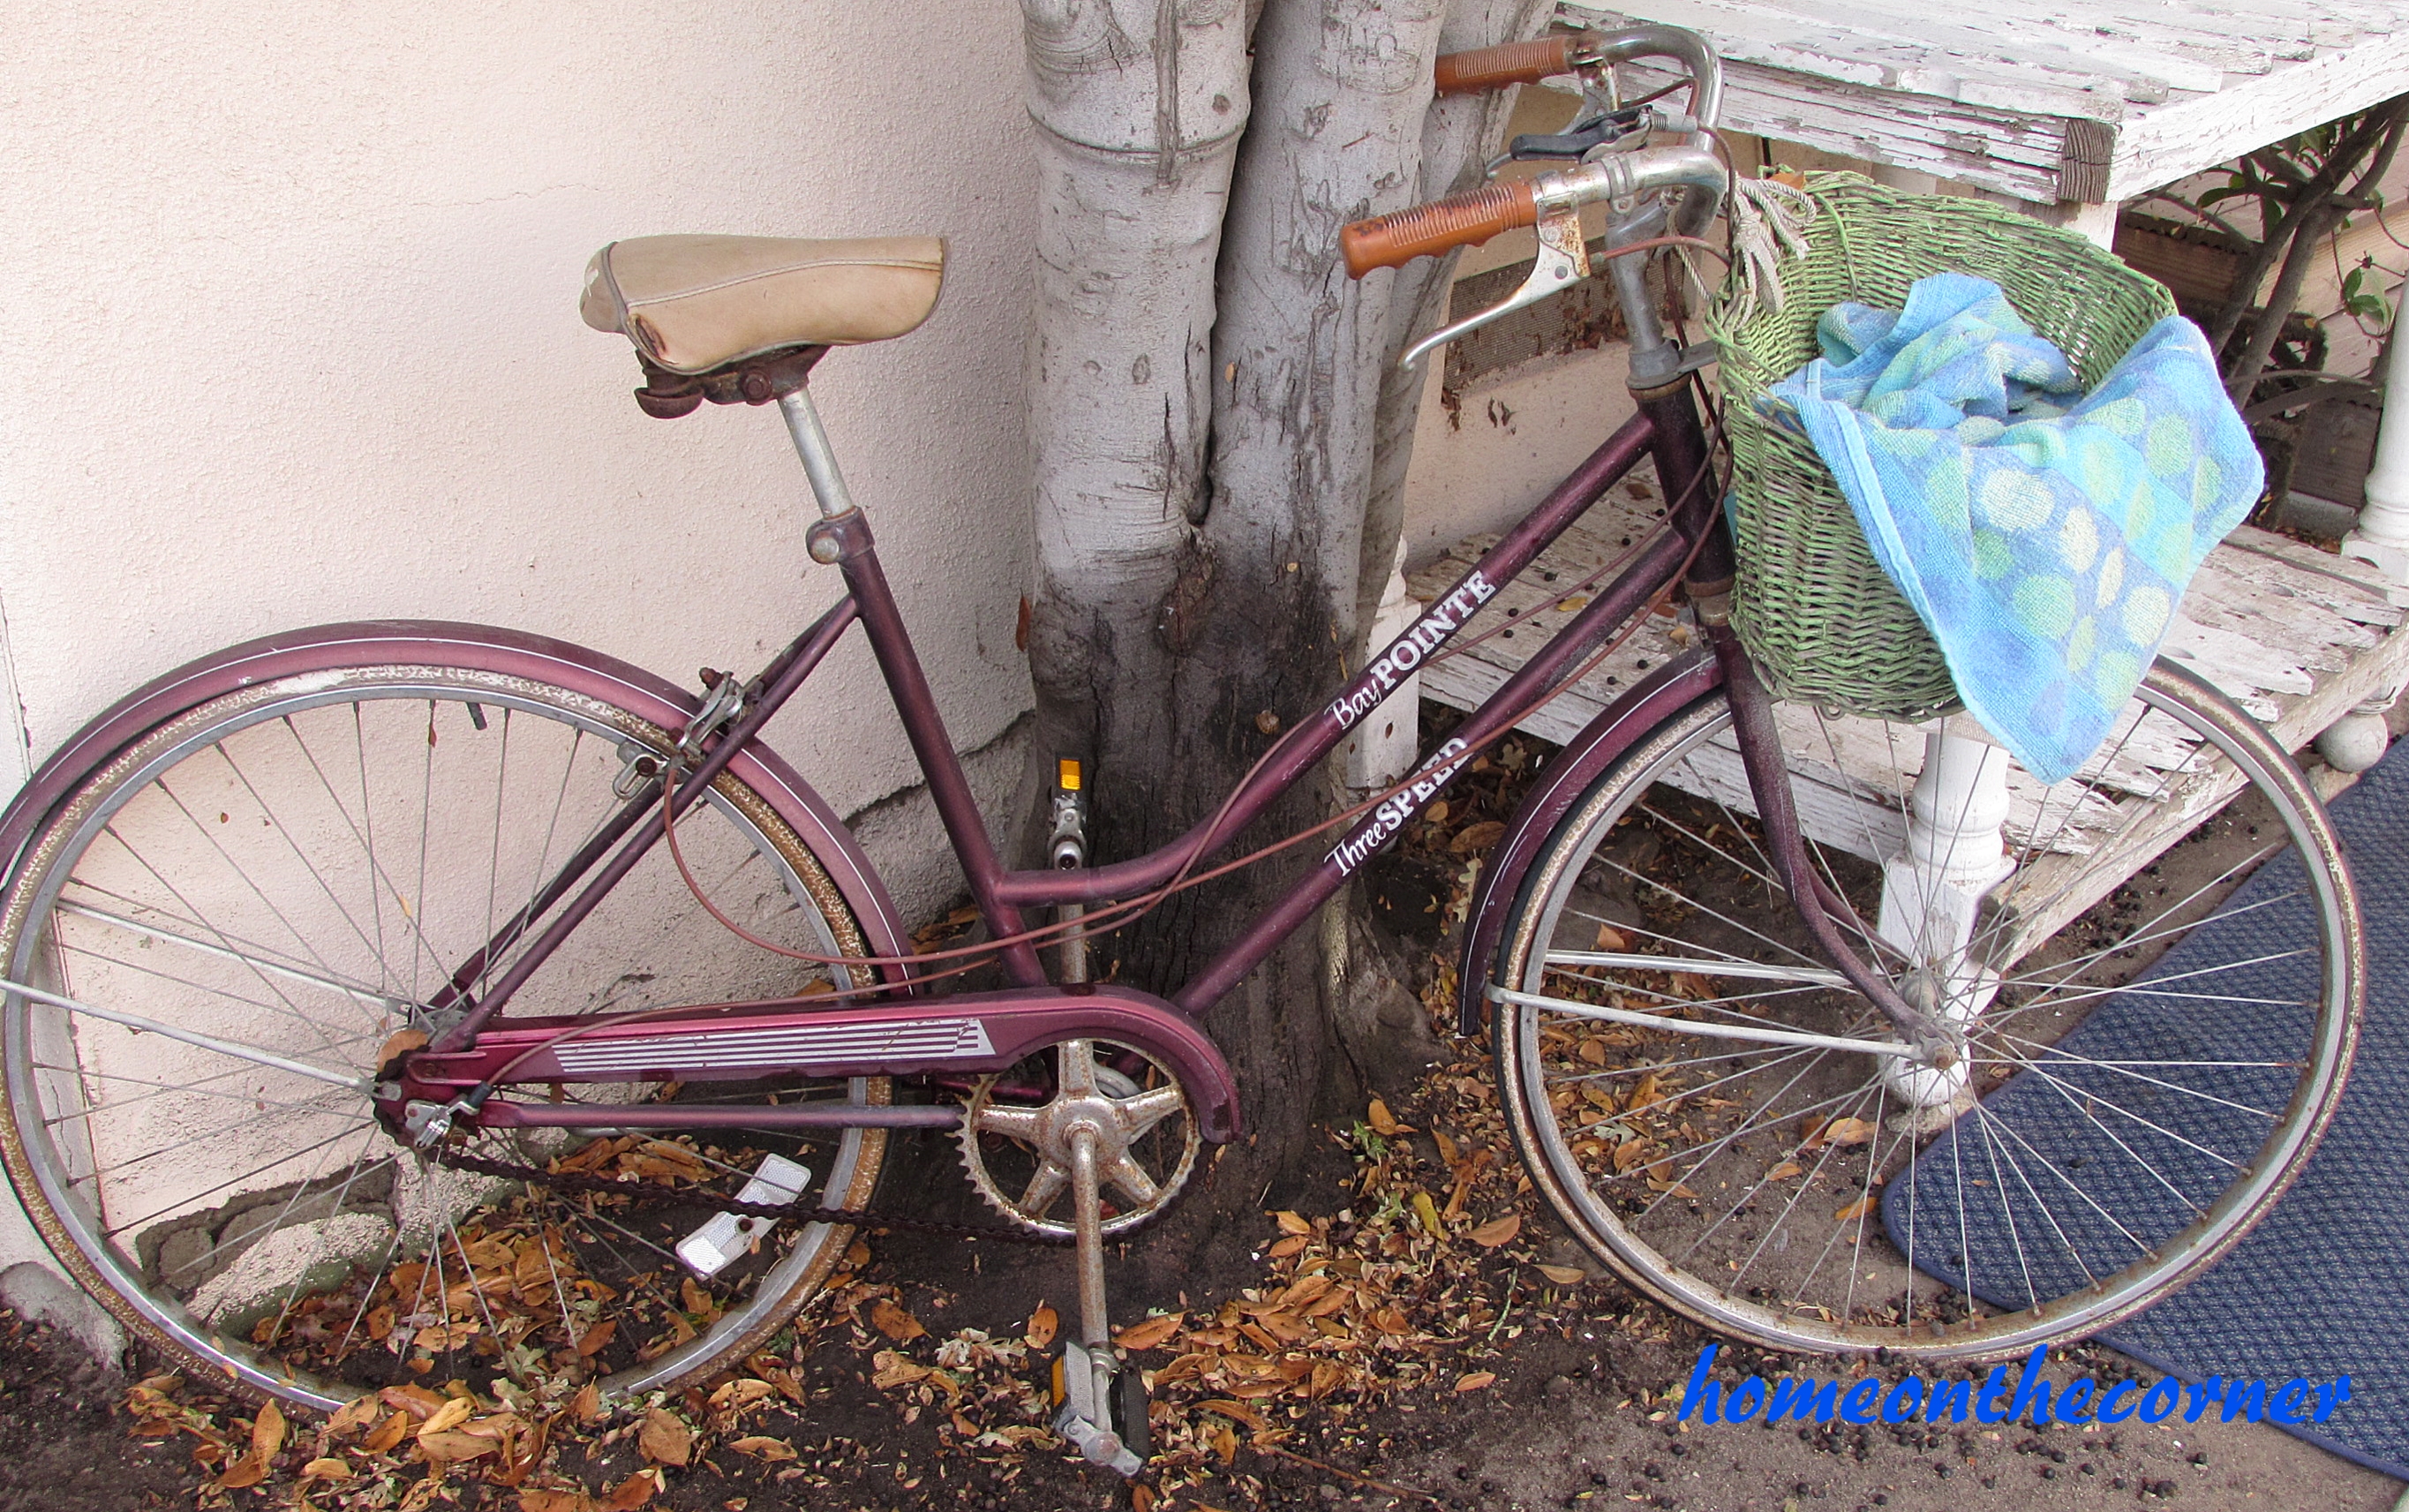 Here’s the other old bike I have. This was my dad’s when he worked at an oil refinery here in my town. He rode this trusty bike all over to get from one side of the site to the other. I brought it home last year, touched up the bright yellow paint, and display it in my yard. I love that this belonged to him and I can have a piece of that history.

Dad’s old Schwinn
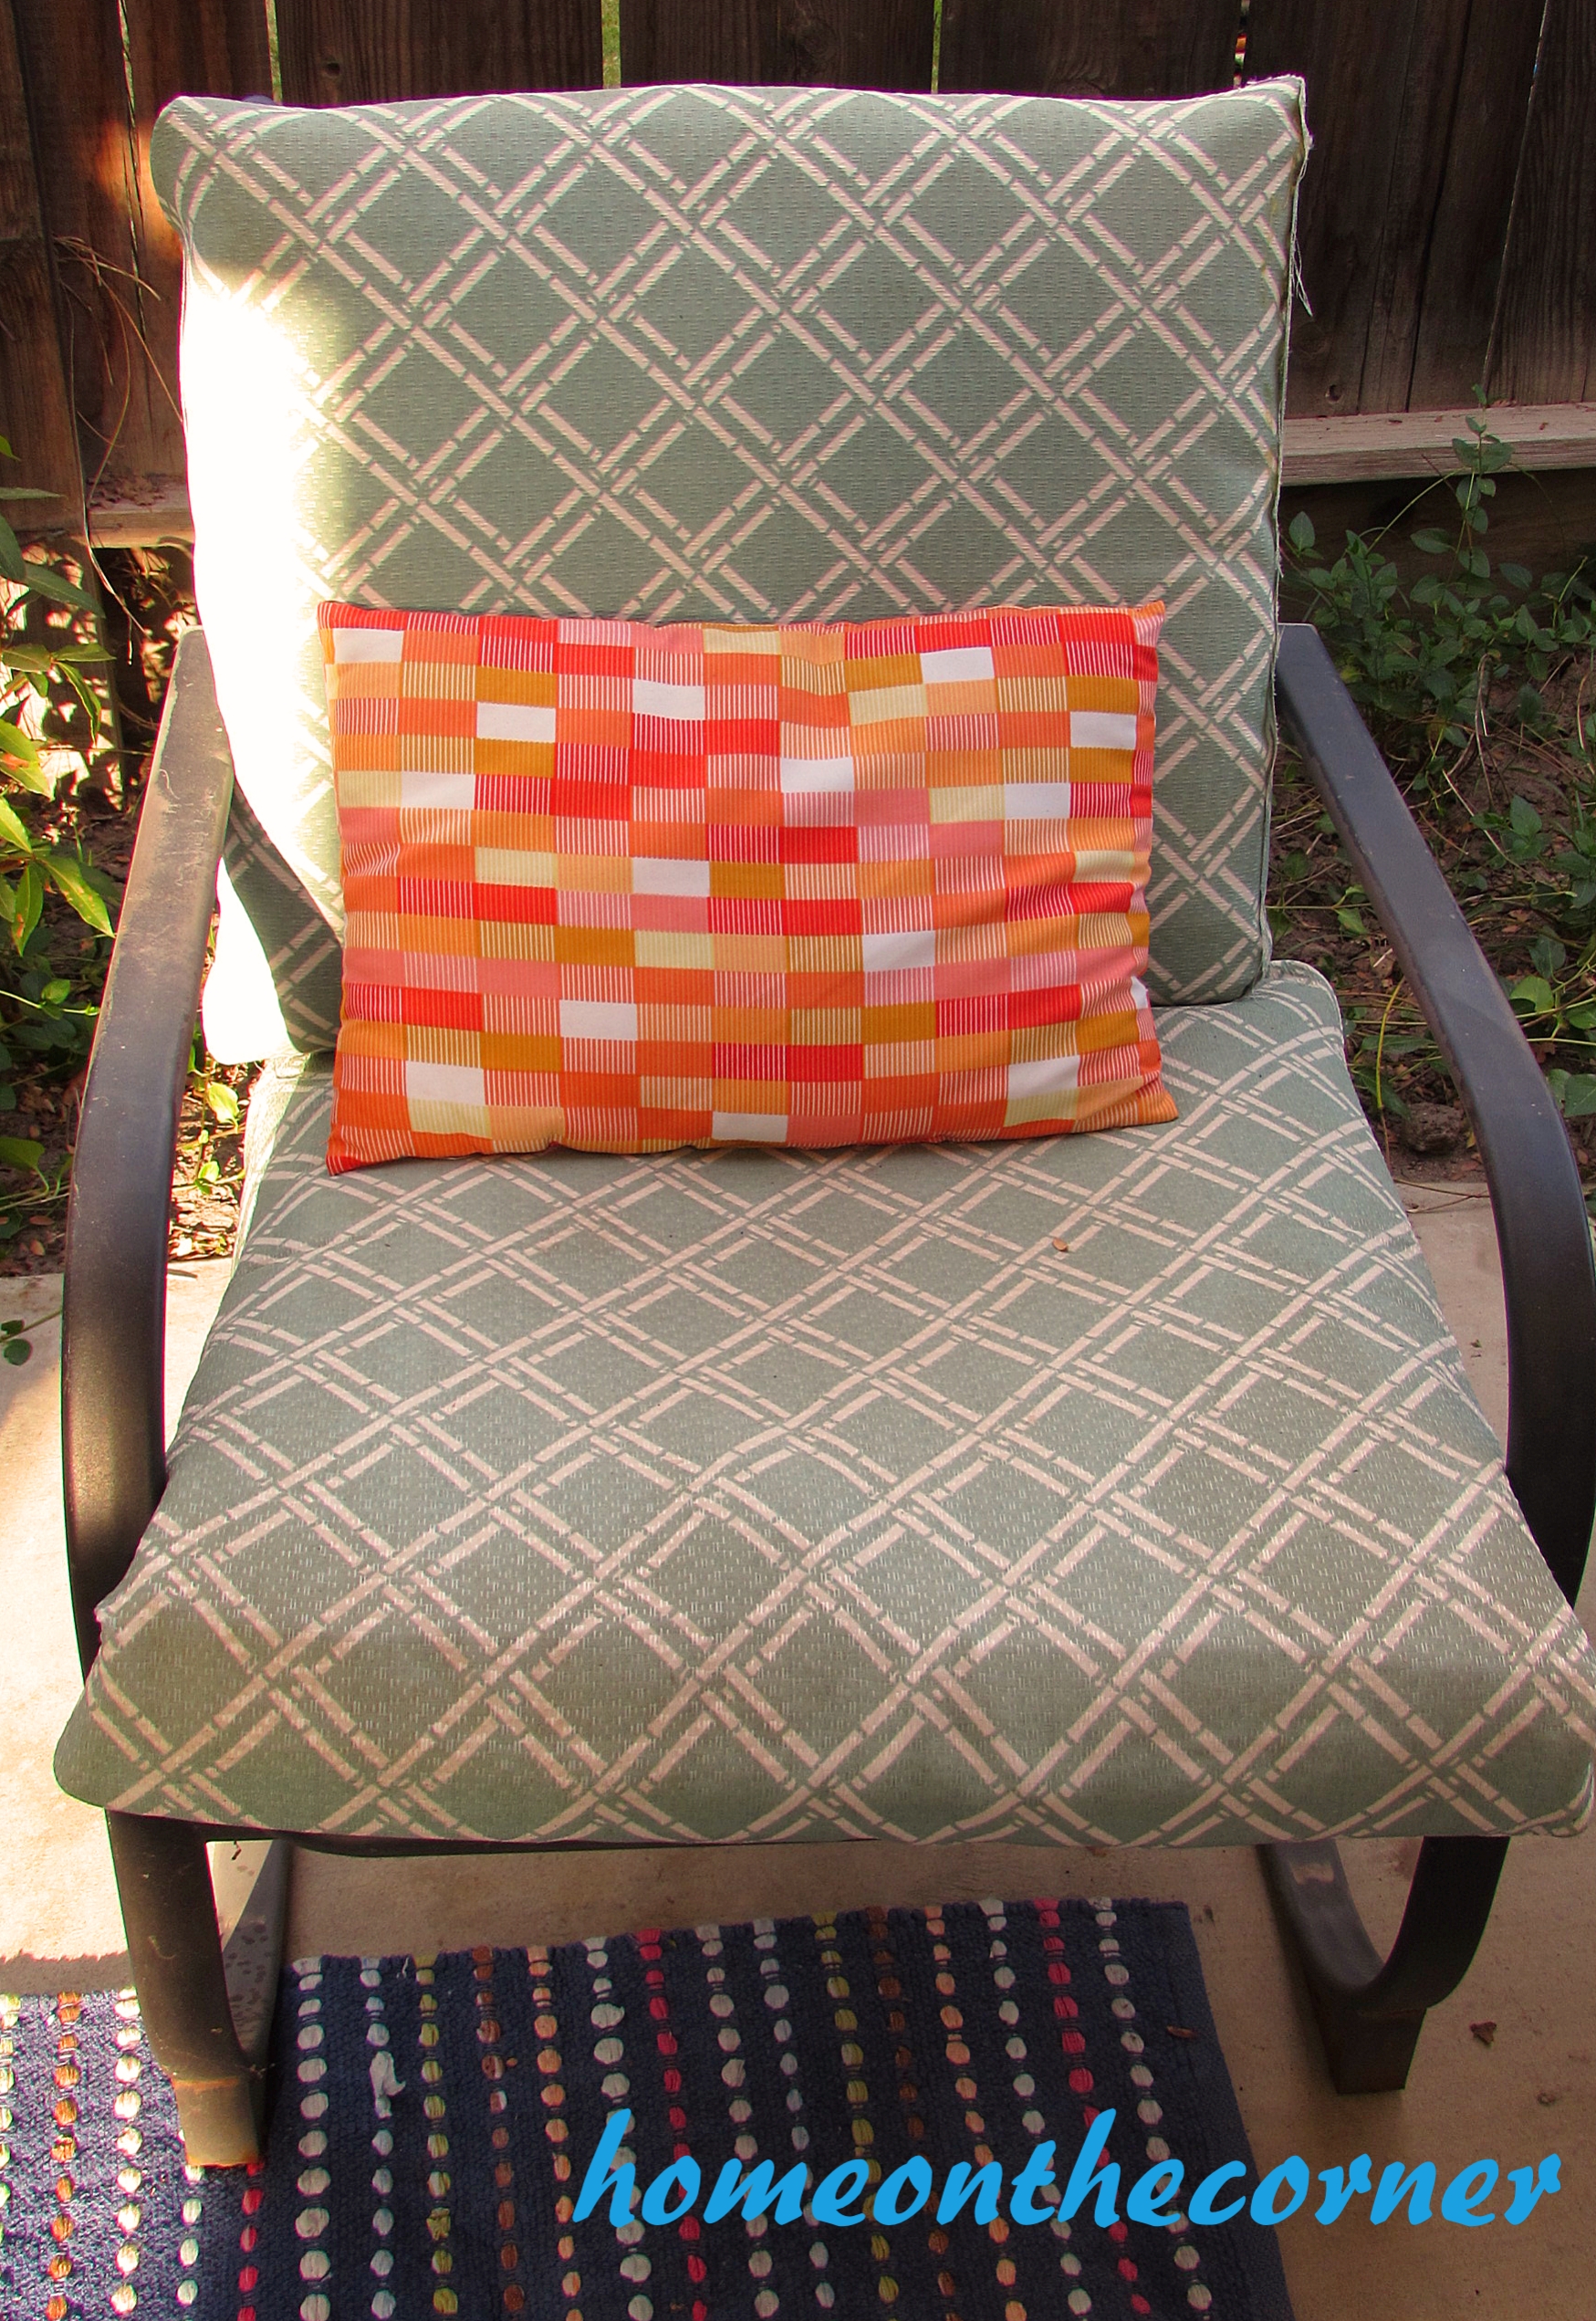
On this side we have the seating area. I received the iron furniture from my mother-in-law, but the cushions were not my style. So I bought some outdoor fabric and recovered them. This is not as time-consuming as it sounds, because I use hot glue, no sewing involved. I showed how this is done here. 
I love the sayings on this pillow. I sums up summer for me!
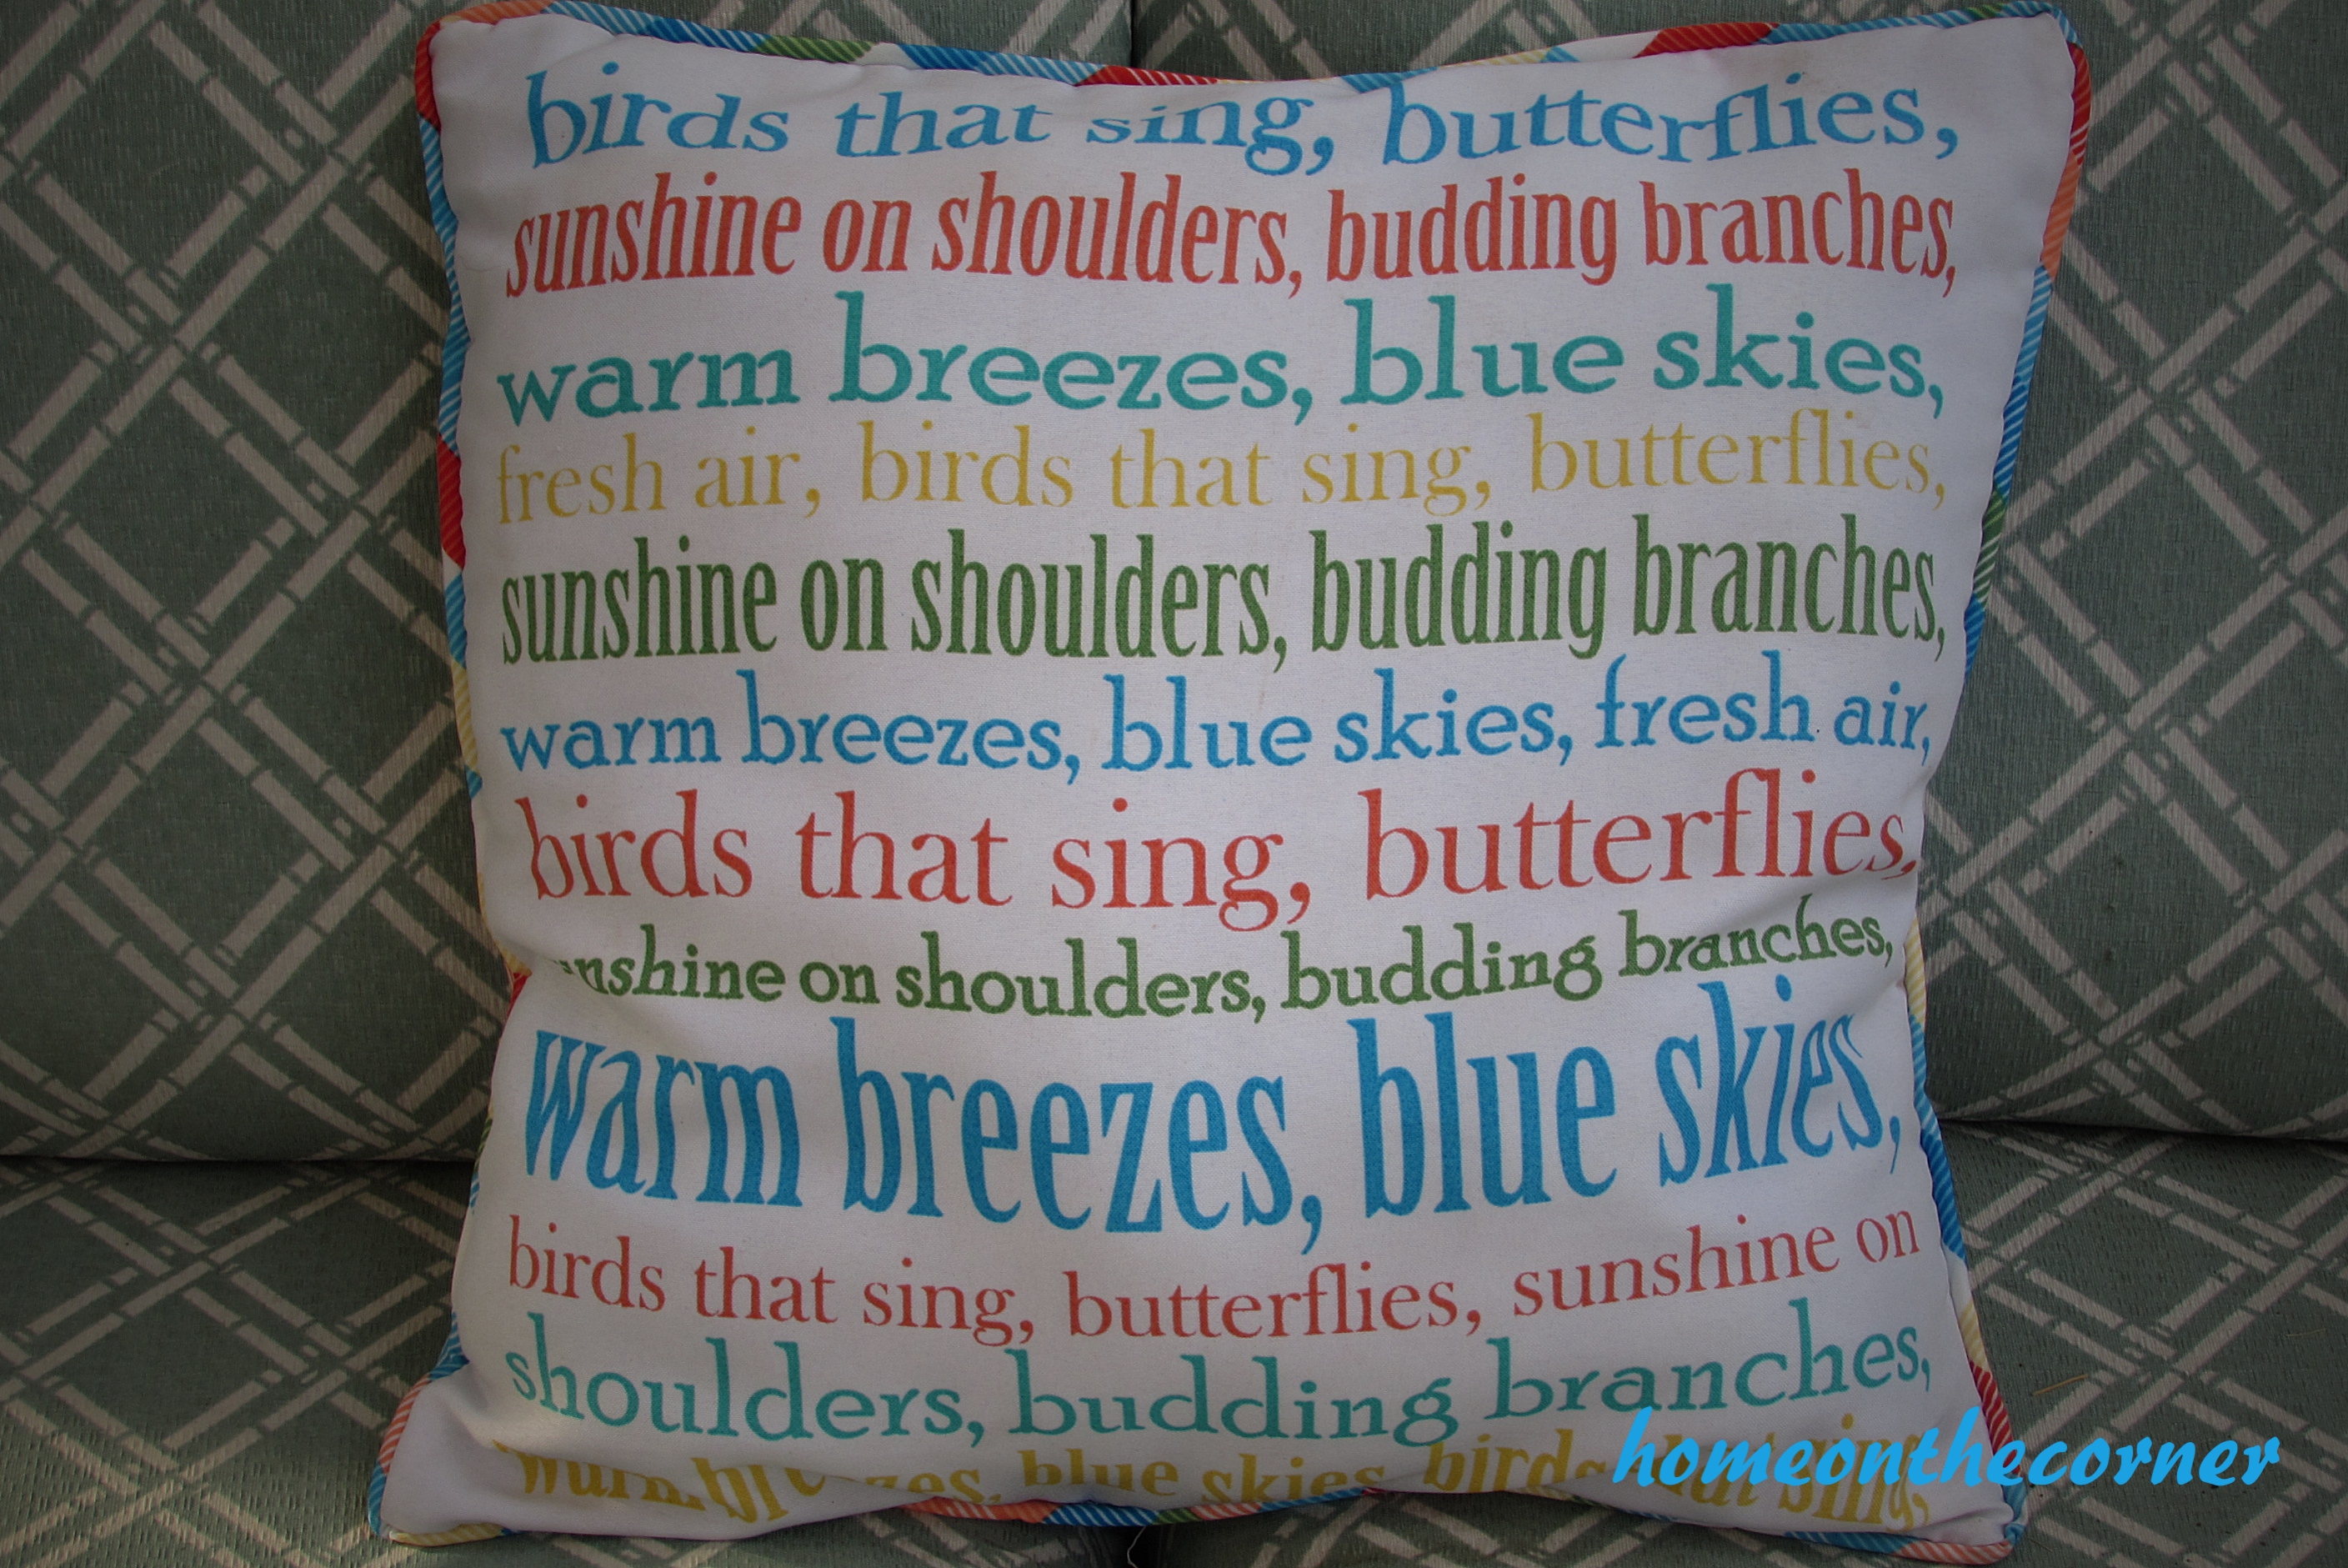
Birds that sing, butterflies, sunshine on shoulders, budding branches, warm breezes, blue skies, fresh air
This bowl contains rocks we have collected from the different places we have traveled to. I have the place and date written on the rocks. It’s a fun way to relive some of those great times together!

Rocks from our trips
This deck is right outside our back door. A friend helped Steve build it about 3 years ago, and it’s been wonderful. It’s a great place to sit and relax at the end of a busy day.
Our deck
The sun has gone down and now the lights are on. I love how it looks at this time of the evening. It has great ambience and it feels peaceful. The long day is done.

Relax under the lights.
This picture is a little dark, but you can see all our delicious toppings for our ice cream. Everyone brought a topping, while I supplied the ice cream. It was scrumptious!

Ice cream toppings
Well, the party is over, but I will leave you with this last photo. I picked up this broken chair and spray painted the seat with chalkboard paint. Now we can announce where the party is and when it’s time to go home.
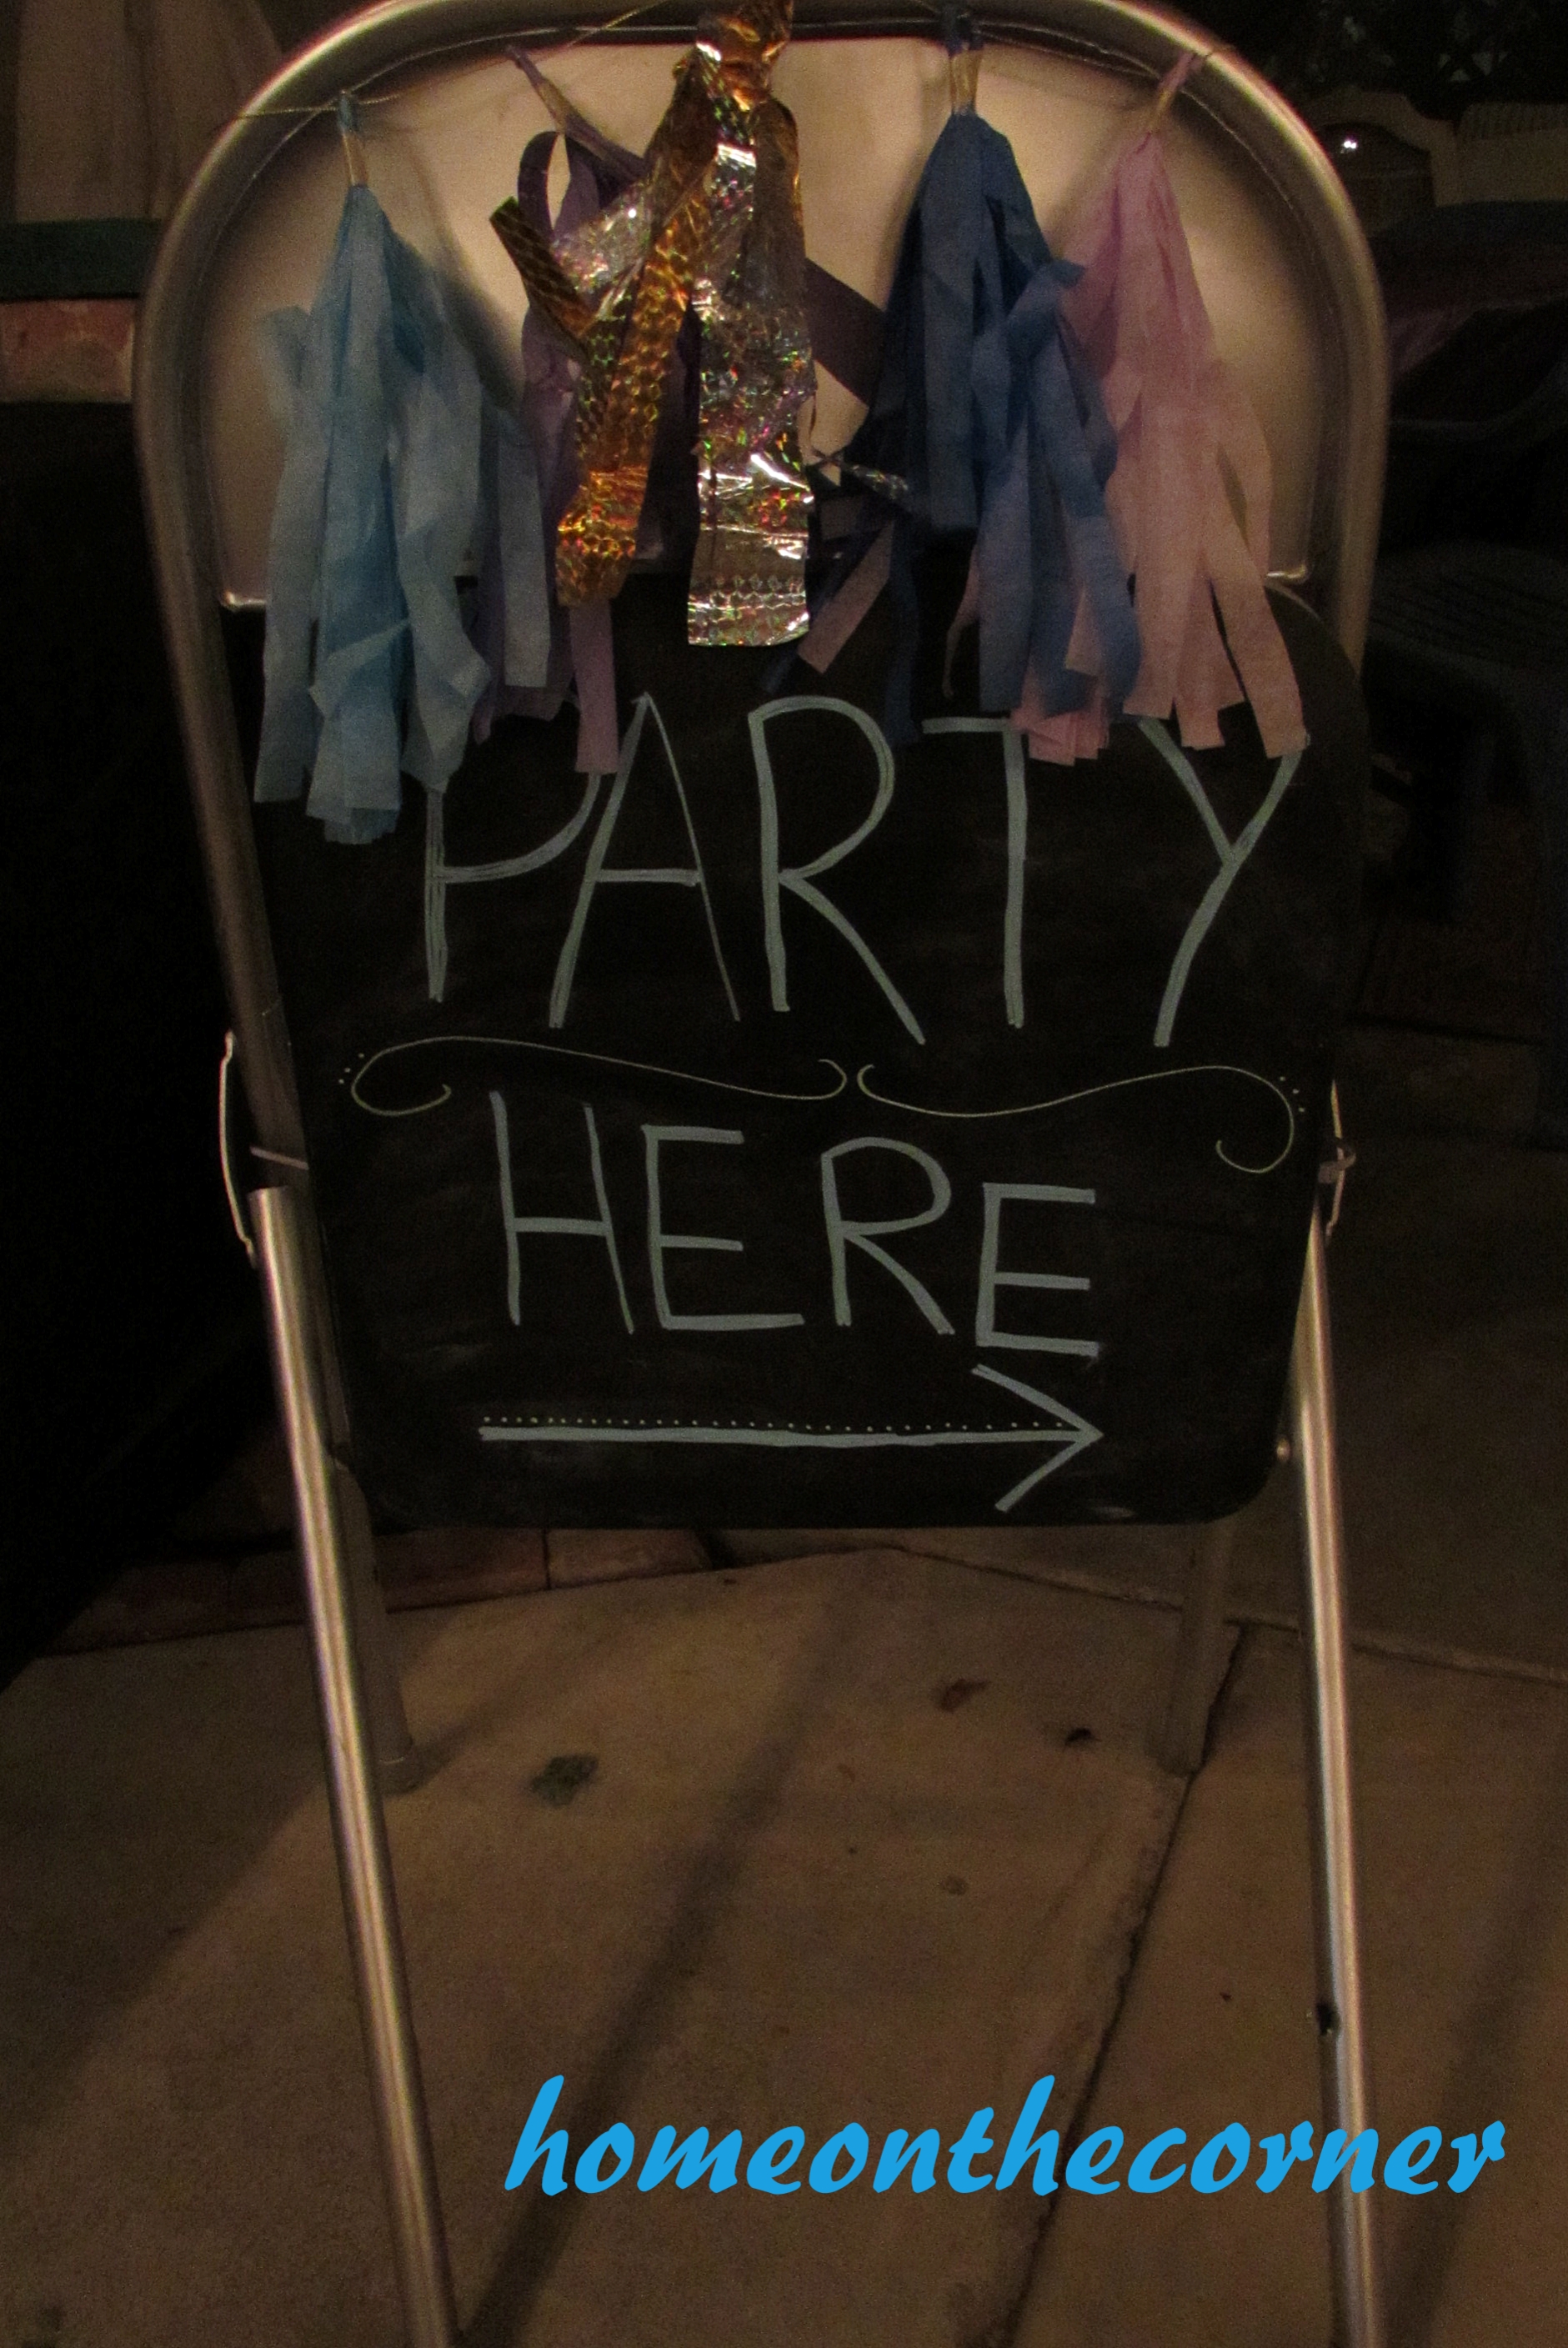
Broken chair
I hope you all have a great week and a wonderful summer!