

The stockings were hung by the chimney in care…okay, we don’t have a chimney, but we do have a fireplace now! But I still didn’t hang the stockings there. Instead I used an old ladder for some and a new one for the others! I love how they look on the ladders with some cozy blankets thrown over. I showed you the stockings I was making for my pooches and kitties, but I thought I would give you a little more of a tutorial for them.
I started out with a pile of sweaters from a thrift store. They have a deal where you fill a handheld shopping basket and get the whole thing for $7.00. Pretty good deal! I found 7 sweaters in colors that I liked and thought would work for this project. Only 1 buck each! I looked for sweaters with a design, or pockets or buttons that I thought would add something extra to the stocking. (only 6 made it in the picture :))
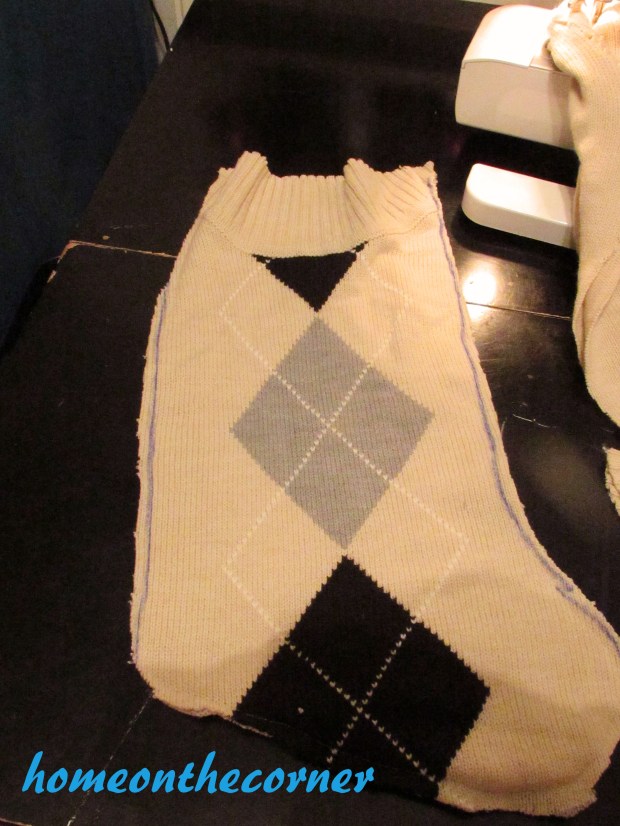
Here is the stocking I used for the pattern. As you can tell, not really my style. After sewing this one, I realized I should have put the top of the stocking at the bottom of the sweater. The tops didn’t stretch out so much when I used the binding at the bottom or the neckline at the top of the sweater.

I’m going to be using a different sweater for the rest of the tutorial, because it was an oops. I traced the pattern on the outside of the sweater instead of the inside. 😦 But it still ended up working out! I actually got 2 stockings from the sweater. I think it was actually a dress. Notice how the top of the stocking will be on the neck of the sweater.

After tracing the pattern it was time to sew. My favorite thing! NOT! But I did it anyway! I sewed right along the line I had drawn. Just don’t sew the top! That is your opening to put the gifts in!

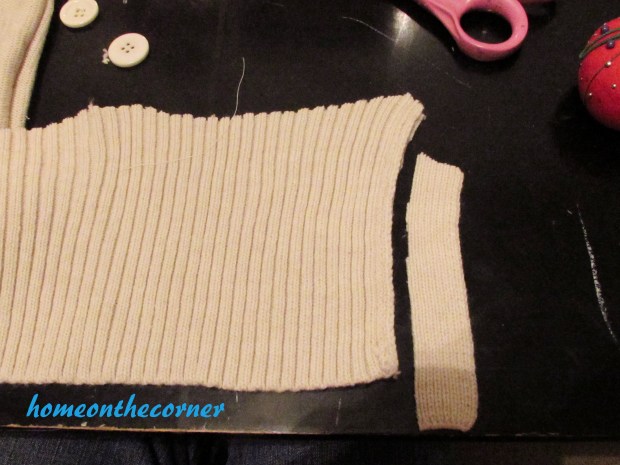
Once the sewing is done, cut around the edge. I cut just to the outside of the stitching.

Here is the stocking all cut out.
I turned the stocking right side out, which was actually inside out, but whatever! Then I took a piece of the binding from the neck that was left over and cut a little strip off.
This will make my loop for hanging. I sewed it on with the machine, but it could easily be hand-stitched too.

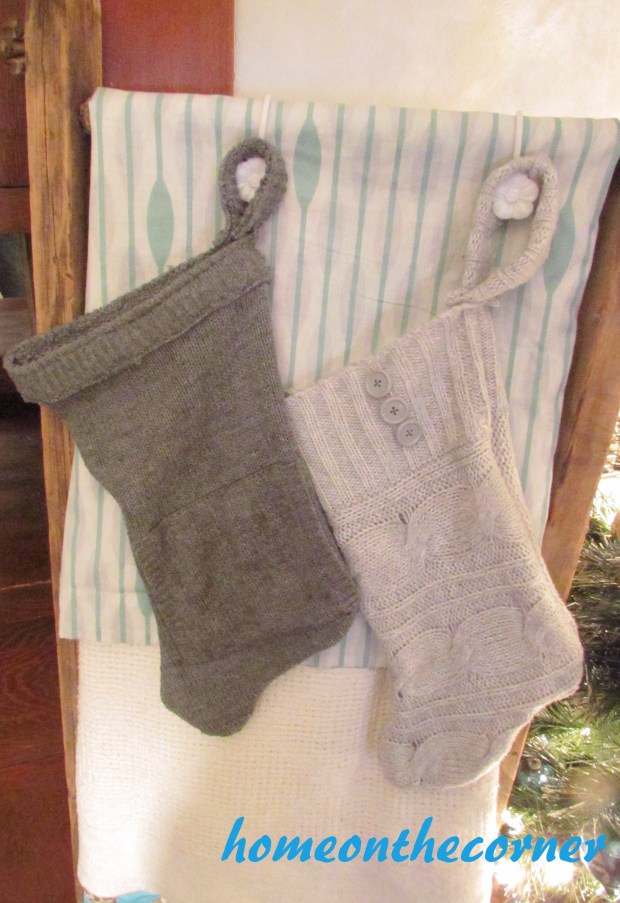
The collar of the sweater had some buttons on it so I cut them off and added them to the front of the stocking where the diamonds of the argyle met.

And there it is! It doesn’t looks to bad being inside out! I hung this one in my bedroom.

Here are a couple of the others hanging by the dining room tree. I finished 8 of them in all! If I can make these, anybody can! I love how they look warm and cozy plus you can make them to match any decor,
Thanks for following along! Hope you have a wonderful week!


I hope you have had a wonderful holiday season! Thanks for partying with us at Merry Monday. Our first party of 2016 begins tonight, can’t wait to see what’s new!
LikeLike
Love the fact that you have repurpose old sweaters to make these. I’m going to be on the look out for some old Christmas jumpers now. Thanks
LikeLike
Thank you so much for stopping by and have a Merry Christmas!
LikeLike
Your sweater stockings look great. Thanks for the tutorial!
LikeLike
Thanks for stopping by!
LikeLike
These are so so nice Pamela! I can’t believe that you got all those sweaters for 7 bucks!!! They are actually perfect for stockings, I like the designs. And you had me smiling there for a bit, as I’m very familiar with the inside out mistakes and all that…lol, happens to me all the time, I wish I was able to make like a dress or something like that…naa. I make pillow cases, easy ones and cut curtains and they still end up too short…. Have a good one!!!
LikeLike
My sewing skills require I only do very simple projects! Thanks for stopping by today!
LikeLike