Why Can’t I Find My Hammer?

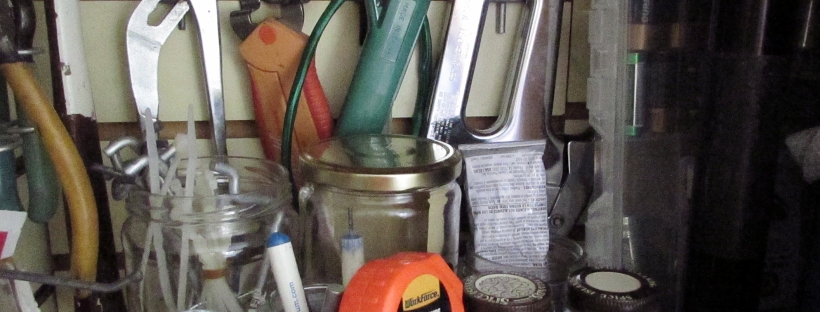
Why can’t I ever seem to find my hammer/screwdriver/nails when I want them? Because my cupboard where I keep them is always a mess! I have tried different organizing methods, but nothing really seemed to work. My last attempt was some fabric boxes with jars inside, but the tools never seemed to find their way back into the right spot. I would find the hammer off to the side or the screwdrivers at the bottom of the box. Here is the jumbled mess:

Tool Cupboard Organization

I also had some hanging on the door in a shoe organizer. This didn’t work well either. The small screwdrivers made holes in the bottom of the pocket and the glue leaked and pieces were stuck to the bottom.

Tool Cupboard Door Organization

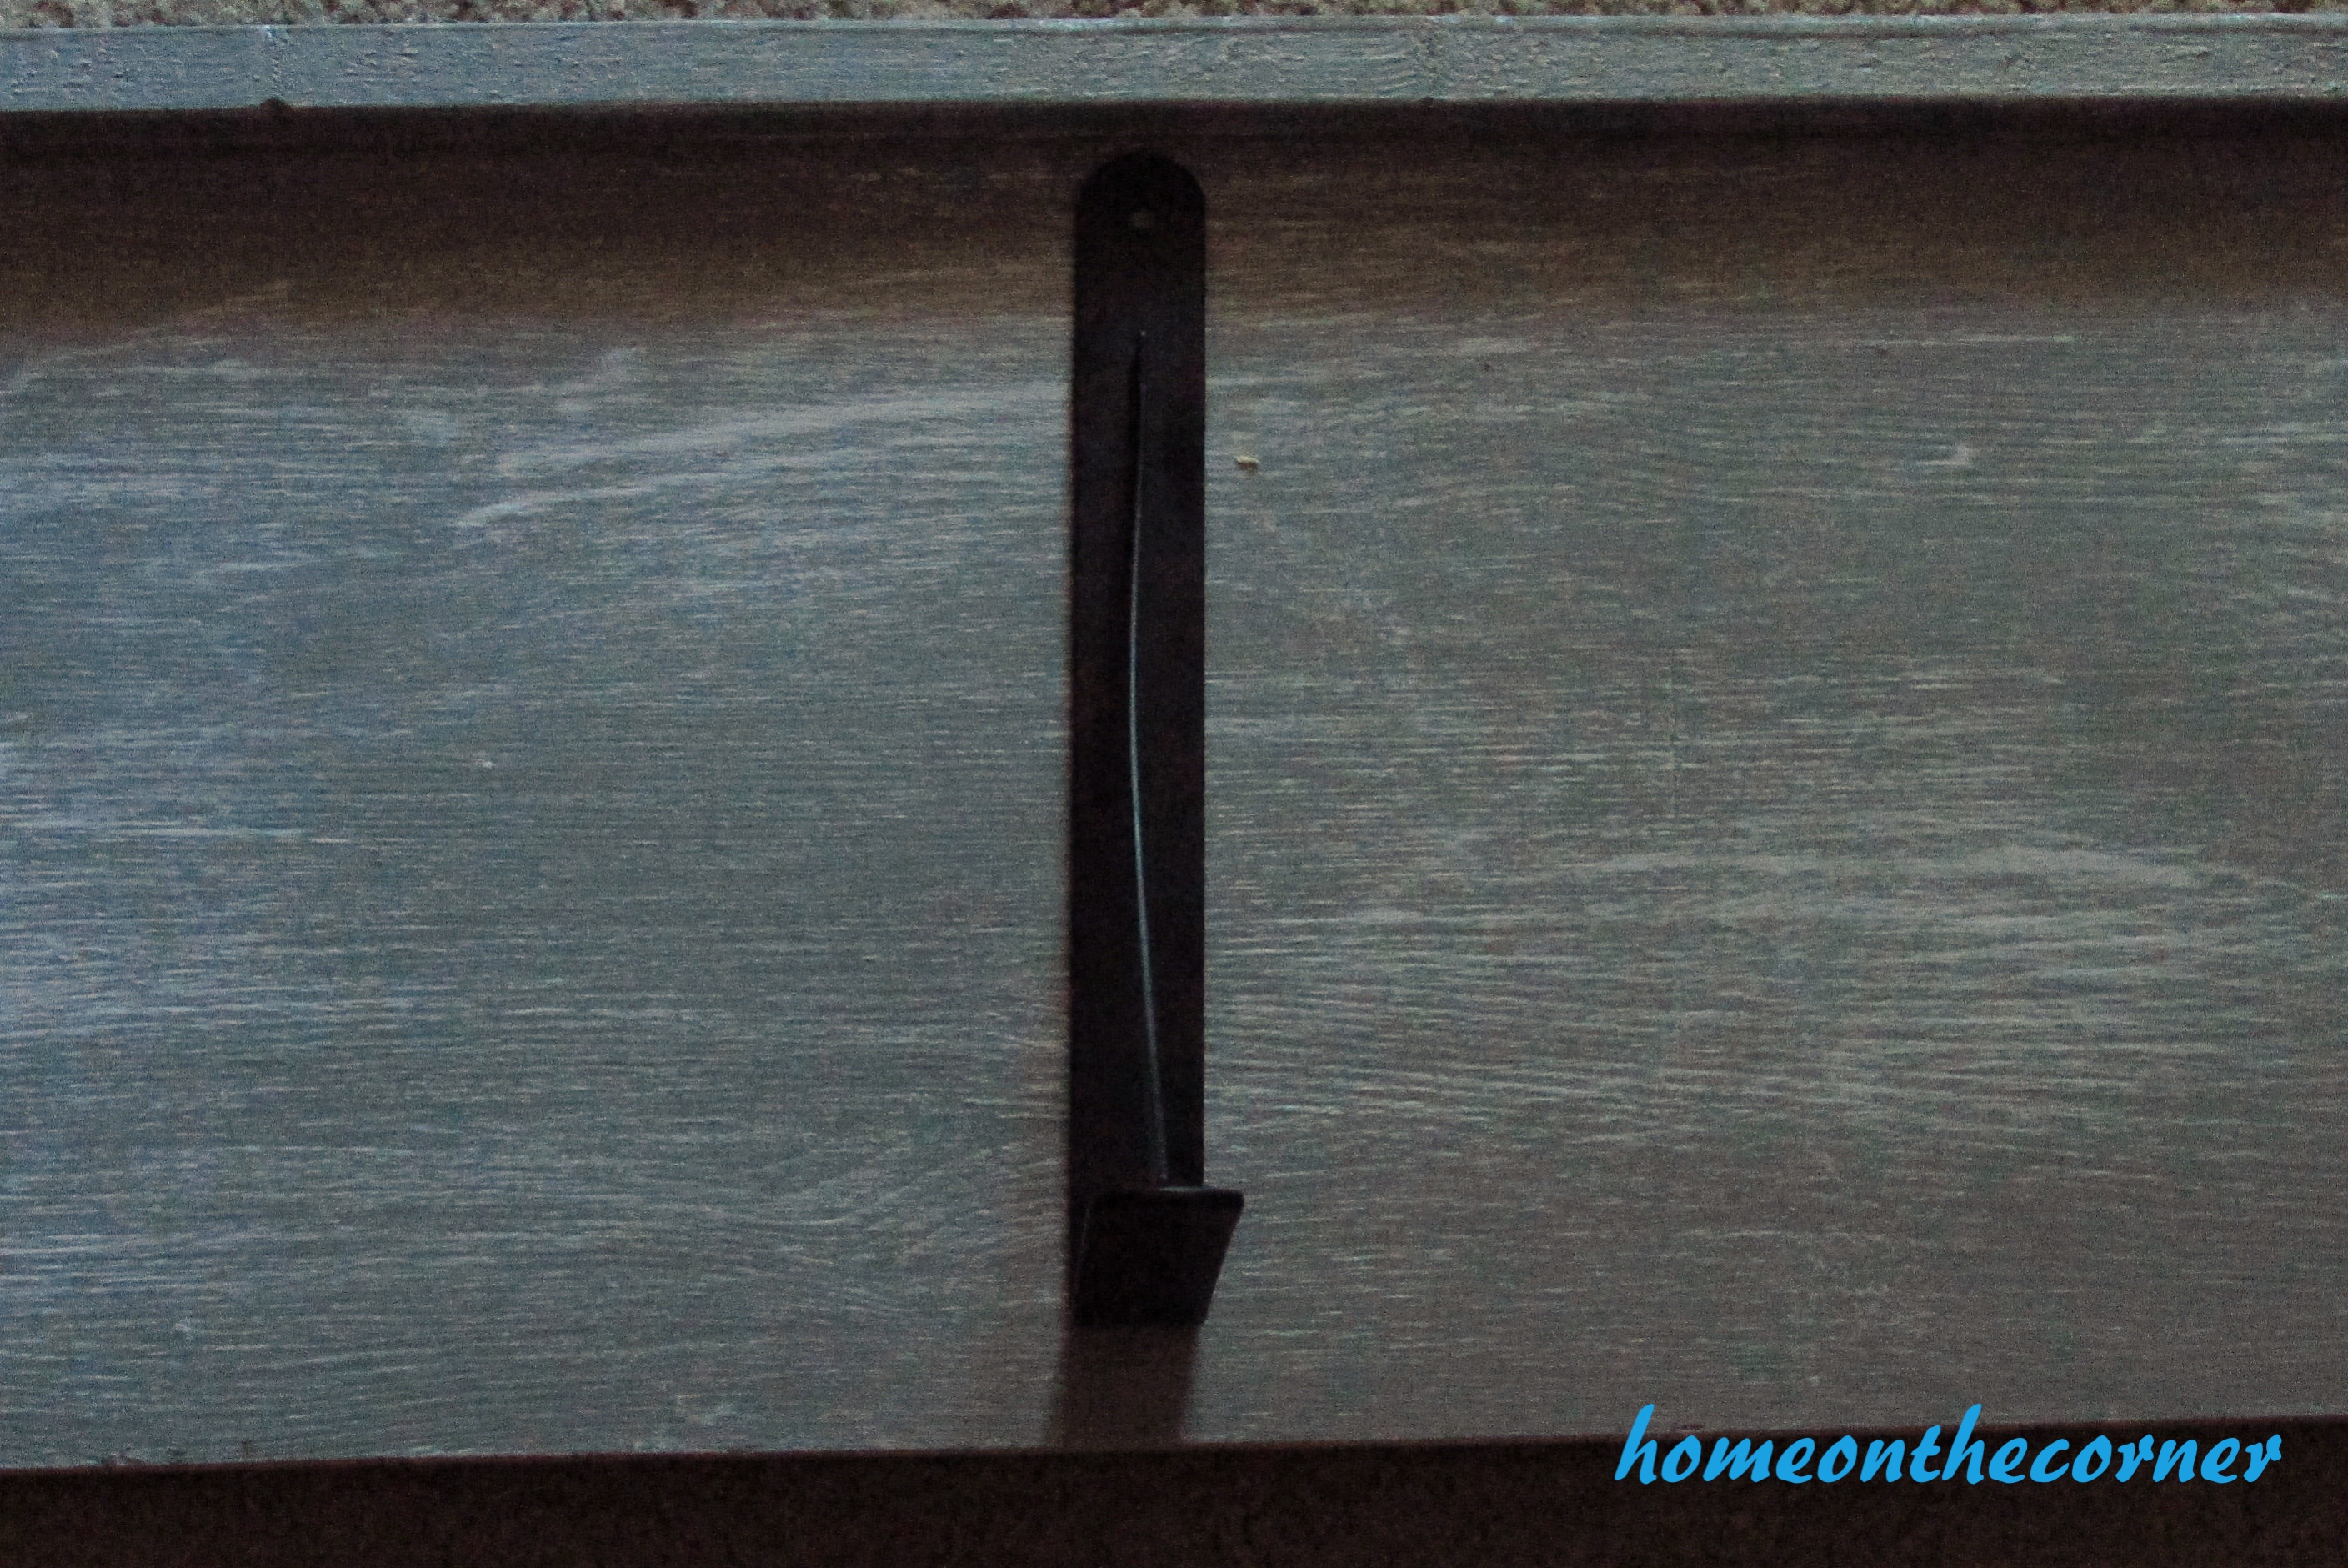
I removed everything from the cupboard first and threw some things away and moved others to the workshop. I kept just the things I use the most inside the house. I remembered that Haley had reorganized her closet and had taken down a piece of slat-board.

Tool Cupboard Slat Board

I measured how tall the cupboard was and then Lauren cut the board into 3 pieces.

Tool Cupboard Slat Board Cut

I placed the pieces into the cupboard, one on the side and two along the back. I then went in search of some hooks. I stole borrowed one with hooks for screwdrivers from my husbands workshop. The rest of the hooks I had from Haley. Now I just had to figure out the best way to organize it.

Tool Cupboard Slat Board Install

It’s not perfect, but I am hoping it is just temporary. My husbands job site is redoing some of the buildings and I put in a request for the old lockers. I am keeping my fingers crossed! They will go in my laundry room and these tools will be one of the things stored in there.

Here it is! So much better! Each tool has a hook so it has a place to go. I hung a few little boxes and bags of things too. There are still a few jars holding the little things.

Tool Cupboard Organized

I even managed to get all the pieces off the door.The glue has its own jar so nothing else will get stuck!

Organized Tool Cupboard

That’s it! Nothing fancy, but hopefully it will stay a little neater and it will be easier to find what I need when I need it. Do you have a special way to keep your tools organized? I’m always looking for ideas!

The Corner News-8/20

What’s up everyone?  Here is what has happened this week.

I had a softball game last night.  I play on a slow pitch softball team and this is one of the last games of this season.  I will be playing in the fall again, but I love my team.  But in any case, my team won!  Hooray!

Also, this is my last week of summer vacation!  I don’t want to start school! Sad Face.

And finally, Kelli loved her sign.  It is hanging in her office above her desk and everyone can see it.

Sorry there are no pics, but that is what I did this week!  Hope you all have a great week!

Homemade Disney Subway Sign

Sorry for the delay in this blog post.  This project took just a tiny bit longer than I had intended.  But, without further ado, here is the project.

I wanted to make something for my coworker Kelli, who is a major Disney fanatic.  Without her, I wouldn’t be in the position that I am in and I wouldn’t enjoy going to work as much as I do.  So because of this, I wanted to make something for her as a thank you.

Do you remember the pillow that mom bought from Disneyland?  If you don’t, you can click here to see the post.  Well, I like the design of it, so I decided to put it on a sign for Kelli.

The first thing that I did was I found some scrap wood that dad had left over from building some cat huts for our friends shelter.  They were all about the same length, so I placed 8 pieces next to each other for the width of the sign.  I then took a 9th piece and cut it to fit on the back of the sign.  I then took the two pieces for the back and nailed all the pieces together.

Subway Art Sign

Next came the fun part, painting!  Yeah!

Subway Art Sign

I knew that I wanted the sign to be white and have black writing on it.  So, I painted the wood white…and of course the spray paint just soaked in.  Urgh!  So, I had to spray a few coats on the sign and then it was ready to be drawn on.

Subway Art Sign

Once the paint had dried, I brought the sign inside and was ready to start the fun part.  I found a picture of the pillow online and with some maneuvering in Microsoft word, I was able to take the picture and make it fit on my sign.  I covered the back of the paper with pencil so that I could draw on the front to have my design come out on the wood.

Subway Art Sign

pencil

This was harder than I thought it would be for a few reasons.  1: I had to put the pencil on really thick so that I could see it on the wood. 2: some pieces of the wood was rough and I could hardly see the pencil marks. 3: some of the pieces of wood were so rough that I had to free hand that part.

But with all of this bad, I was able to get a design that I absolutely fell in love with on the  sign.  I used a sharpie to draw on the sign and used a fine point sharpie to add detail.  The final things to add were varnish and picture hangers.  I added two on the back because I wasn’t sure how heavy it would be.

And here it is!  The finished product is beautiful!

Subway Art Sign

Subway Art Sign

Subway Art Sign

Subway Art Sign

I love how it turned out and it didn’t take that long to make.  I hope that Kelli loves it as much as I do.  And hopefully, I can make more because they turned out amazing!

sparkle

Fabulous Vintage Beverage Cart Makeover

Good Monday morning to you all! I hope you all had a wonderful weekend! We had a great time at the beach. The weather was wonderful and we could sit out on the beach and just relax. The only thing missing was Lauren :(. Unfortunately she had to work and we had made the reservations long ago. We will definitely plan better next time!

I bought this vintage beverage cart a few weeks ago at a yard sale. I paid $10 for it which I thought was a great price. Each shelf even comes off to use as a tray.

Vintage Beverage Cart

Vintage Bar Cart

But it was going to need some sprucing up! I decided to keep the gold on the bars, but would paint the trays to match the rest of my patio furniture.

vintage beverage cart before

First I taped off all the parts I didn’t want gold, like the wheels and the bar across the middle of the top tray.

vintage beverage cart tape

The gold paint I had on hand is ancient, but I decided to give it a try, rather than buy more. It still worked just fine!

vintage beverage cart spray paint

Next I painted the trays (sorry no pics! I was too anxious to get it done!). I used Rustoleum Spray Paint in Lagoon. I also had it on hand from Haley’s bench project.

Here is the finished product! I love how this turned out!

Retro Beverage Cart

A little bit retro, a little bit modern, in my favorite colors and practical too!

retro beverage cart 2

Haley picked out some of her favorite snacks to add to the tray.

vintage beverage cart and treats

I think they are Ezzy’s favorite too!

vintage beverage cart with ezzy

Some cute napkins to keep summer and sunshine around a little longer…

vintage beverage cart sunshine

A little tea…

vintage beverage cart side

and one last look!

vintage beverage cart snacks

So glad I was able to rescue this piece and give it a new life here at Home on the Corner!

Sunshine and Blessings

Friday’s Corner News-August 14, 2015

Happy Friday everyone! Hope everyone had a great week ! We are getting away this weekend for one last camping trip before all the school activities take over.

I have been busy with painting projects around the house. This summer I have painted the hallway, Haley’s room, and the living/dining room. I still have a couple of larger projects to do in these rooms, but then hopefully I can reveal them. Here is the color of the shelves for the living room.

living room shelves

Remember I had these pieces of chalkboard from my preschool?  I used one in my bathroom, and now I painted the other to use in my classroom. I made it a Quote Board. Have you heard the funny things 4 year old say?!

Quote board chalk board

I did a little redecorating on my back patio. I added a few late summer flowers and decorations.

late summer back patio

I also have these wonderful paw-prints that I did with my pets. They actually did pretty well with having their paw put in ink and on the paper. Well I have been wanting to frame them with a picture of each dog. I finally found 4 frames that were all the same at the thrift store, and they were half off! Perfect! I will show you the finished product when I am done with all of them.pawprint collage

Have a wonderful weekend and see you next week!

Sunshine and Blessings