Starbucks Caramel Snickerdoodle Macchiato

There are many times where we go into a Starbucks or Jamba Juice and someone orders a drink you had never heard of.  Did you just miss it on the menu?  Or did they just come up with something off the top of their head?

Well…a little bit of both.

These are normally secret menu items.  Items that the restaurant may know how to make, but at the same time, the restaurant may not know how the drink is made.  You can either take a chance on if they know the drink or you can find a recipe online.

Or, I can make it even easier.

Thanks to hackthemenu.com, anyone can see secret items and how they are made.  And I have taken a challenge to try all of these drinks from Starbucks and Jamba Juice and write a review of the drink for you.

This should be fun to see what happens, though it may not be so fun on my wallet.

Caramel Snickerdoodle Macchiato

Caramel Snickerdoodle

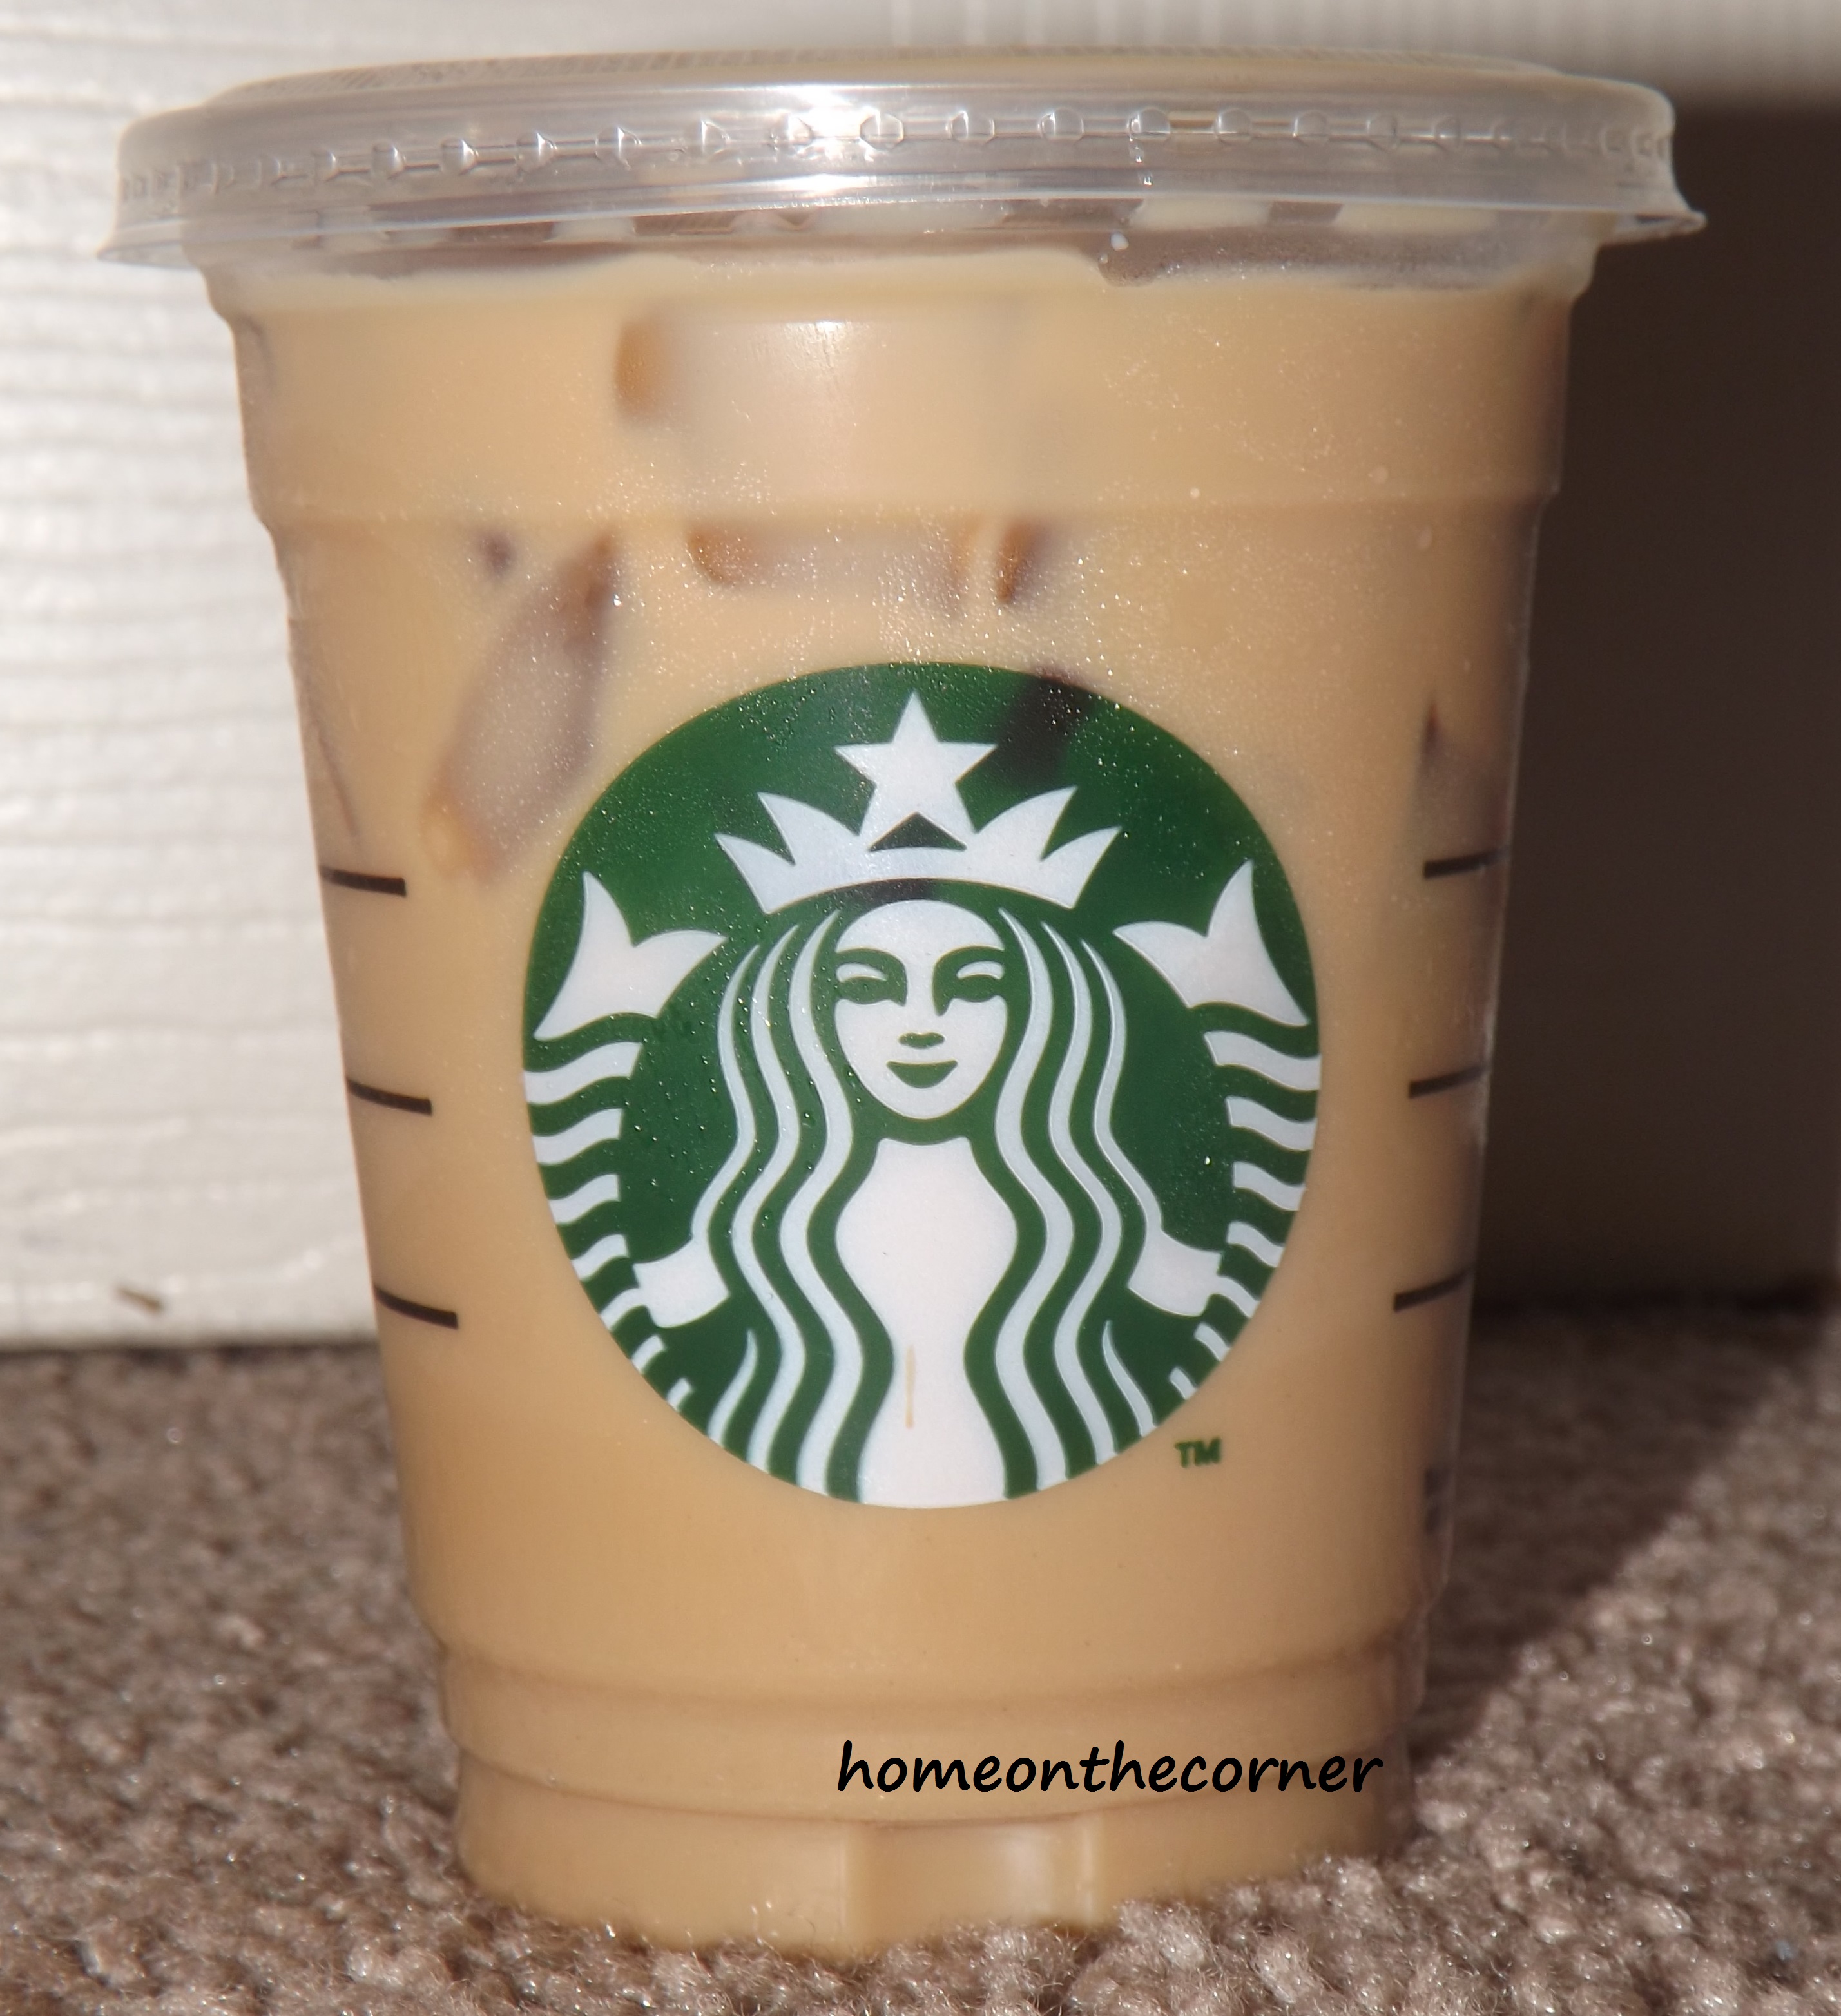
Now, whenever I think of a snickerdoodle, I think of a warm cookie that just came out of the oven.  A cookie that is warm and gooey and super messy and breaks apart when you dip it in a giant glass of milk.  Anyone besides myself drooling at the image I have just presented you?

Unfortunately…this drink is a cold drink.

But, I will say that drink is delicious.  This drink really does taste like a Caramel Snickerdoodle.  Even cold, it tastes very good.

This drink is based off of the Iced Soy Caramel Macchiato.  But, it needs to be made upside down.  Why?  Well, if the drink is made upside down, the flavors will mix.  There is also vanilla syrup and Cinnamon Dolce syrup.  This makes the flavor complete in the drink.

I think that this drink is delicious.  Even if you are not someone who enjoys a lot of coffee.  I enjoy coffee if it’s in a frapp, but won’t drink it by itself.  But I do enjoy this drink.  Have you ever tried a secret menu item?  Let me know in the comments below.

sparkle

How to Turn Baking Pans into Chalkboards

Sorry that this post is late.  I have been busy with finals, work, and getting ready for Haley’s graduation on Saturday.  But I digress.

I have seen these chalkboards online and made one for myself, so I have decided to post how to turn a simple baking pan into a chalkboard.

First thing you need is these baking pans.  I bought these three at a thrift store for 10 cents each.  What a deal, right?

I have 3 pans here, but I only ended up using 2

I have 3 pans here, but I only ended up using 2

Next I painted the pan.  I wasn’t too particular if the paint for the outside of the pan got on the inside because it would be painted over anyways.  I chose pink and turquoise as my outside colors.  Shocking isn’t it.

Pink and Turquoise

Pink and Turquoise

Next, I taped off the edges of the pan to protect the color and not get chalkboard paint on the outside.  This was a little tricky because I wanted to cover the entire edge of the pan.  So I had to use quite a few pieces of tape to cover the edges.

Tape for Days

Tape for Days

Now, it’s time for the chalkboard paint!  I sprayed the inside of the pan completely to get a nice coat of chalkboard on the pan.

And Voila!  They are done.

Voila!

Voila!

I decided to make a checklist on the turquoise pan of things that need to still be finished before the graduation and graduation party.  Fortunately, I was able to mark one thing off already.  And the last two things won’t be able to be checked off until after the ceremony on Saturday.

GRADUATE!

GRADUATE!

For the second pan, I decided to put my salutation.  Because I love the saying and love pink, it worked perfectly.

Pretty in Pink

Pretty in Pink

These chalkboard pans are really easy to make and really easy to use.  I use chalk markers to write on them, and the chalk marker comes off with a wet washcloth so you can change what it says.  Check out my apartment bedroom blog here to see the chalkboard pan I have in my bedroom.

sparkle

How To Make Chalkboard Subway Art-California Style

Hi everyone! First of all I want to apologize for only getting out one post this past week. Life has been so crazy for both Lauren and I! I have been working more hours, plus had activities each night and Haley graduates in a week!!! Lauren has also had more work hours and had finals and many papers to write. Not sure how much better this week will be with graduation preparations, but I am here today! I will share all the good grad tips when I come back!

I did manage to get a project done this past week. I wanted to change out an old decorative window I had hanging in my bathroom. The preschool I work at was getting rid of an old puppet theater type thing. I didn’t want it for my classroom, but it had chalkboard on all 3 sides. Hello!? Yes, I want it!

My husband took it apart before I took a picture, but here are the 3 sides.

chalkboard subway sign1

I took the smallest piece and taped all the ages. Then I took Rust-oleum Black Chalkboard Paint and sprayed the middle.

Taped off

Taped off

From green to black!

From green to black!

chalkboard subway sign4

After the chalkboard paint was dry, I removed the tape. Then I used some Minwax Wood Finish, Golden Oak, that I had on hand. I dipped a rag into the can and then wiped it on the wood frame. I let it dry and then added another coat.

chalkboard subway sign5

This shows the difference in the wood color.

This shows the difference in the wood color.

After everything was dry, I primed the chalkboard. This just means rubbing chalk all over the whole board and then wiping it off. Now your board is ready to use!

Primed

Primed

I printed out the names of different California beaches, in different fonts on the computer. My plan was to rub chalk on the back of the paper, then trace it on to the board. It worked a little, but the chalk wasn’t dark enough for me to see. So I ended up just using the prints as my samples and I freehanded as best I could.

California Beaches

California Beaches

This is where it’s now hanging! I like how it looks here, but it’s also nice that I can either change where I put it or I can change what’s on it.

New artwork for my bathroom!

New artwork for my bathroom!

chalkboard subway sign11

chalkboard subway sign12

chalkboard subway sign13

chalkboard subway sign14

chalkboard subway sign16

I have an idea for one of the other pieces. I think I am going to use it in my classroom to write all the funny things the kids say, but I don’t know about the other piece. I would love to hear some ideas! I hope you all have a great week!

Sunshine and Blessings

The Drama In Our Backyard

We have been having quite a bit of drama in our backyard lately! We have been busy getting ready for my daughters graduation party, which will be outside. So there is this going on…

Graduation Tissue Balls

But I will tell you all about the party as it gets closer.

Here is the other story! I was walking through my front garden area when some mockingbirds starting calling and swooping around my cat. They had been at this for awhile, but I finally really took a look around. There is a smallish pomegranate tree right by my kitchen window, and sure enough, there was a nest! I stood and listened for a bit, but didn’t hear anything, so I thought there were just eggs. I pulled a chair closer, climbed up and suddenly there were little beaks poking up!

Daddy is watching!

Daddy is watching!

Babies!

Babies!

I was so surprised and excited! I was even able to get these great pictures! The momma and daddy kept chirping, but they let me snap away. It was just when the cat came by, that they got very upset, even pecking at her! I waited about a week and then took these pictures. They now have fuzzy heads and their eyes are open.

One week later

One week later

I told my husband we needed to get some temporary fencing to try and protect the babies from the cat. I had read online, they leave the nest after about 12 days, but then they are on the ground for another week or two. This was going to be quite an interesting couple of weeks once they were out of the nest! So we added some fencing on Friday night. Baby Mockingbirds-homeonthecorner

I woke up on Saturday morning, took a look out the window, and saw this!

Baby Mockingbirds-homeonthecorner

That wasn’t one of the babies was it! No way! I waited a bit, then saw another one on the ground-on the other side of the fence!! That wasn’t supposed to happen! This was only 2 days after taking the ‘week later’ picture and a day after the fence was put up!

Franklin

Haley and I tried to decide the best way to get the one baby back inside the fence. We knew it would never survive in the yard with our ‘wild’ animals. But we didn’t want to be attacked by momma and daddy either!

Wrong side of the fence!

Wrong side of the fence!

Our solution was quite hysterical! I held up a big patio umbrella over our heads so we wouldn’t get divebombed and then Haley, with gloves on, picked up the baby and put it back in the fence. Whew! We did it!

Trying to look big!

Trying to look big!

So far, we have only seen two, but the other might be in the pomegranate tree. They are pretty hard to find in there.

Look at that face!

Look at that face!

Well, after awhile we couldn’t find the babies at all, but we still heard them. There is another tree overlapping the pomegranate tree, so we figured they were in that one. It has been another week, I still hear one of them chirping, but they are too high for me to find. I am just thankful we were able to protect them when they were on the ground. Now that they have flown the coop, we can get on to that graduation party!!

Sunshine and Blessings

How To Make Pull Tab Bracelets

Did you ever do this when you were younger?  Pull the tab off of a soda can for no good reason.  Honestly, the only reason these tabs exist is because they open the soda cans. Well…maybe they exist for other reasons as well. If you drink soda or energy drinks or really anything that comes in a can, you know that they have a tab that helps to open the drink.  If you drink Monster energy drinks, and take the tabs off, you can send them in and get Monster gear in return. But for me, I like to craft things! Some of you may have seen celebrities wearing these bracelets or maybe even seen these in stores like Michaels.  And I tried making them…and had issues.  My biggest issue was the elastic used to hook the tabs together.  I couldn’t get it to stay tied or the hot glue wouldn’t stick.  So…I tried something new. I bought paracord to use on the bracelets.  Because it is stronger than the elastic, I thought that would be better for the bracelets.  The only problem with this was the the paracord stretched out, causing the bracelets to be stretched and not look good. So…I thought that I would try something else. That’s when I bought 5 millimeter buckles to put on the ends.  And, now I am going to tell you how to make these bracelets. pull tab bracelet 1.  Measure your wrist and determine how much cord you will need.  I have an eight inch wrist and I cut my string 24 inches.  I laid the cord out to twelve inches then doubled it, so that I have some extra cord to work with. pull tab bracelet 2. Make a slip knot on one end of the buckle.  It doesn’t really matter which end of the buckle, you just need to have one end secured. pull tab bracelet 3. Next, you take the first tab and put one string in the top hole and one in the bottom.  So the strings will be going down from the top of the tab.  See the picture to understand. pull tab bracelet 4.  Take another tab and put the back of the tabs together.  You will now take the string and put it through the holes of both tabs.  This will keep the tabs attached and not fall apart.  You will repeat this process until you make a bracelet long enough to fit your wrist. pull tab bracelet pull tab bracelet 5.  When your bracelet is long enough, you will be able to attach the other end of the buckle.  All I do is thread the string through the buckle and tie a knot under the buckle.  If you want to hot glue the knot to make sure that it doesn’t come undone, feel free to. And then the bracelet ends up like this!

Thanks to my roommate Hannah for being my hand/arm model.

Thanks to my roommate Hannah for being my hand/arm model.

Now, I have also made bracelets with energy drink tabs.  These are a little harder because there is only one hole in these tabs.  So here are the steps for this bracelet. 1. Repeat steps 1 and 2. pull tab bracelet 2. Instead of starting like the original bracelet, have the tab upside down and thread the string up. pull tab braclet pull tab braclet 3. Take your energy drink pull tab, I’m using Monster, and put the back of it to the back of the tab.  Put both strings through the single hole on the tab and then back through the two holes in the soda tab.  This will secure the tabs together. 4. Repeat the final steps and have yourself a bracelet!

Thanks again Hannah for being my model!

Thanks again Hannah for being my model!

These are cute bracelet that are easy to make.  And now, you have something to use your old soda tabs on that you have been collecting.  Now if only I could find something for bottle caps… sparkle