Last week was our preschool graduation. It’s so exciting for the kids and parents. The children are all dressed in their little caps and gowns, with tassels hanging askew. They can hardly hold still because of the excitement! We make sure all the caps are on securely, everyone has pottied (they are only 5!), hair looks good, and we are ready to go. We walk in a line to the sanctuary and the kids get really quiet. They aren’t quite sure what to expect. The music starts, we tell them to smile, and off we go! Up to the stage, climb the stairs and find the right chair to sit in. All the while, they are looking for their parents and waving. Finally we start. There is the flag salute, some verses recited, a song sung, and then a surprise for the children. Haley put together a video of pictures we had taken all through the year and the kids had no idea! When it started, one little girl covered her cheeks and whispered, ‘What is this?’. Another one actually started to cry and came over to stand by me until she could compose herself. I asked her why she was crying and she told me she just couldn’t believe she was seeing herself up on the screen. Such sweet moments and memories.
Another sweet memory for me is this project. This is one of my highest viewed posts! So I thought it would be a great way to kick off the summer. It’s pretty easy, especially since I cheated a little, and maybe it will give you an idea on how to refresh your outdoor cushions!
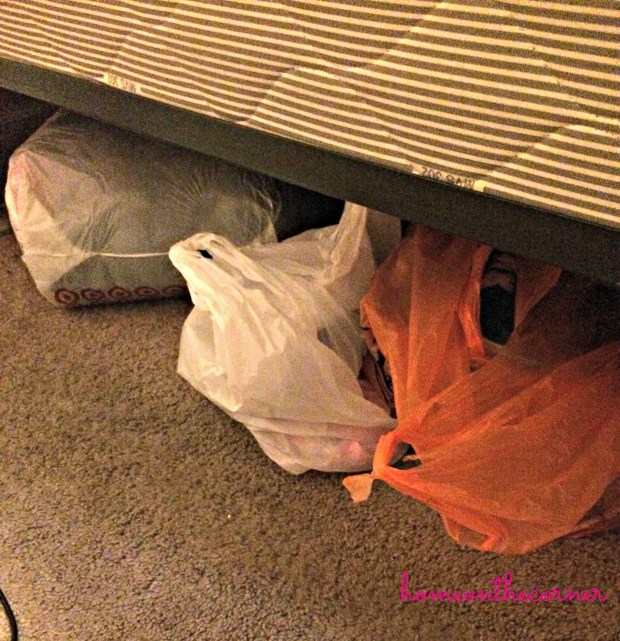
My project today was to recover cushions for my outdoor swing. Now, I have to tell you a few things before I start. First of all, I bought the fabric probably 2 summers ago and never did anything with it. Second, I bought it to cover 3 cushions that fit perfectly on the swing. Unfortunately, they got wet this winter and were completely mildewed. Yuck! Third, which I have already mentioned before, I hate to sew! So let’s get started!! Ha!

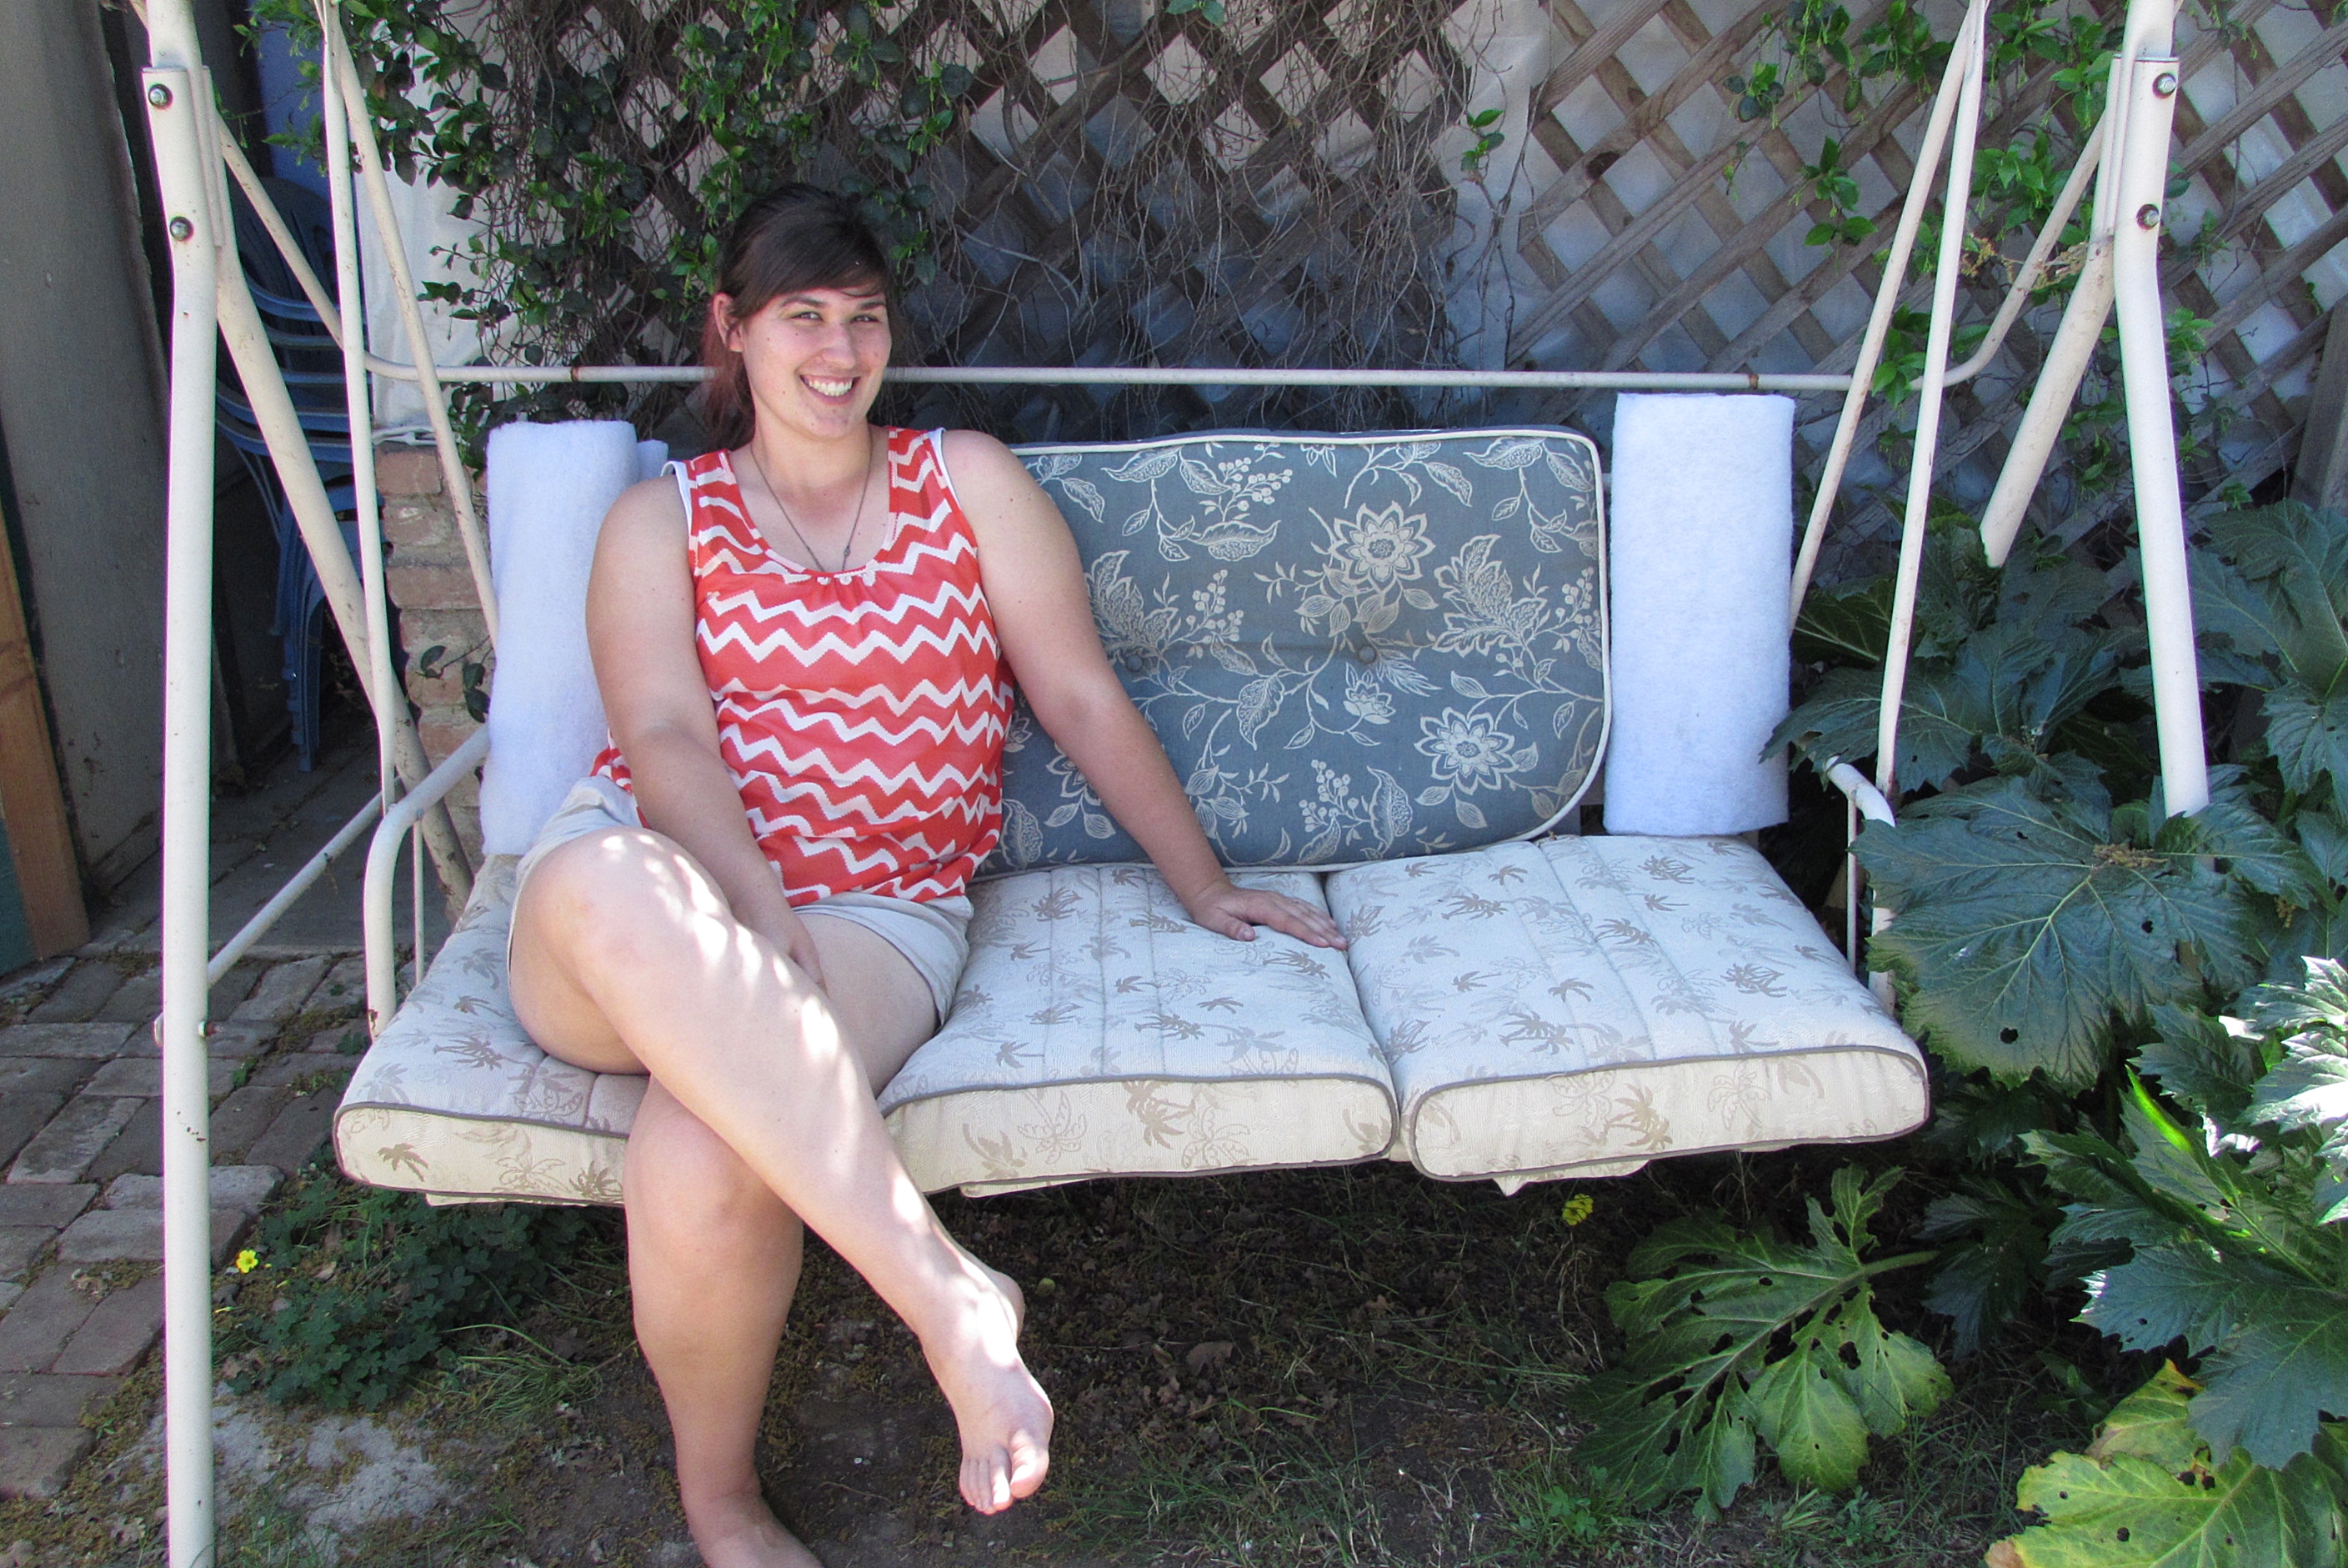
Here is the before and the pieces I am going to use (daughter not included)
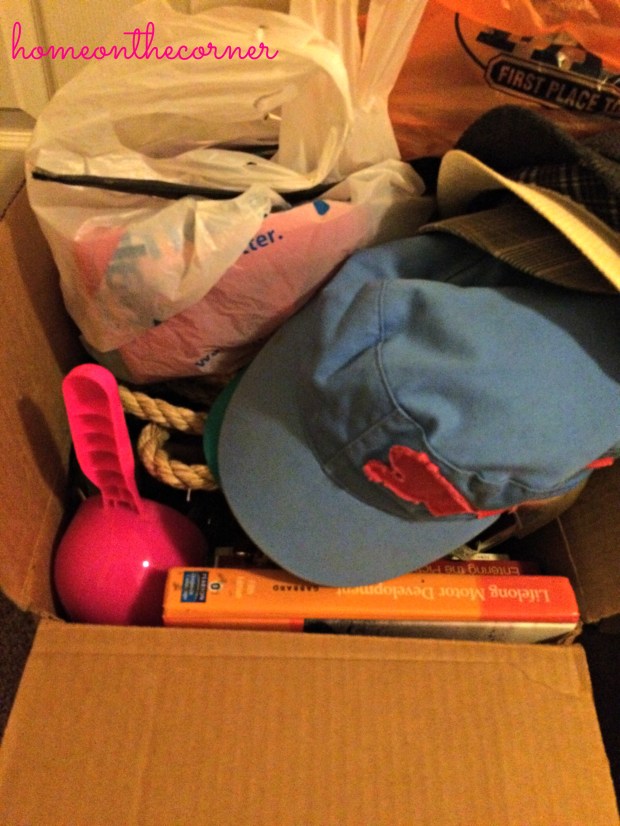
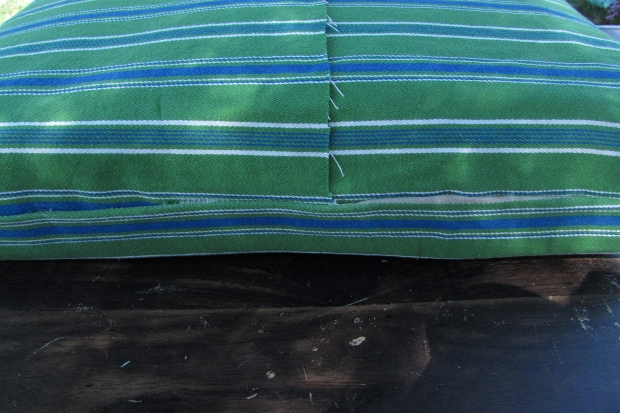
So I had some other cushions I had purchased at a yard sale a couple of summers ago and decided to just make them work for the swing since I couldn’t use the others. Unfortunately, the fabric didn’t work the way I really wanted it to. In order to cover all the cushions, I had to have the stripes go across instead of forward to back. Not my favorite, but the only way it would work. I also was going to have the seam in the front of the cushion. Again, not my favorite, but I just went with it. I can maybe cover the seam with some trim later (yeah, right!)
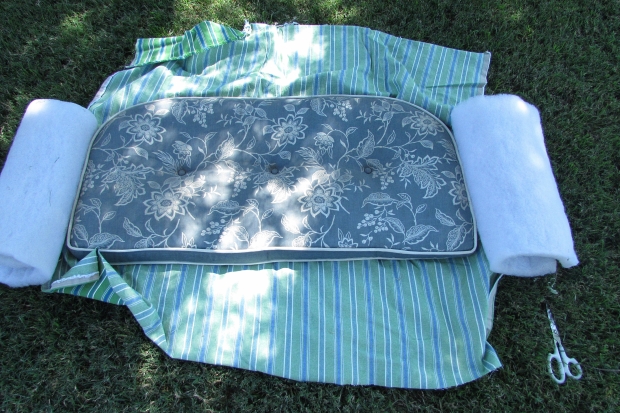
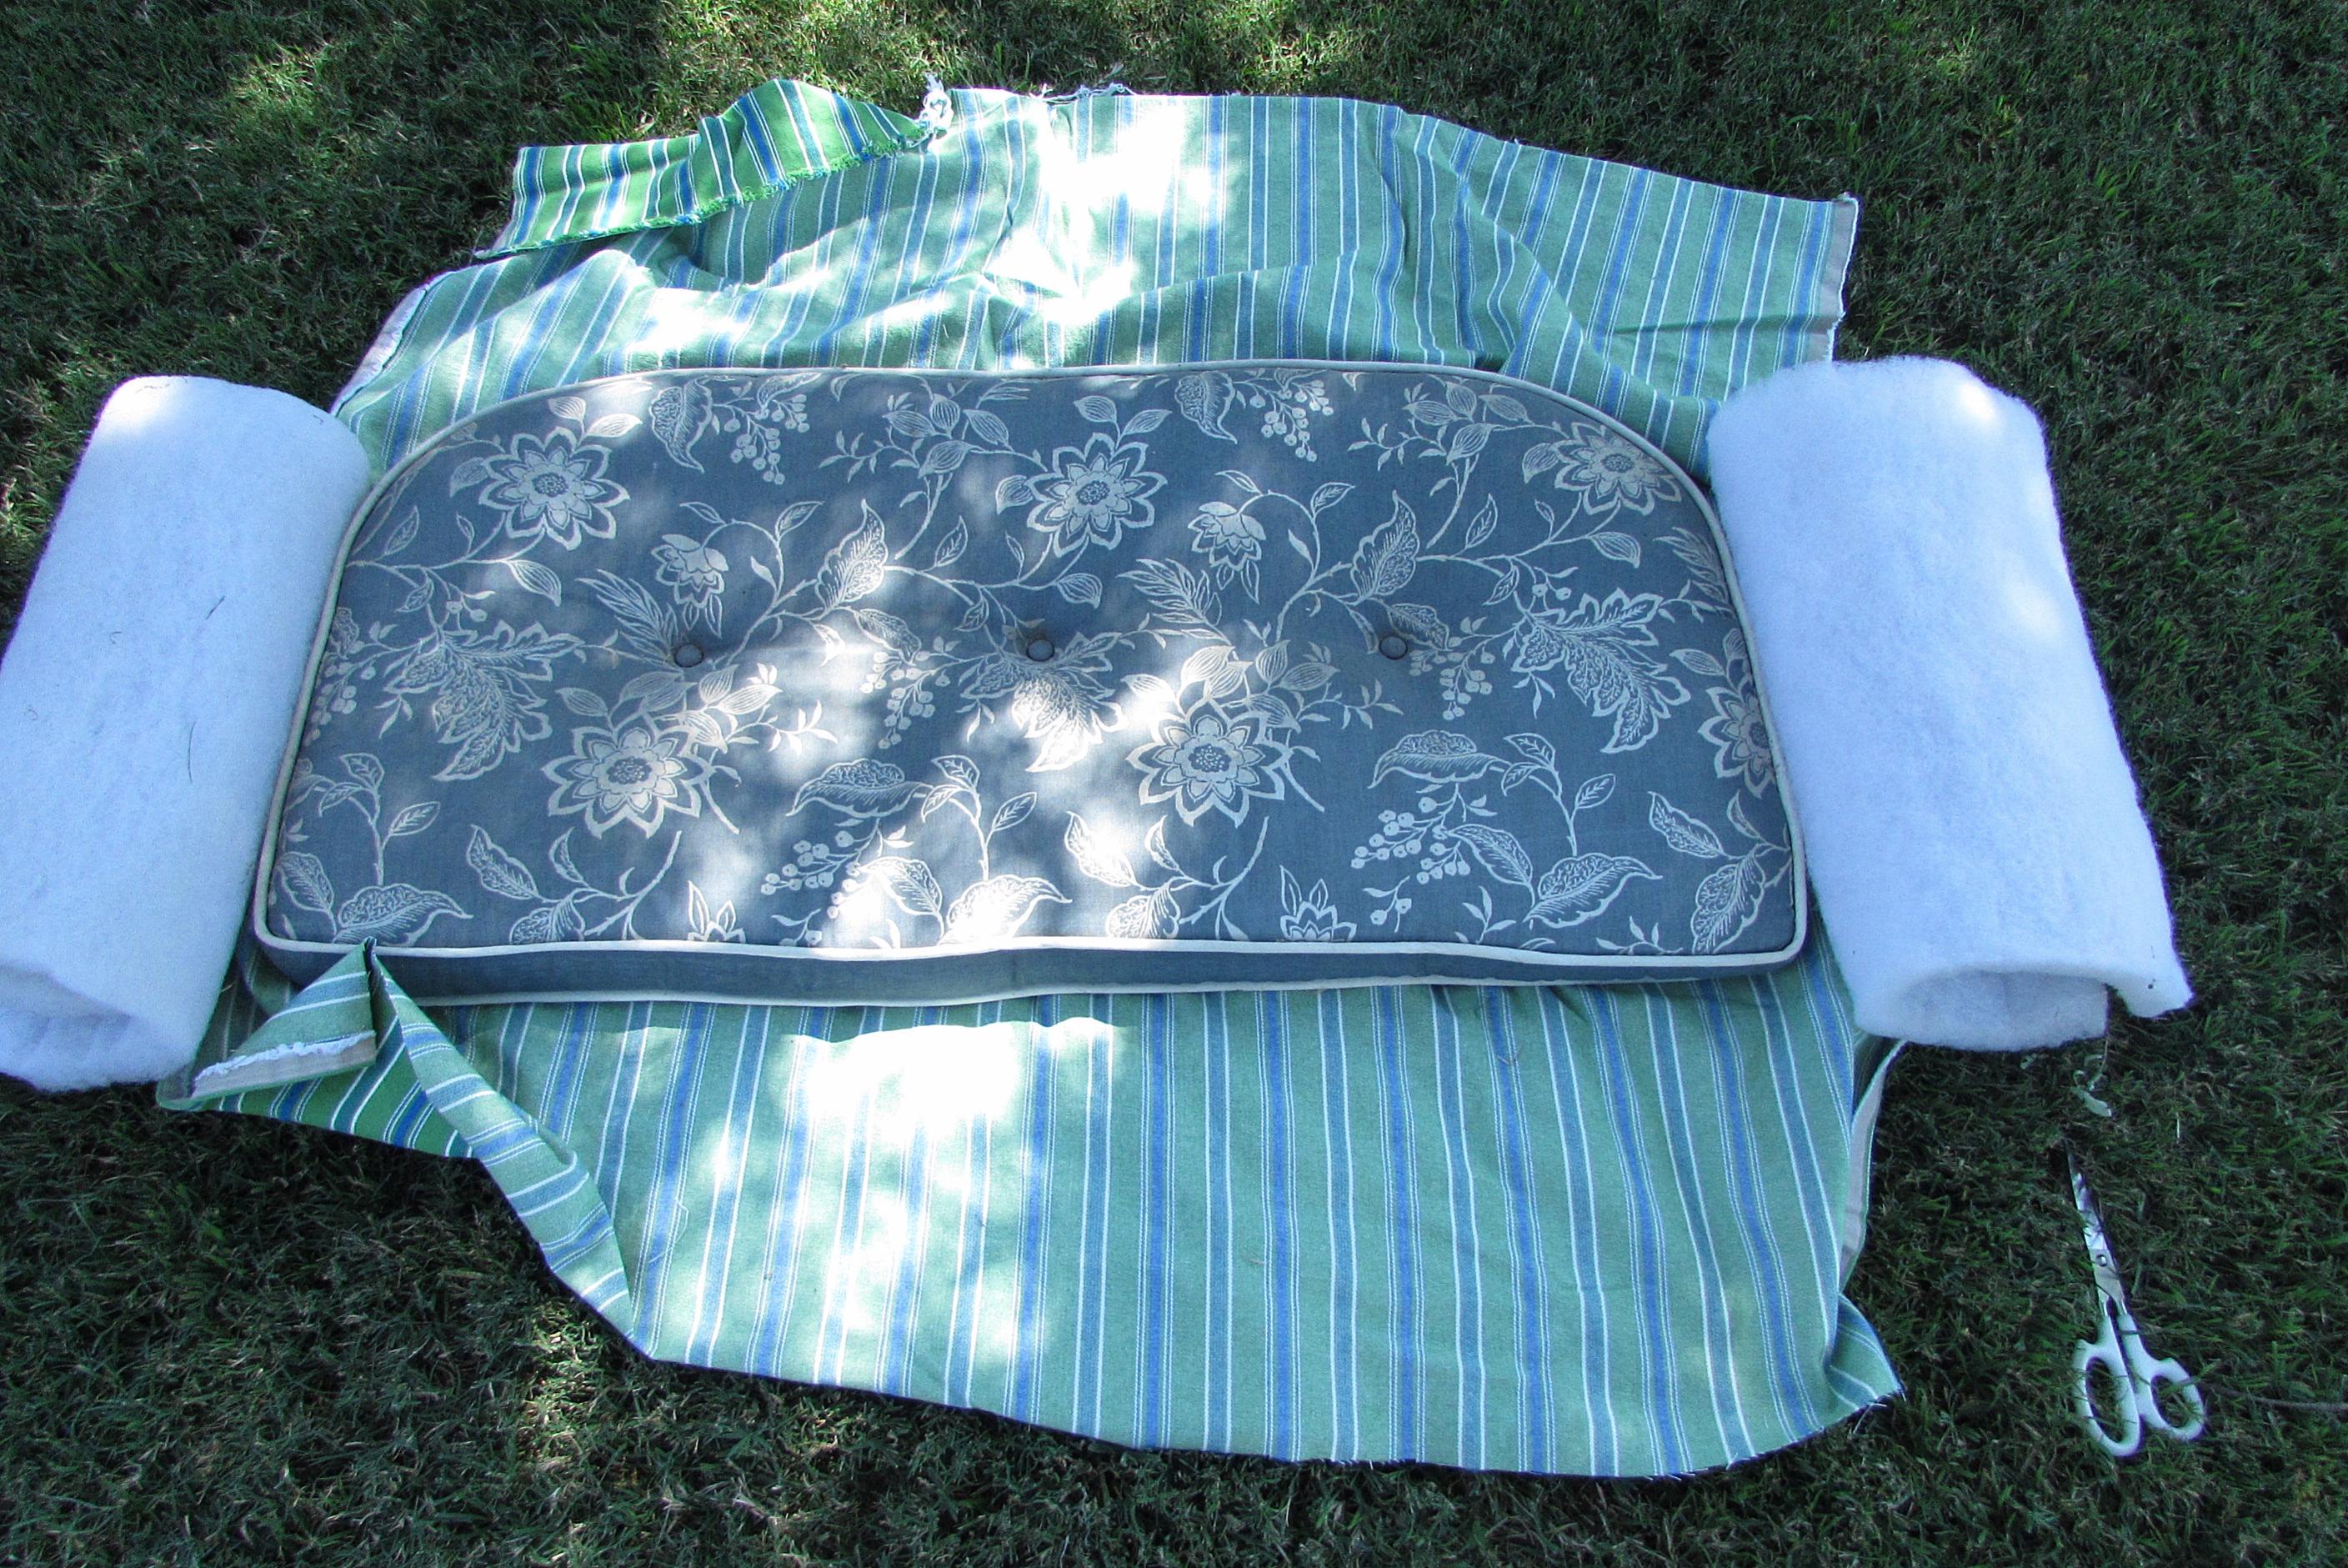
The back cusion
I started by laying my fabric out. I did this outdoors since my house doesn’t have any floor space large enough, plus it was so nice outside. I placed 2 cushions on the fabric and then cut across, making sure the pieces would be large enough to go around the cushion.
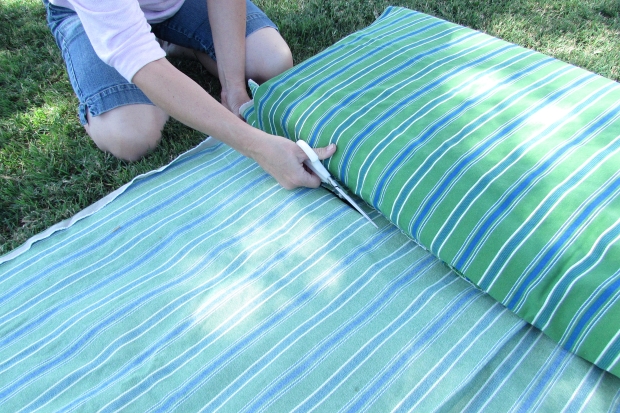
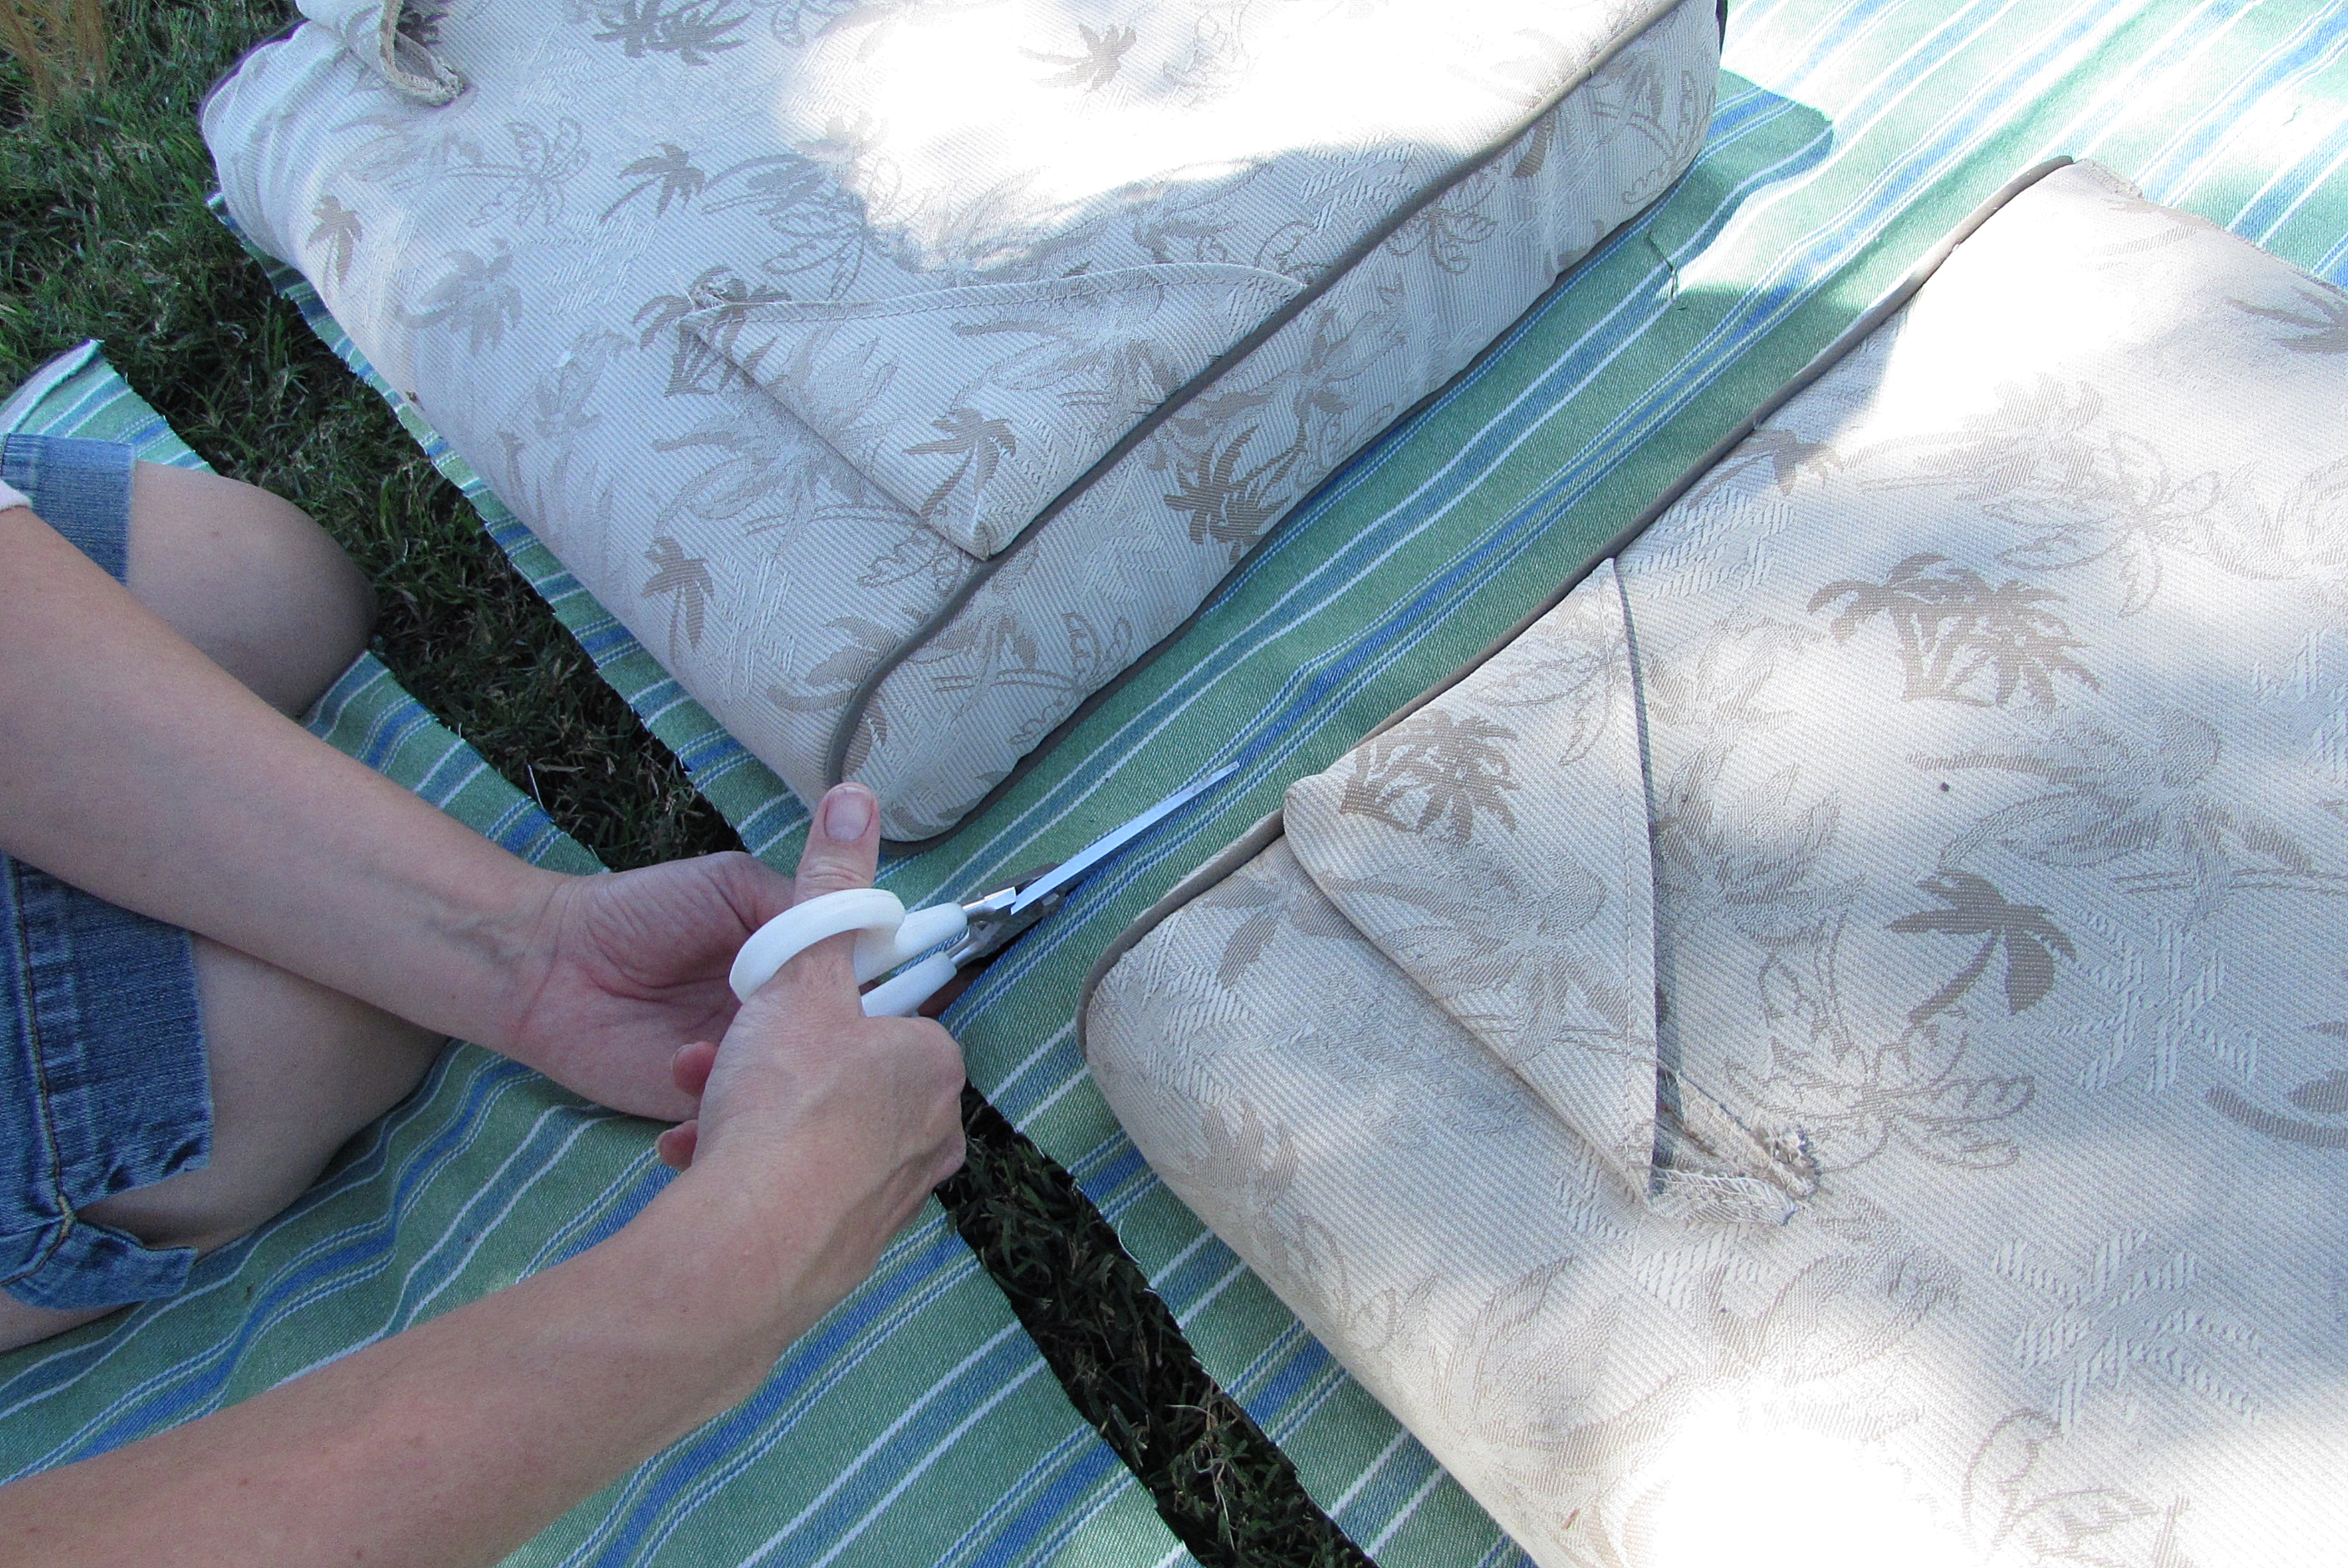
Snip, snip!
Then I cut that piece into 2 pieces so I would have material for 2 of the cushions.

Cut down the middle so I have 2 pieces.
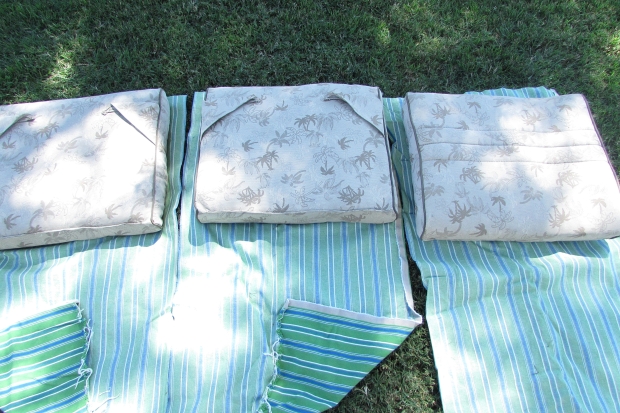
Here are the 3 seat cushions.
Once I had all my pieces cut I could start sewing, I mean gluing! Here is where I cheated! I found this idea a couple of years ago on Pinterest and have used it several times since. I covered my other patio furniture this way and this will be the third summer using it. I have only had to re-glue a couple of places. I also glued the pillow covers on my front porch this way, here. With gluing, it is easy to change out the fabric on the cushions if they should get dirty, stained or mildewed, or simply because you changed your mind or color scheme (this is usually my reason!)

See my little helper!
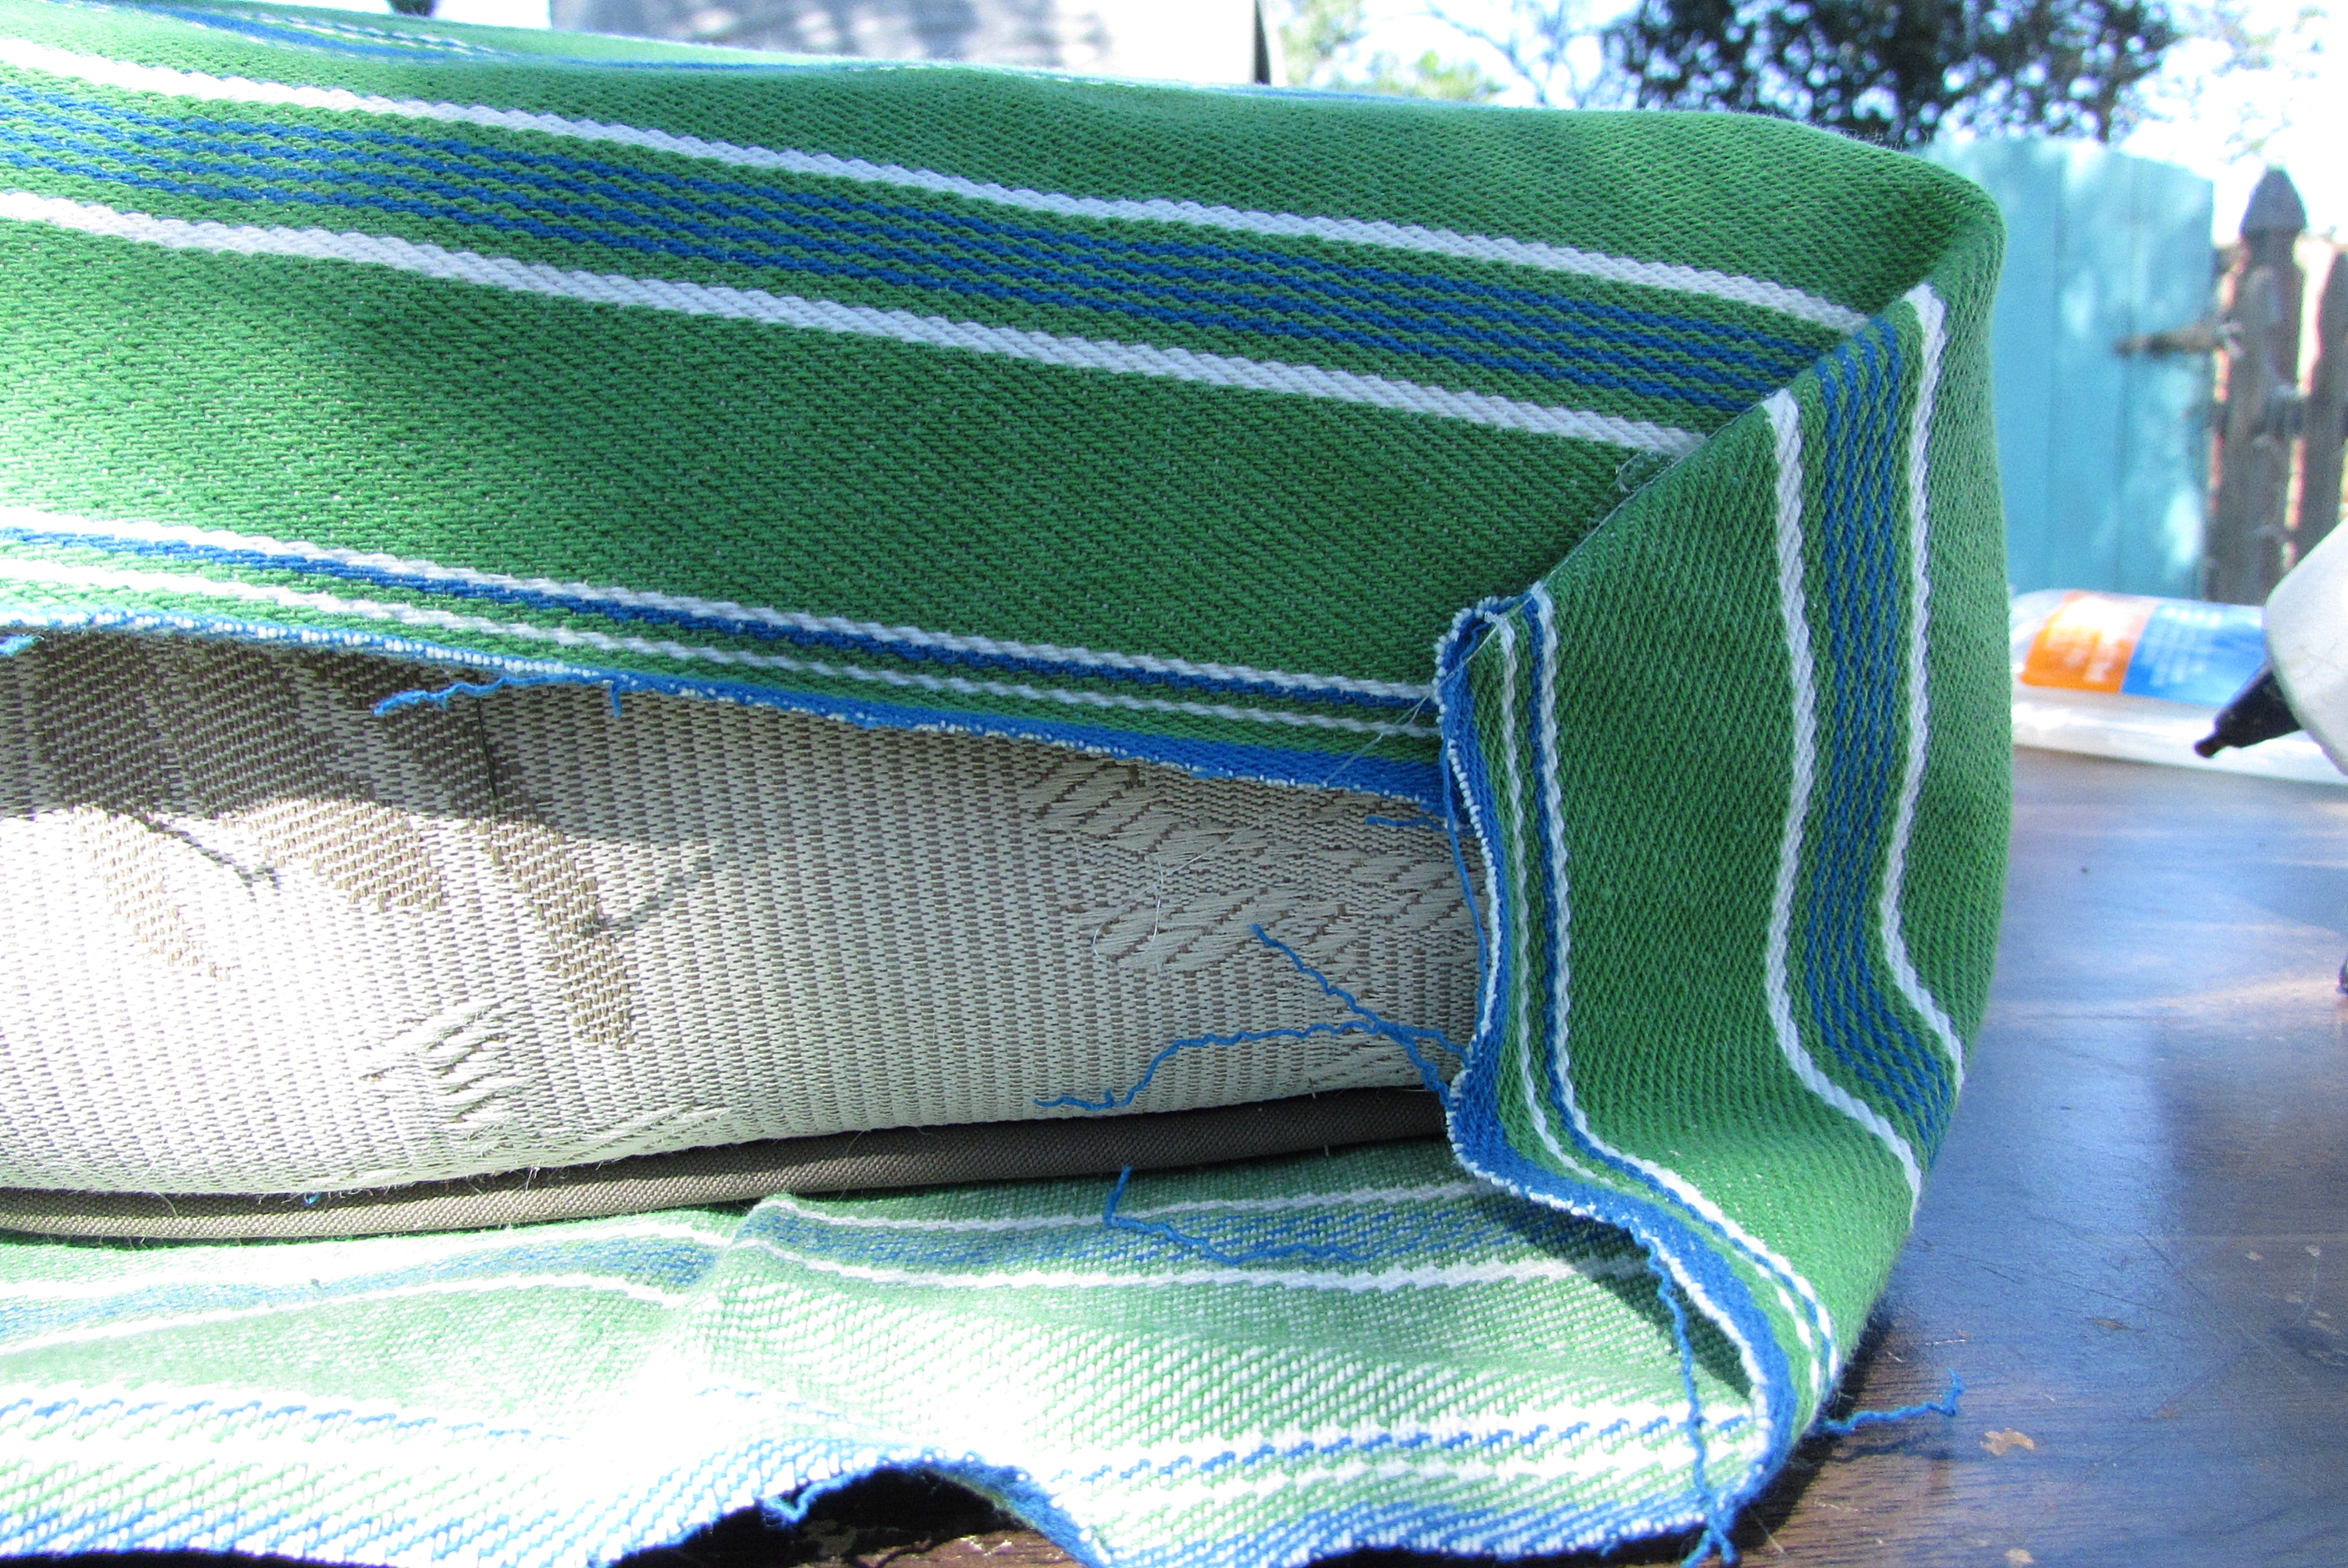
I laid the first cushion on top of the wrong side of the material and wrapped the material around so I could see how it lined up. Once I had the fabric where I wanted it, I made a short line of hot glue and laid the fabric on it. I did this all the way across the cushion, laying the fabric and pressing it down onto the glue. I did about 10 inches at a time, so my glue would stay hot.
Line of hot glue to start covering cushion.
Then I pulled the rest of the fabric over and glued it down so my whole cushion was covered from front to back.

Finish the covering
Here it is glued to the back. I didn’t worry about making it all straight and perfect, because this part won’t show. It will be against the back of the swing and no one will see it. I like things to look nice, but I am not a perfectionist in how I accomplish this. Obviously, this could be done much neater and more professional if you wanted to.

All glued!
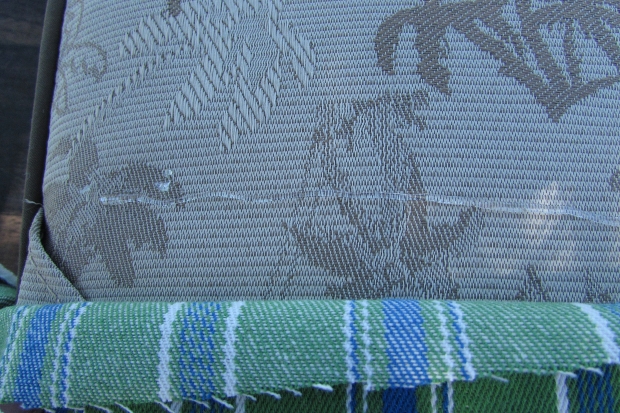
Now for the sides. I folded the edges in like you would wrap a present. Then I glued the long side on the bottom up to the top.

Fold the edges like a present.
This piece of fabric already had a folded edge, so it looked nicer when I glued it.
Nice and neat package!
Repeat these same steps with the other two cushions. Not too bad since I had to improvise!

3 little cushions all in a row!
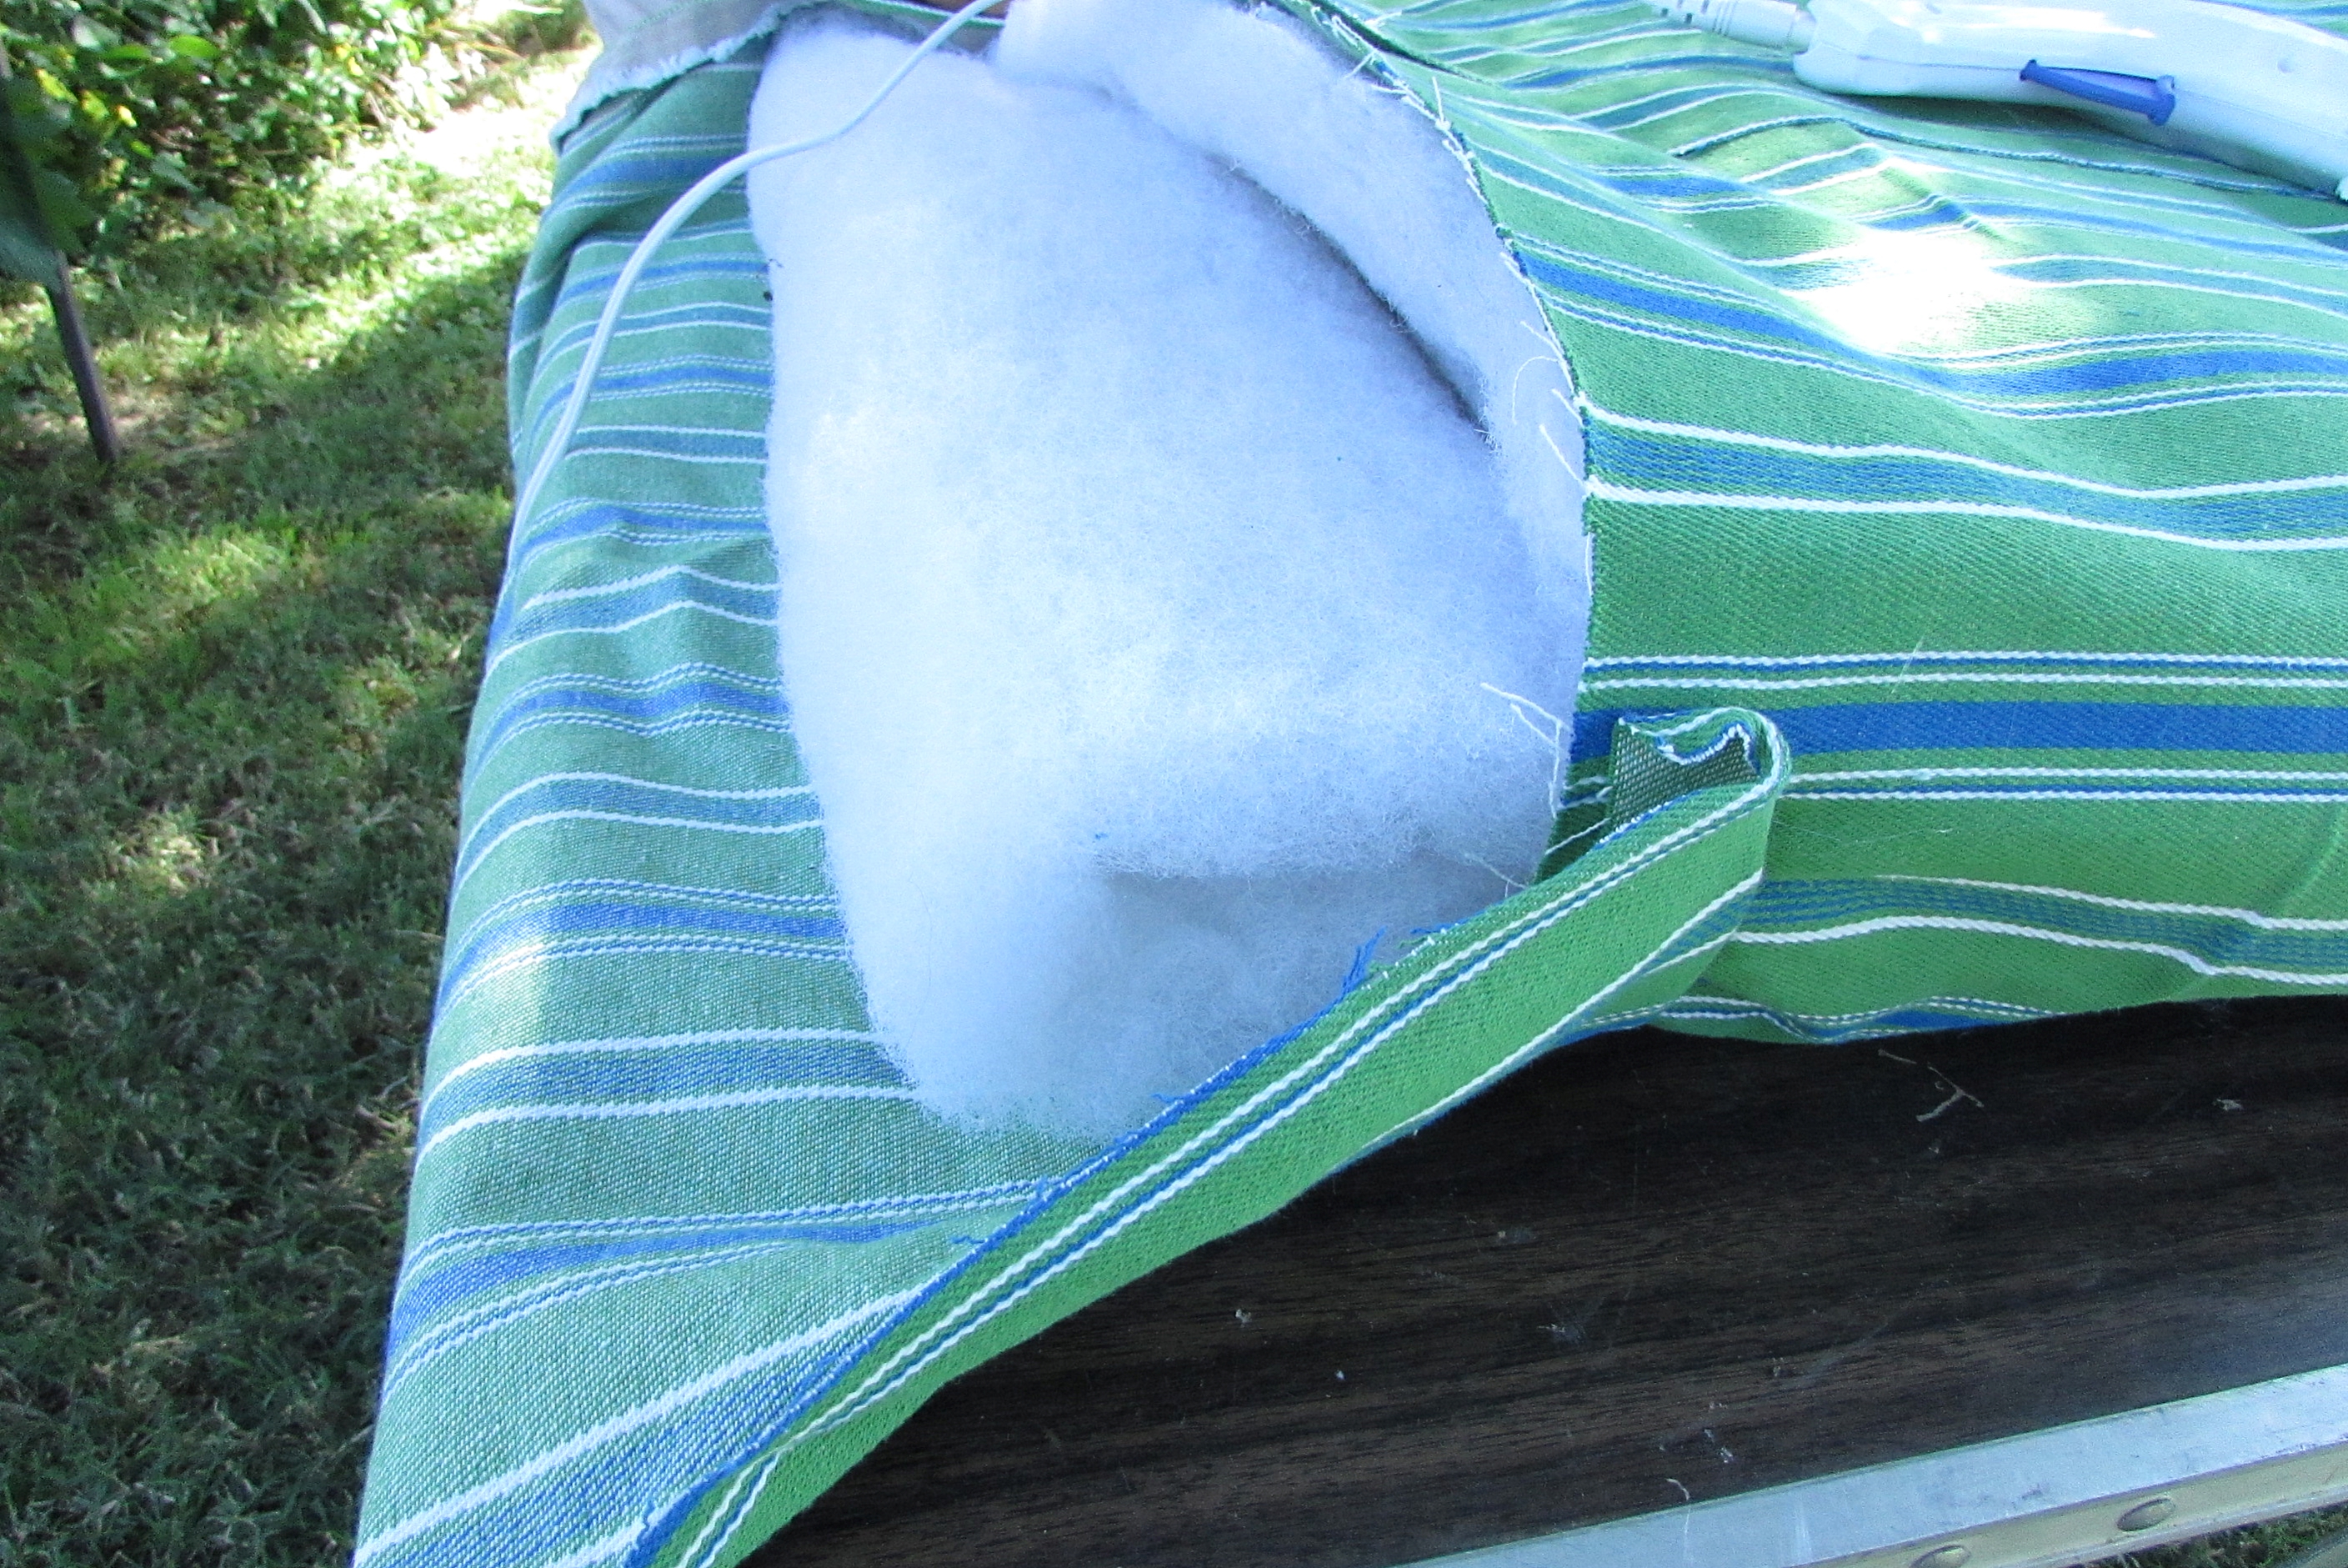
Now for the back. I had to use a couple of different things for the back. I used an old wicker couch cushion and two pieces of foam I removed from another cushion. This was going to be interesting! I measured the fabric long enough to include the foam on the end. I started this part the same way as the seat cushions, by gluing the long piece around the couch cushion from front to back.
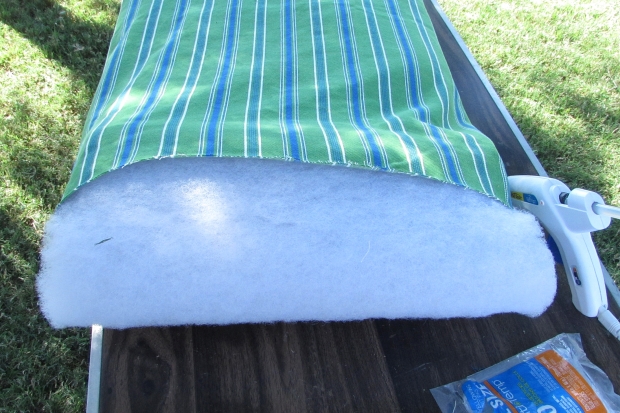
Seat cushion
I placed the foam in each end and then had to figure out how to add the fabric over it. I ended up cutting a piece that would fold over the end from front to back. I first glued on one side, putting the right sides together so it would make a neater seam.

End piece

Not sure how this is going to work!
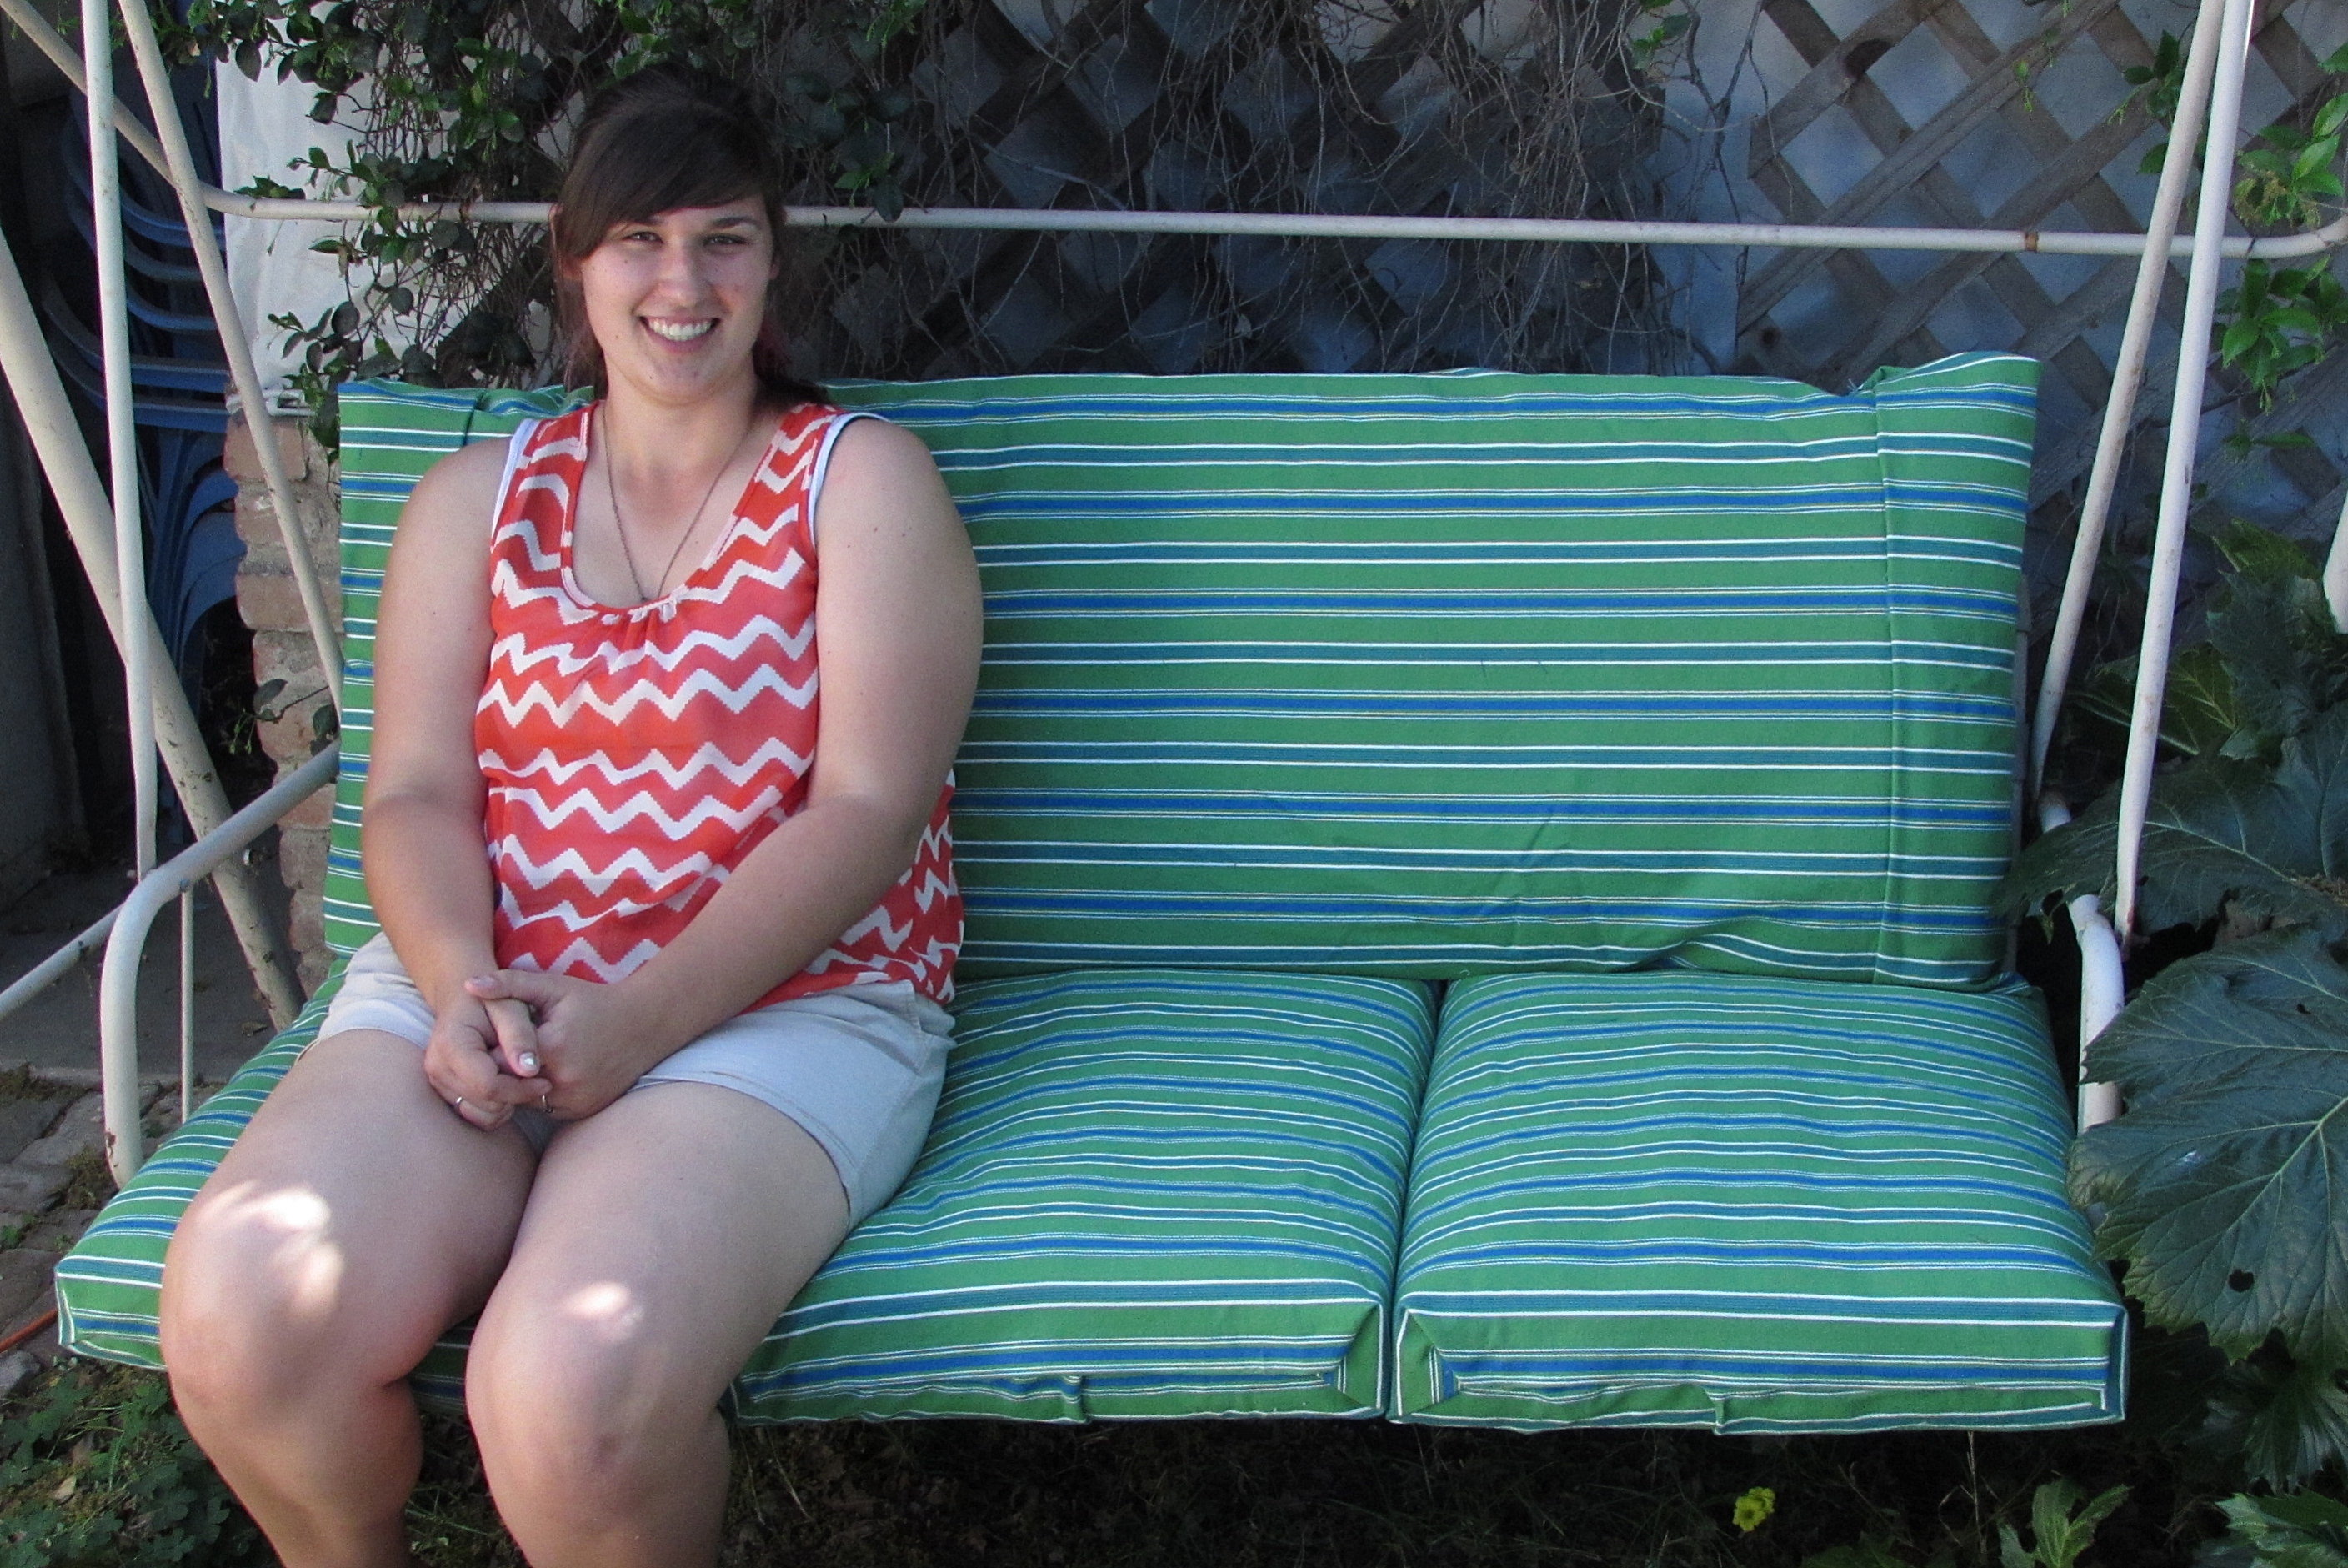
Then I took the loose end and brought it up over the foam and glued it to the other fabric. I’m really not sure how to explain the corners, except that I tucked them in neatly the best I could and glued them in to secure. Here it is! There are definitely things I would have done differently. But because of the change of cushions, I just didn’t have enough fabric. I think it turned out okay, considering what I had to work with.

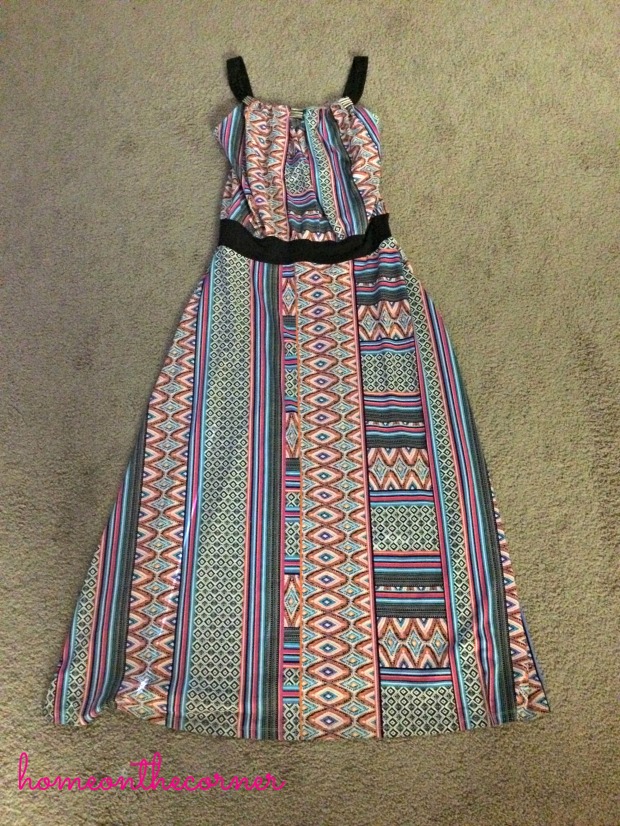
Here’s the finished project!
Since summer is quickly approaching and we have graduation and birthday parties coming up, I am just glad it is finished. I am probably more picky then most people in the way it looks-they most likely won’t even notice the mistakes! 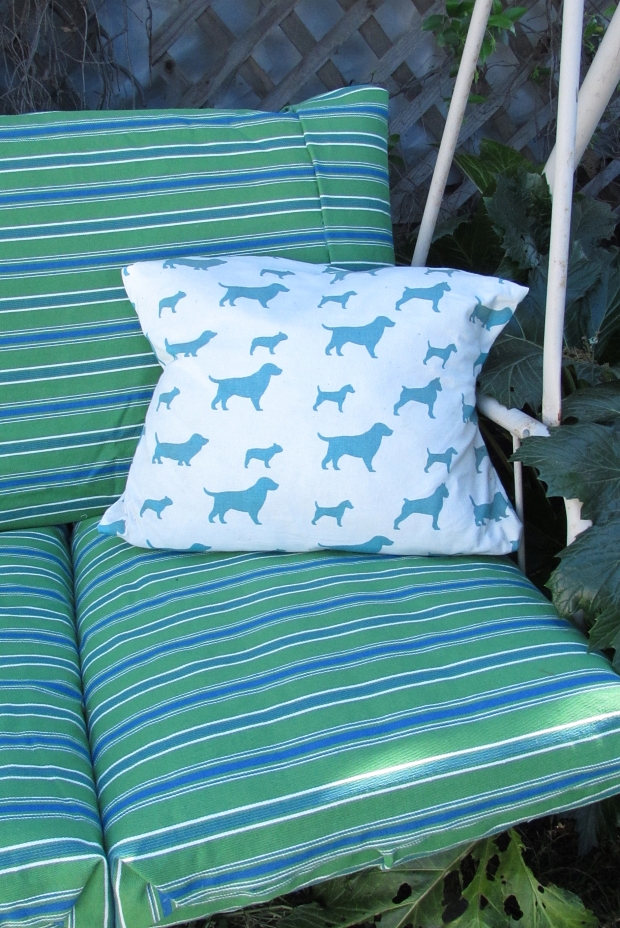

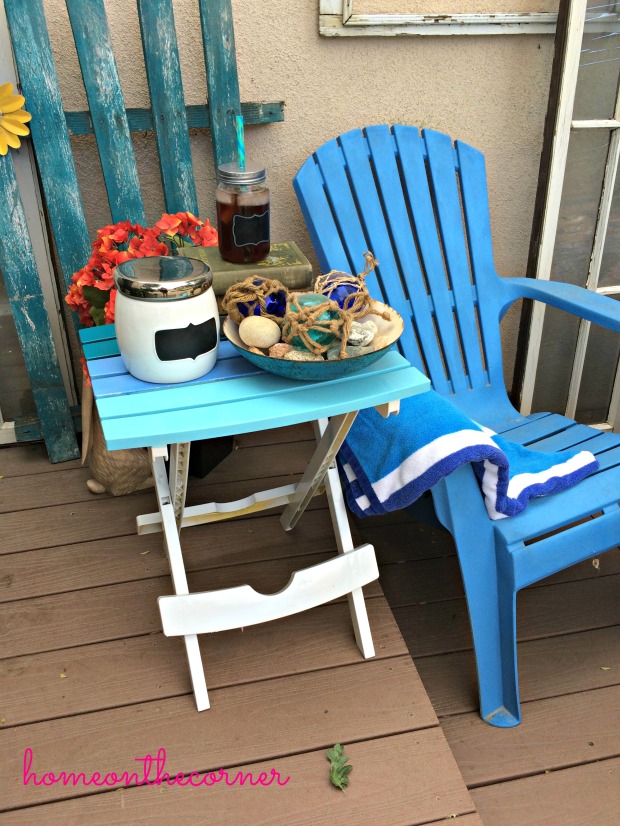
 Do you have summer projects you are getting done too? I really like how summery this looks and now it is done and ready for partying! If you have any questions about any steps I missed, please comment and I will do my best to answer. Here a few other posts about summertime and the outdoors. Have a great day!