

Good morning! I hope everyone had a wonderful weekend. Mine was pretty quiet but nice to just spend some time at home.

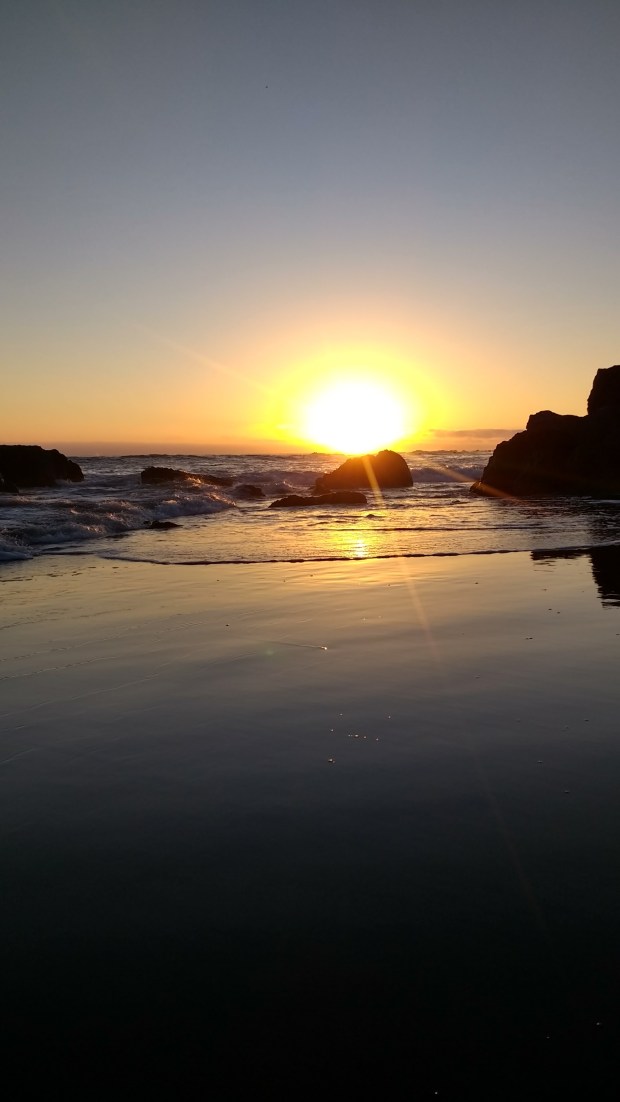
I was able to get a couple of projects done. That doesn’t always happen around here! Last summer, our family went camping at the beach at a new-to-us campground. I waited too long and couldn’t get reservations anywhere else. Which happened to be a good thing! We loved this place! Our campsite was on the edge of the campground, so it was quiet and private. The best part, you walk through a winding path and find yourself on this beautiful beach! There were hardly any people on it and we practically had the place to ourselves. We were able to let the dogs run free and I am sure I saw a smile on Rozy’s face! Another great part-the beach was full of driftwood! A dream for me! The second day, I brought a big grocery bag down to the beach with me and filled it to the top! Thank you to my daughter Haley (@haley.smith2579) for these awesome pictures!


 I finally took the time to clean it all up so I could start on some projects. This is the recipe to clean driftwood if you should need it. My first project was a driftwood mirror. I have had this little mirror for several years and this was the perfect DIY. Here’s my laundry basket full of clean driftwood!


I cut out some cardboard to fit around the edge of the mirror. I wanted to add driftwood around it, but knew the edge had to be a little wider to support it. I first drew a pencil line around the mirror onto the cardboard and cut it out with a razor-blade. Then I cut out another wider circle, about 2 inches wide. This will give the driftwood the support it will need.

Not the straightest lines, but it won’t show after the driftwood is added. I did add some hot glue between the cardboard and the mirror to hold it in place.

Once this was done, I started picking out the pieces to use. I started with a first layer, using longer, bigger pieces. I used lots of hot glue! I placed another piece of driftwood down to lay the glued pieces on until the glue had time to harden.


Once the first layer was secure, I added some shorter pieces between the longer ones. This added so much depth and texture to the mirror!

I cleaned up all the glue strings and cleaned up the mirror and it was ready to hang!


I hung it in my dining area for now. I like it as part of the gallery wall, but I think I will eventually move it to the family room or bedroom.


Whenever we are at the beach and wander through the gift shops, I am always drawn to the driftwood items. I’m so happy I could make one of my own!

Now I hope I can come up with a few more ideas!

Here are a few more beach decor you might like!


Oh how pretty! Thanks for sharing at Vintage Charm–pinned to our Features and Favorites!
LikeLike
Thank you for the feature! Have a great week!
LikeLike
What a great project and you made it look so easy! I’d love for you to come share at Let’s Party https://themarkandjanshow.com/2018/01/31/lets-party-6/ … we look forward to seeing you there!
LikeLike