

Good morning! Is everybody back to school? My first day is today! I have to admit, I am a little nervous about how this year is going to go. I have a very full class and just the mixture of kids is going to be interesting. But I will give it everything I can to help these kids learn.
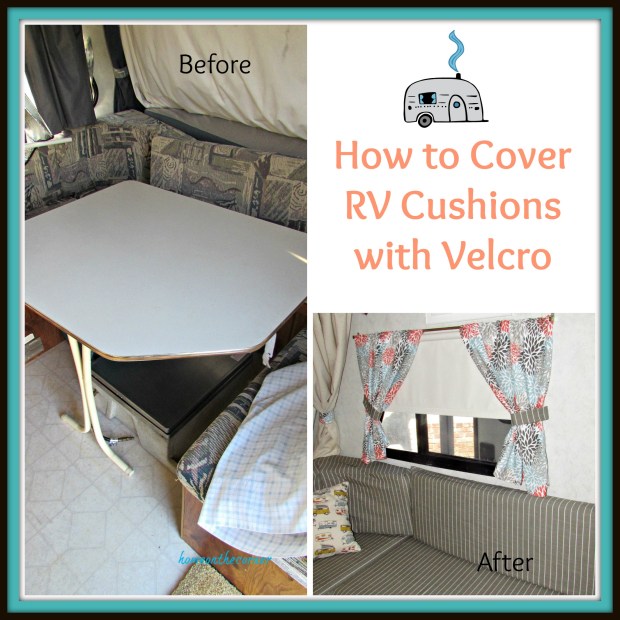
Last week I showed you my RV makeover. I am so excited about it! It just looks so great! Jump on over here if you missed it. I told you I would show you the little shortcut I took to cover the cushions. I did sew some straight seams, but you could also use the iron on kind of hem tape or something similar if you don’t sew. I am not much of a sewer, but I can sew a pretty straight seam and then fudge the rest. 🙂 Here are the cushions and the ugly faded curtains before.
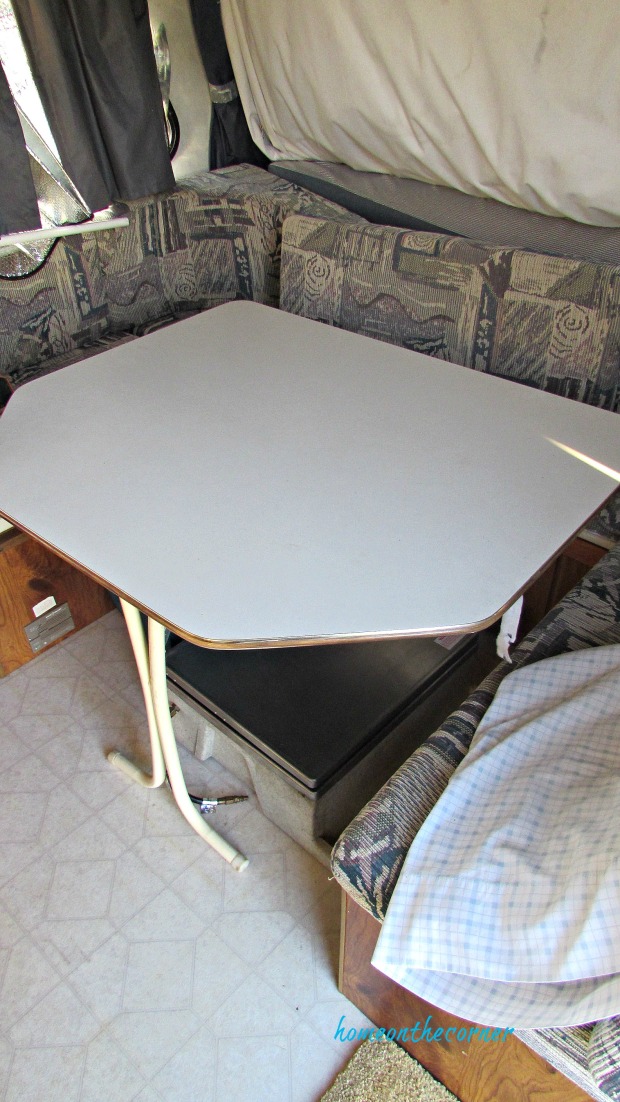
As you can see above, I had a lot of cushions to cover. The one along the back seat is almost 7 feet long, the width of the trailer. Then there were 3 large seat cushions, 3 small back cushions and the two weird triangle ones in the corners. It took about 10 yards of material to cover them all. I had some pieces left over to make curtain tie-backs and make a reversible pillow.
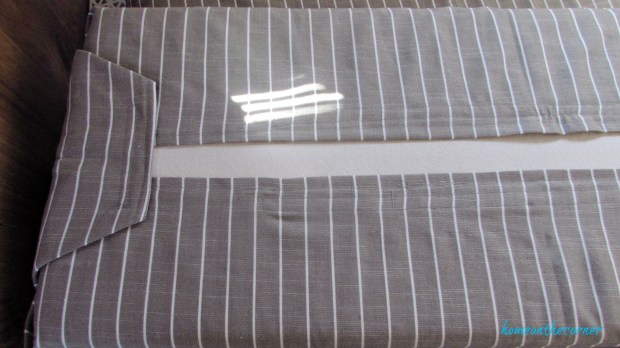
I started with the easier rectangle ones. I cut out the fabric about 8 inches larger than the cushion on each side. This gave me enough material to double fold a hem and then fold over the cushion, about 3 inches thick, and then continue onto the back.

I ironed one fold around the edges and then folded again for a nice clean hem. I am planning on being able to remove these and wash them if needed, so I didn’t want any fraying to happen when washed.
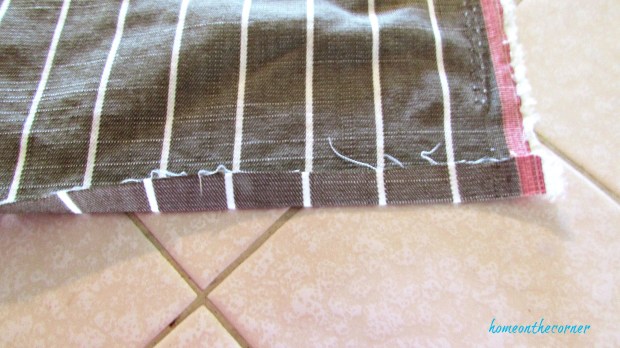

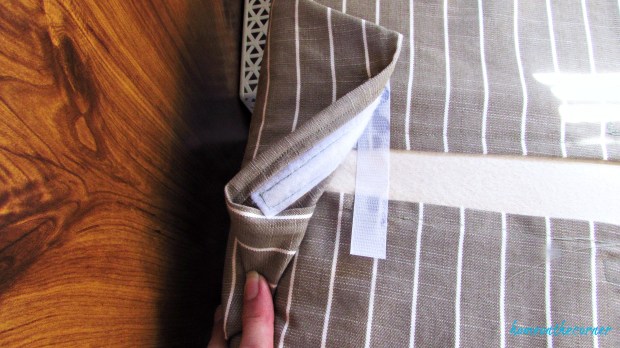
I used both sew-on velcro and stick-on velcro. I sewed the velcro onto the edge of the fabric and used the stick-on velcro to put on the back of the cushion. My cushion backs have a vinyl back so it was easy to stick the velcro to it.

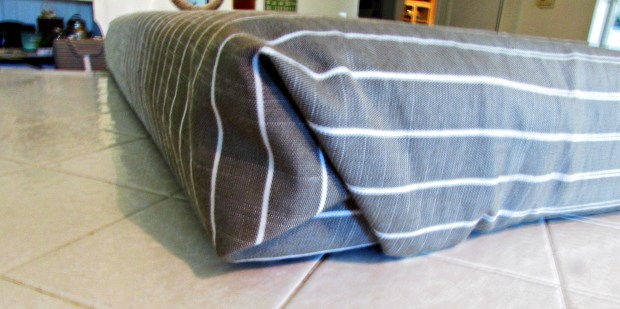
Once the velcro was sewn on, I folded the long sides up and over to the back of the cushion and matched up the velcro strips, attaching them together. Then I folded the ends like a present. I found it easier to place the sticky velcro onto the sewn-on velcro and then fold it over to stick to the vinyl. That way they matched up perfectly.

Here’s how the ends look. Nice and neat!
This is the back of the cushion. I didn’t have them meet all the way in the middle because I wanted to be able to use the vinyl to stick the velcro on. Plus, it’s on the back. Most people are not going to see it when it’s in the trailer.
I’m not even going to show you how I did the triangle ones. They are not pretty at all! I had a terrible time figuring them out, so they are just kind of velcroed everywhere to make them stay. Ha! No one will notice, right?

I love how everything came together!! I found my fabric at Hobby Lobby, but I did post some links to Amazon in the first post, here.
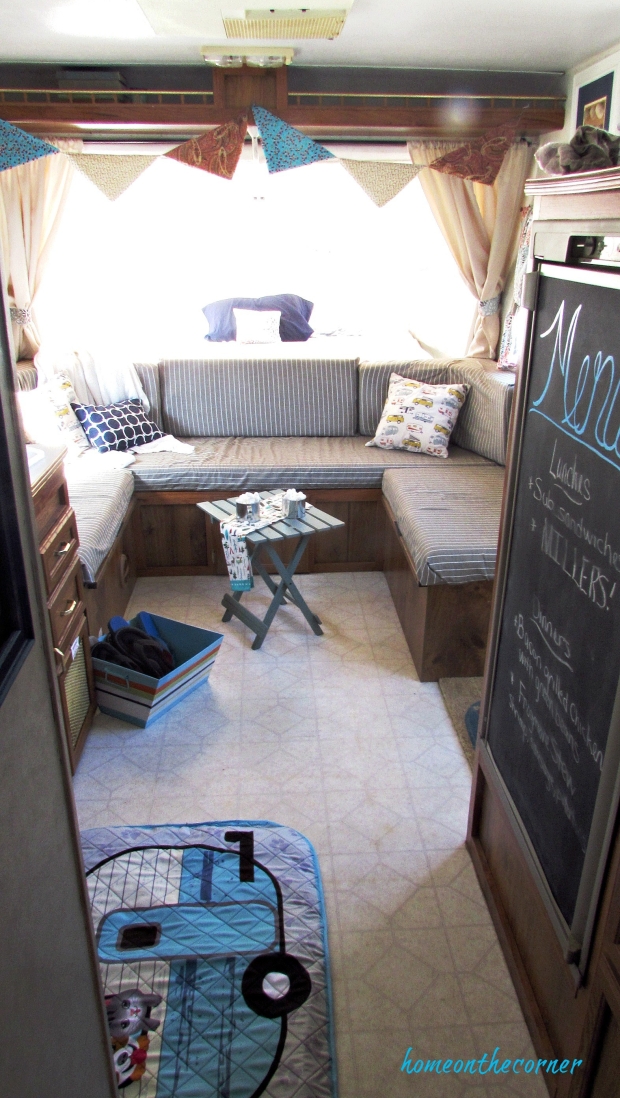
If you have any additional questions about how I covered the cushions, please don’t hesitate to ask! I’m so glad I took the time to do this project. It made such a huge difference! Thank you so much for coming by today!


Great idea! We live in our RV and have done a couple makeovers! Found you at the silver-pennies-sundays-link-party-325/
LikeLike
Thank you so much! I had fun coming up with all the ideas. I bet you have some great times and great stories from living in your RV. 🙂 Have a great day!
LikeLike