From Black Lace to Turquoise Beachy

Hello! Sorry about missing last week Monday! Between being gone two weekends in a row, getting stuff done at school, working at the animal shelter, and just life, a post didn’t get written! Just the way it goes sometimes. This week we take Haley to college. Wah! How did it come to this!? I’m going to miss her greatly, but I am also excited to see where this takes her and to see everything I know she is capable of accomplishing!

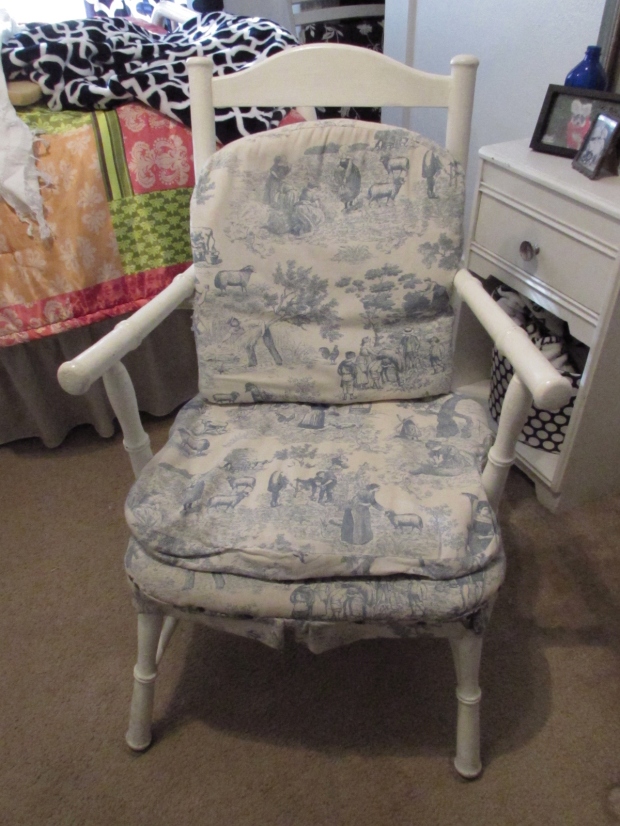
Remember when Lauren painted these bar stools? After moving this summer, she decided she didn’t need them at her new apartment. So guess where they end up? That’s right…mom’s house! They don’t really fit in my decor with the black and white, so I went with a more beachy look.

I sanded down the top first, not completely down to the wood, but just to get most of the black off. I kept a bit of it because I knew I wanted to sand down whatever I painted and let some of the black show through. The next step was primer. I used my favorite Kilz Primer.

bar stool makeover

I used my Benjamin Moore Simply White over the whole stool. After the paint dried, I used painters tape to make stripes on the seat of the stool. I’m not very good at measuring things out, so I just eyeballed it, trying to keep my lines as straight as possible. I actually did pretty well!beachy barstools with painters tape

I pressed down the edges of the tape really well and then I used the same ‘unknown paint color’ that I used in my bedroom and the front door. You can see it here.

beachy bar stool with blue stripes

After the paint dried a bit, I peeled off the tape. The lines look pretty good!

beachy bar stools farmhouse stripes

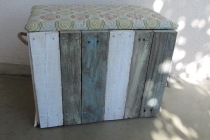
I used an orbital sander over the seat and around the edges. I sanded down to the black in some places and to the wood in other places.

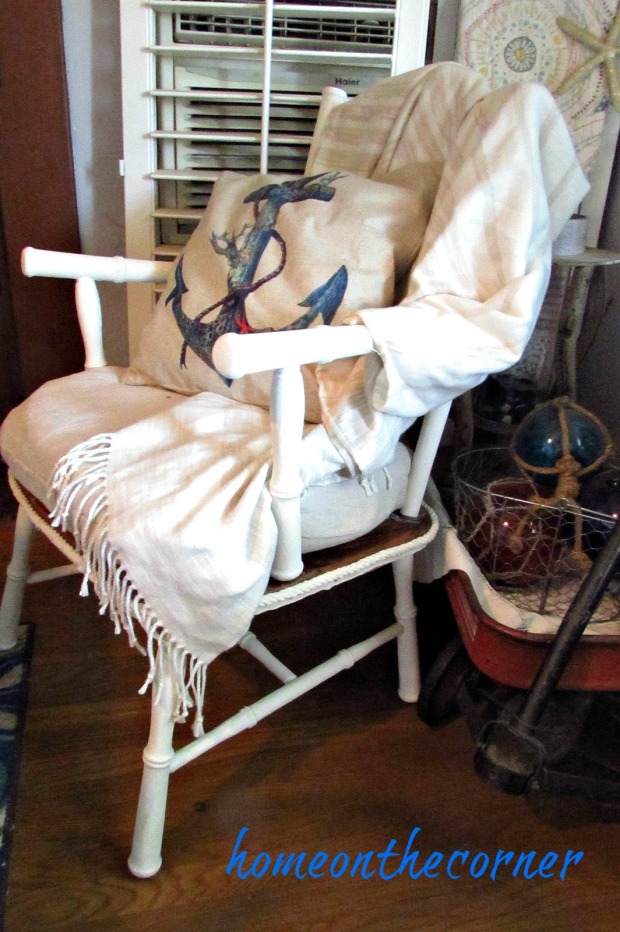
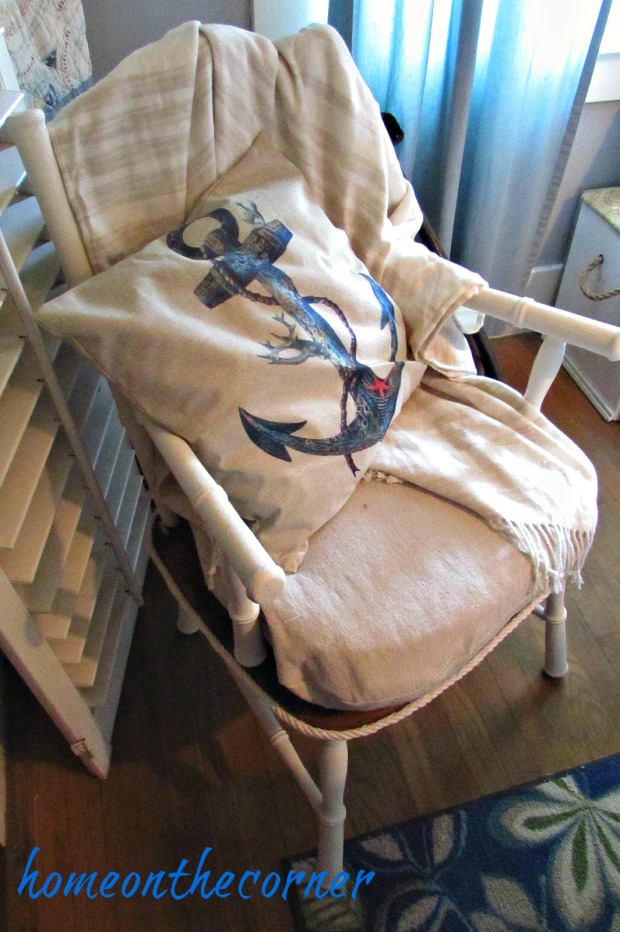
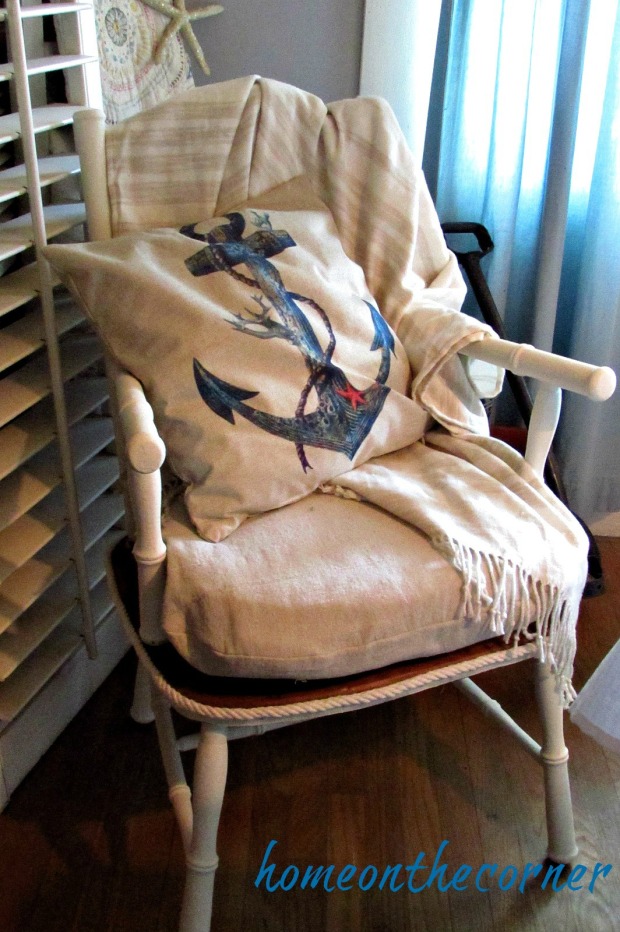
Here it is in the bathroom. You can still see some of the black showing through.

bar stool beachy makeover turquoise stripesbar stool beachy makeover white and bluebar stool beachy blue and white stripe

I also used one in my entryway. It’s the perfect place to take off your shoes or leave a bag for a moment.

bar stool beach stripes white and bluebar stool beach stripes blue and white

So what do you think? I love how these turned out! I have two more and I am thinking about painting them the same. I’m so glad I got this project done! On to the next project!

sunshine-and-blessings-picmonkey

*Here are some of the products that are similar to what I used. This is a sponsored post.*


Here are a few other previous posts you might enjoy!

Travel Sign 2

filing cabinet makeover files, chair, pillow  wooden crate starfish, garland, blue

Rustic Crate with Starfish

Good morning! Are you ready for another week? Are your kids in school yet or do they still have a couple of weeks off? I don’t start until August 28, so I still have a little bit of time to get some projects done. I have a pretty easy one today.

I have had this wallpaper border for longer than I can remember. I keep coming across it in my stash and think I should do something with it. Well, I finally came up with an easy project. I didn’t use too much of it, but at least it’s a start. A few weeks ago, I bid on a couple of crates from an online auction nearby and ended up winning these 2 crates, plus a few other things. I painted both of them white, giving one to Lauren, which is the one I forgot to take after pictures of. I did better this time. 🙂

*This post contains affiliate links for your convenience. Any purchase made will not cost you any extra. Thanks for your support.*

wooden crate makeover

I left it rough so it would still have a rustic look to it.

wooden crate painted wallpaper roll

I cut a piece of the wallpaper to fit across the center of the bottom of the crate. I cut it a little longer and then I will trim it after it’s applied. Because this is old wallpaper, I had to get it wet first, so I dipped it into a sink full of water.

wooden crate with wallpaper border

I had a spatula handy, so I used it to smooth down the paper and make sure all the bubbles were out and the edges were down. Once the paper had dried, I used a blade to cut off the excess.

wooden crate apply wallpaper

I’m thinking of using this in my bathroom, if I ever get it done, but for now, I placed it on my bar cart with a few other summer items.

wooden crate starfish seashell garland

A lantern and some seashells bring it all together.

wooden crate seashells and lanternwooden crate seashells blue, neutralwooden crate starfish wallpaper border

I made the seashell garland a few years ago.

wooden crate wallpaper border with seashellswooden crate starfish, garland, blue

I hope you are enjoying your last few weeks of summer! See you next week!

sunshine-and-blessings-picmonkey


Here are a few other seashell DIY’s you might enjoy.
boho seashell mobile title
      rattan plate holder number 2seashell specimen art title

Robin Egg Blue Beachy File Cabinet

Good morning! Ready for another hot summer week? That’s all we have been having for several weeks now. Over 100 degrees every day. I think there are a few 90 degree days thrown in, just so we survive. 🙂 But I have been able to get a few projects done!

*Links are provided for your convenience.*

file cabinet title

My first project was this file cabinet. Steve got this from his work place. They were getting new office furniture, so 2 of these were up for grabs. Haley took one for her room and I decided to make over the other one. First order of business was wiping it all down. It was pretty dirty!

File Cabinet Makeover

After a good cleaning, I spray painted Rust-oleum primer all over the whole thing, including the handles, locks and other pieces. I decided later to switch out the handles, but it made painting a whole lot easier.

file cabinet makeover rustoleum primer

I tried out this Rust-oleum paint this time. I had never used it before, but I love this color! My only complaint, was that the spray was kind of wide and seemed to take more to cover the cabinet. I was really glad I had used Rust-oleum primer first, because I’m sure I would have had to use more. The color is amazing though!

file cabinet makeover rustoleum Robin's egg

Here are the handles I decided to use. Here are some that are similar. I bought these from HomeGoods quite awhile ago thinking I would use them in the bathroom. Unfortunately, they didn’t fit and I didn’t feel like changing the holes on the cabinets. But they worked perfect for the file cabinet! I love the look!

file cabinet makeover front drawer files and warrenties

I already had the pretty file folders and they go perfect with the color. Here are some other pretty ones.

filing cabinet makeover files, chair, pillow

The dachshund pillow cover came from Amazon.  I love to have little touches of doggies around!

file cabinet makeover, dog pillow, flowersfile cabinet makeover top file foldersfile cabinet makeover robin's egg blue, turquoise, pillowfile cabinet makeover drawer handles file labelfile cabinet makeover front drawer files and warrentiesfile cabinet makeover pencils, rug, crockfile cabinet makeover robins egg blue and white

I hope you enjoyed this makeover! I’m excited to get all my papers organized and have everything put out of sight. Thanks for stopping by and have a great week!

sunshine-and-blessings-picmonkey

The Post That Didn’t Happen

I had it all planned. I prepped, painted, and planned. And then..forgot the after pictures. I painted something for Lauren for her birthday and then totally forgot to take pictures after I was done. So close to amazing!! Which brings me to KariAnne’s book! Like how I did that?! If you haven’t heard about it yet or missed it, KariAnne Wood has written a book, ‘So Close To Amazing.” It is amazing!! I tells about the family’s trip from Dallas to a farmhouse in Kentucky and all the adventures along the journey. You can pre-order the book here.

Since I don’t have a new post, I thought I would re-share this one. Enjoy!

solar lights title


I don’t know about in your part of the world, but here in California, we need to make reservations for camping in the summer, in the month of March. Crazy, huh?! So when I made a couple of reservations, it made me think of these solar lights I made. I’m sure you have seen these all over the internet, by instead of mason jars, I used plastic peanut butter jars. This way I don’t have to worry about glass breaking in the trailer or at a campsite.  I started with a clean jar.

solar light peanut butter jar

I bought a couple of solar lights from the 99¢ Store. I removed the clear plastic cover off the light.

My supplies

I cut a square in the top of the peanut butter lid. I used a razorblade for the first one. It was a little tough, but it was so windy outside, I really didn’t want to go out. The second jar, I used a dremel. Much faster!

homeonthecornersolarlight2

After cutting out the hole, I used E6000 to attach the solar light, making sure the solar part is facing up.  I’m sure other types of glue would work too.  Let it dry for about 24 hours.

homeonthecornersolarlight4 I


I added some twine and string just to make it look pretty. I also spray painted one of the lids so it would match my camping dishes. I put some rocks in the bottom so the lights wouldn’t get blown away or topple over.

homeonthecornersolarlight6

Doesn’t  it look nice! I love how it adds just a little bit of light, especially at night.homeonthecornersolarlight5

(I didn’t actually go camping to take these pictures. They are in my backyard. That explains the cat on the table! She was being nosy!)

homeontheWcornersolarlight8

It’s also nice if you have to go out later. You will have a little light to guide you.

homeonthecornersolarlight9

These would work great for your yard too. Last year, we had our power go out for awhile. I brought a bunch of these in so each room had a little light.  It sure made getting around a little easier and safer. What do you think? Do you make reservations already for camping? If you try these out, let me know how it works for you!

sunshine-and-blessings-picmonkey


Other post you might like!

Ferris Wheel Ca. Adventure

My Vintage Chair Makeover

This is a re-post from last year. Hope you enjoy!

I’m back today with another makeover! I have so many projects and I am trying to get them done before  summer will be over and I will be back in school!! It’s much harder during the school year.

grandpas chair anchor pillow.jpgtitle


This chair belonged to my Grandpa, my dad’s dad. He was born in 1898 . He sailed here from Holland and met his wife on the ship. They were married after they arrived in the United States. We have even found their names on the registry at Ellis Island. So much history! My dad received this chair after my grandpa passed away many years ago and it was in my parents room for a long time. My mom was ready for something different and asked if I wanted it. Of course! It has sat in Lauren’s room for a couple of years and I finally decided it was time to renew it.

IMG_6017

First I had to take off all the old material and batting.  Do you see all the little nailhead tacks? Yep, I had to remove all of those, plus staples.

grandpas chair makeover seat

I used a small screwdriver and pliers to help me pull them all out.

This isn’t very pretty :(. I will have to figure out something to cover it up.

grandpas chair makeover

Here is what was underneath everything. I pulled out all these nails too. The ‘stuffing’ is just a pillow inserted into the middle.

grandpas chair makeover wooden seat and pillow

Here it is, all naked. I tightened up the straps with a few more staples underneath and gave the wood a good cleaning. Then I used some antiquing wax on the brown wood to freshen it up a bit.

grandpas chair taken apart

I used the material from the old cover as a pattern to cut out a new one. I had some painters cloth and decided to use that for my cover. I laid the old one on top of the cloth and cut around it. I had to do some trimming afterwards.

grandpas chair seat cover and pad

It didn’t quite come out straight! After trimming, I sewed the two sides together, leaving the back open to insert new padding.  Notice, I purposely left the hem on the back so I wouldn’t have to sew it! 🙂 #justLOVEsewing!! #NOT!

grandpas chair seat fabric

The padding that was in it was in pretty good shape, so I used it again.

I found this pretty twisted trim at Hobby Lobby and thought it would look relly good with the chair, plus it would cover up all the ugly holes. I used the tacks again, but no as many this time.

grandpas chair trim

I did freshen up the paint a bit too, but just with the same color. It’s done and ready to live out more days in our home.  It’s perfect with the beach theme right now!

grandpa's chair styled

I used neutral colors so it would go easily into any room in our home.

grandpas chair top viewgrandpas chair anchor pillow

Thanks for coming by and hope you have a wonderful week!

Sunshine and Blessings

Click on a picture below to see more makeovers!

sketcher makeover 6

Ugly April Makeover-homeonthecorner.com

vintage beverage cart with tassels