Hello everyone! We are new to blogland and would like to welcome you here! We are a mother/daughter team and hope to share with you our projects and lives throughout the year! We hope you enjoy!
Since it’s a new year and we all have our goals and resolutions and things we want to accomplish this year, we decided to start off the year with an organization post. I(Pam) love to have things organized and in order. It just makes me feel so much better!

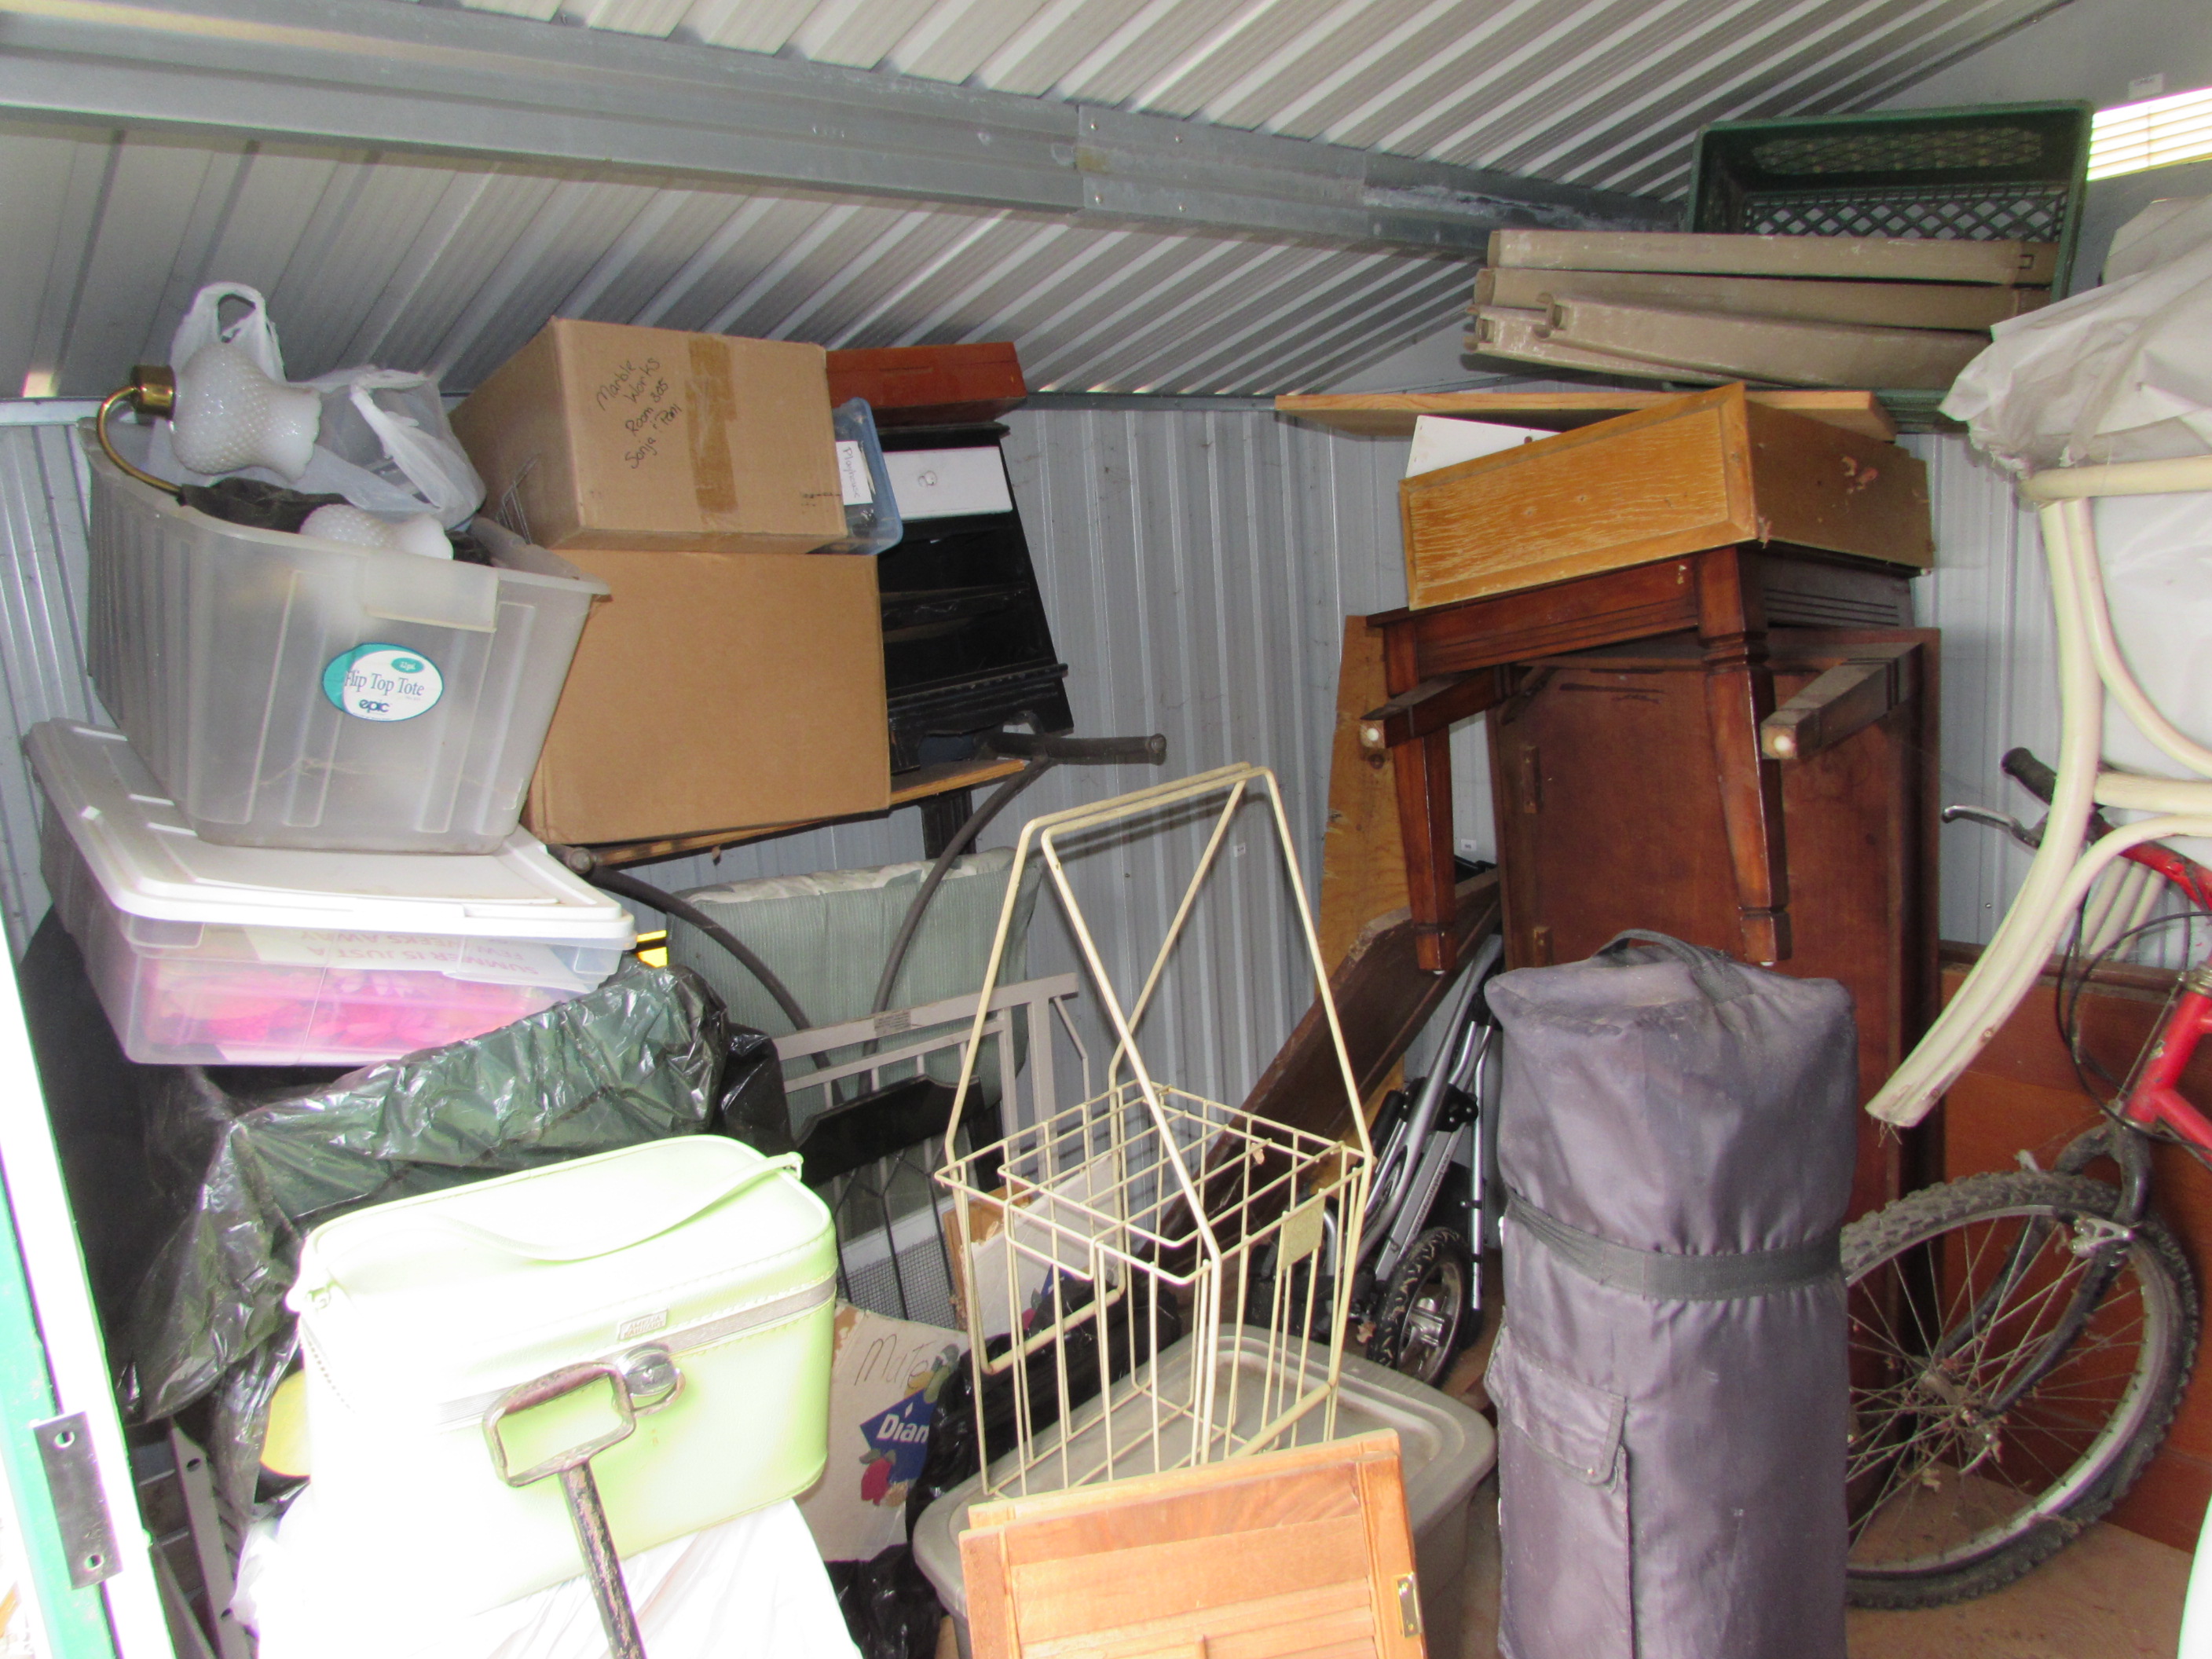
Sheesh! This is bad! Our messy and unorganized shed.
We all have that one place in our house that we know needs our attention. A child’s playroom with toys strewn about, a kitchen with three days worth of dishes sitting on the counter, or the laundry room with six piles of laundry waiting to be done. But for us, the place that needed the most attention (today!) was the shed.
We have no garage, no basement, no attic. Old toys, Lauren’s things she didn’t need in her apartment, waiting projects, craft show items and summer items are stored in this shed. The things that we are not using are put into the shed to be used later. But when is later? Or is it never?
The first step to organizing the shed was to have a shelf built so we could store tote boxes easier. We were tired of piling the boxes and having to pull them all out to get the bottom box. With the help of the man of the house (husband/dad Steve), a shelving unit was built out of scrap wood and old table tops. Thankfully, we had enough to build the shelves without buying any extra wood. Love that!

There is finally some space! and a floor!
The second step was to clear out the shed. We took everything out of the left side of the shed where the shelf was going to be placed. We got rid of what we no longer wanted and put some things in boxes for better storage. Bigger items were on the right side of the shed so we just left them there for the time being.
We then ran into a problem! The legs of the shelf were too long. We couldn’t get the shelf in the door, so we had to make an emergency call. “Steve! Grab your saw and make these shelf legs shorter!” Within a few minutes, the legs were made shorter and the shelf cleared the doorway. After the shelf was placed in the shed, the boxes and other items were placed in their new homes.

The left side of the shed with the brand new shelving unit that we built to help organize the mess.
When we started putting our things back in the shed, we started with boxes that had things we didn’t necessarily need right now. Things like dishes that Lauren didn’t need at the moment, an old Barbie house that we don’t use, and an American Girl bed that didn’t fit in the bedroom anymore. All of these went on the ground, under the bottom shelf because they aren’t something we need right away.
Next, we started to fill the shelves with the boxes of items that we use at craft shows. All of these were placed on the middle shelves closer to the door so they are easier to access.
The top shelf was filled with miscellaneous items. Lauren’s golf clubs she doesn’t use much, chair cushions that are for summer , and our Easy-Up. It is much easier to access these things when we want to use them.

The right side of our clean shed.
We left the right side with our bigger items, like a table and chairs and many cushions that we don’t have a use for yet. Thankfully, everything stacks and fits together pretty well.
We finished filling the shed with our bikes and our wagon. It still looks very full, but at least we know where everything is and can access it easily. And now…our clean shed!

We can finally walk into the shed without pulling everything out!
We are so glad that we did this at the beginning of the year. It feels great to accomplish a big project like this. Organization can be hard and time consuming, but once it is done, it feels so good!
Love, Lauren and Pam