Good morning! I previously posted this back in 2018. I still really like how it turned out! It’s funny looking back at some of the items in the room and see how it has changed in the last few years. My shelves are definitely much fuller now than they were then!
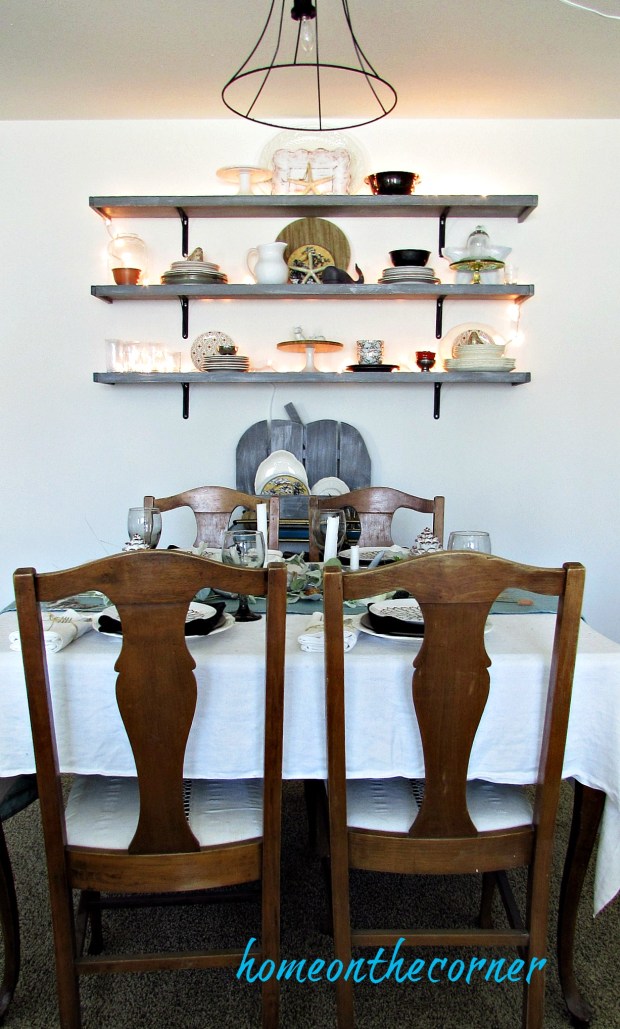
Welcome back! Today is Part 2 of my early fall tour. You can go here for Part 1. Today, come on into the dining room!
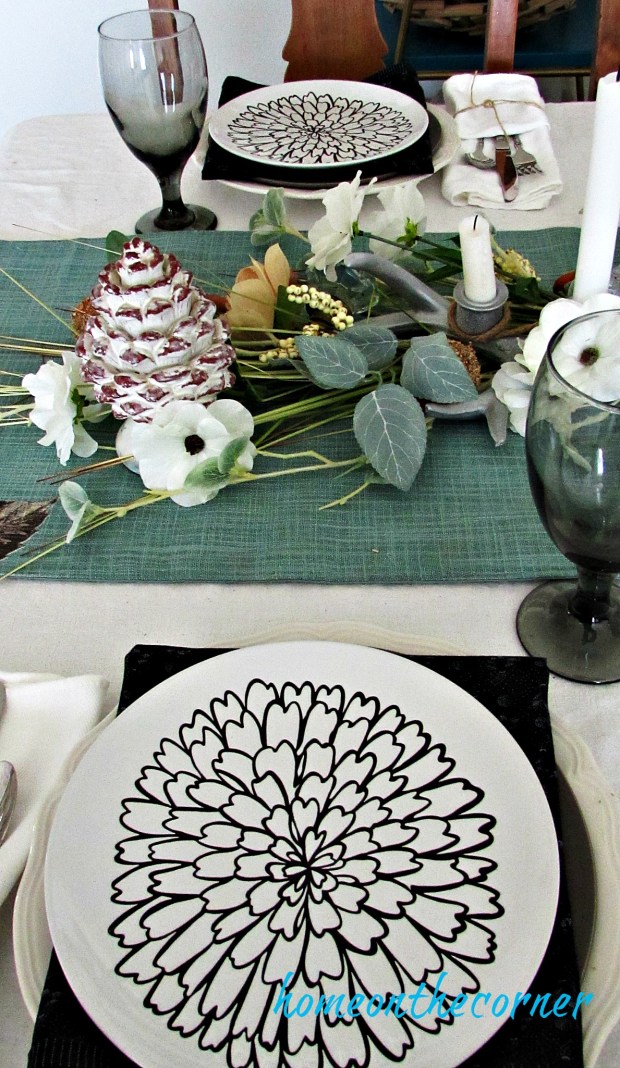
I decided on my color scheme after visiting Michaels and seeing the pretty soft colors in the flowers. I also found these black and white plates at Goodwill and knew they would be perfect. They could be used for so many different tablescapes.
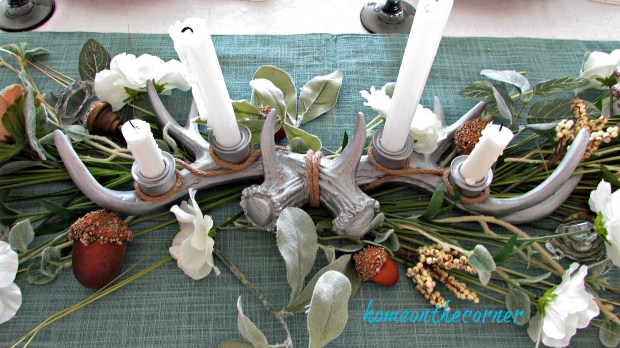
I found the antler candle holder at Goodwill also and spray painted it silver and added some twine for some texture.
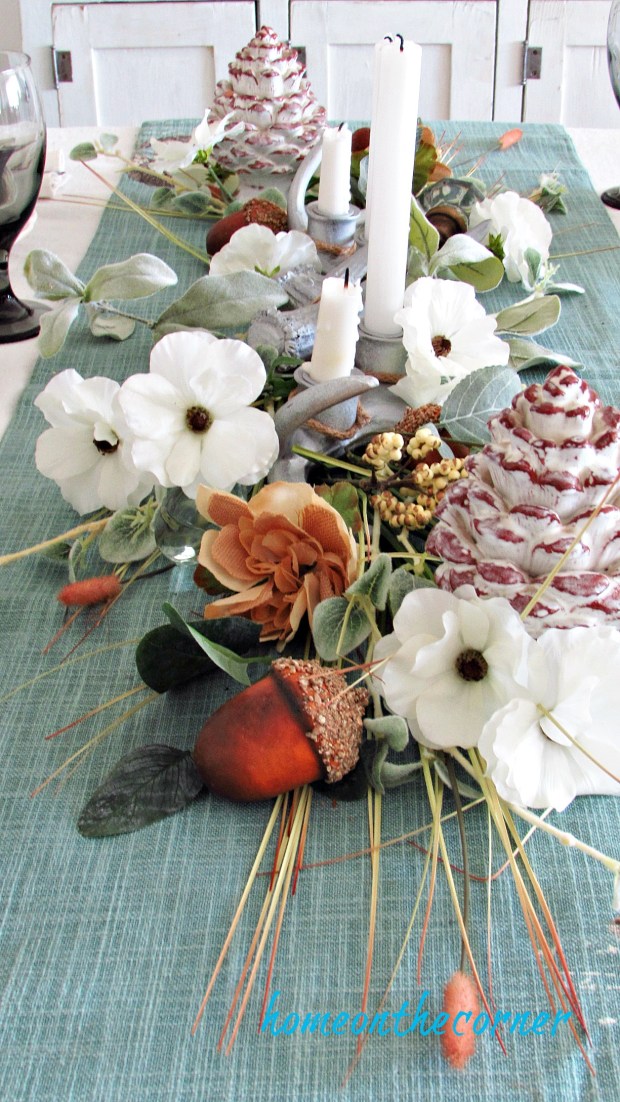
I used soft green lambs ear greenery, grasses, white flowers, acorns, and burlap flowers. I love that the runner is fall with pumpkins on it, but it is still in the teal color. I also added white candles to soften the look.
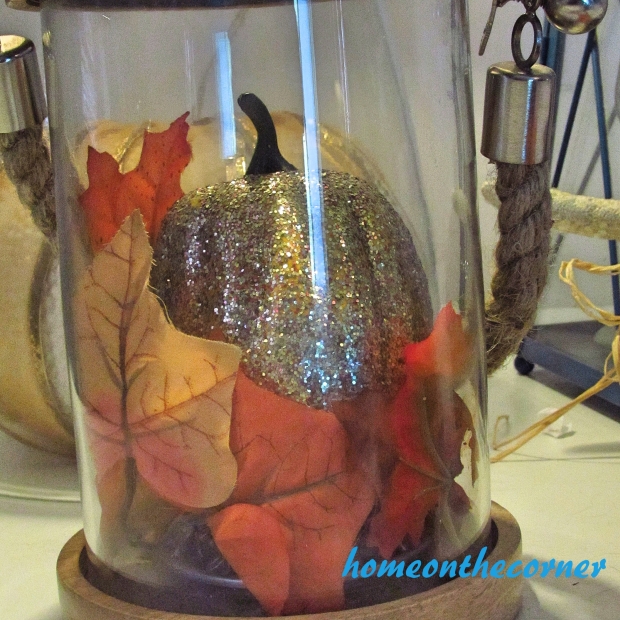
I have had these ceramic pinecones for a long time. I’m not even sure where they came from, but I love to use them every year.
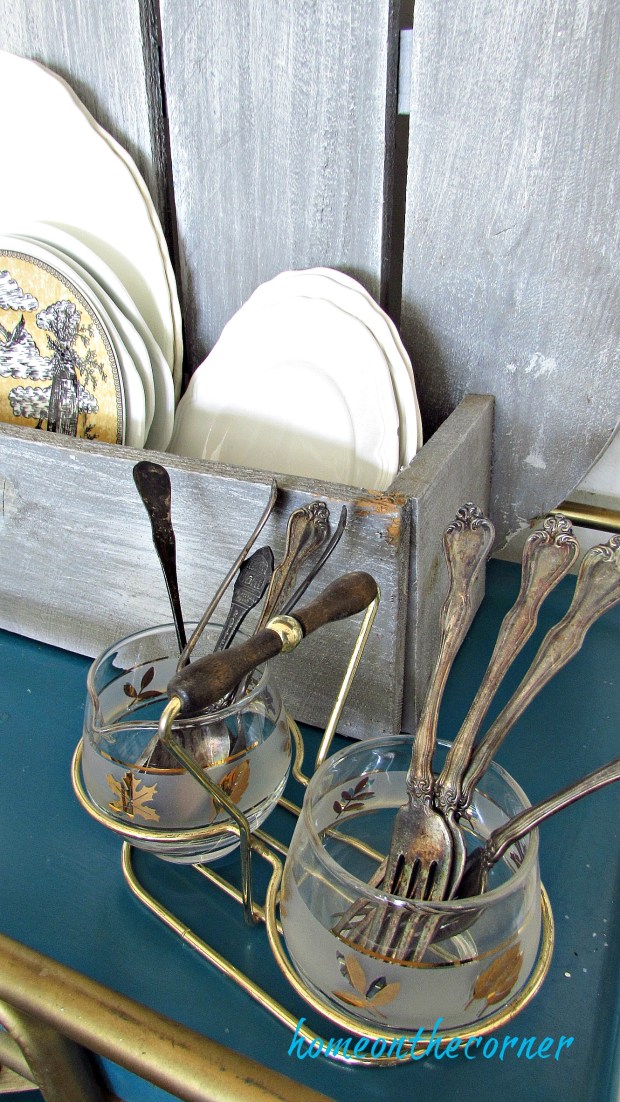
The shelves stayed neutral with some touches of orange. I also used my wooden pumpkin box to store some extra dishes.
I’m still loving my bar cart too! It’s always fun to decorate for each season.
Thank you so much stopping by today! Hope you have a wonderful week!
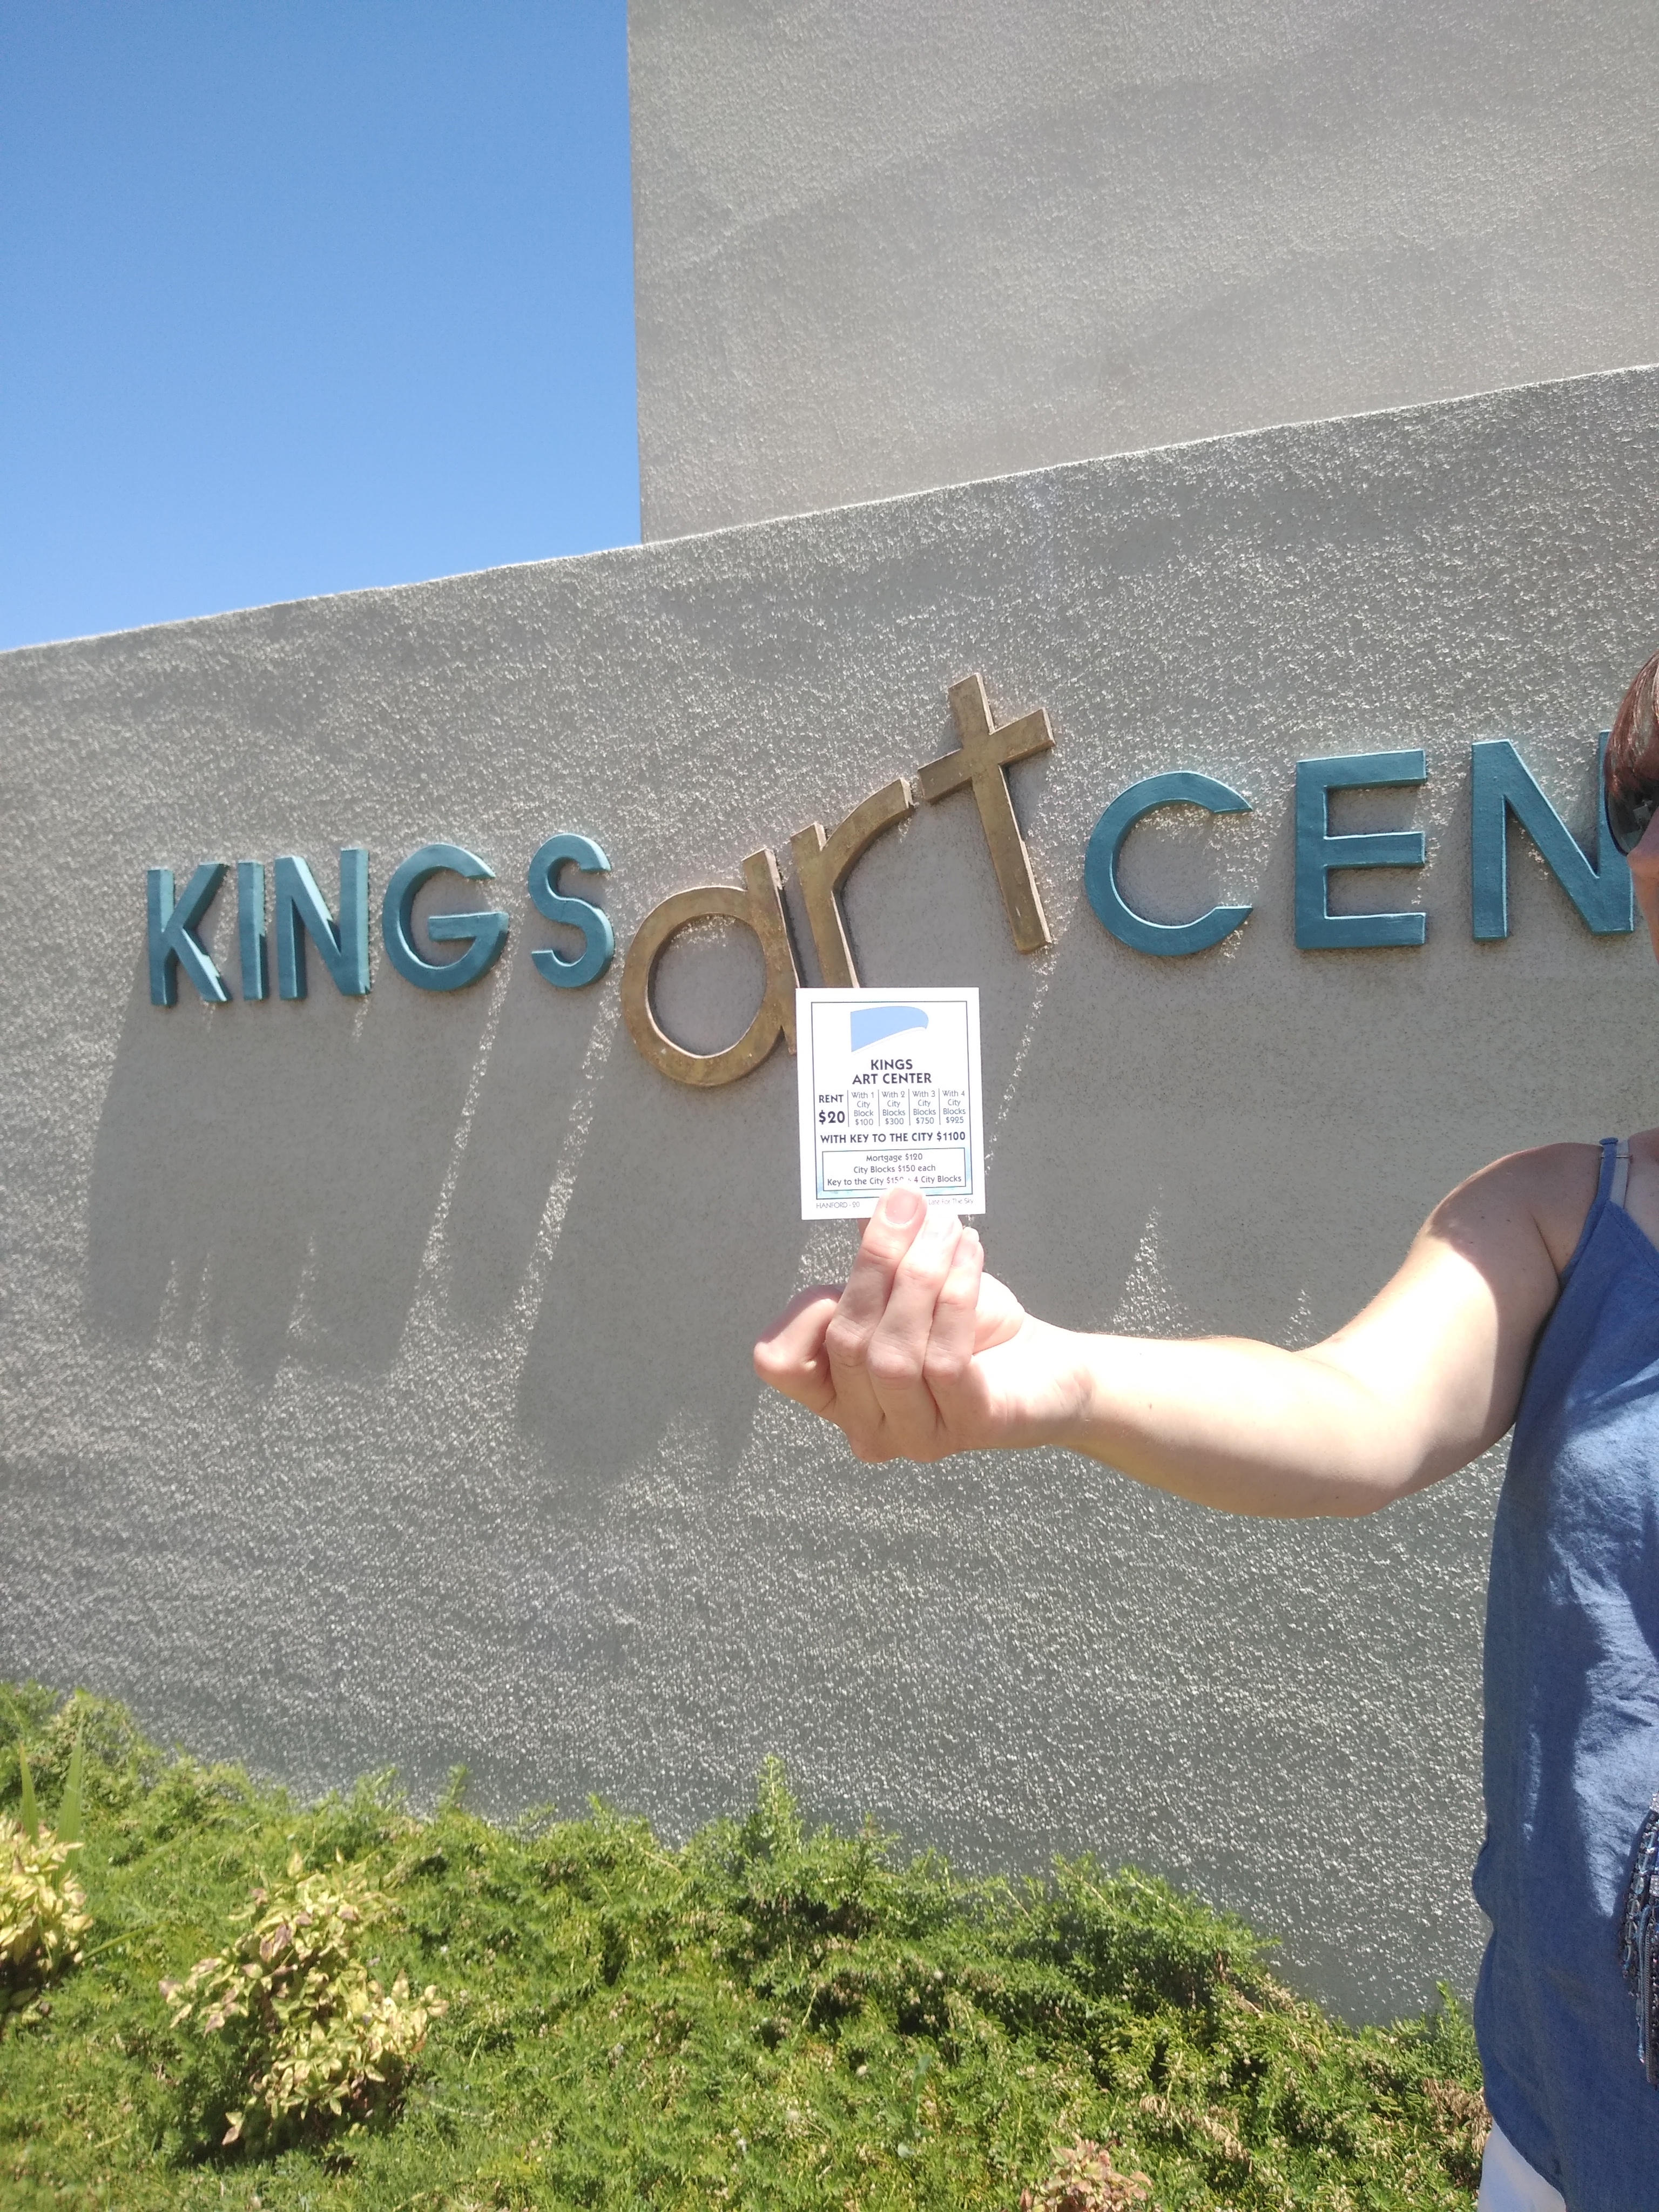
Last year, I found that Walmart was selling the game Hanfordopoly. It’s like Monopoly, but for my town. Well, I had to buy it! Then Lauren and I went around town and took pictures of each of the places on the game board. It was so much fun! I can’t wait to introduce you to our sweet little town and some of its history.
Today we have the Kings Art Center. The Kings Art Center was opened in 1989 and it hosts gallery showings throughout the year, as well as art classes for adults and children. My kids took art classes here when they were kids.
‘The Kings Art Center provides hands-on art education coupled with high quality exhibitions of artwork from throughout California as well as from local artists. Together, our education and exhibition programs provide a comprehensive visual art and cultural experience to our visitors.’
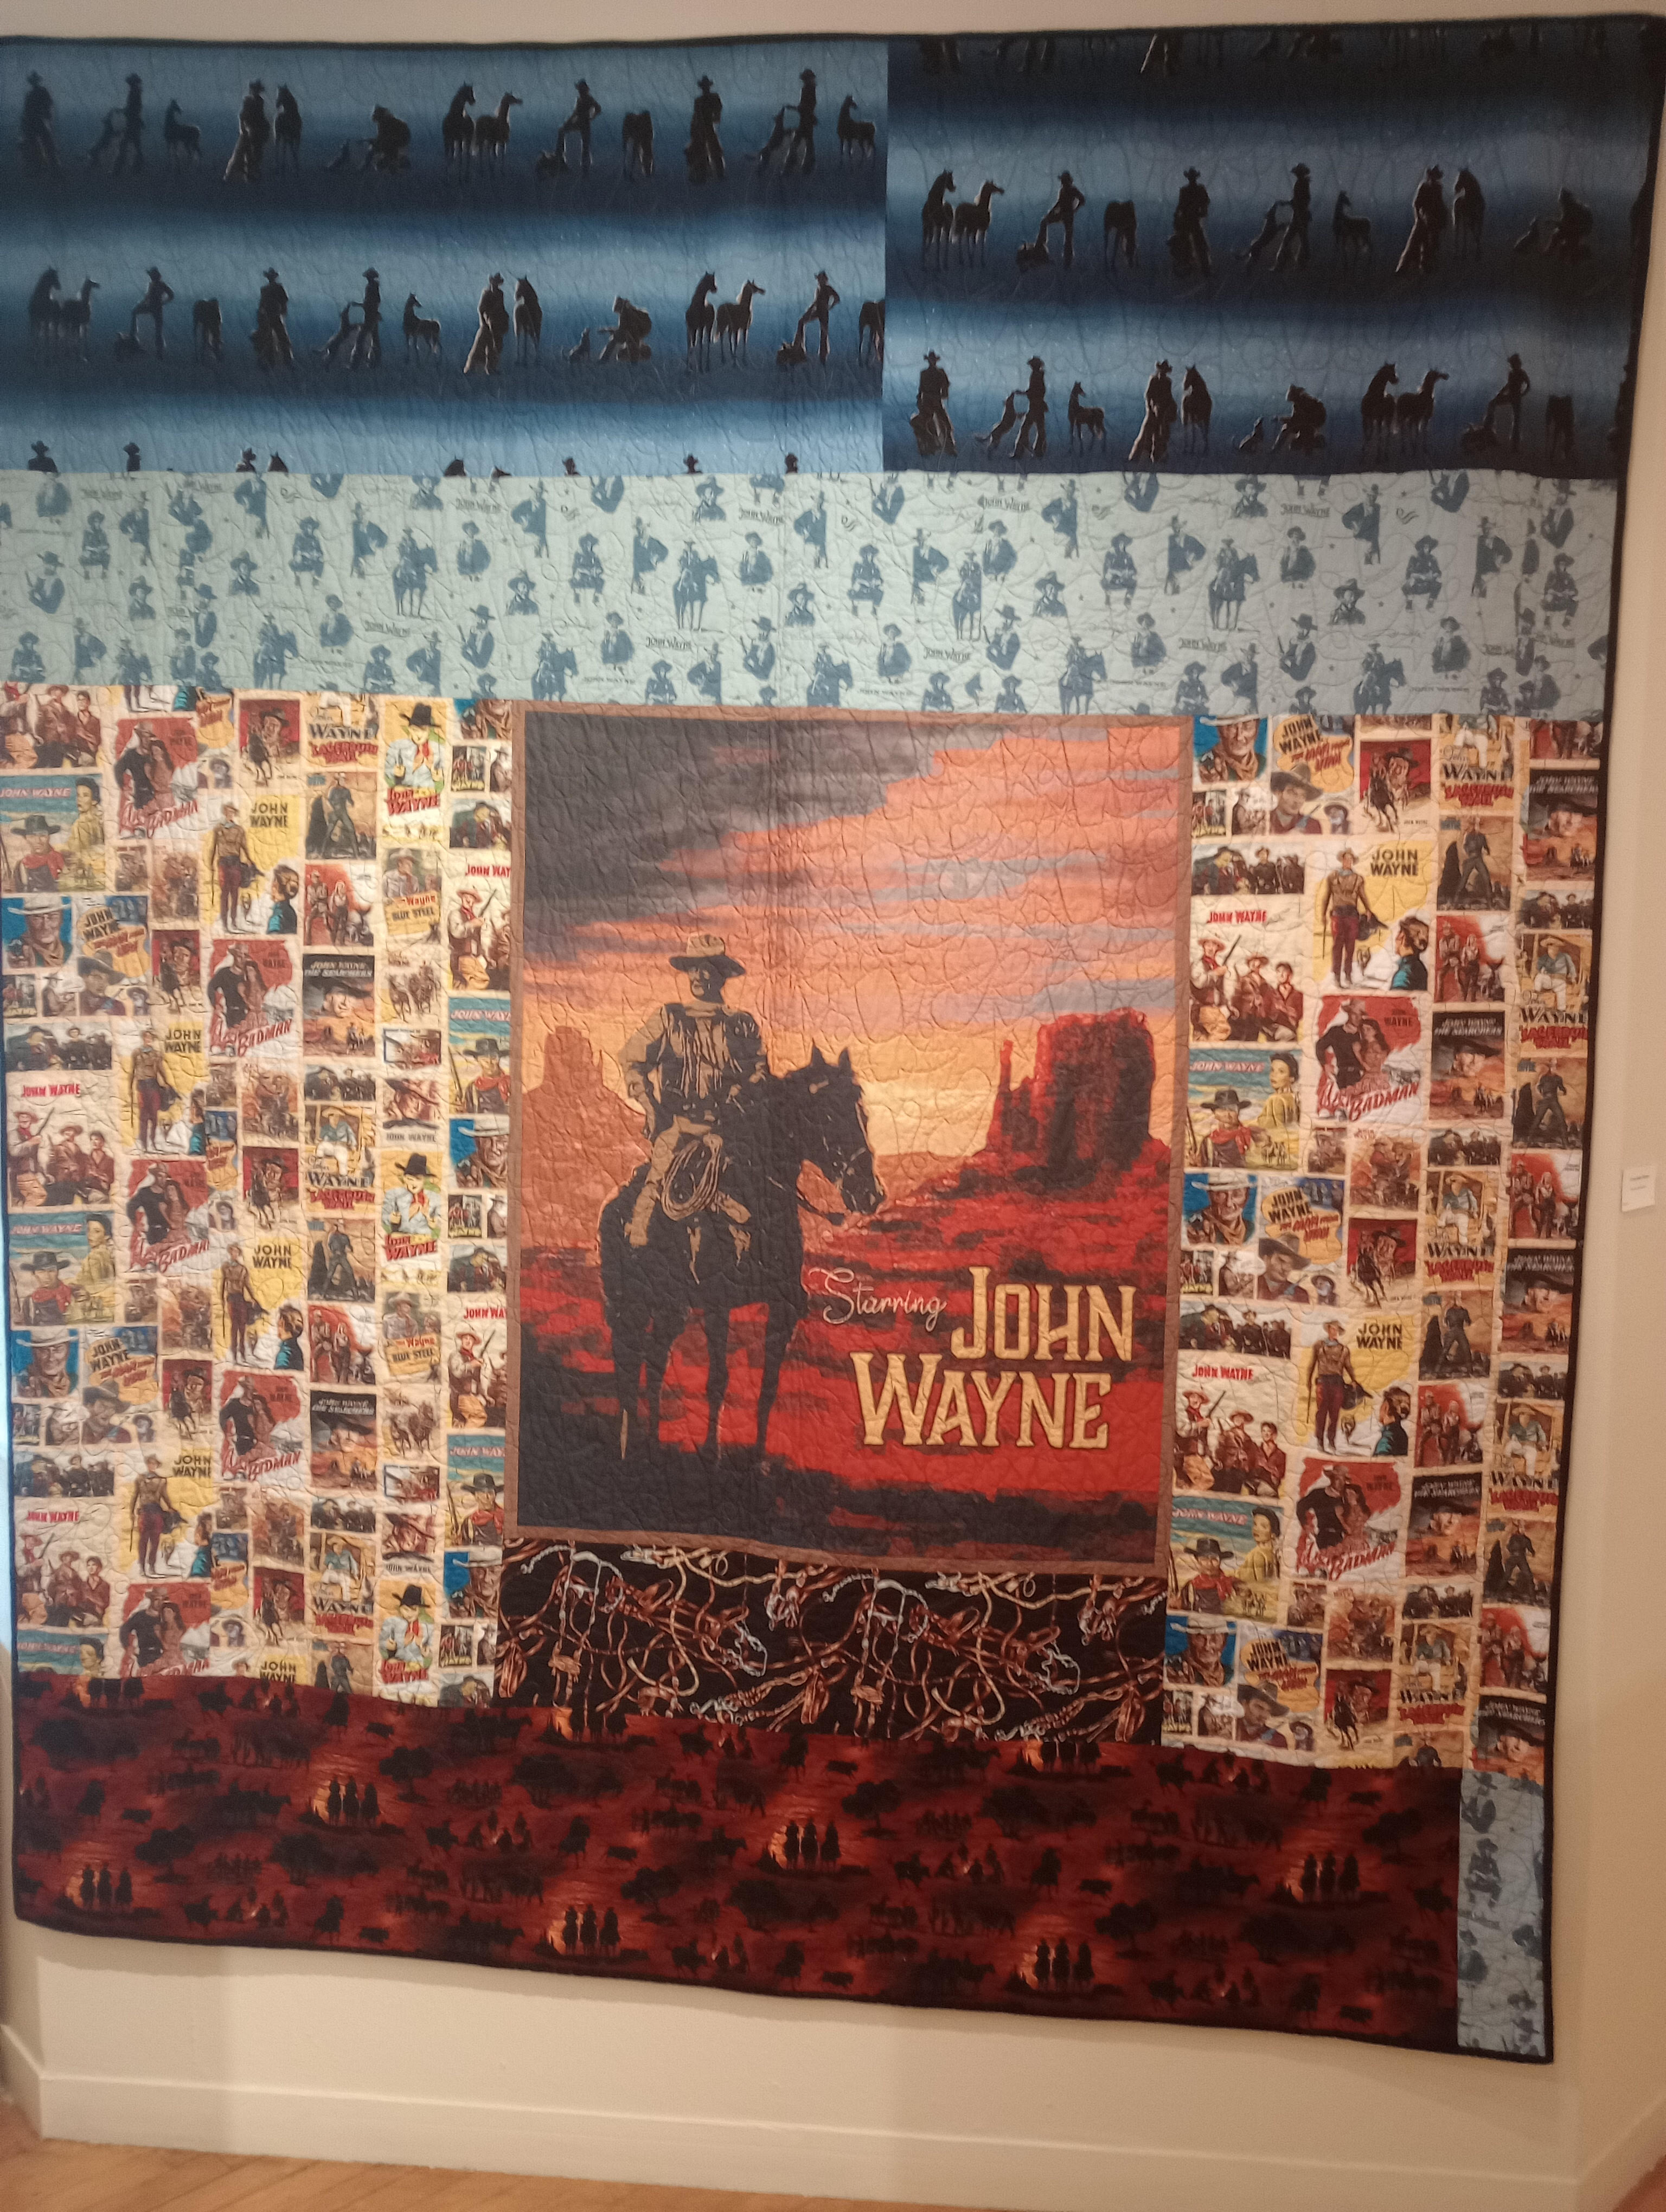
The Common Threads Quilts and Agriculture Show is the exhibit showing right now. So many beautiful quilts! I really admire the people who make these because this is something I have not done and don’t think I have the patience to do so!
This western quilt was huge! I can’t imagine how long this would have taken.
We live in a farming community, so this Christmas quilt is perfect for our town.
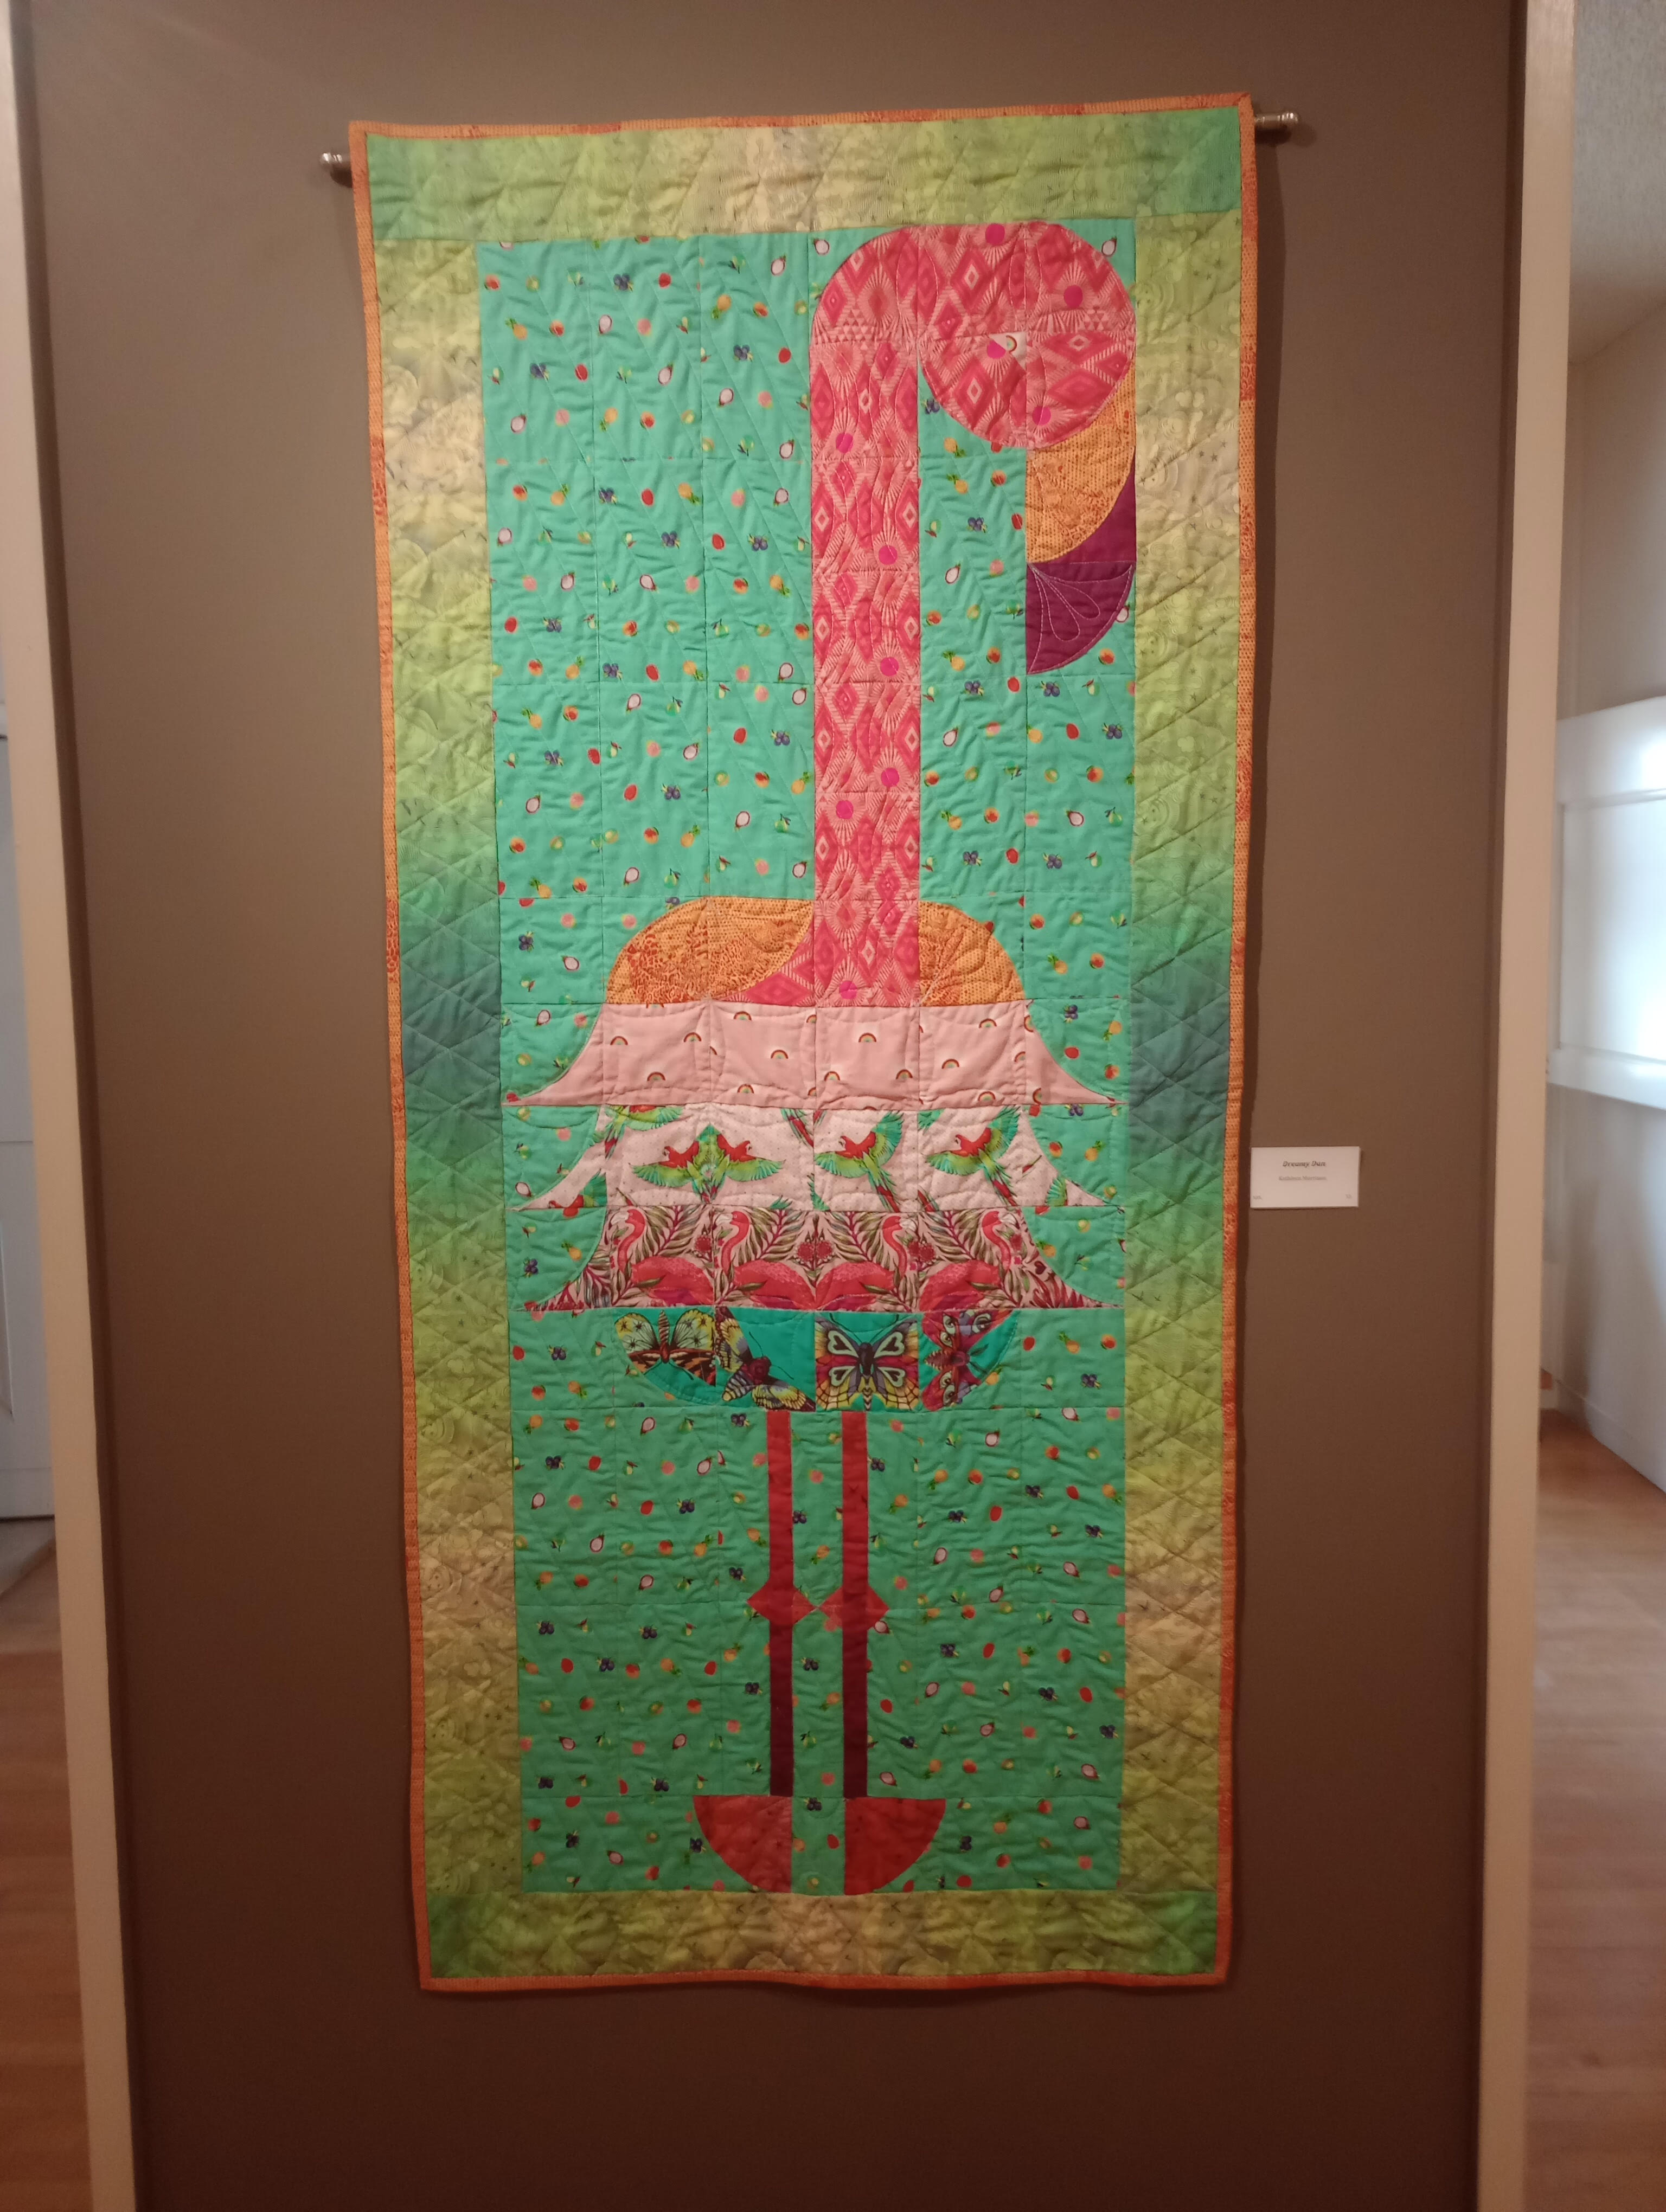
Flamingos!! I love flamingos! This quilt is so cute!!
One really cool art auction they are doing is old skateboards. Artists paint designs on the skateboards and there are amazing designs! The proceeds from this are going to benefit the central valley youth.
Aren’t they so cool! There are so many creative people!!
That’s all I have for you today! Be sure to check out my other post on my hometown if you have missed any. Stay tuned for more!
Hello! I remembered I had this Halloween Witch Hat post from last year, and it turned out so cute, I thought I would share it again! Enjoy!!
It’s time again for the witches, ghosts and goblins to come out! I don’t decorate much for Halloween anymore, now that the girls are older, but we did when they were little. Planning the costume was always a big deal. Then there were the pumpkins to carve or decorate. I have a couple boxes full of foam pumpkins that have been made into elephants, dragons, Garfield, and our dogs! I even have a light up hedgehog! I will have to show you that one sometime. It’s pretty cool! Even though I don’t do much Halloween decorating, when I saw this cute witch hat over at Madeinaday.com, I knew I wanted to try one too.
I didn’t make mine quite as large as Kim did. I wanted to make one for Lauren, because she collects these little decorative hats to display in her bedroom and I thought this would make a nice addition. Here is the list of the supplies:
Supplies:
Floracraft® Make It: Fun® Foam, (2) 3inch discs, (2) 6 inch disc and (2) 17 inch cones
1 sheet of black poster board
2 7/16×36 inch dowels, cut down to around 19 inches each
Black & white contrasting fabric, 1/2 yard of each
Black fuzzy fabric, 1/2 yard
Coordinating ribbon for base
2 flowers
Roll of black tulle
Hot glue & gun, low temp
Black acrylic paint and brush
Black aluminum floral wire 4.6m
Scissors
The cones I bought were only 6″ tall, so then I needed less fabric too. I only bought 1/4 of a yard. I used felt in place of the fuzzy fabric too. In other words, there are lots of ways to make this!
I started out by painting the foam disks with the black paint. This gave them time to dry while I worked on the other parts. I also painted the dowel black.
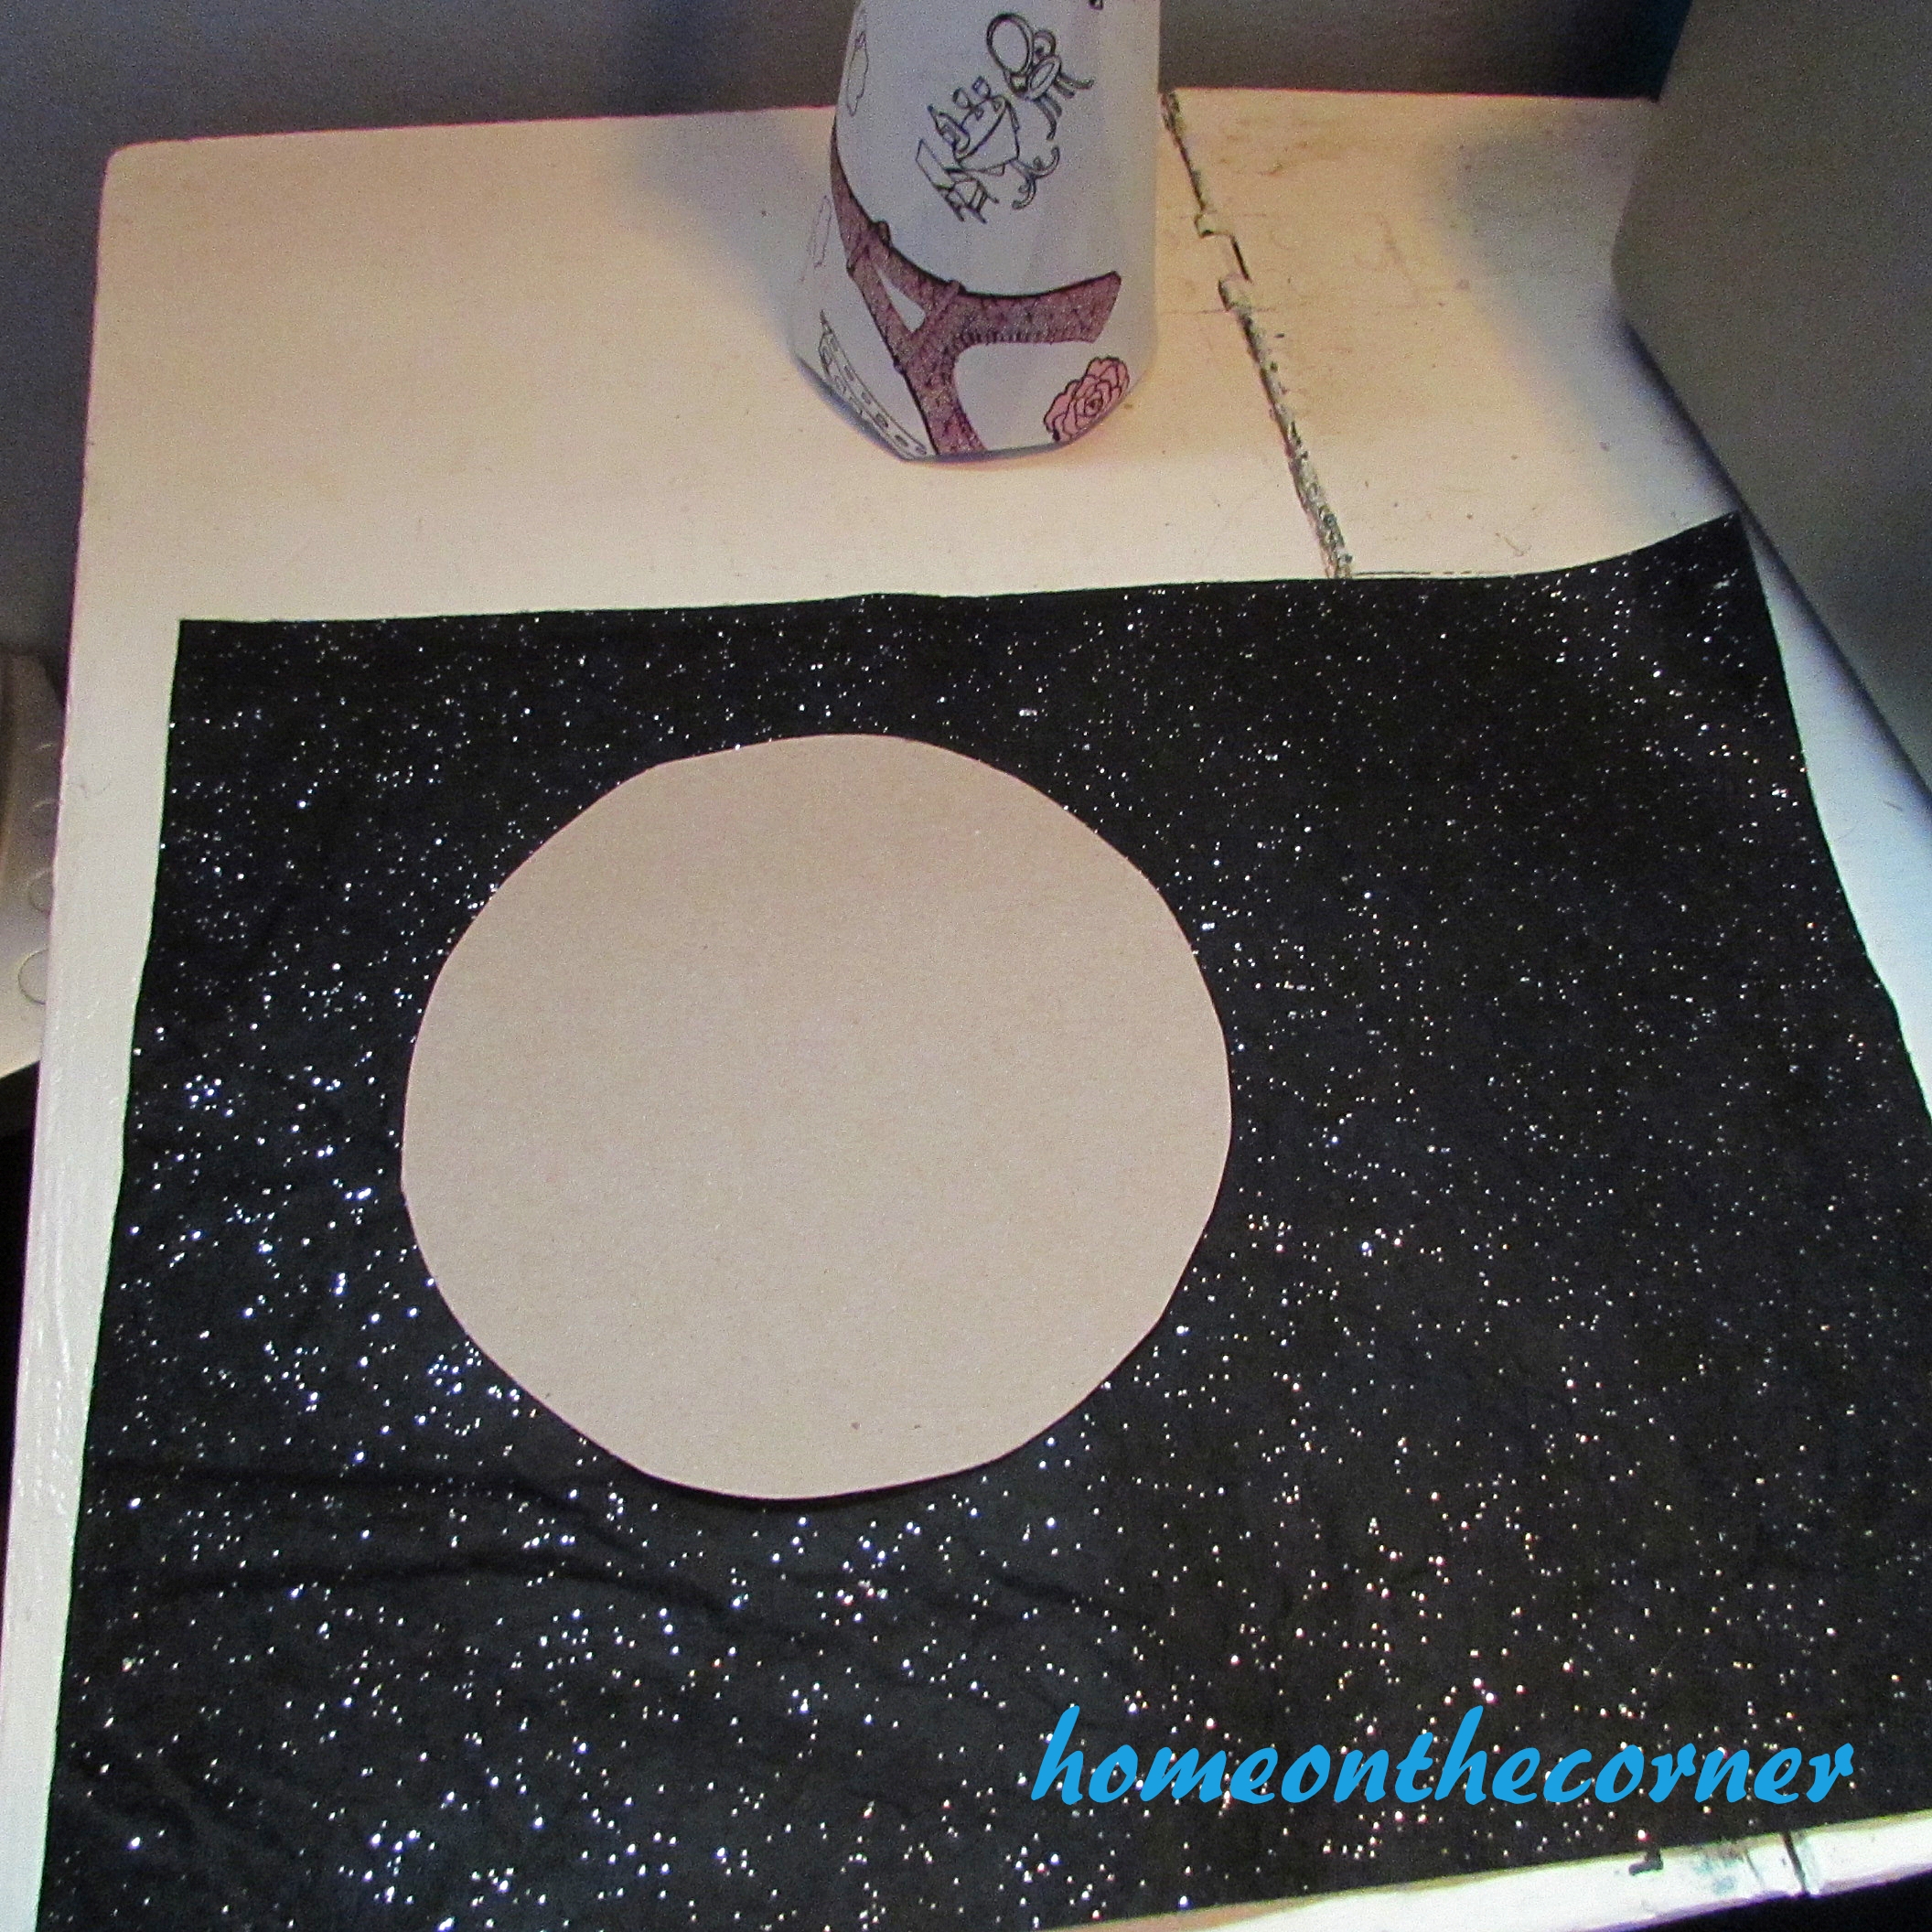
I traced around a bowl to make my circle (I forgot to buy black poster board, so I just used cardboard, but I did have to cover both sides so the cardboard wouldn’t show). Then I cut the piece of sparkly felt a little bit larger so it could wrap around the edges and be glued down.
I added another piece on this back side to cover the cardboard.
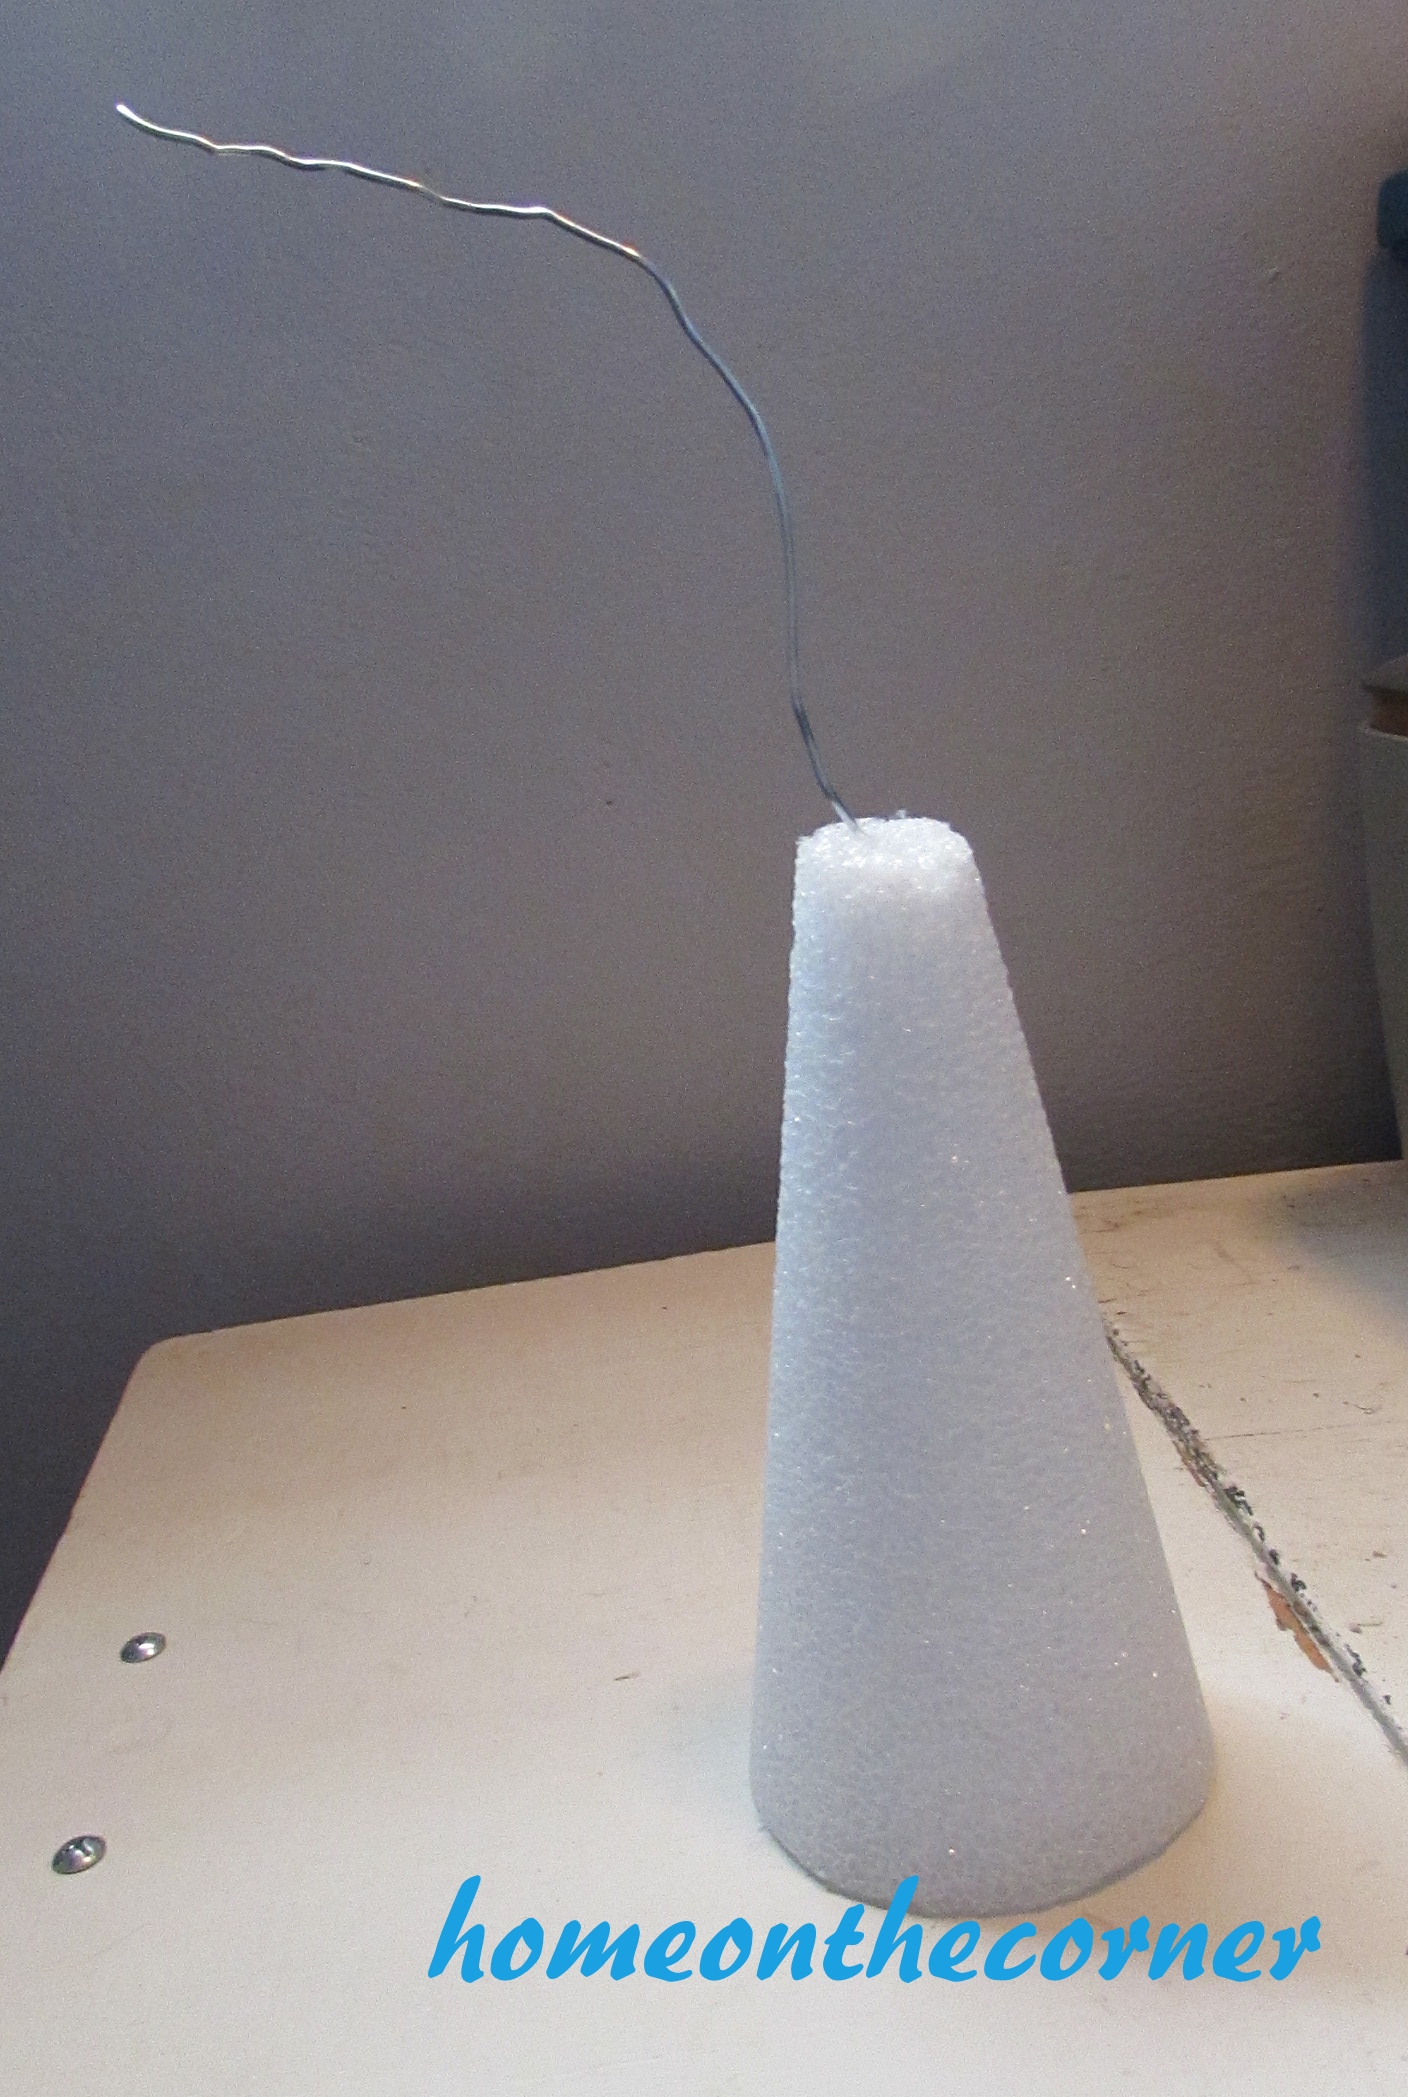
I cut about 2 inches of the styrofoam off the end of the cone. This gives the wire more room to bend once you add the fabric. Poke the piece of wire down into the cone until it feel secure.
Here is the fabric I bought. You could never guess who this was for, right?!
I wrapped some around the cone just to see how much I would need, and then cut a piece off the end of the fabric. After I figured out just how I wanted the design to go, I glued it around the cone. See how the tip bends over? Make sure you have enough wire so you can make the tip of the hat floppy!
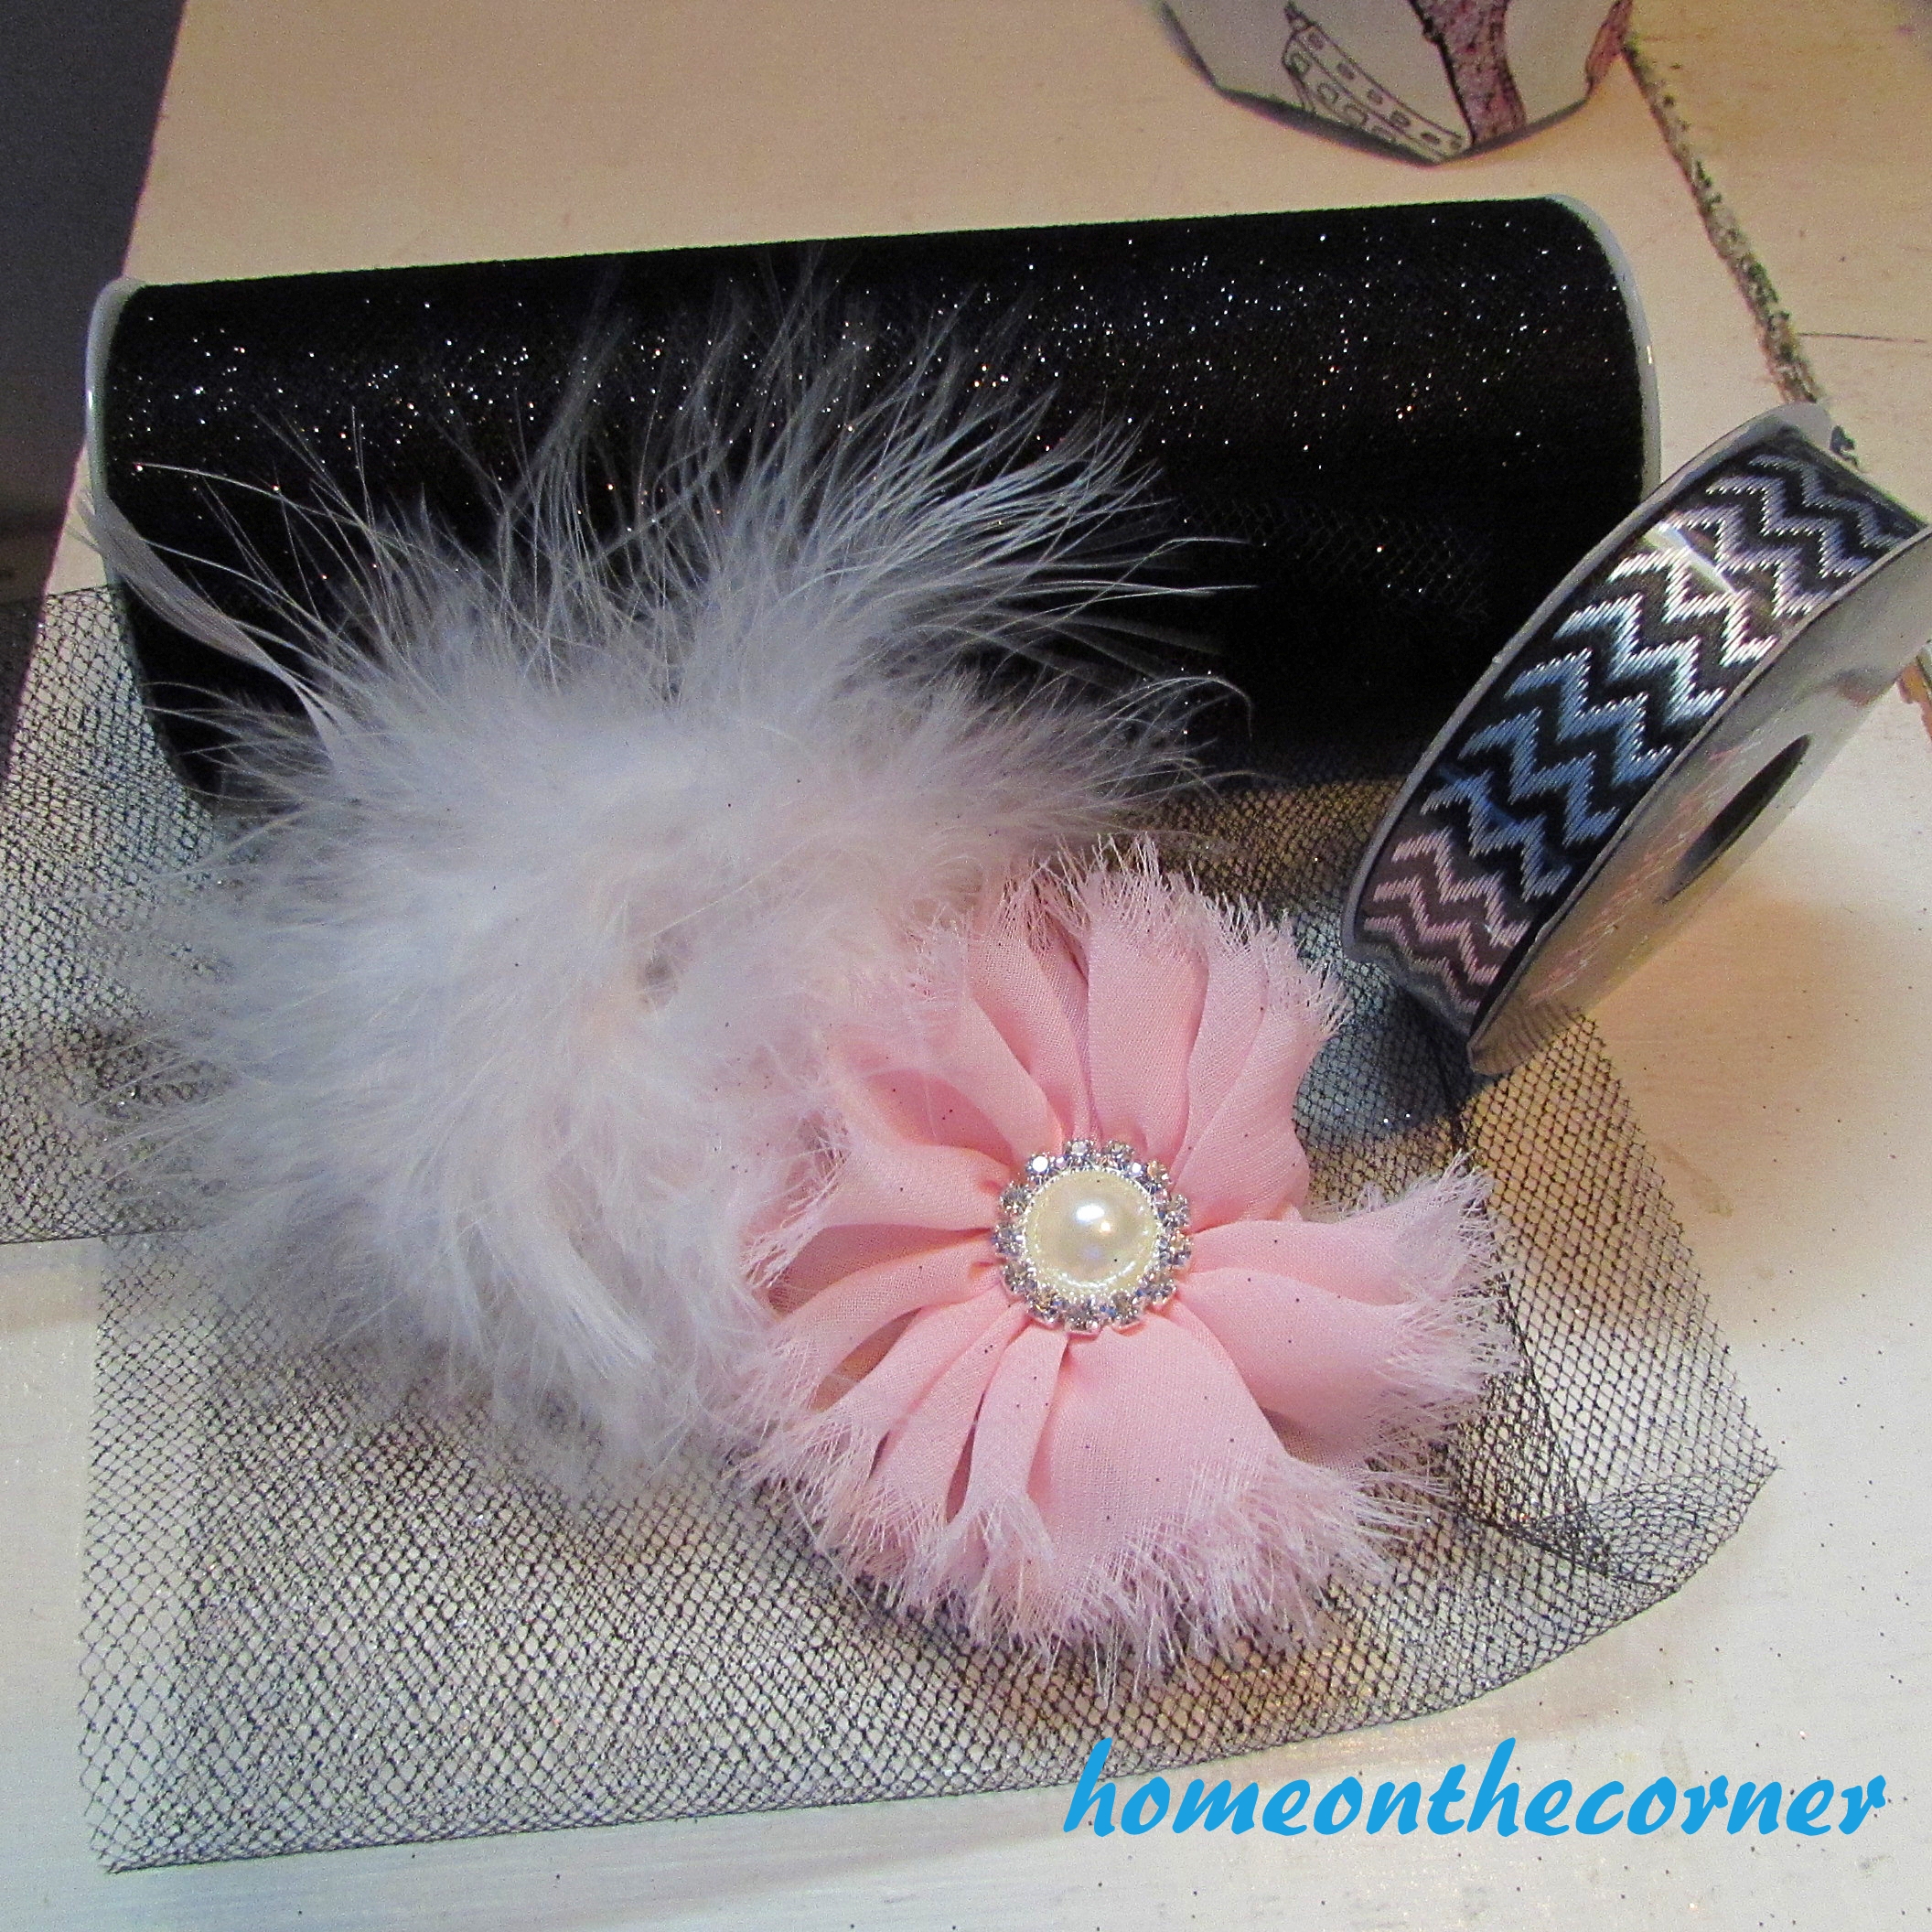
After the fabric was glued to the cone, I glued the sparkly felt brim to the bottom of the come. Now for the decorating and embellishing! Here are a few of the things I found: glittery tulle, a feathery ponytail holder and a pink flower clip and some black and silver ribbon.
I don’t have pictures of adding this to the hat, because I couldn’t glue and take pictures at the same time! I first added the tulle in ruffles around the middle, then added the feathers with the flower on top of the feathers. I added the ribbon around the edge of each of the black disks. Once everything was ready, I Poked the dowel through the disks first then the brim of the hat. I had to use a sharp tool to get through the felt. Then I pushed the cone onto the dowel. Once it was far enough on, I put glue on the brim and pushed it up against the cone and let dry.
Here it is!
I think this came out adorable! I want to try one in more neutral colors too. I would love to see yours if you make one too!
Last year, I found that Walmart was selling the game Hanfordopoly. It’s like Monopoly, but for my town. Well, I had to buy it! Then Lauren and I went around town and took pictures of each of the places on the game board. It was so much fun! I can’t wait to introduce you to our sweet little town and some of its history.
If you haven’t read the other My Town posts, you can read them here:
This week is the Plunge and the skate park. The Plunge has been around since I was a kid. Of course, it has been redone since then and is a great place to cool off in our hot summers.
That water looks so nice! On a hot summer day, it’s so nice to hear the kids laughing and having fun! The Plunge offers public swim, swim lessons, senior water aerobics and movie nights. The movie nights are called “Dive-In Theater.” Isn’t that great!
Doesn’t that slide look like fun? There certainly wasn’t something like that when I was a kid!!
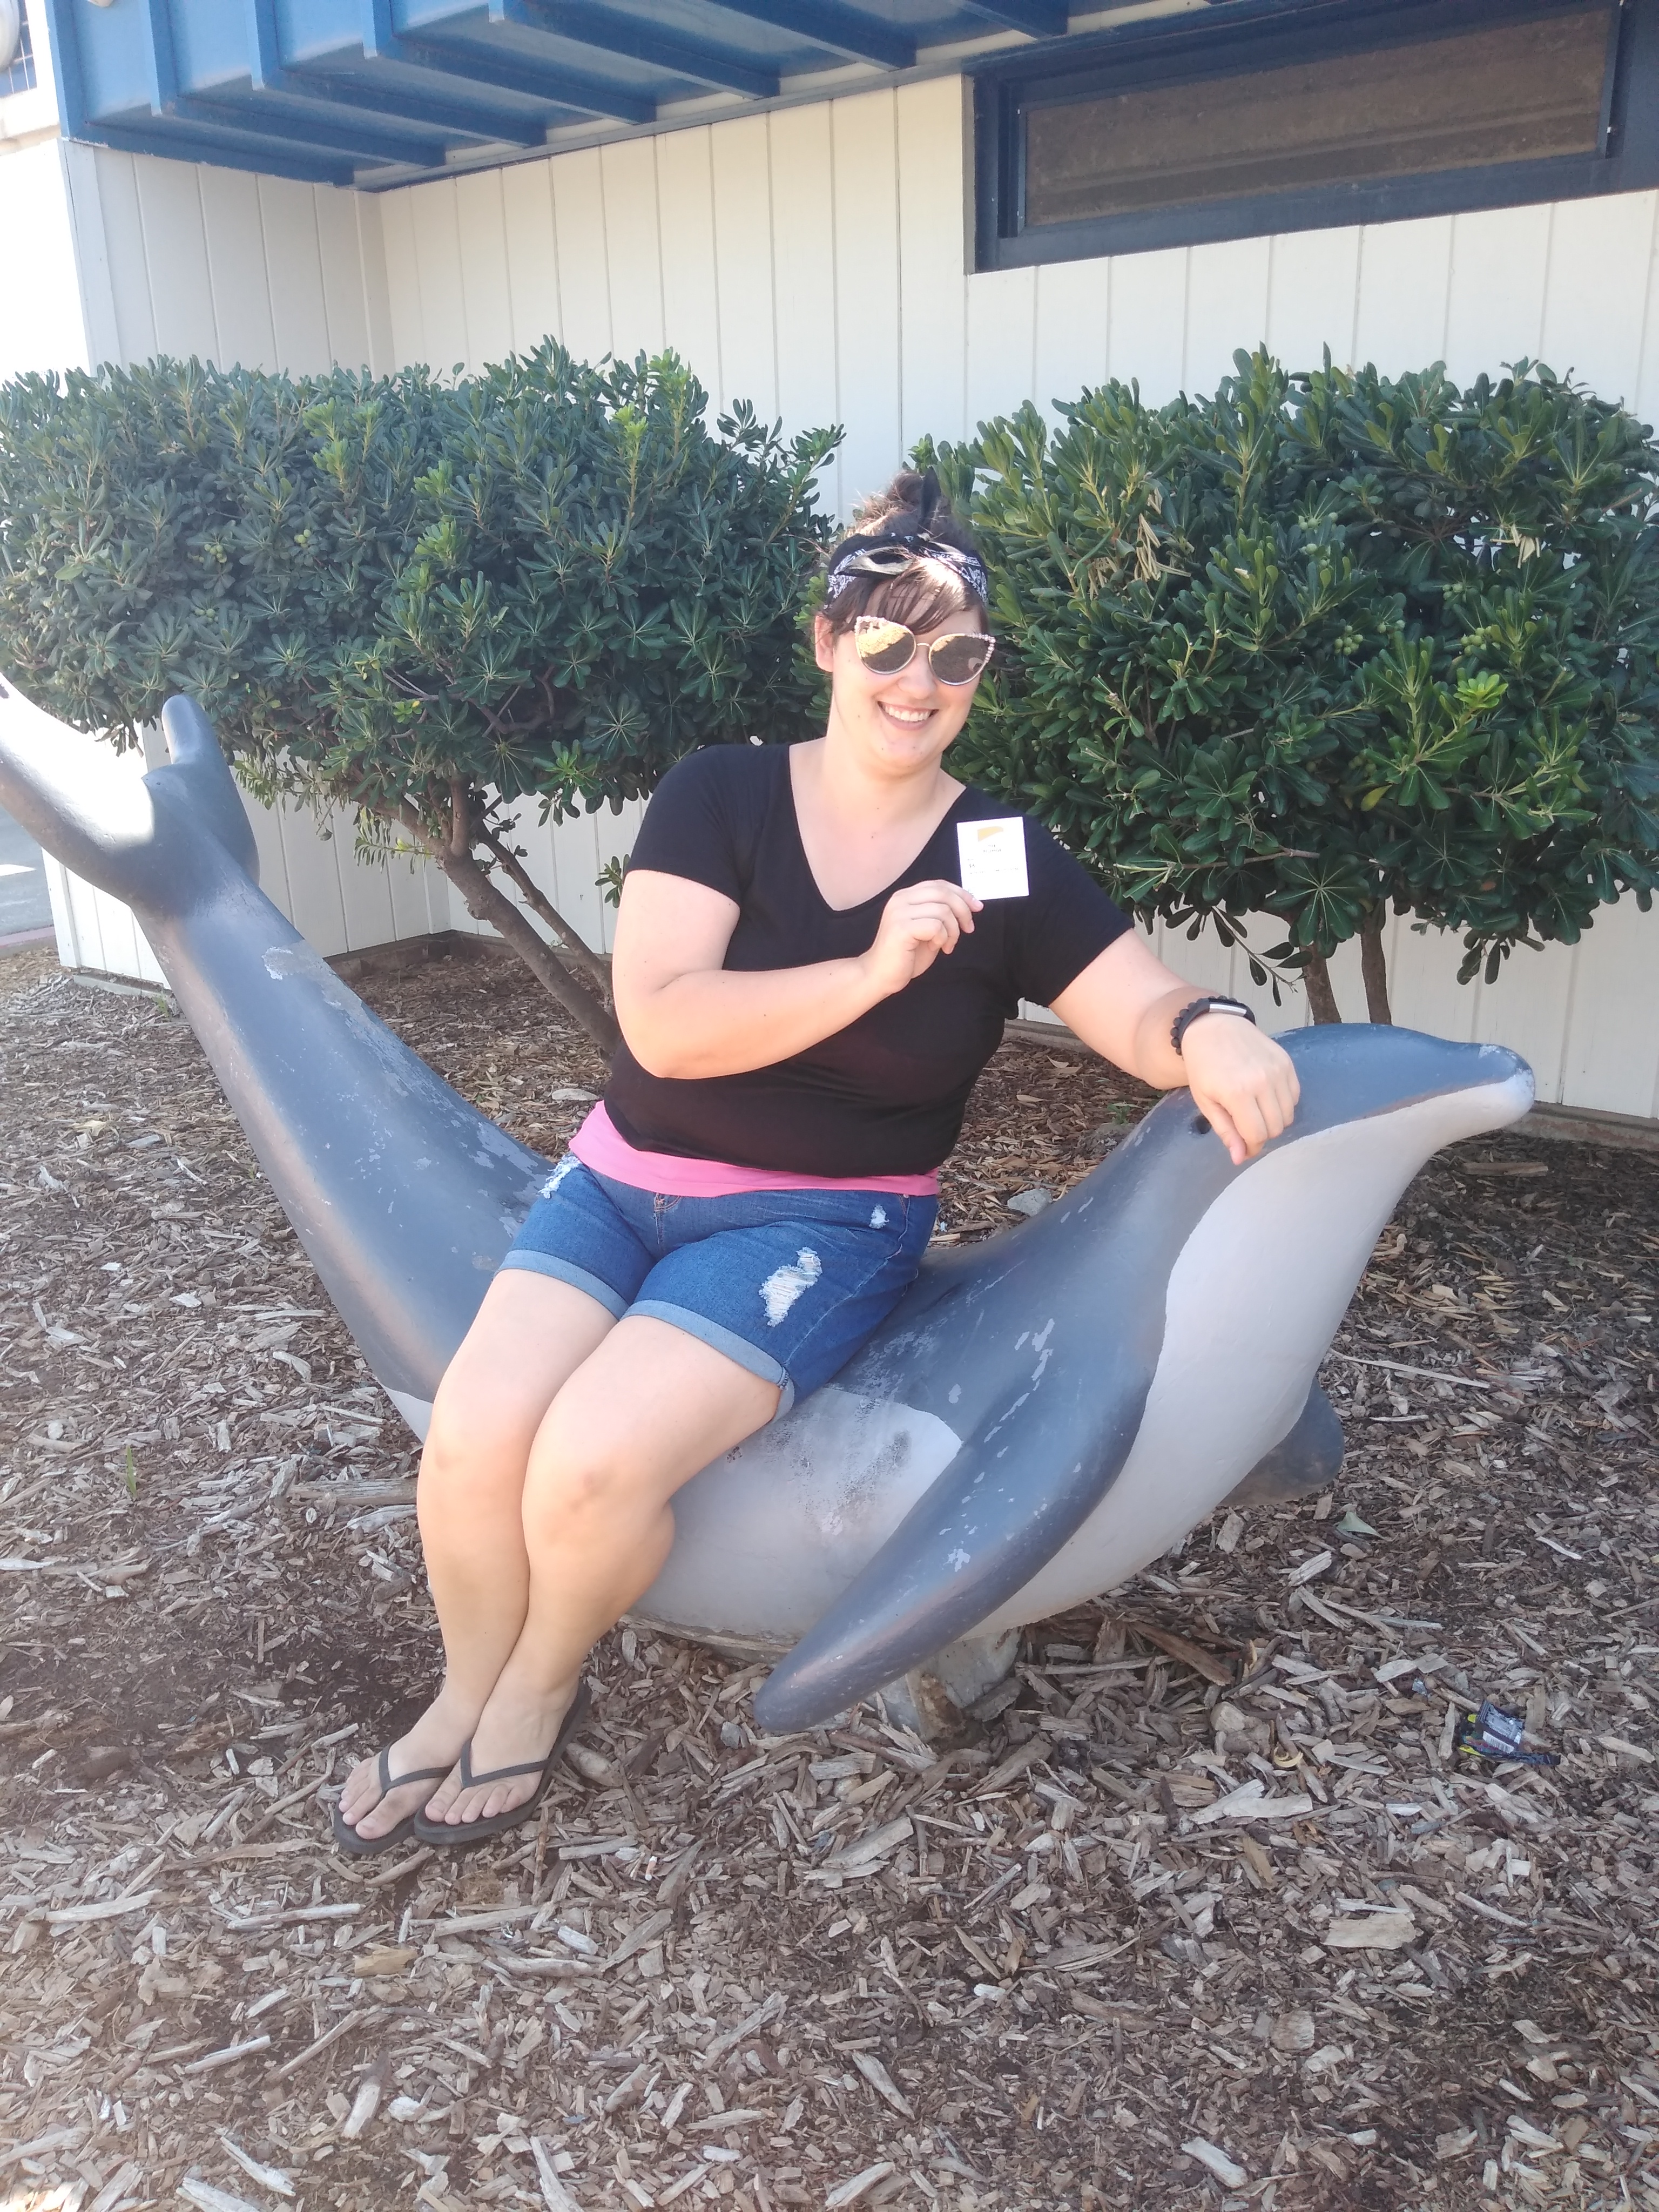
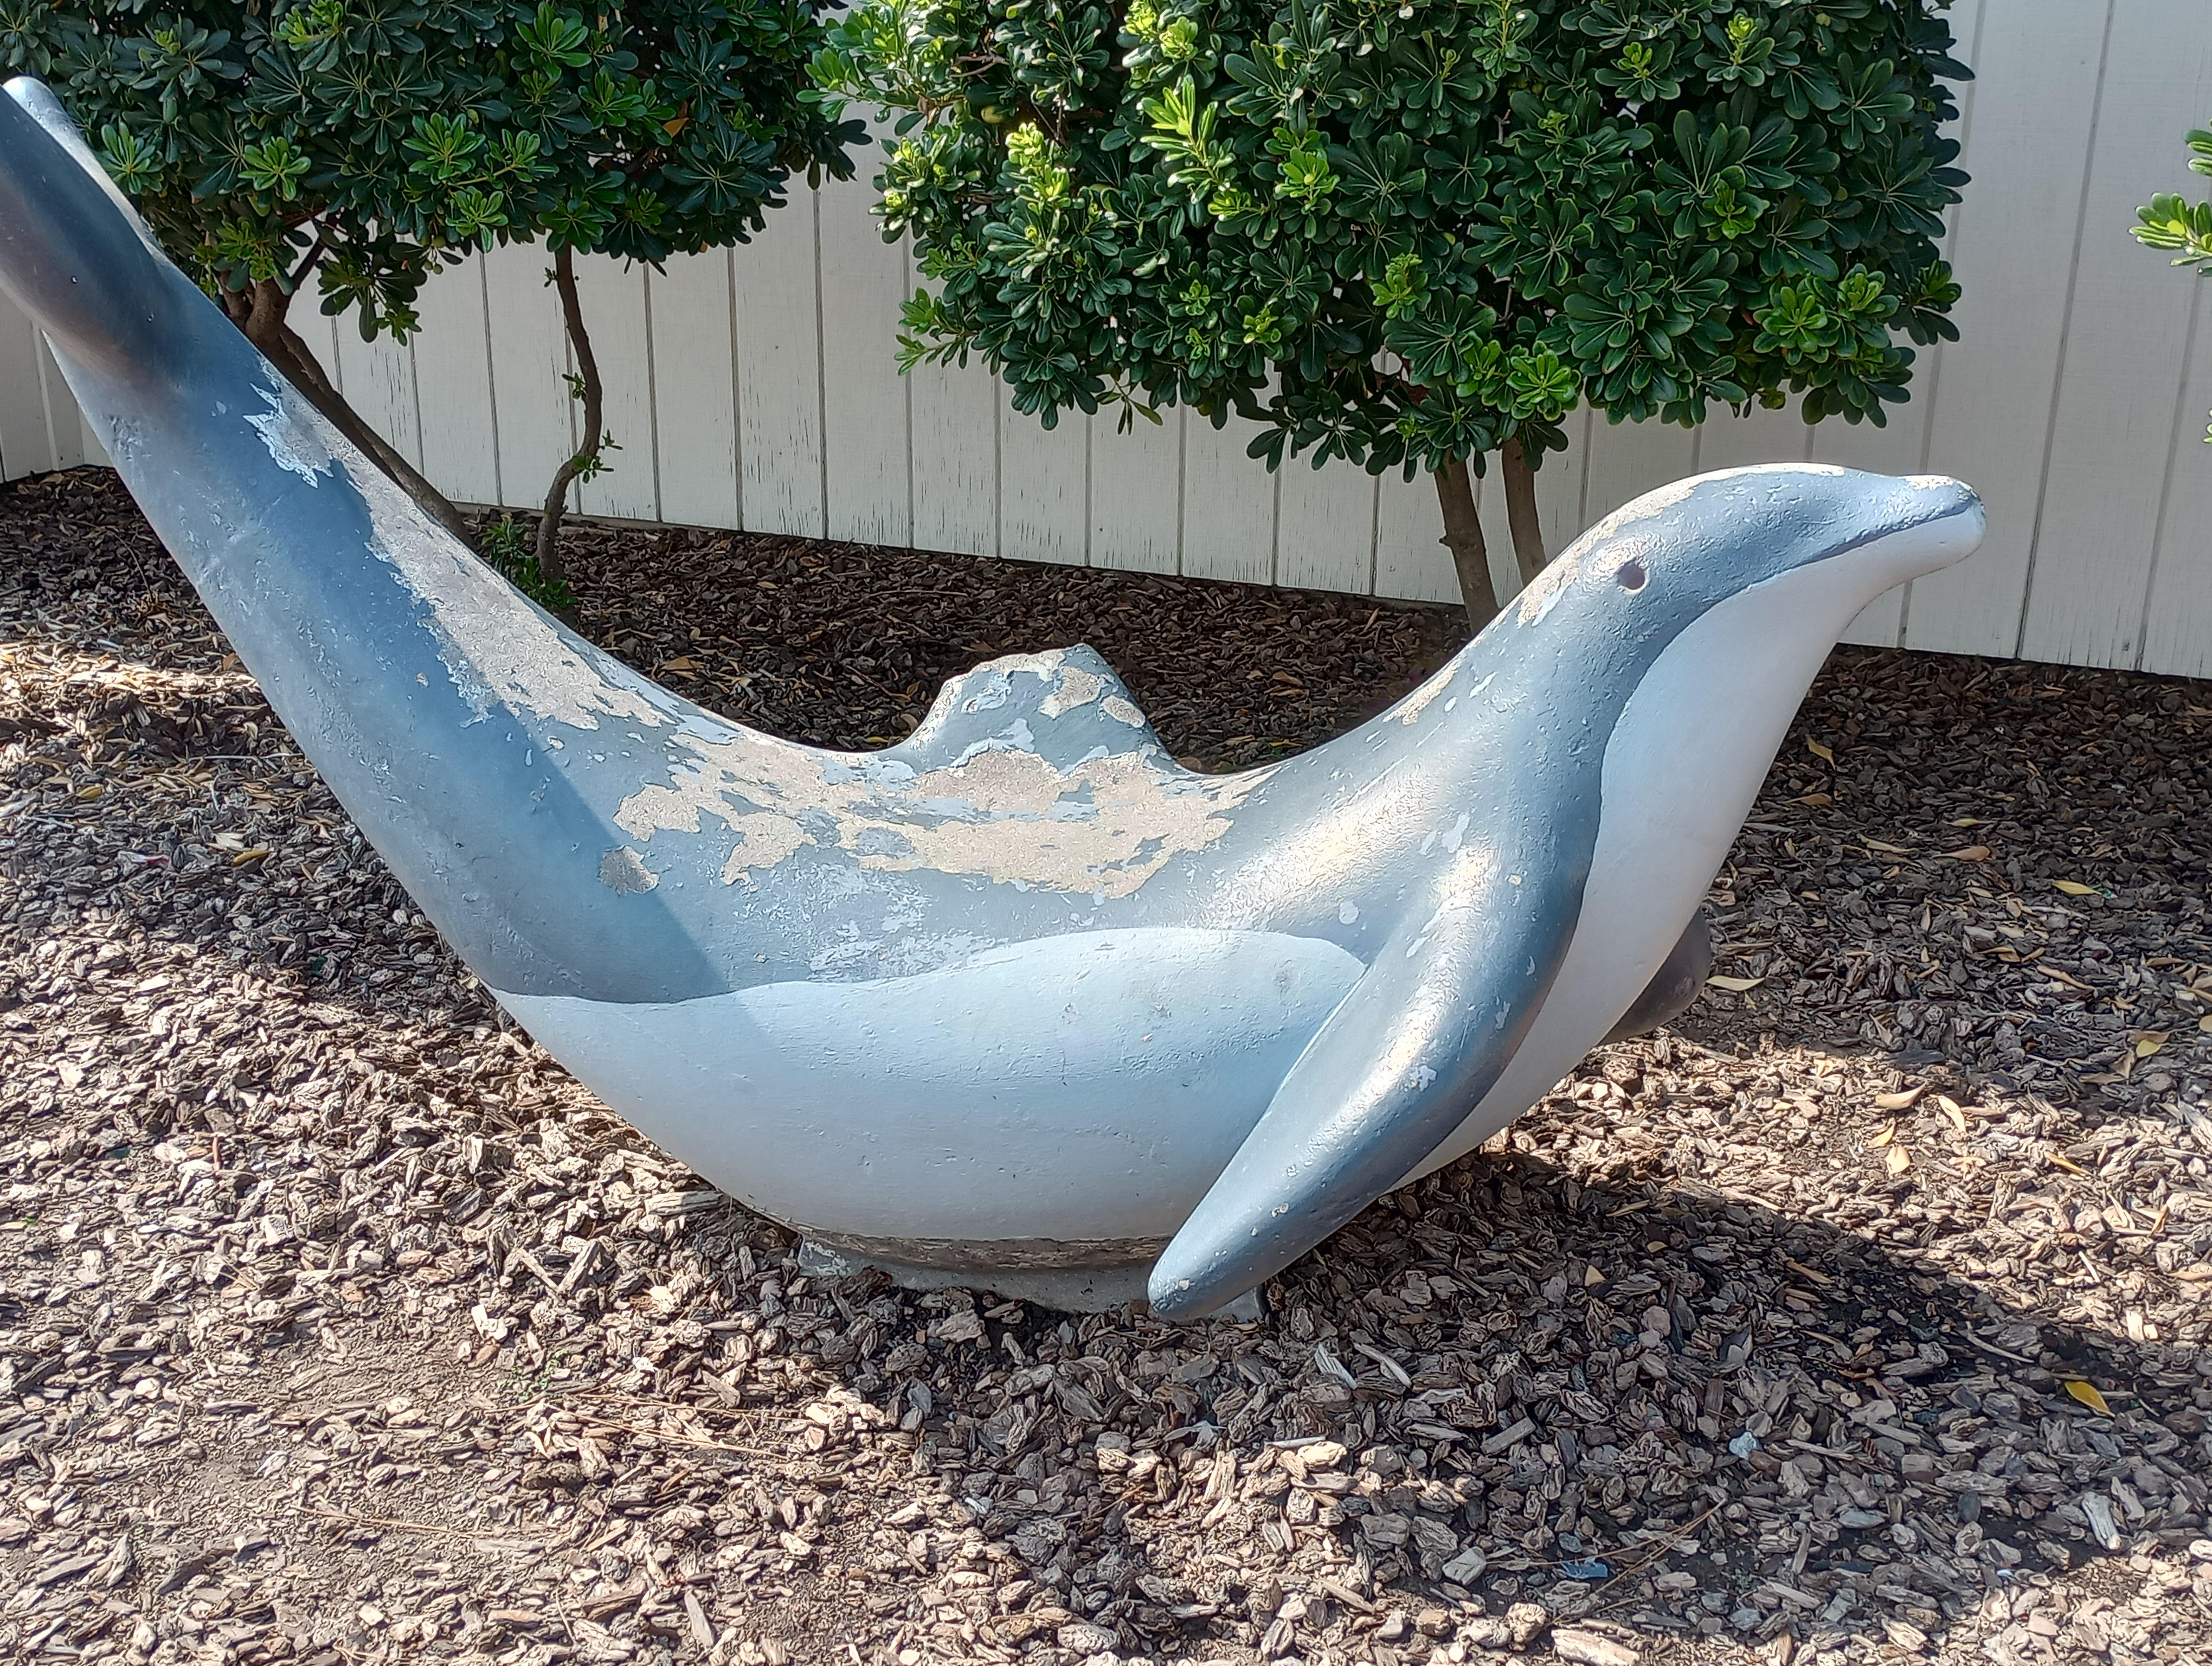
This poor dolphin! She has been here since I was a kid too, but she definitely needs some loving care.
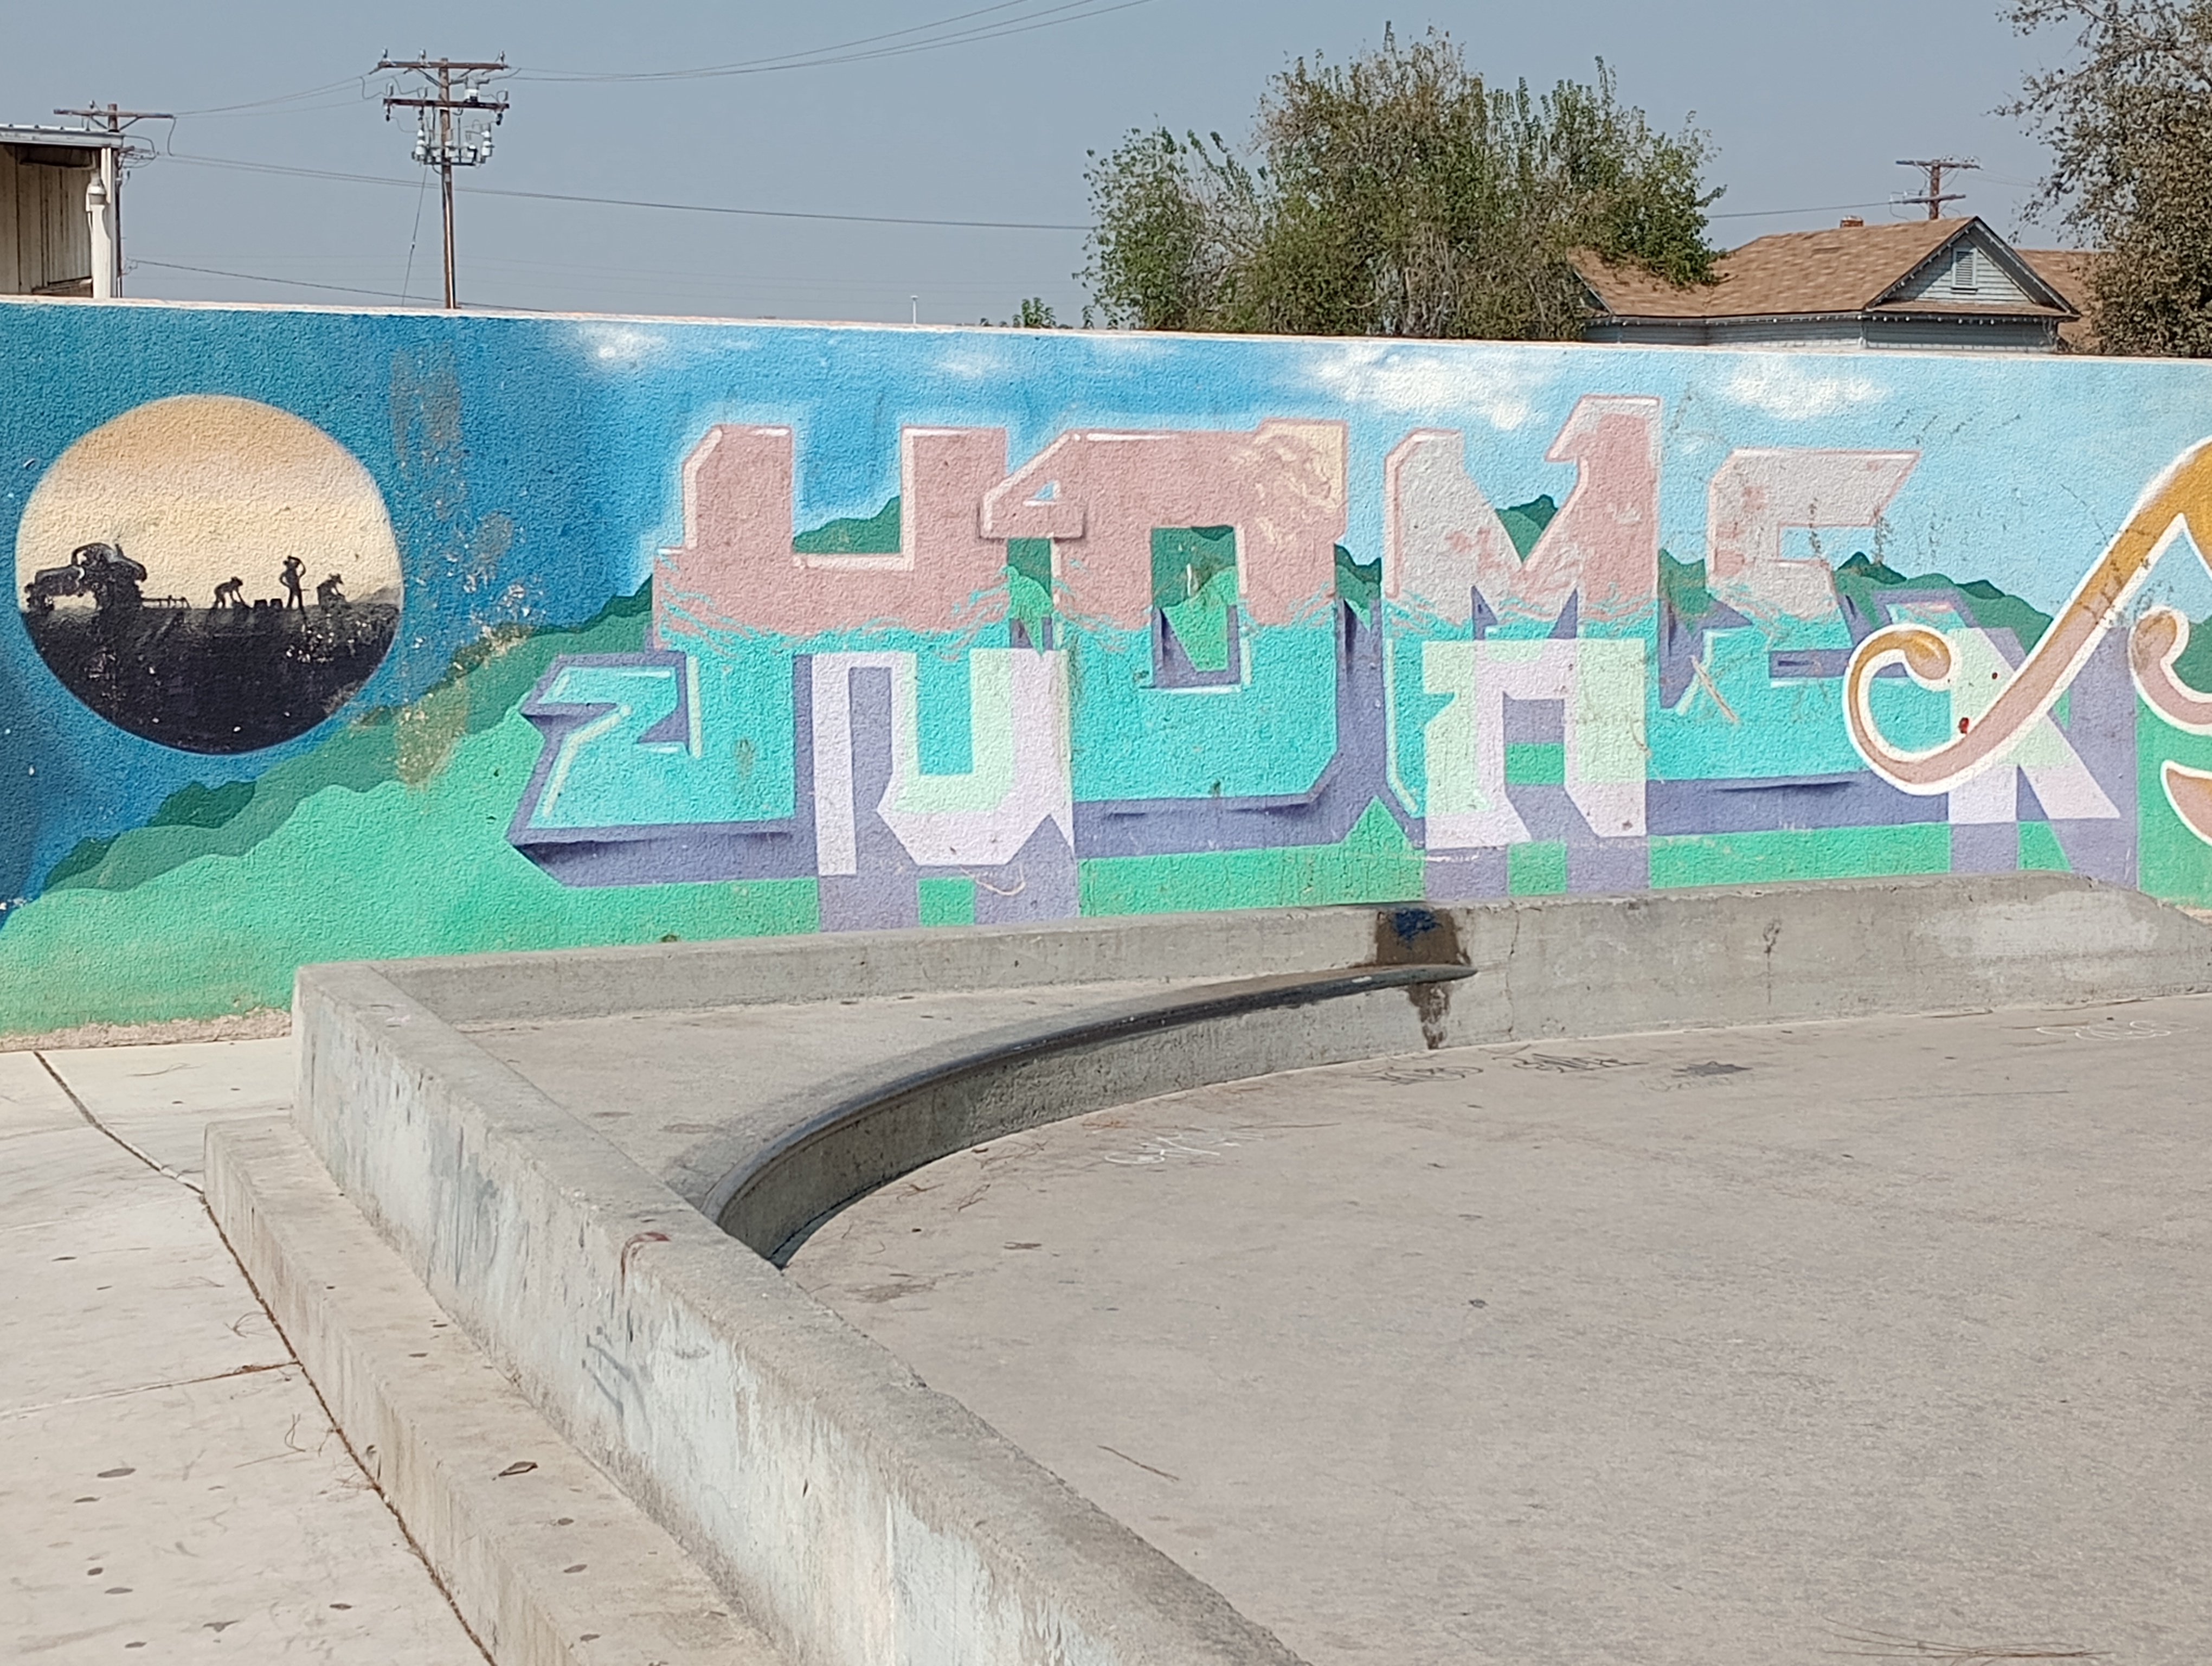
The Hanford Skate Park is right next to the pool, in case you get too warm while skating!. The skate park was opened in 1997. I remember it being quite a big deal at the time.
This park consists of a large bowl, a pyramid, a rail, a gap, and 2 boxes.
Unfortunately, there were no skaters out the day I went. I was hoping to catch a few tricks going on.
This is just one more area of my small town that makes it special. What does your town have that is special and brings back good memories?
Hi all! This is a post from a couple of years ago. Enjoy!
Good morning friends! Can you believe we are in October? Are you ready for fall? We will have some time to go here before it gets cool. It doesn’t get cool here until about Halloween. But, I have a wedding to plan and it will a traditional wedding, but then a gothic pirate themed reception. So this is the time of year to find the perfect items to decorate with. It’s also fun to find different things I can make ahead of time. Today I am showing you how to make spooky books!
Item List:
Hardcover books
Plastic bin that the books will fit into
Tea
Paper towels
Mod Podge and brush
Bleach and water
Stickers, wood decorations, any other decorations you want to use
Black, gold, and silver paint and foam bruss
I found some outdated hardcover books at a thrift store. It doesn’t matter how new or old they look. Just find the size you like. Next, make yourself some tea! Not to drink though! I made some sun tea and then poured it into a plastic bin. Now, dip your book in! I just did the pages, not the covers. You could also use a brush if that is easier. I dipped in all the sides, letting them soak for about 5 minutes. Then I set them out on a towel to dry.
If you don’t think they are dark enough, go ahead dip them again. The pages get a little wrinkly, but that’s ok. It gives it an older look!
Now that the books are dry, you can move on to the next step. Take your pieces of paper towels and trim them to fit the book. I cut the top and bottom of the paper towels the same size as the books, but I folded in the ends. The books won’t be opened after I am done.
Fill a spray bottle with water and spray down the paper towels on the books. Crinkle them up a bit once they are wet. This is going to give you the old weathered look you want in the end.
Once you have the paper towels the way you want, brush on the Mod Podge. I poured some onto the book and then used a foam brush to spread it all over the book on all sides and edges. Let the books dry. I let them dry overnight.
Now you get to decorate the book! I am making these for the wedding, not just Halloween. I found the scrolly piece and wood piece at a thrift store. So I laid them out the way I thought they would go. I also added stickers. My stickers go along with the wedding theme and last name initial. It won’t matter the colors you use because you are going to paint over it all. Once you have your pieces how you want them, glue them on. I even glued on the stickers so they wouldn’t fall off later.
Once your glue is dry, paint the book. I used black spray paint, but you could also paint the books with acrylic paint. Make sure to get in all the nooks and crevices. Now you can see how the paper towels give it that old look.
Just the black looks kind of boring, but now you get to add the finishing touches! I used a silver paint and lightly went over the raised areas of the book. I used a little gold paint as well. You don’t want too much gold or silver, just some slight touches.
I also bought a strap to keep the book closed. I found it in the fabric department at Hobby Lobby. I glued it on the front and back of the book.
Here are the stickers once they are painted. Looks good, right? Since I didn’t want the books to open, I used some rope, also tea dyed, to tie two of the books together.
I placed the books on my mantle along with some other black and spooky items. Some of them I have also made over.
I love how they turned out! I’m just waiting for a date to be set so I can put it on the third book.
So what do you think? Would you do this to a book? I’m so glad I gave it a try!