Make Your Own Shutter Lantern

Good morning! It’s actually spring! I’m so happy we will be seeing some warmer weather! We still have some rain, but at least it’s warmer! I am finally able to get a few projects done since I can work in the garage now.

I always have bits and pieces laying around and usually, I can come up with a project sooner or later. 🙂 I have had these shutters for awhile and decided to make a lantern from them. Actually, my husband made it, I just came up with the idea! I think he did a great job!

mAKE YOUR OWN SHUTTER LANTERN TITLE

The first step was to attach the shutters together. Steve used 1 x 2’s to attach the edges on both the top and the bottom of the shutters.

shutter candle holder with 1 x 2shutter lantern top view

He also added 1 x 2 pieces across the top of the shutter and used a leftover piece of flooring for the bottom.

shutter lantern 1 x 2 topFour more pieces were added around the top edges with 45 degree angles to finish it off. Steve used some pallet wood scraps.

shutter lantern finished top

You can see here that more 1 x 2’s were added to the edges.

shutter lantern diy whale fairy lights

I love how it turned out! It is very tall and makes a great statement piece. I used Minwax Wood Varnish Golden Oak on the wood pieces. I couldn’t believe how closely it matched the shutters.

shutter lantern diy starfish coastal

The candle looks great flickering through the shutter slats.

shutter lantern diy candle starfish net

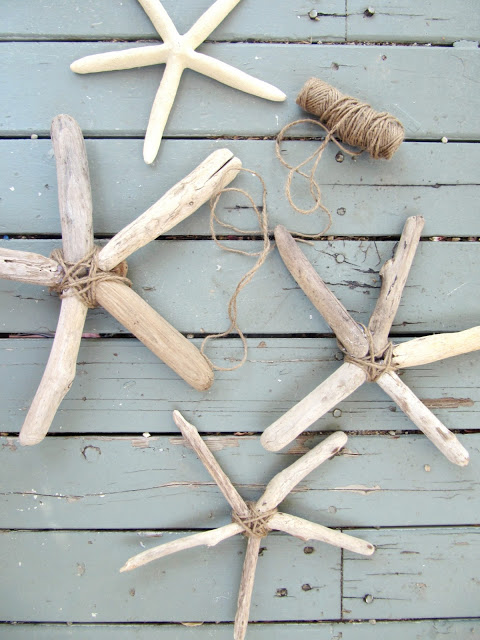
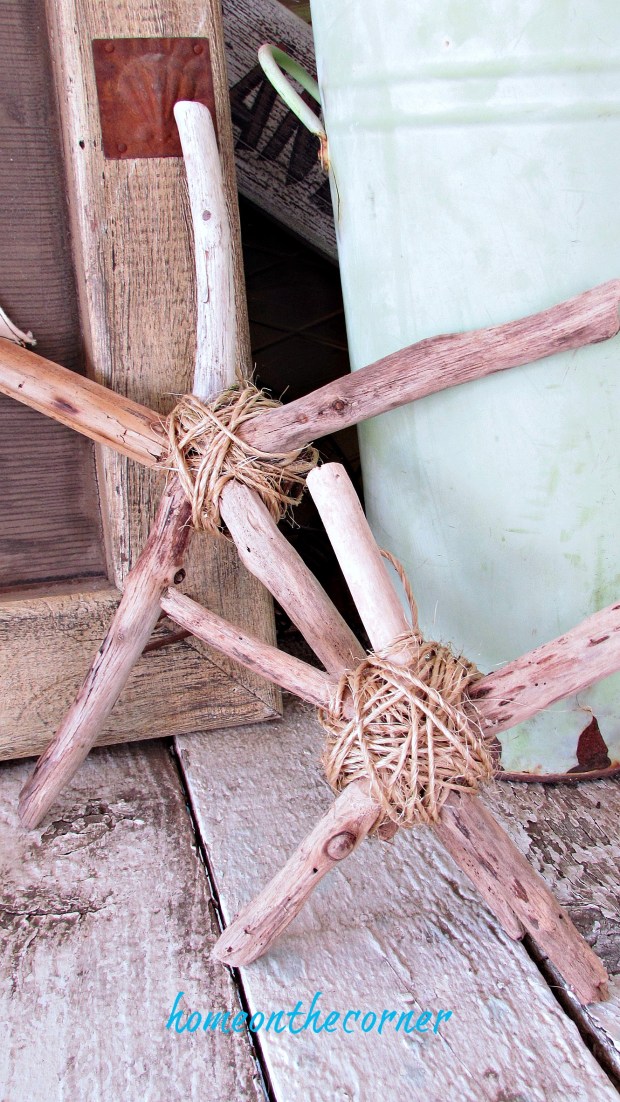
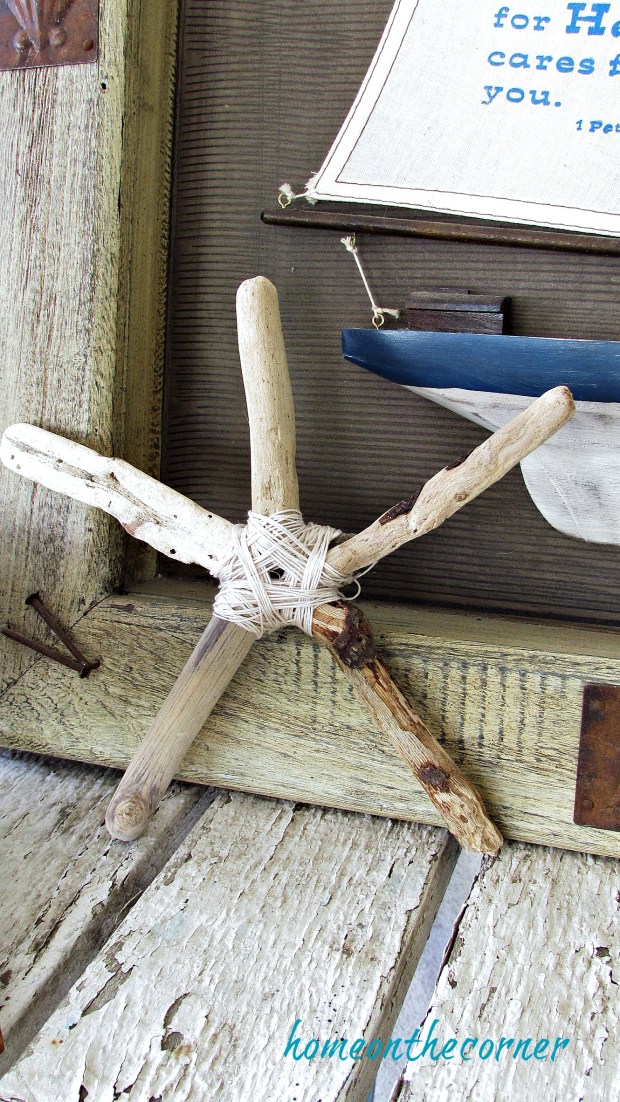
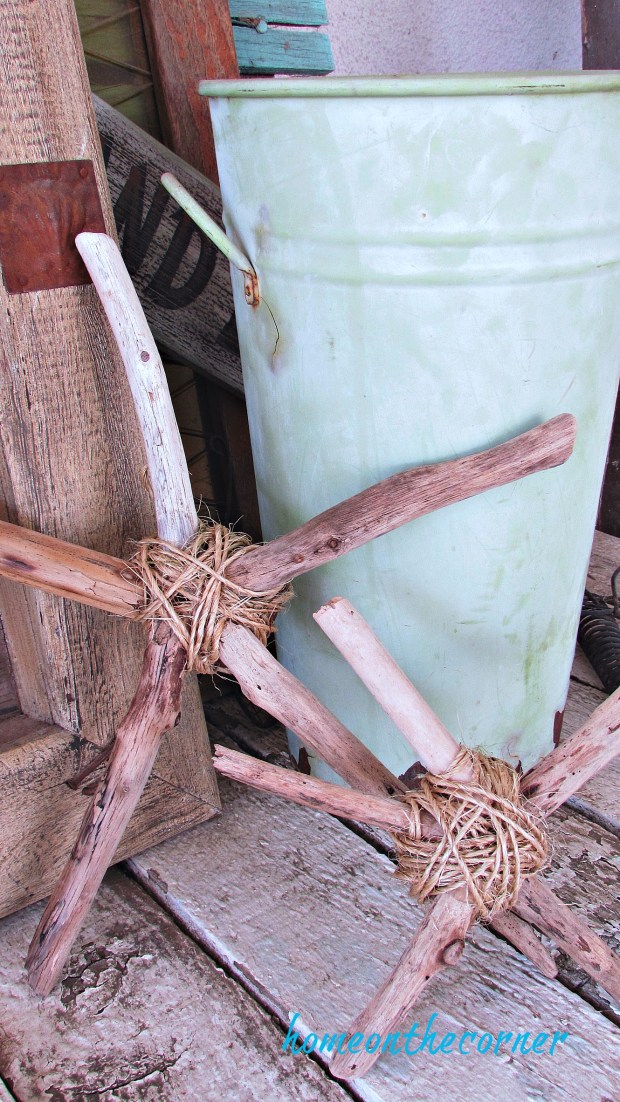
I added a few more coastal touches- another lantern with fairy lights, a couple of starfish, a couple of oars, a whale and a fisherman net.

shutter lantern coastal vignette diyshutter lantern coastal lantern beach whale

It makes me ready to go to the beach!

shutter lantern coastal beachy lights whaleshutter lantern candlelight beach coastalshutter lantern candle holder beaach styleshutter lantern with candle diyshutter lantern with candle and starfish

I’m so glad you stopped by today! Thank you! I hope you all have a great week!

shutter lantern candle holder varnish

sunshine-and-blessings-picmonkey

Here are a few other posts you might like:

scrabble letters spring lovely blossoms        mater bedroom dresser perfume necklace      spring porch rainboots with daffodils

amazon affiliate


Driftwood Wreath

Good morning! I’m back today with another driftwood project, or maybe it’s another wreath project! You can see my other driftwood projects here  and here and here and here. You can find the wreath projects here  and here.

I had the idea to make a driftwood star. My husband cut out a wooden star for me, but when I started to lay the pieces on, I realized I didn’t have enough small pieces of driftwood. So I poked around in my garage and found a large piece of cardboard I had been saving. I figured it would work for a driftwood wreath instead. I tried a few different things to trace for my circle, and ended up with this bucket. I traced the outside of the circle first. It measures about 16 inches.

driftwood wreath tracing a bucket on cardboard

Once I had the outside circle traced, I turned the bucket over and centered it as close as I could. Then I traced the inside circle.

driftwood wreath tracing the circle

I cut around the outside circle first and then poked a hole in the middle and cut the inside circle. Now I had a cardboard form for my driftwood to be attached to. The edges don’t have to be perfect, since the driftwood will cover it up.

driftwood wreath cardboard circledriftwood wreath cardboard cutout

I started with the bottom layer, using bigger pieces and laying them around the edges. Once I had it the way I liked, I hot glued them on.

driftwood wreath large driftwood pieces

After the bottom layer was secure, I started adding in smaller pieces to fill in the top layer. I kept adding until I could no longer see the cardboard and it was filled in nicely.

driftwood wreath layered pieces

I felt like it needed a little something more, so I added one starfish to the bottom. I hung it on an old window I have sitting on my faux mantle. The perfect coastal touch!

driftwood wreath old window

I thought the song ‘Down By The Bay’ was the perfect saying for my chalkboard.

driftwood wreath mantle and shellsdriftwood wreath old window mantle

A lantern with some fairy lights and a small bowl of seashell necklaces add to the beach feel.

driftwood wreath with starfishdriftwood wreath with starfish (1)driftwood wreath chalkboard

Now I just need the warm weather to match my new wreath! Don’t you just love that really curvy weathered piece of driftwood at the bottom?

driftwood wreath bowl of shelves

Thank you so much for coming by today! I hope you have a wonderful week!

driftwood wreath styled on a mantle

sunshine-and-blessings-picmonkey

We are a participant in the Amazon Services LLC Associates Program, an affiliate advertising program designed to provide a means for us to earn fees by linking to Amazon.com and affiliated sites.


Driftwood Starfish

Good morning! Well, this will probably be my last summer post this year. Crazy, right? It’s hard to think about fall when it’s still over 100 degrees outside!

I found this cute idea over at The Wicker House.  Thanks Emily! Great craft!

I thought I would give it a try with some of the driftwood I picked up when we went to the beach. I found some slim pieces that weren’t too long and some small chunks of wood to add to the back. I already had the twine.

driftwood starfish supplies

I started with the long pieces that I wanted to go together and a piece that would work for the middle.

driftwood starfish 5 pieces

I used hot glue to attach all the pieces together.

driftwood starfish hot glue and twine

I then glued the end of the twine to the back of the piece of wood to secure it and then started wrapping it around all the long pieces.

driftwood starfish with twine

I continued wrapping until everything seemed secure and then added a little more hot glue on the back to finish it off.

driftwood starfish wrapping with twine

Such a simple project, but looks so cute!

driftwood starfish with sailboat

These starfish give the perfect finishing touch to any coastal vignette.

driftwood starfish 5 pieces and twine

I wrapped this one with string instead of twine and it looks great too.

driftwood starfish single 5 pieces with stringdriftwood starfish small starfishdriftwood starfish with bucket

I love the little extra touch these starfish bring to my home.

driftwood starfish with twine boats

Are you ready for fall or are you still hanging on to summer?

sunshine-and-blessings-picmonkey

Casual Blue and White Beach Tablescape

Good morning! I haven’t been here for a few weeks, so it’s good to be back! The end of the year school stuff is wearing me out! But I have a few projects I’m working on so hopefully I can get them done and posted in the next few weeks!

I am really looking forward to summer and my dining room table reflects that. I love the beach look, so I decorated around that theme.

Blue and white are the perfect colors for summer! I use it along with the turquoise that I love so much. Of course, lanterns make an awesome centerpiece, especially filled with pieces of driftwood.

blue and white beach tablescape

I picked up these little glass votive holders at a thrift store for just .25! I added some sand and glitter around the edge and then placed a candle in a little more sand placed in the bottom.

blue and white dining room candles, glass floatblue and white dining room capiz shell lamp and centerpiece

I love the glass floats and have started a little collection of them.

blue and white dining room fisherman net and candlesblue and white dining room lantern with driftwood

So many of my items have been picked up from Goodwill, but are Target items. The placemats,  napkins and navy blue bags were all  purchased at Goodwill. I love that I can get new items for a fraction of the price.

blue and white dining room place setting

I added a few beach touches to my shelves too. I made the ombre’ starfish canvas a couple of years ago.

blue and white dining room shelvesblue and white dining room striped runner and nettingblue and white summer dining room driftwood lantern centerpiece

The little blue bags are great for gathering together the napkin and flatware.

blue and white tablescape blue silverware bag


blue and white summer dining room

Are you ready for summer? I  am looking forward to having time to relax and time to get some of my long list of projects done! Have a great week!

sunshine-and-blessings-picmonkey

Live in the Sunshine Boogie-board Makeover

Good morning! Sorry about not posting yesterday. We spent the weekend with my daughter and enjoyed a beautiful Southern California weekend! We were able to watch the play she was Stage Manager for and spend some time at the beach. It was great! We head back in a few weeks for our trip to Disneyland. Can’t wait!

First off, I want to apologize for the quality of the pictures. I am not sure what happened here, but I didn’t realize how blurry they were until after I had finished the project. So just bear with me until the end!

My husband picked up this boogie board at a yard sale and sanded it completely down.

Surfboard makeover

It took me awhile to come up with my idea, but I knew I wanted to leave the edges the natural wood. I taped all around the edges with painters tape and then painted the rest of the board a turquoise blue.

surfboard makeover taped edgesurfboard makeover blue background

While the paint was drying, I printed out the words I wanted to paint on. I used all different fonts for the letters and different sizes. It took some playing around with it, but I finally got it all to fit on the board.

surfboard makeover live in the sunshine

I placed a piece of transfer paper under the words and outlined all of my letters with pencil. I have another post that shows how this is done just with pencil and no transfer paper.  You can see it here.

surfboard makeover transfer paper letters

Once all my letters were transferred onto the board, I was able to fill them in with paint. I used acrylic paint and a stiff brush. After everything was dry, I went over it all with some sandpaper so it looked weathered.

surfboard makeover live, swim, drink

So, what do you think?

surfboard makeover swim in the sea

Of course, it’s perfect with all my other beach decor!

surfboard makeover bookshelves and fireplacesurfboard makeover coastal beach seashells

I plan on using it on my front porch once the weather warms up.

surfboard makeover coastal vignettesurfboard makeover live in the sunshinesurfboard makeover live in the sunshine

Thanks for stopping by today! I hope you all have a wonderful week!

sunshine-and-blessings-picmonkey