Our First Blogiversary

annual


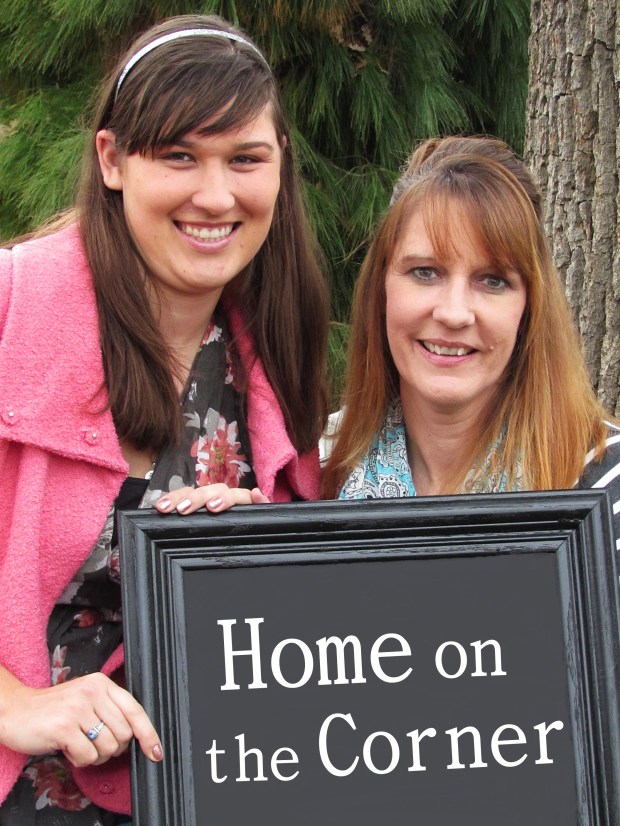
It’s official! We are now One!!! I can hardly believe it’s been a year. I remember sitting with Lauren and telling her it would be fun to start a blog, but had no idea what I would do for it. The more we talked, the clearer it became and soon Lauren was joining me on this adventure. Then came the decision for a name. That probably took us 3 weeks! I recall Haley walking in and saying, ‘Are you still talking about a name?!’ Ha! Now here we are a year later!

Blog Portrait, Lauren and Pamela

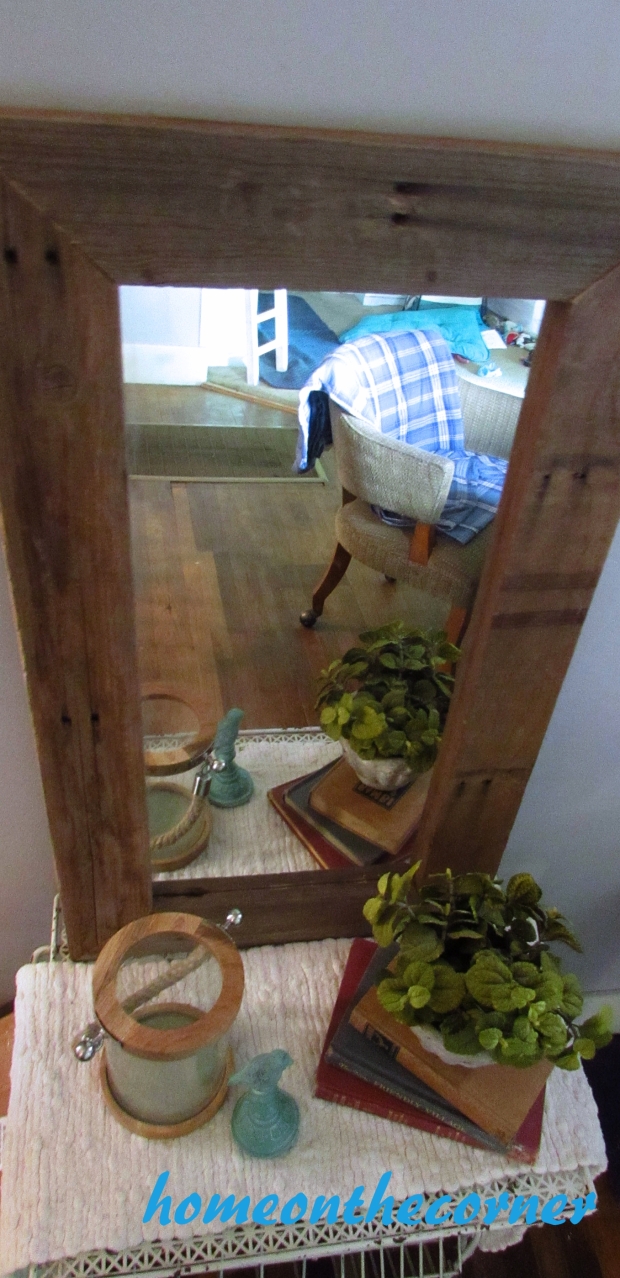
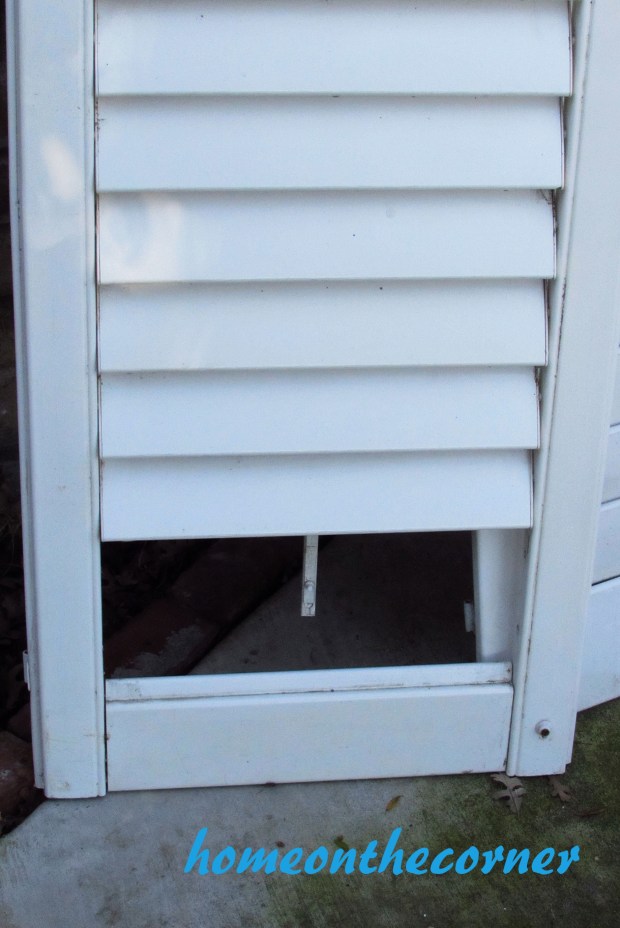
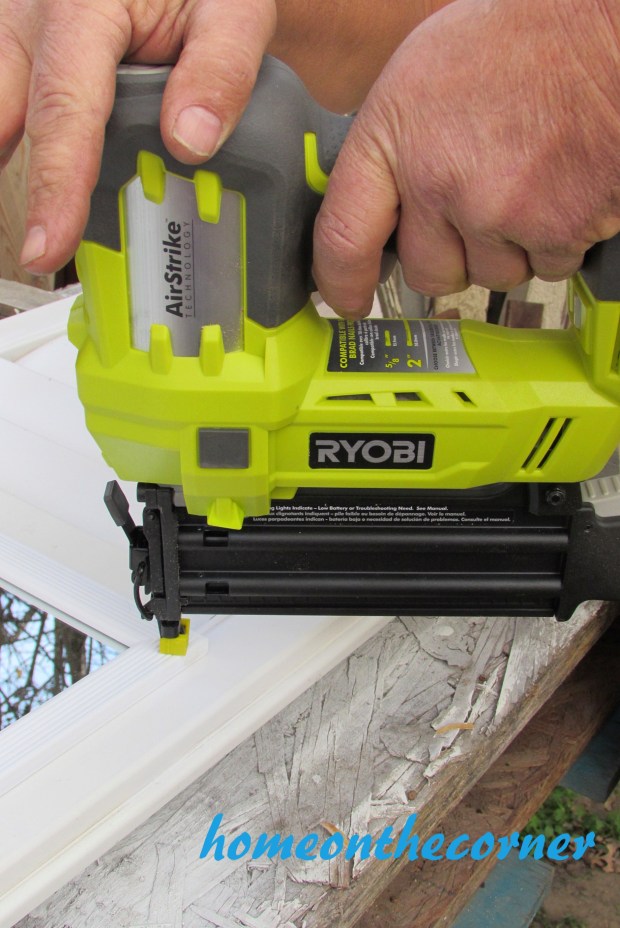
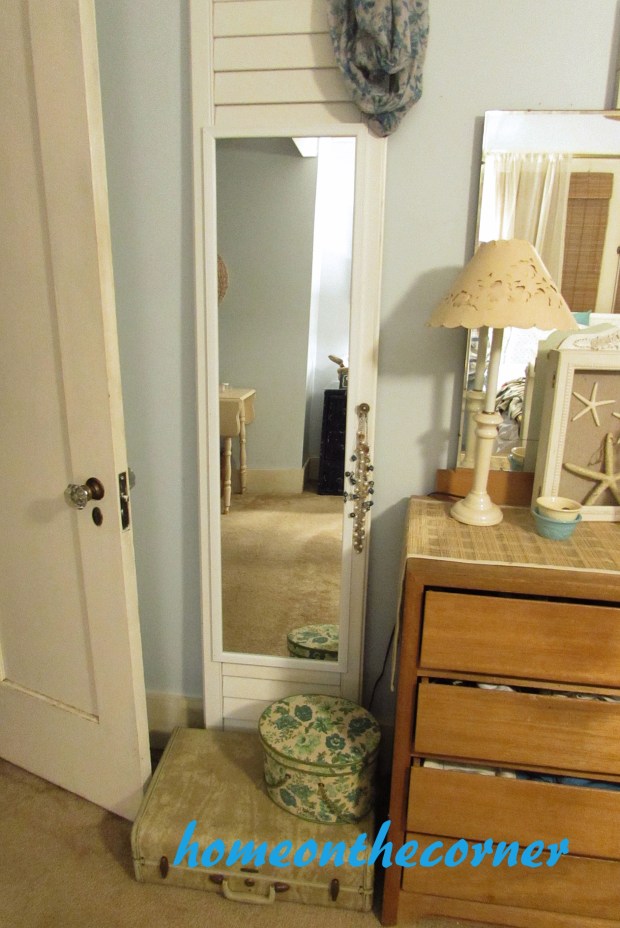
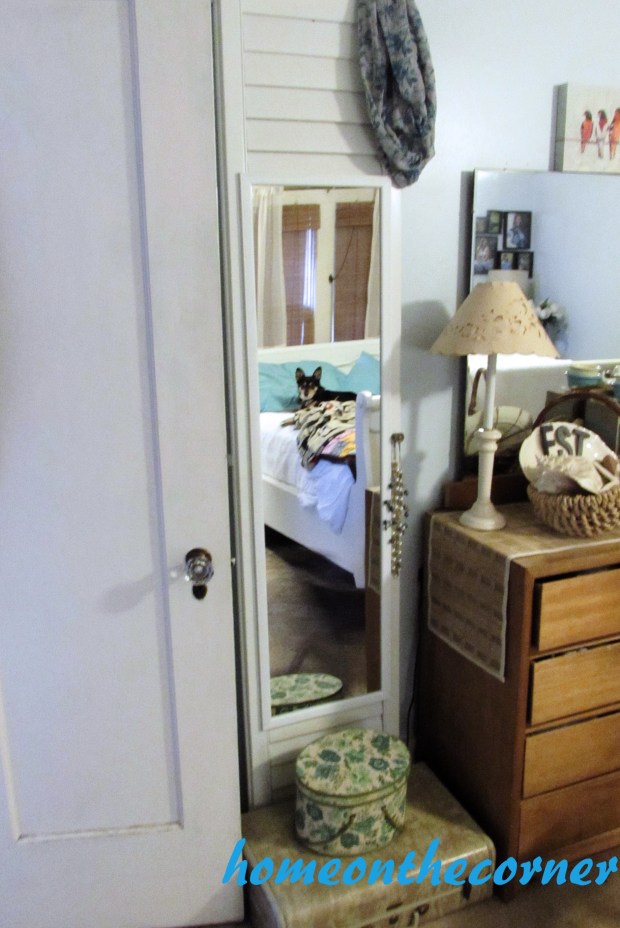
Some of Pam’s favorites have included furniture make-overs, DIY’s and decorating. She also loved redoing Lauren’s room and finally getting the hallway painted! Lauren loved being able to show off her Paris bedroom and of course her puppy, Zoella! Just knowing we have to post something helps us be more intentional about getting projects done.

Parisian Decor

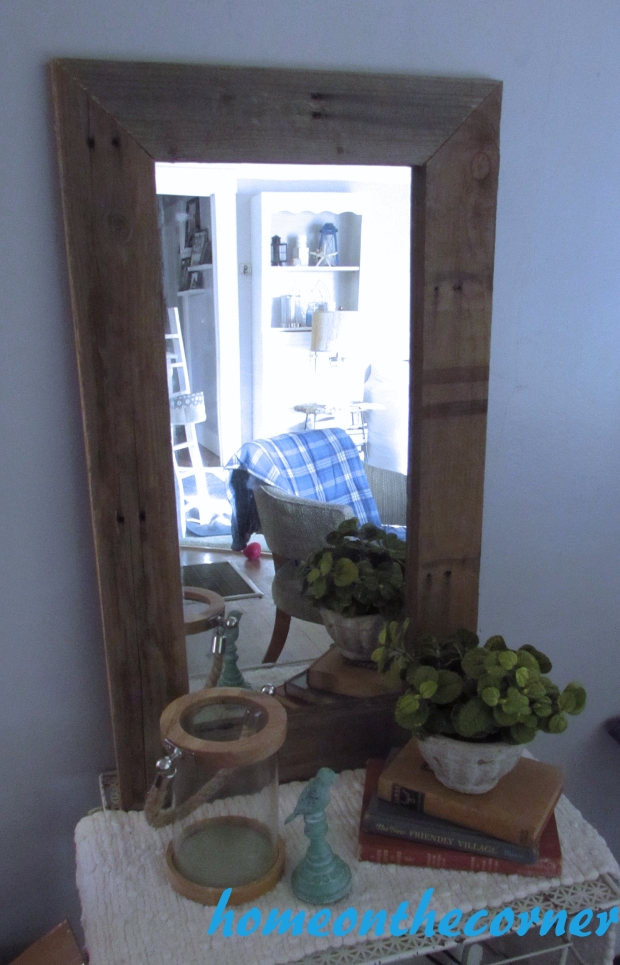
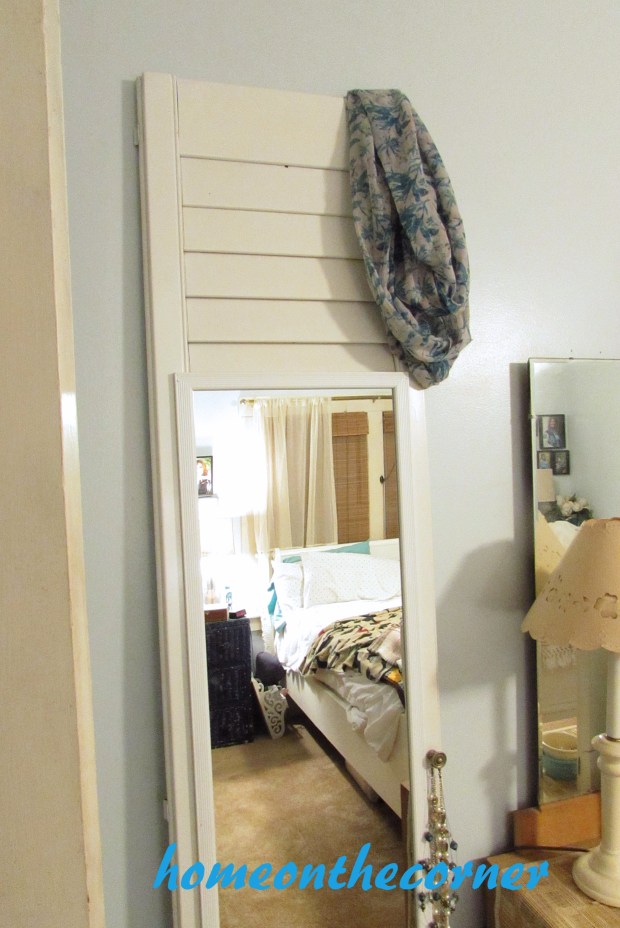
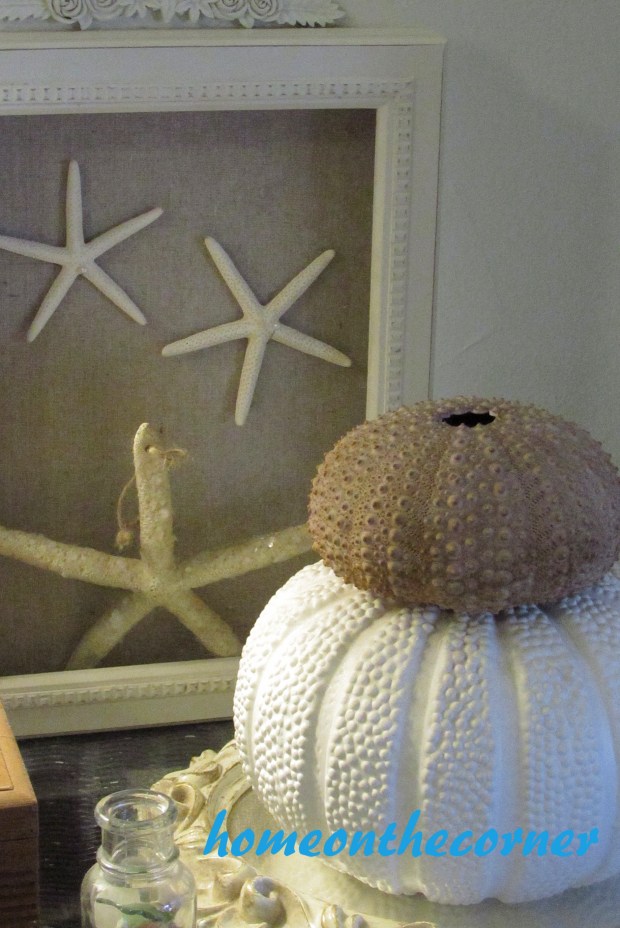
My favorite part of my room-the bed

Some improvements this year have included better pictures, at least I hope so! I am slowly learning how to take better and brighter pictures. We also had our first giveaway! It was so exciting to be contacted by ParrotUncle to give away one of their lamps. Hopefully that will be the first of many! We also received 2 awards this year: The Liebster Award and a Blogger Recognition Award. Thank you to fellow bloggers for nominating us!!

master bedroom 12

We are planning on making a few changes, all positive we hope! Pam will still be posting on Monday. We are going to post on Wednesday with a Fabulous Finds and/or Fashion Day. We will either post about thrift store/garage sale finds or some fashion ideas. Lauren will be posting on Friday. Hopefully this will work better with her school and work schedule and Saturday will be our Corner News.

Laurens Room 12

Of course, we want to hear from you too! What kind of posts do you like to see? Are there things you don’t like or things we should change? Please let us know in the comments below. Just be kind please :)!

I don’t want to be too mushy, but I really have to say thank you.  I have thoroughly enjoyed writing blog posts and letting everyone who comes by see them.  It has been hard for me at some points because of working a full time job and going to school full time, but I love to come up with ideas of how I can make a blog post.  I have enjoyed reading all of the kind comments that I have received on some of my posts (mostly about Zoella, but nevertheless) and loved seeing who has come to view our blog.  Thank you for not only fulfilling my dream to create and write about something for people to see, but also showing me that you care about what I write.  Thank you from the bottom of my heart!  And cheers to creating more amazing content to share with all of you!

It has been quite a ride this year and we can’t wait to see what else is waiting for us! Thank you again for coming over to read our posts and for all the kind comments! Obviously we wouldn’t continue if we didn’t have readers! Thank you for your support!sparkle

Sunshine and Blessings

Pallet Wood Mirror

Today is Martin Luther Kings birthday here in the U.S. I actually teach my preschoolers a little bit about him. I’m always surprised at the important questions they ask. I explain that only some of them can go to the playground today and of course, they don’t think that is fair. It gives them just a little taste of what Martin Luther King fought for.

Here is the piece of mirror I fought with a couple of weeks ago :). Here is the project I was working on when the mirror broke. My husband took the broken piece and using a glass cutter, cut off the broken corner.

pallet wood mirror piece

He picked out some of the pallet pieces we had laying around and cut four pieces to make a frame. He cut a 45 decree miter cut so all the corner would fit together nicely. I don’t have measurements for you, because he just went by the size of the mirror.

Pallet wood mirror miter cut

Screws were put in at each corner, on the sides, to hold it all together.

pallet wood mirror frame

He cut out indention’s in the back with a router bit for the mirror to sit in.

pallet wood mirror router inside for mirror

Here is the front, ready to have the mirror placed in it.

pallet wood mirror wooden frame

It took a couple of tries, but now the mirror fits perfectly.

pallet wood mirror with mirror inset

We didn’t have any type of brackets or anything to hold the mirror in place, so my husband used some plumbers tape we had on hand and screwed it on, overlapping the frame and the mirror. I probably would have attached it corner to corner, but so far this is working too.

pallet mirror backside plumbers tape

It worked! Now to clean it up and find a spot for it in the house.

pallet wood mirror finished

I placed it on a small table in the dining room and it looks pretty good there! I like how it’s kind of rustic and farmhouse looking. Don’t mind the mess in the mirror’s reflection. That’s the dog’s toy corner!

pallet mirror view

My husband doesn’t usually have much time to work on extra projects, so this was a great! I love how it turned out and can’t wait to try it in different areas of the house.

pallet wood mirror styled

Be sure to come back on Friday to celebrate our One Year Blogiversary!  See you then!

Sunshine and Blessings

Corner News-January 16, 2016

Welcome to another edition of the Corner News!  This weeks edition is very short and sweet, but it is all worth it in the end.

Last night, my mom and I were creating burlap tablecloths for an Open House at Valley Animal Haven, the shelter we volunteer with.  We decided that we wanted to stamp some paw prints onto the burlap to make them more personal for the shelter.  So, taking two different stamps and lots of black paint, we got started on our project.

And here is what our dining room looked like when we were done!

burlap paw print

They turned out super cute!  The randomness of the paw prints makes the design even cuter!


And why not just look at the handy work of one of the beautiful paw prints.  Isn’t it splendid?

single paw print

So this is the big excitement of what happened this week.  Hope you all have a great weekend!


The Easy Way to Make a Shutter into a Mirror

Time seems to go so quickly. We will be celebrating our 1 Year Blogiversary in just a couple of weeks. Amazing!

Do you ever feel kind of overwhelmed by all there is to see on the internet, places like Pinterest and Facebook? I know I do. There are so many ideas out there and so many pretty designs, it is hard to know where to begin or even decide what you like! There is so much out there that I like. I like the neutrals, but I also like the turquoise seaside look.  Do I want farmhouse or coastal? So then I have to decide if I want every room to have that look or just some of them. When I see other houses where they use neutrals, I love how they can move things from room to room and it still works. I don’t know. I guess my look is always evolving. But I do know right now, I am liking white. I have always liked shades of white, but when my kids were younger, I had lots of color. Now I am trying to go with more white and then add different colors with accents, such as pillows, blankets and decorations. Now you get to join me on this crazy ride!!

My first project this year is a full length mirror for my room. I had one on the inside of my closet door, but when I went through and decluttered, I hung jewelry there instead. Then the mirror broke when it got moved. After Haley repainted her room, I inherited her mirror. I had it just standing on the floor in the corner and would move it when I needed it. It’s actually the mirror in the first pictures, but guess what? It broke too! 2 mirrors broken! Does that mean bad luck for me? They were both in 2015, so will 2016 be okay? Anyways, I knew I wanted to do something nicer with mirror and I had either a door or a shutter to work with.

door to mirror pieces

I ended up using the shutter because the size fit better with the mirror. I’m sure the door will show up sometime here on the blog! I took the frame off the mirror and as much of the cardboard as I could. This is probably what caused it to break. It didn’t have enough support.

door to mirror back side

The shutter I had was missing a couple of the slats at the bottom. My husband took the whole slat piece off the bottom and turned it over so the missing ones were in the middle and will be covered by the mirror. Smart thinking!

door to mirror shutter

The next thing to do was clean the shutter and buy a new mirror!

door to mirror missing shutter pieces

Alrighty, I’m back. The shutter is clean and the mirror I found had a white frame, so I didn’t have to frame it myself. I’m all about making it easy!

door to mirror shutter painted

After lining everything up, we got to use my new Ryobi Airstrike gun. I actually won this from another blogger! I was so excited about this! Sure makes it easier than hammering nails! We nailed it near the edge so it wouldn’t crack the mirror. We don’t want to break 3 of them!

Door to Mirror Shutter Nailgun the edges

Here it is! I’m so glad to finally have a full-length mirror in my room. I’ve been moving the old one all over, trying to prop it up and other various moves to see what I am wearing!

door to mirror full view

Hi Ezzy!

door to mirror ezzy in the mirror

I really like how this looks in my room.

door to mirror top half

And it could be used in any room!

Thanks for joining me today! See you next time!

Sunshine and Blessings

Pink Paper Flower

Valentine’s Day and springtime are approaching us.  That means all of the pretty colors are coming in and the flowers are starting to bloom.  The scenery is becoming more vibrant and it is time to start spending more time outside rather than in.

So, why not welcome spring by starting to decorate with some flowers and bright colors?

I found this easy DIY paper flower on HGTV.com.  I was excited because it looked really pretty and the instructions seemed simple.  So…here is my trial of making a pretty paper flower.

Items needed are:

Pink Paper Wall Flower Tutorial


A cardboard circle-the online instructions said to use a cake circle which would work, but I didn’t have one, so I just used a piece of cardboard and cut it into a circle.

Scrapbook paper-the online instructions said to use 7 pieces of scrapbook paper.  I ended up only using 5 1/2.  Granted, I used different designs where the original design used all the same color.

Double sided tape-I didn’t have any, so I used a hot glue gun and regular tape.

A paper cutter or scissors

Step 1: Cut all of your paper into 4 inch by 4 inch squares.  (I found it easier to cut the pieces that I wanted to use first instead of all of it because I didn’t end up using all of the pieces that I cut).

Pink Paper Wall Flower Squares

Step 2: Make all of your squares into a cone shape.  I had to use a little trial and error to make my cones look the way I wanted it to.  If you are using designed paper, fold the plain sides together for the inside of the cone.  If the design in on the inside, the flower is going to be a majority white.  Make sure to tape or glue the edges together.

Pink Paper Flower Cones

Step 3: Start gluing the cones onto the cardboard.  I had to use hot glue to get the cones to stick to the cardboard.  Also, the cones need to be a small distance apart so they don’t get too crowded and not make a circle.

Pink Paper Flower Close Up


Step 4: Keep adding cones to the cardboard to make the layers of the flower.  Just flatten the end of the cone and put glue on that end to stick to the cardboard.  Keep filling in until you have a flower!

Pink Paper Flower Final 2

Now, this flower can be hung from a wall or just placed on a table like I have done.  I love how it turned out with all the different designs of the paper in the different layers.  It is great with Valentine’s Day decorations or just to hang on the wall.

Pink Paper Wall Flower Final 1

We’ll be back with  more ideas in the next few weeks!

sparkle