Hello everyone. I hope everyone is having a great week so far. Just remember, tomorrow is Friday, also known as Friyay!
But, onto the blog.
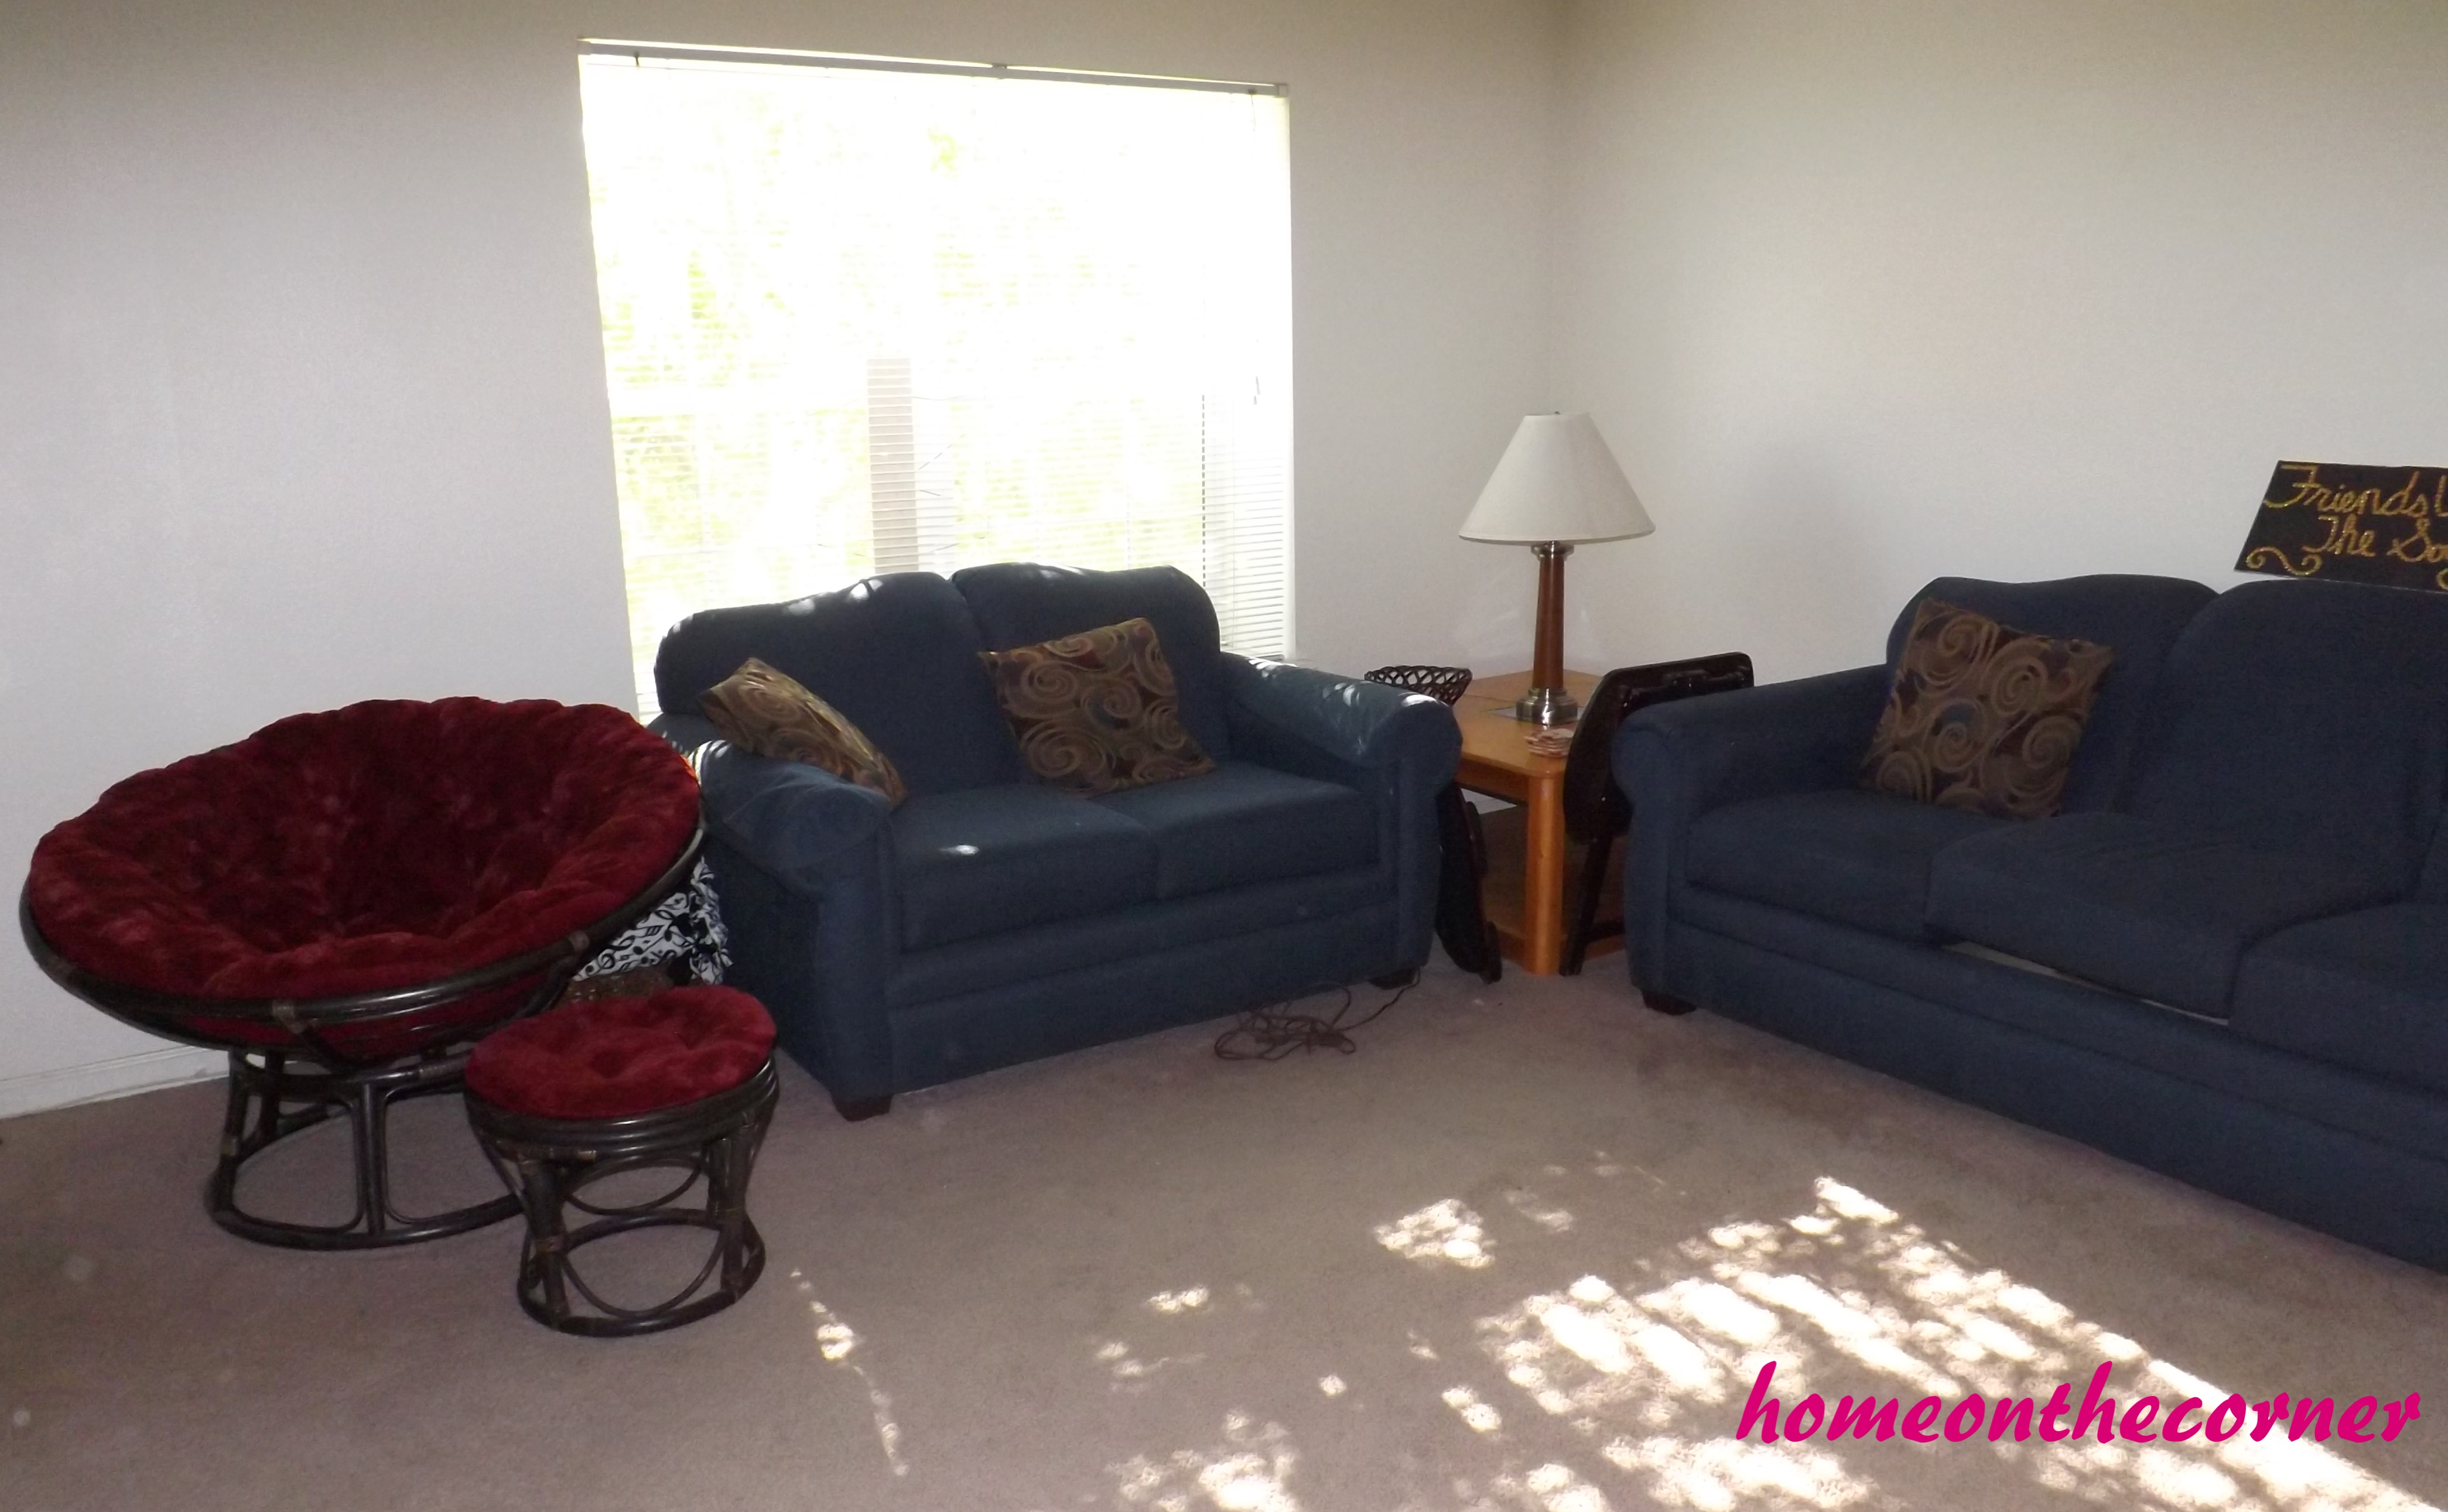
Since I live with three other girls and our apartment came furnished, I never really did anything with the living room. But after a year of living there, I realized how boring it was.

Before
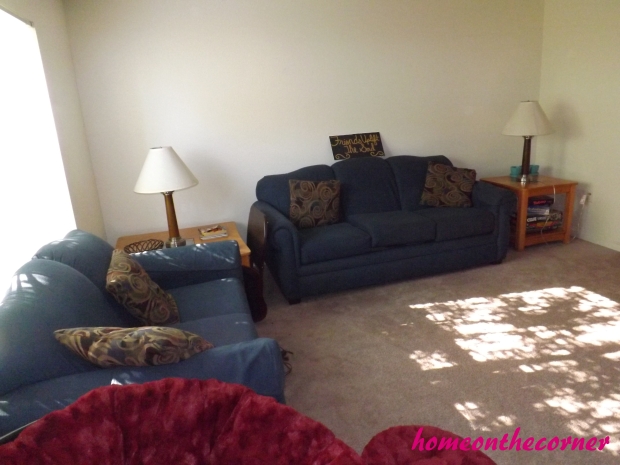
Another Before
There was just a big empty space in the middle of the living room. Now, it was nice when we were setting up the Christmas Tree because then we could put all of our decorations in the middle of the floor to see what we had. But, other than that, it was just a big empty space in the middle of the floor.

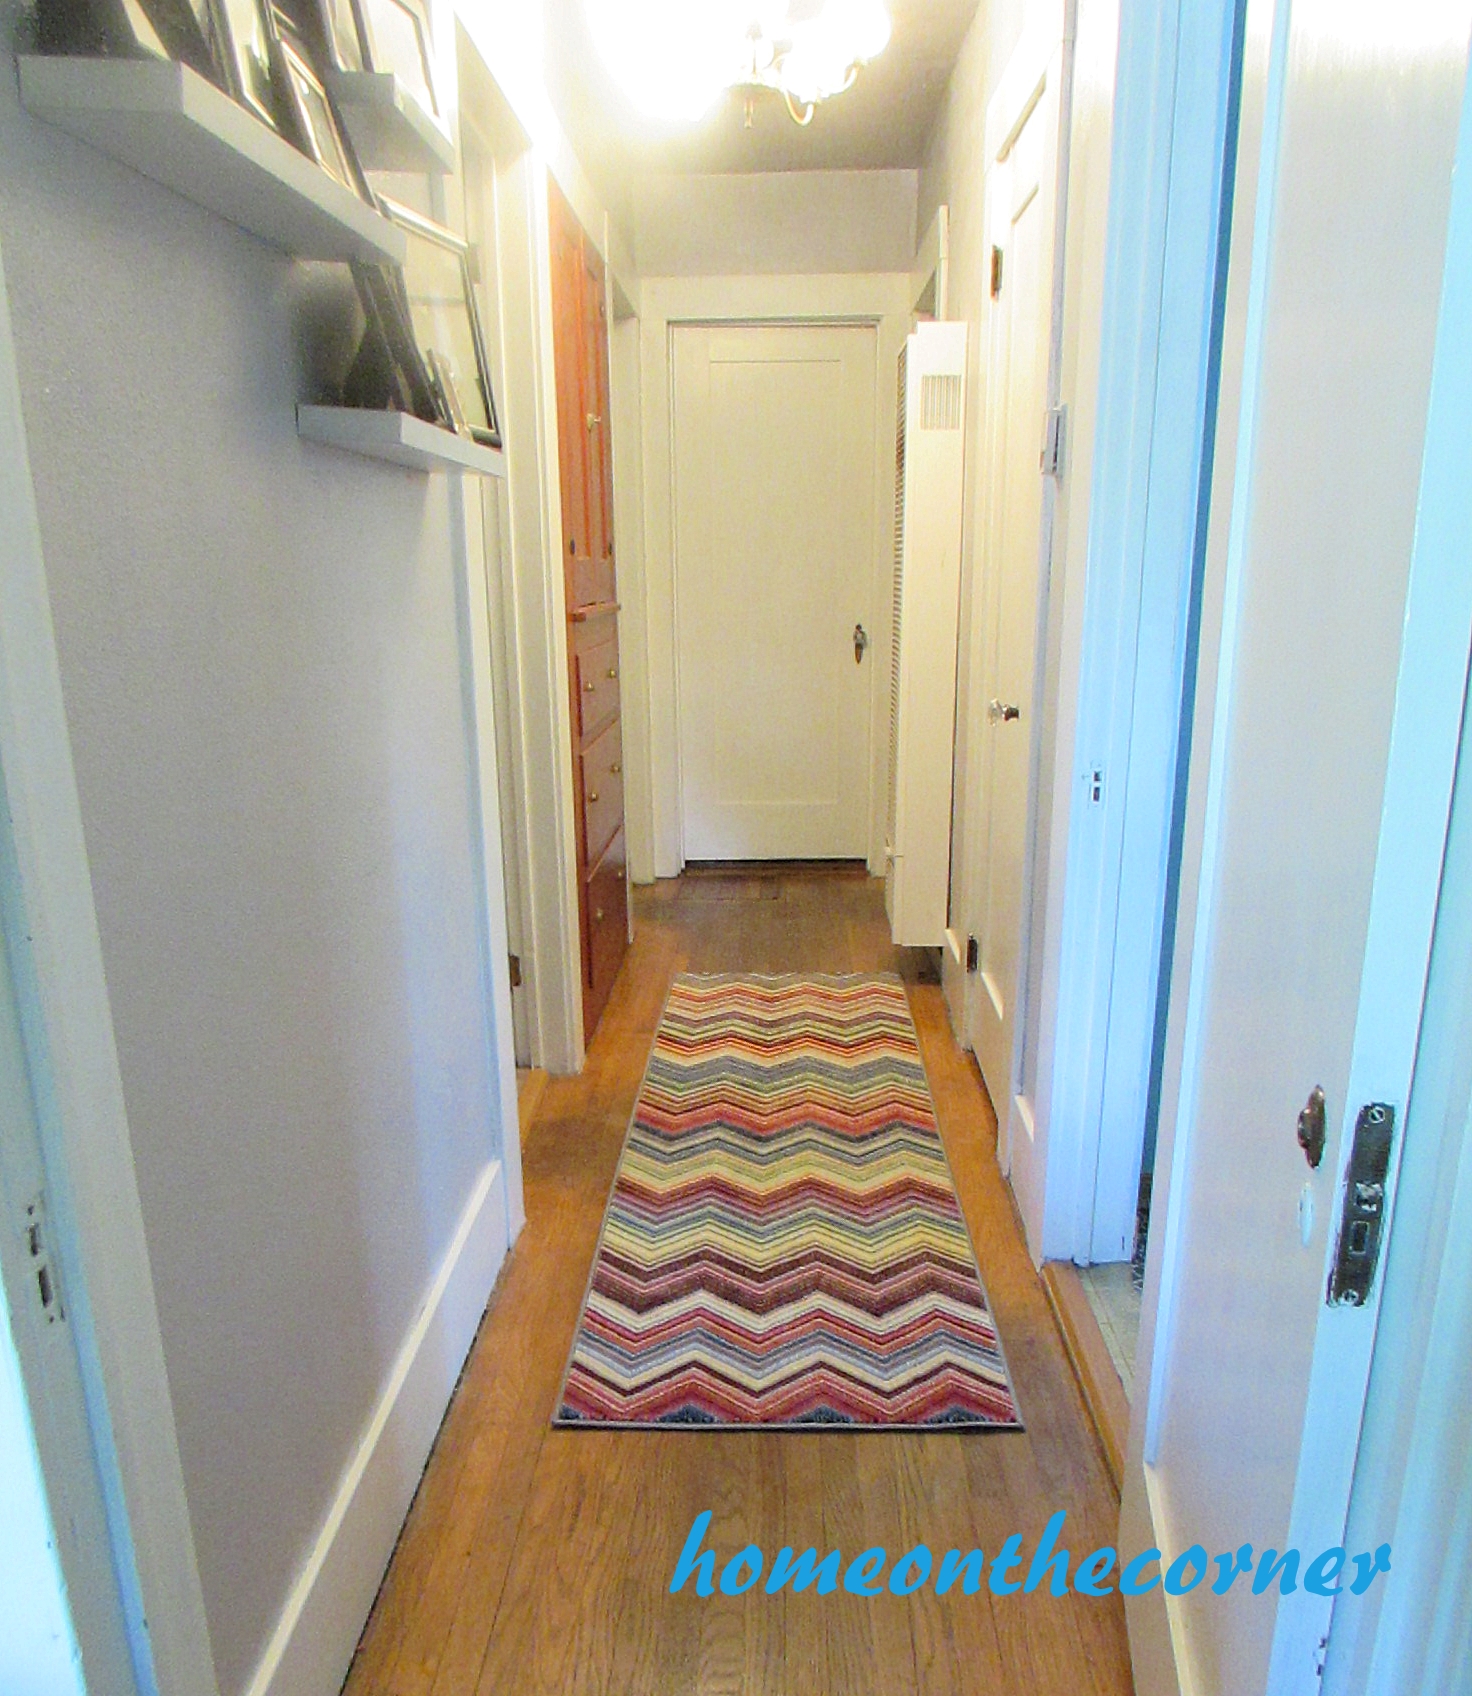
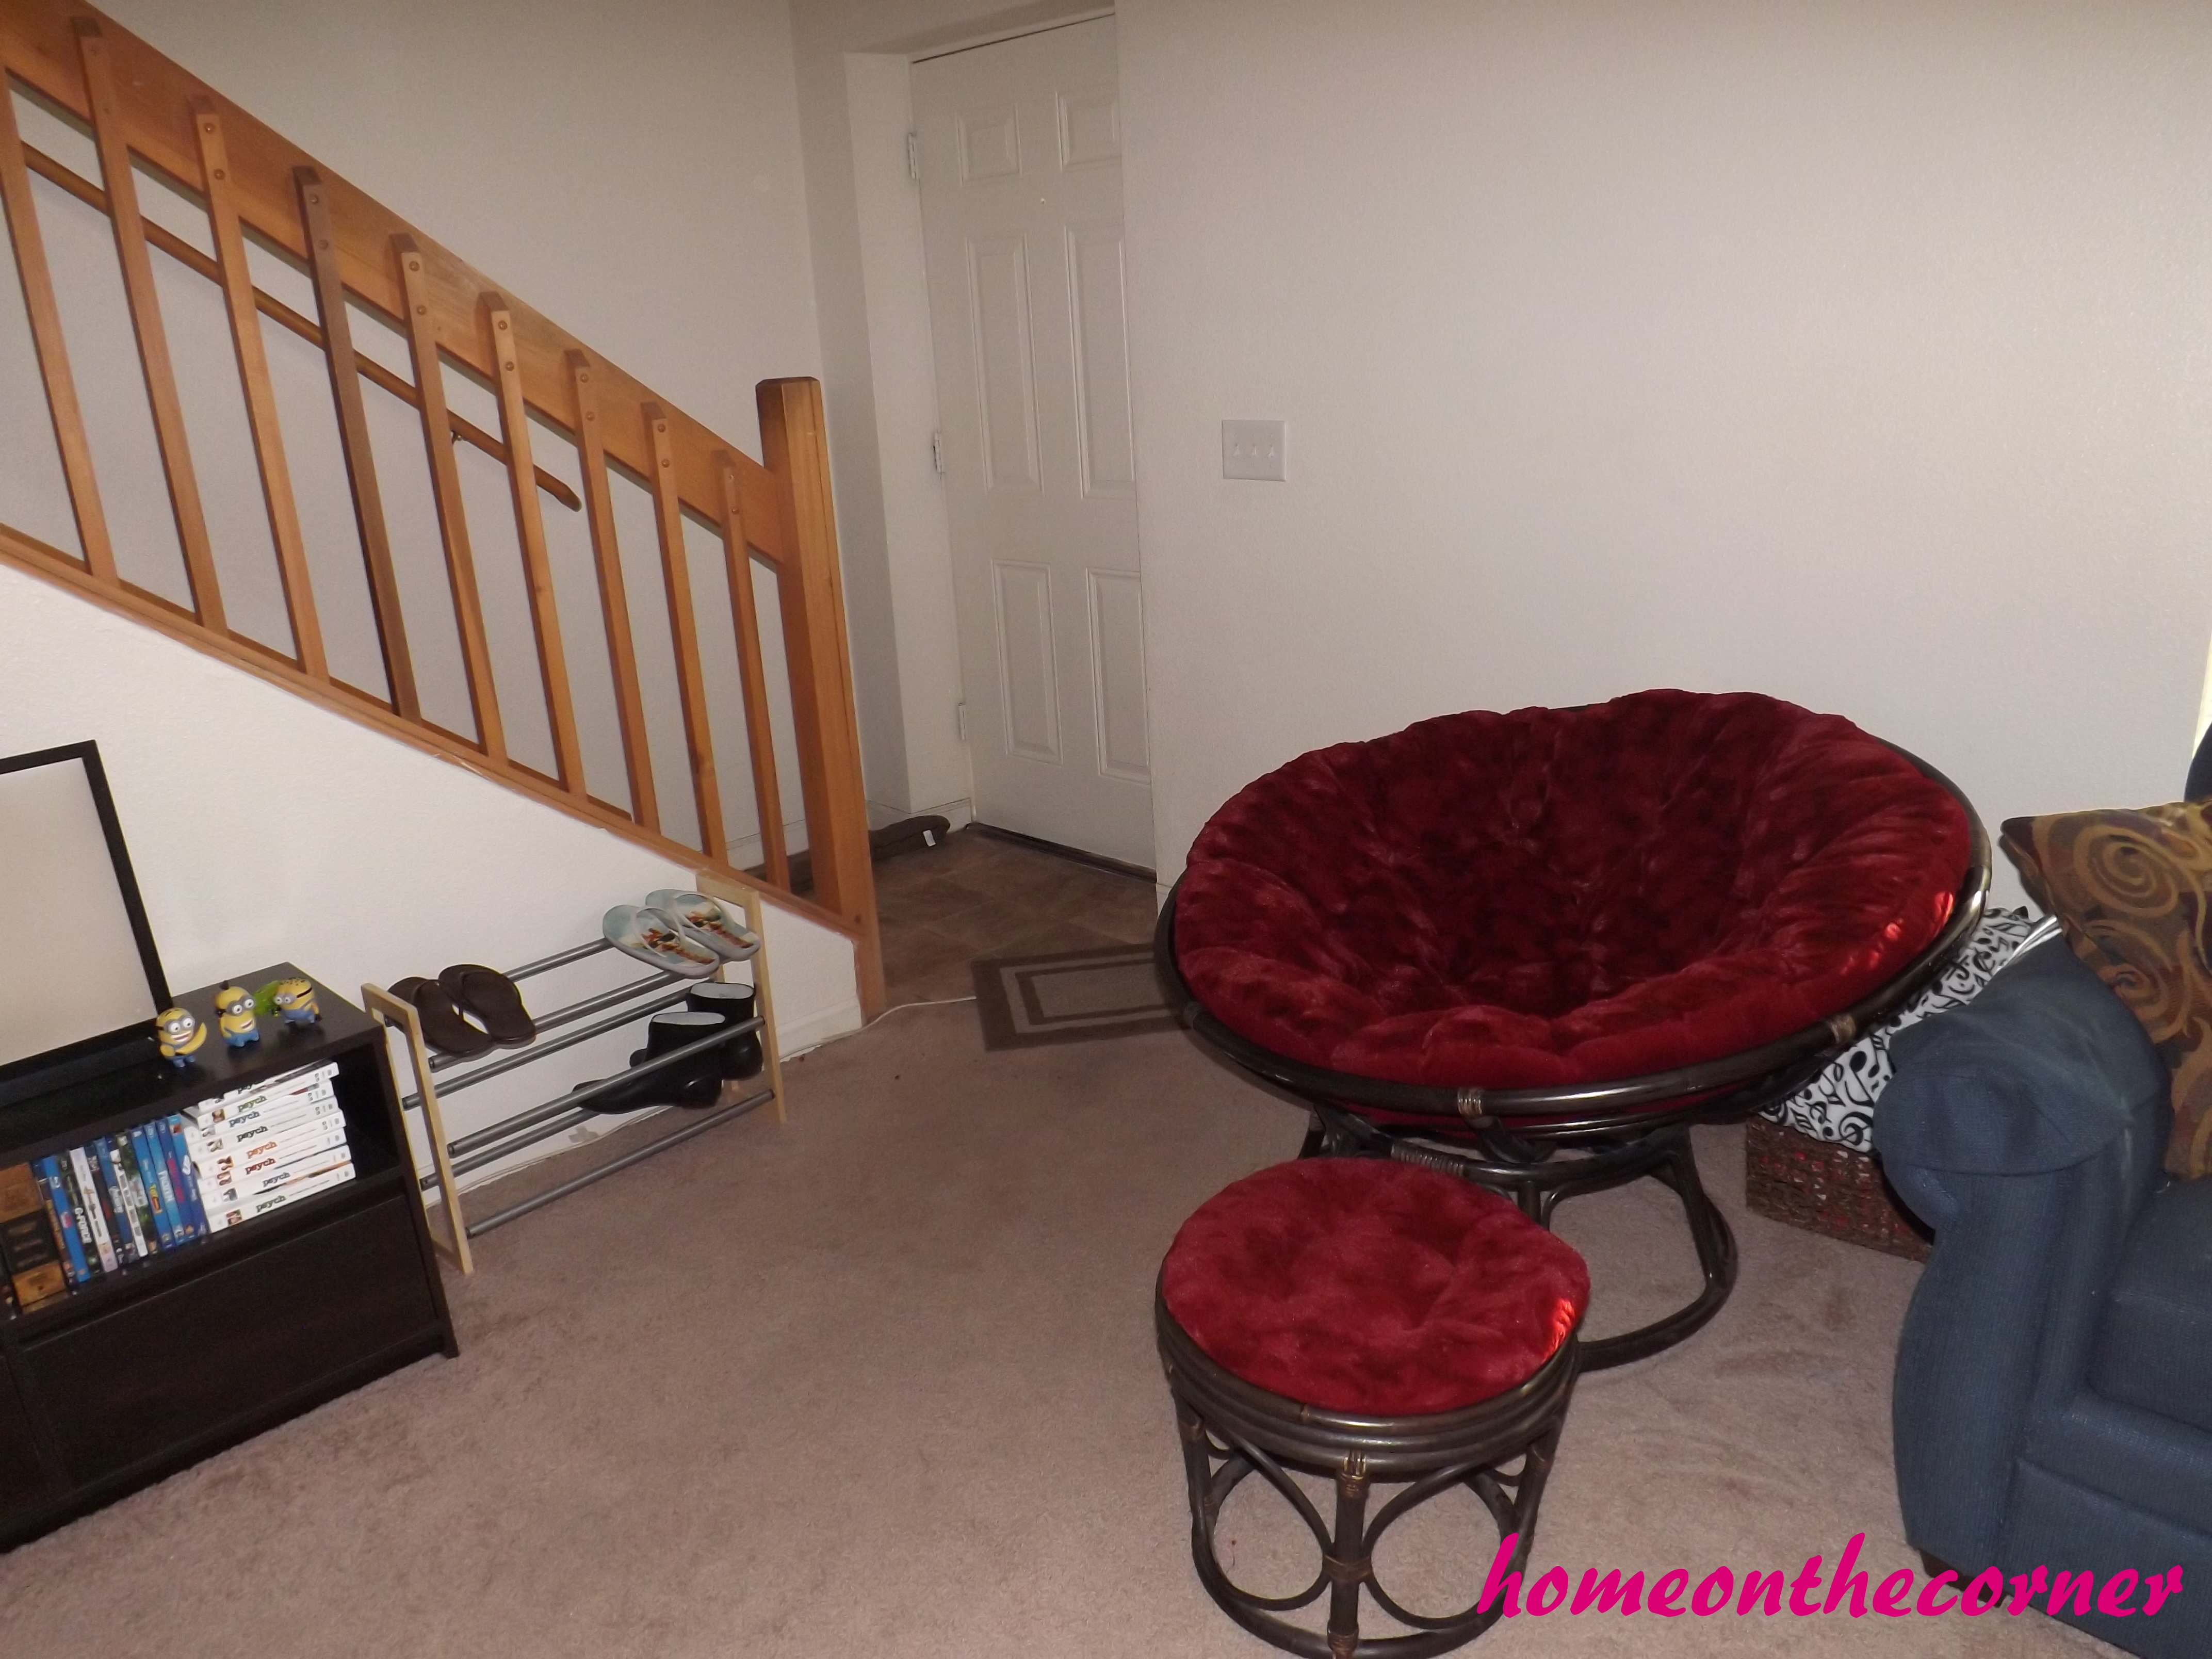
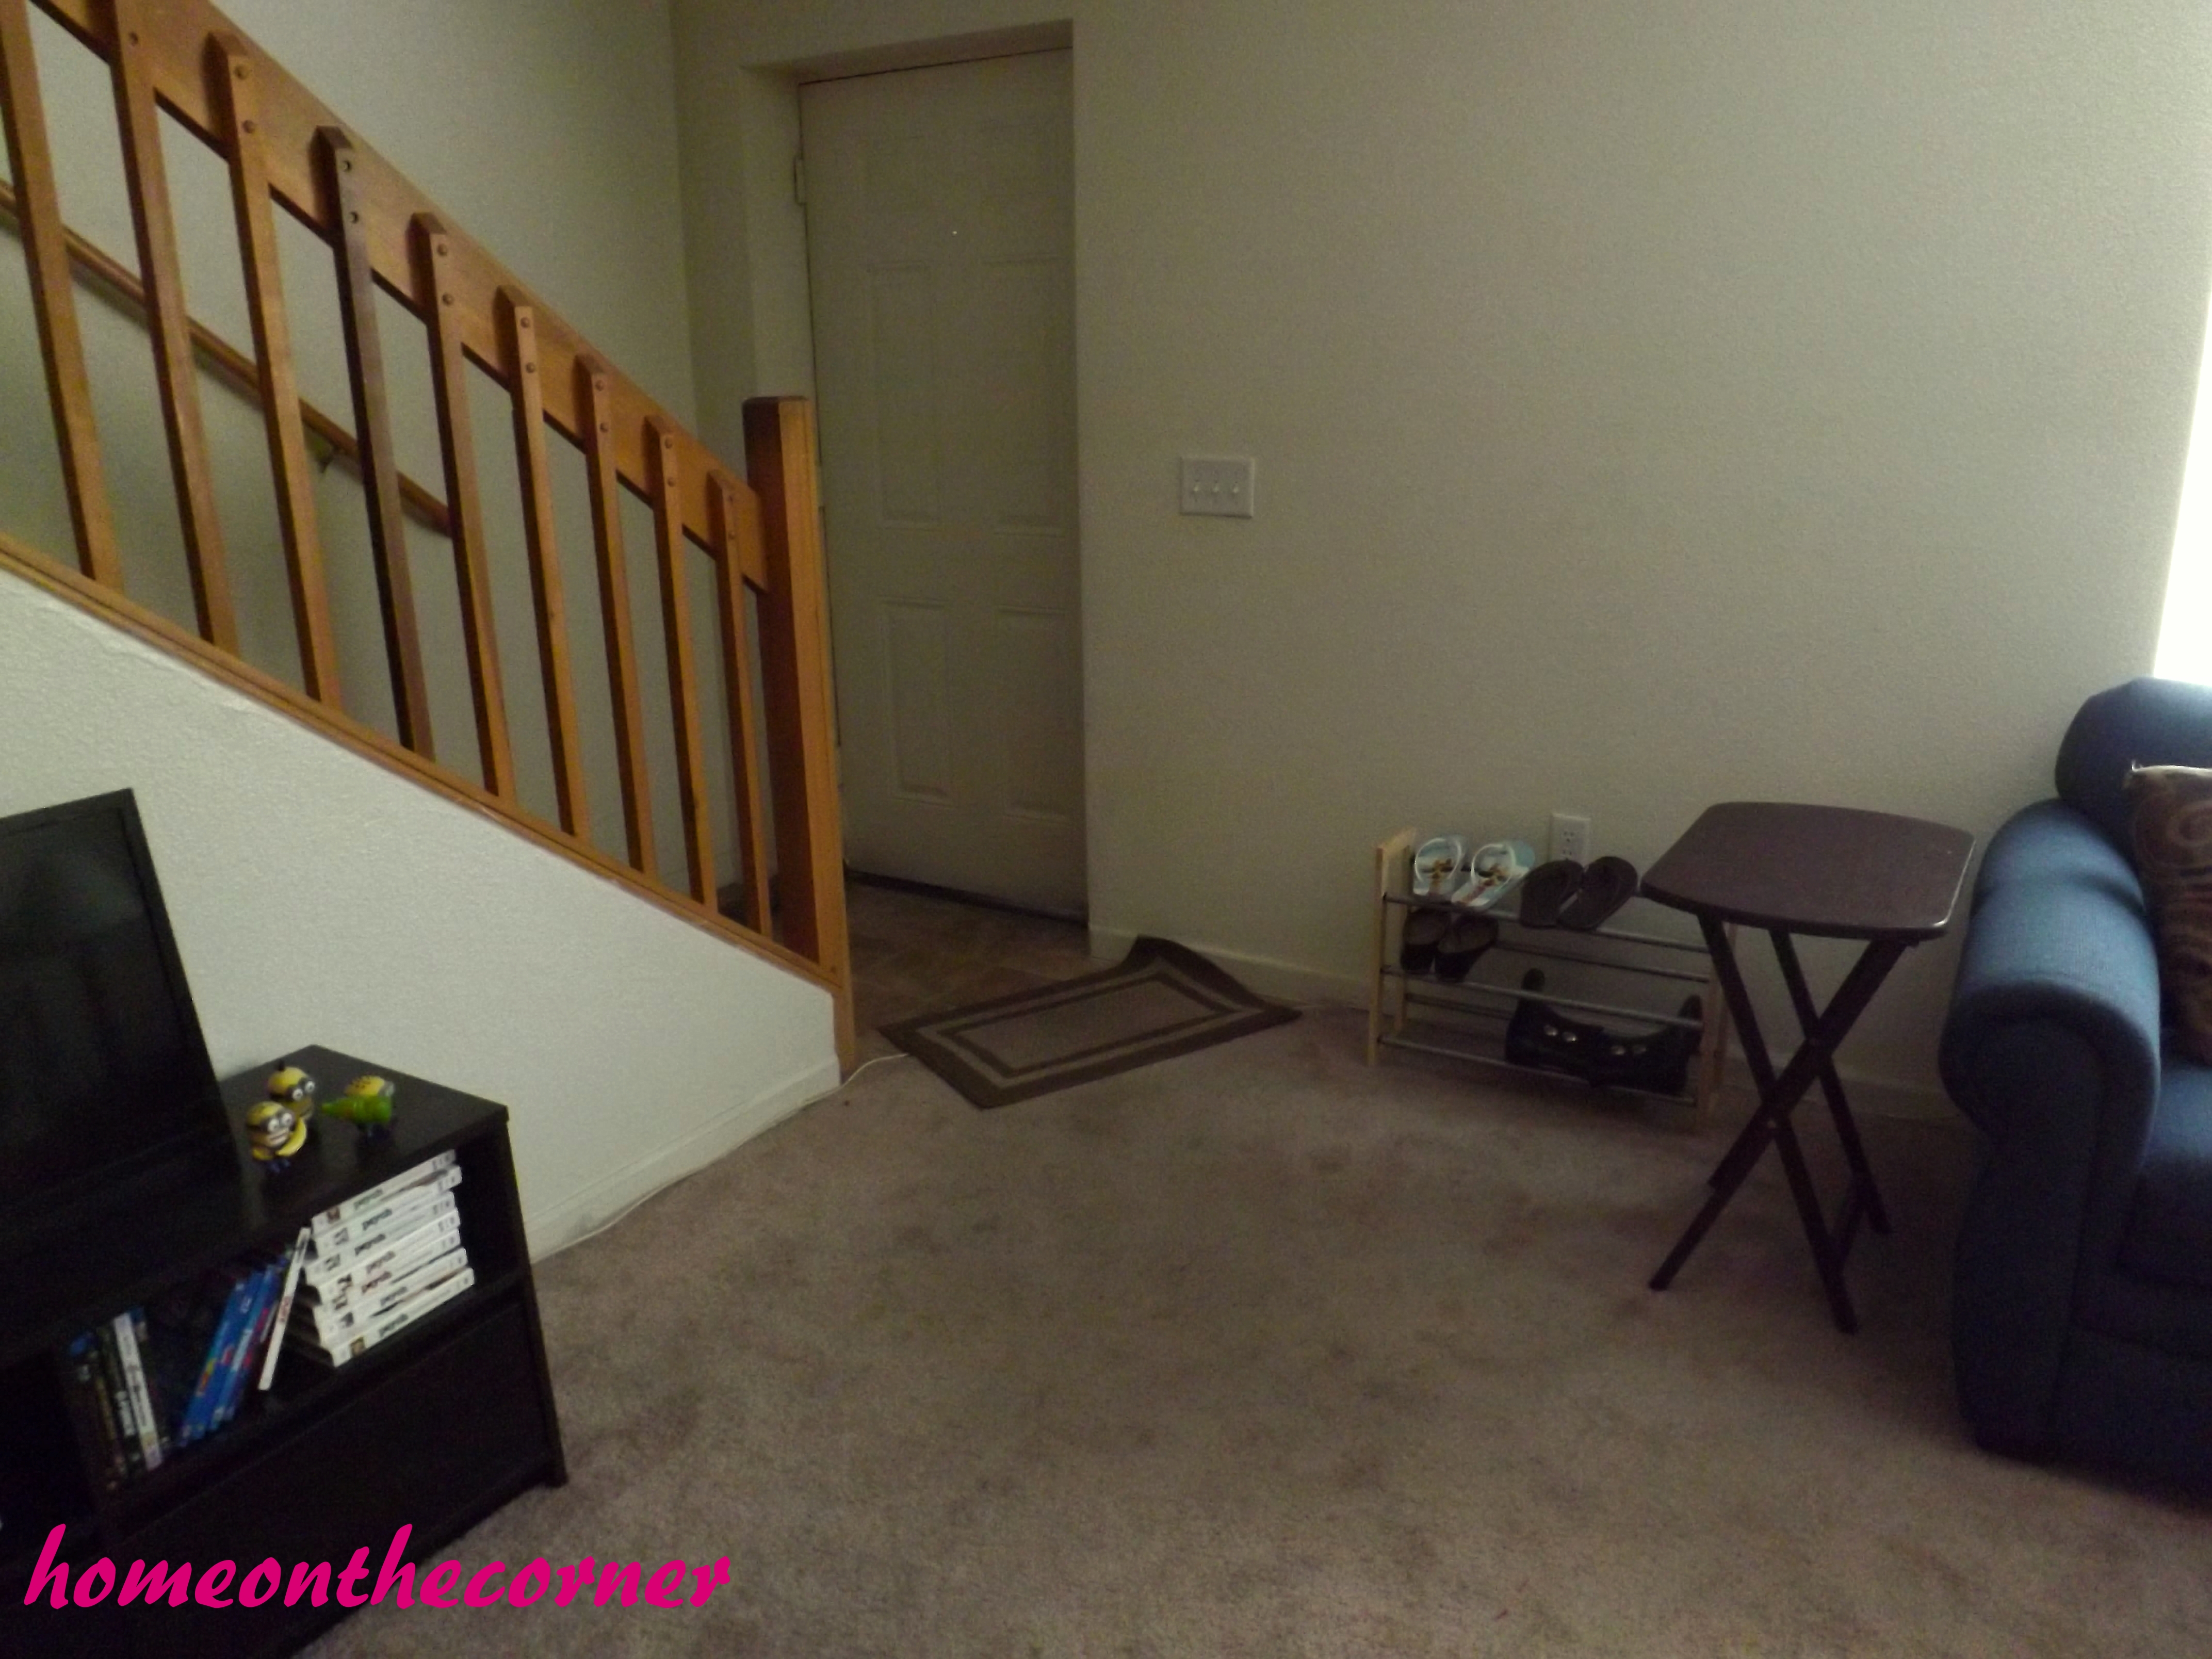
Our entry way was crowded by the large Papasan chair and the shoe rack next to the stairs. If we had a lot of things that we were bringing in the door, we would have to be careful to not bang into one of these things.

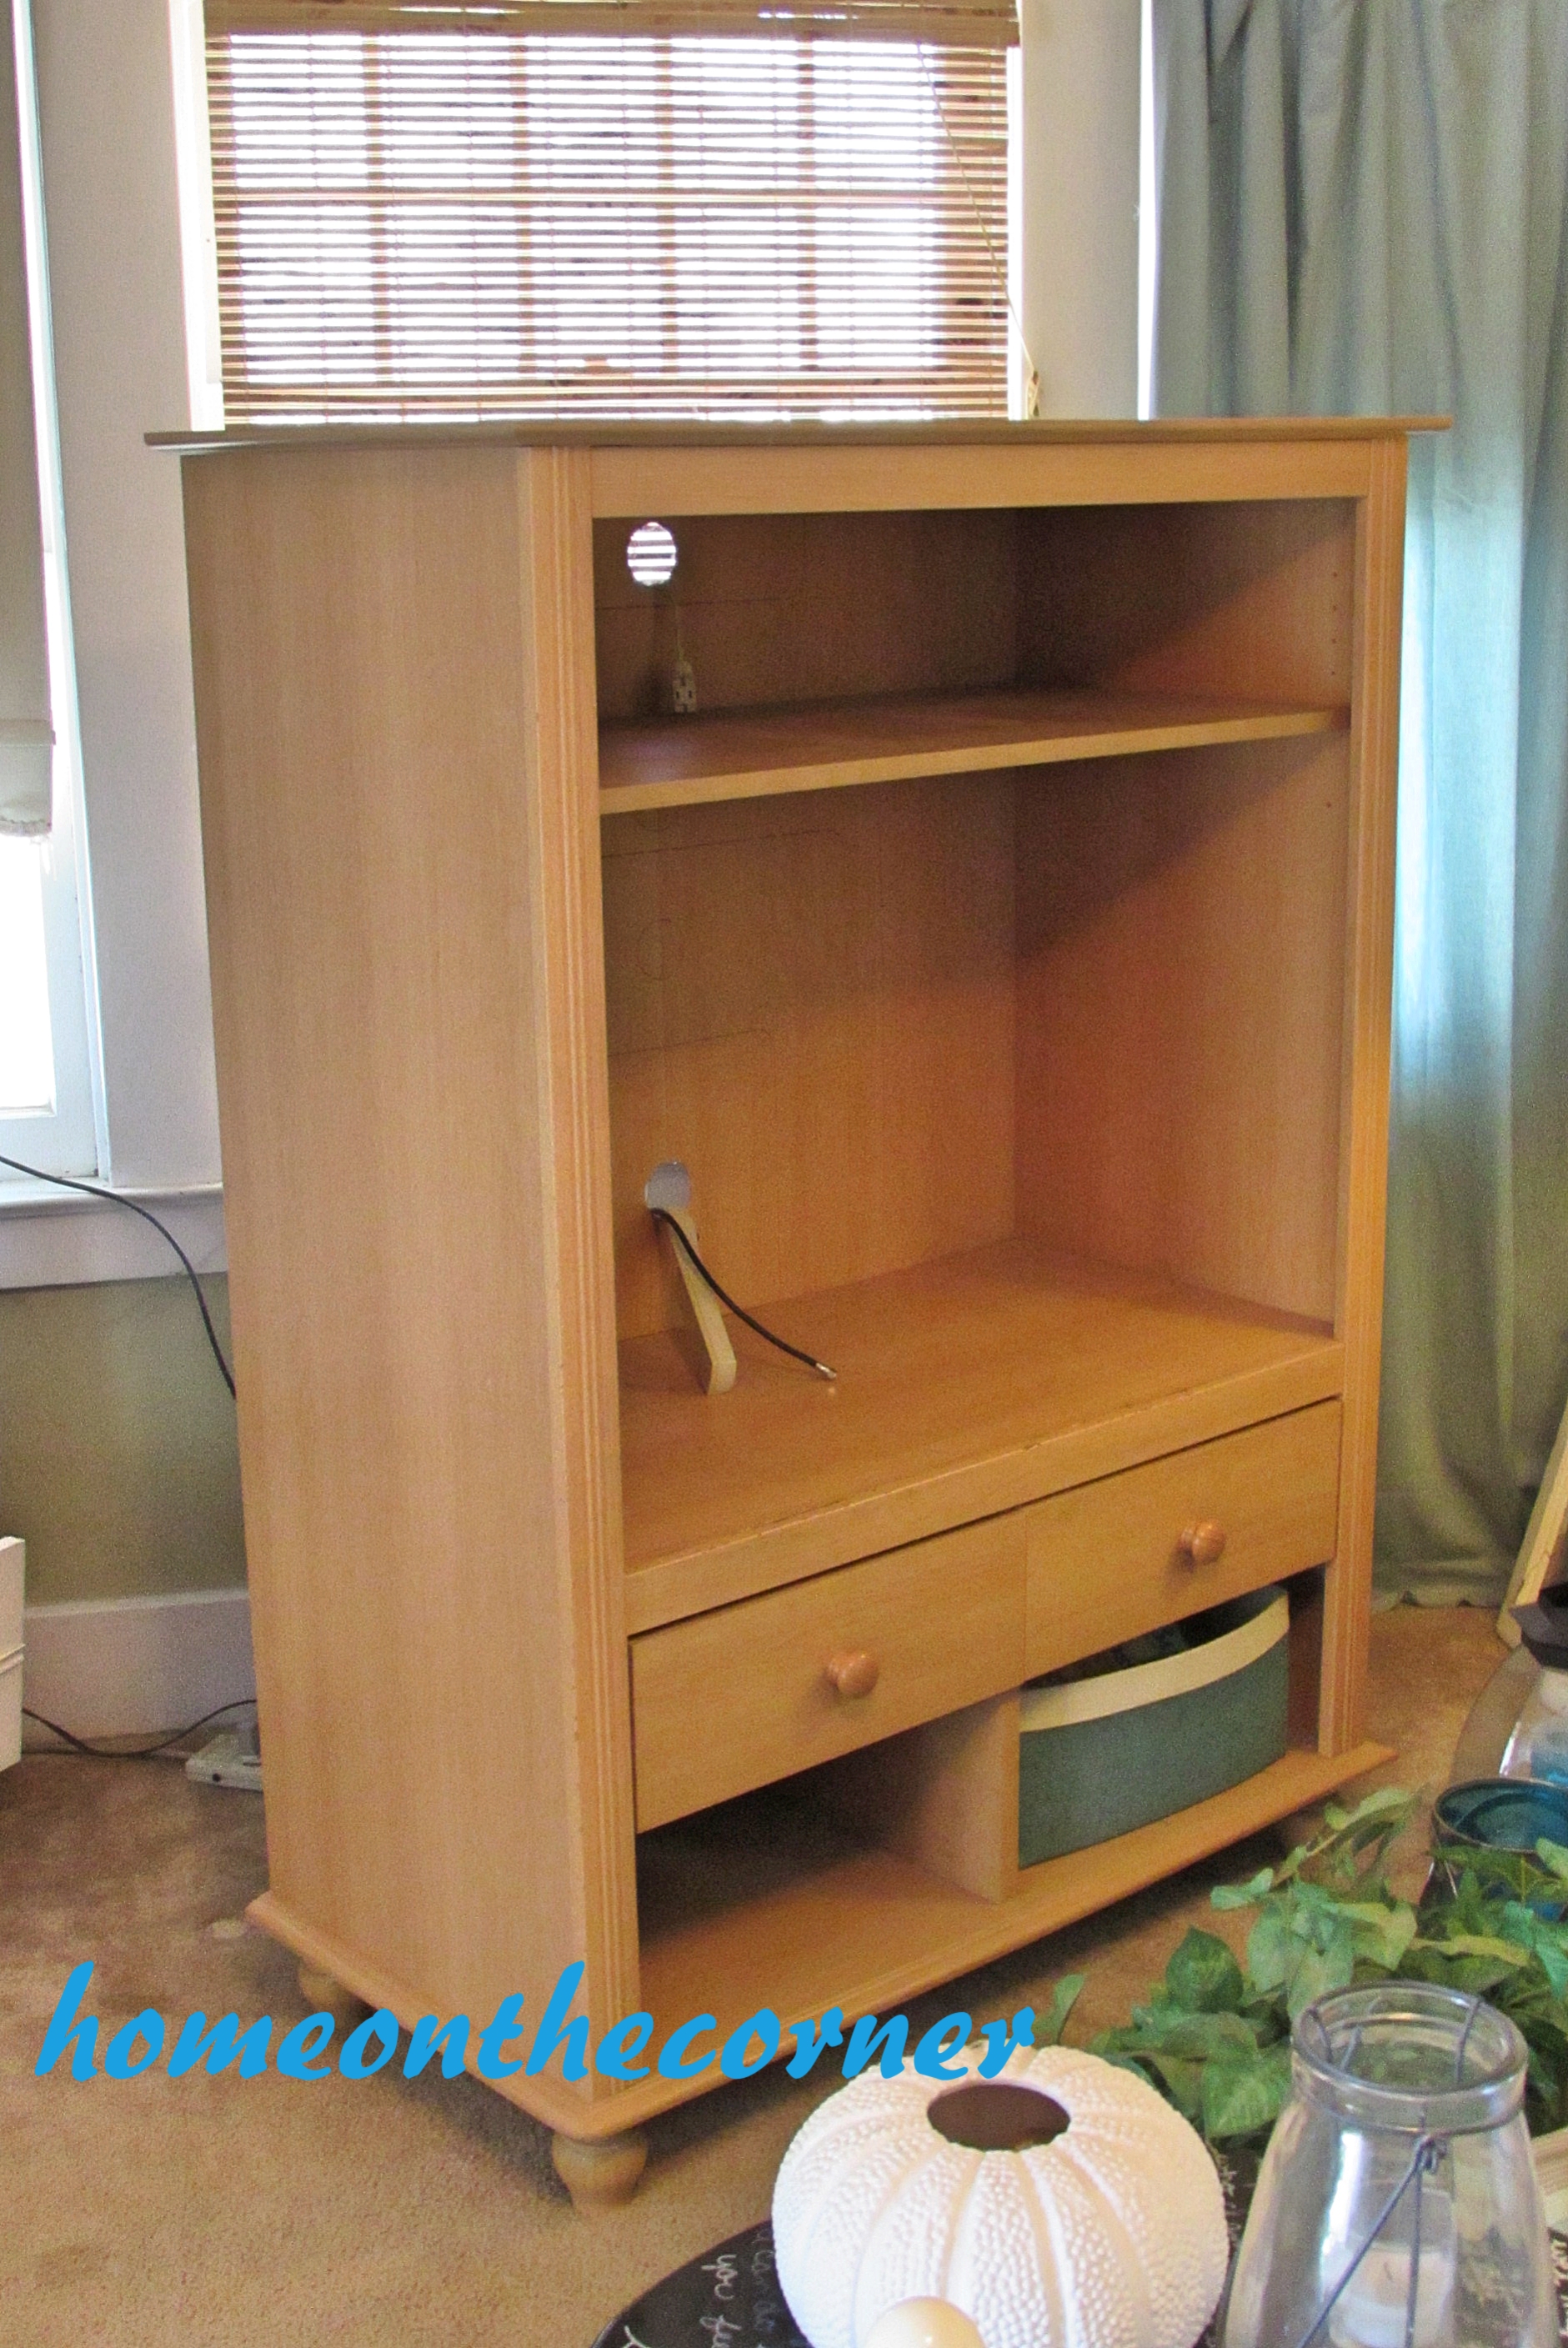
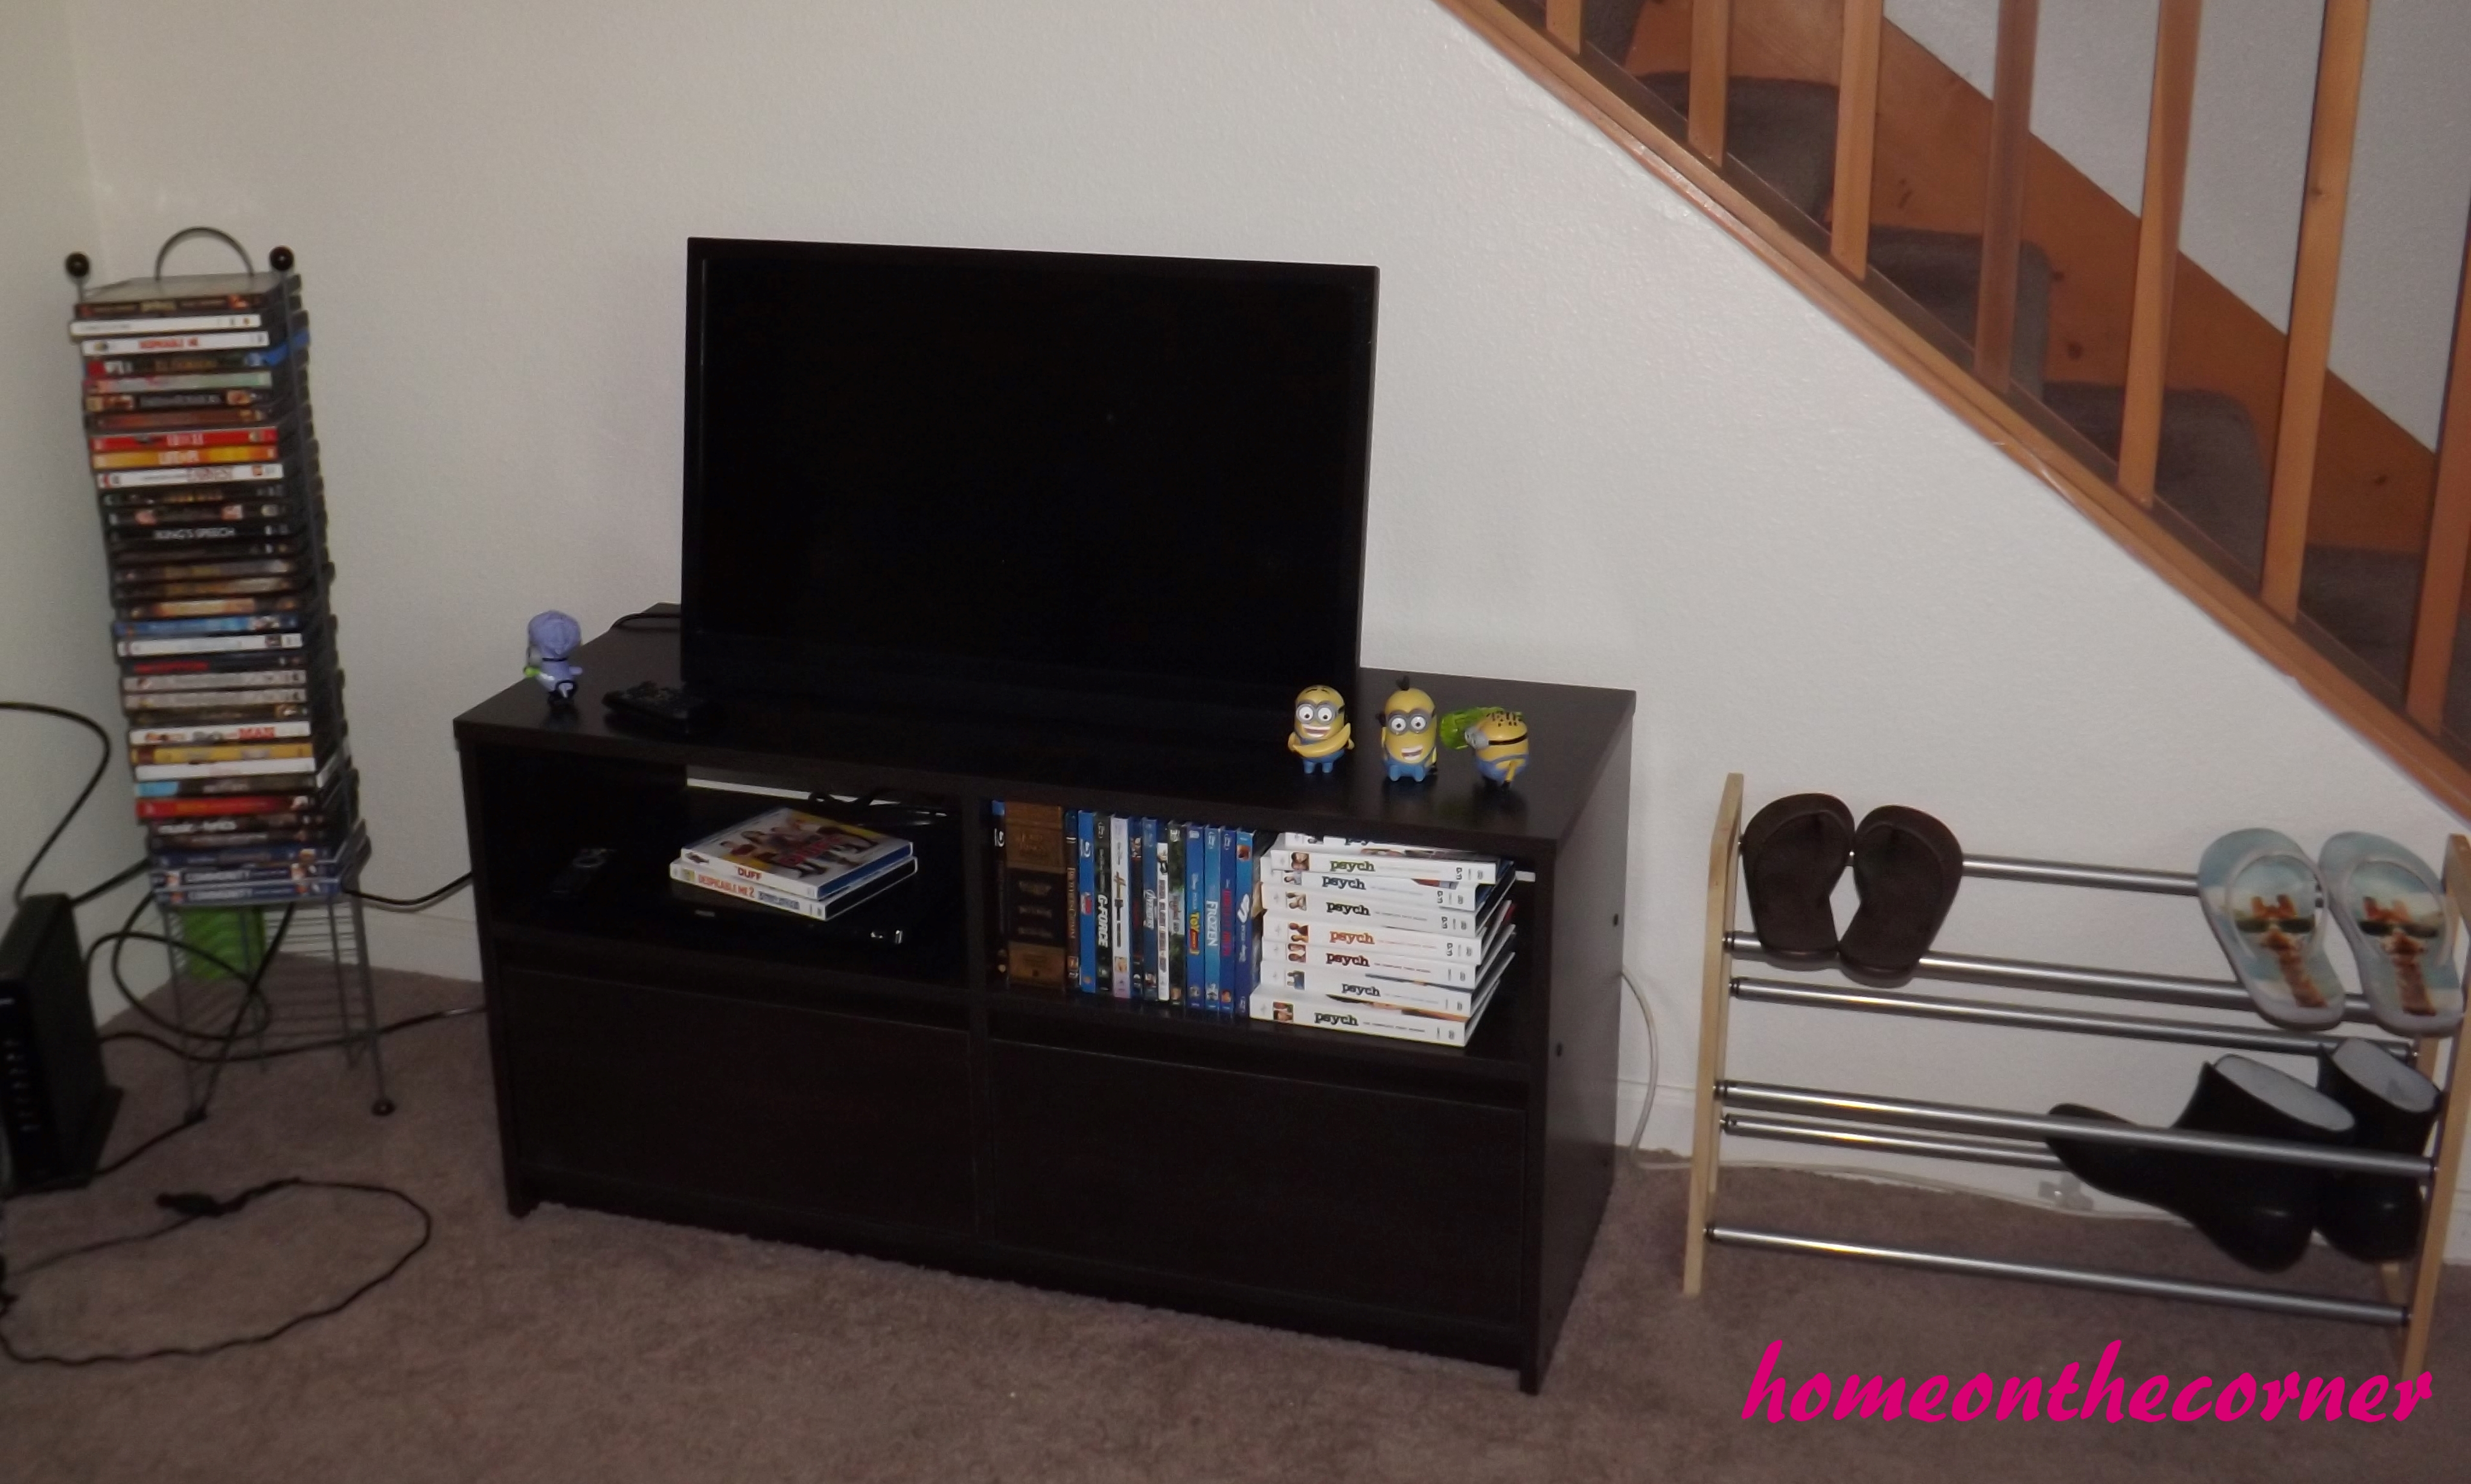
Entertainment Center
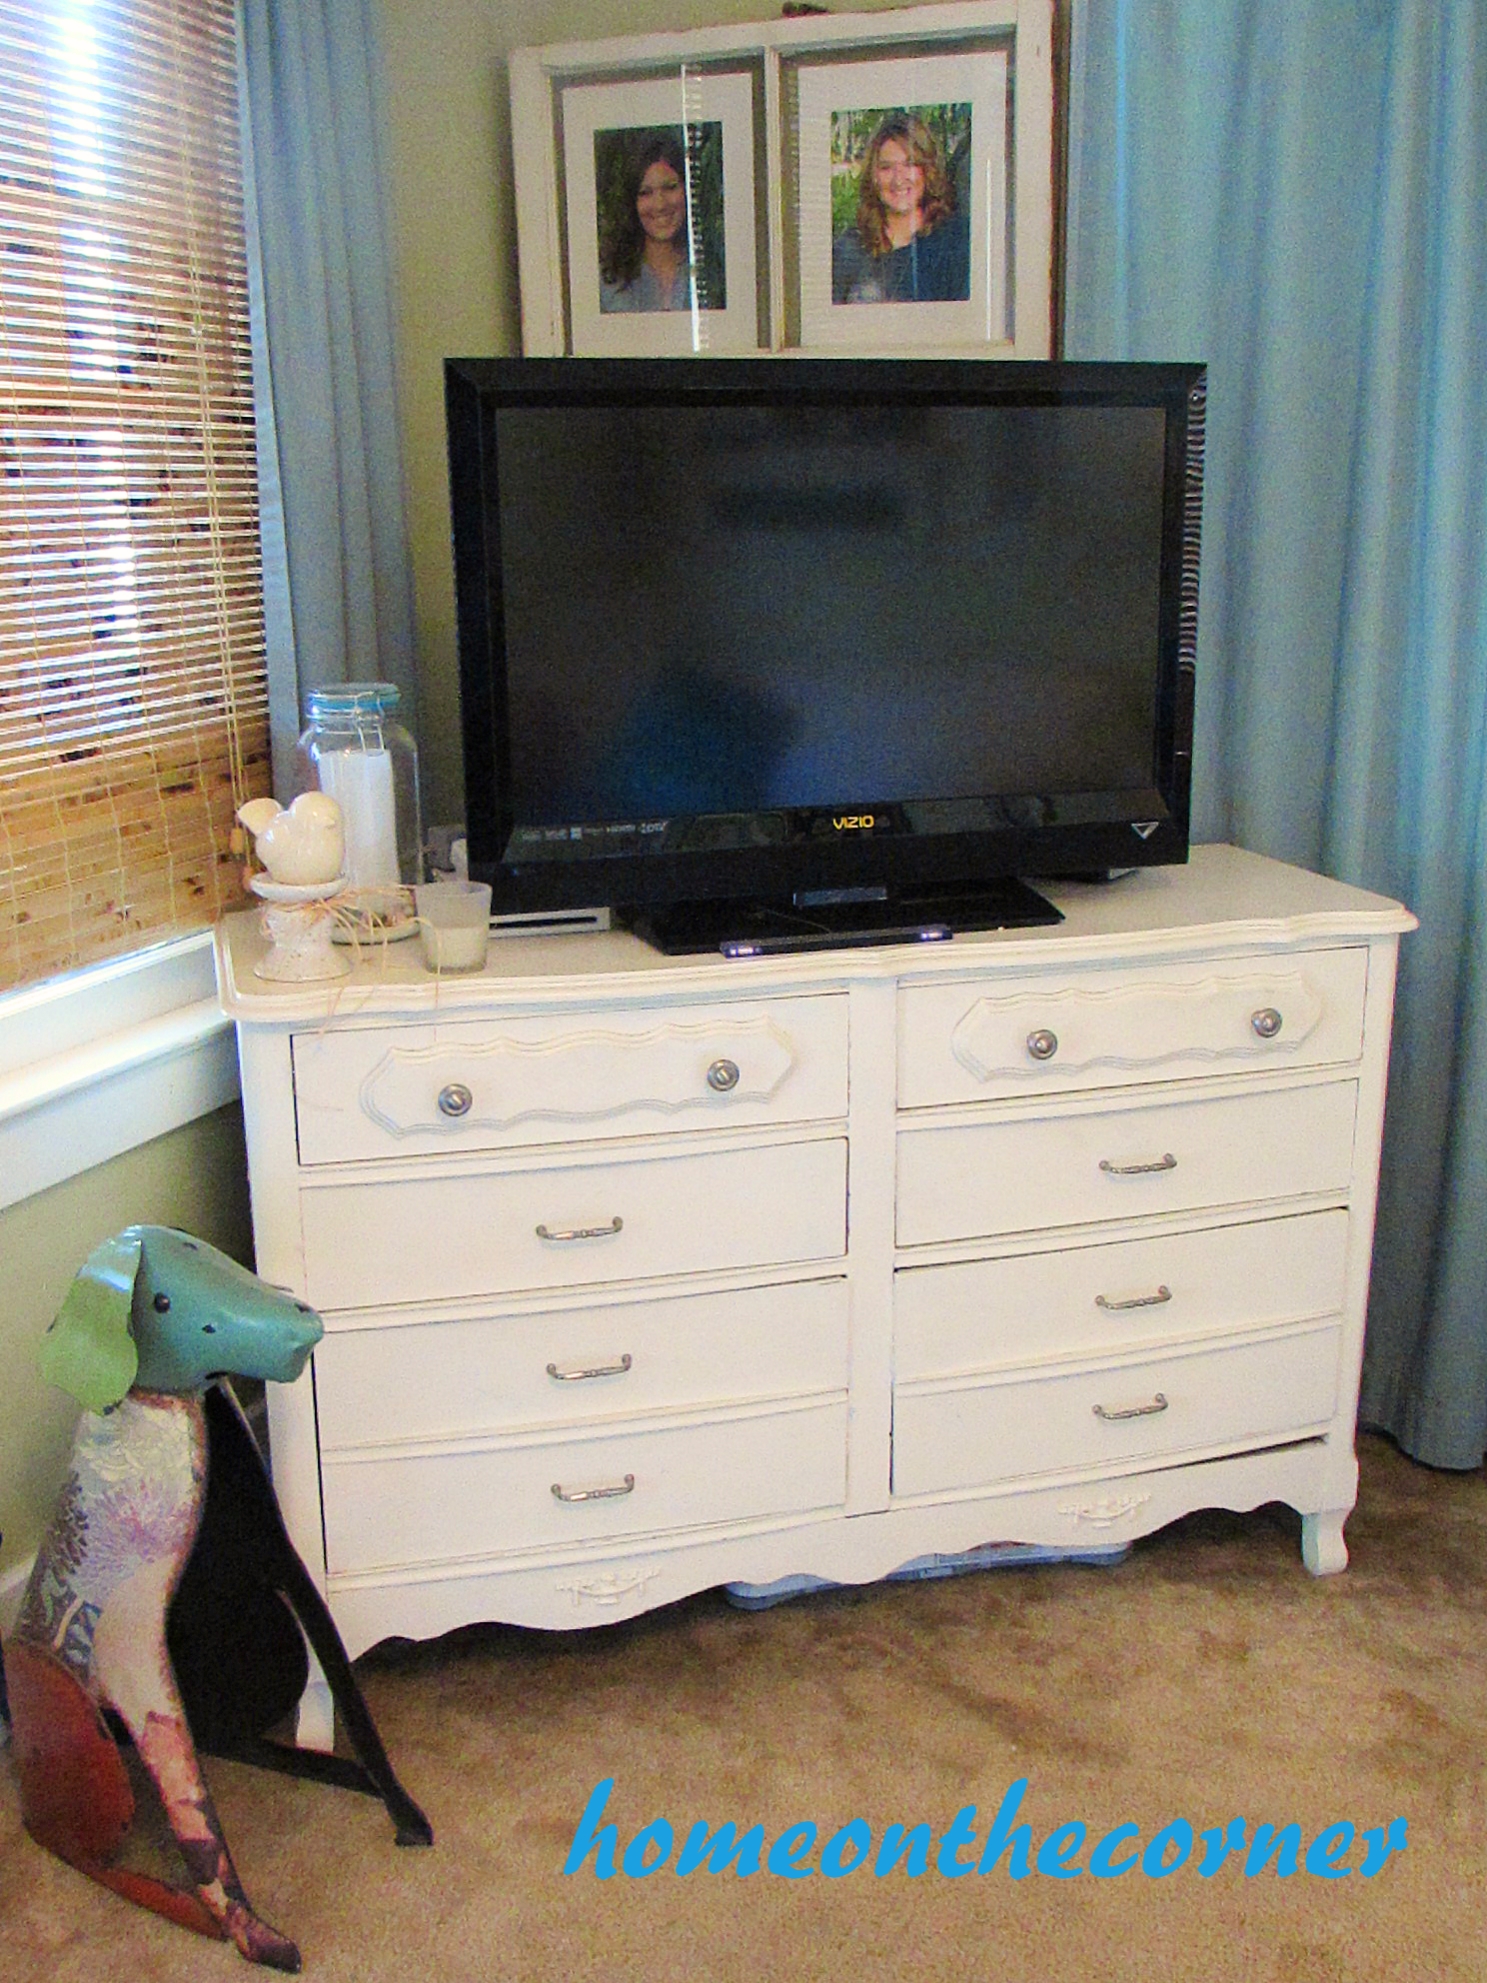
This is the extent of the entertainment center in our living room. We have all our DVDs and some minions to keep the TV company. My roommates asked if the TV could stay where it was when I moved the living room around. I happily obliged.

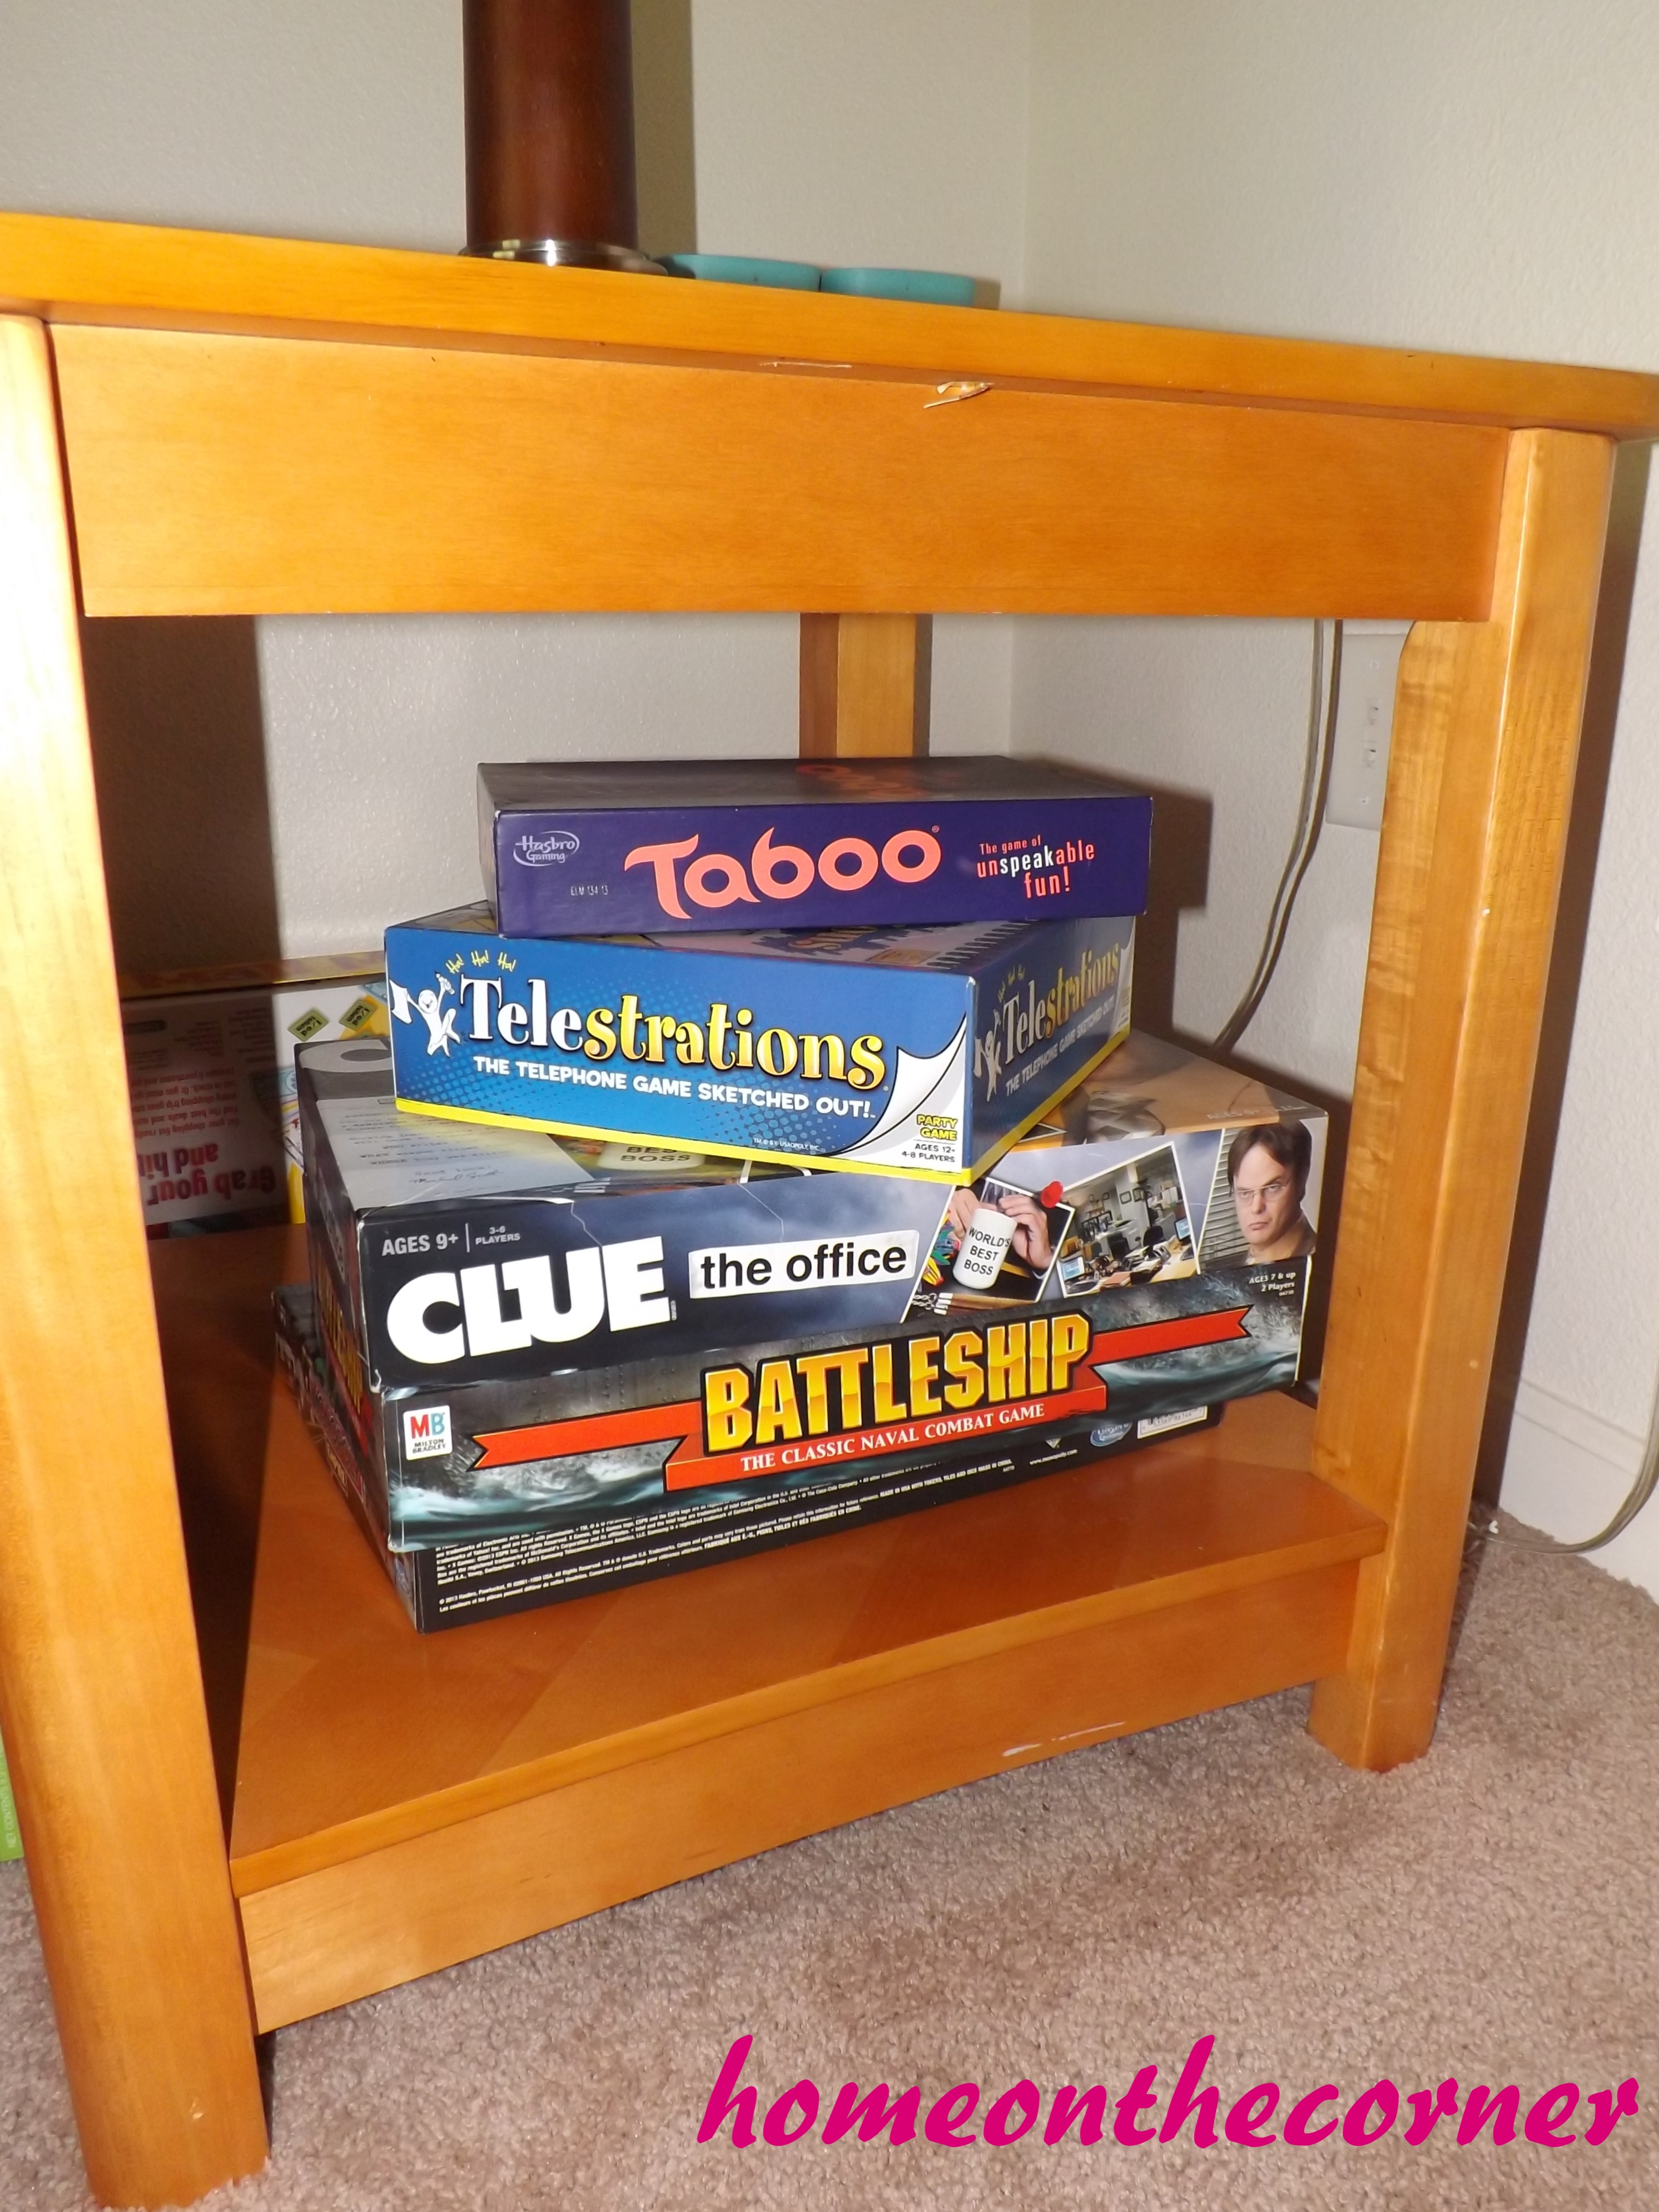
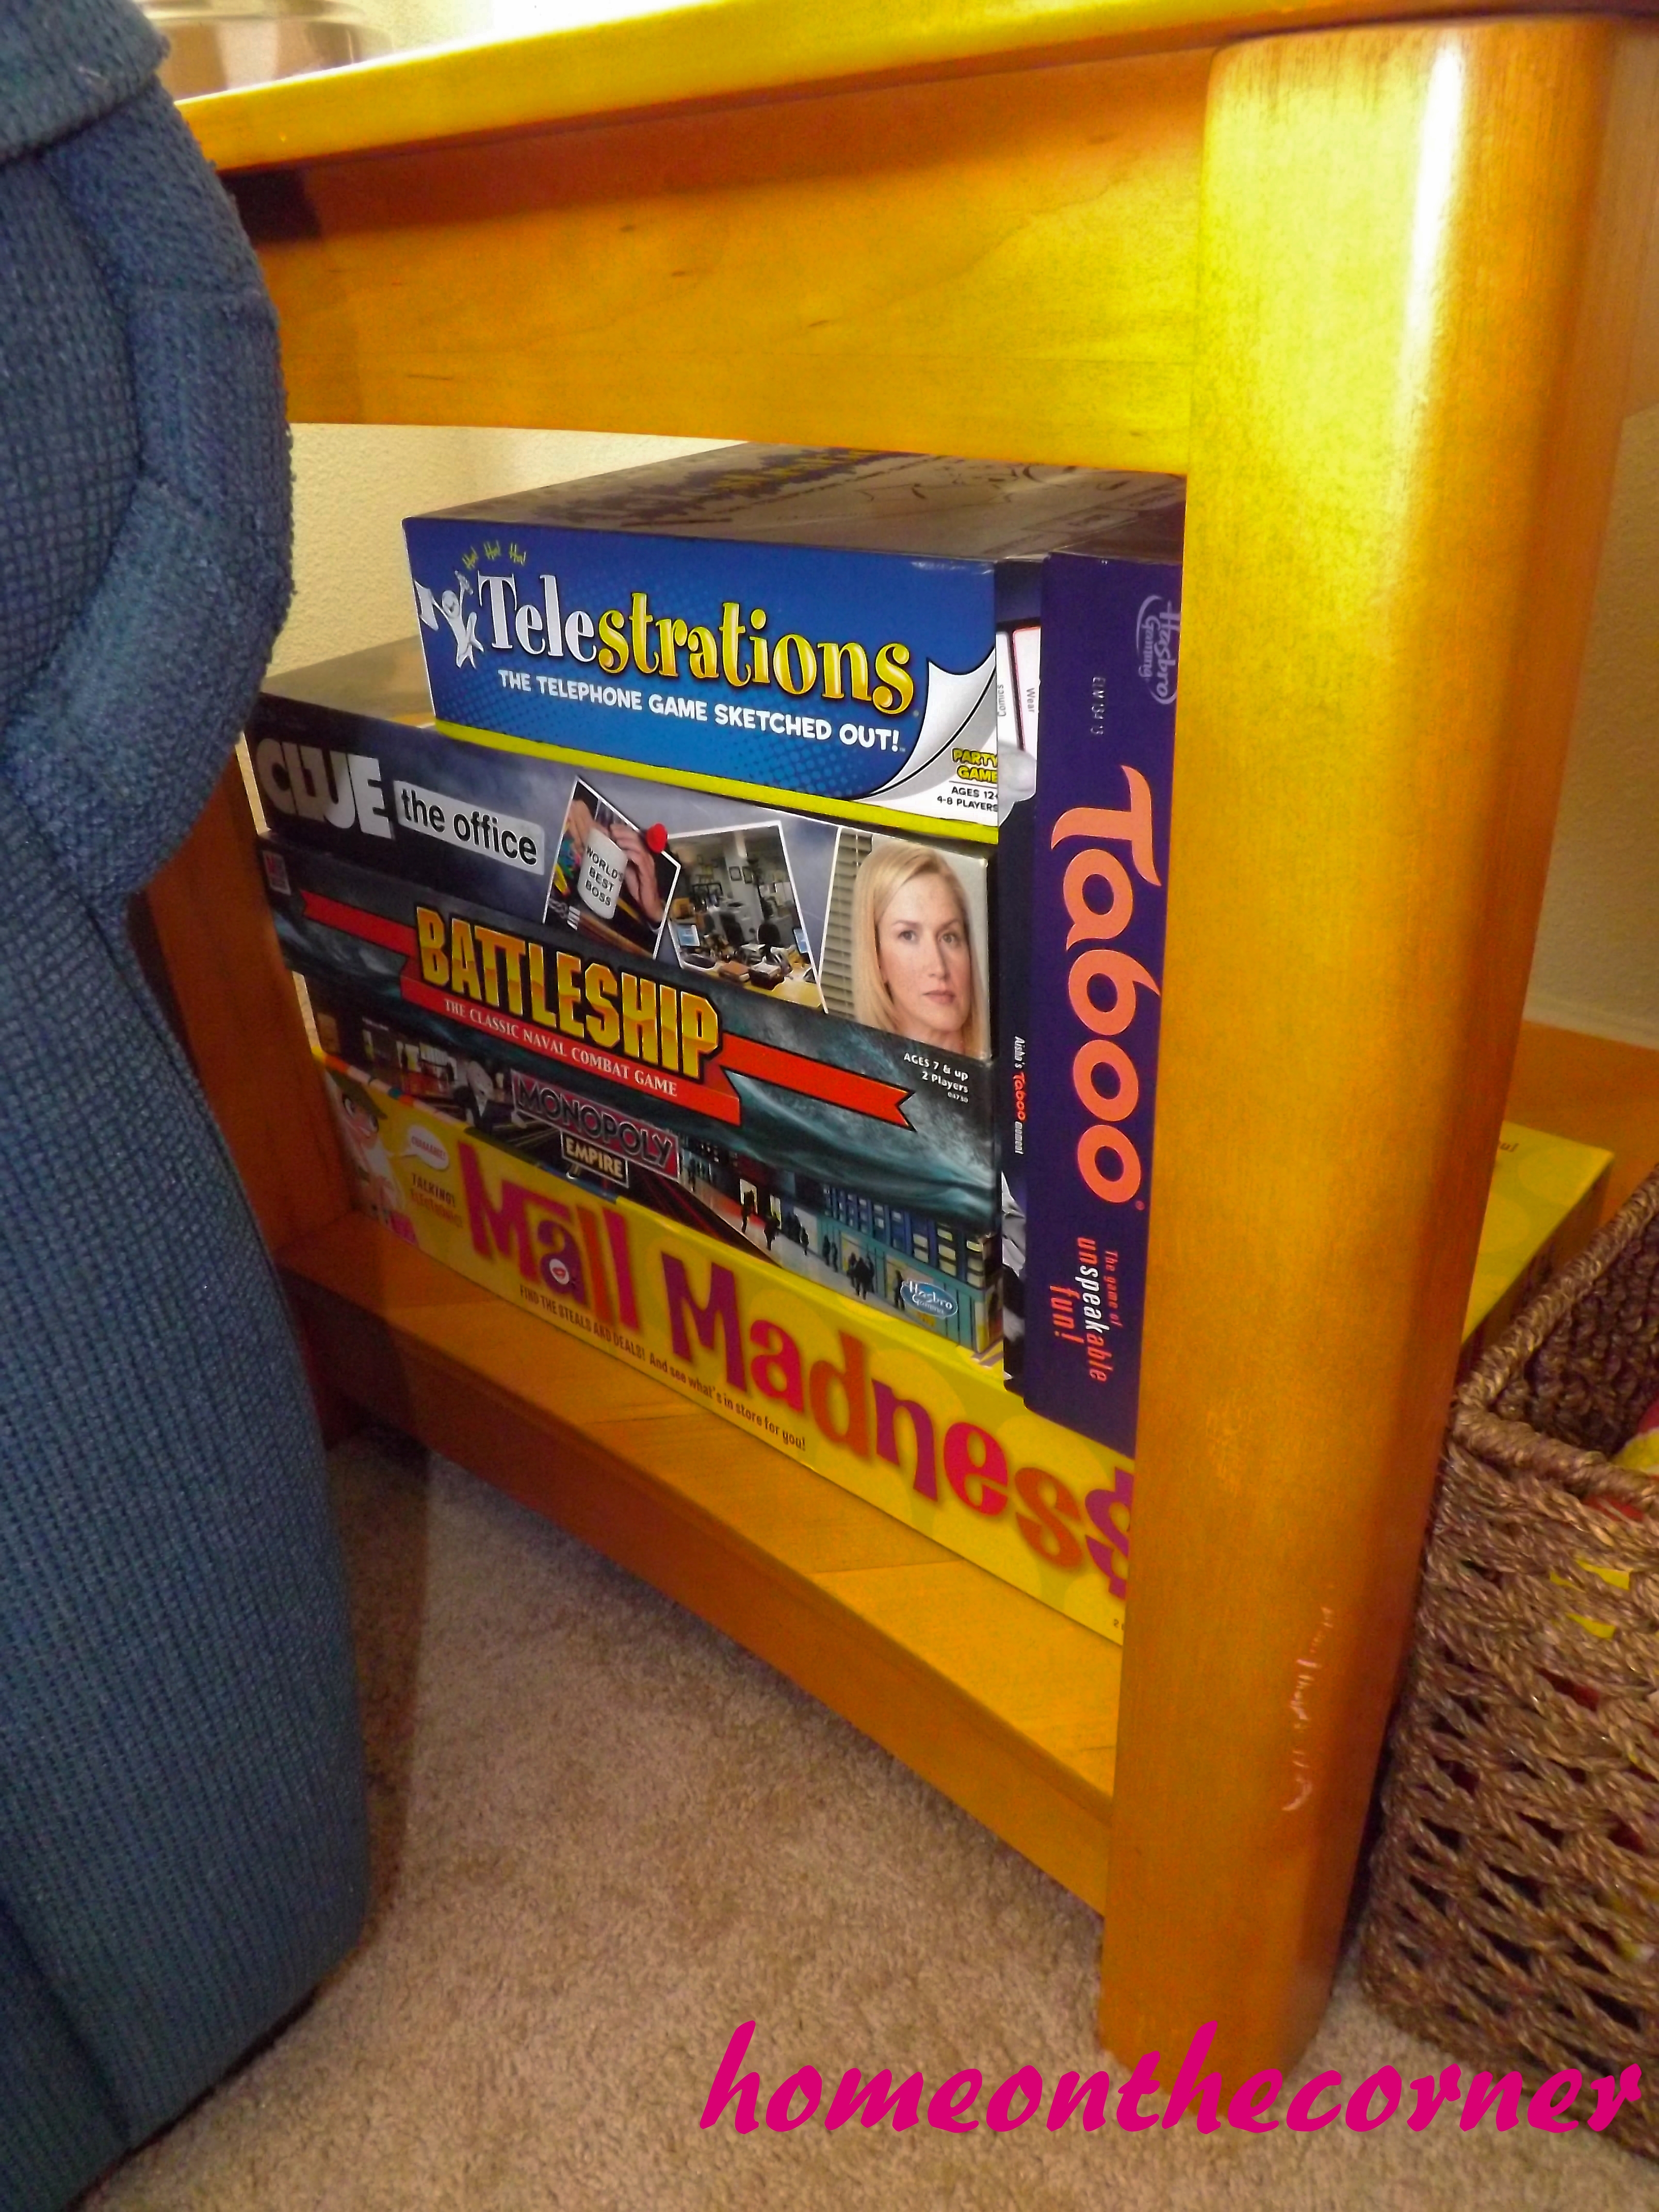
This was the extent of our decorations in the living room besides the minions. And it still isn’t very decoratvie or creative. We couldn’t always see what games we had because they were facing the wrong way. There is even one hidden in the back on the floor.
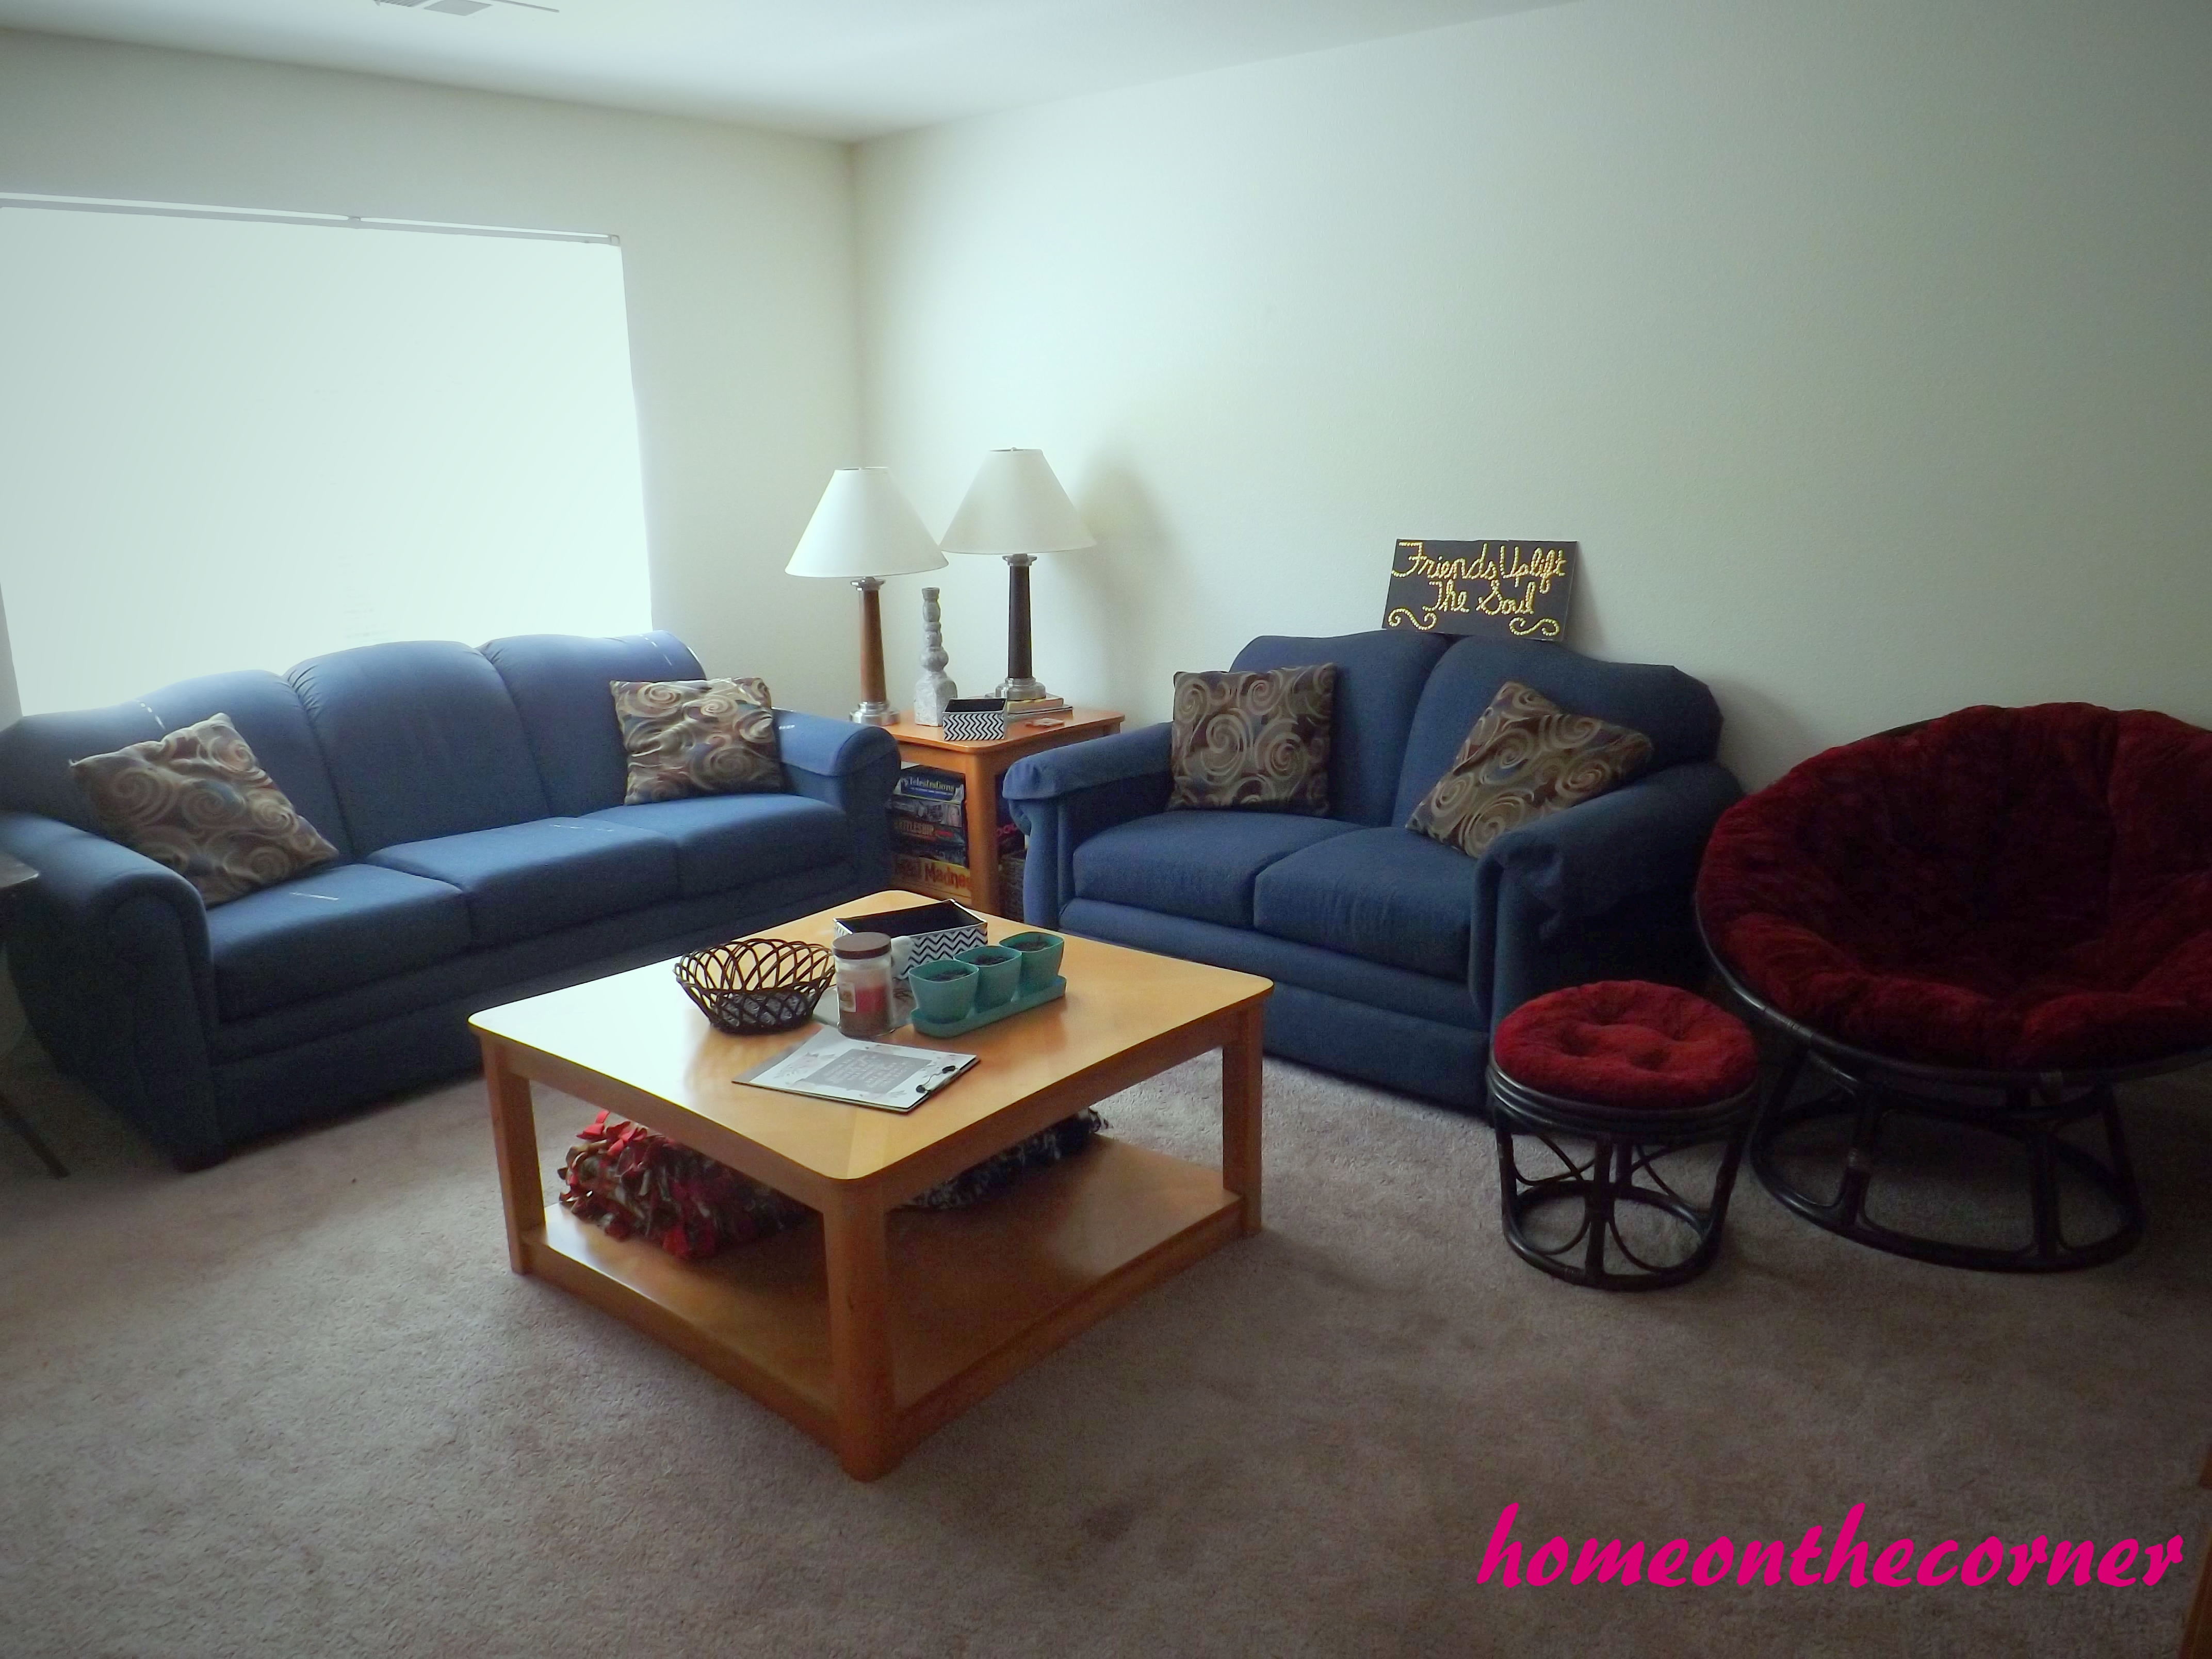
So, after moving all the furniture by myself, getting some decorations and some input from my roommates, I was finally able to transform the living room.
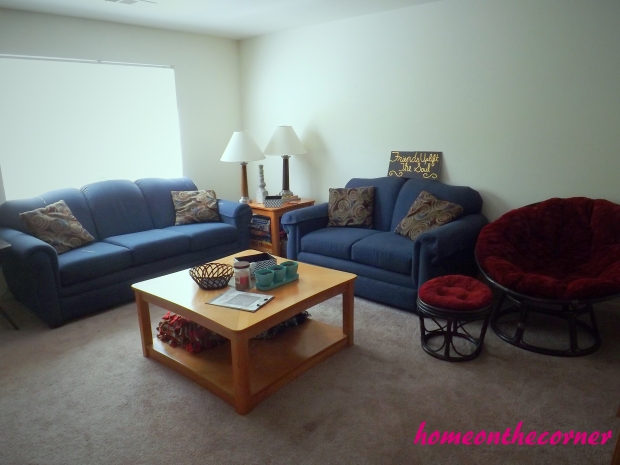
TADA!
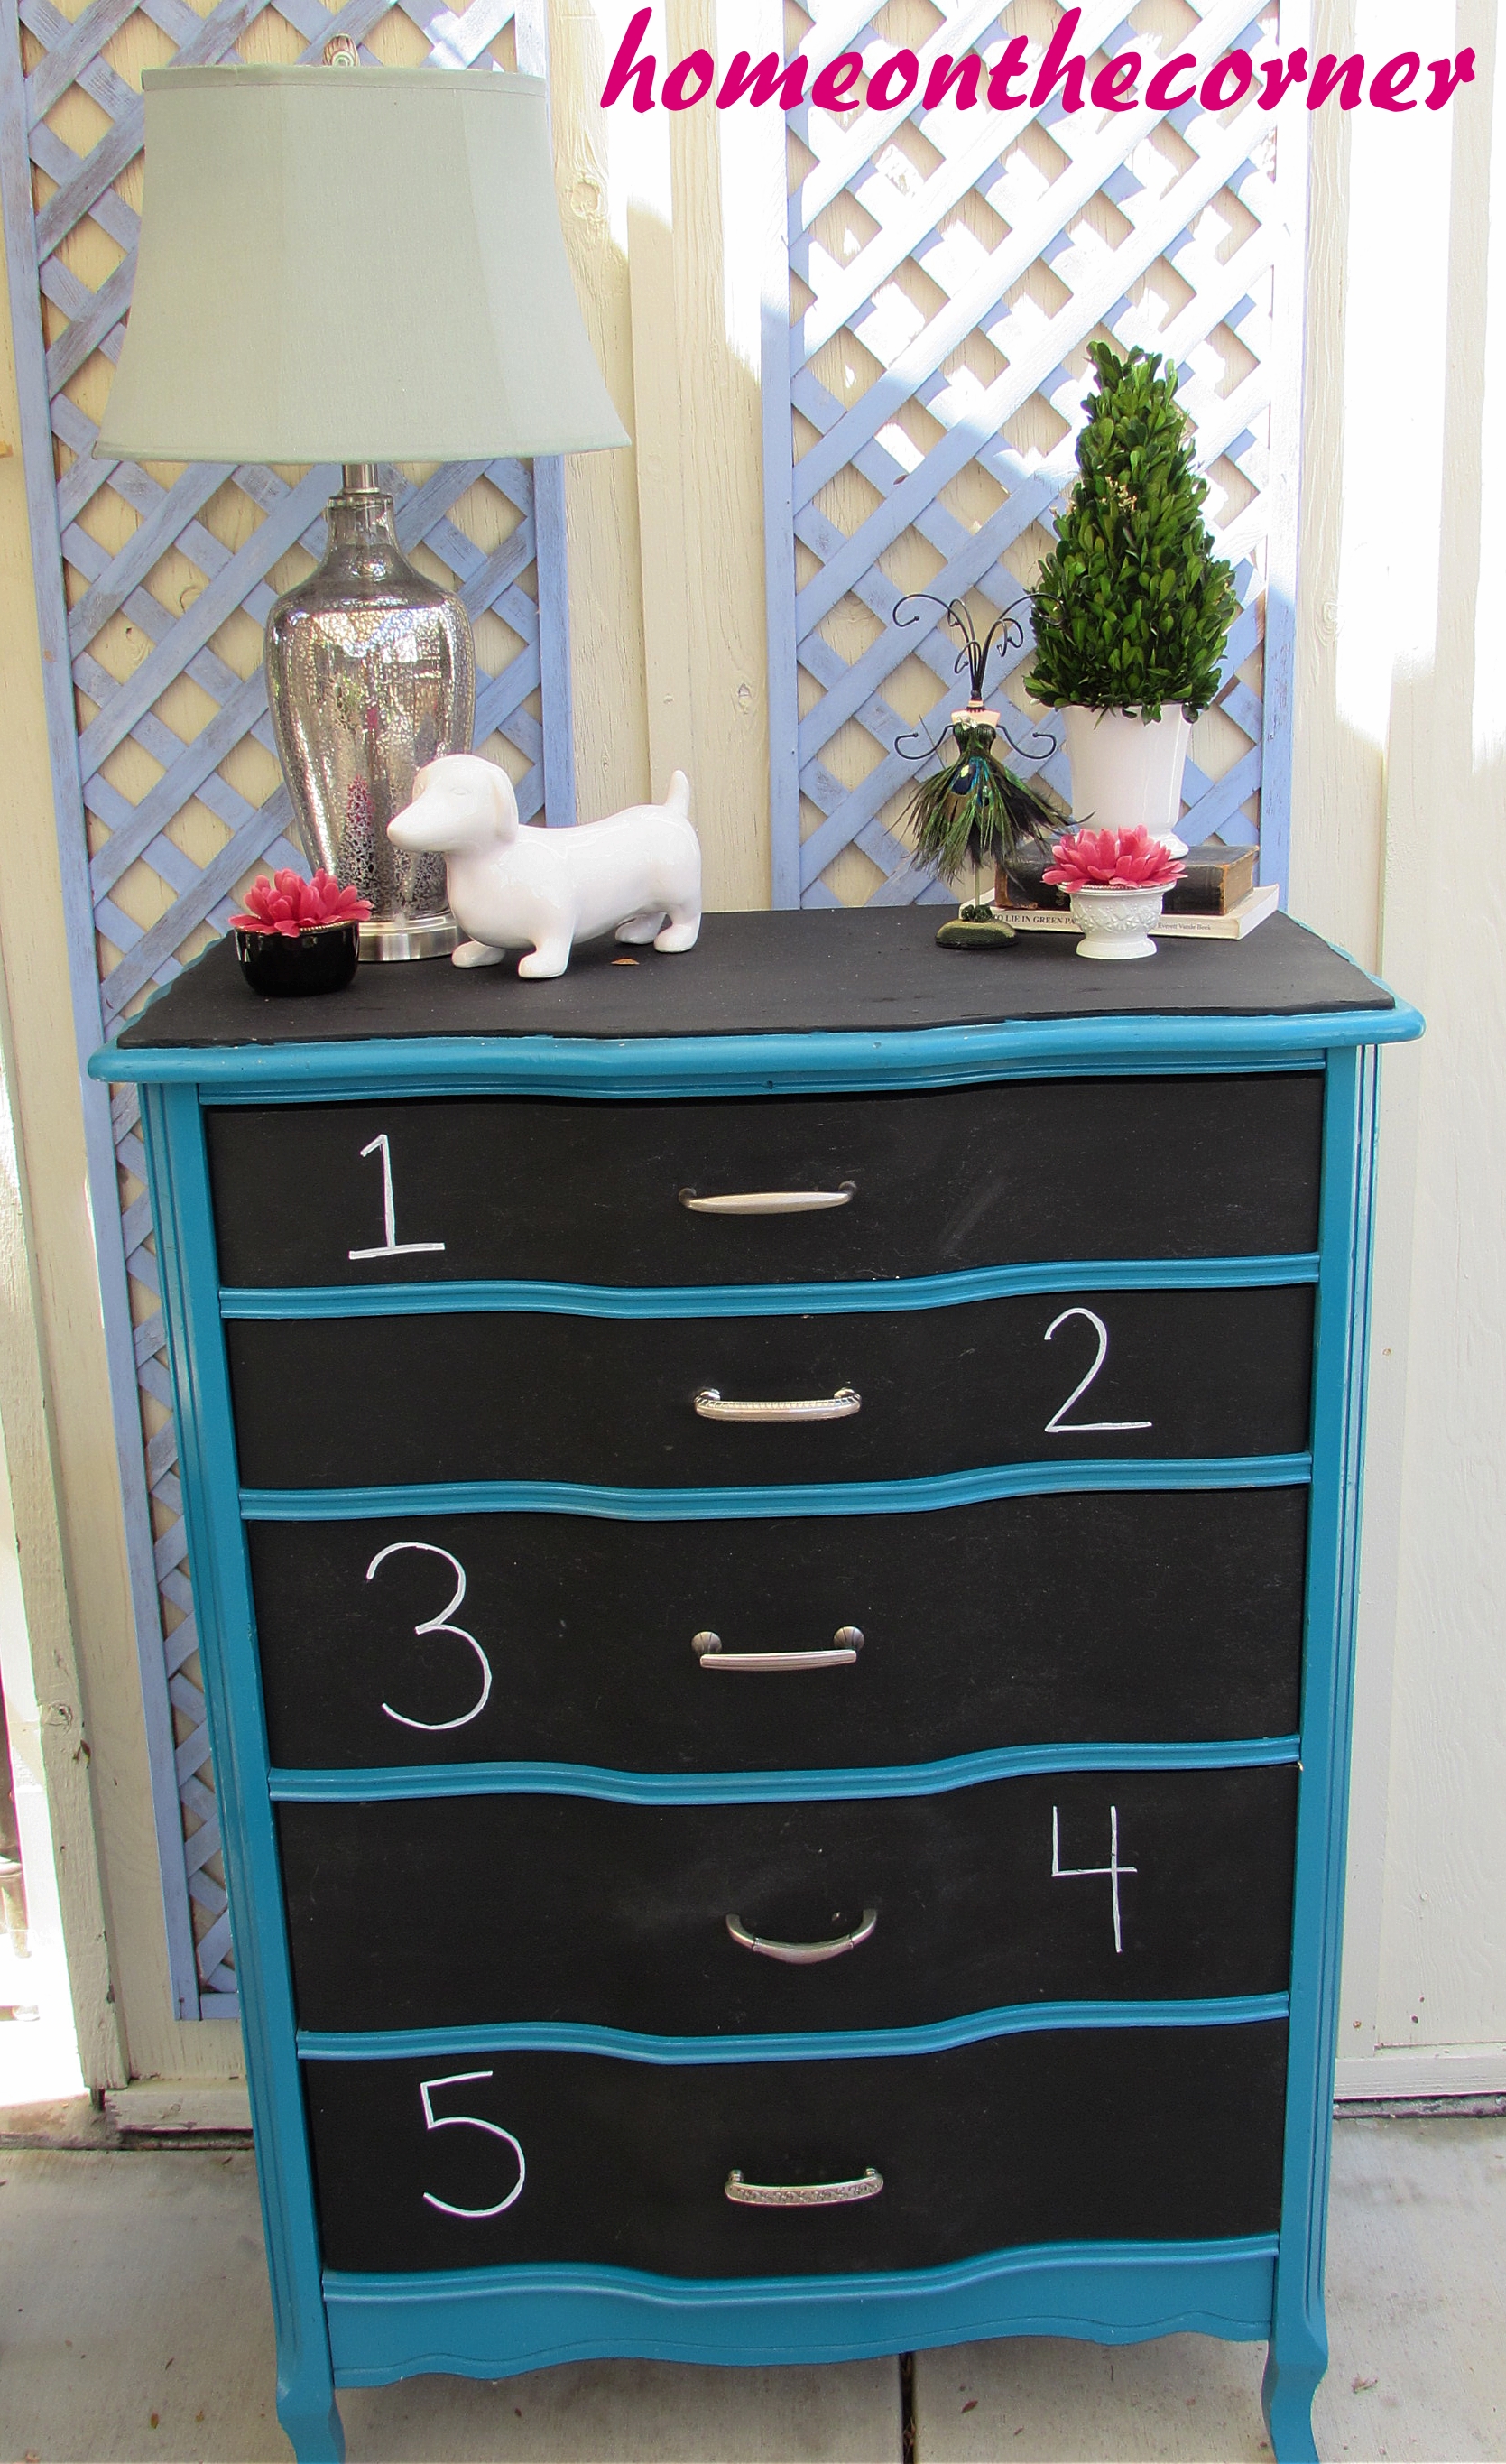
It looks much better! It looks a lot more homey and somewhere that I would like to relax in. None of the furniture is in the same place, so it took quite a bit of lifting. Now, it isn’t complete, but this is what I have so far. The couch and the loveseat switched places, the Papasan chair moved across the room, and the table in the corner became the centerpiece. It looks great!
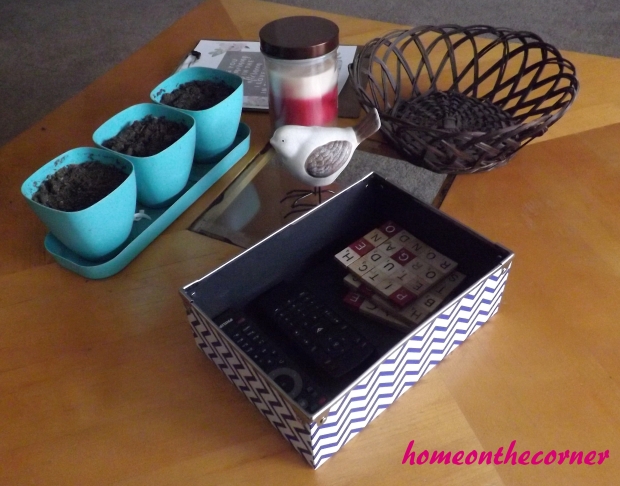
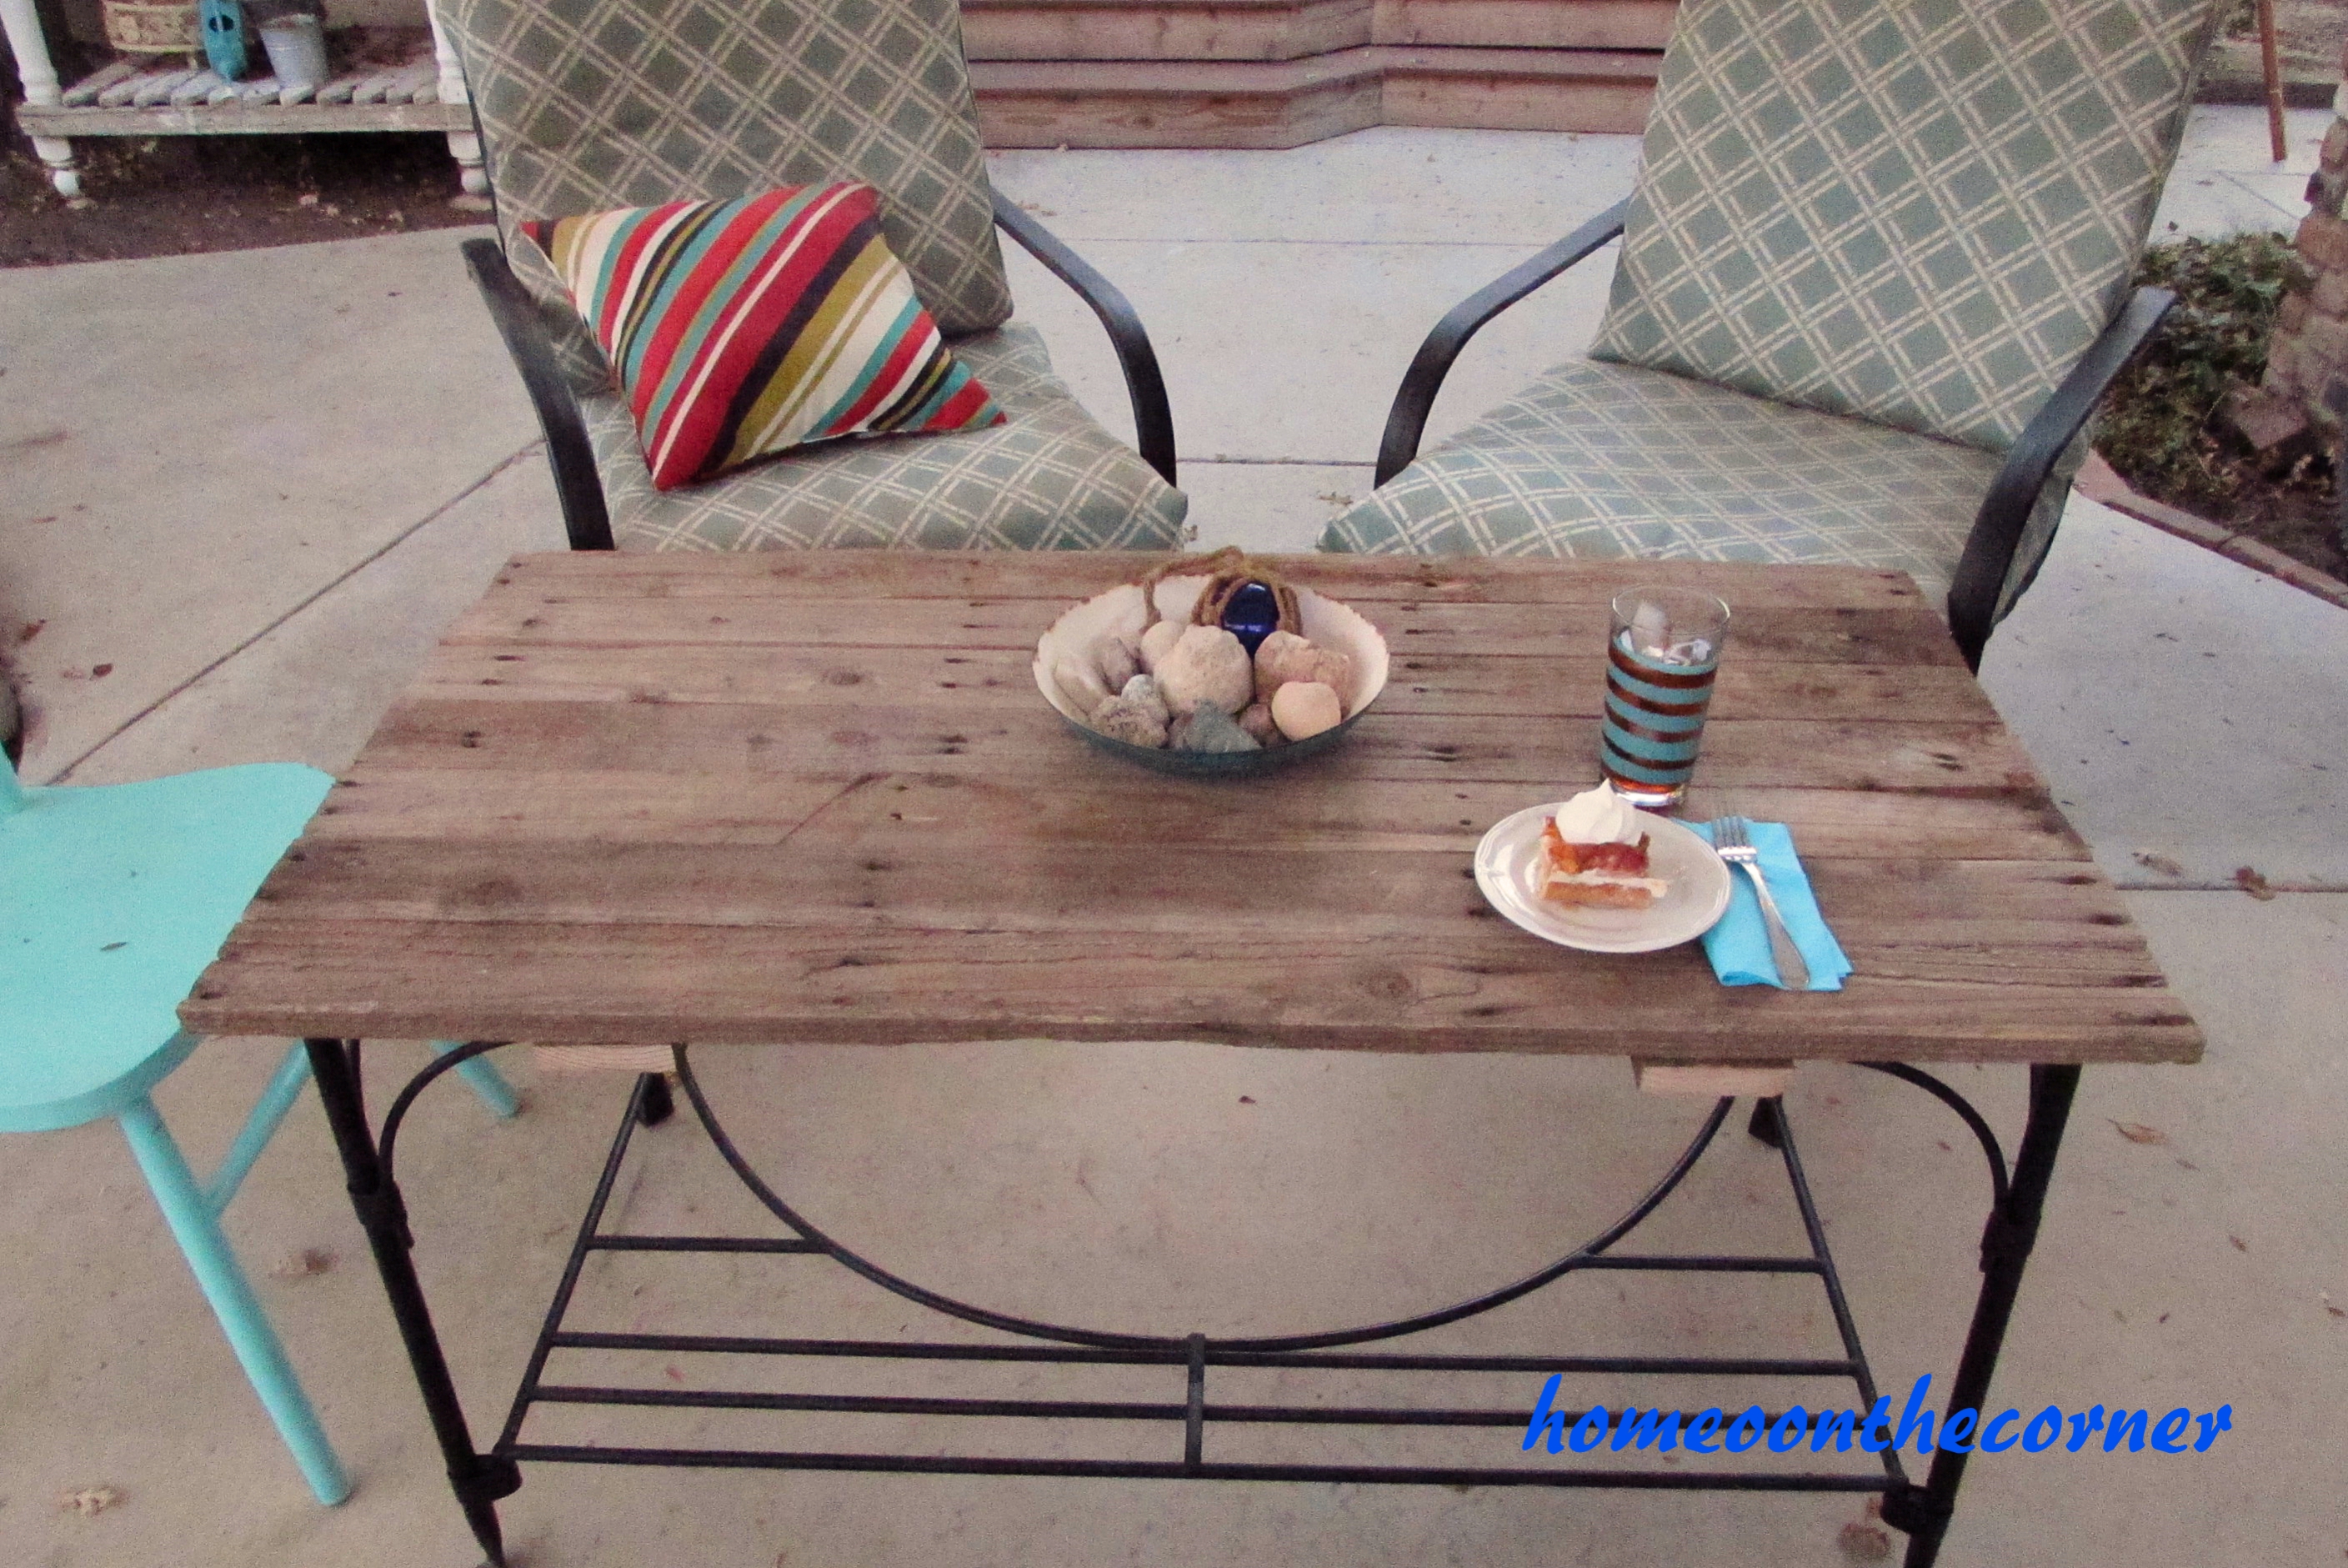
I finally added some decor to the living room! I bought two of the blue chevron boxes from Hobby Lobby for $2 a piece and have them on the two tables in the living room, the bird and the candle came from Kirklands for a good price, and we already had the pots with who knows what in them and the basket. I’m trying to find mini disco balls to put in the basket. Any ideas where to look?
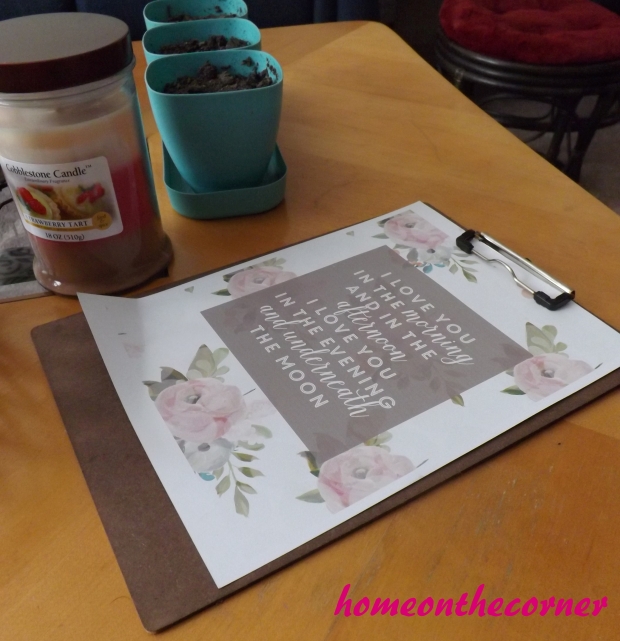
My mom printed out this page from another blog, put it on the clipboard, and gave it to me for my birthday. I thought it looked nice on the table.
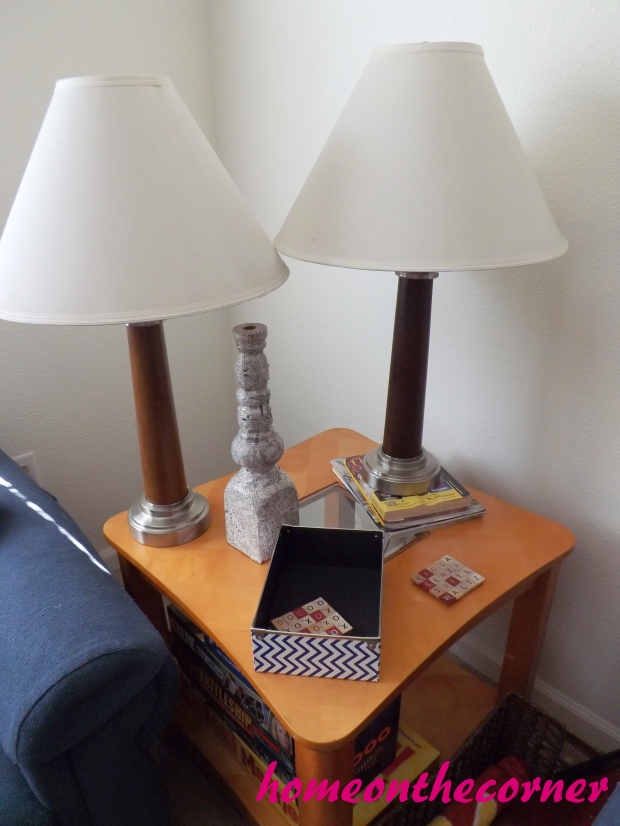
The side table isn’t that exciting except that that we have two lamps, one of which is sitting on phone books because I couldn’t find anything else, and a decopauged candlestick. WWWWHHHHOOOOHHHHOOOO…

But, I did find a better way to organize the games. Since Mall Madness was the biggest, I put it on the bottom and went from biggest box to smallest. Taboo didn’t fit, so I placed it on the side as a book end. It worked out perfectly.
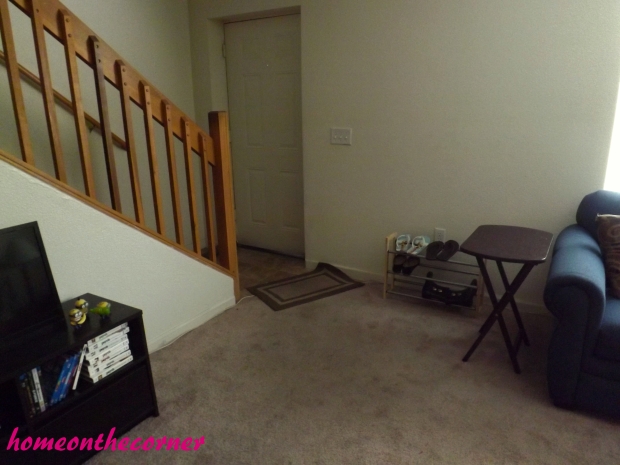
Now that the living room has been moved around, the entry way is much emptier and easier to walk through. Trust me, it is much easier to walk though this section with groceries than it was to walk through when the Papasan chair was there. The shoe rack is better placed by the door and the minions don’t feel as crowded with the shoes next to them.
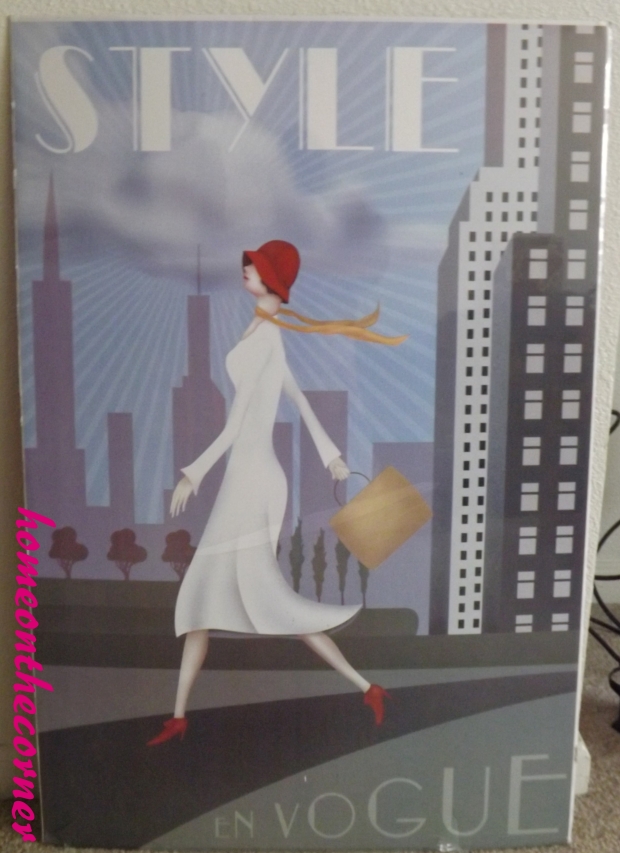
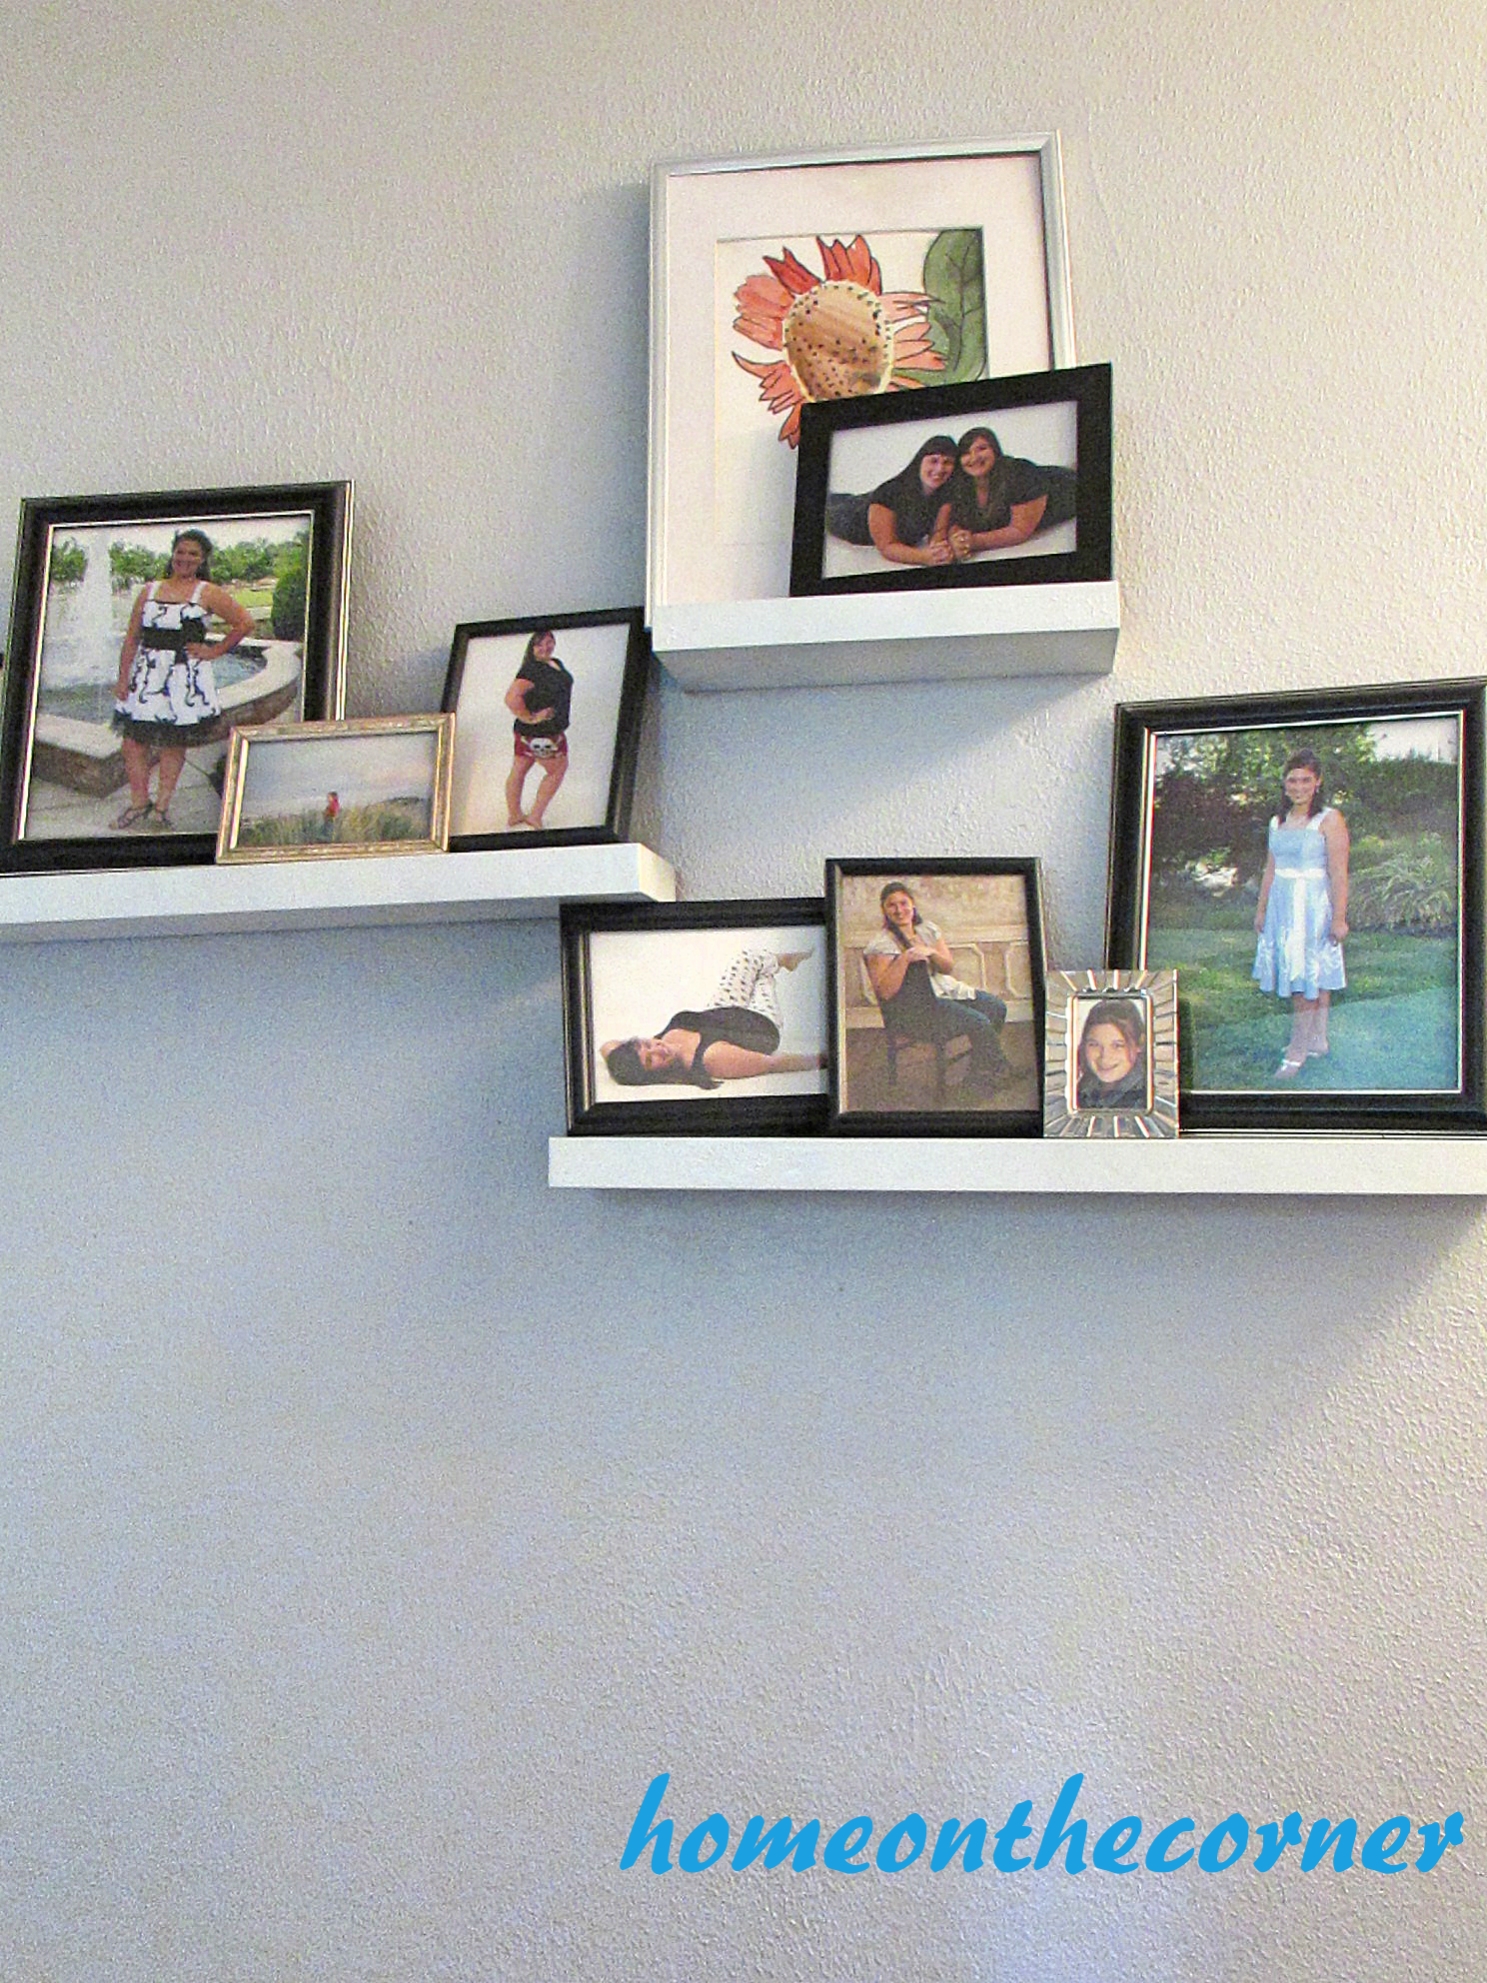
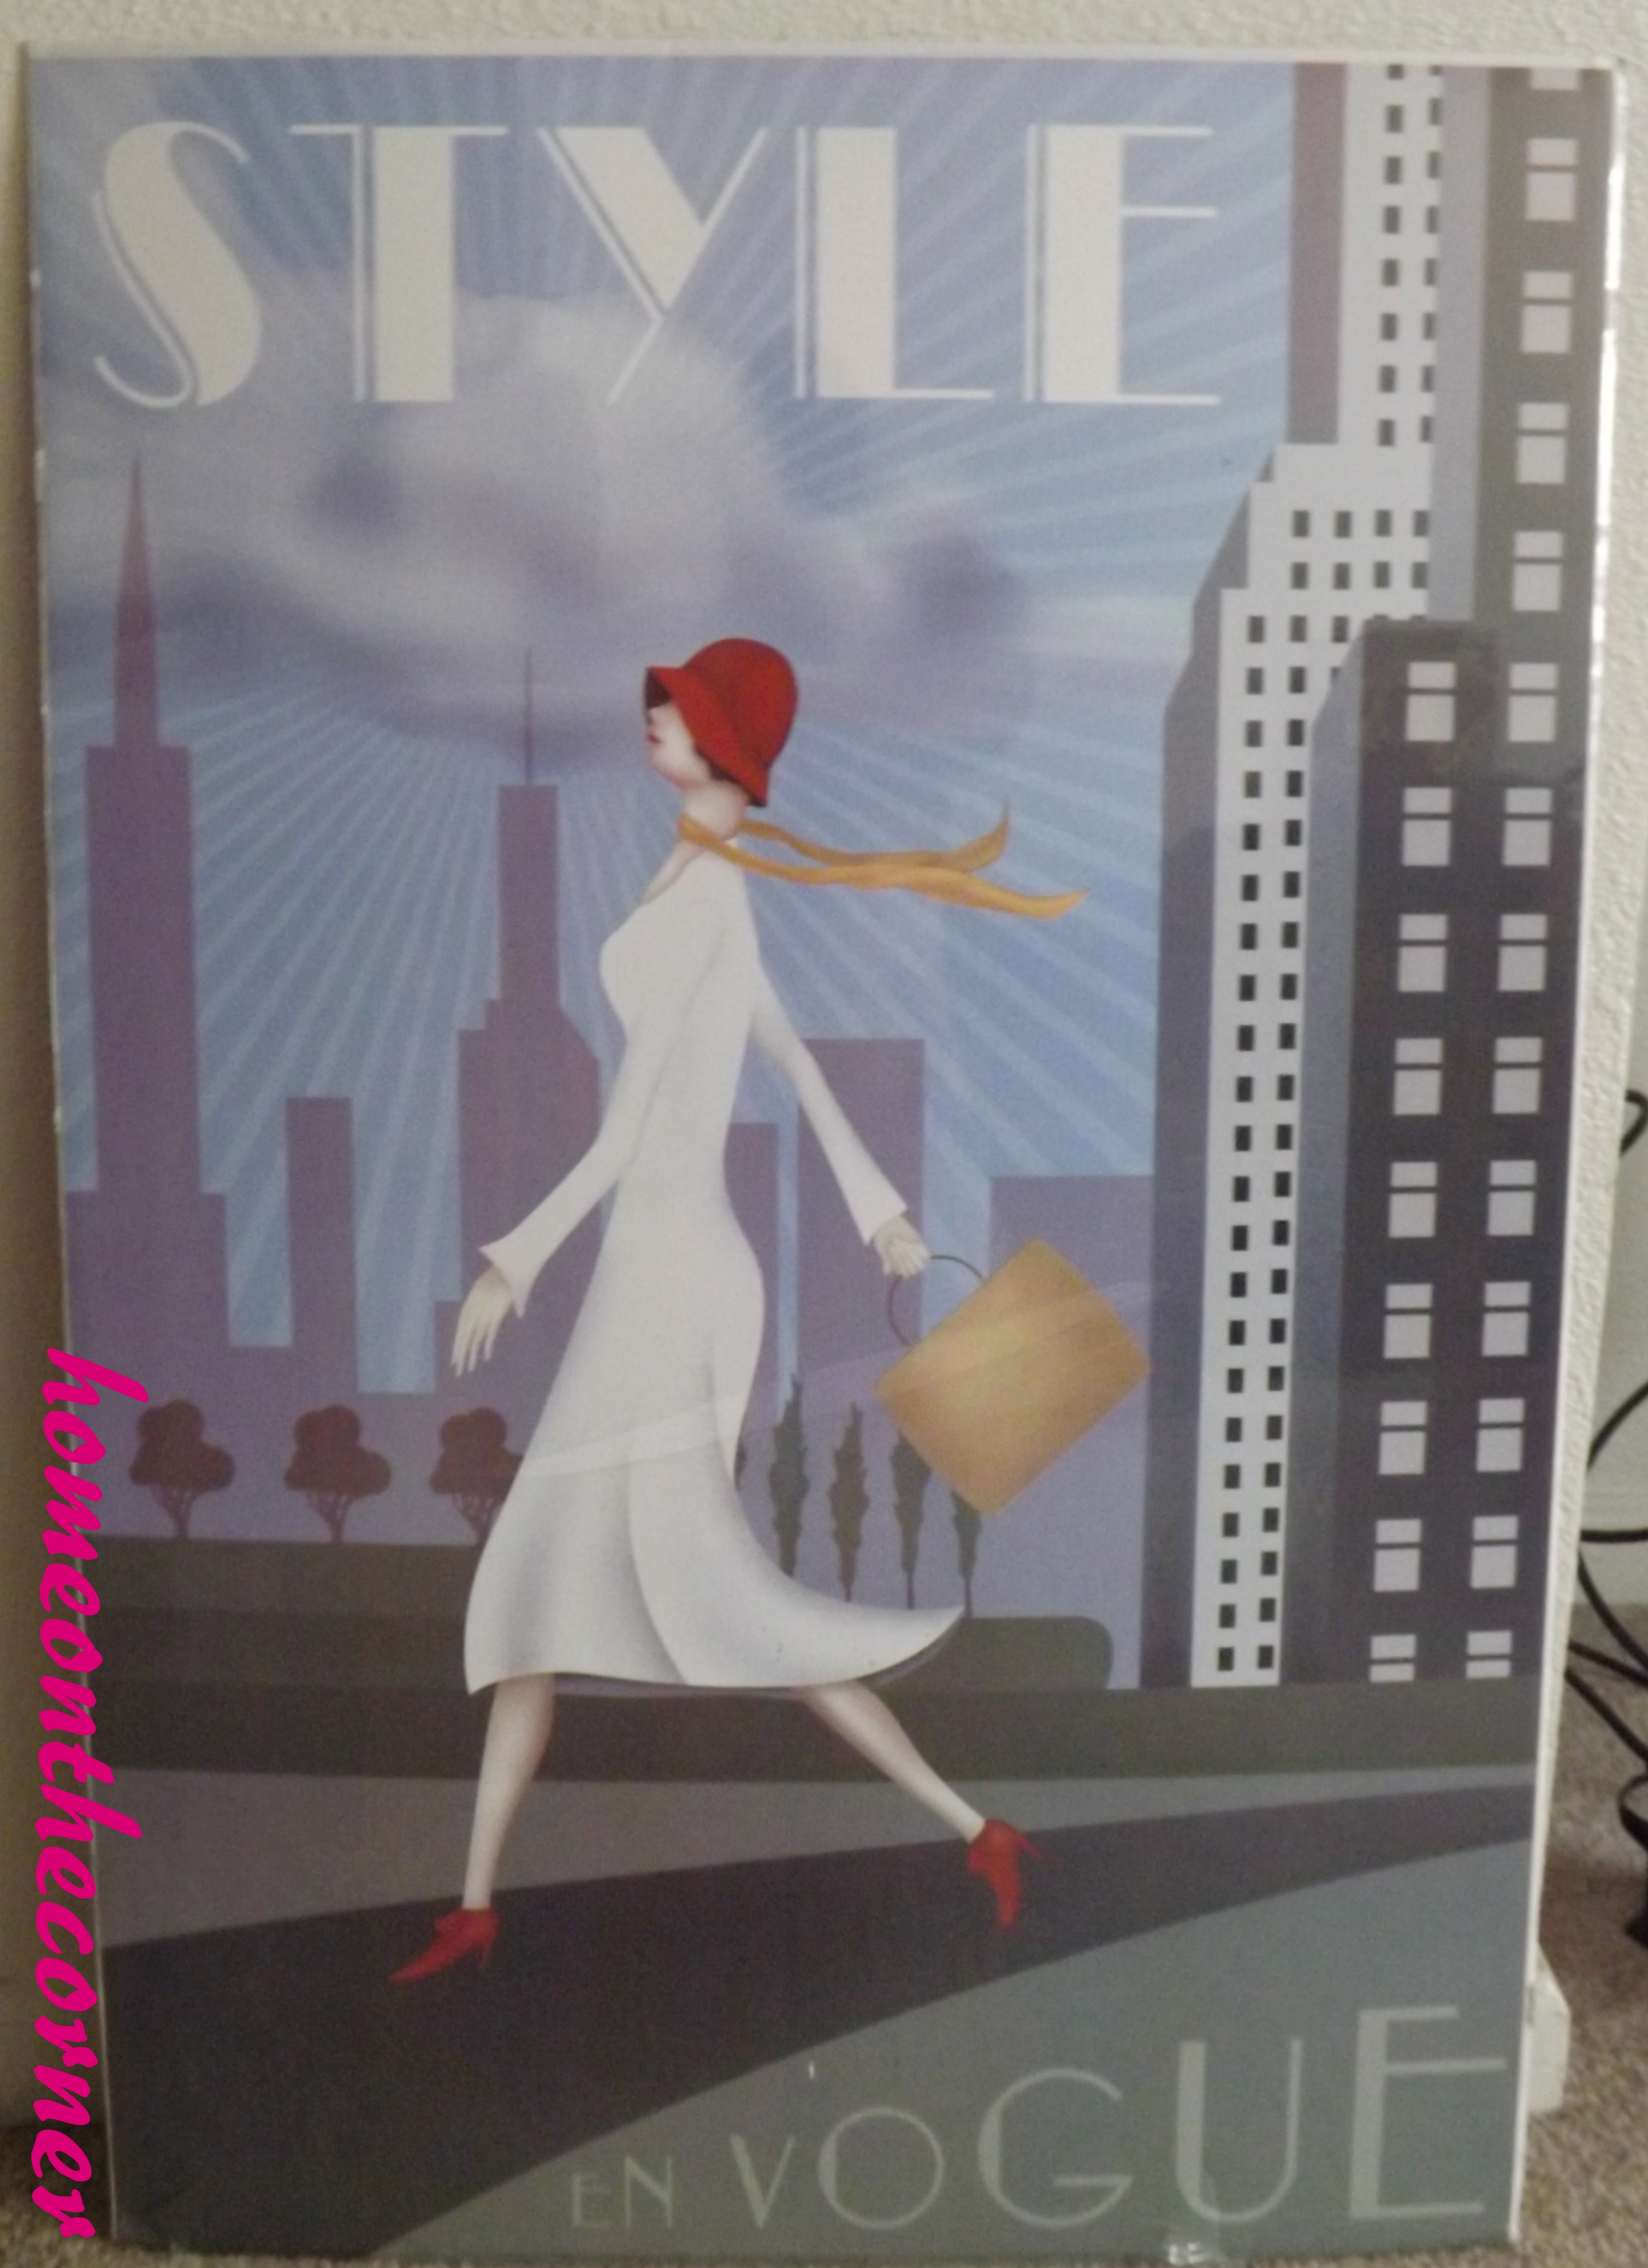
Style en Vogue
Now this picture is going to go up over the couch once I get a frame. But I thought that you might enjoy looking at it. The living room looks so much better and much more welcoming now that the furniture has been moved around. I hope that you enjoyed my new and improved living room. Hopefully, my roommates like it as much as you do! 🙂