Mini-Makeover in the Guest Room with Canvas on the Cheap

Guest Room Makeover Title
Good morning! I’m a day late, but I have a great post for you today! Our family visited Disneyland back in May and Haley took this great photo of Walt Disney, Mickey and the Sleeping Beauty Castle. I worked with Canvas on the Cheap and they created this amazing canvas for me. I used it in my newly decorated guest room/Haley’s room. When Haley saw the canvas and the room, who had two comments, “I want the canvas” and ‘My room looks so grown up!”

*We are participant with Link Connector.com and Canvas on the Cheap, an Affiliate advertising program designed to provide a means for us to earn fees by linking to Canvas on the Cheap and affiliated sites.*

Guest room Makeover Walt Disney and Mickey Canvas

When I edited the canvas, I made the whole thing in black and white and then colored in different areas. The castle, sky, flowers and the statue all have some color to them.

Guest Room Makeover Walt Disney and Sleeping Beauty Castle

I love how it looks! The print even wraps around the sides of the canvas and there is even a hanger added to the back.

“Located in Austin Texas, Canvas On The Cheap delivers high quality canvas prints on time and at incredible prices. Our experienced canvas professionals produce over one million canvas photo prints per year and that massive volume on the most popular canvas sizes enables us to offer time-tested quality at a huge savings to you.

Our canvas prints are printed and stretched in-house and come ready to hang or display with a classic semi-gloss finish. To turn your pictures to canvas prints just choose your canvas size and wrap thickness, upload your pictures or art, and choose your border for a personalized canvas print of your own. Whether you are celebrating Christmas, Mother’s Day, a birthday or any special occasion, be remembered for giving a one-of-a-kind custom canvas print.”

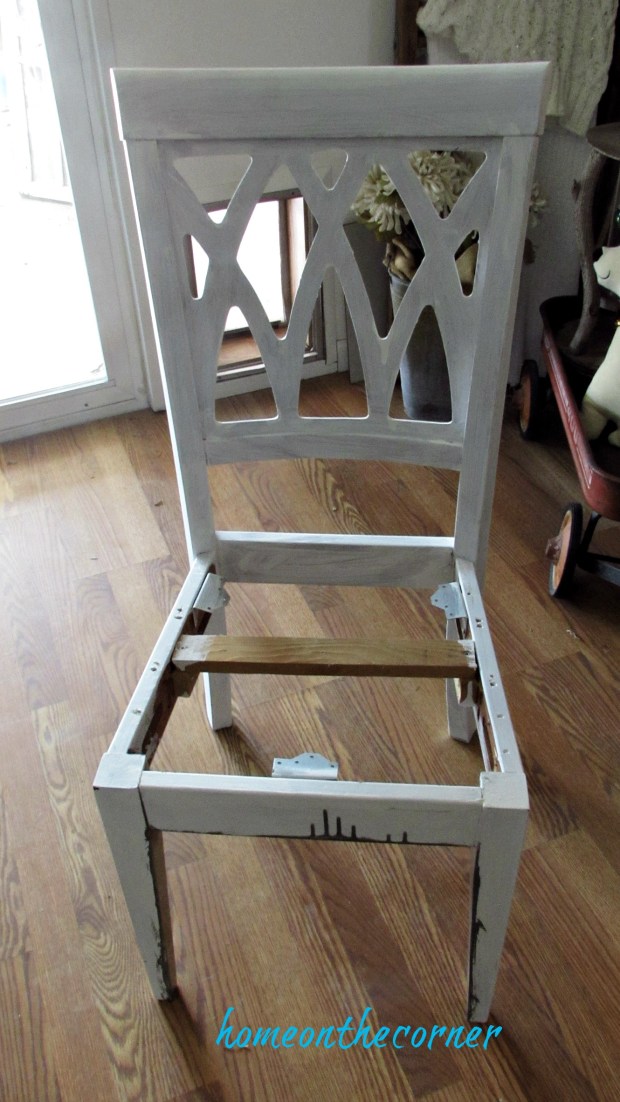
Haley had made this bench years ago from an old desk and a headboard. Since she moved into her own apartment, I could finally move the bench out from the garage, where it has been sitting since we moved a year and a half ago. My husband revised it a bit and I touched up the a paint a bit. It fits perfect in here!


Guest Room Makeover Bench, Canvas on the Cheap, Disney Pillow

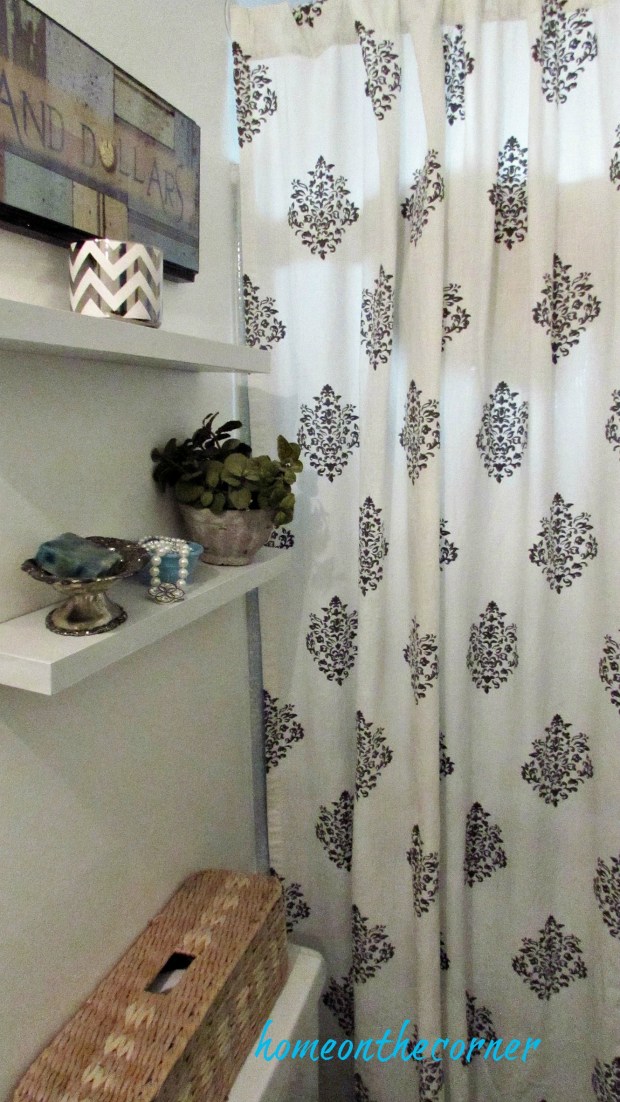
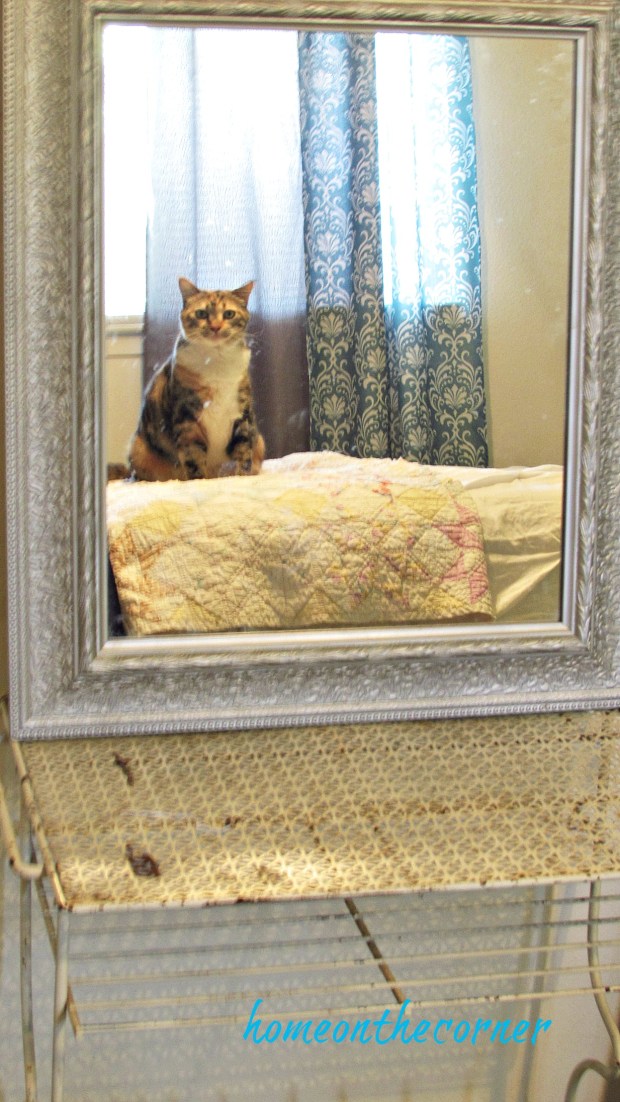
Here is the rest of the room. The one wall is painted charcoal and I decided to stay with this color. I added some turquoise and yellow accents.

Guest Room Makeover Bedroom Grey, Yellow, Turquoise

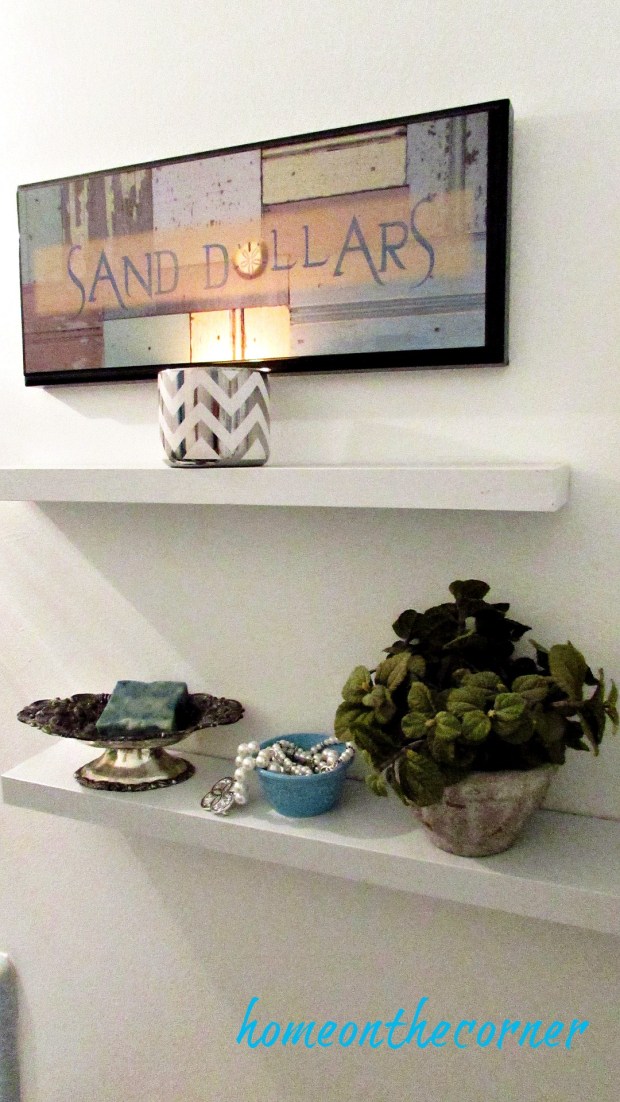
I left several of Haley’s things in here, so she didn’t feel pushed out. Of course, I want her to come home any time she can! She loves peacocks, but couldn’t take this lamp with her, so I kept it in here.

guest room makeover metal night stand

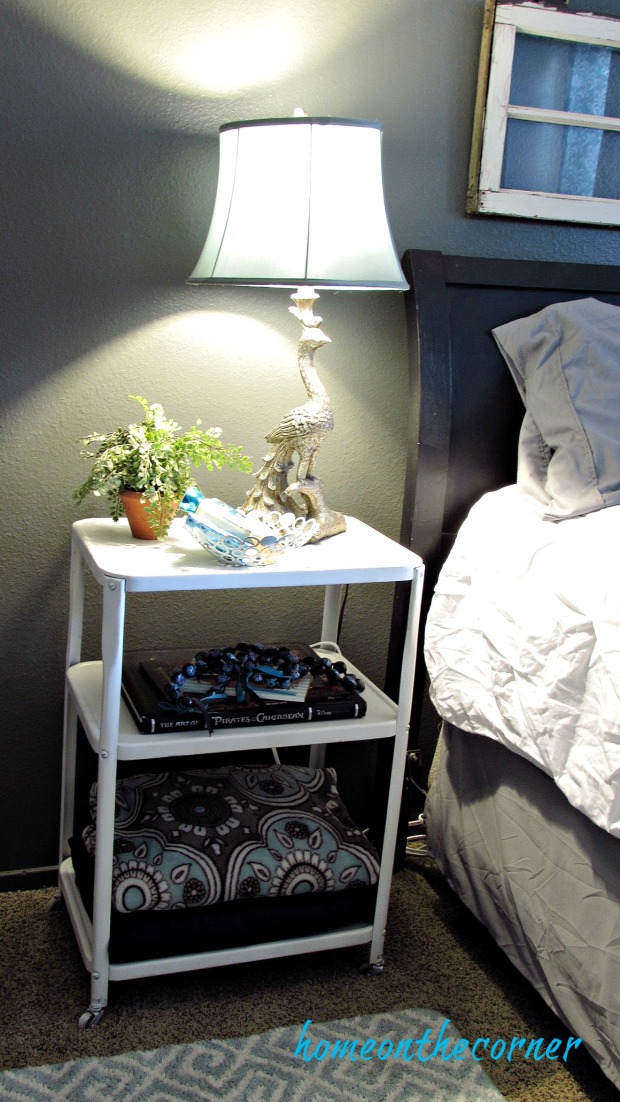
You can see her treasured Pirates of the Caribbean book, along with the beads she purchased while in Hawaii.

Guest Room Makeover White Metal Stand

Guest Room Makeover Nightstand Blanket and Book

The skull pillow was hers too (obviously, if you know Haley). I added a couple of others to bring in more color.

Guest Room Makeover Bed with QuiltGuest Room Makeover Throw Pillows You Are My Sunshine

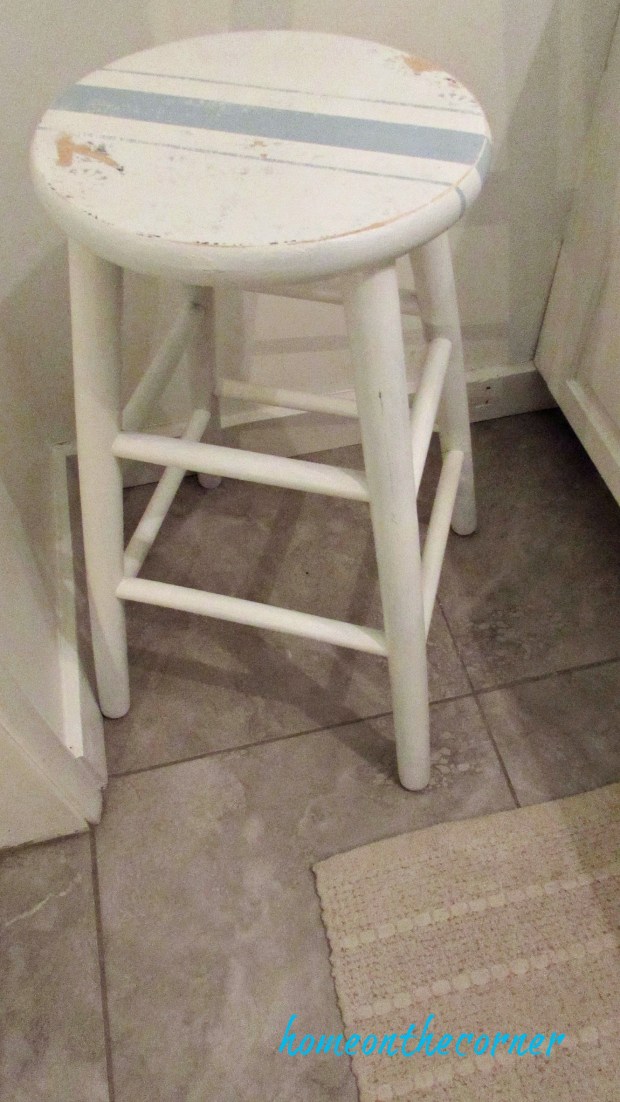
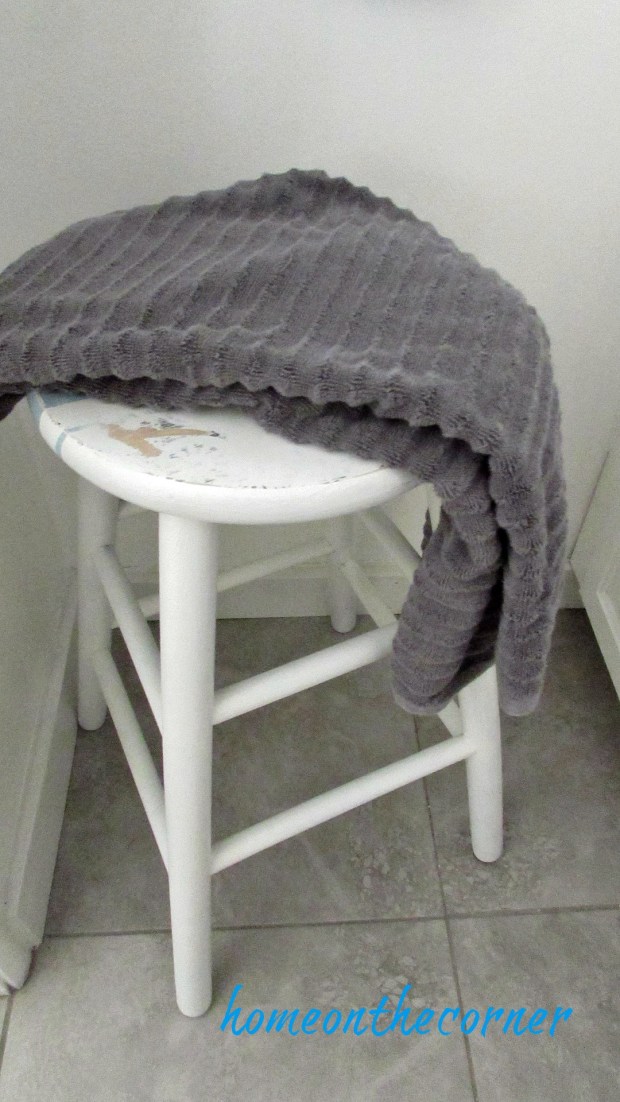
I needed something small in the space between the bed and the wall and the stool was the perfect fit. I added a couple of books and a pitcher with some leaves.

Guest Room Makeover Side table stool and pitcher

My father-in-law made this bookshelf for my husband and me when we first got married, over 30 years ago. It has also been stored in the garage and I am very happy I finally have a good place for it.

Guest Room Makeover Book Shelf with Shutter Doors

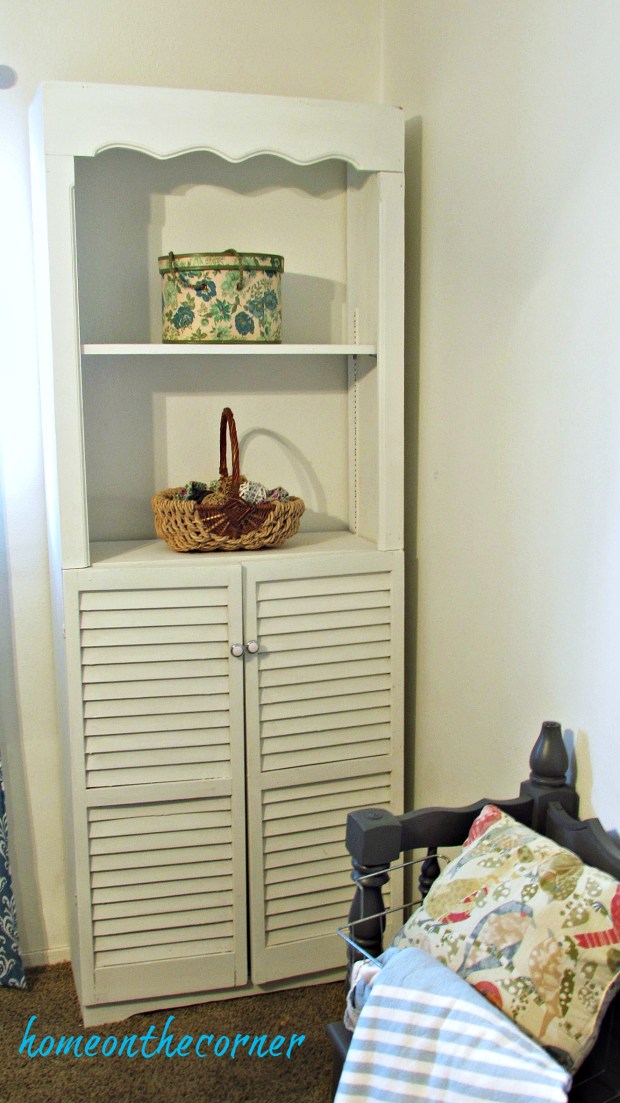
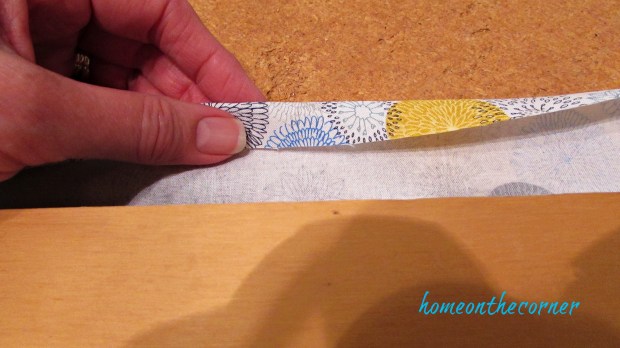
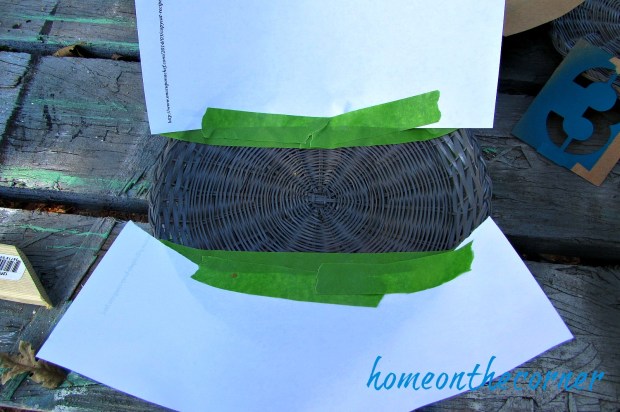
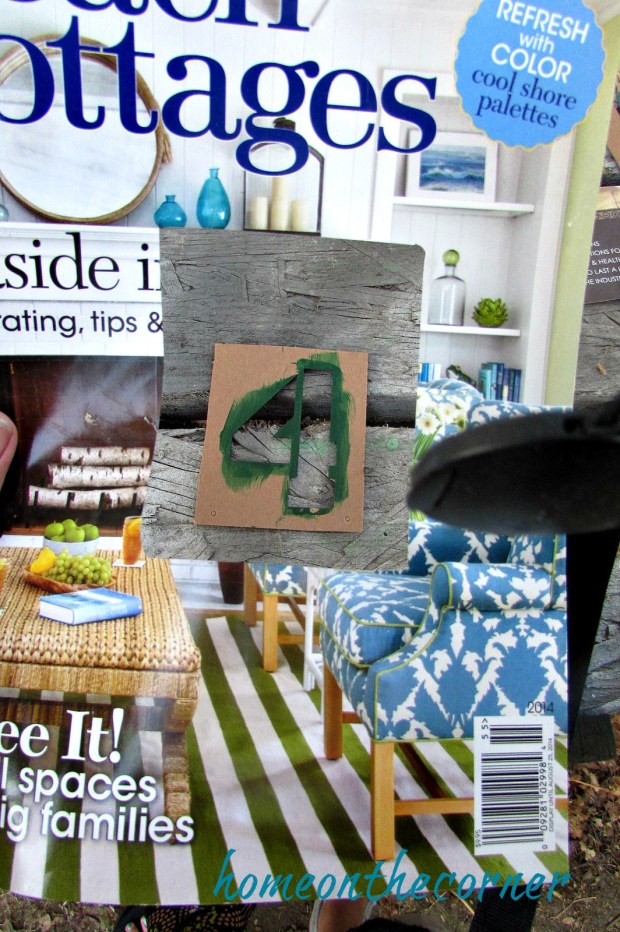
See the cute floral basket in the bottom corner? I found it in the clearance aisle at Walmart. I snagged it up quickly! It is the perfect colors for this room!

Guest Room Makeover Blue and Yellow Floral Basket

Of course, Kiara had to get in on this picture business. Cutie!

Guest Room Makeover Mirror Reflection

Canvas on the Cheap is a great company to work with. The ordering was simple and the canvas came quickly. I hope you will take some time to check them out! Thanks for stopping by today! I hope you all have a great week!

sunshine-and-blessings-picmonkey

Other posts you might enjoy:

green and white striped bench pink purse    wooden box gold flatware coral fabric   picket fence neutral flag with bike and blanket

My Own ‘Blue Moon’ Natural Area Rug

I’m back again today! One of my goals is to try and post more often. We’ll see how long I can keep it up! I’m so excited to tell you about today’s post! I have been in contact with Natural Area Rugs and they were kind enough to send me one of their fabulous rugs!  “Natural Area Rugs offers the best quality natural fiber area rugs and carpets on the market. We offer a wide range of products, including those coming in unique as well as traditional colors and designs to meet every customer’s needs. We offer one of the widest ranges of high-quality floor coverings on the market, at prices that can fit everyone’s budget.” Customers also receive a free rug pad with a purchase.

I spent a lot of time looking through all the different types of rugs. You can order a custom rug, jute, grass, sisal, a contemporary style and even stair treads. I finally  decided on Blue Moon Patchwork Rug under Vintage Oriental Rugs. I was expecting it to be more blue than what I normally use in my home, but I was in for a surprise! It is exactly the right shade of turquoise! It is so perfect! Take a look!

natural area rug blue moon patchwork living room top viewnatural area rug living room

In the pictures it looks a little more grey, which is awesome too. It could be used in so many different styles of rooms from farmhouse and casual to more formal, or coastal, like mine.

natural area rug close up turquoise patchwork blue moonnatural area rug blue pattern pillownatural area rug turquoise pattern closeup

I love the patchwork design.  Each square/rectangle has its own design. Some are more floral and some are more of a geometric design. It has the perfect vintage look!

natural area rug turquoise patchworknatural area rugs overhead view turquoise patternnatural area rug wicker table turquoise rug

The rug is very soft and feels great. The rug pad will ensure that it doesn’t slip around. The colors really enhance the colors in the room and all through the house.

natural area rugs living room table and pillownatural area rug turquoise patchwork tassel banket

I was amazed how fast it was shipped too. It came within two days of ordering and I couldn’t wait to open it up! There was no strange odors when I opened it and it lay flat as soon as I put it down.

natural area rug patchwork turquoise seashells vignettenatural area rug bluemoon patchwork

I’m so happy with this rug! It is the perfect color for me and the size is great. I’m so happy I was able to work with Natural Area Rug! Please be sure to go check out the Natural Area Rug website.

I hope you all have a wonderful weekend!

sunshine-and-blessings-picmonkey


Desk Chair Makeover

Good morning! Are you snowed in where you are? I hope everyone is okay! We are finally having some much needed rain! I think I write about this every year, but it’s just been so long since we really had enough. Hopefully it keeps coming! I was also able to get a few projects done during my Christmas break, so here goes!

I found this chair by some trash cans while we still lived at the old house, so that is over a year ago. It’s just been sitting in my garage waiting for me. 🙂 Haley took her desk chair to school with her and had been using one of my kitchen table chairs, so this was the perfect project for the desk in her room.

The chair was a dark brown so I primered it first. I always start with the chair upside down on a table. That way I am sure to get all the underneath parts and don’t miss anything that I have to try and touch up later. Once the underside is done, I turn it over and paint the top. So I started with the primer. I forgot to get a picture of just the primer so you can see some runs from the grey from when I painted the underneath side.

desk chair makeover primered

I went over the whole chair with grey paint next. This was paint I had from Haley’s bedroom. I don’t know the color because it was an ‘oops’ can at Home Depot. I found the fabric at Hobby Lobby at the after Christmas sale. I loved all the different pops of color in it! I can’t have anything too crazy in Haley’s room, so she actually helped picked it out.

desk chair makeover grey with fabricdesk chair makeover floral fabric

I took my board for the seat of the chair and laid out the fabric under it. Then I cut the fabric to a couple of inches larger than the board. This will give me enough to staple onto the board.

desk chair makeover cut fabric to fit

Making sure the fabric is centered, I fold over the edge of the fabric to give it a little more strength. I start by stapling the fabric in the center of each side of the board, making sure it is a snug fit. Once I have the middle staple in, I do a few more on each side to keep it all even. For the corners, I fold it in to make a neat fold.  I have a couple of other posts about recovering chairs if you want to check them out, here and here.

desk chair makeover fabric recover seat

Once the fabric was stapled to the seat board, I screwed the board back onto the chair. And it was finished! Sometimes I wonder why I put off things for so long, when in reality, it doesn’t take that long to do the whole project. Who knows?!

desk chair makeover grey, turquoise

Now Haley can finally have a chair at her desk and won’t have to keep stealing my kitchen chairs! Lol!

desk chair makeover grey and floral

desk chair makeover closeupdesk chair makeover grey and turquoise

I’m so glad I got this project done. One less thing in my garage. Now on to the next one!


I hope you all have a great week!

sunshine-and-blessings-picmonkey

Here are a few other posts you might enjoy!

master-bedroom-closet-makeover       Top Yarn    

diy-spice-drawer-title

Grey, White and Blue Master Bath Refresh

Good morning! Well, I survived my first week back at school. Actually, it went pretty well! I have a rather small class this time and it sure helps with the noise level! Last year, they could hear my class all the way down the hall! Anyways, I think we are off to a good start.

I am back today with my Master Bath Refresh! I didn’t completely tear out the whole room and start over, but instead, tried to make it work with what was already there.

*This posts contains affiliate links for your convenience. I have linked to similar items at the bottom of the page.  Any purchase made will not cost you any extra. Thanks for your support.*

Here are a couple of before pictures. The paint was very white and and there was a lot of paint scraped off on the cabinet. The mirror and cabinet were circa 1970.Master Bath 2

The floor was part carpet (#gross) and part linoleum.

Master Bath

Now: the new and improved! Sorry the pictures aren’t the best. The room has no natural light. The walls and cabinets were painted Benjamin Moore Simply White. I kept the same silver knobs and handles. You can see I added one of my beachy bar stools, which is the perfect spot to set your towel or clothing. The hook above it holds my hanging clothes.

master bathroom blue, white and grey turquoise

I finally found a shower curtain I thought would work with the blue tile. It’s really long so I had to hang it up high, but I love how it looks!

master bathroom grey, white and turquoise

I was able to replace the dated light fixture and the mirror. I found the light fixture for only $20 on clearance at Lowes and the mirror I found at Hobby Lobby.

master bathroom light fixturemaster bathroom shell mirror

We added the 12 inch grey tile to the floor. What a difference! I love how all the grey, blue and white tie together.

master bathroom tile floor

I used the top section of a bed headboard ( I think!) to make the towel rack. I cleaned it up, painted it and added some black hooks. I hung a weathered seahorse above it.

Master bathroom grey towels

I hung two floating shelves above the toilet and added a few decor pieces-a candle, a plant, a silver dish. I also found a Sand Dollar sign to hang above the shelves.

master bathroom makeover sand dollarsmaster bathroom makeover stool and grey towelmaster bathroom makeover wooden seahorse

I found these great little baskets at Target to help organize all my bathroom essentials.

master bathroom cupboard storage

Some pretty baubles in a turquoise bowl!!

master bathroom makeover pearl necklace

I picked some pretty roses and placed them on a silver tray to add some extra beauty to the room.

master bathroom makeover roses silver traymaster bathroom makeover fresh roses

I hope you enjoyed the little tour! I’m sure glad I finally finished the master bathroom. It’s so much nicer now! See you next week!

sunshine-and-blessings-picmonkey


Rattan Plate Holders plus a Nautical Tablescape

Do you ever have an item you know you want to do something with, but it takes forever to figure out what? That’s me. All the time. I have had these paper plate holders for years. I saw, in a magazine, how they painted them pretty colors. Ok, I can do that. But should I make them all the same, or different colors, and what colors? Oh decisions, decisions!

I finally decided on grey, because…I had the paint already. 🙂 Then Haley came up with the pattern idea.

The first step was to paint them all grey and let them dry. I always use the Rustoleum Ultra Cover. Love this stuff!

Rattan Plate Holdersrattan plate holders spray painted grey

Then I wanted to put a  white stripe across the middle with a number in it. I measured out how large the stripe would have to be so the number would fit and then used the piece of cardboard to tape off the rest of the plate.

rattan plate holder stencil and stripe

I taped scrap paper onto the plate with painters tape. This way I won’t get white paint on the grey.

rattan plate holder tape off stripe

They came out pretty well!

rattan plate holder white stripe

Now came the number. I took an old magazine cover and cut out a square that matched the size of the stencil.

rattan plate holder stencil #4

It’s kind of hard to tell, but here is the square. I taped the stencil to the paper and then pressed it flat against the plate holder. I used turquoise for the numbers.

rattan plate holder magazine and stencil number

Once they were all dry, I was ready to set the table for a night of Al Fresco dining!

rattan plate holders under the lights

When I told Haley I was doing a nautical theme, she asked if it was different then beach theme. I had to think a bit, but yes, in my mind it is a bit different.

rattan chargers on a Nautical table

Nautical is more boats, ropes, and glass floats. Beach would be more sand and shells. At least that is how my mind categorizes it!! 🙂

rattan plate holders farm table

I did add a few shells and my favorite whale to the table along with glass floats and some rope.

rattan plate holders nautical table

I love how the striped runners look under the plates. I got them from Target last fall.

rattan plate holder seashells, jars, roperattan plate holder number 4

It was starting to get a bit dark on these last pictures, so they are a little grainy.

rattan plate holders tablerattan plate holder number 2rattan plate holder whale

I love how this turned out and really glad I finally did something with these plate holders. Now if I can only come up with ideas for the dozens of other items I have!!

Sunshine and Blessings

Here’s a few other tablescapes you might be interested in!

Fall Tablescape Cover Photo

turquoise and white spring tablescape title