

Good morning! Are you snowed in where you are? I hope everyone is okay! We are finally having some much needed rain! I think I write about this every year, but it’s just been so long since we really had enough. Hopefully it keeps coming! I was also able to get a few projects done during my Christmas break, so here goes!
I found this chair by some trash cans while we still lived at the old house, so that is over a year ago. It’s just been sitting in my garage waiting for me. 🙂 Haley took her desk chair to school with her and had been using one of my kitchen table chairs, so this was the perfect project for the desk in her room.
The chair was a dark brown so I primered it first. I always start with the chair upside down on a table. That way I am sure to get all the underneath parts and don’t miss anything that I have to try and touch up later. Once the underside is done, I turn it over and paint the top. So I started with the primer. I forgot to get a picture of just the primer so you can see some runs from the grey from when I painted the underneath side.
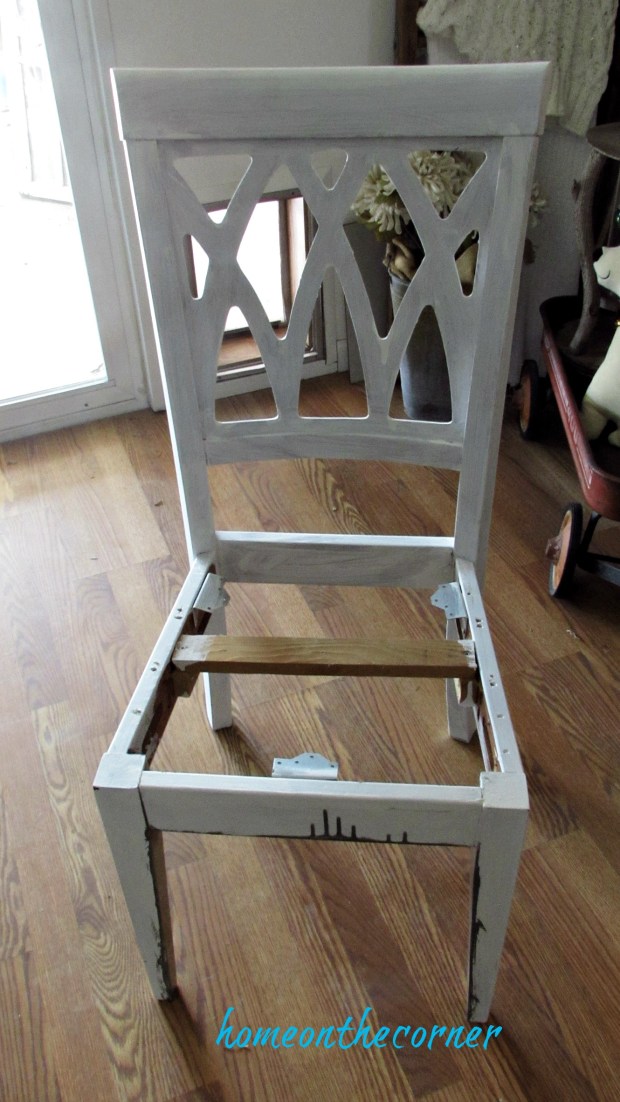
I went over the whole chair with grey paint next. This was paint I had from Haley’s bedroom. I don’t know the color because it was an ‘oops’ can at Home Depot. I found the fabric at Hobby Lobby at the after Christmas sale. I loved all the different pops of color in it! I can’t have anything too crazy in Haley’s room, so she actually helped picked it out.


I took my board for the seat of the chair and laid out the fabric under it. Then I cut the fabric to a couple of inches larger than the board. This will give me enough to staple onto the board.

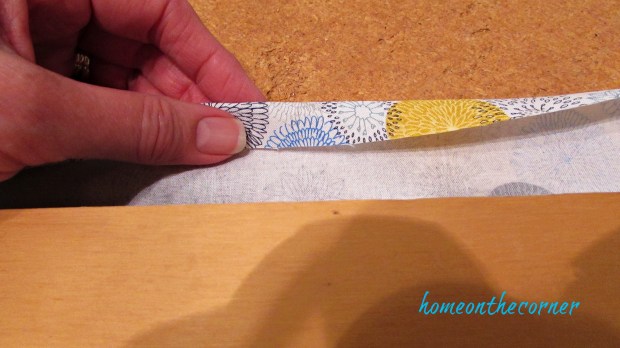
Making sure the fabric is centered, I fold over the edge of the fabric to give it a little more strength. I start by stapling the fabric in the center of each side of the board, making sure it is a snug fit. Once I have the middle staple in, I do a few more on each side to keep it all even. For the corners, I fold it in to make a neat fold. I have a couple of other posts about recovering chairs if you want to check them out, here and here.
Once the fabric was stapled to the seat board, I screwed the board back onto the chair. And it was finished! Sometimes I wonder why I put off things for so long, when in reality, it doesn’t take that long to do the whole project. Who knows?!

Now Haley can finally have a chair at her desk and won’t have to keep stealing my kitchen chairs! Lol!


I’m so glad I got this project done. One less thing in my garage. Now on to the next one!
I hope you all have a great week!

Here are a few other posts you might enjoy!


One thought on “Desk Chair Makeover”