BlitzyBlingArt Makes a Public Appearance!

Hello everyone!  So I know that I have been away for a while, and I apologize.  But, there is a reason why.

I have been working nonstop on BlitzyBlingArt.  Why would I do that?  I’m going to a craft show tomorrow.  Hooray!

Now for this craft show I am taking 50 separate pieces.  And for me, I did almost all of it by myself.  With the help from some of my friends, I was able to complete all of these pieces.

So here are some of the pieces that I am taking with me!  I hope you like them all!

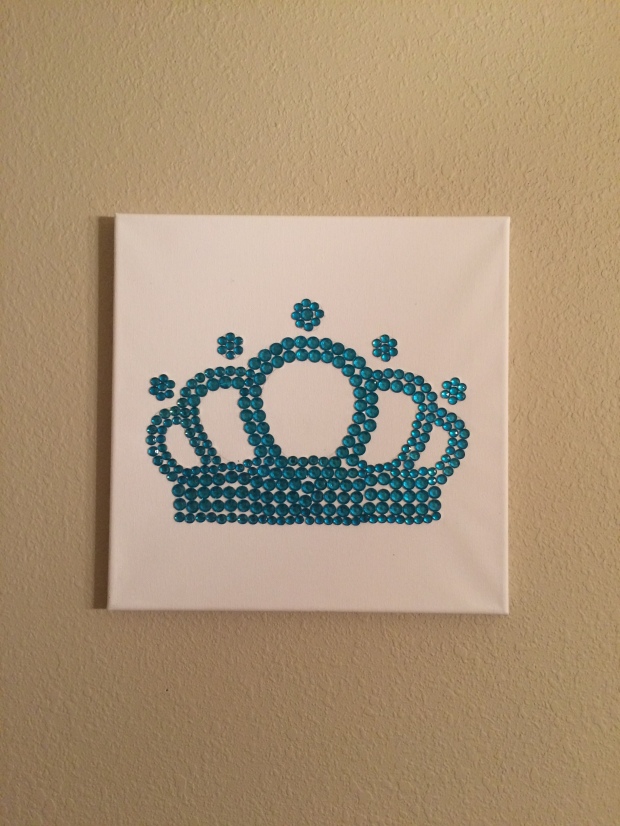
First is this adorable turquoise crown.  Of course it can be made in any color, but this looks like it belongs in Frozen.

IMG_3373

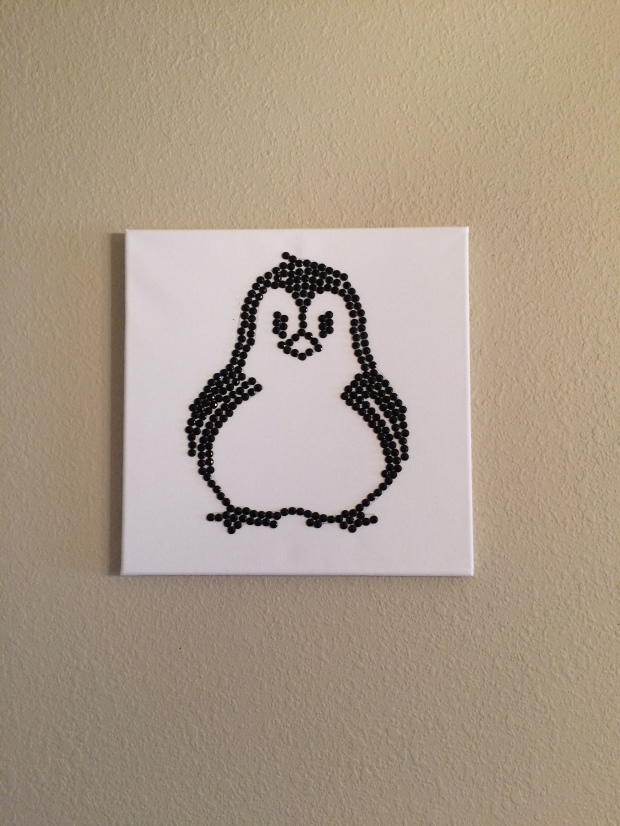
Next is this cute fat penguin.  Who doesn’t like penguins?

IMG_3391

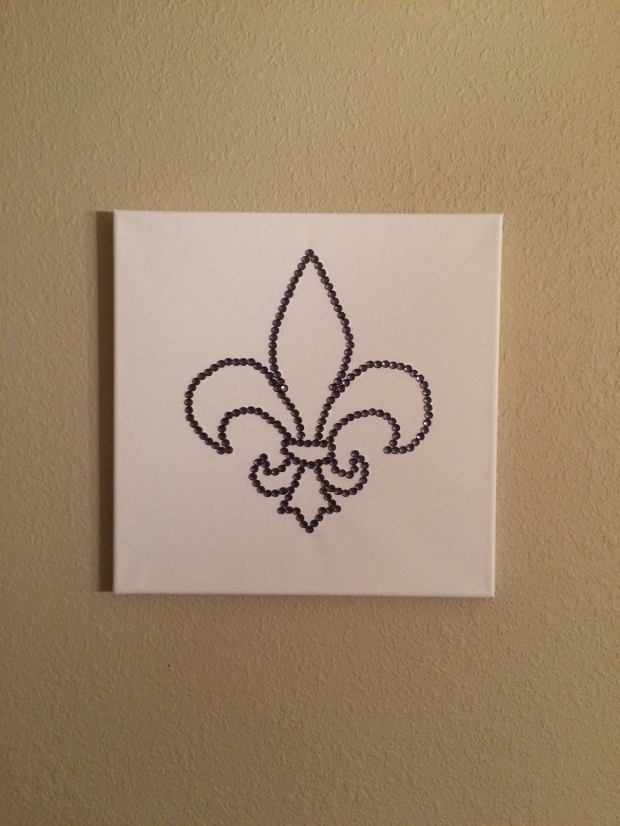
Then we have a Fleur de Les.  This is such a classic design that looks great in any type of decor.

IMG_3372

Now we have a cute little pig.  The color is perfect for a pig, don’t you think?

IMG_3180

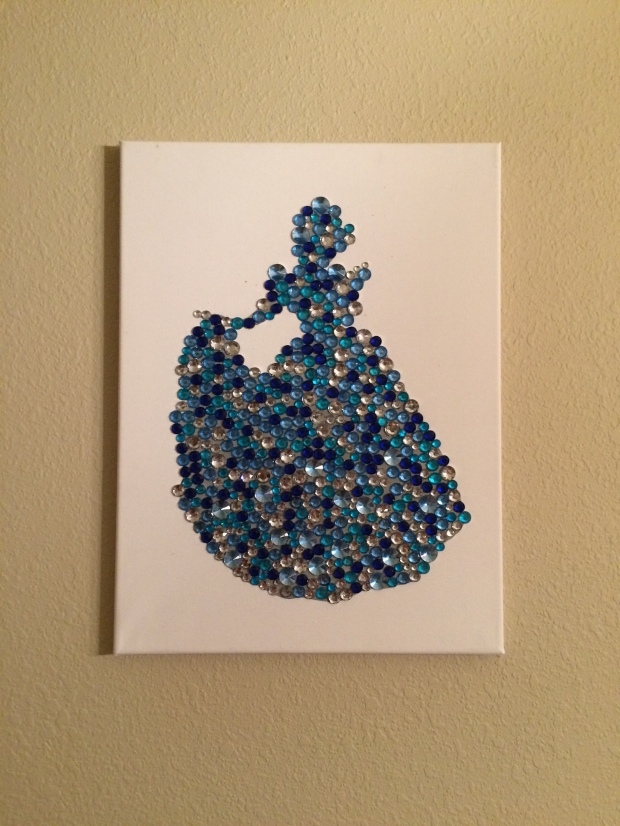
Next we have Cinderella.  I have many different Disney silhouettes, and Cinderella is one of my favorites.  I love how elegant she looks.

IMG_3131

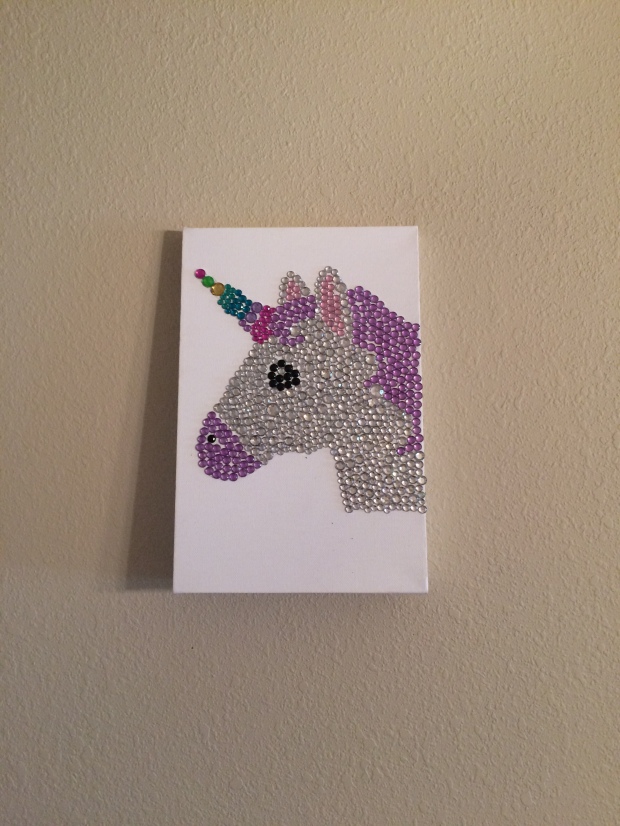
Why no have a little bit of fun with emojis?  Of course I had to make a unicorn!  I love the colors and how perfect it looks.

IMG_3393

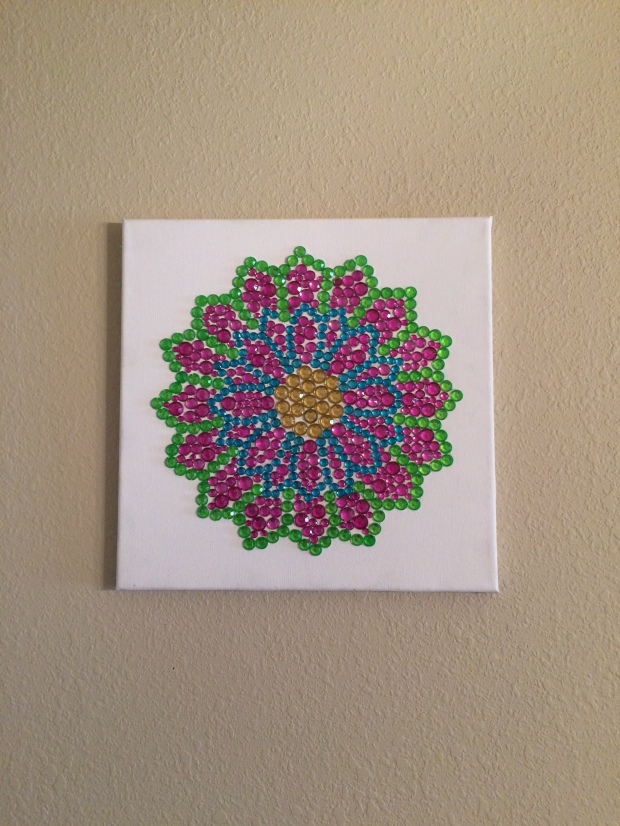
Finally, I have a few pieces that were extremely tricky.  And this one was no exception.  This mandala was one of my favorites to work on and is definitely one of my favorites that I am taking!

IMG_3390

So that’s it!  These are some of the 50 pieces that I am taking with me to my craft show.  I hope it goes well, and I hope I come home with less than 50 pieces!

sparkle

Valentines Day by BlitzyBlingArt

Hello everyone!  I have a really easy project that you can make just in time for Valentines Day!  I hope you enjoy!

So I am currently working on a bunch of artwork for a craft show that I will be attending in March.  As a part of attending the craft show, I need to give a small donation for a silent auction.  Because of this, I made two small canvass that go together!

(I must apologize because I made the first canvas before I thought of taking pictures for the blog.  Sorry.)

I decided I was going to make a heart and an XO.  Now, I made the heart before I took pictures, but I will show yo how I made the XO.

valentines-day-canvas

First, I started with I drew out the X and the O to make sure they were the right sizes.

valentines-day-xo

Then you place the glue.  I followed my lines because I somehow fit the letters perfectly.

And finally TAKE PICTURES!

But, I couldn’t take just normal pictures.  I had to attempt to take pictures of my two miniature canvases with my cats Target and Amelia.

valentines-day-blitzyblingart-1valentines-day-blitzyblingart-2

I swear I spent way too long trying to get these pictures….

But I think the tiny canvases turned out so cute!  And I mean, my cats love each other and I love them so it works out perfectly!  Especially since I am the conductor of the single train for life…………………………………………..

sparkle

Corner News-More Blingy Stuff!

Hey everyone!  So, this post is really short, I’m sorry!

But, I’ve been working on more of my blingy art like my British flag.  They aren’t as intricate as the flag, but they still look great!

So here they are.  First is Belle.

belle

Next is Ariel.

ariel

Then we have Aurora, also known as Sleeping Beauty.

aurora

Finally, we have my personal favorite princess Jasmine.

jasmine

Now, I have all of these pictures on my Etsy shop, BlitzyBlingArt.  Click on the name of my shop to go visit!

sparkle

Beautiful, Blingy, British Flag

Hello everyone!  I hope that you are all getting prepared for Halloween that is just around the corner.  Are all of your costumes ready?  Do you have enough candy?  Is your front porch all decked out?

Well this weeks post has nothing to do with Halloween…Sorry.

So you know how last week I posted about a project that I was working on?  If not, don’t worry, I’m going to go through it again!

Here are your supplies!

img_2837

A piece of wood, paint, glue, jewels, paint brushes, and tweezers.  I started by painting the board with grey.  Of course, you can paint it whatever color you want, but I went with grey.

img_2838

Next, I printed out the design I wanted on paper and drew it onto the board.  I did so by coloring the back of the paper with pencil, then drawing over the lines again to have the pencil go through.

img_2839

Once I had the design, I started placing the jewels on the board.  I would put glue on the small section that I wanted to start bedazzling and would hand place, or tweezer place, the jewels on.

Now, I made the design a little bit different than the original.  If you can’t tell from the picture above, the design that I picked was the British flag.  So for me, instead of red, white, and blue, I used pink, white, and black.

img_2840

I added some gems of other colors to add some dimension to the flag.  So, I have purple in the pink section of the flag, and added some purple and blue in the black section.

It took a lot of time and effort, but it was totally worth it.  I would lay out the jewels that I wanted to use on the board and would add glue to place the jewels.

close-up-gems

close-up

And after about 18 hours of work (all broken up, not in one sitting) I finally finished.  And I am extremely proud of my work.  So here it is!

full-blingy-flagblingy-flag-down-viewup-close-finished

It looks amazing!  I am so happy with how it turned out.  And it looks amazing in the sunlight because the light just shimmers off of the jewels.  I am sooooooo happy and I cannot wait to do more!

Thanks for stopping by!

sparkle

Bejeweled Bottle

Haley’s graduation was almost two weeks ago, but I have now decided to post what I made for her.  I wanted to make a gift that was personal but still was fun.

I bought a Starbucks frappuccino, you know the frappuccinos that come in the bottles, and wanted to make something cute from the bottle.  And, that is where the bejeweled bottle idea came from.

Bottle

After washing the bottle out as many times as possible to get the coffee smell out of it, I was ready to get working on it.  I used the bottle, sticky jewels that you can buy in the scrapbooking section at Michaels, and scissors.  I thought that the easiest way to put the jewels on the bottle was to cut them in rows and stick them on.

Jewels

And then I ran into a small problem.  The jewels didn’t wrap all the way around the bottle like I thought that they would.  They covered about 80% of the bottle, and then had to use other pieces to fill in the rest of the 20%.

bejeweled bottle

After using about six rows of the turquoise color jewels, I decided I wanted to make a ‘H’ out of the white jewels.  I cut out a piece of the white that was 8 jewels across by 16 tall.  I then cut the top and bottom to make a ‘H’ and placed it on the front of the bottle.

H for Haley

H for Haley

My next problem came when I got to the neck of the bottle.  I had to cut the jewels in  single strips to make sure that it didn’t look funny.  But, because the jewels are square and the bottle is round, the jewels stuck up a little.  But from far away, it is hard to tell what the jewels look like on the bottle.

I finally covered the lid of the bottle to complete the bejeweled bottle.  I made a smaller version of the white ‘H’ to place on the top of the lid.

bejeweled bottle 1

And voila!  A bejeweled bottle!

bejeweled bottle

This was very simple and only took me about an hour to complete.  Since the jewels are sticky, it didn’t take long for them to stick to the bottle.  And if you mess up, it is easy to take off and restick.  Let me know if you have tried to use these sticky jewels on a project and how it worked out for you!

sparkle