Good morning! It’s Thanksgiving this week in the U.S., so Happy Thanksgiving everyone! I have been busy getting my house decorated for Christmas this past week. I will get some pictures taken and take you all on a tour soon.
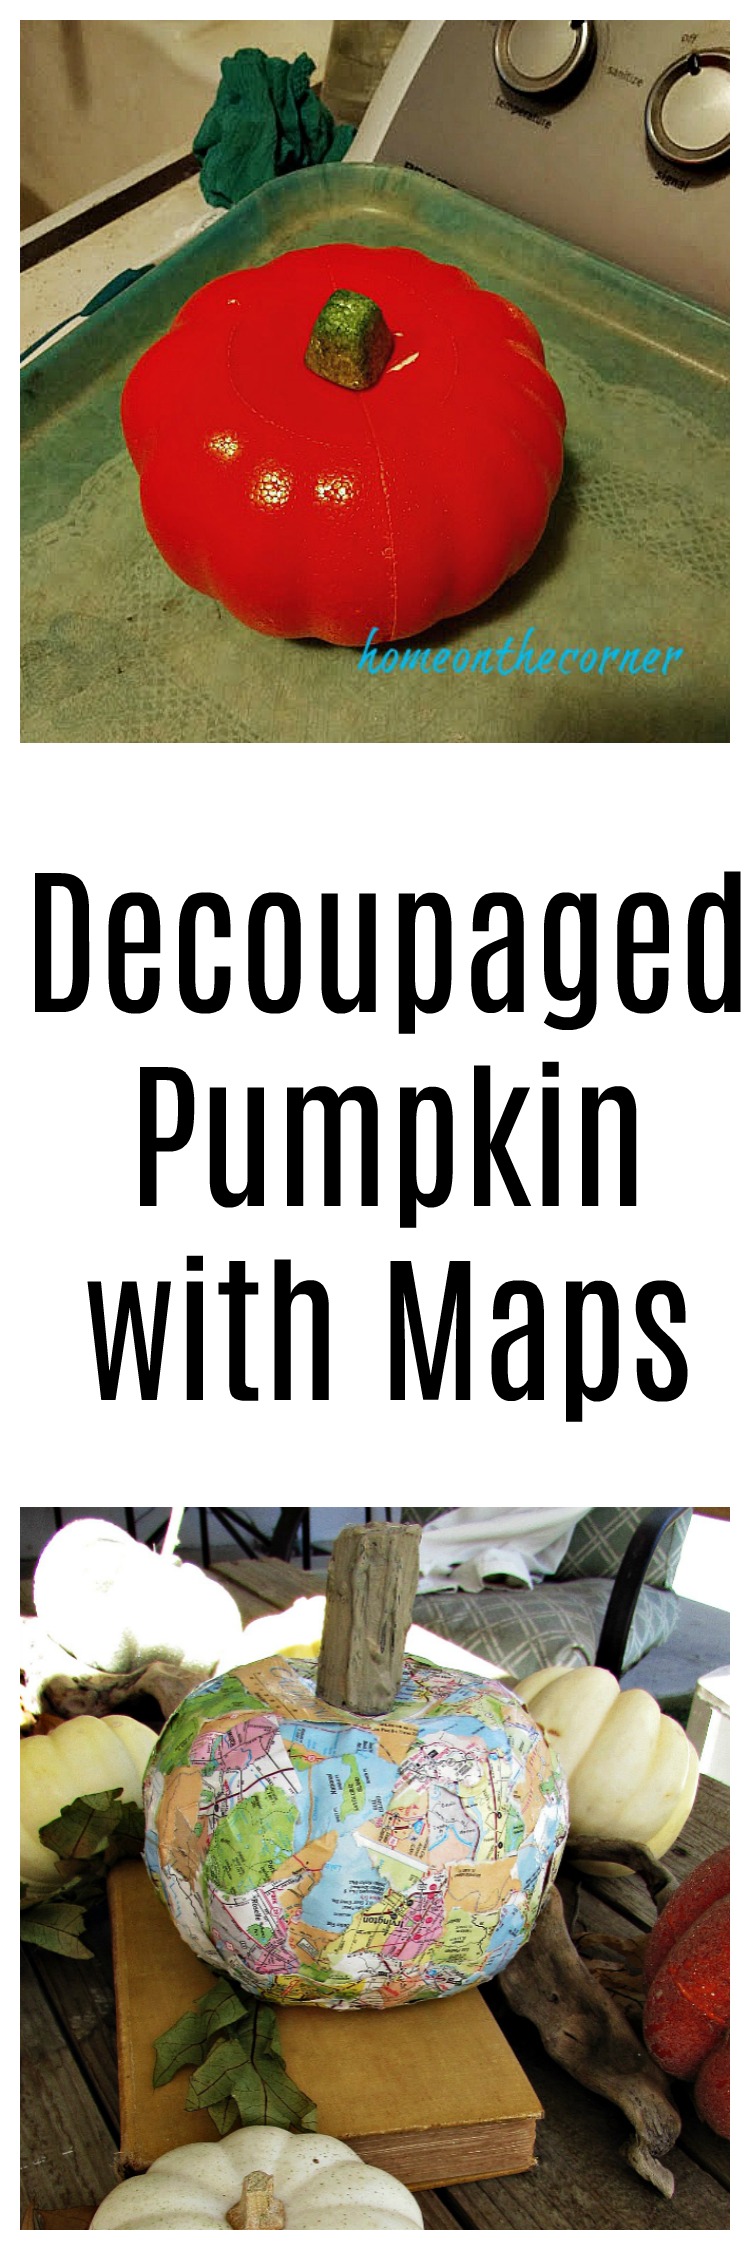
I made this ornament for Lauren a couple of years ago but never posted it. I don’t have many pictures, but it is pretty simple to make. I have several other projects using Mod Podge. Click on the title to take a look!
- Decoupaged Disney Tray
- Make Your Own Coaster with Scrap Wood
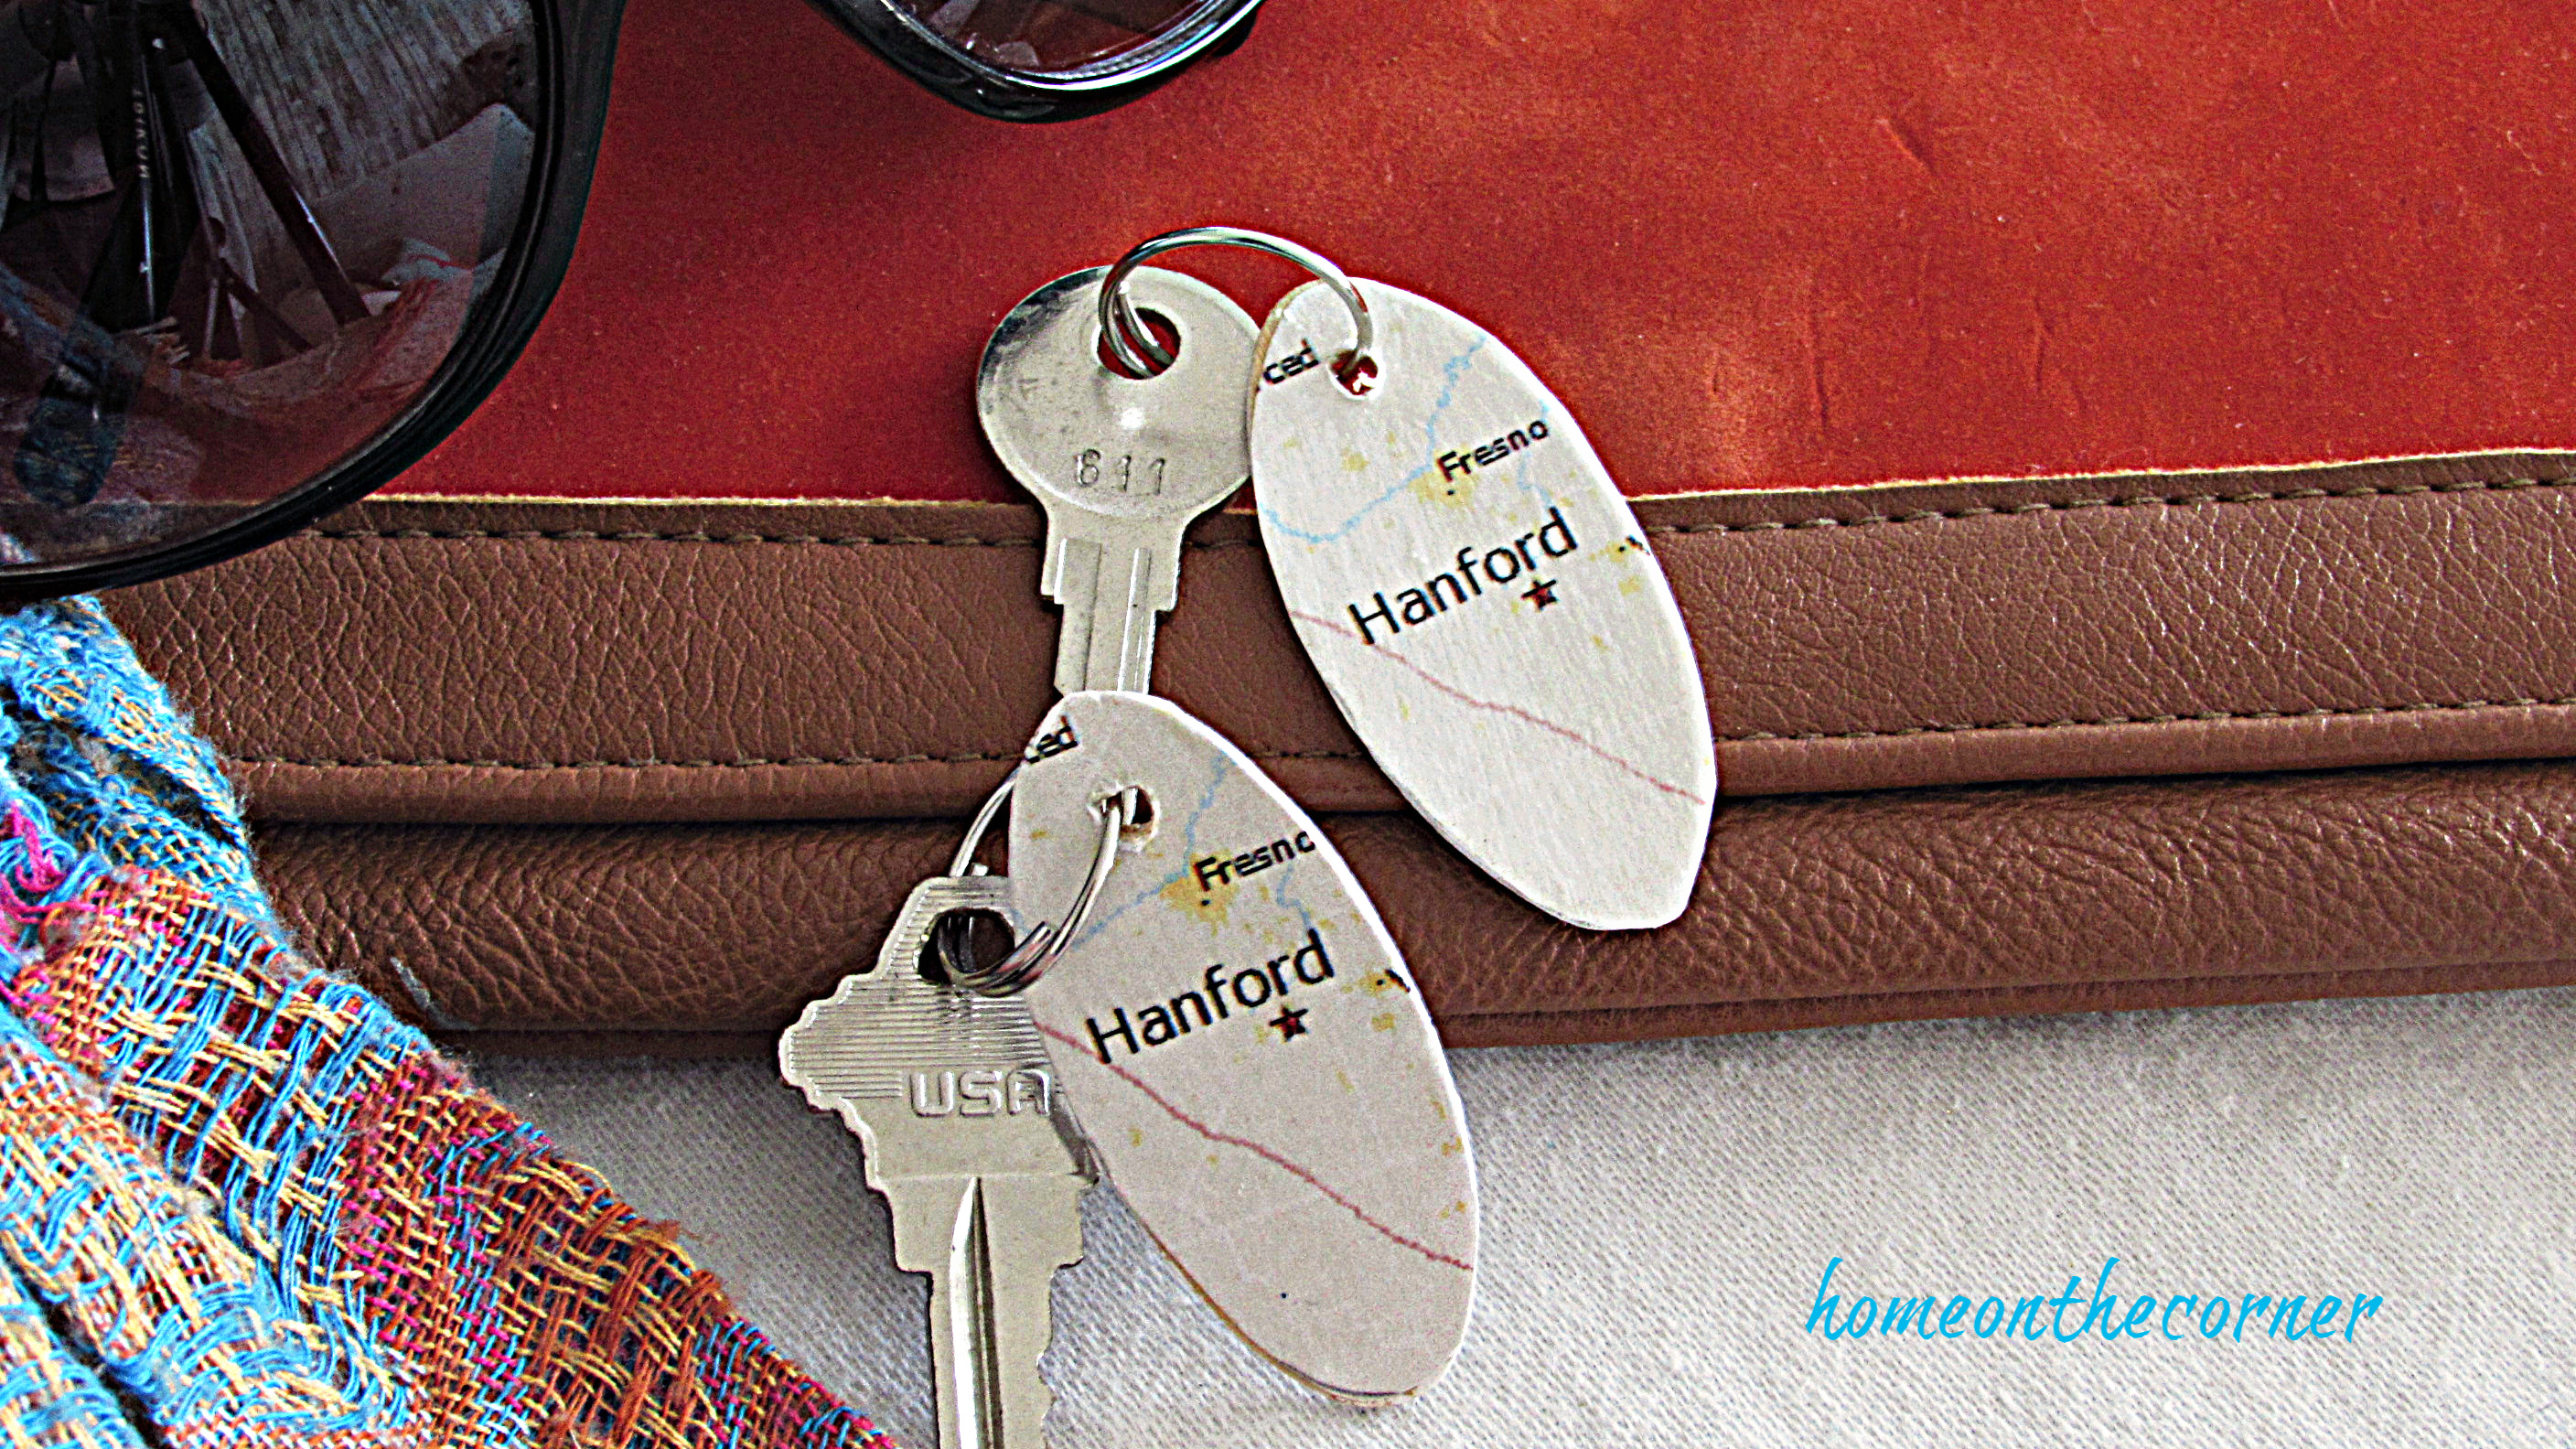
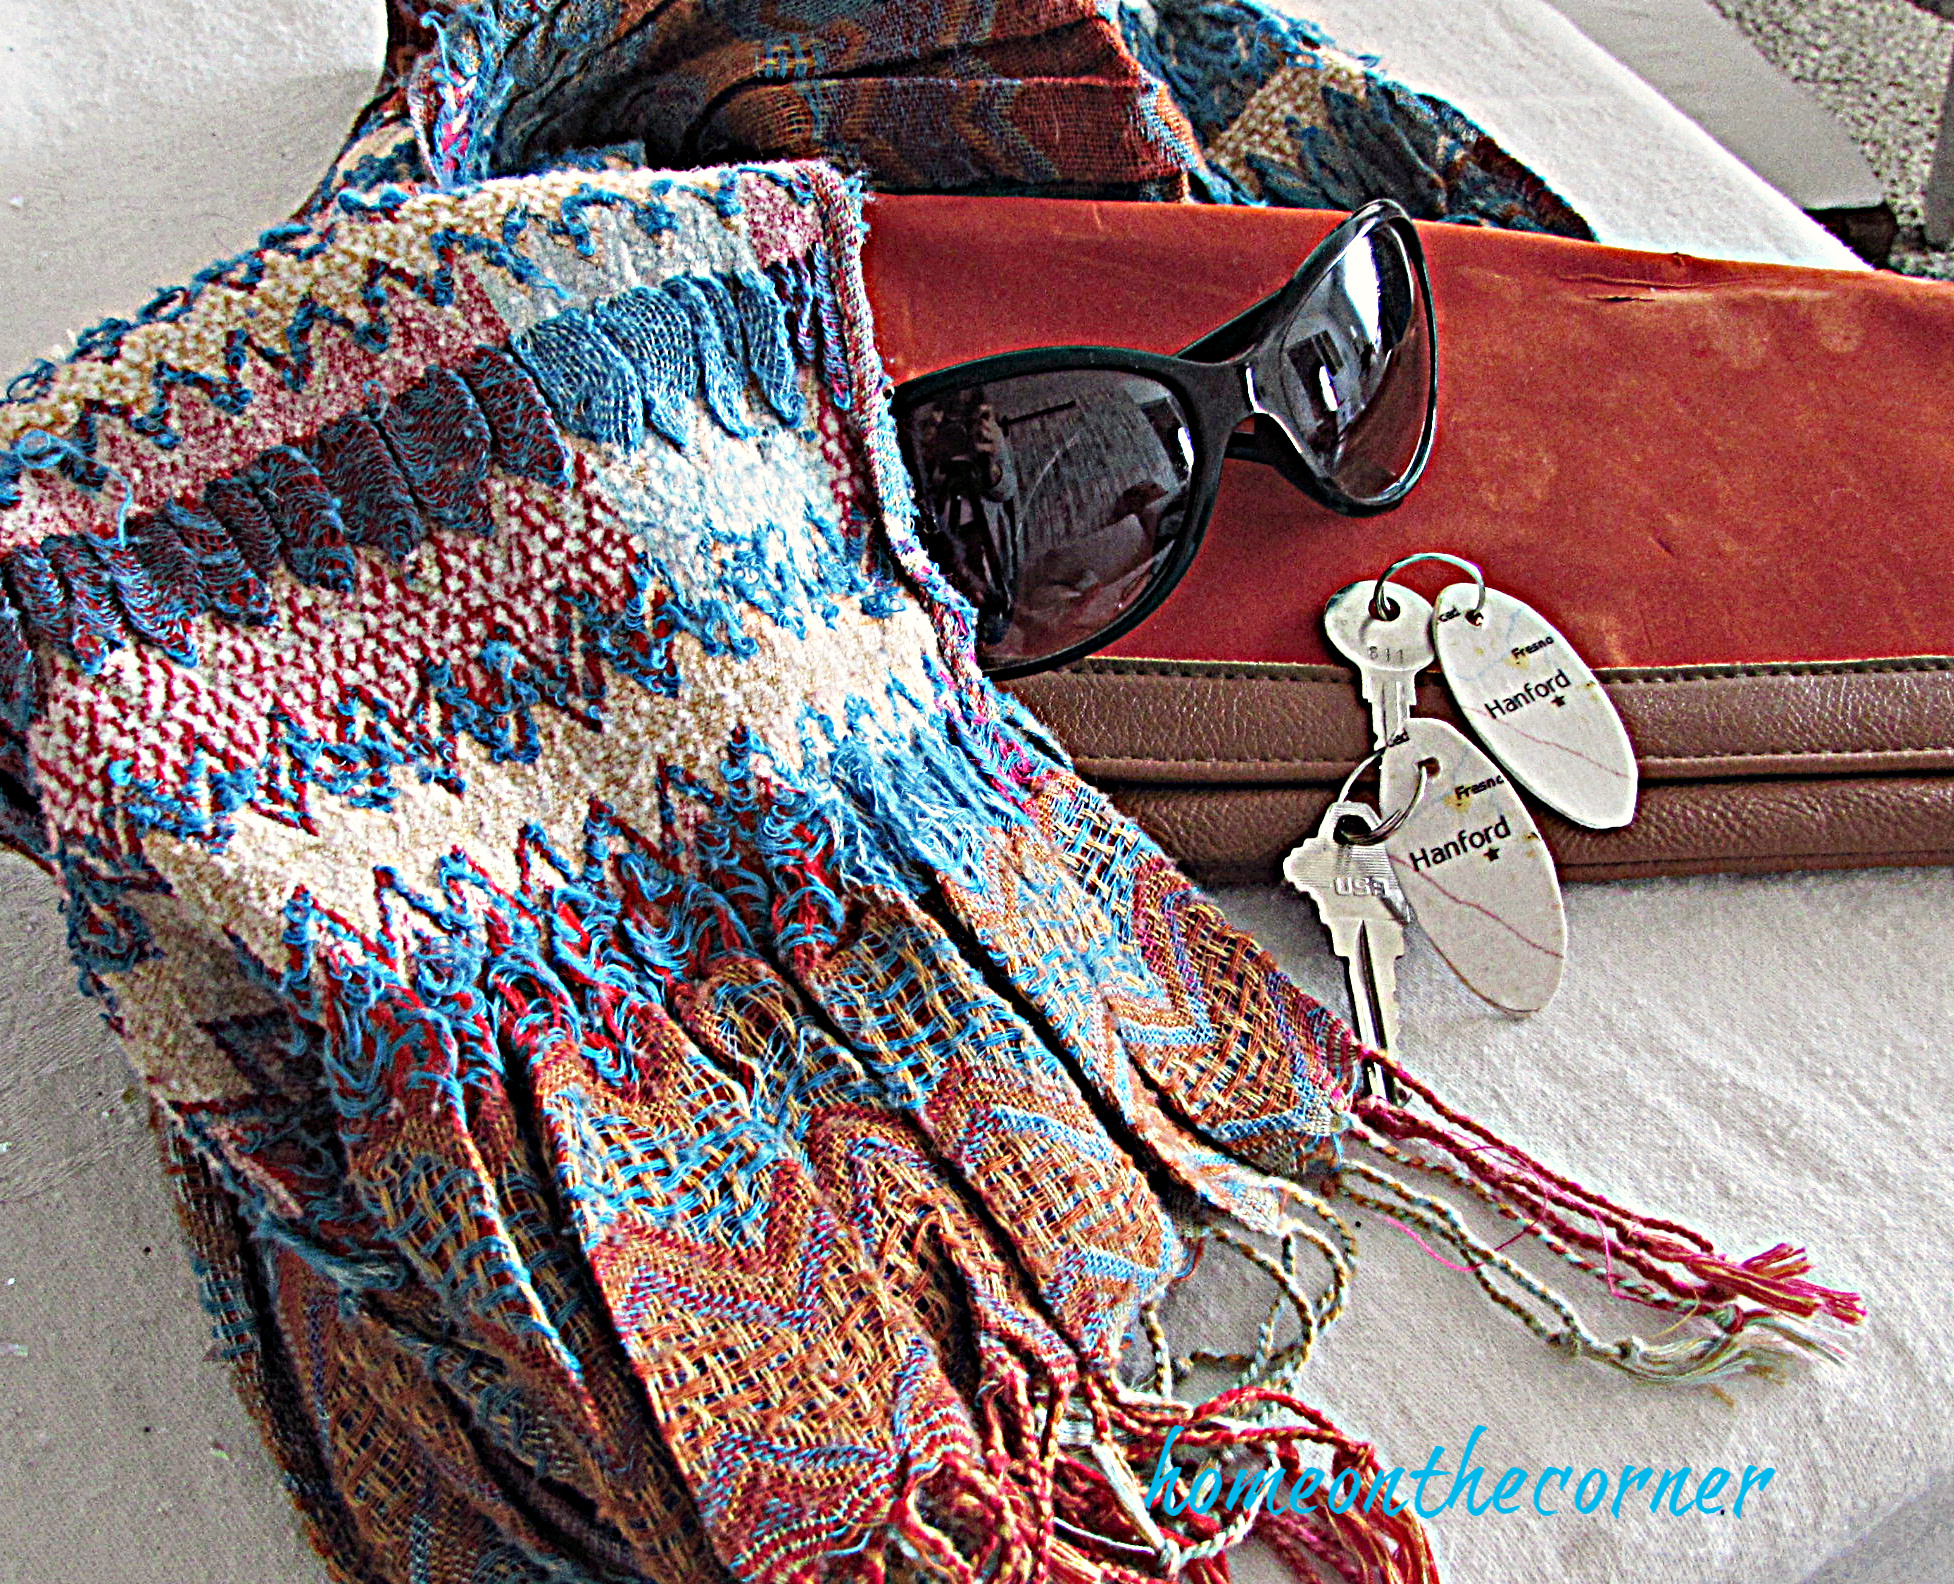
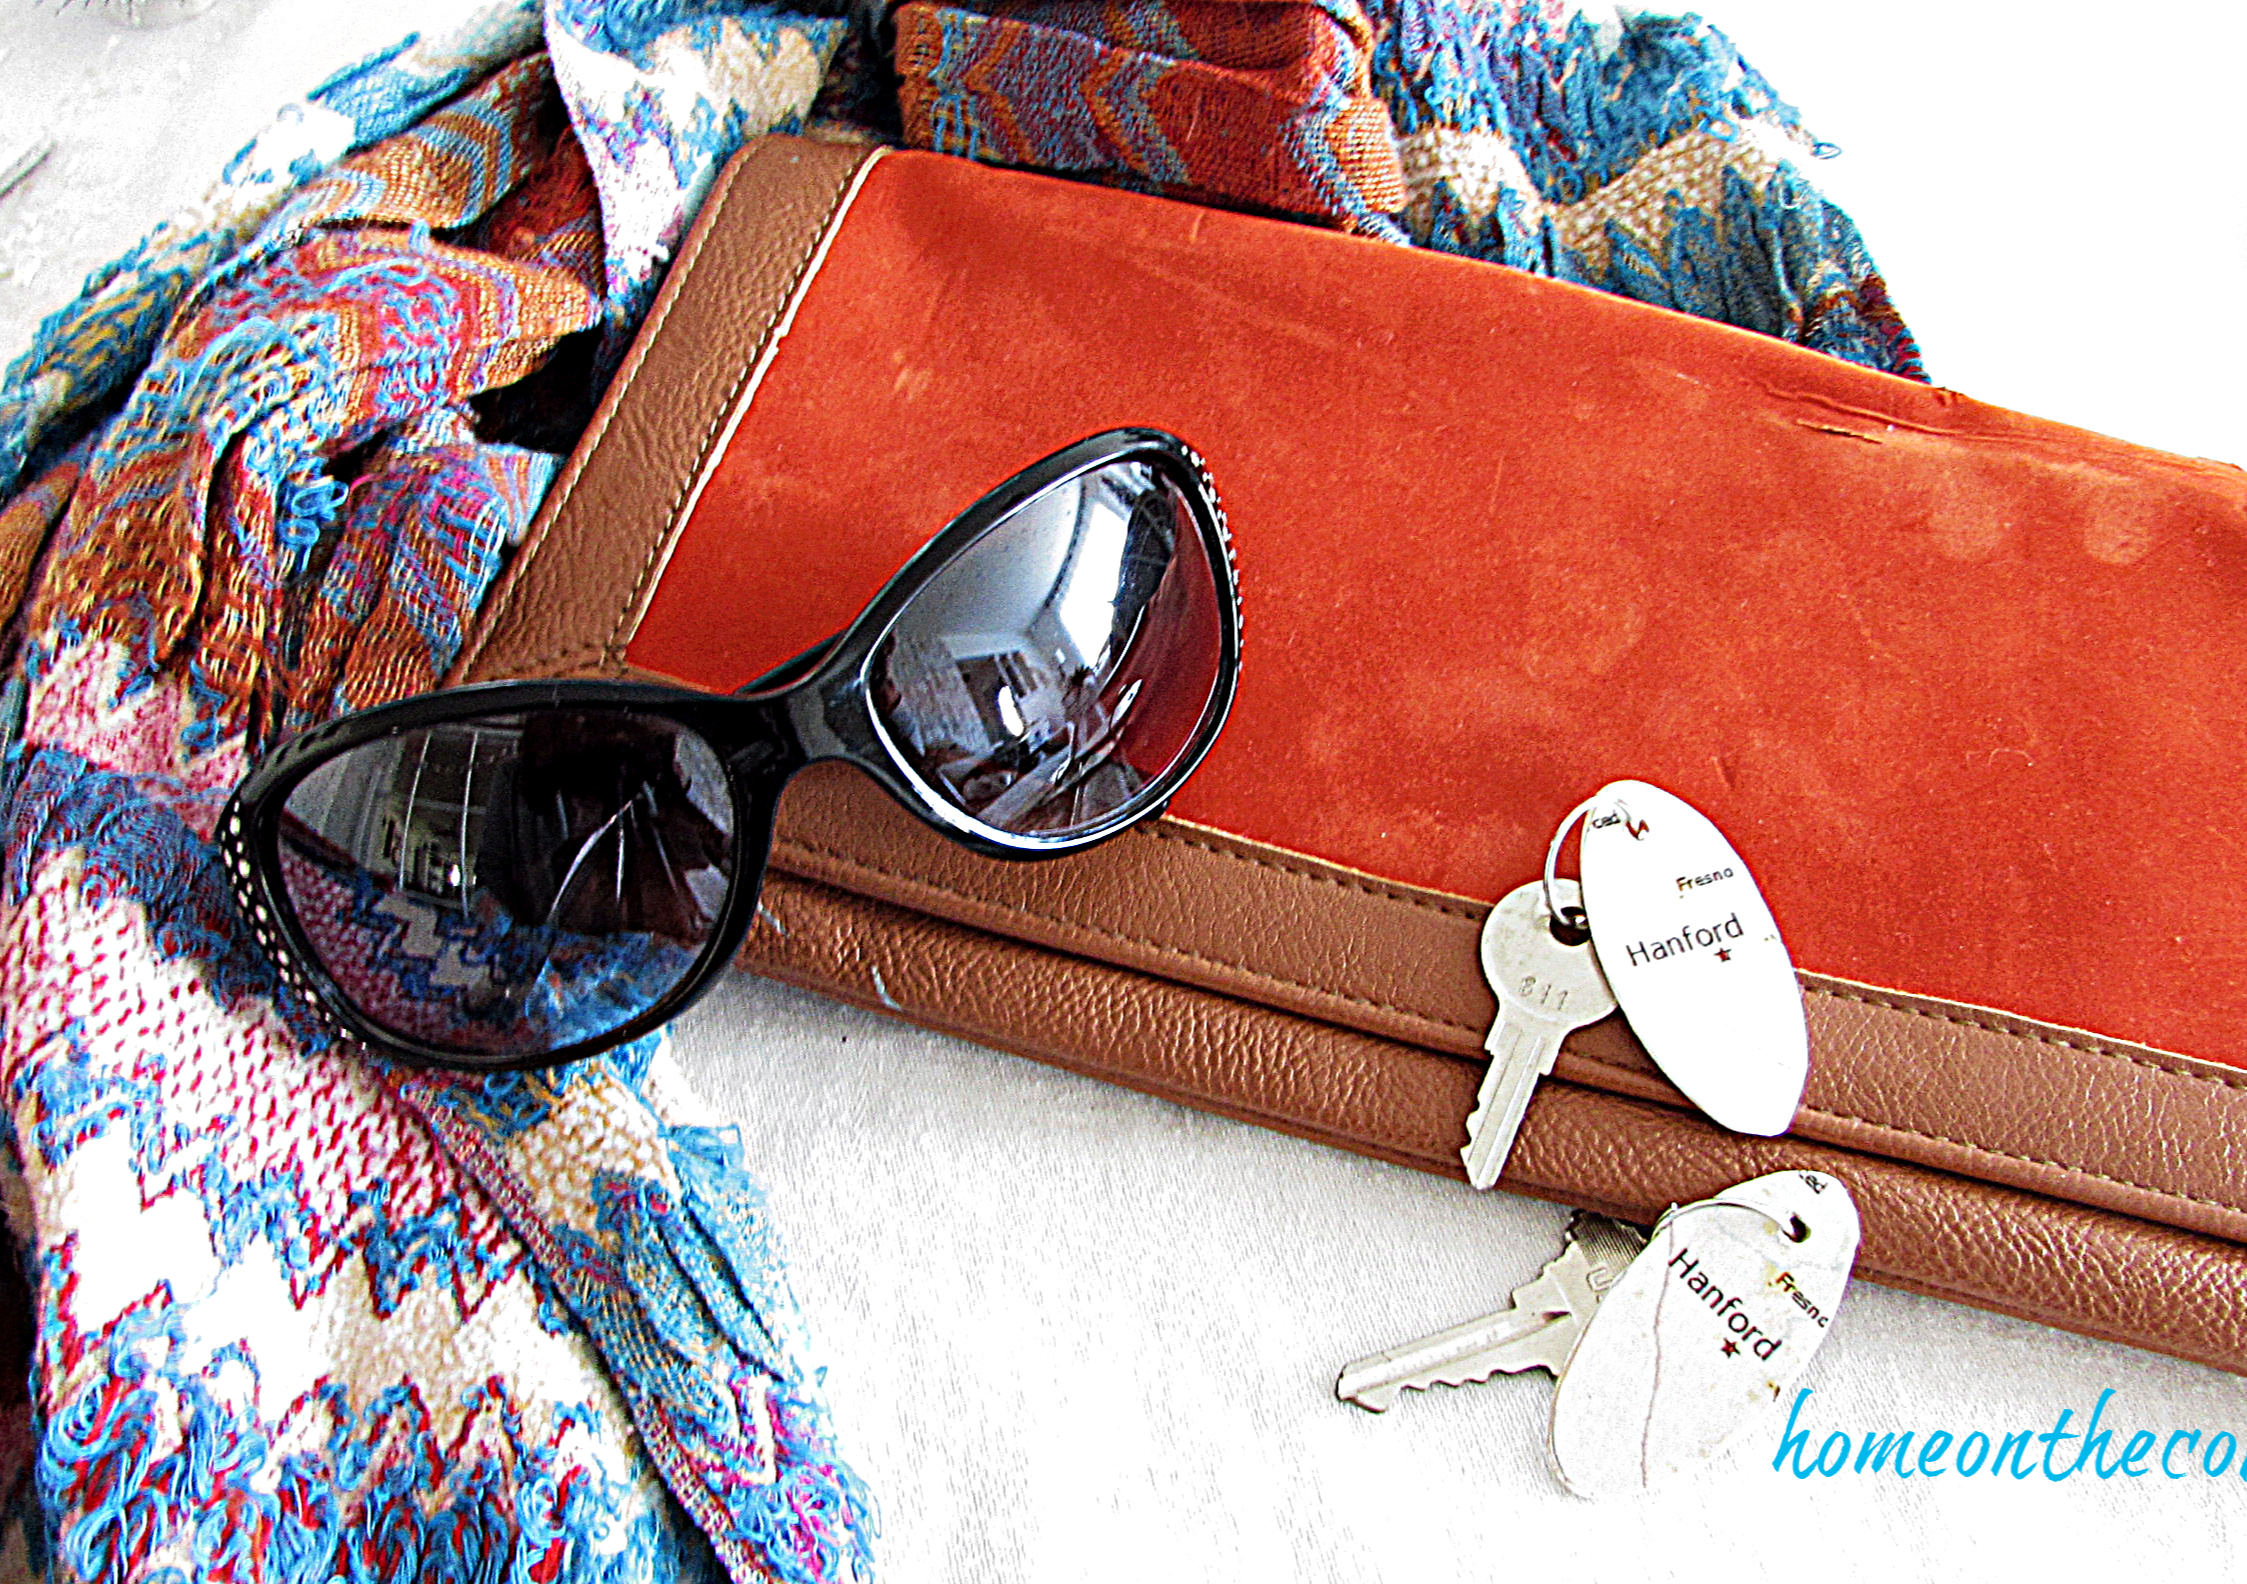
- Memory Keeper Keychain
- Gold and White Flatware Box
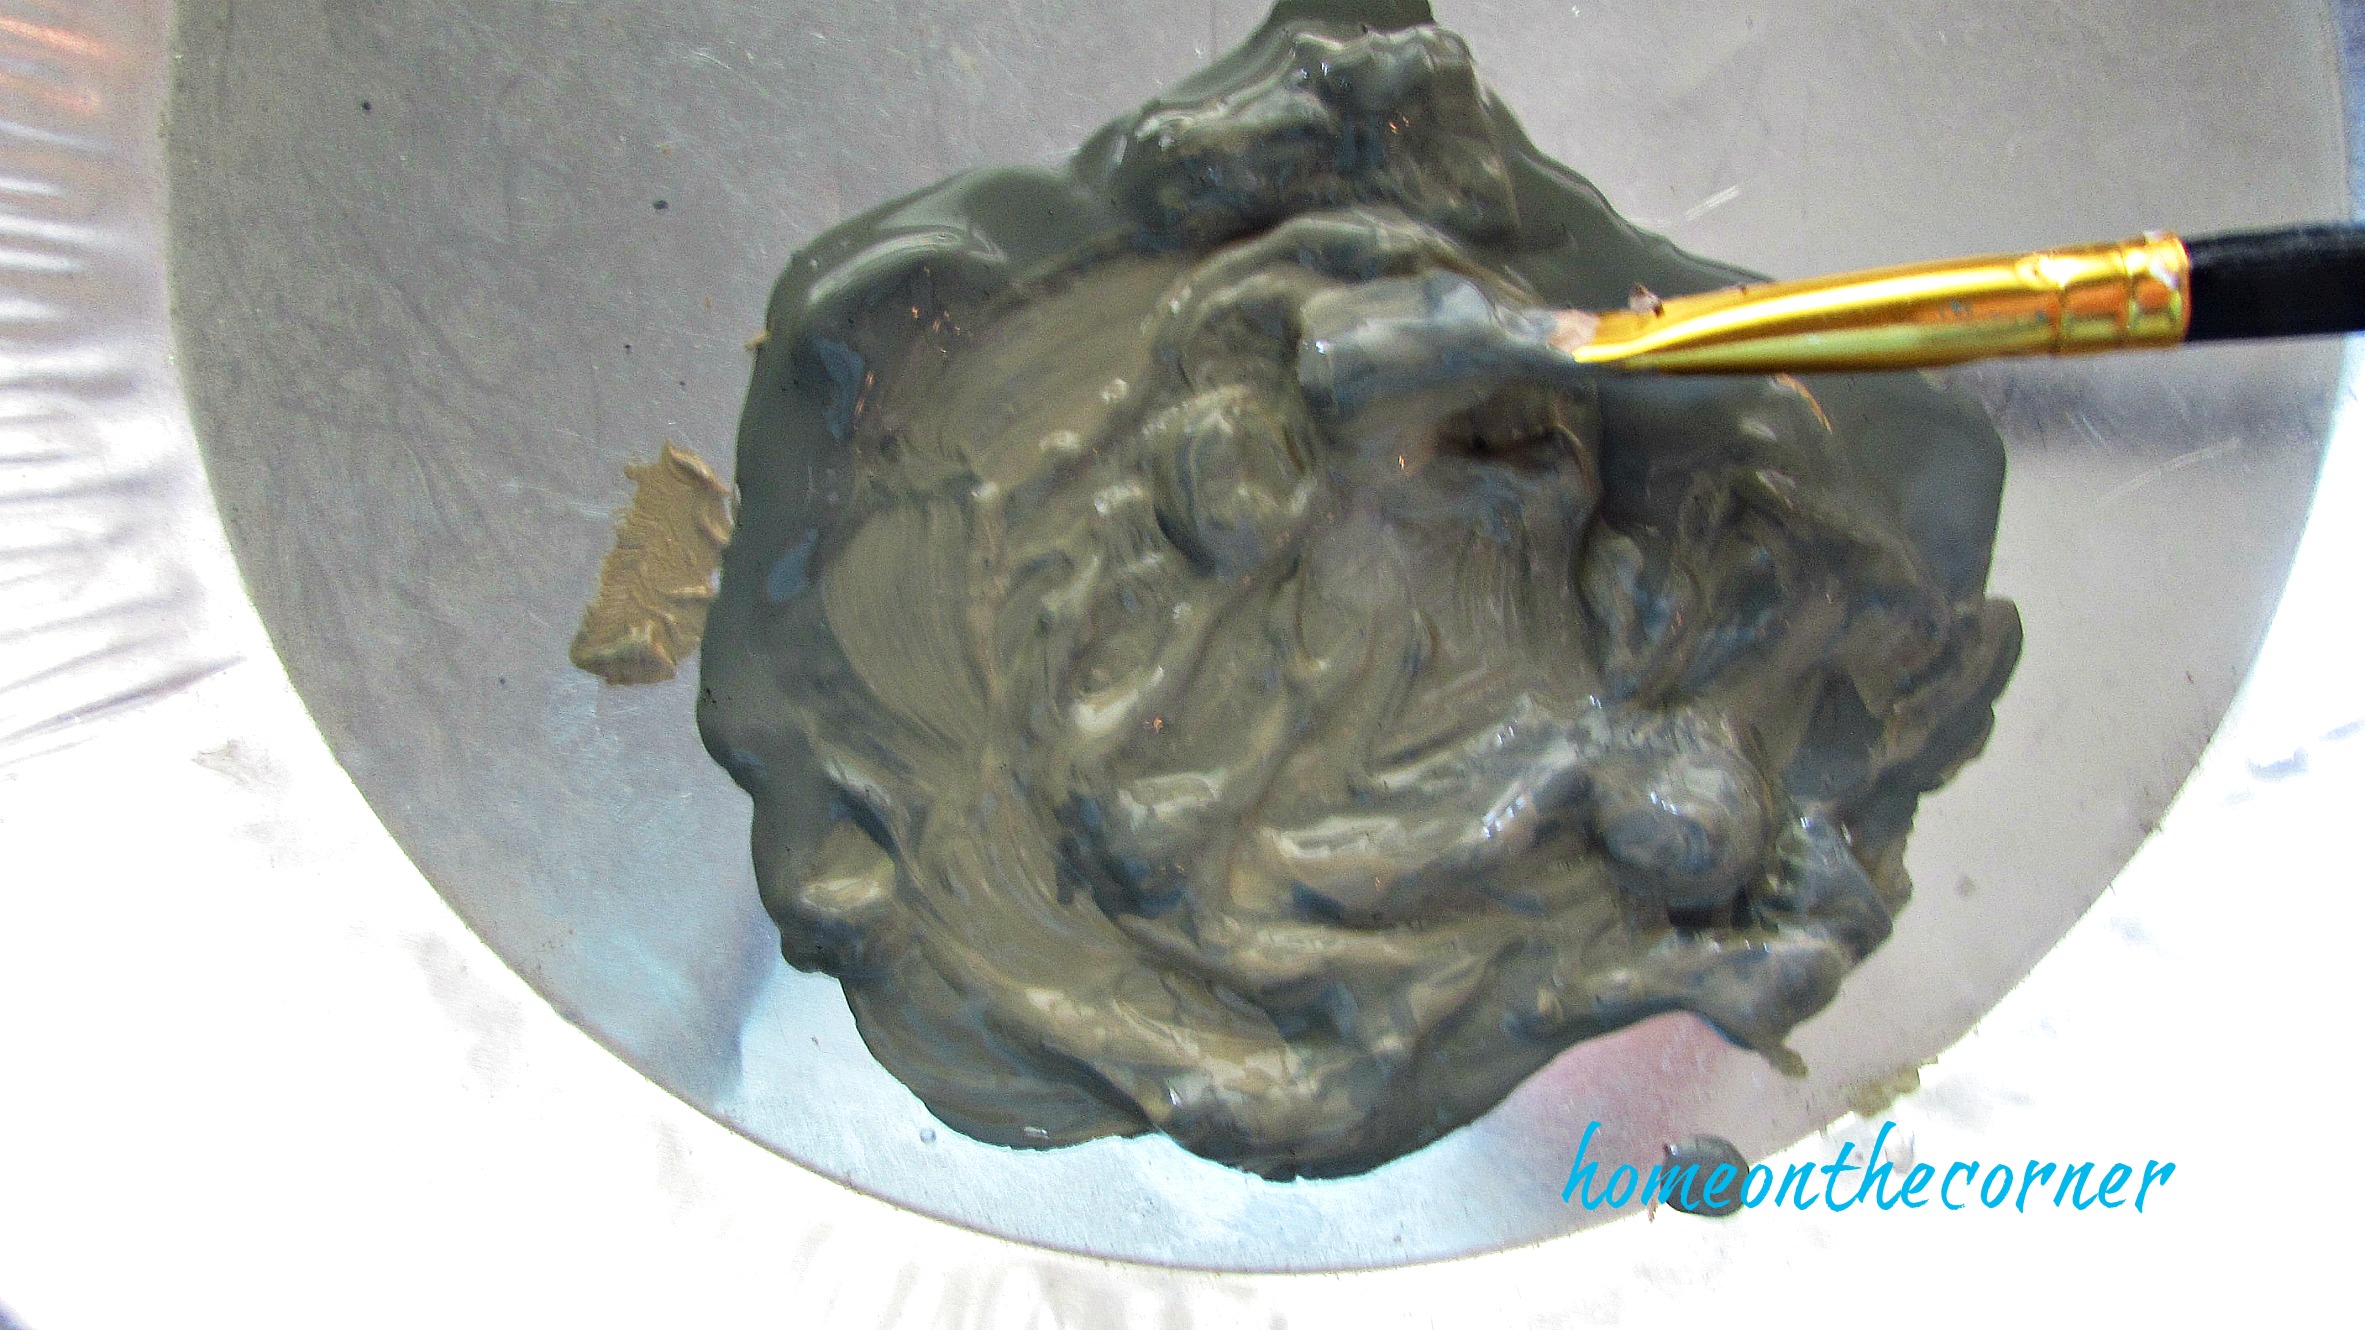
Items you will need for the project:
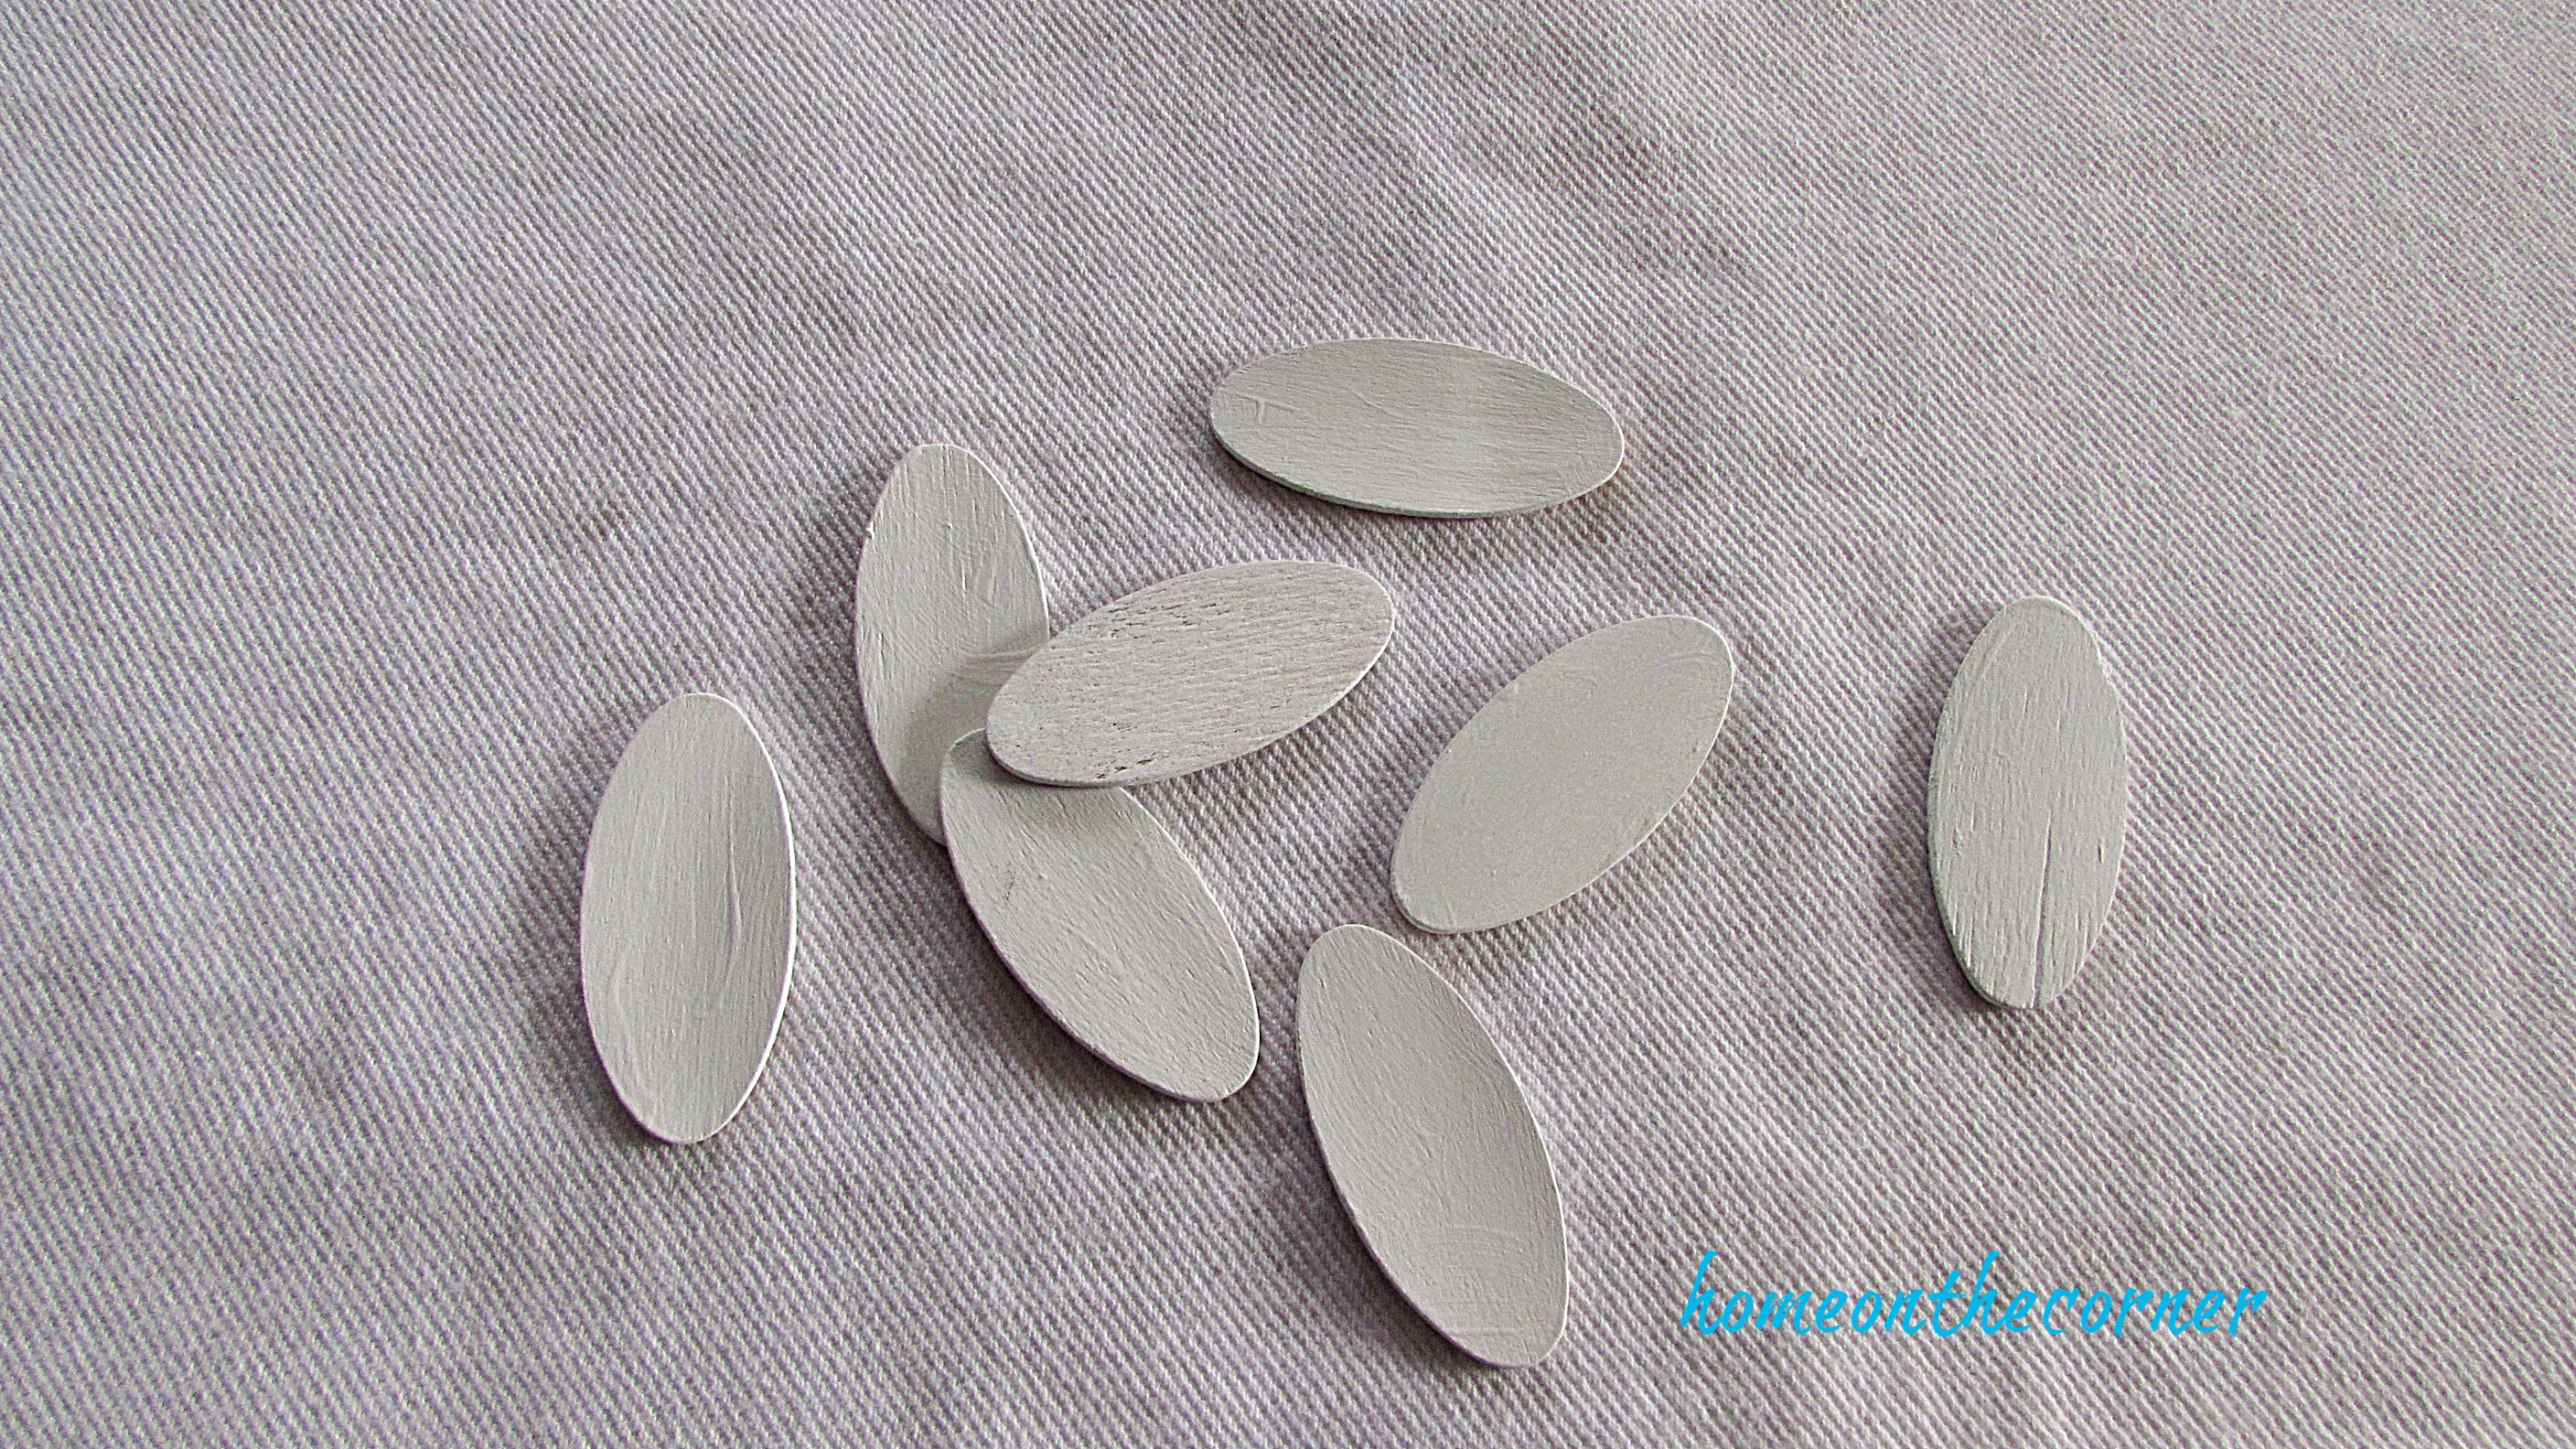
- Styrofoam ball
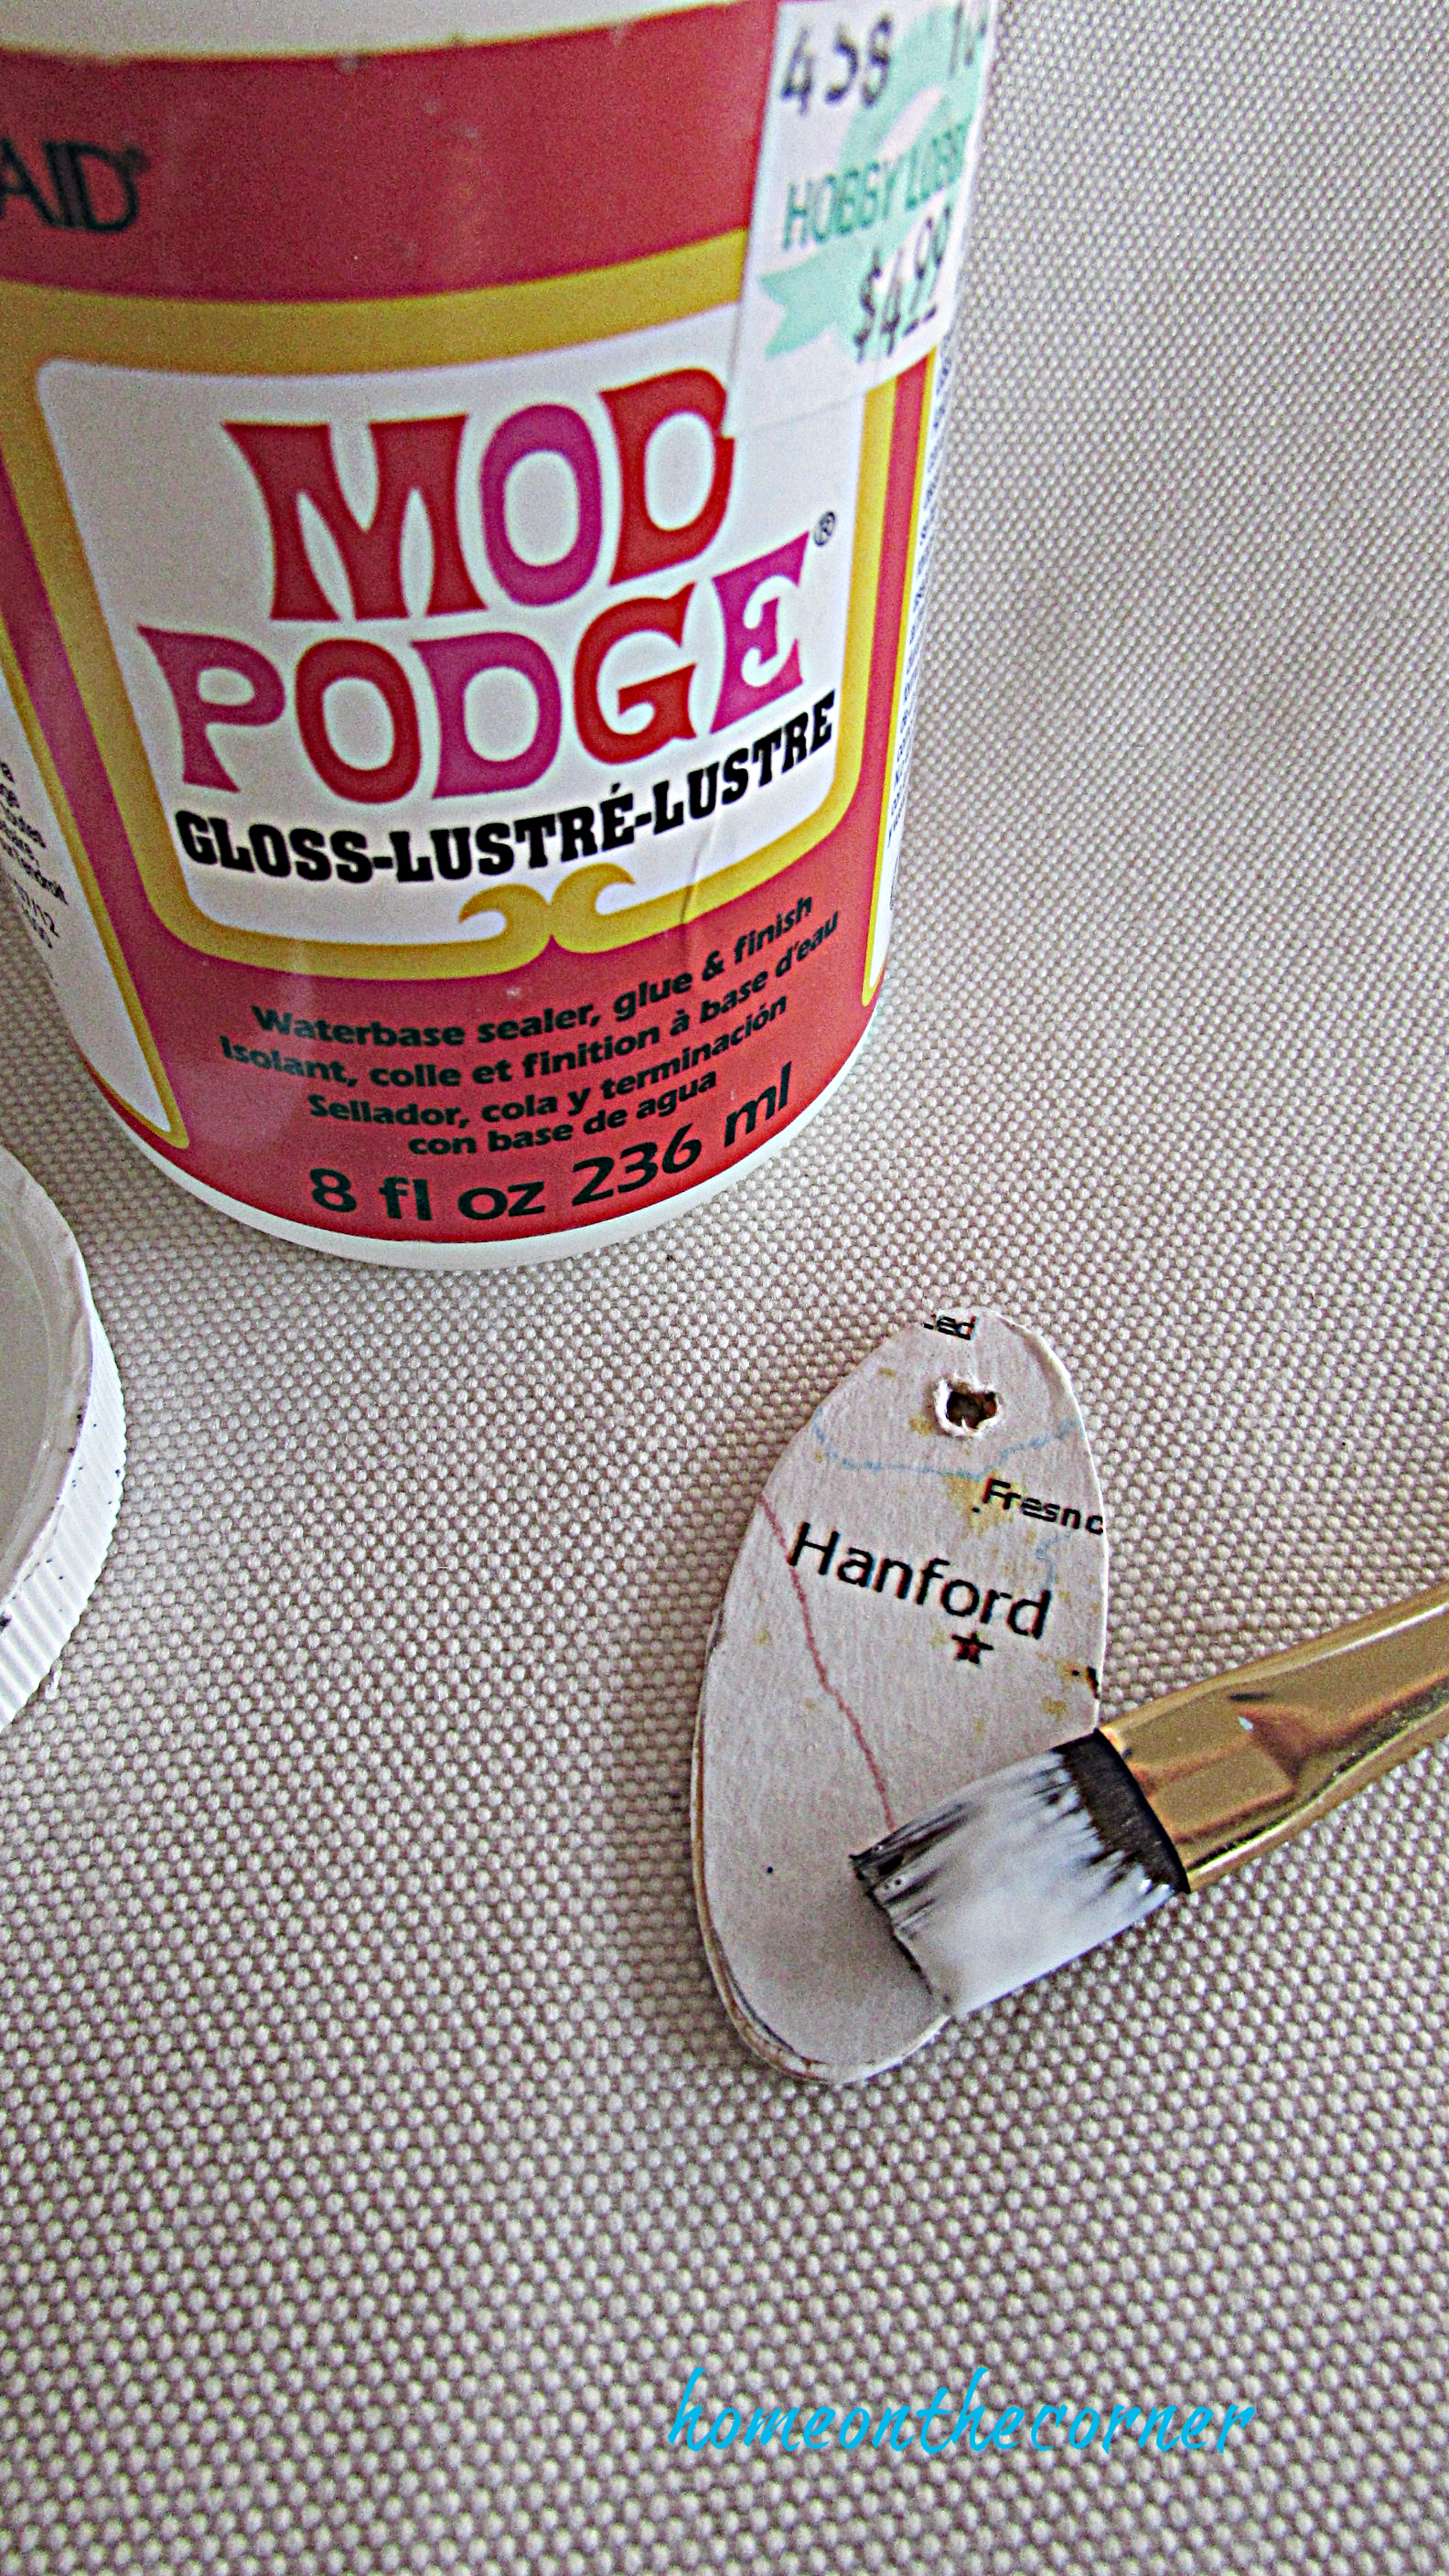
- Mod Podge
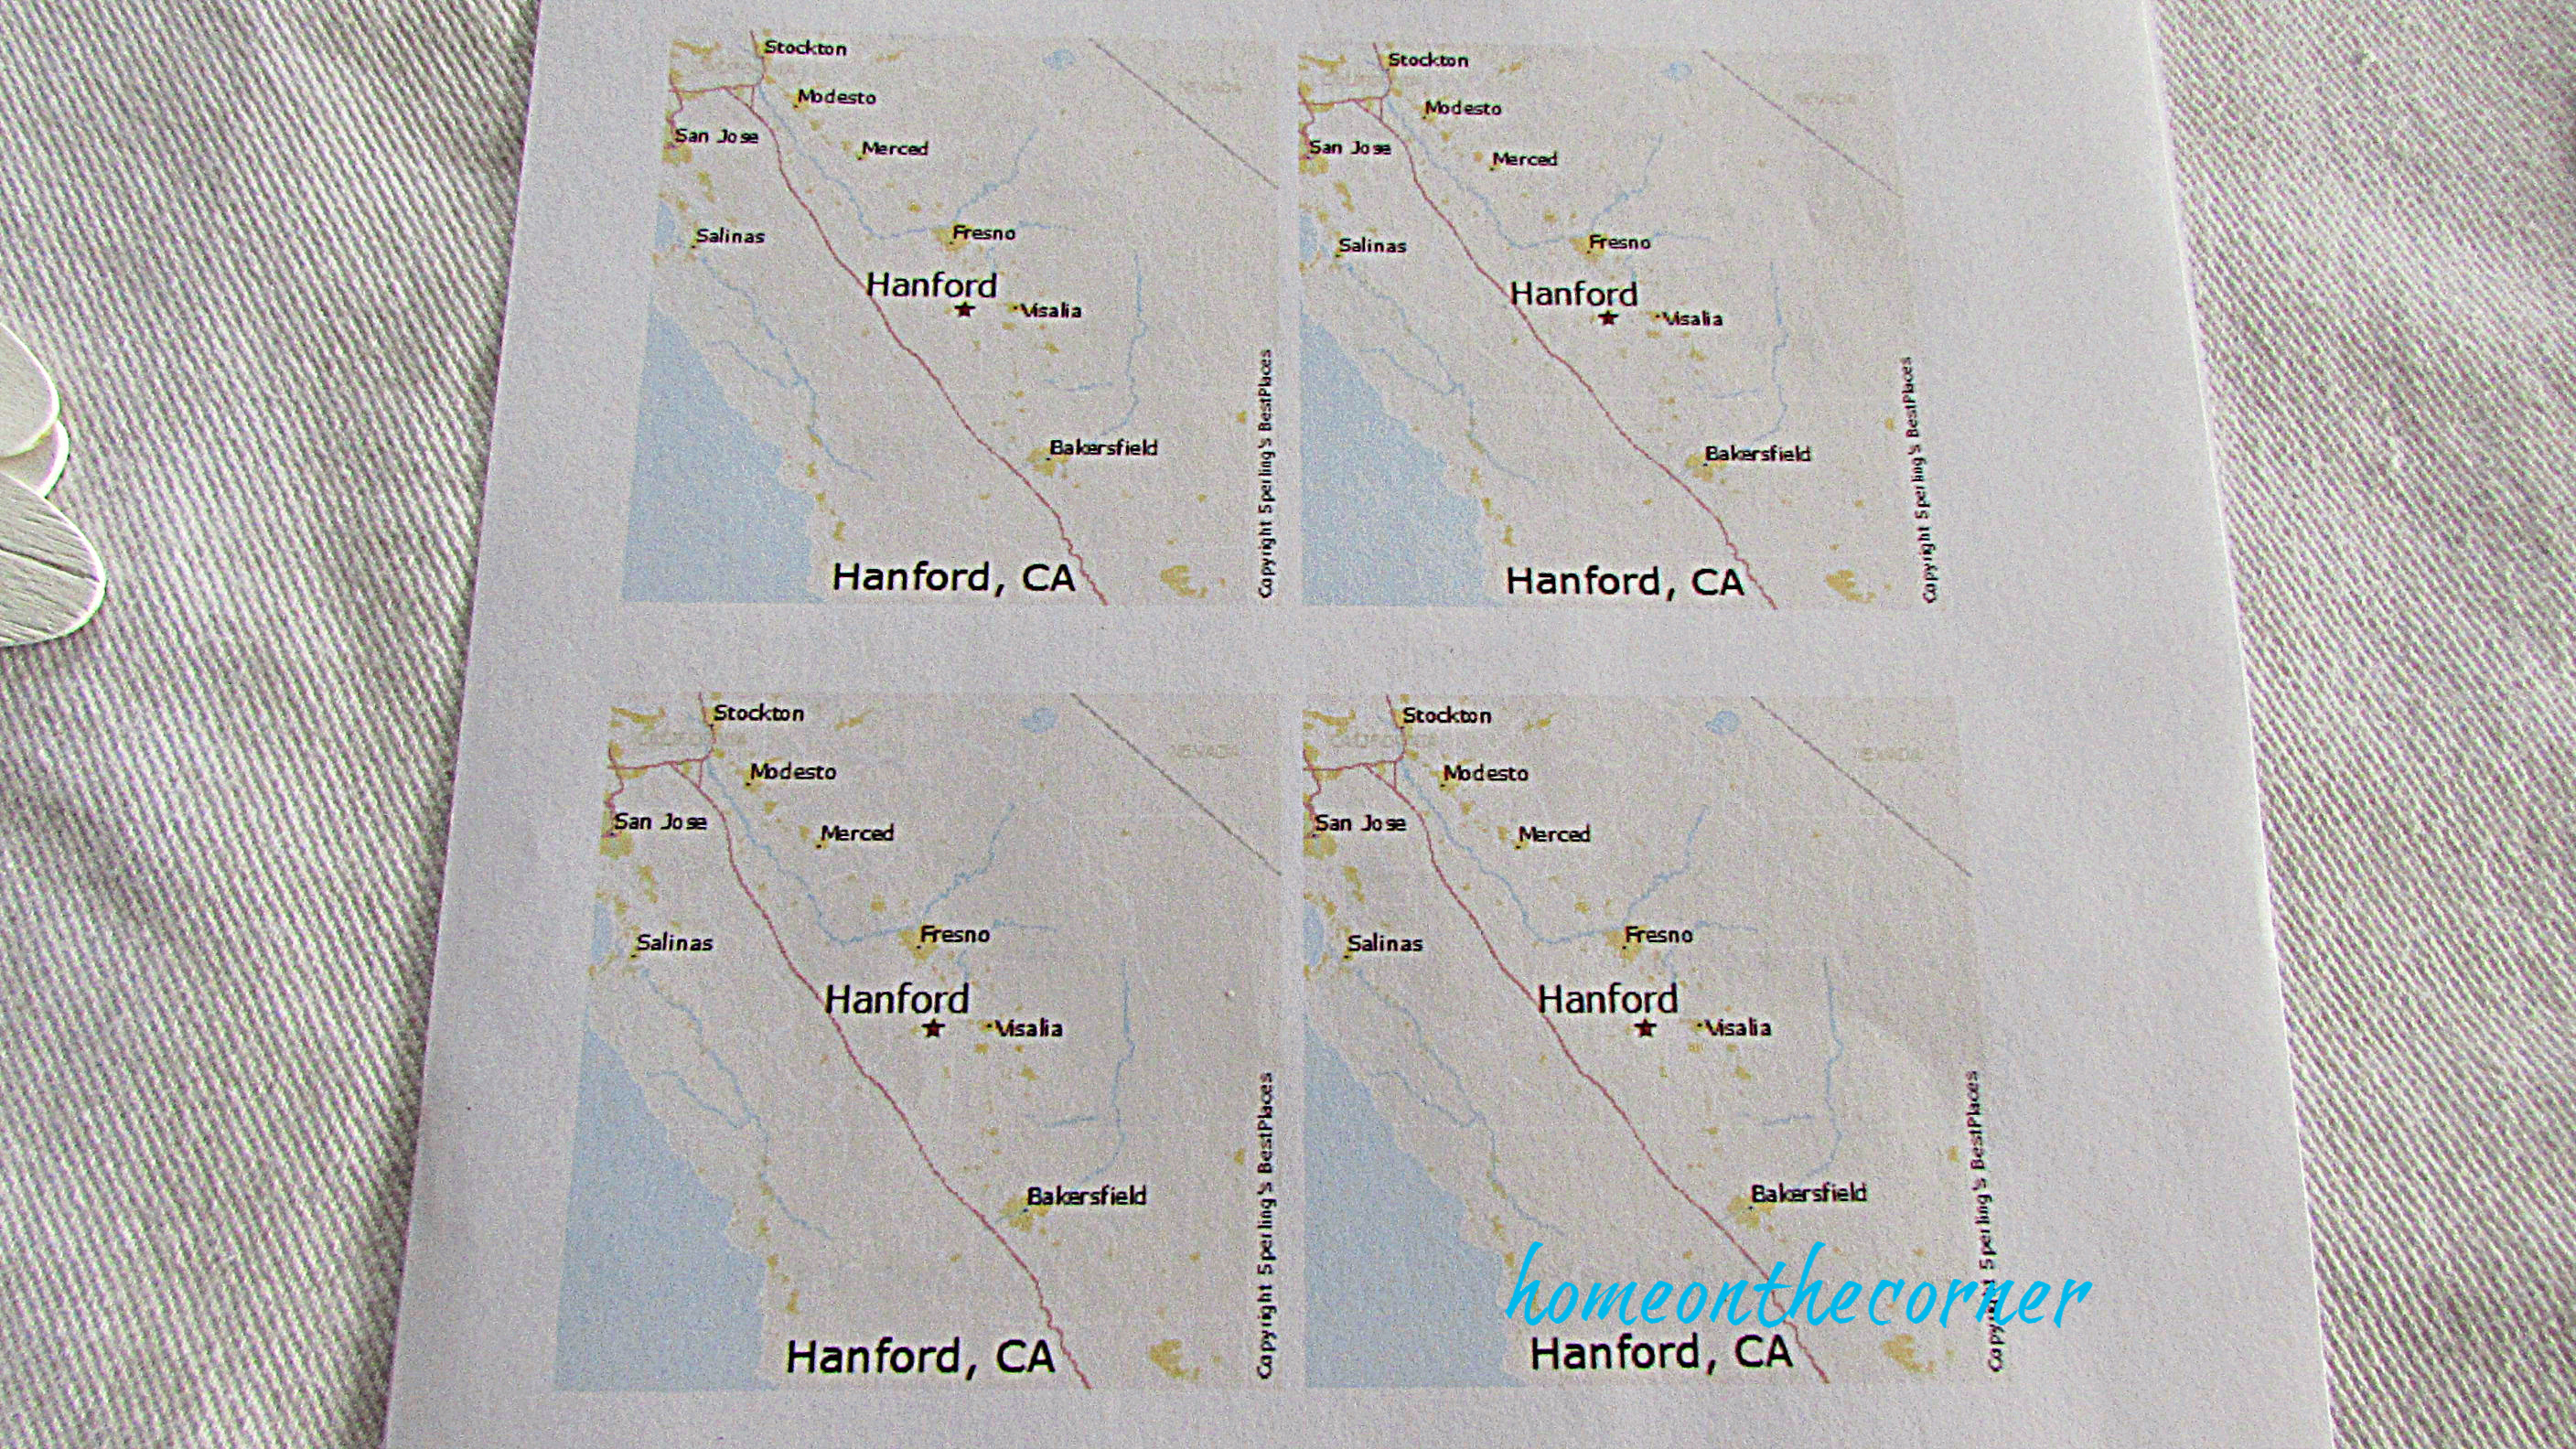
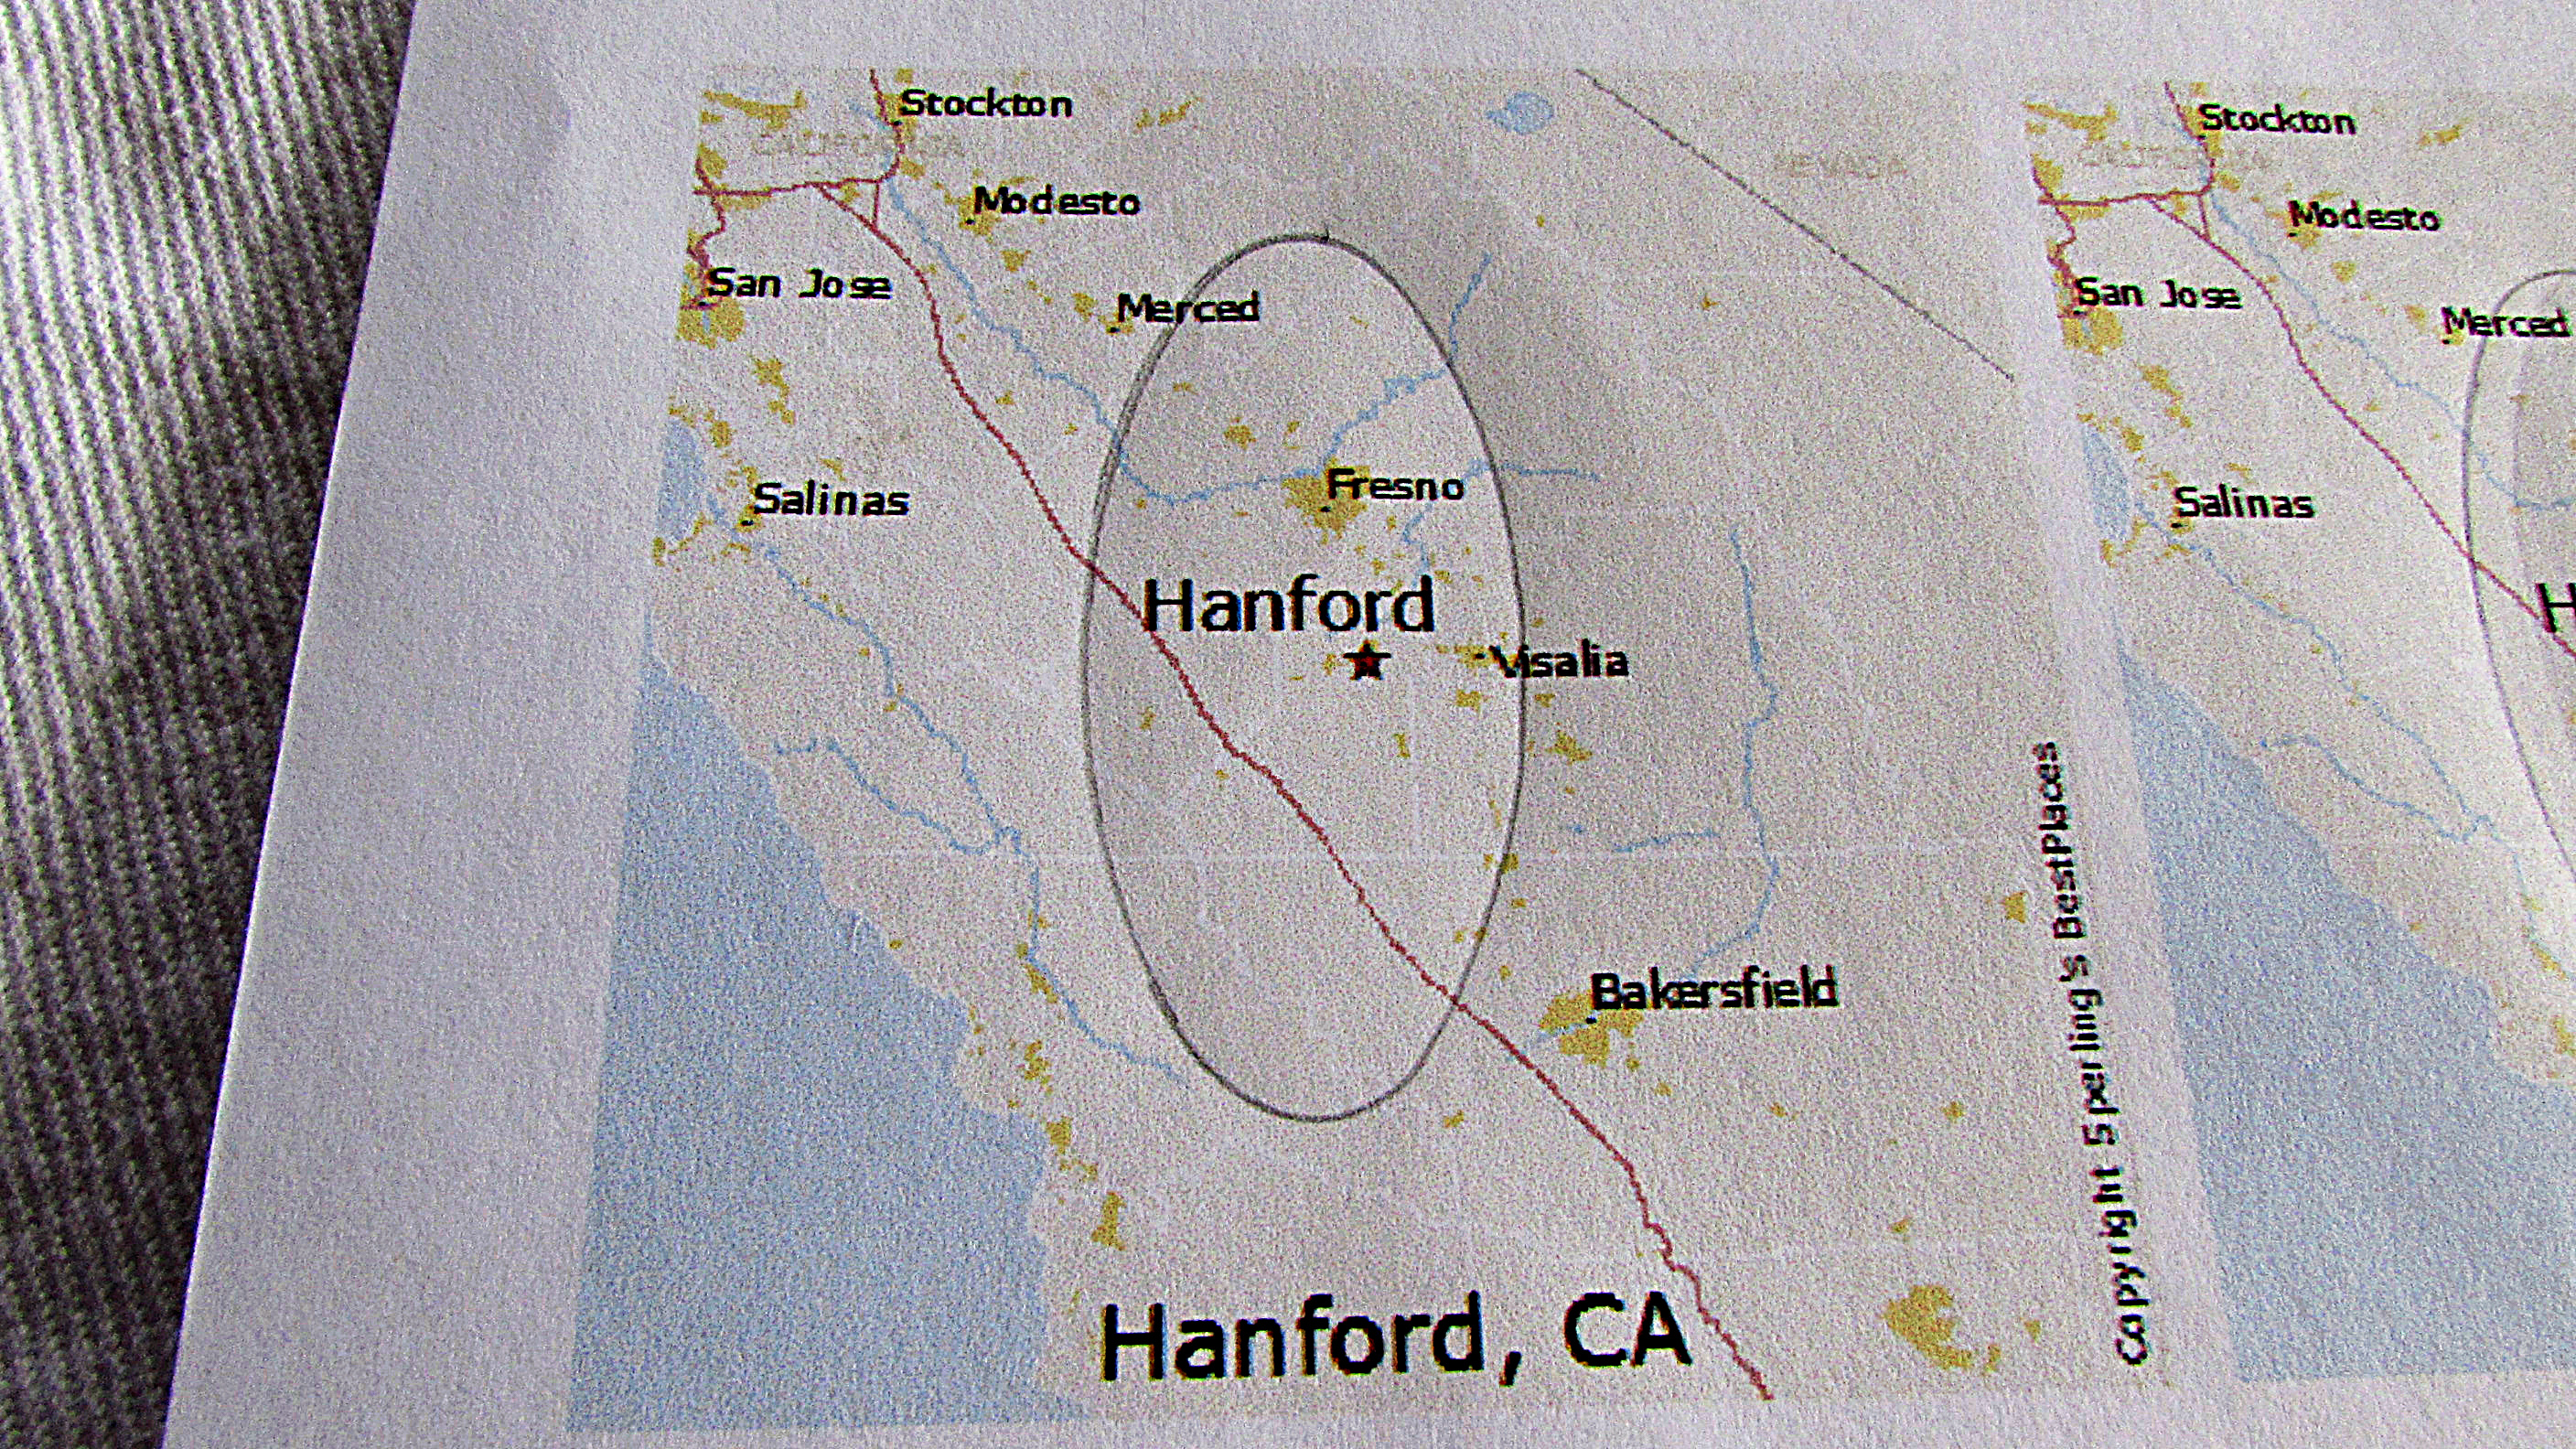
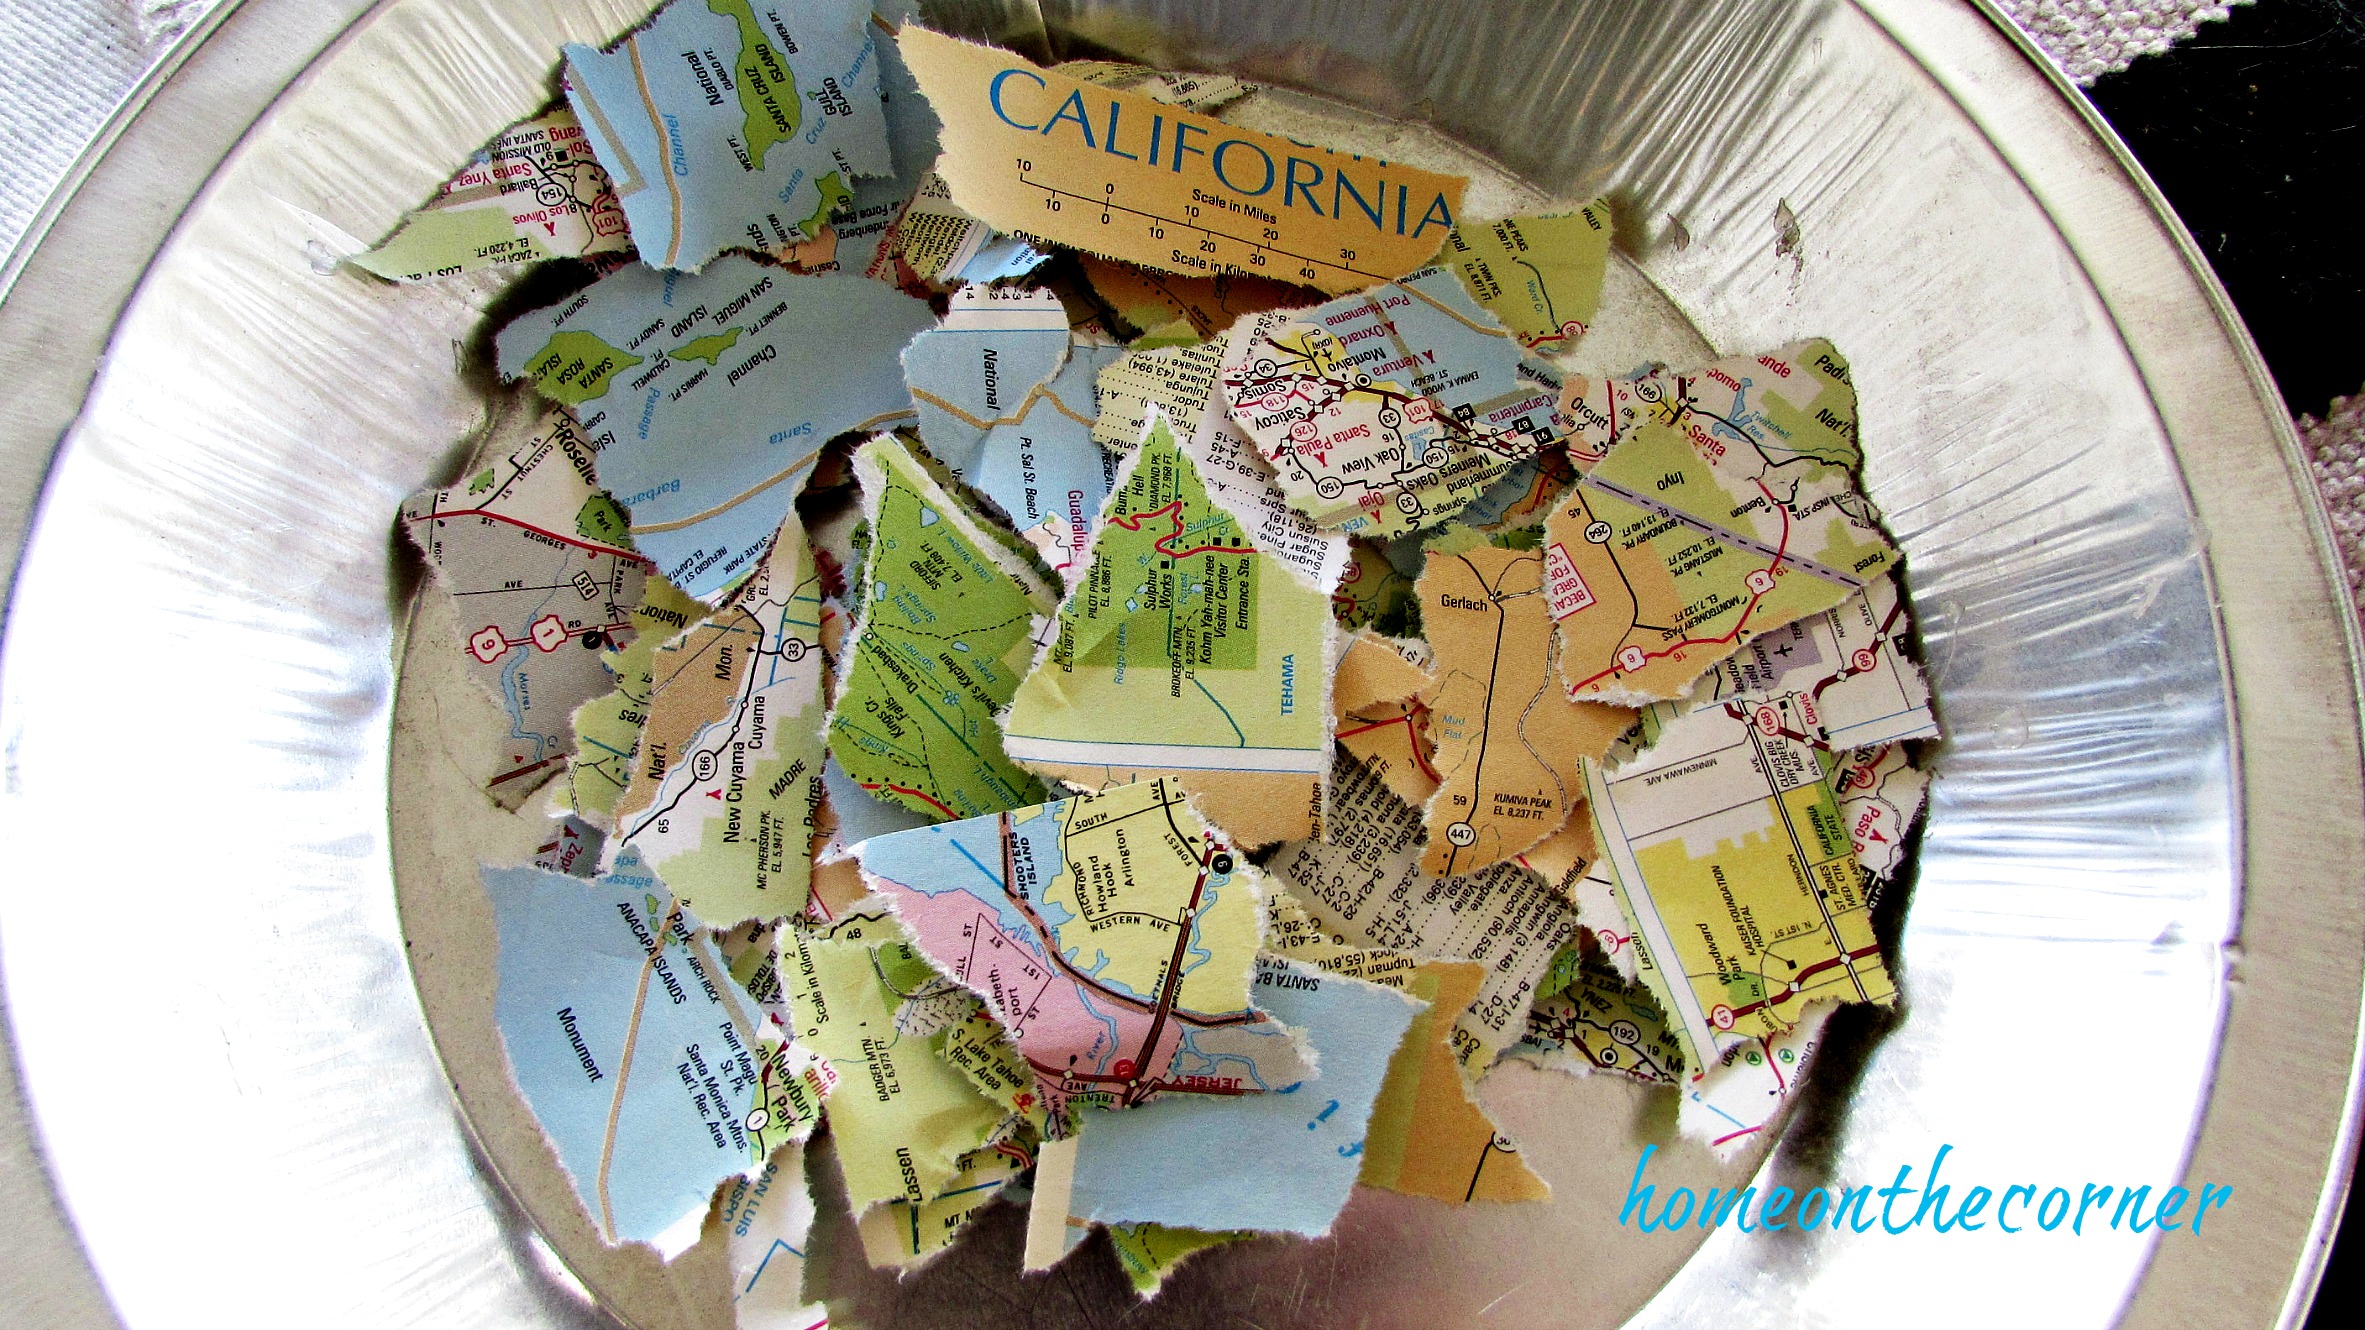
- Map
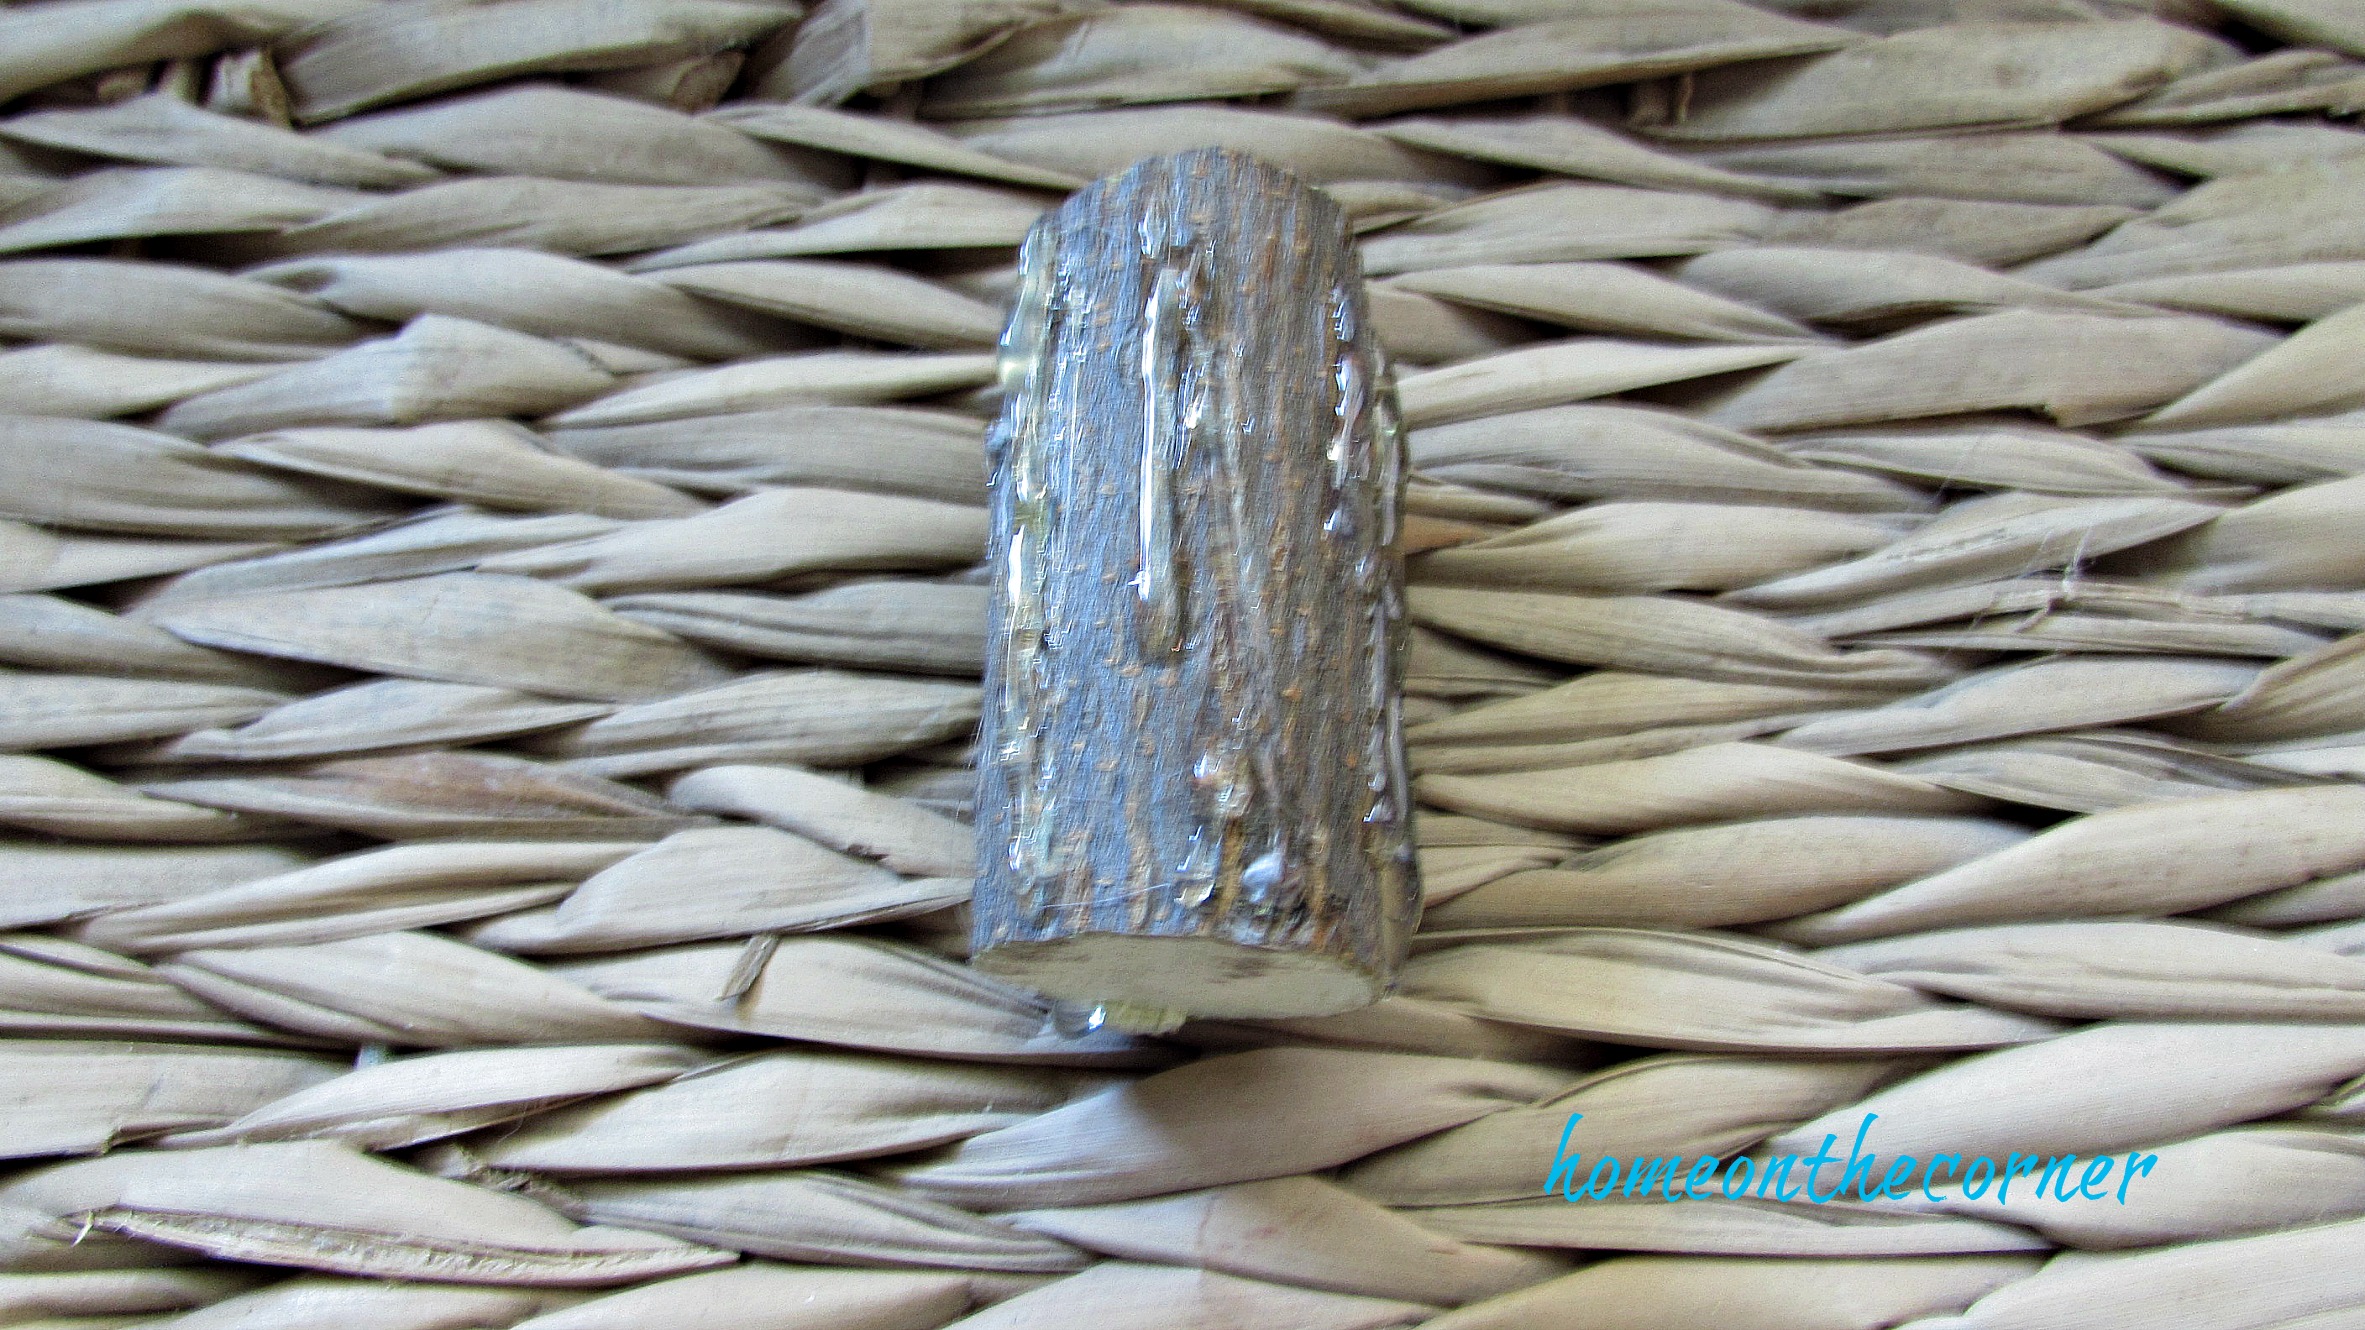
- Popsicle stick
- Paint brush
- Glitter
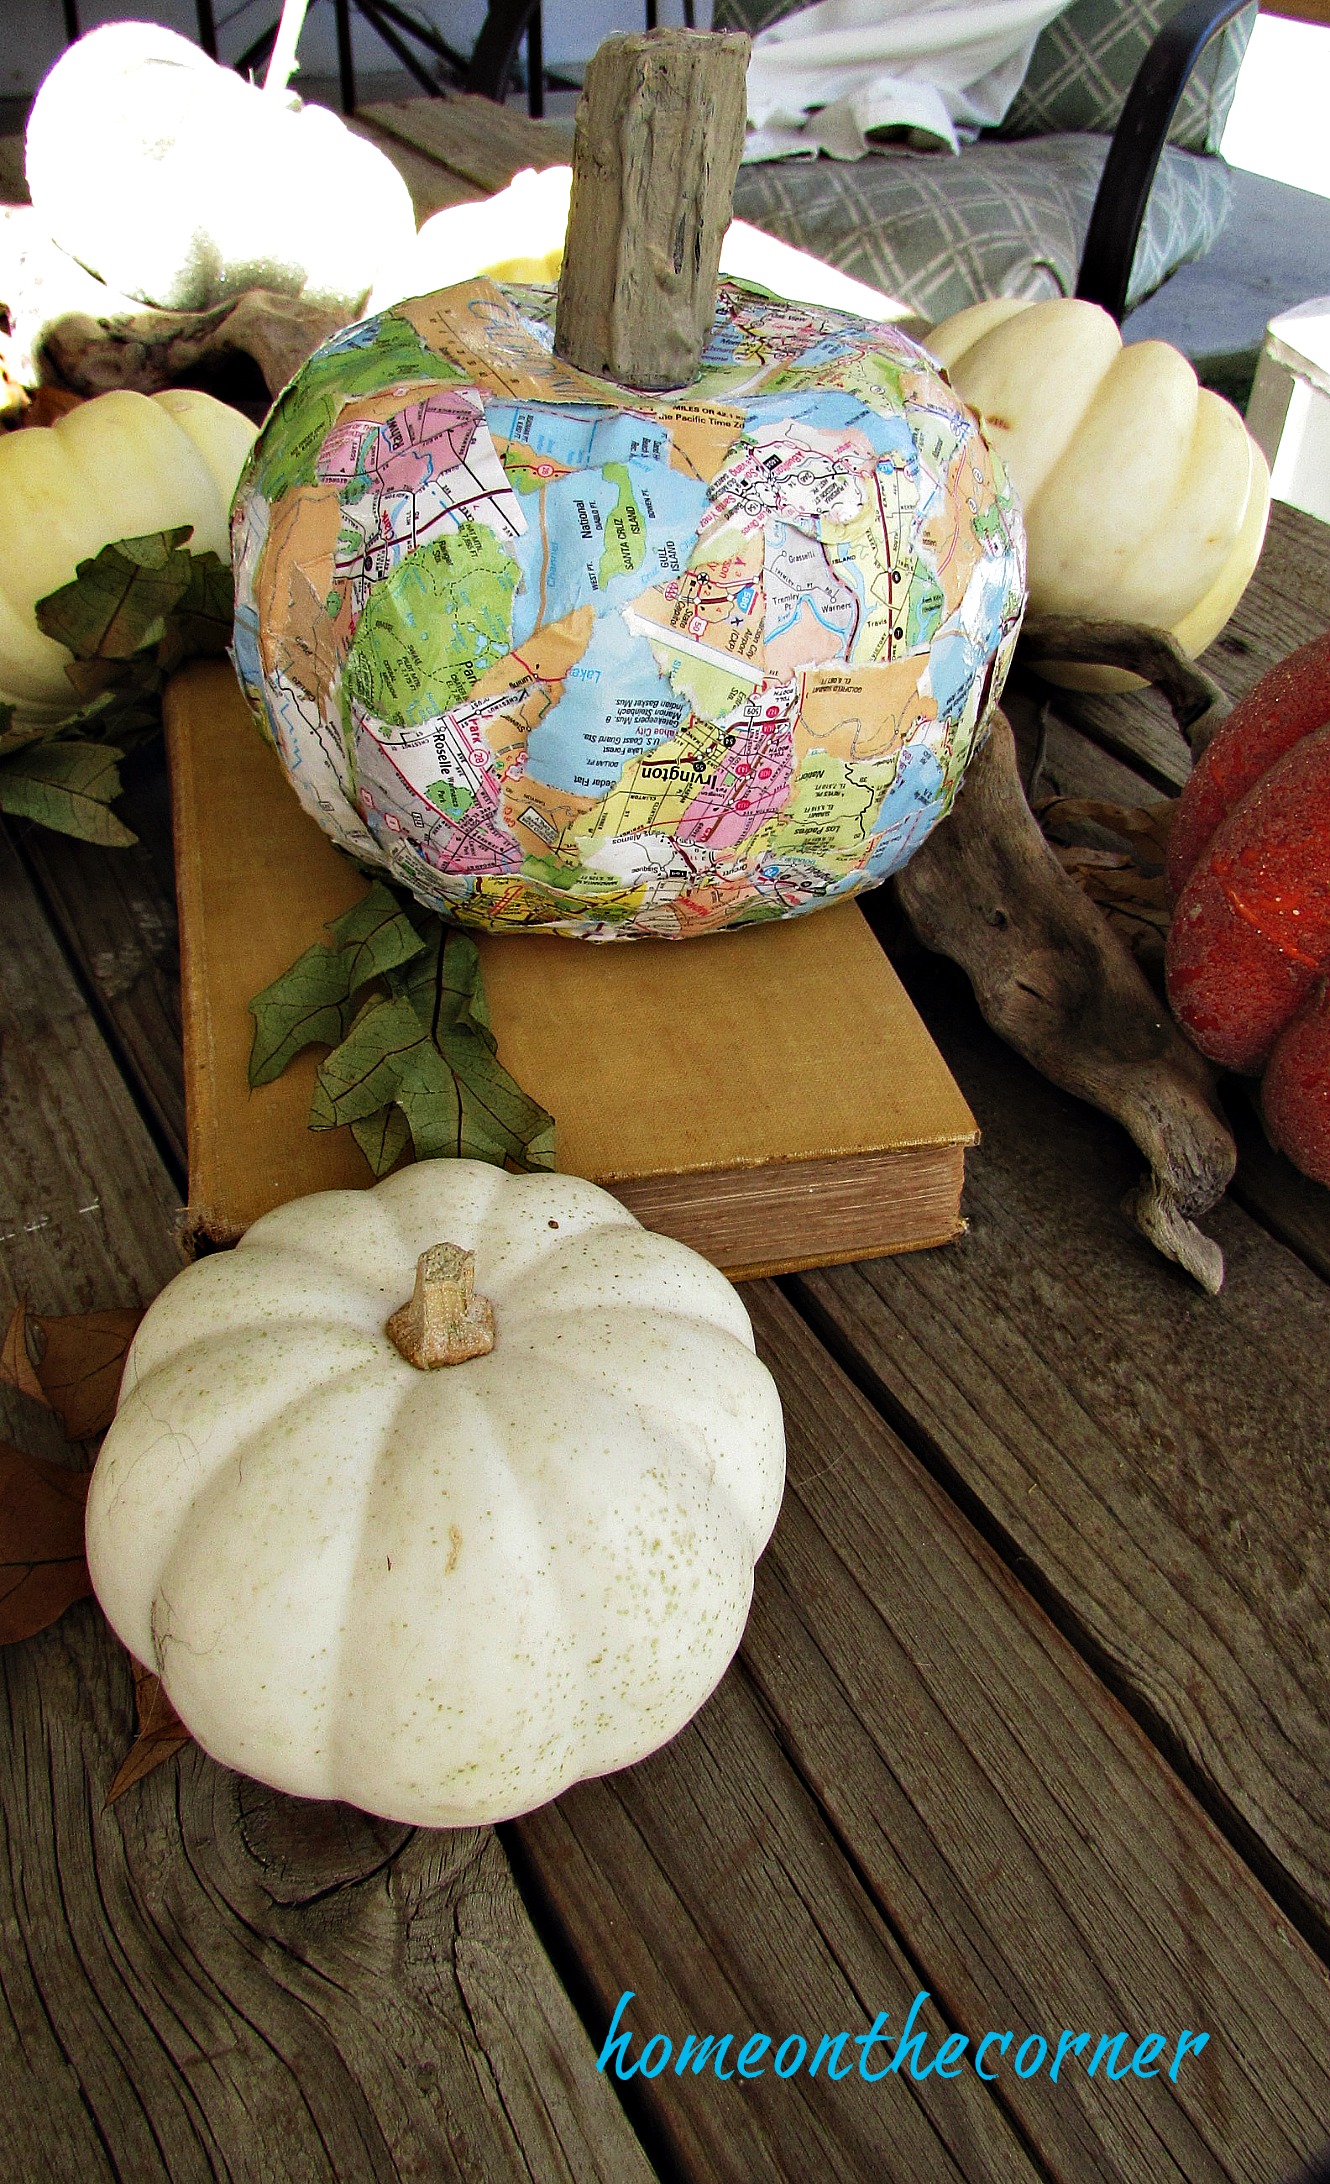
For this ornament, I wanted to include the city of Seattle because that is one of Lauren’s favorite places. You can pick a favorite vacation spot, a hometown, or a spot that is special to you! If you can’t find a paper map, you can print maps off the internet to use.
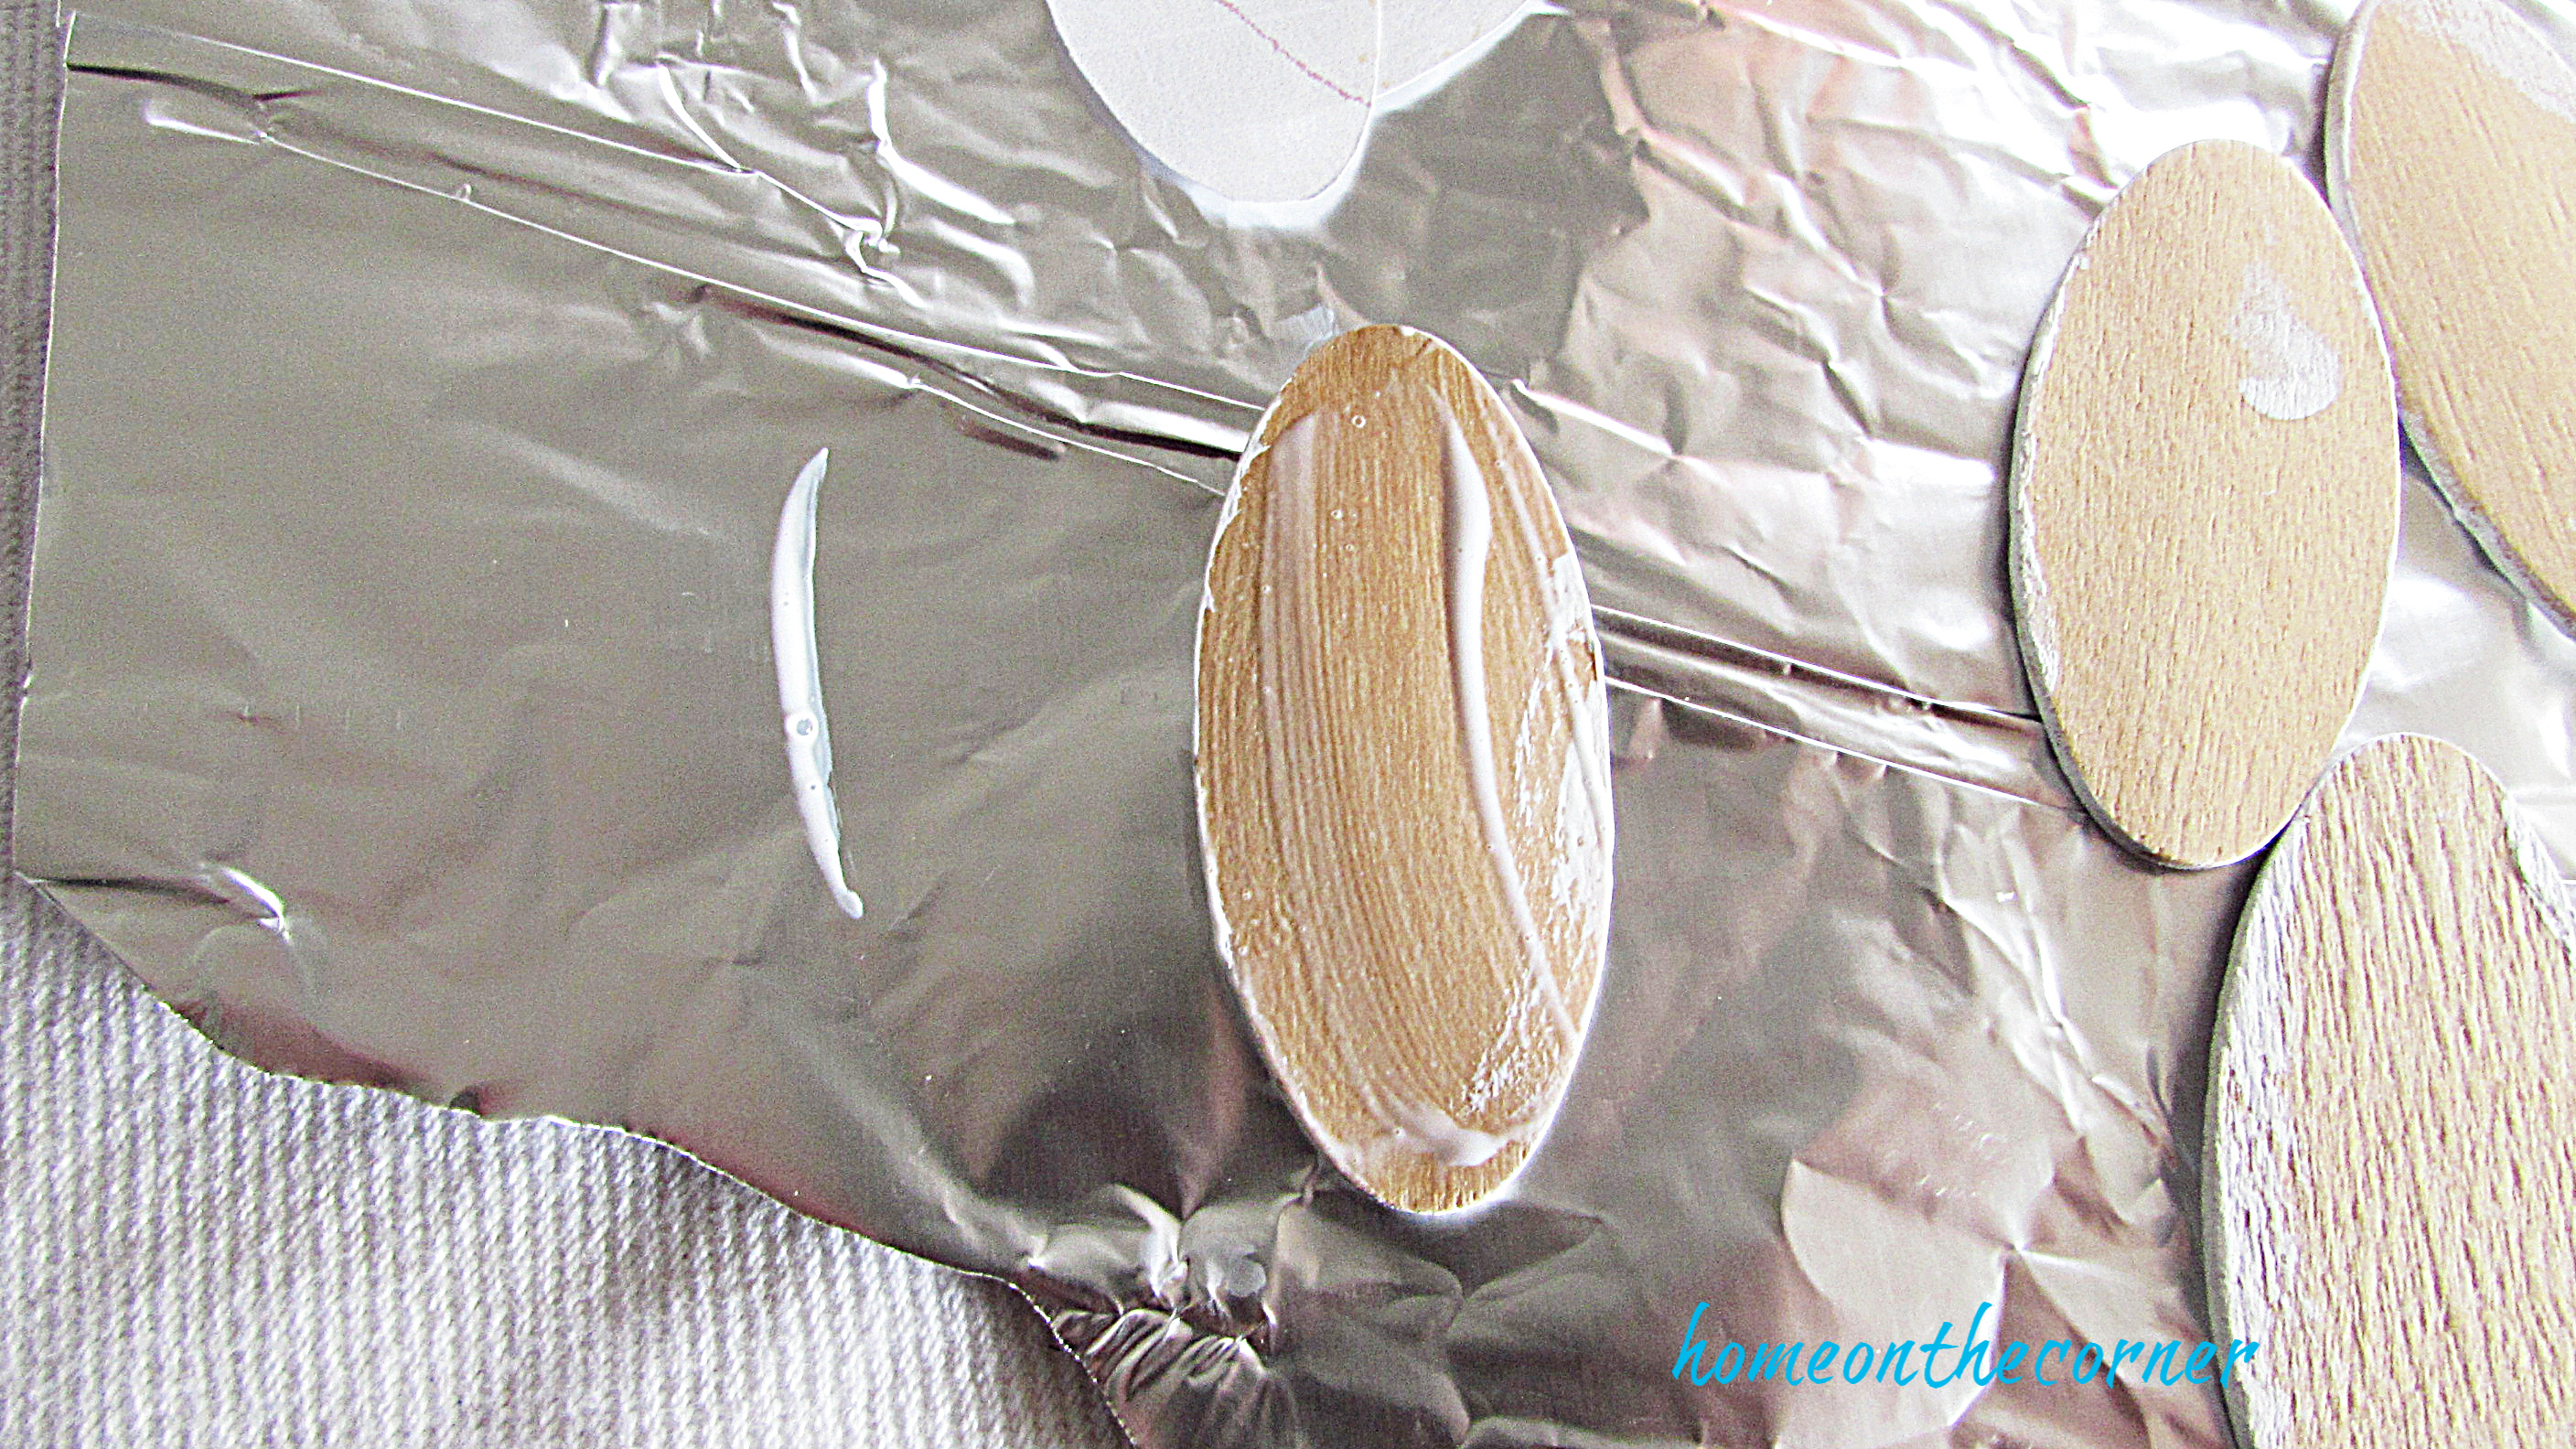
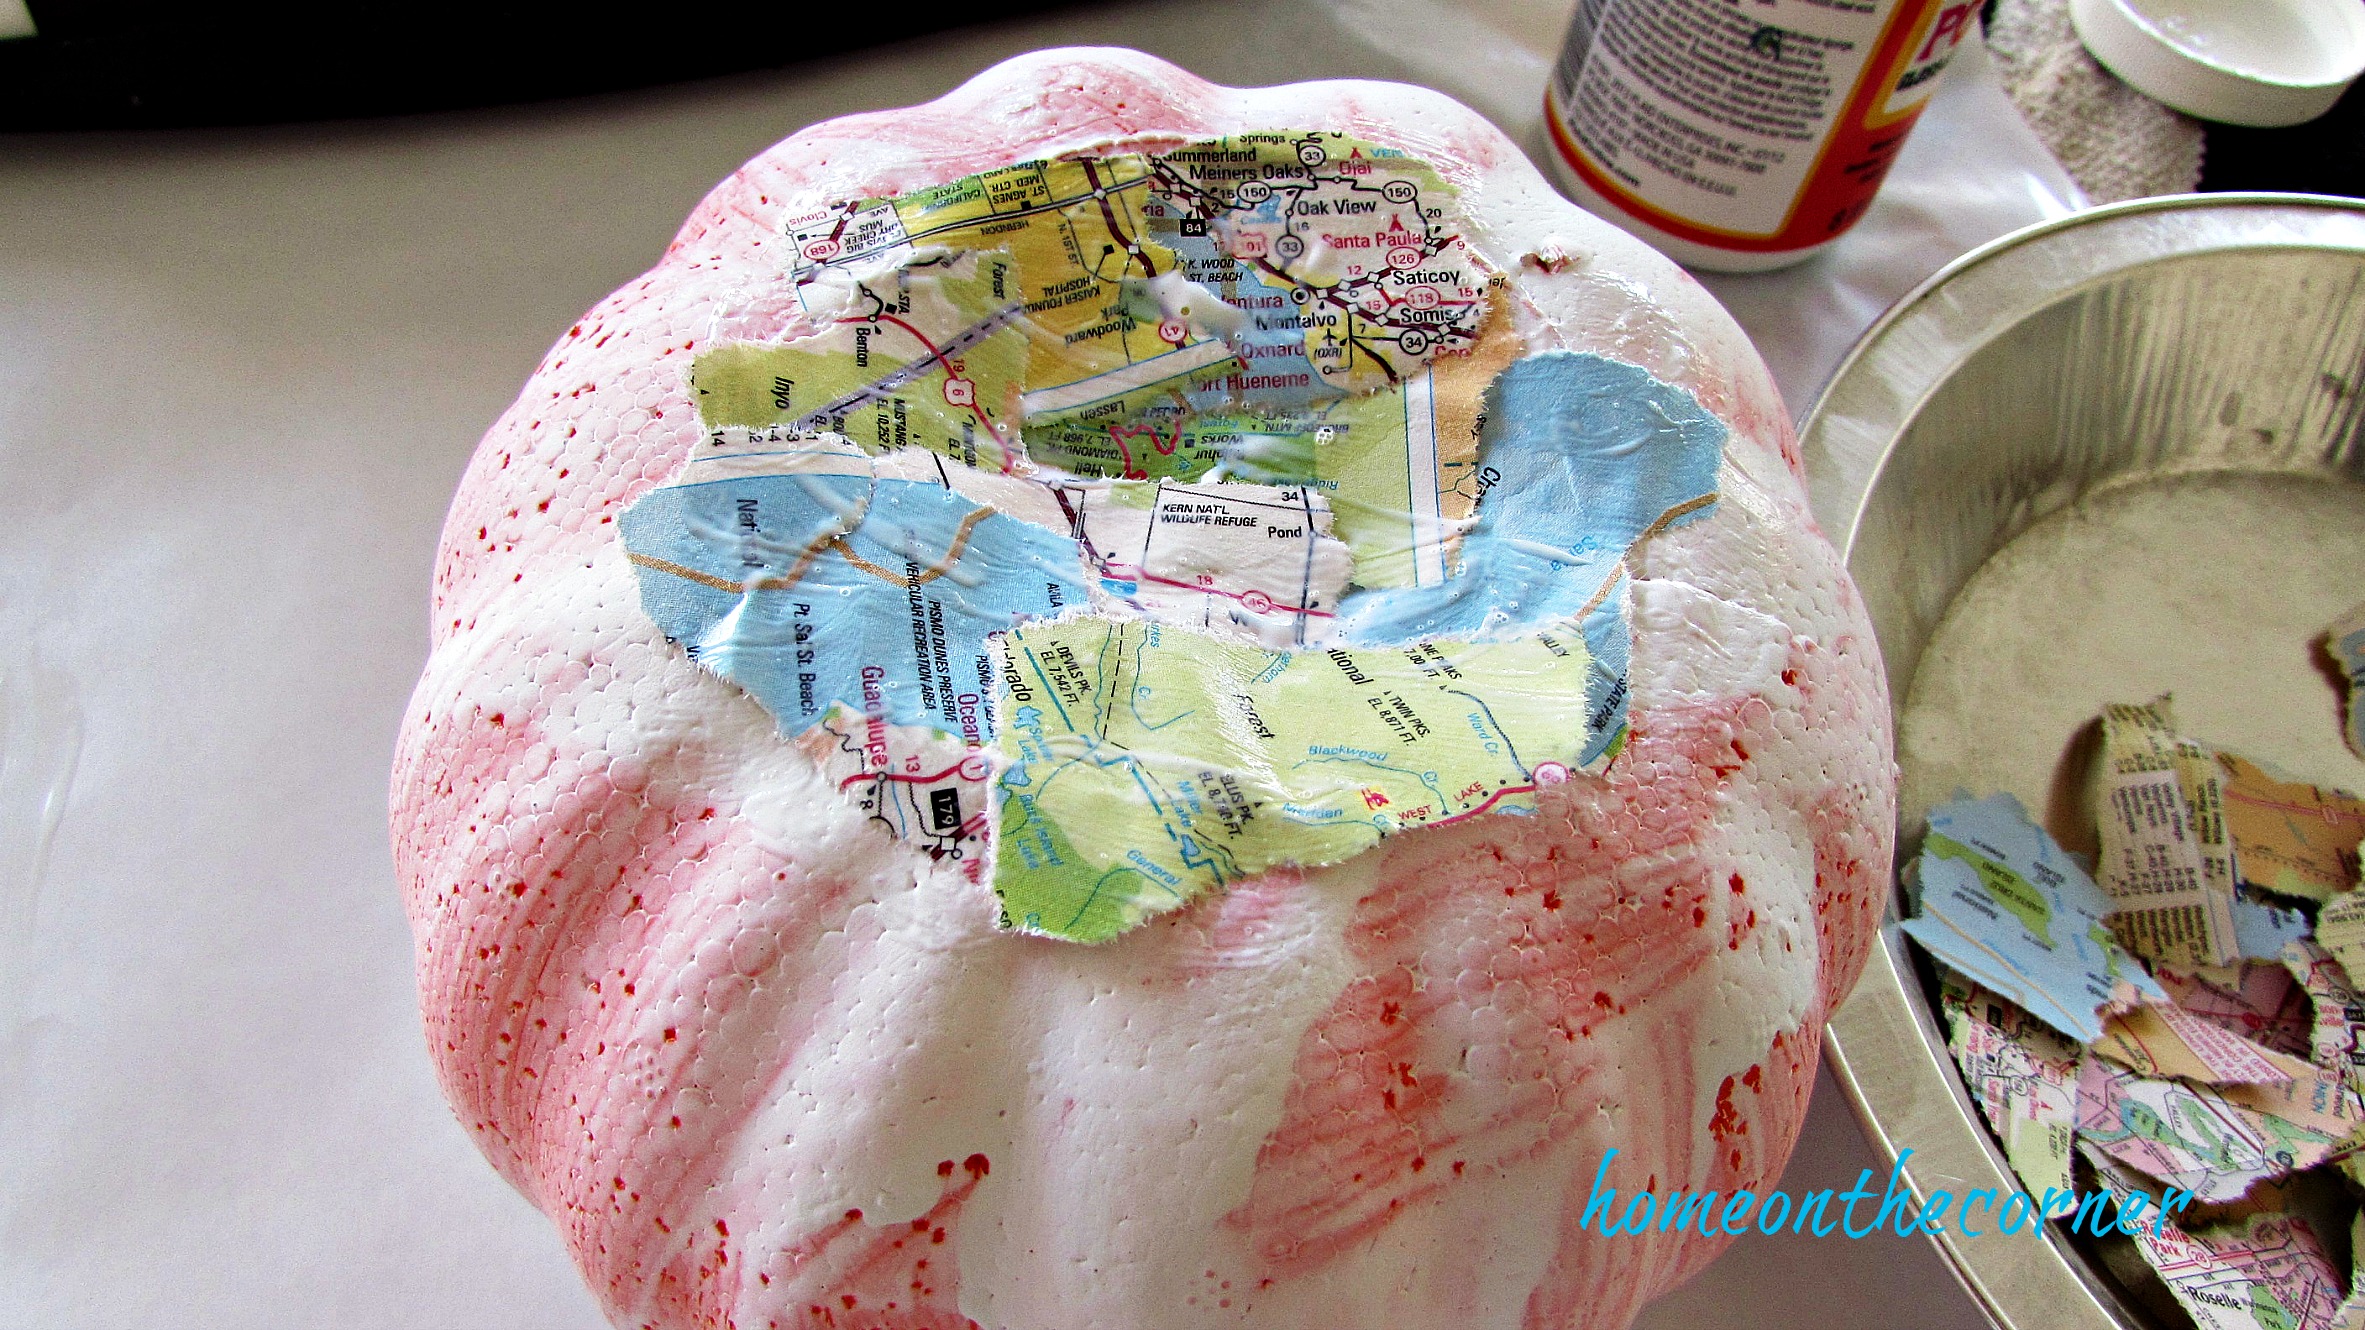
I tore the map into little pieces being sure to keep the city of Seattle in the middle of one piece. I used a popsicle stick to hold my styrofoam ball.

I took the paintbrush and spread it onto the back of the piece of map and then placed it on the styrofoam ball. I kept doing this overlapping pieces of the map as I went.

Once the whole ball was covered, I spread Mod Podge over the whole thing, making sure to add Mod Podge under pieces that weren’t laying flat. I also sprinkled iridescent glitter over the whole thing while it was wet. Once the ball was dry, I added a rope loop at the top to hang it with. I made a little hole in the top with a pencil, put some glue in it and then stuck the rope inside.

You can see Seattle in the picture below. I love how it sparkles! Oh, I also added a bow to the top.

I always buy an ornament for the different places we travel too, so this is the perfect addition.


Do you have a special place you would feature on your ornament? I would love to hear about it! Have a great week!