Something Sweet Valentine Tablescape

something-sweet-valentines-tablescape-and-hutch-title

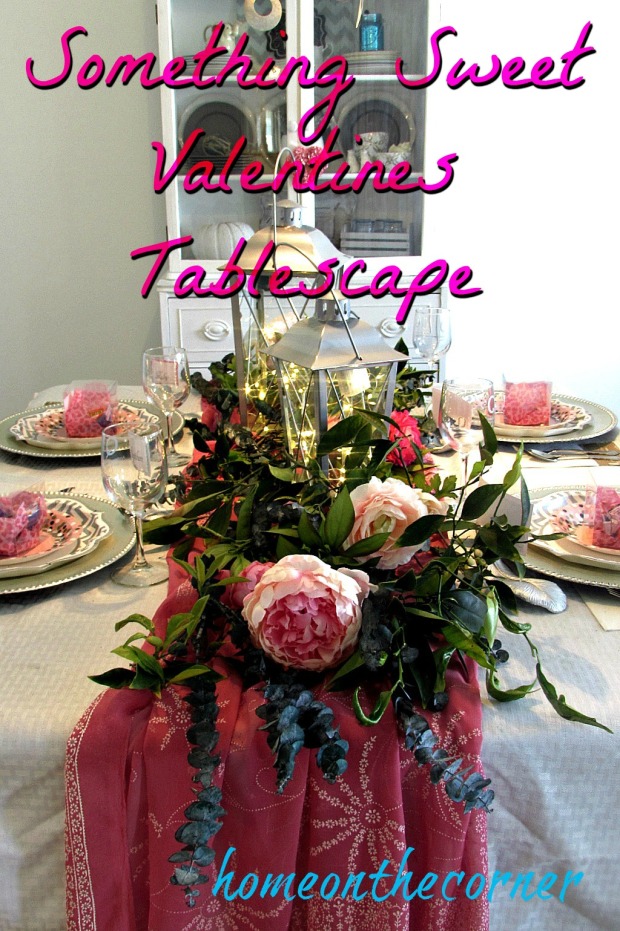
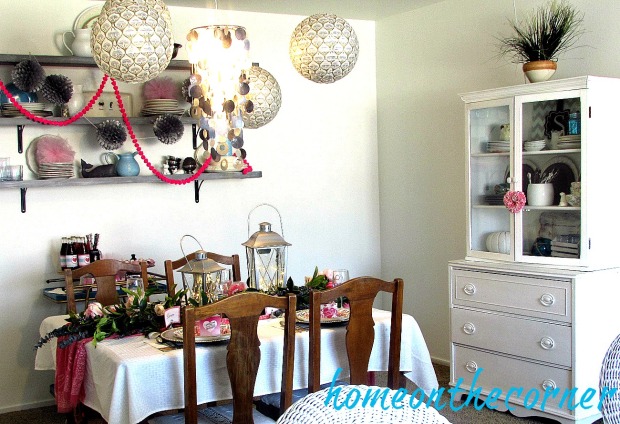
Hello! Can you believe there are only 2 more days until February?! Valentines is just around the corner, so I thought I would share a Valentines tablescape and my ‘formal’ living room and dining room. I am making the most progress on this room so far.

*The contents of this blog are sponsored by Oriental Trading.*

I was contacted by Oriental Trading to put together something Valentine related and since I love dressing up my table, that’s what I went with. I’m so excited how this turned out! I can’t wait to show you, so here we go! Warning-there are a lot of pictures!

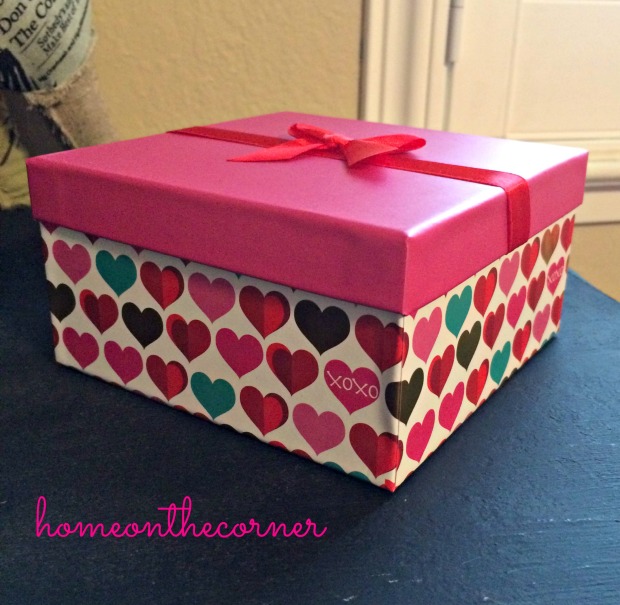
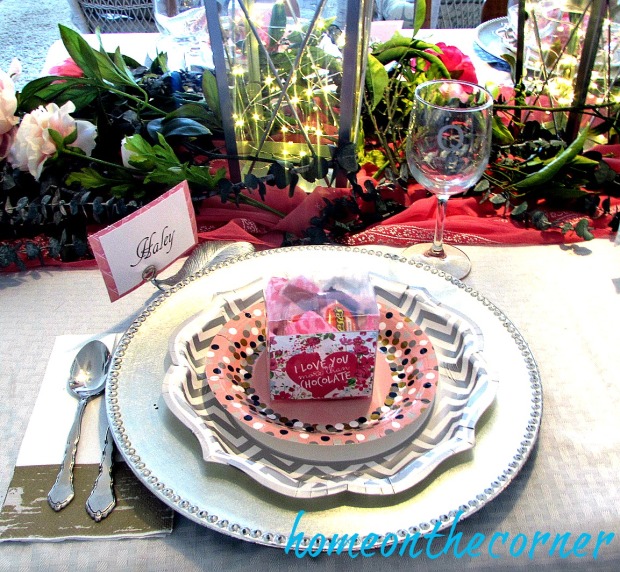
I started out with a layered place setting for each person. The little clear favor box holds some treats and is layered on top of a pink confetti plate. Next comes a silver chevron printed  scalloped edge plate and then a silver charger. I added a birch design gold and white napkin and a silvertone feather place card holder. I love these feathers! They look so elegant! For the place cards, I printed out the names on the computer and then layered them over some pink scrapbook paper.

something-sweet-valentines-place-setting-oriental-trading

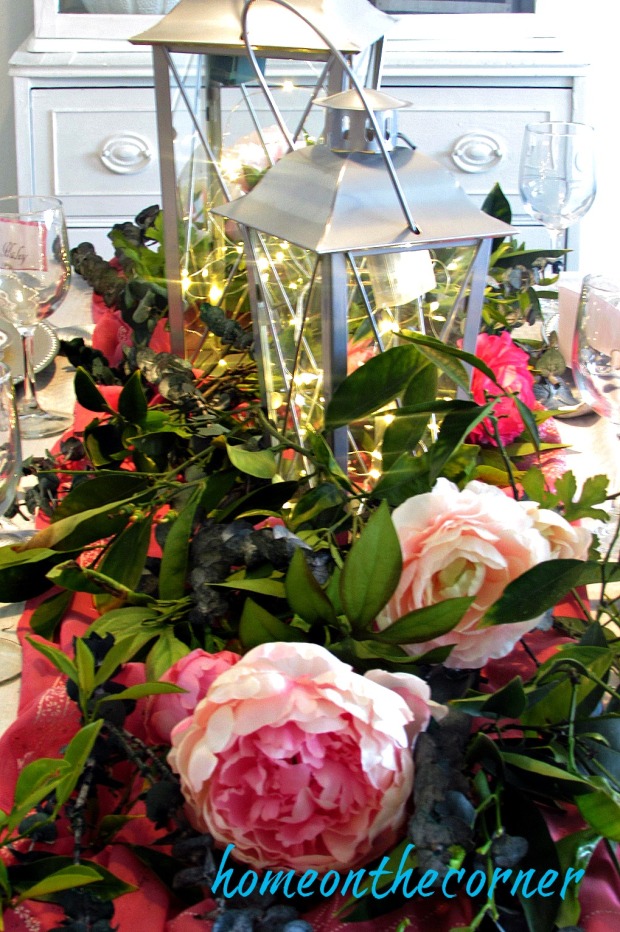
I also received these silver metal lanterns from Oriental Trading. I love lanterns, so these were an obvious choice. I added warm white fairy lights inside to add a little romance.

sweet-something-valentines-i-love-you-more-than-chocolate

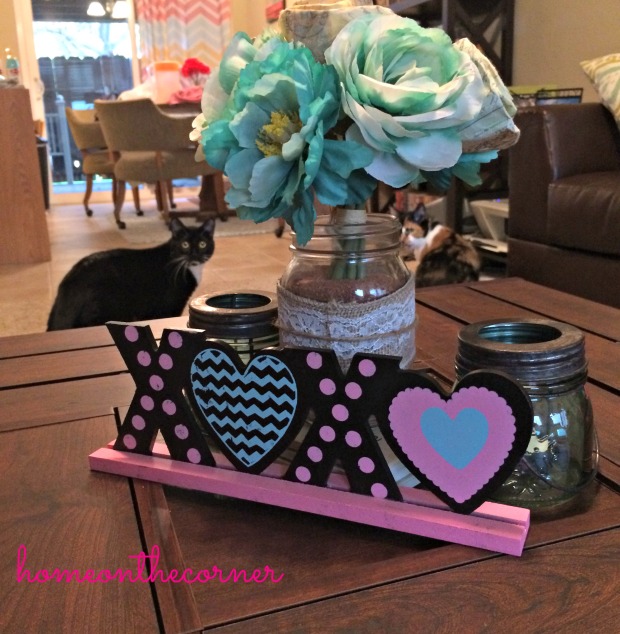
I absolutely love how the centerpiece/runner came together! I was inspired by a couple of other blogs I looked at and couldn’t wait to try it myself. I started out with orange branches from in my yard. I layered in some eucalyptus from Michaels and then added the beautiful pink silk peonies. I love how full it looks and the greenery is the perfect touch.

something-sweet-valentines-pink-peonies-eucalyptis

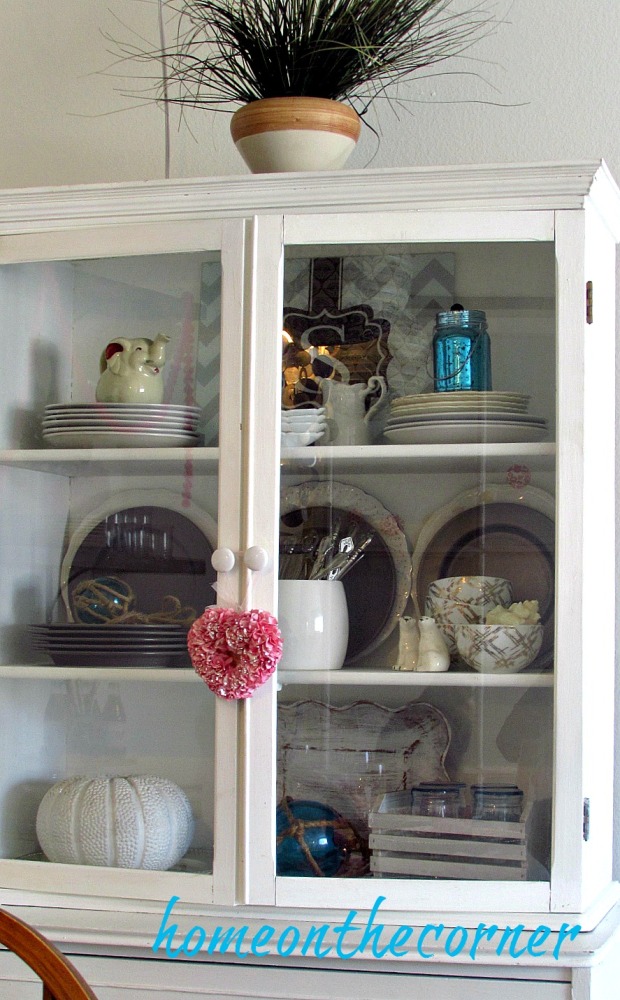
Here is the table looking back to my hutch. I had a built-in hutch at my last house that was probably 3 times this size. I was able to go through all my dishes and get rid of a lot, but I also added shelves in here to display the rest of the dishes.

something-sweet-valentines-tablescape-and-hutch

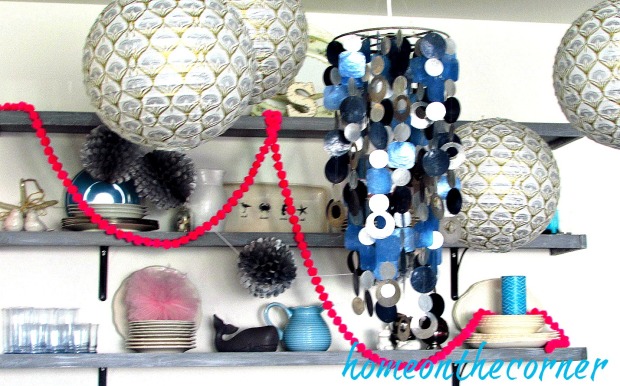
I added these fun garlands to the shelves too. I had the pink pom-pom garland and then added the silver flutterball garland too. The pink tulle pom-poms add just the little touch of pink to the decor.

sweet-somethings-valentines-dining-room-shelves-garland

I added some yummy sweets to my beverage cart. You can see its makeover here. I added some different layers with the cake plates and some cute little straws in the mason jar.

something-sweet-valentines-sweet-and-drinks

I found these cute little bottles of Martinellis and covered the label with a Valentine one I found over at How to Nest for Less. The pink and turquoise were the perfect colors!

something-sweet-valentines-drinks-and-straws

I made some sweets too. They don’t look the prettiest, but they sure taste good!

something-sweet-valentines-cake-balls-and-desserts

I love having this capiz shell chandelier over the table! It adds the best beach look to the room. The metallic lily hanging paper lanterns make it look like a party! The gold and silver were the perfect accents to the rest of the decor.

something-sweet-valentines-capiz-chandelier-and-lanterns

Here is a wider view so you can see a little bit how the room is laid out. This would be the back part of the room. To the left is an entrance into the kitchen and table area. The wicker chairs at the bottom of the picture face the front window where the daybed is.

something-sweet-valentines-dining-room-oriental-trading

I have my faux fireplace in here since the family room already has a fireplace. I made this mantle from an old headboard and I love how it turned out!

sweet-something-valentines-dining-room-and-living-room

something-sweet-valentines-beach-fireplace-mantel

sweet-something-valentines-chalkboard-even-the-winds

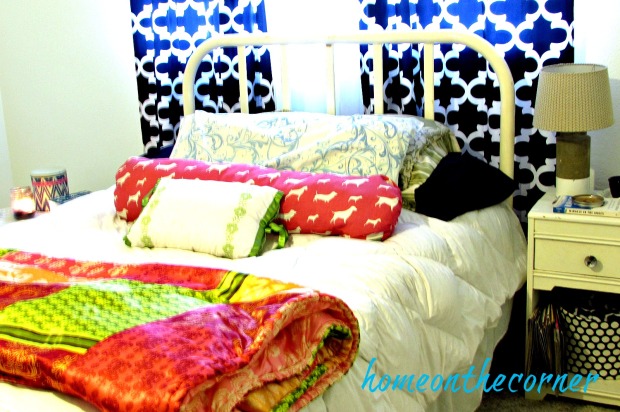
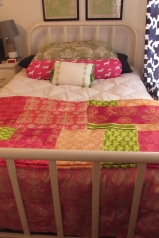
The daybed used to be Haley’s and worked perfect here in the living room. Do you see who is hiding among the pillows? She loves it here because she can see what is going on in the neighborhood.

sweet-something-valentines-living-room-daybed-red-heart-rozy

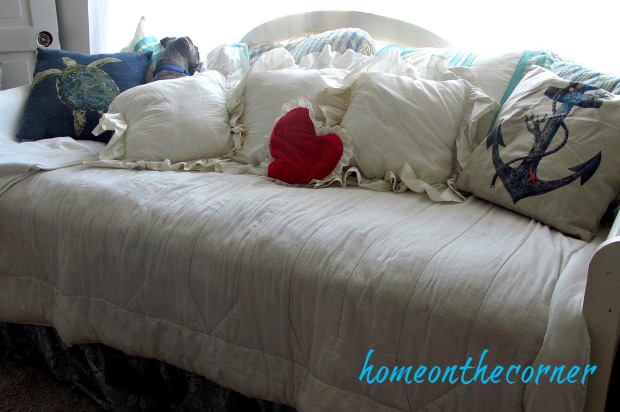
Mom, do you remember this little heart pillow? You made it for me way back when I was in grade school! It must be an antique!

something-sweet-valentines-daybed

Here are a few more favorites.

something-sweet-valentines-basket-of-hydrangeassweet-somethings-valentines-white-hutchsweet-something-valentines-lantern-and-peony-centerpiece

sweet-somethings-valentines-lanterns-and-flowers-centerpiecesweet-something-valentines-piony-euclyptus-table-runnersomething-sweet-valentines-pink-peonies-eucalyptis

I just had to show you my helpers too.

I hope you all have a wonderful week!

sunshine-and-blessings-picmonkey

IMG_2512   IMG_2378  silver gum and heart candy valentine box

99 Cent Store Valentines Day

Hello everyone!  I hope you have all had a wonderful week because it is almost the weekend!  Does anyone have any exciting plans for the weekend?

Well as you may know, Valentines Day is coming up in 2.5 weeks and we all need to start the major pink and red, hearts and love decoration fest!  And for me, being a broke college student, the 99 Cent Store is a great place to pick up decorations.

And boy, do they have a lot of stuff!  Lots of pink and red colored hearts, boxes, and signs.  So, I bought some stuff to help decorate my roommate and my apartment.

The first thing I bought was this cute little white sign.  I thought it was really simple and pretty and it goes perfectly under our cute family board.

99-cent-store-love

The next thing was the awesome XOXO sign.  I love the different colors and that it is on a black background, not white.  It looks great on the table, even if the cats don’t agree.

99-cent-store-xoxo

Next…is this adorable little mailbox!  It is tin and it’s probably supposed to hold candy, but maybe I will send secret messages to my roommate.  Or I will just keep looking adorable right inside my door.

99-cent-store-mailbox

Now onto yet another sign.  This cute little arrow sign is perfect for any room of the house.  I love it in my room on my bookshelf.  Because, arrows are still in style right????

99-cent-store-arrows

And, onto the door.  I bought this red heart sash thingy that I wrapped around my wreath.  It looks great and is very festive for Valentines Day.

99-cent-store-wreath

Finally, this cute little box.  I bought it to fill with candy for my roommate for Valentines Day since we are both single.

99-cent-store-box

Maybe we will celebrate Galentines Day……..

sparkle

Guest Room Complete & Canvas Giveaway

Good morning! Hope you all had a good weekend! We had lots and lots of rain, which we do need so badly. Thankfully, it stops for awhile in between storms so the water has time to drain. And guess what!? It’s our 2 Year Blogiversary!!! I can hardly believe it! Thank you to all our wonderful followers and supporters! Obviously we couldn’t keep going if it wasn’t for all of you! You are so appreciated and we really have enjoyed getting to know you and reading all your sweet comments.

Since I couldn’t get out much, I was able to get a little more done in my house. I mostly worked on the guest room/craft room/Lauren’s room. It’s basically the same as it was at the other house, but this room is much larger. So nice! I actually have room to stretch out a bit!

*The contents of this blog are sponsored by CanvasFactory.com.*

Before we moved to our new house, I was contacted by CanvasFactory.com. They offered to send me a 16 X 20 canvas of my choice. I could either upload my own picture to be placed on a canvas or use one of their 20 million wall art prints. There are so many sizes and styles to choose from! There are canvas, acrylic glass, aluminum or collages. You can order a single print, like I did, a split canvas, or a do a whole canvas display. Plus, CanvasFactory is giving away a 16 X 20 canvas of your choice! Just enter the Rafflecopter at the end of the post. Good luck!

It took me awhile to go through the different prints they offered, but I finally decided on an old-fashioned bicycle. Even then, I had to choose between what color bicycle and what style. I finally chose black and white.

canvas-factory-old-fashioned-bicycle

The quality of this canvas is so great! The background is very white, so the black bicycle really stands out. There is even a bit of a sparkle to it!

canvas-factory-bicycle-canvas-plates-decor

Here you can see some of the great detail.

canvas-factory-detail-close-up-bicycle

Even the back is finished nicely. There is black velvet all around the back edge to protect your walls and a sturdy hanger too.

canvas-factory-black-velvet-backing

I would love to have a few more of these around! They really look nice and add a great element to your room.  Continue reading to find out how you can win a canvas of your own from Canvas Factory!

canvas-factory-craft-room-bicycle-bulletin-board

Okay, on to the guest room! Obviously, I hung this CanvasFactory.com print in the guest room, so now I will show you the rest of it. It started out as quite a mess! I really hadn’t done anything to it since we had the painting (Benjamin Moore, Simply White)done. So I unloaded everything from the desk and put it onto the bed.

canvas-factory-guest-room-makeover

Then I started with my ribbon basket. I took everything out and gave it a good dusting. I did get rid of a few rolls and then secured all my other rolls with straight pins so I wouldn’t have pieces of ribbon hanging all over.

canvas-factory-ribbon-mess-before

Much better!

canvas-factory-craft-room-ribbon-organization

What a difference a good cleaning can make!

canvas-factory-guest-roomcraft-room-makeover

canvas-factory-craft-room-desk-thread-bottles

I used the same bedding and curtains I had before.

canvas-factory-guest-bedroom-makeover-pink-blue-green

I did change up the dresser a bit though. I used a lot of the same things, just rearranged them a bit.

canvas-factory-guest-bedroom-white-dresser-mirror

I really like how fresh and clean the room is now. It feels ready to take on a new craft project! Slowly, but surely, the house is coming together. We have several big projects to tackle, and several little ones, but it’s nice to see some progress.

I have added some links to some items similar to what I have in my guest room if you are interested. I earn a little bit from each sale, but there is no extra charge for you. Thanks for taking a look!

Azar 300703 3 Tiered Round Wire Dump Bins, White

Catalina Printed Cork Board

Ball Mason Jar-32 oz. Aqua Blue Glass Ball Collection Elite Color Series Wide Mouth

Howard Elliott 2146W Dorsiere Oval Mirror, Glossy White

Best Home Fashion Room Darkening Morrocan Print Curtains – Antique Bronze Grommet Top – Navy- 52″W X 63″L – (1 Panel)

Finally, the fun stuff!  Canvas Factory was kind enough to give us a second coupon code to give out to one lucky person!  This will get you a free 16 X 20 canvas.  There are thousands to choose from and as you can tell from our experience, they are awesome!  Click on the link below to enter!  Good luck!

a Rafflecopter giveaway

sunshine-and-blessings-picmonkey

Here are some other posts you might want to look at!

Laurens Room 4     IMG_2322    IMG_2379

Beautiful, Blingy, British Flag

Hello everyone!  I hope that you are all getting prepared for Halloween that is just around the corner.  Are all of your costumes ready?  Do you have enough candy?  Is your front porch all decked out?

Well this weeks post has nothing to do with Halloween…Sorry.

So you know how last week I posted about a project that I was working on?  If not, don’t worry, I’m going to go through it again!

Here are your supplies!

img_2837

A piece of wood, paint, glue, jewels, paint brushes, and tweezers.  I started by painting the board with grey.  Of course, you can paint it whatever color you want, but I went with grey.

img_2838

Next, I printed out the design I wanted on paper and drew it onto the board.  I did so by coloring the back of the paper with pencil, then drawing over the lines again to have the pencil go through.

img_2839

Once I had the design, I started placing the jewels on the board.  I would put glue on the small section that I wanted to start bedazzling and would hand place, or tweezer place, the jewels on.

Now, I made the design a little bit different than the original.  If you can’t tell from the picture above, the design that I picked was the British flag.  So for me, instead of red, white, and blue, I used pink, white, and black.

img_2840

I added some gems of other colors to add some dimension to the flag.  So, I have purple in the pink section of the flag, and added some purple and blue in the black section.

It took a lot of time and effort, but it was totally worth it.  I would lay out the jewels that I wanted to use on the board and would add glue to place the jewels.

close-up-gems

close-up

And after about 18 hours of work (all broken up, not in one sitting) I finally finished.  And I am extremely proud of my work.  So here it is!

full-blingy-flagblingy-flag-down-viewup-close-finished

It looks amazing!  I am so happy with how it turned out.  And it looks amazing in the sunlight because the light just shimmers off of the jewels.  I am sooooooo happy and I cannot wait to do more!

Thanks for stopping by!

sparkle

Corner News-Time for Bling!

Hello everyone!  Today’s Corner News is a preview of an art project that I am working on.  Hopefully, I will be able to give you a full how-to on Friday….

If I get it done on time.

So, here are my supplies.  A board, grey paint, glue, paint brushes, and lots of gems!  Some are scrapbooking stickers and others are just rhinestones.

img_2837

The first thing I did was painted the board grey and then drew the British Flag on the board.

img_2838img_2839

Then, I started gluing and sticking!  I decided to use pink instead of red and black instead of blue.  But, here is what I have so far!

img_2840

Not too much, but it’s a start!  I can’t wait to finish it!  Thanks for stopping by where, hopefully, it will be done next Friday!

sparkle