Happy Labor Day plus a Fall Roundup

Happy Labor Day to all those in the U.S.! I hope you aren’t having to labor too hard! This is the unofficial start to fall for most of us, so I thought I would share some of my past posts with you. Hopefully you will find some inspiration! Just click on the picture to be taken to the original post.

Pumpkins and Peacock Feathers Tablescape

I loved this one! The colors are so pretty for fall!

Dollar Tree Fall Rake Makeover

This is a great way to recycle an old garden tool and make it something pretty for you porch or patio.

Living Room Fall Tour

This was my very first fall tour! It’s funny how many of these decor items I still use! You don’t have to buy all new items for the season. You can re-use what you have, just in different ways.

Welcome Fall!

I had forgotten about this tablescape! I love how this turned out! I have these same plates on my table today!

Bringing Fall to the Back Porch

I really enjoyed decorating the back porch. It was such a pleasure to look out the back door and seeing the pumpkins and flowers.

Thrift Store Pumpkin Makeover

I always find ‘treasures’ at the thrift store, but they don’t always look quite the way I would like. I gave this one a little makeover!

Neutral Decor Book Page Mobile

This is a cute and simple project and you could use so many different items to make the leaves. I used book pages, but you could use paper or silk leaves like I did below, or even magazine pages.

Falling Leaves Door Hanging

I had all the items I needed for this project, but you can find similar items in your yard and the Dollar Tree.

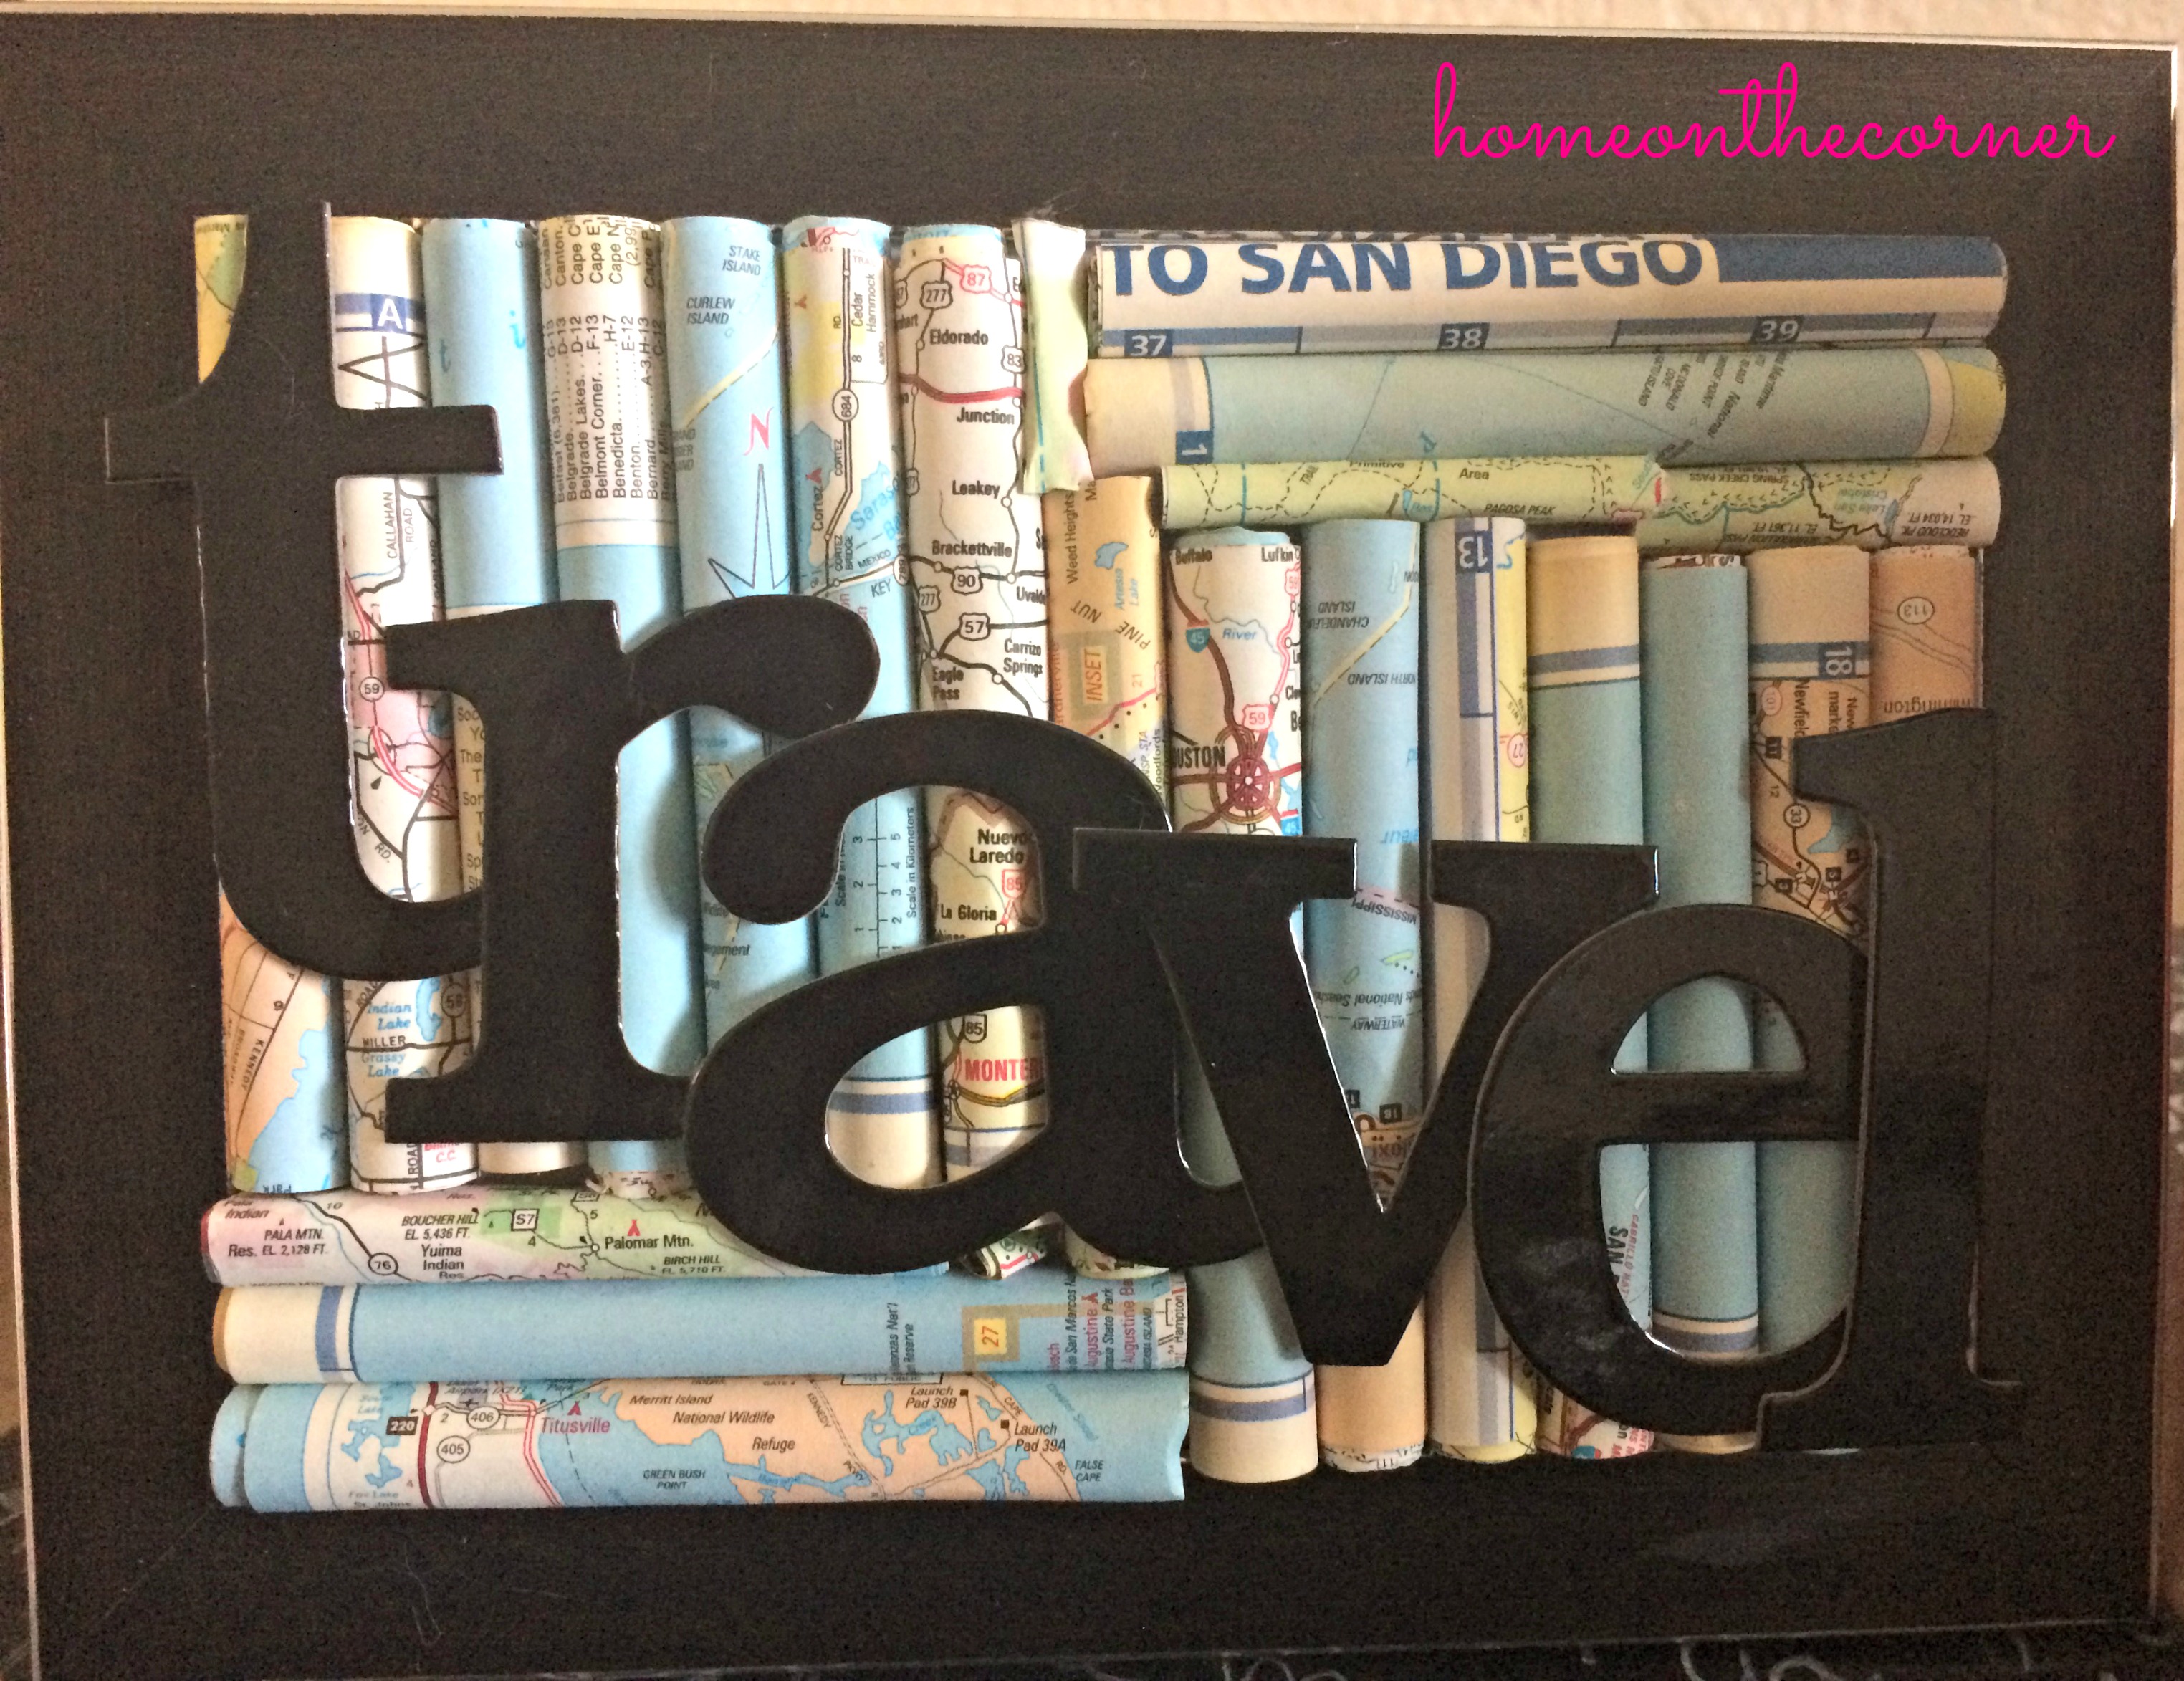
Decoupage Pumpkin with Maps

This is another quick and easy project to do this fall. Again, you can use any type of paper to cover you pumpkin and personalize it to what you like!

I hope you enjoyed this round up! Happy fall!

Springtime Concrete Painted Planter

How is everybody holding up? Going stir crazy or getting things done around the house? I hope everybody is well. We are still doing good over here on this end!  Is it springtime in your neck of the woods? We have had some absolutely beautiful weather here! We had some much needed rain this weekend and now back to sunshine again. This type of weather makes me want to get outside and enjoy it. It also makes me want to start planting again. I love the look of freshly dug up dirt and the wonderful flowers and plants put in the ground.

I posted this several years ago and it always seems to be popular. So, I figured this would be a good project to keep you busy!

I decided to make a new small planter for my front porch. Well, actually two of them-one with my address and one with a fun graphic flower. I found these over at Lowes.com/LCI-concreteplanter. I am not affiliated with Lowes, just thought this was a fun project for spring.

I started out with 2 of the concrete blocks and a can of Rustoleum Mulitcolor Textured Spray Paint. I used a color that was very close to the color of the block. This will help seal the concrete so the other color won’t leak through when you spray your design. I first cleaned off the block with a wire bristled brush and then wiped away the dust.

Concrete painted planter

I sprayed the whole block with the spray paint. Here is the right side painted and the left is not. You can see how closely they match. Perfect!

concrete painted planter textured paint

Have you ever heard of a Xyron Sticker Maker? I use the refills for my scrapbooking. It is perfect for all the little letters I cut out on my Cricut. Just run the letters through it and then place them on your page. I thought I would give it a try for this too.I printed out the design-you could use your Cricut or find a design you like online-cut it out and then ran each piece through the Xyron.

concrete painted planter xyron

Once each piece had the sticky stuff on the back , I placed it on the concrete block.

concrete painted planter stencil

Then I spray painted over the whole thing. I painted all the sides too. I did have to keep pushing down my pieces to make sure the paint didn’t get underneath, but they did okay. I used 2 coats of paint.

concrete painted planter lagoon spray paint

On my second block, I decided to put my address numbers. I painted the whole block with the textured paint and then laid out some stenciled numbers. I covered the rest of the block with paper so the paint wouldn’t cover the rest of the block.

concrete painted planter number stencil

Then paint!

concrete painted planter numbers lagoon spray paint

I sprayed some sealer over the whole thing since it will be sitting out on my porch.

concrete painted planter flower stencil

This one looked a little plain, so I did add a blue stripe along the top and the bottom.

concrete painted planter address number

I added some succulents and placed them on my front porch. I left the plants in the pots for now, until I can figure out a way to keep the water from all draining out.

concrete painted planter front porch

concrete planter stencil succulents

concrete planter painted address

3 years later and I still have these blocks and they look great! I would love to see what designs you come up with!

sunshine-and-blessings-picmonkey


How to Make a Wreath for $20

Hello!  This is a random post that is not a top 10, but it is a re-post.  This is the perfect DIY for summer and it’s super easy!  For $20 and 2 hours of work, you will get an awesome wreath.  Enjoy!

Flower Wreath Supplies

Things you need are a pool noodle, lots of fake flowers, tape, scissors, and some sort of statement decoration.  All of these items can be purchased from the Dollar Store, so it makes the wreath even cheaper!

The first thing you need to do it make the pool noodle into a wreath.  Just make it a circle and use tape to keep it in place.  I had to use packing tape to make sure that it would stay in place.

Then I started placing flowers.  I wasn’t sure how it was going to work exactly, but I thought that the easiest way would be to cut the wire to stick in the noodle.  So, after a little bit of work trying to figure out the easiest way to cut the flowers, it was able to get started on my wreath.

Flower Wreath Flower Placement

I went with white, pink, yellow, and orange for my flower choices and filled in the noodle as I went.  I didn’t fill in the back of the noodle because I knew that no one would see the back.  But, I worked for about 2 hours to fill the wreath.

Now for you decoration of choice.  I went with a wooden S since our last name is Smith.  I first covered the noodle with a sparkly silver ribbon so that we wouldn’t see the green styrofoam underneath.  I painted the S white so it would stand out against the silver ribbon and between all of the flowers.

Flower Wreath White Letter

After a little bit of hot glue, the wreath was complete!  And here is the finished project!

Flower Wreath FinishedFlower Wreath Close UpFlower Wreath Close Up 2Flower Wreath Closer

First of all, I love how the colors look against mom’s turquoise door.  It makes the pinks and yellows really stand out.  And I love how it looks!  The colors are so bright and pretty and they look great with the S on the wreath as well.  This wreath is even better because it only cost me $20 to make!  $20 and 2 hours of work to have the beautiful wreath, I think it’s worth it!

If you want to check out the Dollar Tree website, click on the link in the sidebar to find all of your supplies for $1!

If you decide to try this project, please let me know how it goes!  And, comment a picture of it below so we can see you beautiful creations as well!

How to Use an Old Atlas for New Decor

Hello everyone!  I hope you have all had a wonderful week so far and are ready for the weekend.  Anyone have any awesome plans?

Well this weeks project was originally seen when I was in Seattle on my trip.  I saw this and knew that I could make it myself.  So with a small bit of help from my mom for the main supply, I am bringing you a wonderful DIY.

Supplies You Will Need

Supplies you Need

An old atlas or maps (mom found hers at a thrift store)

Glue

Paperclips

A pencil

A frame

Chip letters

Step 1

Paperclipping

Decide how big you want your pieces.  There was actually a pre-cut piece in the atlas that I used as my sizer.  I would paperclip my sizer to the atlas and cut around it until I had the two pieces.  I tried to use pages with a lot of blue so I ended up using a log of pages with the ocean or lakes as my pieces.

Step 2

Roll you pieces.  I would put a small line of glue on the edge of the paper before I rolled it around the pencil.  And at the end I would put more glue to secure the edge.  I would then use two paperclips to hold it down to try to dry.  That way the roll didn’t lose its shape and the glue could dry.

Step 3

Template

Measure out your frame.  I bought a 5×7 frame from Dollar Tree and took the glass out of the front of it.  I turned the paper over so it was white and laid the atlas rolls out in a pattern.  I found a few spaces that needed to be filled in with smaller rolls.  After using some Elmer’s glue, I was able to move on to the final step.

Step 4

Attach your chip letters.  Since I used atlases, I decided to make the word travel.  And I felt like it was fitting since I saw this while I was traveling.  So after a lot of gluing and drying, here is the finished product!

Travel Sign 1Travel Sign 2Travel Sign 3Travel Sign 4

I love how it turned out.  And I definitely plan on hanging this on my map gallery wall in my living room when I finally get around to it.  I hope this you enjoyed this DIY and if you have any questions please let me know!

sparkle


Headboard to Project Helper-Part 1

Hello everyone!  I am going to apologize in advance for how short this blog post is.  It isn’t super amazing, but I am going to show you the beginning.

So I bought this headboard from a yard sale a few months ago.  I thought it looked absolutely adorable!  I loved the look of it and I can’t wait to do something with it.

full-headboard

I love the details on the posts of the headboard.  It has so many corners on it, but the ball on top of it adds to it.

headboard-post

And finally, the slats on the headboard are so cute!  And I have a great idea for them!  I want to buy some hooks to hang screw into the slats to hang buckets off of.  In the buckets, I want to hold things like paint brushes and small tools.  This would be so handy for when mom and I are working on bigger project and need all of our tools in the same spot.

headboard-slats

Again, apologies for such a short blog post.  I wanted to show this off before I paint it and finish the look.  It will look so much better when it’s done!

sparkle