Time seems to go so quickly. We will be celebrating our 1 Year Blogiversary in just a couple of weeks. Amazing!
Do you ever feel kind of overwhelmed by all there is to see on the internet, places like Pinterest and Facebook? I know I do. There are so many ideas out there and so many pretty designs, it is hard to know where to begin or even decide what you like! There is so much out there that I like. I like the neutrals, but I also like the turquoise seaside look. Do I want farmhouse or coastal? So then I have to decide if I want every room to have that look or just some of them. When I see other houses where they use neutrals, I love how they can move things from room to room and it still works. I don’t know. I guess my look is always evolving. But I do know right now, I am liking white. I have always liked shades of white, but when my kids were younger, I had lots of color. Now I am trying to go with more white and then add different colors with accents, such as pillows, blankets and decorations. Now you get to join me on this crazy ride!!
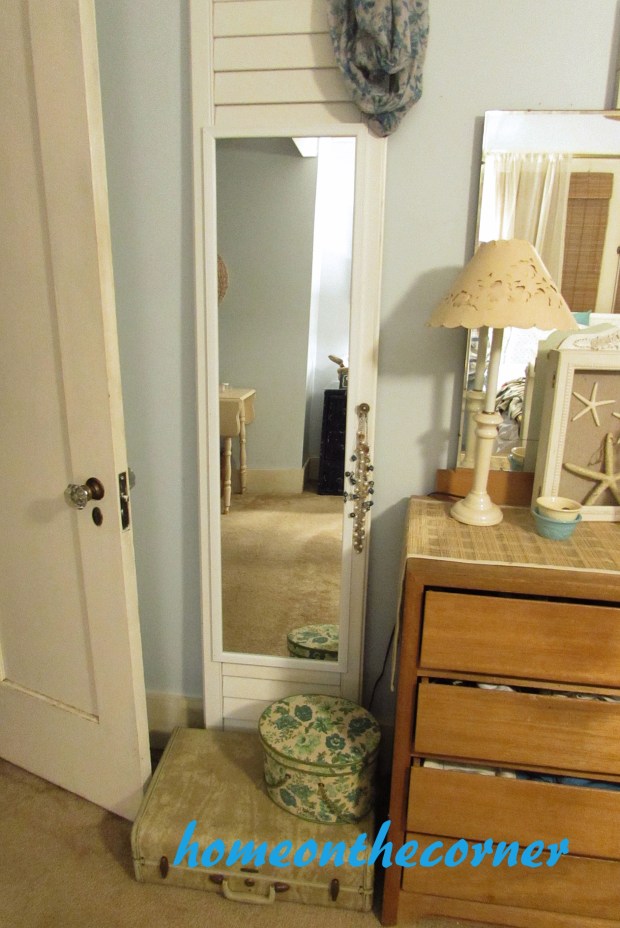
My first project this year is a full length mirror for my room. I had one on the inside of my closet door, but when I went through and decluttered, I hung jewelry there instead. Then the mirror broke when it got moved. After Haley repainted her room, I inherited her mirror. I had it just standing on the floor in the corner and would move it when I needed it. It’s actually the mirror in the first pictures, but guess what? It broke too! 2 mirrors broken! Does that mean bad luck for me? They were both in 2015, so will 2016 be okay? Anyways, I knew I wanted to do something nicer with mirror and I had either a door or a shutter to work with.
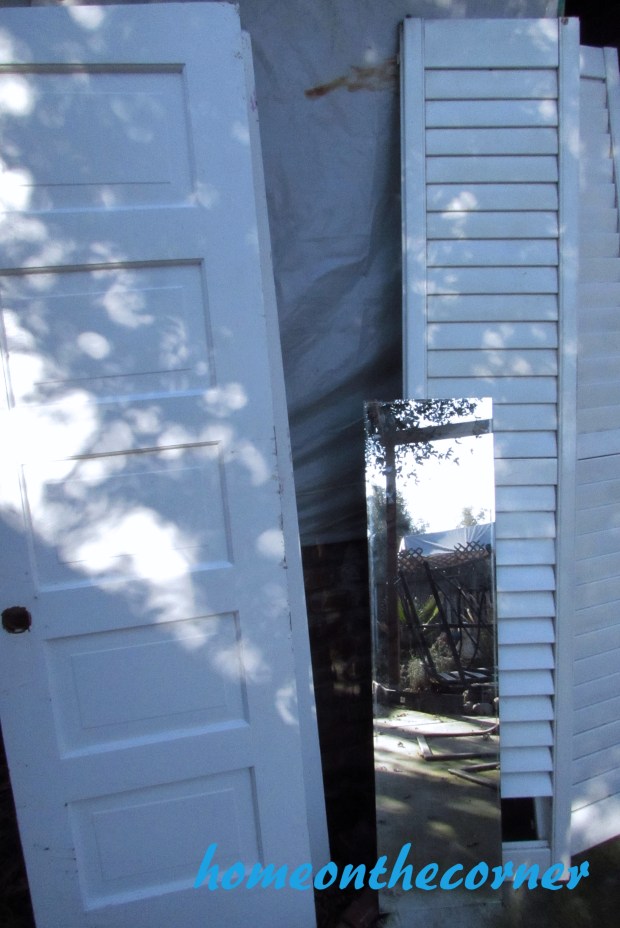
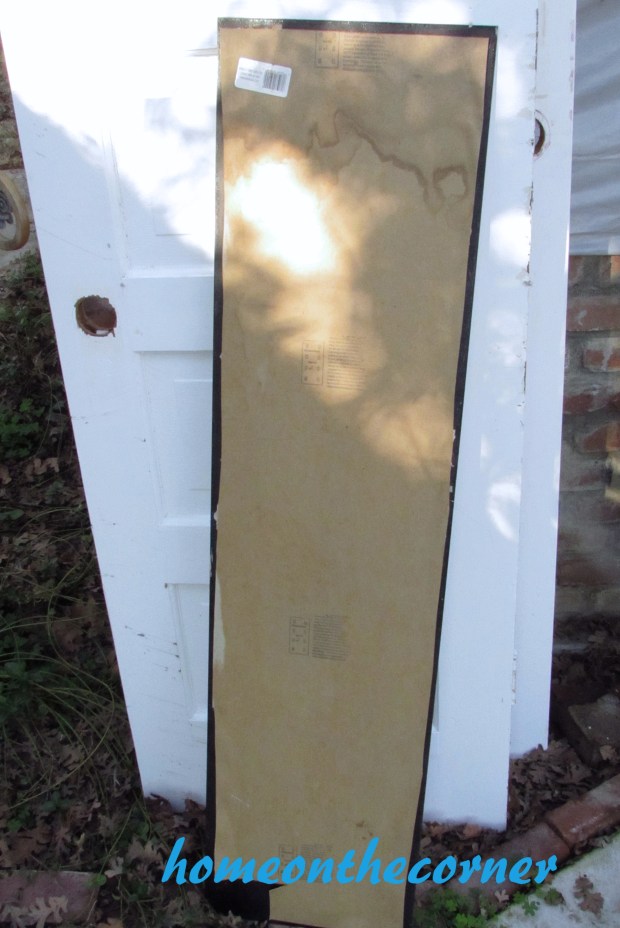
I ended up using the shutter because the size fit better with the mirror. I’m sure the door will show up sometime here on the blog! I took the frame off the mirror and as much of the cardboard as I could. This is probably what caused it to break. It didn’t have enough support.
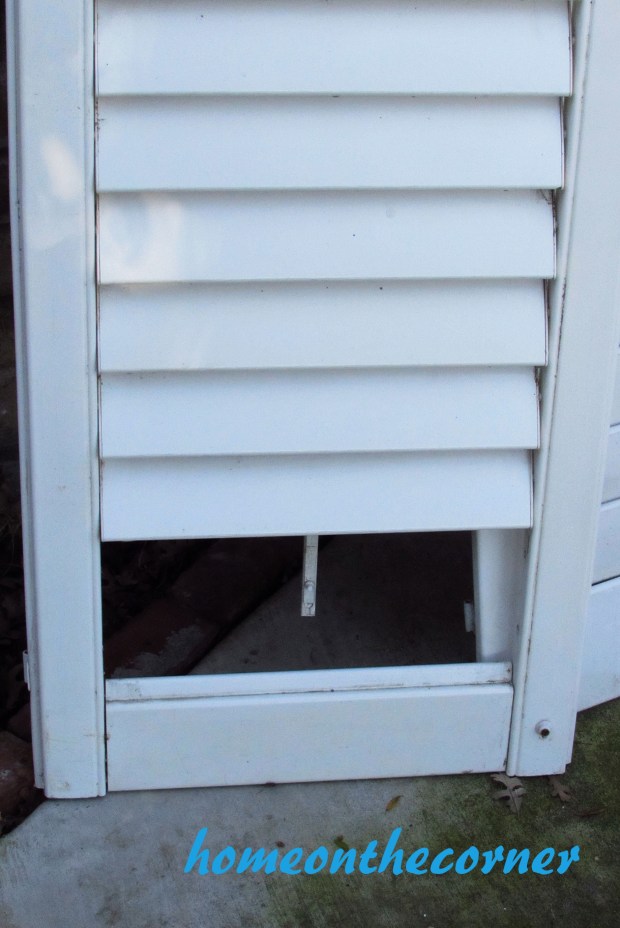
The shutter I had was missing a couple of the slats at the bottom. My husband took the whole slat piece off the bottom and turned it over so the missing ones were in the middle and will be covered by the mirror. Smart thinking!
The next thing to do was clean the shutter and buy a new mirror!

Alrighty, I’m back. The shutter is clean and the mirror I found had a white frame, so I didn’t have to frame it myself. I’m all about making it easy!

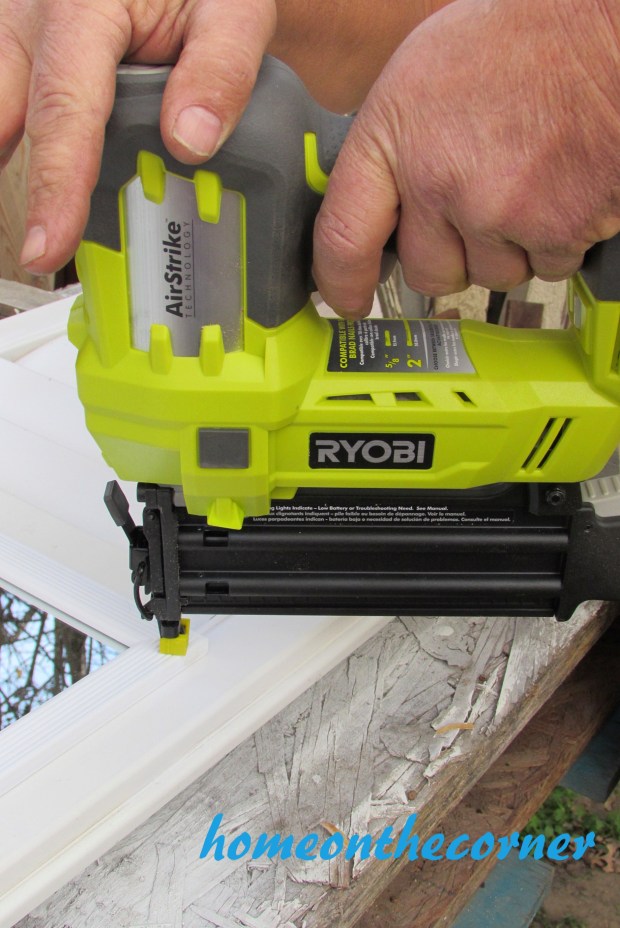
After lining everything up, we got to use my new Ryobi Airstrike gun. I actually won this from another blogger! I was so excited about this! Sure makes it easier than hammering nails! We nailed it near the edge so it wouldn’t crack the mirror. We don’t want to break 3 of them!
Here it is! I’m so glad to finally have a full-length mirror in my room. I’ve been moving the old one all over, trying to prop it up and other various moves to see what I am wearing!
Hi Ezzy!
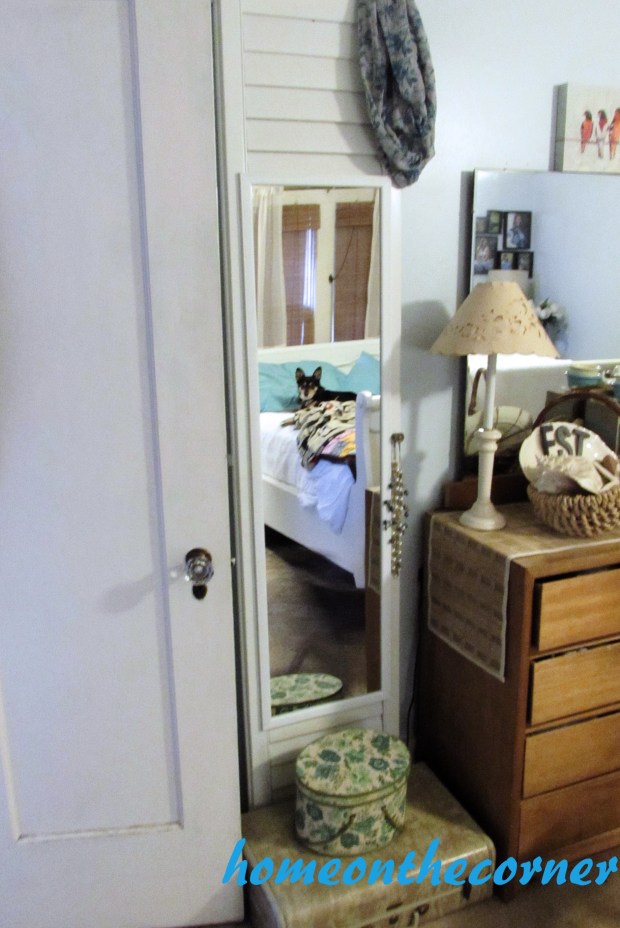
I really like how this looks in my room.
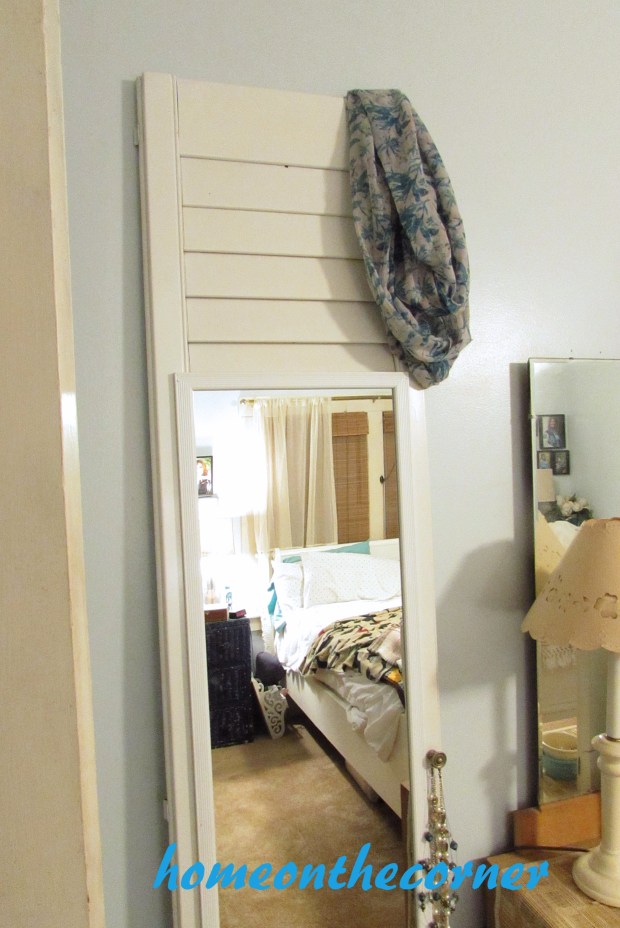
And it could be used in any room!
Thanks for joining me today! See you next time!