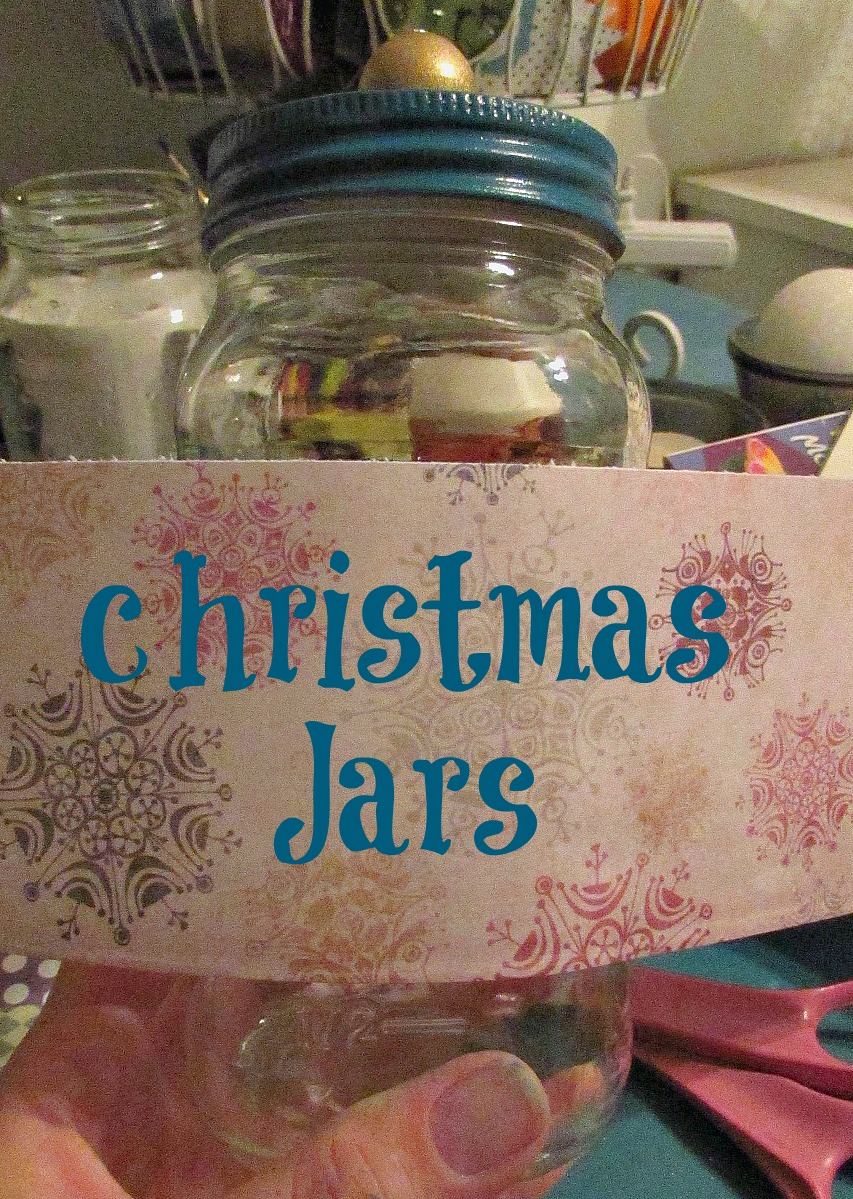
Hi all! This is a post from a couple of years ago. Enjoy!
Good morning friends! Can you believe we are in October? Are you ready for fall? We will have some time to go here before it gets cool. It doesn’t get cool here until about Halloween. But, I have a wedding to plan and it will a traditional wedding, but then a gothic pirate themed reception. So this is the time of year to find the perfect items to decorate with. It’s also fun to find different things I can make ahead of time. Today I am showing you how to make spooky books!
Item List:
- Hardcover books
- Plastic bin that the books will fit into
- Tea
- Paper towels
- Mod Podge and brush
- Bleach and water
- Stickers, wood decorations, any other decorations you want to use
- Black, gold, and silver paint and foam bruss

I found some outdated hardcover books at a thrift store. It doesn’t matter how new or old they look. Just find the size you like. Next, make yourself some tea! Not to drink though! I made some sun tea and then poured it into a plastic bin. Now, dip your book in! I just did the pages, not the covers. You could also use a brush if that is easier. I dipped in all the sides, letting them soak for about 5 minutes. Then I set them out on a towel to dry.


If you don’t think they are dark enough, go ahead dip them again. The pages get a little wrinkly, but that’s ok. It gives it an older look!

Now that the books are dry, you can move on to the next step. Take your pieces of paper towels and trim them to fit the book. I cut the top and bottom of the paper towels the same size as the books, but I folded in the ends. The books won’t be opened after I am done.

Fill a spray bottle with water and spray down the paper towels on the books. Crinkle them up a bit once they are wet. This is going to give you the old weathered look you want in the end.

Once you have the paper towels the way you want, brush on the Mod Podge. I poured some onto the book and then used a foam brush to spread it all over the book on all sides and edges. Let the books dry. I let them dry overnight.


Now you get to decorate the book! I am making these for the wedding, not just Halloween. I found the scrolly piece and wood piece at a thrift store. So I laid them out the way I thought they would go. I also added stickers. My stickers go along with the wedding theme and last name initial. It won’t matter the colors you use because you are going to paint over it all. Once you have your pieces how you want them, glue them on. I even glued on the stickers so they wouldn’t fall off later.


Once your glue is dry, paint the book. I used black spray paint, but you could also paint the books with acrylic paint. Make sure to get in all the nooks and crevices. Now you can see how the paper towels give it that old look.

Just the black looks kind of boring, but now you get to add the finishing touches! I used a silver paint and lightly went over the raised areas of the book. I used a little gold paint as well. You don’t want too much gold or silver, just some slight touches.

I also bought a strap to keep the book closed. I found it in the fabric department at Hobby Lobby. I glued it on the front and back of the book.

Here are the stickers once they are painted. Looks good, right? Since I didn’t want the books to open, I used some rope, also tea dyed, to tie two of the books together.


I placed the books on my mantle along with some other black and spooky items. Some of them I have also made over.


I love how they turned out! I’m just waiting for a date to be set so I can put it on the third book.


So what do you think? Would you do this to a book? I’m so glad I gave it a try!