Fall Front Porch with Pumpkins

Good morning! I think fall has really arrived here in Central California! At least today!! Our weather will go up and down at least until Halloween. But for today, it is nice.

fall-front-porch-acorn-garland-2016-title

I was able to pull out some things to decorate my front porch. I decided to decorate with all things pumpkin! I got out all the different pumpkins I have-fabric, plastic, ceramic, wooden, big and little.

fall-front-porch-2016

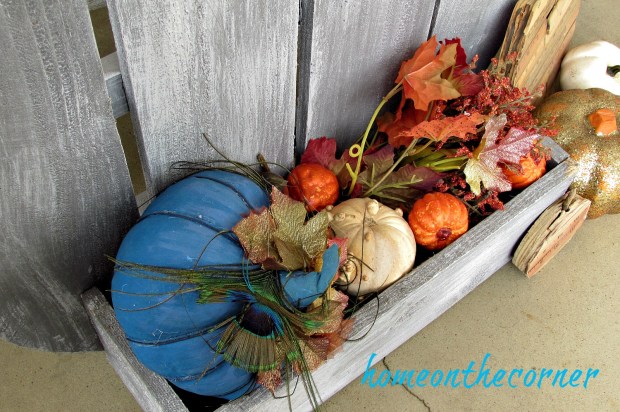
I made this pumpkin window box last year at a Home Depot event. I filled it with a turquoise painted pumpkin, a few small faux pumpkins and some fall leaves.

fall-front-porch-2016-pumpkin-box

The big twig pumpkin is my favorite! The orange pumpkin is just fleece covering a roll of toilet paper. One of my girls made this years ago. I made the sweater acorns last year and the ‘Gather’ sign.

fall-front-porch-bench-and-pumpkins-2016

A few more pumpkins with a bright striped pillow (I used the same one last year! :))

fall-front-porch-pillow-and-pumpkins-2016

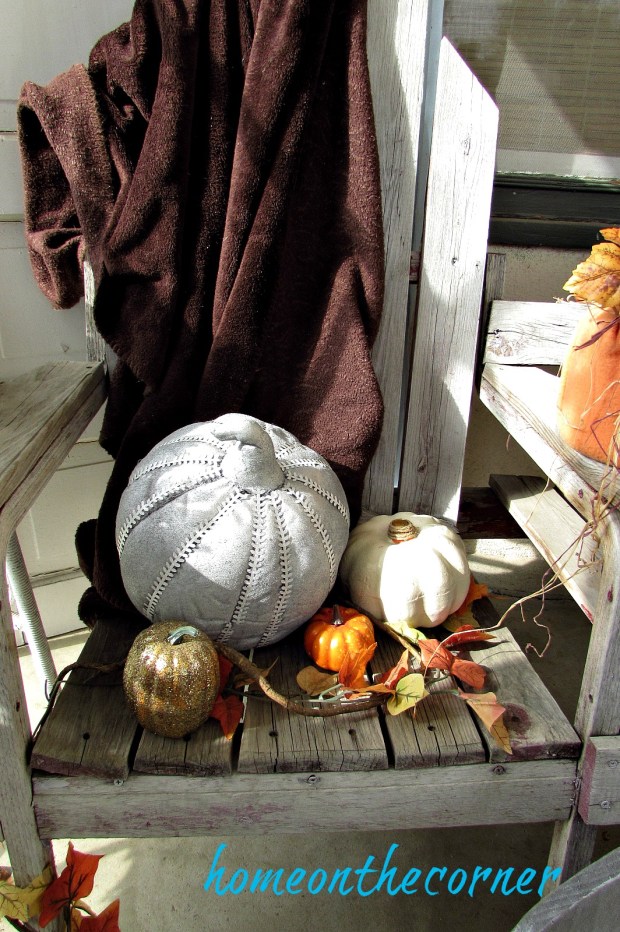
I draped a cozy blanket over the chair for those chilly mornings or evenings. Another painted pumpkin, a glittery one and some leaves look festive.

fall-front-porch-blanket-pumpkins

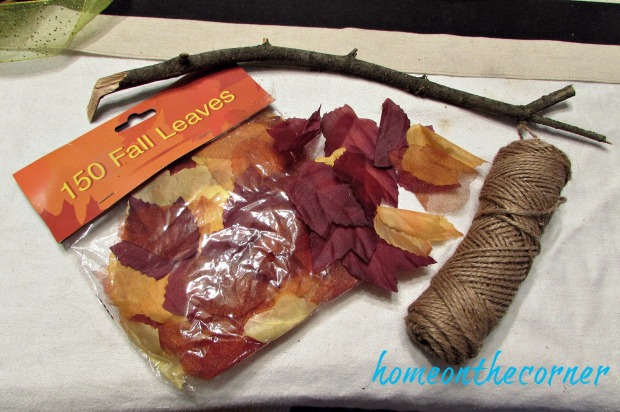
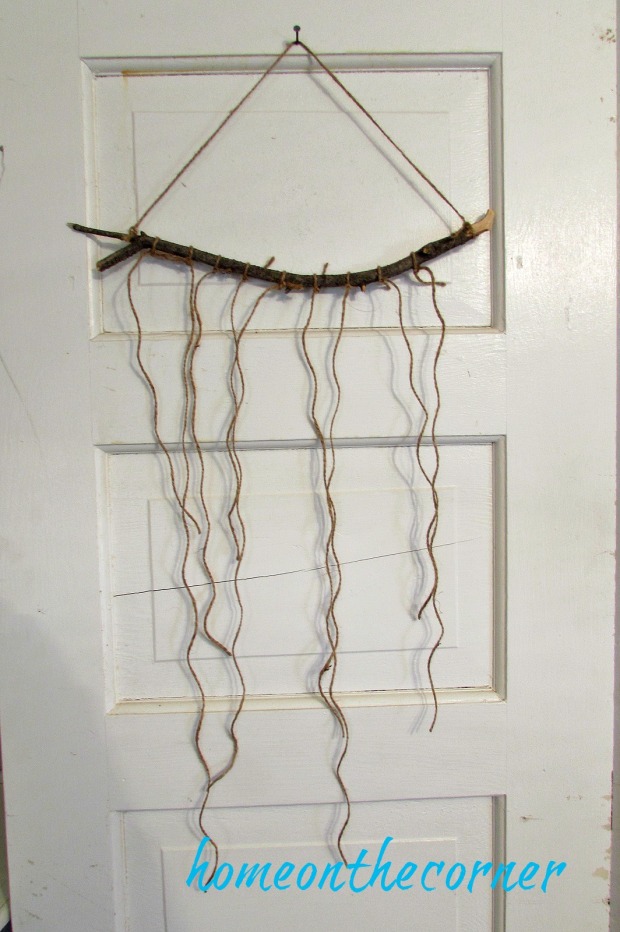
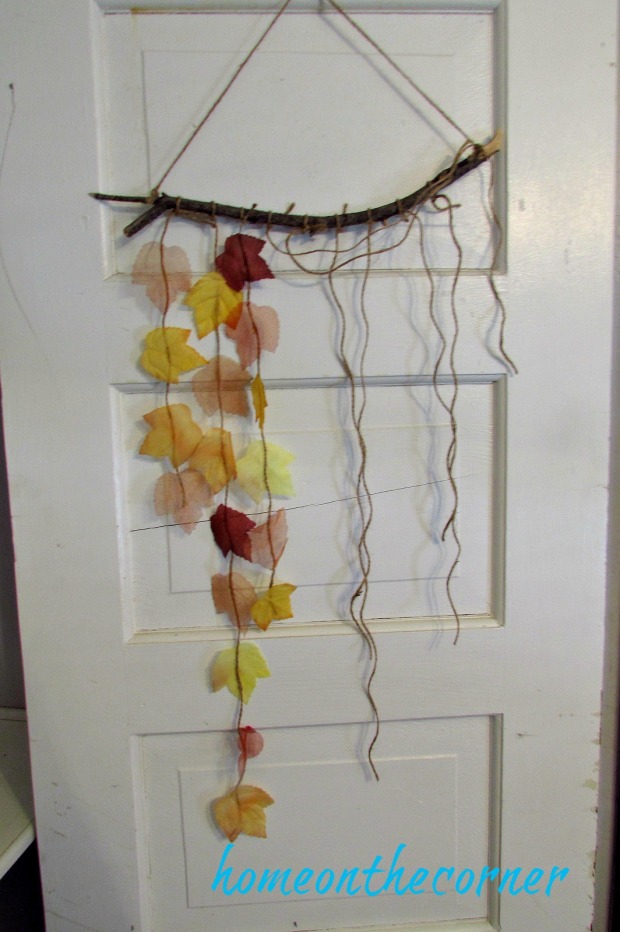
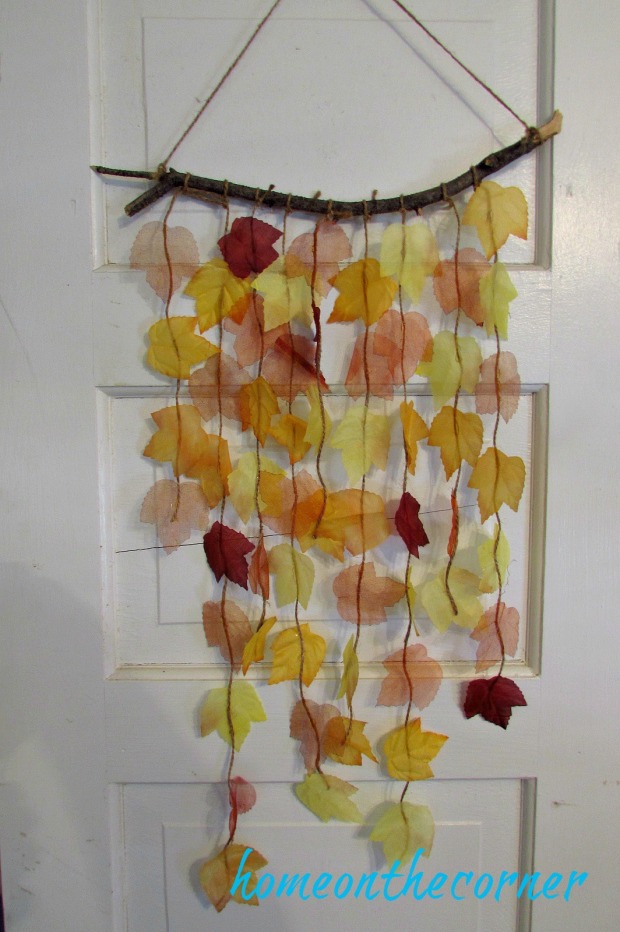
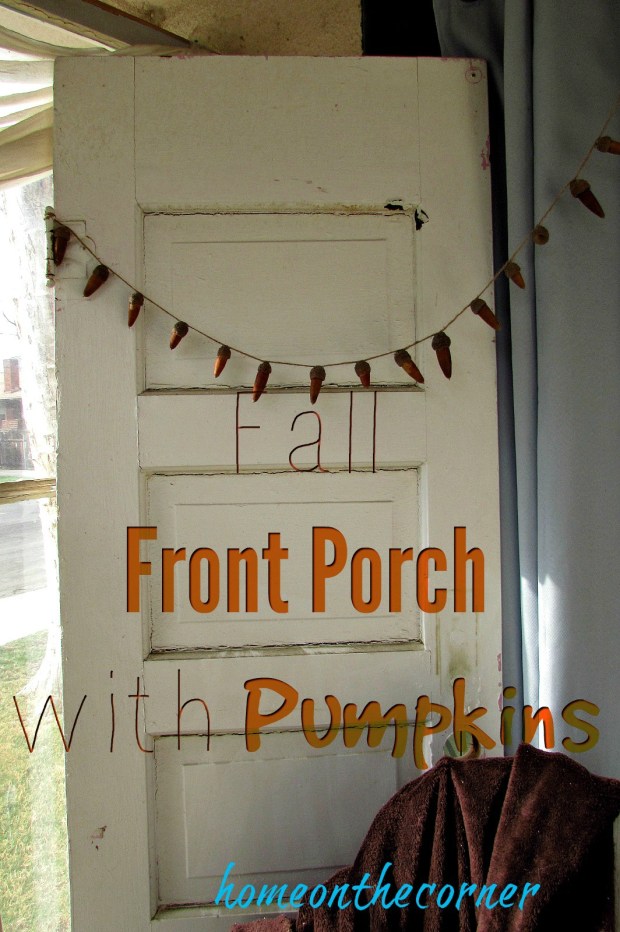
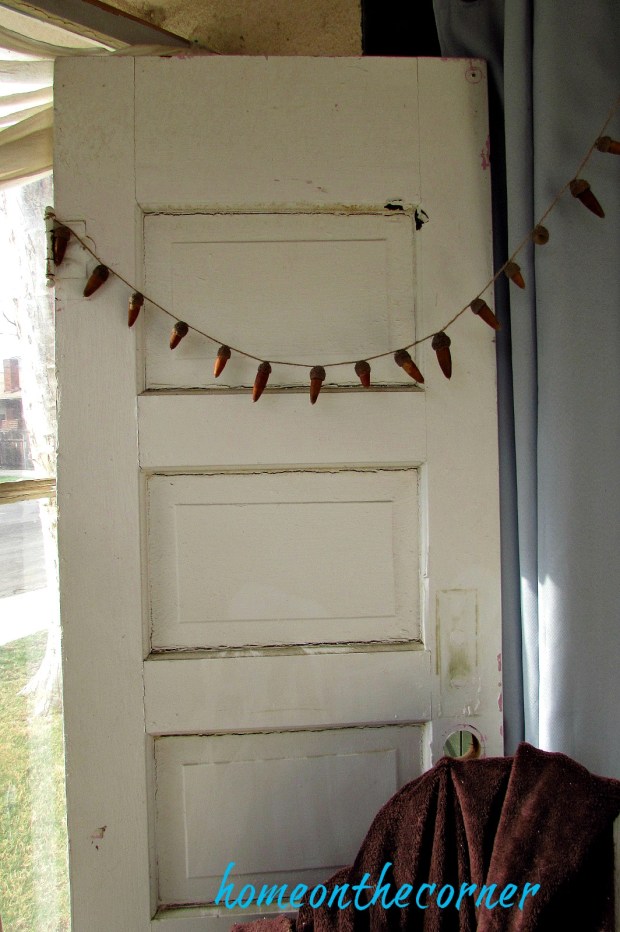
We have a huge oak tree in our backyard and it drops lots of acorns in the fall. I glued them onto a piece of twine and draped them across this old door and window.

fall-front-porch-acorn-garland-2016

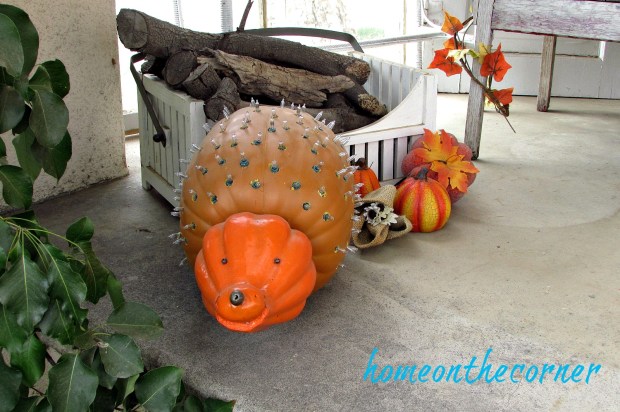
Henrietta , my hedgehog, made an appearance too!

fall-porch-hedgehog-pumpkin-2016

I hope you all have a wonderful fall day!!

sunshine-and-blessings-picmonkey

P.S. A hot new offer from Redbubble is launching today,  Monday, October 17th and lasting through the 18th. Starting today, shoppers can get 20% off site wide from Redbubble with code SPOOKY20.

Deal: 10/17 & 10/18 Only – Take 20% off site wide with code SPOOKY20
Code: SPOOKY20
Run Date: 10/17/16 – 10/18/16, valid 48 hours only in local time zones

Here are more posts you might want to look at!

City Girl in Country Wear

Fall Tablescape Cover Photo

Fall Porch 2015

Fabulous Finds and Fashions-Walmart Edition

Hello everyone and welcome to another edition of Fabulous Finds and Fashions.  This week I present some things that I found while on my weekly trip to Walmart.

Now, as everyone knows (or should know), Walmart is an extremely odd place.  Like, wearing jeans and a tee shirt is considered dressing up odd.  Now I had to go to WaliWorld to get some more ink for my printer and came across this awesome item

princess-carriage

How cool is this?????  Like, if I was 5 this would be on my Christmas list.  Wait…are you kidding…this is currently on my Christmas list even if I don’t fit into it!  It is the perfect car for me!  I wouldn’t have to pay for gas, how cost effective!

Kind of.

If you look at the top of the picture, you will find something very strange.

princess-carriage-price

I know!  Why can we not play in the carriage?   How are we supposed to figure out if we fit into it or not????

Just kidding, what I mean is the price.  $398!  FOUR HUNDRED DOLLARS FOR A FLIPPING PLASTIC CAR WHO’S BATTERY WILL PROBABLY DIE IN 2 WEEKS AND YOU WON’T BE ABLE TO FIT INTO IT AFTER 2 MONTHS!  For Walmart, this is an insane price.  Would I buy it for my kids if I had kids?  No.  Would I buy it for me if I was short?  Yes.

Now, not only did I find this amazing carriage.  I found the probably the scariest thing in Walmart.

emoji-balloons

Now, I’m going to be completely honest, I almost bought one just to scare my cats.  But realistically, they are not worth the 97 cents.  Because I would end up buying one, and scaring myself.  Or Amelia would pop it in a matter of seconds….

So here are my finds from Walmart.  I just wanted to share the beautiful items that I found at Walmart.  Have you ever found something absolutely insane at Walmart that you couldn’t believe was there?  Let me know in the comments below!

sparkle

Parisian Halloween Witch Hat

Hello! I remembered I had this Halloween Witch Hat post from last year, and it turned out so cute, I thought I would share it again! Enjoy!!

It’s time again for the witches, ghosts and goblins to come out! I don’t decorate much for Halloween anymore, now that the girls are older, but we did when they were little. Planning the costume was always a big deal. Then there were the pumpkins to carve or decorate. I have a couple boxes full of foam pumpkins that have been made into elephants, dragons, Garfield, and our dogs! I even have a light up hedgehog! I will have to show you that one sometime. It’s pretty cool! Even though I don’t do much Halloween decorating, when I saw this cute witch hat over at Madeinaday.com, I knew I wanted to try one too.

I didn’t make mine quite as large as Kim did. I wanted to make one for Lauren, because she collects these little decorative hats to display in her bedroom and I thought this would make a nice addition. Here is the list of the supplies:

Supplies:

  • Floracraft® Make It: Fun® Foam, (2) 3inch discs, (2) 6 inch disc and (2) 17 inch cones
  • 1 sheet of black poster board
  • 2 7/16×36 inch dowels, cut down to around 19 inches each
  • Black & white contrasting fabric, 1/2 yard of each
  • Black fuzzy fabric, 1/2 yard
  • Coordinating ribbon for base
  • 2 flowers
  • Roll of black tulle
  • Hot glue & gun, low temp
  • Black acrylic paint and brush
  • Black aluminum  floral wire 4.6m
  • Scissors

The cones I bought were only 6″ tall, so then I needed less fabric too. I only bought 1/4 of a yard. I used felt in place of the fuzzy fabric too. In other words, there are lots of ways to make this!

I started out by painting the foam disks with the black paint. This gave them time to dry while I worked on the other parts. I also painted the dowel black.

Witch Hat Painted Disks

I traced around a bowl to make my circle (I forgot to buy black poster board, so I just used cardboard, but I did have to cover both sides so the cardboard wouldn’t show). Then I cut the piece of sparkly felt a little bit larger so it could wrap around the edges and be glued down.

Witch Hat Sparkle Felt

Witch Hat Adding Felt Brim

I added another piece on this back side to cover the cardboard.

I cut about 2 inches of the styrofoam off the end of the cone. This gives the wire more room to bend once you add the fabric. Poke the piece of wire down into the cone until it feel secure.

Witch Hat Cone and Wire

Here is the fabric I bought. You could never guess who this was for, right?!

Witch Hat Fabric

I wrapped some around the cone just to see how much I would need, and then cut a piece off the end of the fabric. After I figured out just how I wanted the design to go, I glued it around the cone. See how the tip bends over? Make sure you have enough wire so you can make the tip of the hat floppy!

Witch Hat Fabric Covered Cone

After the fabric was glued to the cone, I glued the sparkly felt brim to the bottom of the come. Now for the decorating and embellishing! Here are a few of the things I found: glittery tulle, a feathery ponytail holder and a pink flower clip and some black and silver ribbon.

Witch Hat Accessories

I don’t have pictures of adding this to the hat, because I couldn’t glue and take pictures at the same time! I first added the tulle in ruffles around the middle, then added the feathers with the flower on top of the feathers. I added the ribbon around the edge of each of the black disks. Once everything was ready, I Poked the dowel through the disks first then the brim of the hat. I had to use a sharp tool to get through the felt. Then I pushed the cone onto the dowel. Once it was far enough on, I put glue on the brim and pushed it up against the cone and let dry.

Here it is!

Witches Hat Display

Witch Hat Close up

Paris Witch Hat Display

I think this came out adorable! I want to try one in more neutral colors too. I would love to see yours if you make one too!

sunshine-and-blessings-picmonkey

2015 Home Tour Fall Glittery Pumpkin      Christmas Fireplace 2015 Deer


More Bedazzling Shoes!

Hello everyone!  So, I want to inform you that last week’s blog post was a lead up to this weeks post!  Hooray!  So, if you don’t remember last weeks blog post, click here and read it first!

So, my niece’s birthday is coming up at the end of the month, and being the awesome aunt that I am (cough cough  plugging myself for being the best aunt ever lol), I love making her gifts.  So, my niece is turning 4 and love Minnie Mouse.

But then again, I love Minnie Mouse as well, so we have the same taste in Disney stuff.

I decided that I wanted to make her a pair of shoes with Minnie Mouse on them.  Now, I had an idea where I put Minnie Mouse on the side of a pair of Toms knockoffs like my shoes that I did last week.  Unfortunately, Walmart does not carry Toms style shoes like I wanted.

So these were my two choices.

Now why these two pairs of shoes?  First of all, the brown and pink ones are just absolutely adorable!  And the white one were just simple.  I thought about the white shoes because then I could do the classic Minnie Mouse.  But then…my niece will be four and the shoes will not be white for long.  So….I went with the brown and pink.

I then went to Michaels and bought black, white, and pink gems to put on the shoes.  Here was my biggest issue…finding the same pink as the shoe laces!  Michaels had one package that had pink gems and it only had 13 gems in it.  But, with the help from mom I was able to gain more pink gems.

So I found an outline of Minnie Mouse online and printed it out to measure for the front of the shoe.  It took two or three tries, but I got the perfect size.  I then took a pencil and sketched around the Minnie Mouse outline.  I had to cut the inside of the outline to get the bottom of the bow.

minnie-mouse-outline

And after a lot of sticky fingers and incorrectly placed gems (oops) I finally got the shoes done!

minnie-mouse-finished

I think they are absolutely adorable!  I added some gems to the sides of the shoes next to the laces and a small line on the back of the shoes to add a little bit of extra bling.

They are so cute!  I hope my niece is as excited to open them as I am to give them to her.  They were so easy to make and I hope that she gets a lot of use out of them!

sparkle

DIY Dog Cross-Body Carrier

Hello! Welcome back to Home on the Corner! I missed Finds and Fashions yesterday, so today I am showing you a simple project for your special pet. I put dog in the title, but it could be for something else small like a cat or guinea pig or whatever other critter you might have!

Our dog Chica is 16, but she still likes to go places with us. The problem is she can’t walk very far. Lauren and I found this idea somewhere on the internet, but I don’t know where as it was several years ago. We were going on a long walk at the coast and knew Chica wouldn’t make it the whole way, but I also couldn’t carry her the whole time without some support. So we thought we would give this project a try and it was really easy.

We took a piece of fabric 26″ wide and 58 inches long. If you have a really small pet, you would want to go with a skinnier piece, but probably the same length.

dog-sling-carrier-fabric

I don’t know why these pictures are so blurry, but I am sure you will get the idea. Hem each side of your fabric. This will keep it from fraying when you wash it. After it is hemmed, fold it in half so it is a long skinny piece. I guess you would fold the width in half.

dog-sling-carrier-fabric-length

Then fold it again so the open ends are together. Fold the length in half. (This took a lot of thinking on my part to figure out how to explain it!! :))

dog-sling-carrier-fabric-folded

Now you are going to sew the open ends on the short end of the fabric together. When you are finished, you will have a long tube that is open along one long side.

dog-sling-carrier-sewing-seam

That’s it for the sewing! Now it is time to test it out. The carrier will go over one shoulder and under the other arm. The pouch opening should be on the top. Open it up and place the animal inside. This usually takes 2 people-1 to hold the carrier open and the other to place the pet inside. Munch had never been in one before, but she didn’t seem to mind at all! Her bottom fits right down into the pouch and she is able to sit comfortably. If your pet is in far enough, you don’t have to support them at all.

dog-sling-carrier-with-dog

This carrier really helps to keep the weight off your back and shoulders and also helps the animal feel secure. Munch never fidgeted or tried to get out. Chica was the same way, even the first time we used it.

dog-sling-carrier-back-view

We have used this many times over the last couple of years and it has definitely come in handy, especially with an older dog.

dog-sling-carrier-dog-munch

I would love to know if you have ever tried a carrier like this and what your experience was! Let me know in the comments!

sunshine-and-blessings-picmonkey

You might like these posts too!

Copy of IMG_47622             cat box         upcycle clementine box doll bed pink dots