

Good morning! I have a new project for you today! Lauren and I have been participating in some local vendor fairs and virtual fairs. She has been selling Disney Trading Pins and I am making boards to display the pins on. It’s been fun selecting all the different colors and characters. Of course, this doesn’t have to be done with Disney characters, but anything you like! Let me show you how!
I started with a frame from a thrift store. It doesn’t matter what kind of picture or if the frame is scratched. I like to look for frames that are a little different or have a design in them. I liked this oval one, because the curved ones are a little harder to find. This frame is just a plastic material.

The first step is to take apart the frame. Throw away the glass (unless you have another awesome idea to use it for!). I keep the back. It is good to use for tracing on the cork board and also to give extra support to the whole thing in the end. Make sure to keep any screws too.

Be sure to wipe off and clean your frame before painting. Then decide what color you want to use. I love the Rustoleum 2X Spray Paint. Since this frame is such a smooth surface, I used a primer first to give the paint something to grip. Once the primer was dry, I sprayed 2 light coats of the green.


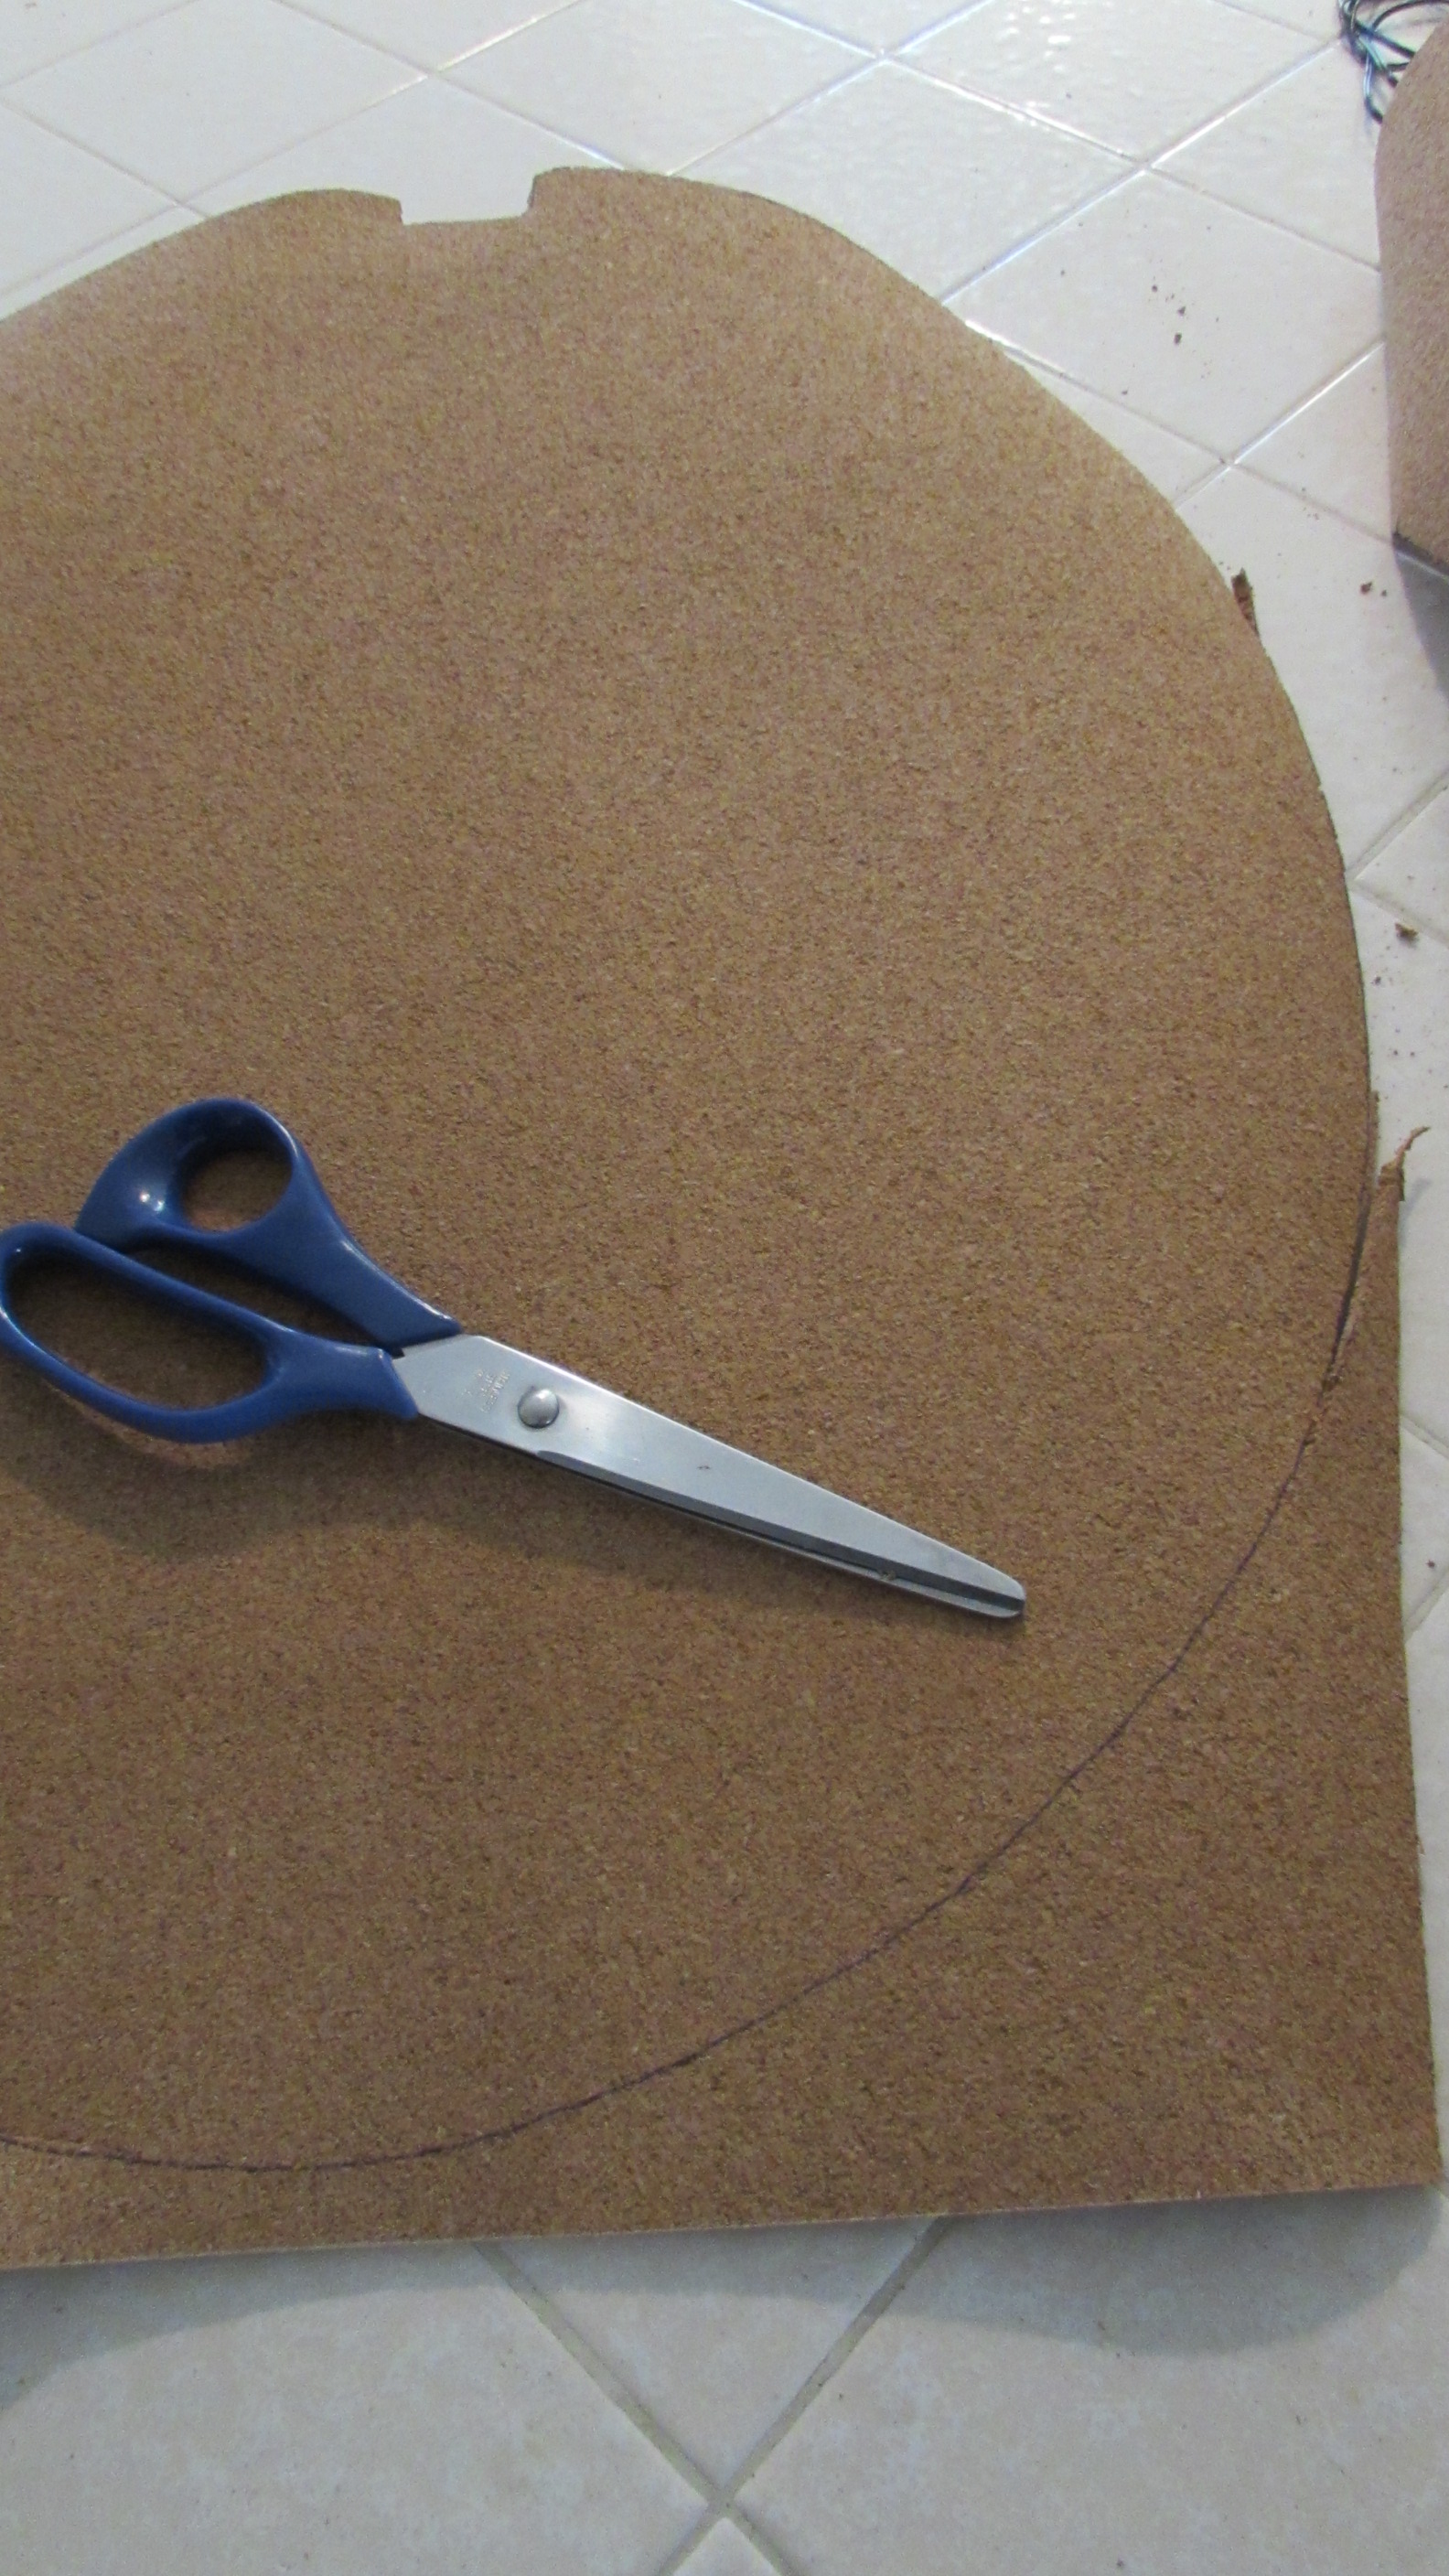
This is where your back piece come in handy. I bought this corkboard from Hobby Lobby. I laid the back on top of the cork board, traced around it and then cut the cork with scissors. Depending on the thickness of the cork, you might have to use a razor blade. I found that 1/4 to 1/2 inch cork is the best. I really just depends on how thick your frame is and how thick of cork will fit inside and still be able to get the back of the frame back on.
For this board, I picked Tinkerbell. I looked up Tinkerbell silhouette in Google and then picked the one I thought would be easiest to cut out, without to much detail. If the design is too detailed, it’s difficult to be able to cut it out cleanly.

Once the design is cut out, place it on your corkboard. It might help to tape it down if you are afraid the paper might move too much. I used black acrylic paint to fill in the design.

I use a small brush that is pretty flat on the end. I start by daubing around the edge of the design and then I go back and fill in the whole design. Be sure to hold down the edges of the paper as you paint, so the paint doesn’t leak under. You may have to go over some of the edges with a small brush to smooth and even them out.

Doesn’t she look cute?! I love the bright green!


I’ve been making quite a few of these lately. Here are a couple of others. You can see that I used all different size frames and colors.

Princess crown…

and small oval.

These are fun to paint and the designs are endless! What would you put on yours?


I like this idea.
LikeLike
Thank you! It’s been fun making them!
LikeLike