Falling Leaves Door Hanging

falling-leaves-title

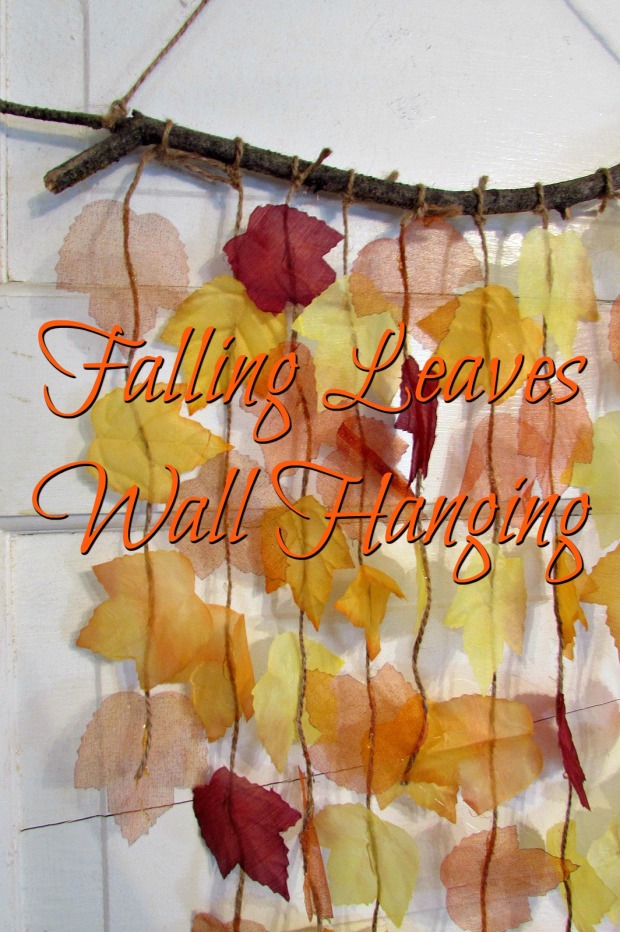
Good morning! I have a very simple project for you today!

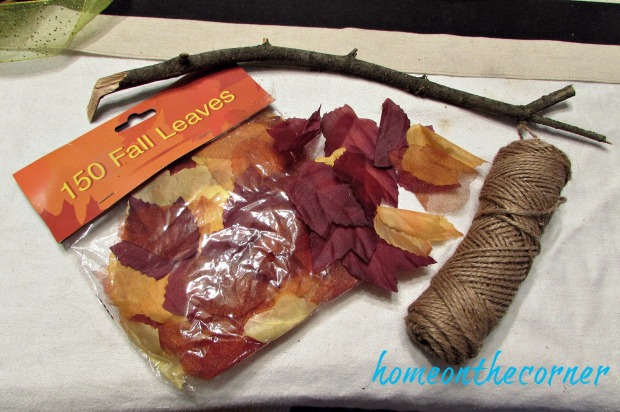
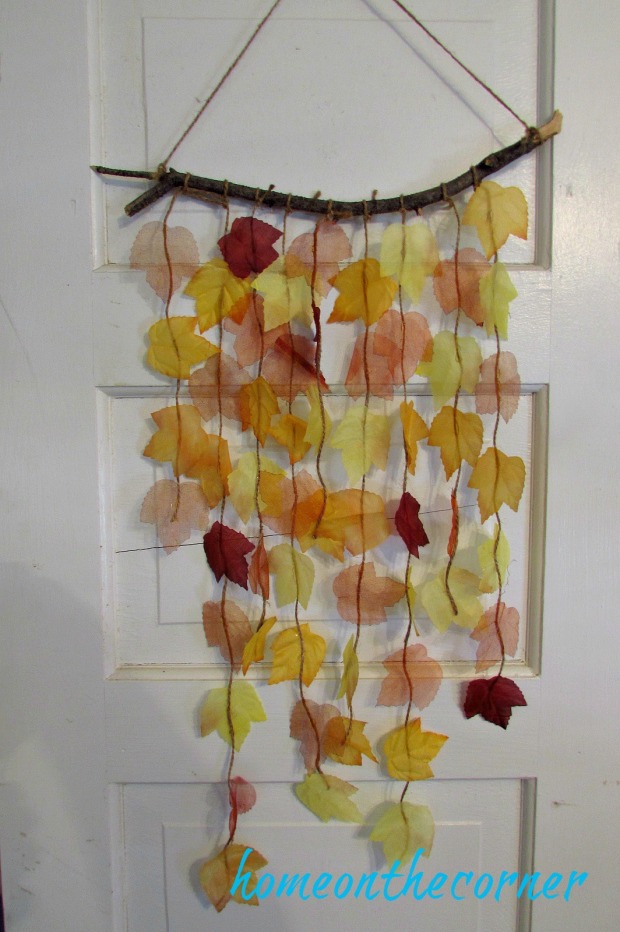
I already had all the supplies for this project. I found a stick in my backyard, I had twine, but you could use string or yarn, and a package of faux leaves. You could use real ones too, but our leaves aren’t turning yet, so no pretty colors could be found!

fall-leaf-wall-hanging

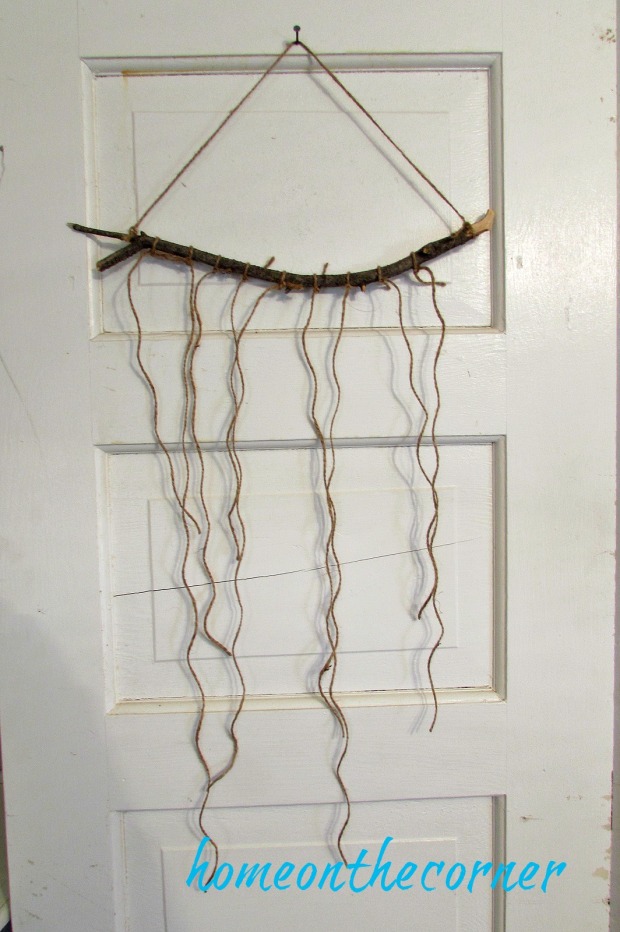
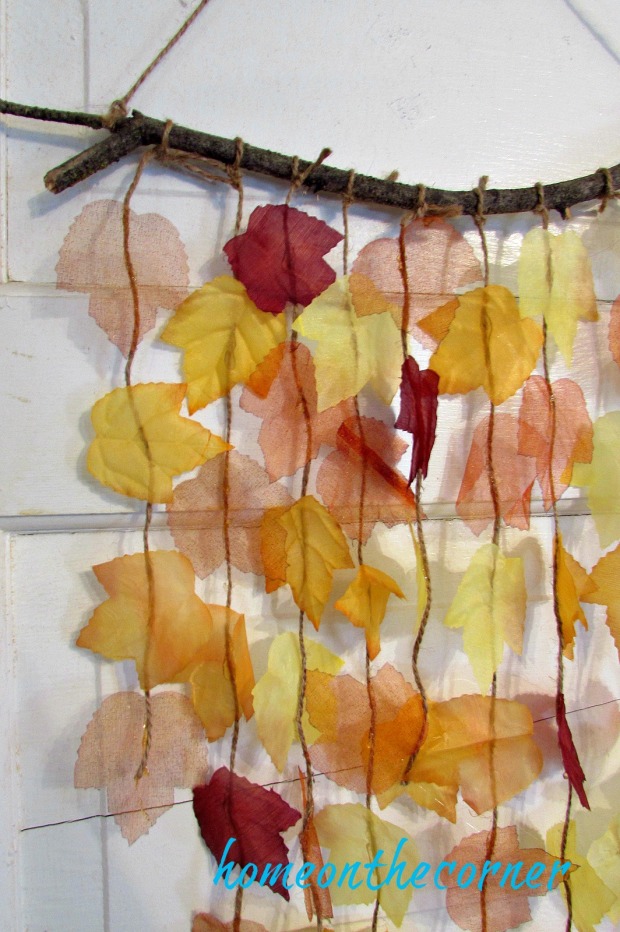
I started by tying a piece of twine on the stick, long enough so the stick would hang at a good length. Then I added different lengths of twine to hand downward.

fall-leaf-hanging-twine-and-stick

Next step is gluing. I used hot glue, but please be careful of your fingers! I added the leaves in random order, but about the same distance apart. I used mostly yellow and orange, with just a few red ones so they would really stand out.

falling-leaves-project-started

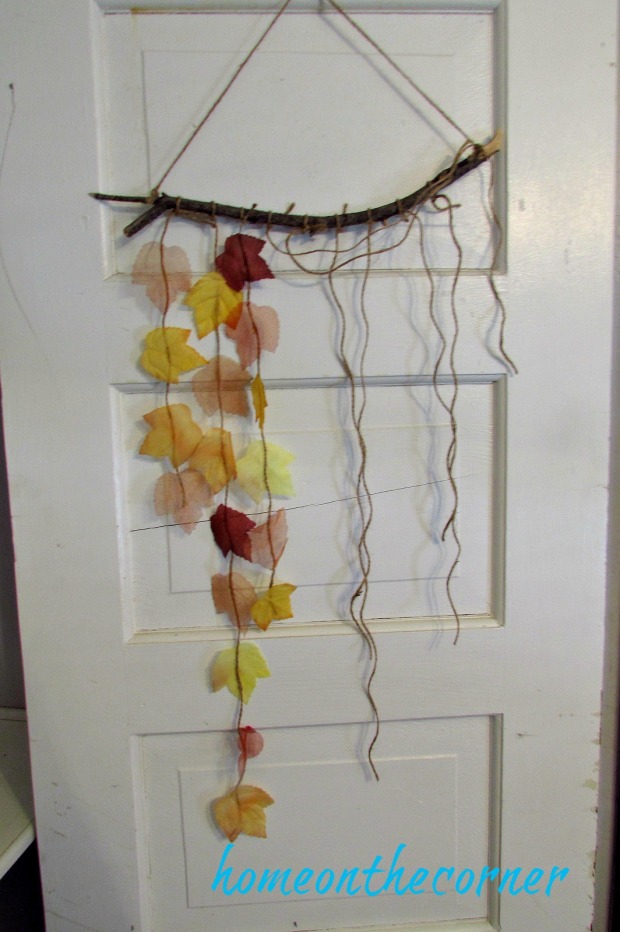
And that’s it!! I spent maybe 15 minutes to complete this project. The gluing took the longest, but it is really so simple!

fall-leaf-wall-hanging-done

After seeing the pictures, I though it would be so pretty to add some pretty bling and then hang it in a window so it would be sparkly. Maybe I will have to add some!

fall-leaves-with-twine-and-stick

I hope you all have a wonderful Monday!

sunshine-and-blessings-picmonkey

More fall ideas!

Basket of Fruit           fall-yellow-gold-placesetting

DIY Wooden Ocean Buoys

ocean wooden buoys title

Good morning! Today is my first day back at school with students! Eek! I’m a little nervous because some I have never met before. But I know I have good help in my room and hopefully everything will go smoothly.

I know most people are getting ready for fall, but it is still over 100 degrees here! It’s hard to think about cooler weather projects when it is still so hot! So today is another summer post! It’s pretty simple though.  I actually had everything on hand already. I have been wanting to make these for awhile and I finally got it done.

I had some 4 x 4’s (actually 3.25 x 3.25!) in my wood stash and had my husband cut them in various heights. The tallest one is about 13″ tall and the shortest one is about 8″ tall.  I also had him taper in the tops on each side. They don’t quite come to a point, but are flat on top. I also drilled a hole, large enough to get some rope through. The diameter of the hole would depend on the type of rope you are using. I picked up some more Waverly Chalk Paint at Walmart, this time in ‘Ocean’, ‘Pumpkin’, and ‘Lagoon.’

ocean beach buoys

I first painted each piece with either Waverly ‘Plaster’ or ‘Mineral.’ 2 of each! I didn’t cover the wood too well, because a real buoy would be worn by the sea and sun.

ocean buoys painted grey and white

After the paint dried, I used painter’s tape to mark off where I wanted to put the colored stripes. Make sure to really seal the edges of the tape so the paint doesn’t go under and bleed into other areas. Take off the tape soon after the paint starts to dry. I started with the smallest one and decided to paint just one color around the whole thing. This one will be ‘Lagoon.’

ocean wooden buoy painting stripes

I did a variation of the 3 colors on each buoy. This one will be ‘Pumpkin’ and ‘Lagoon.’

ocean buoy grey painting stripes

After the paint was dry, I sanded the piece all over to give it a rough and worn look. Here is the small one. I love it!!

ocean buoy turquoise and white

I took a length of rope, ran it through the hole and tied it at the top. I should have rolled it in the dirt first, so it wasn’t so new looking! I’m sure it will look more worn before long.

ocean wooden buoys

I am so pleased with how these turned out!!

ocean wooden buoys orange, turquoise, blue

I can’t wait to really display them next summer!!

ocean buoys wooden blue and turquoiseocean wooden striped painted buoys

I hope you all have a great week and I will let you know how my first day of school went!!


ps. Redbubble is having another deal! On Monday only, 8/29, you get 15% off the whole site. Use the code CIRCUS15. 

Sunshine and Blessings

Upcycled Coffee Cans for Bridal Shower Centerpieces

Hello! How was everybody’s weekend? Was it busy or relaxing? I pretty much stayed at home, getting things ready for the bridal shower I am hosting. I did get to enjoy a frosty on Saturday and a competitive game of Pirates of the Caribbean Life on Sunday. Such an exciting life I lead! LOL!

I did get these cans done over the weekend for the bridal shower. This is such a simple project! I had a couple of coffee cans, my mom had a few and she also found one at a yard sale, which she was given for free. I had received the burlap this summer and my husband had cut the wood slices for me a couple of years ago. You can see my other wood slice projects here. I used the Waverly chalk paint in Mineral and Plaster. These paints can be found at Walmart.

coffee can makeover

I started with the Plaster color and just brushed it all over the can. As you can see, you can still see the red color through the paint.

coffee can makeover chalk paint

I painted a second coat of Plaster and then added touches of Mineral all over the can. I dry-brushed it on and just kept brushing till it was blended in. Chalk paint dries quickly, so painting several coats doesn’t take too long.

coffee can makeover chalk paint grey

I cut pieces of the burlap ribbon long enough to fit around the can with just a little overlap in the back. I hot glued it into place.

coffee can makeover with burlap

All wrapped up! I then added a wood slice to the front of each with hot glue.

coffee can makeover burlap wrap

I added the initials and names of the bride and groom onto the wood slice with brown sharpie so it looks like it is woodburned into it.

coffee can makeover bridal shower with burlap

I added pomegranate branches into each can, simply because I have 2 trees full of them. I placed a smaller jar inside the can to help hold the branches upright.

coffee can makeover bridal shower centerpieces burlap and pommegranites

I think these will look really nice on the tables as centerpieces for the bridal shower. I can reuse them later just by removing the wood slice. So you will probably see them reappear again sometime!

coffee can makeover bridal party centerpieces

This is such a simple and quick project. It’s also a great way to upcycle some of those tin cans you might have in your recycle bin. They could be painted any color that fits your color scheme and any kind of ribbon could be added to it. Let your creativity flow!!

Sunshine and Blessings

Blue and White Folding Chair Makeover

HI everyone! Hope you are all well! School is about ready to start around here, although I have a couple of more weeks before I go back. It will all be here very soon!

I have a simple project for you today. You’ve probably already seen it done on Pinterest, but it is something I have been wanting to do for awhile and kept putting it off. But I will be hosting a bridal shower for Lauren’s best friend in a couple of week, so I figured I better get going on this! I had also found some fabric I liked at a yard sale this summer, so now I had no excuse.

folding chair makeover blue and white completed chair Title

I had these old brown folding chairs that really needed an update. They are definitely passed their era! First I unscrewed the back and the seat from the frame of the chair.

folding chair makeover

I found this tag on the bottom of the seat. I know it says model number is 1953, but I wonder if that was the date. And the price! $10.95! What a bargain!

folding chair makeover tag

Once the back and the seat were removed, I took the frame outside and gave it a couple coats of white spray paint and a coat of clear coat.

folding chair makeover chair frame

I love this fabric! It’s heavier than just cotton, and the colors are so much better than the brown.

folding chair makeover fabric

I laid the fabric on the floor, with the help of Chica, and cut out the shape, about 2 inches from the edge of the chair back. This will give me enough to wrap around and staple. I also did this for the seat.

folding chair makeover covering the chair back

I laid the chair back on the wrong side of the fabric and made sure it was centered. I start in the middle of each side and put in one staple, then continue around.

folding chair makeover staple cover
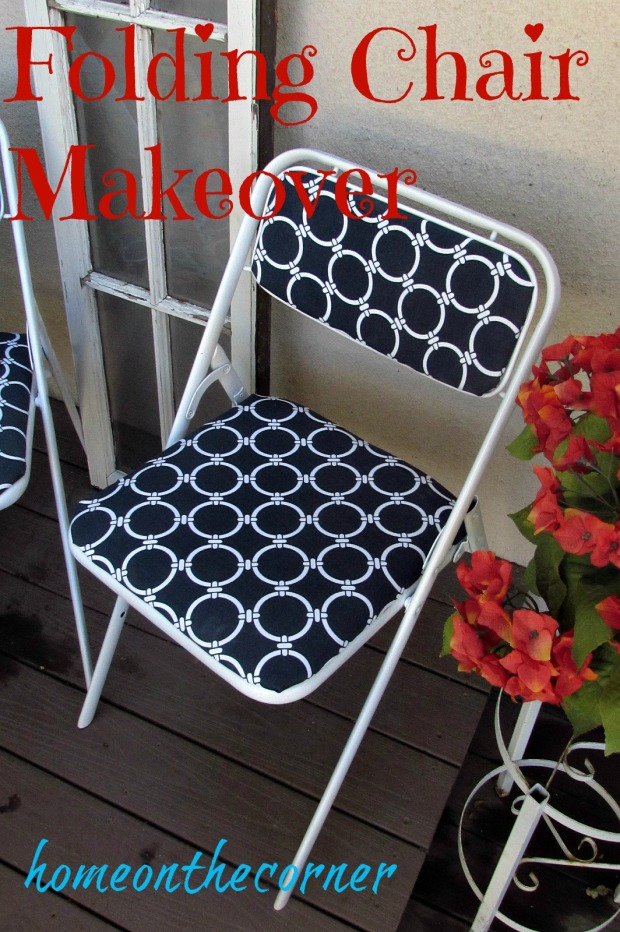
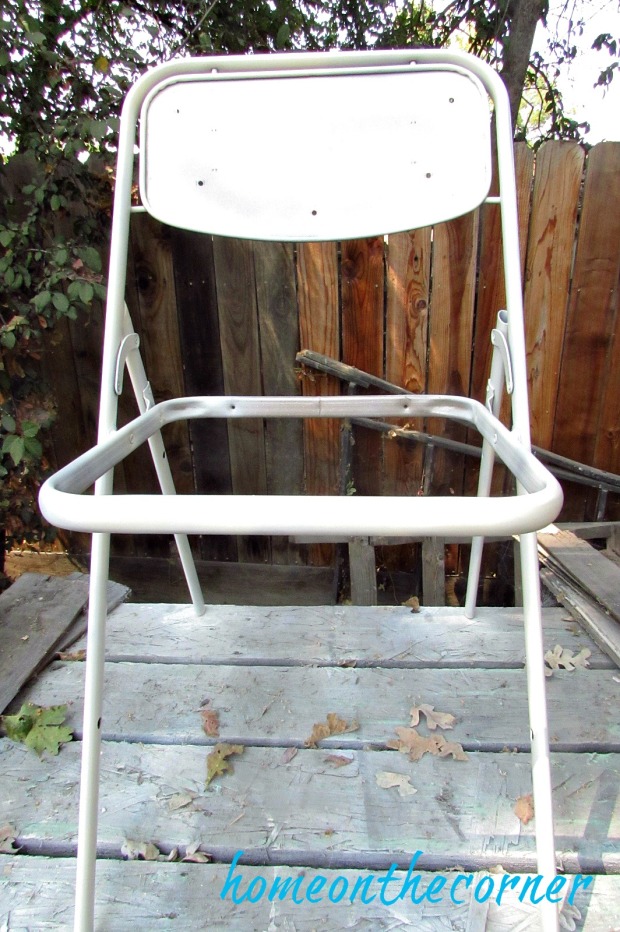
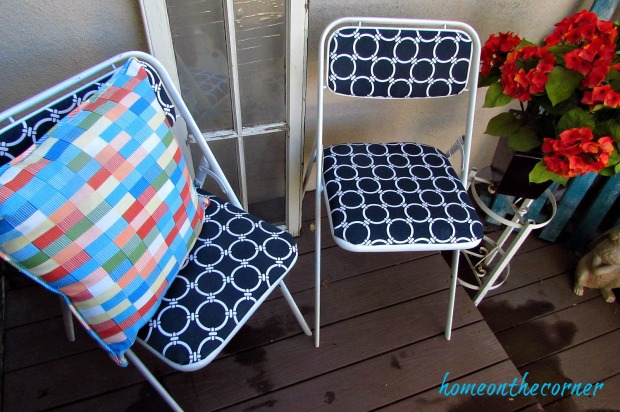
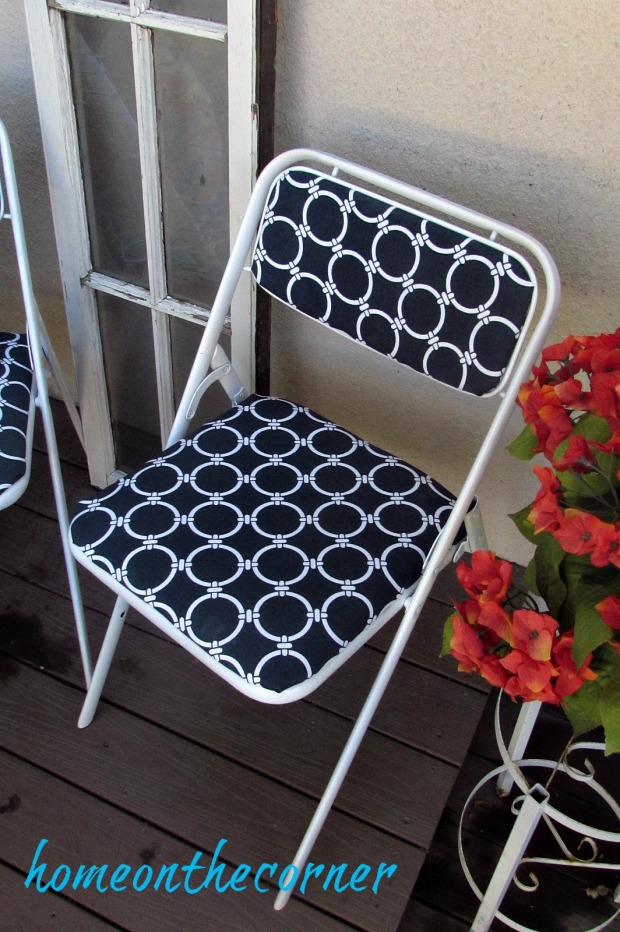
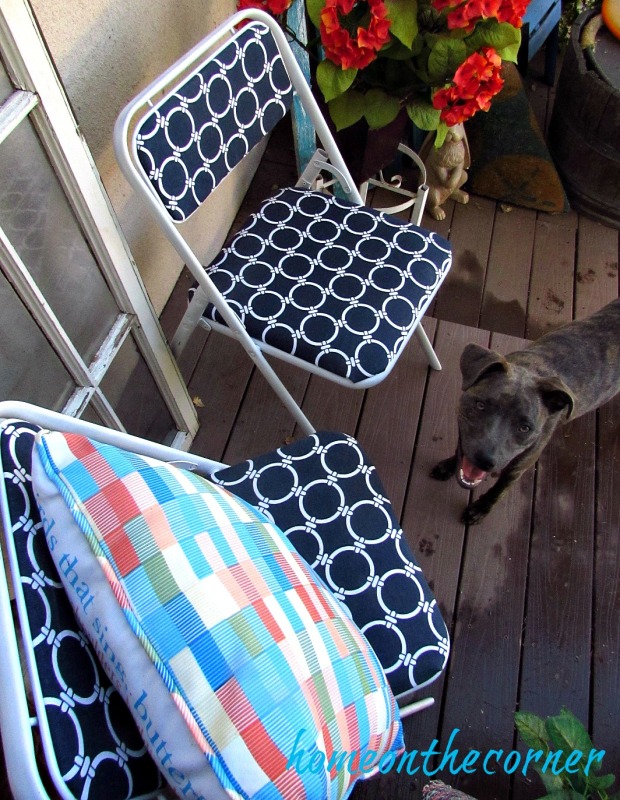
After covering the seat, it is time to reattach them to the chair frame. Pretty easy, right! Now we are ready to party!

folding chair makeover 2 chairs

I love the blue and white. It looks so crisp and clean!

folding chair makeover blue and white completed chair

Rozy says she hopes you all have a great day!

folding chair makeover with Rozy

See you on Wednesday!

Sunshine and Blessings

Here are a few other projects you might want to look at:

Sunny Days!Pink Binder Spine

Rattan Plate Holders plus a Nautical Tablescape

Do you ever have an item you know you want to do something with, but it takes forever to figure out what? That’s me. All the time. I have had these paper plate holders for years. I saw, in a magazine, how they painted them pretty colors. Ok, I can do that. But should I make them all the same, or different colors, and what colors? Oh decisions, decisions!

I finally decided on grey, because…I had the paint already. 🙂 Then Haley came up with the pattern idea.

The first step was to paint them all grey and let them dry. I always use the Rustoleum Ultra Cover. Love this stuff!

Rattan Plate Holdersrattan plate holders spray painted grey

Then I wanted to put a  white stripe across the middle with a number in it. I measured out how large the stripe would have to be so the number would fit and then used the piece of cardboard to tape off the rest of the plate.

rattan plate holder stencil and stripe

I taped scrap paper onto the plate with painters tape. This way I won’t get white paint on the grey.

rattan plate holder tape off stripe

They came out pretty well!

rattan plate holder white stripe

Now came the number. I took an old magazine cover and cut out a square that matched the size of the stencil.

rattan plate holder stencil #4

It’s kind of hard to tell, but here is the square. I taped the stencil to the paper and then pressed it flat against the plate holder. I used turquoise for the numbers.

rattan plate holder magazine and stencil number

Once they were all dry, I was ready to set the table for a night of Al Fresco dining!

rattan plate holders under the lights

When I told Haley I was doing a nautical theme, she asked if it was different then beach theme. I had to think a bit, but yes, in my mind it is a bit different.

rattan chargers on a Nautical table

Nautical is more boats, ropes, and glass floats. Beach would be more sand and shells. At least that is how my mind categorizes it!! 🙂

rattan plate holders farm table

I did add a few shells and my favorite whale to the table along with glass floats and some rope.

rattan plate holders nautical table

I love how the striped runners look under the plates. I got them from Target last fall.

rattan plate holder seashells, jars, roperattan plate holder number 4

It was starting to get a bit dark on these last pictures, so they are a little grainy.

rattan plate holders tablerattan plate holder number 2rattan plate holder whale

I love how this turned out and really glad I finally did something with these plate holders. Now if I can only come up with ideas for the dozens of other items I have!!

Sunshine and Blessings

Here’s a few other tablescapes you might be interested in!

Fall Tablescape Cover Photo

turquoise and white spring tablescape title